Reduction Prints
You can use the arrows to toggle through the examples above!
We began this lesson by creating a variety of sketches based on observation of plants and animals. I provide a variety of reference books and handouts for this. The students cropped their favorite drawing to a 5″ by 7″ rectangle, then transferred it to a thin Styrofoam “plate” with a ballpoint pen which incises the foam, creating a textured surface.
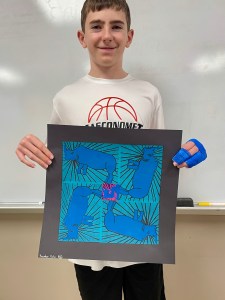
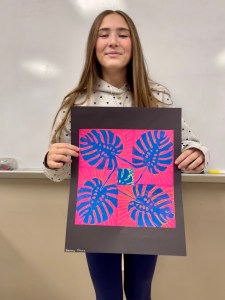
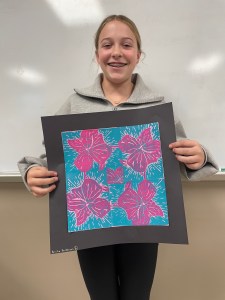
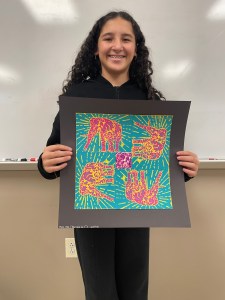
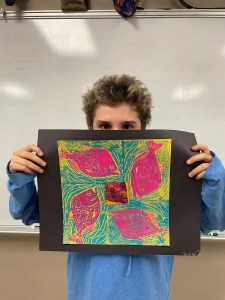
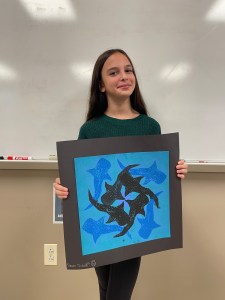
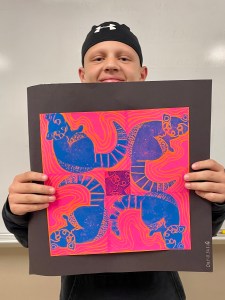
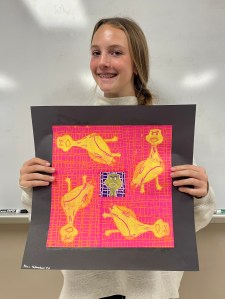
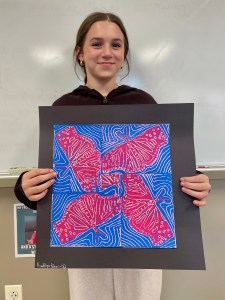
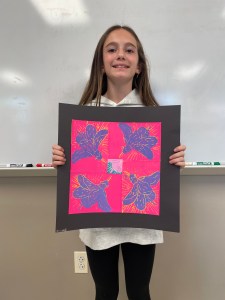
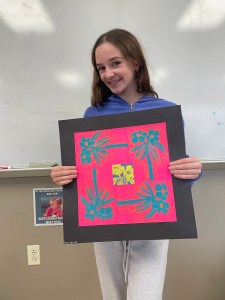
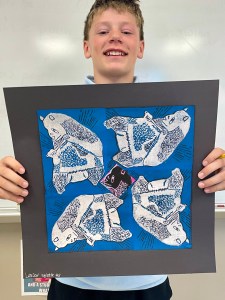
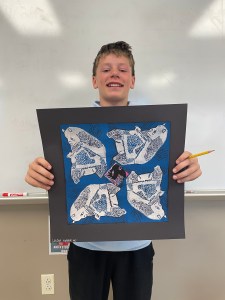
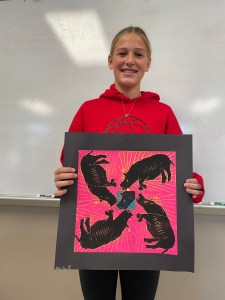
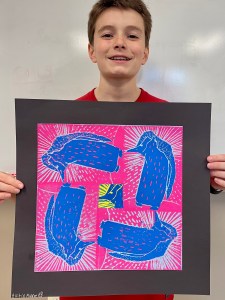
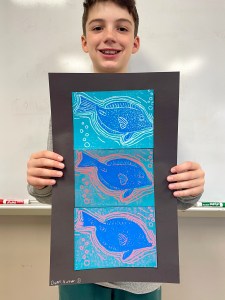
We applied ink onto the plate with a rolling tool called a brayer and printed (or stamped) our plate image on a variety of 5″ by 7″ colored paper rectangles, experimenting with various ink and paper color combinations. These practice prints were a way for students to master the many variables that contribute to a successful print! When the kids felt they had a grasp on the technique and knew what color combinations they preferred, they printed their plate four times in a radial pattern on a 12″ square.
We then cut away the negative space, (the background), and reprinted just the positive space, (the object or animal,) with a second, contrasting color on our big square and our practice prints. The small “mini print” you see in the center of the big squares were cropped and cut from each student’s collection of practice prints.
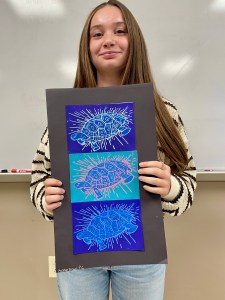
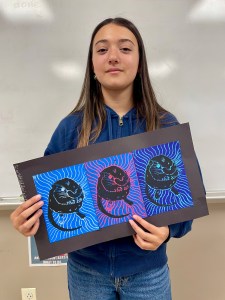
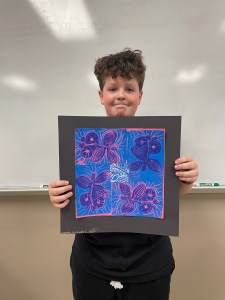
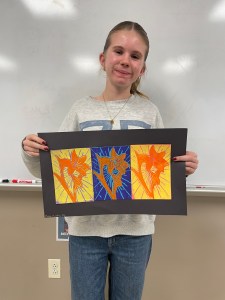
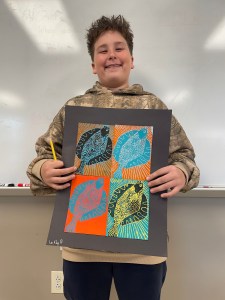
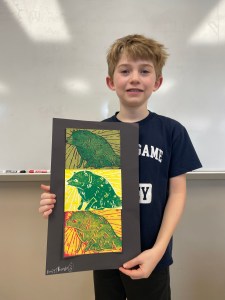
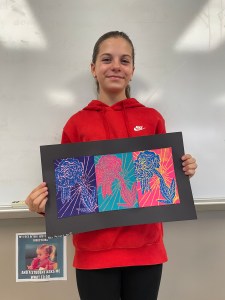
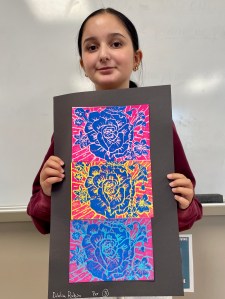
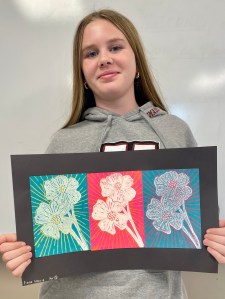
This unit yielded two complete projects: The 12″ radial-printed square, as well as a grouping of 3 or 4 of the best practice prints, mounted together!
This INSTRUCTION PACKET breaks it all down, and includes video tutorials, exemplars, and directions for each step!
Here’s a ONE PAGE HANDOUT which explains the process concisely and simply!
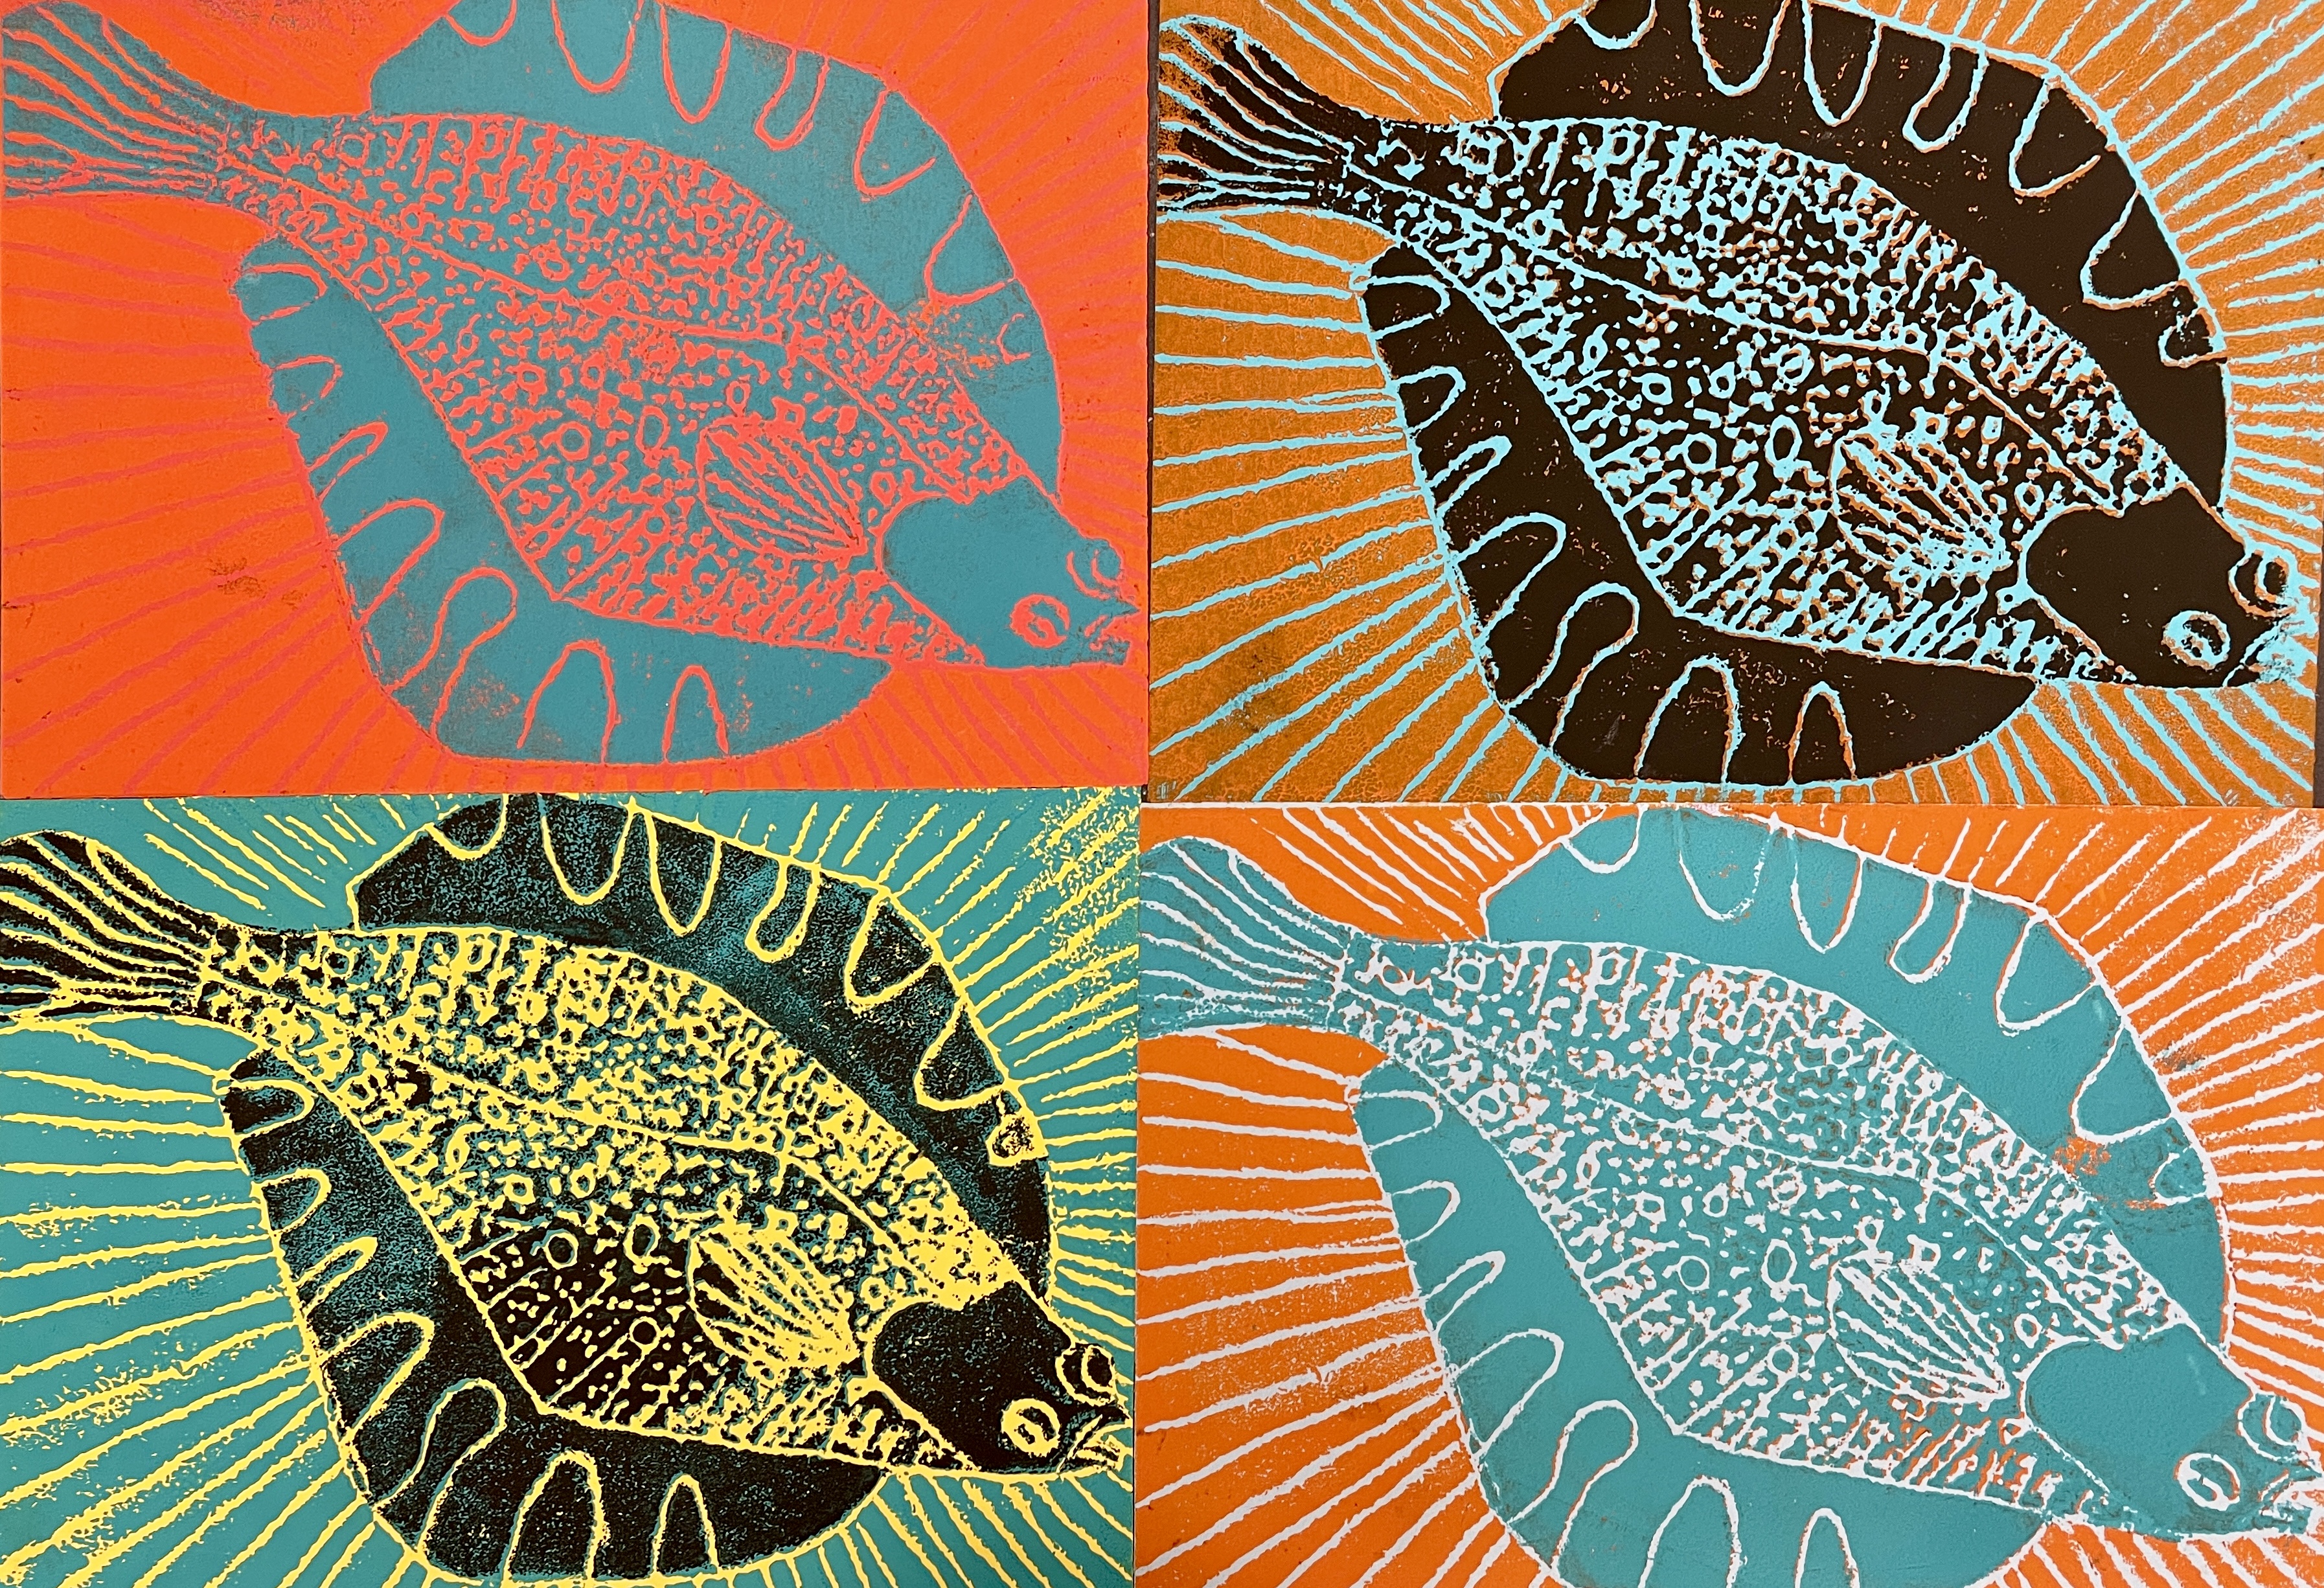
Impressive for 7th grade, right? Let’s break down the process!
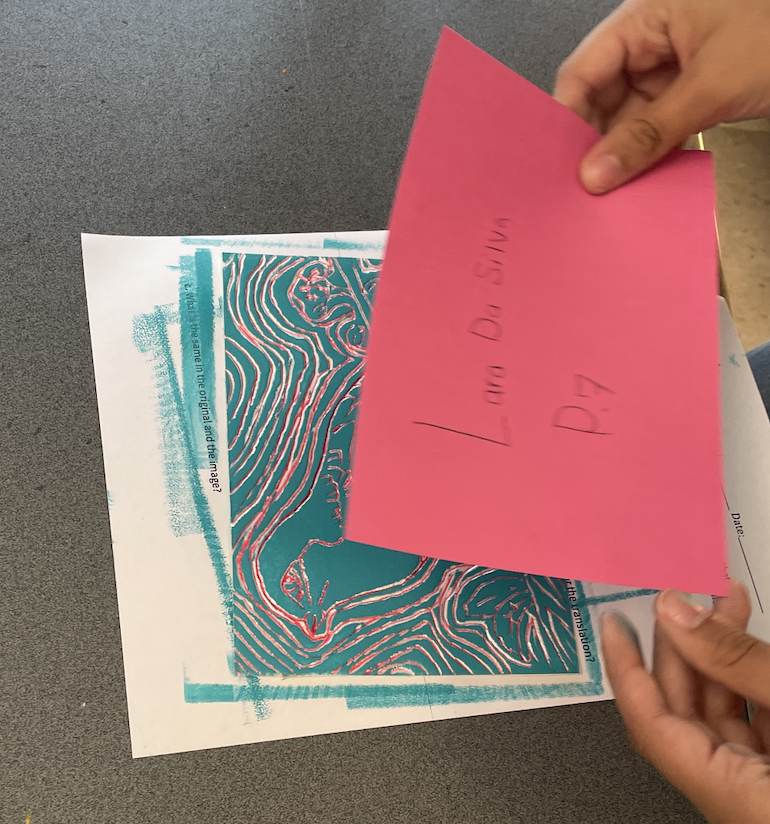
Above: Making a Practice Print
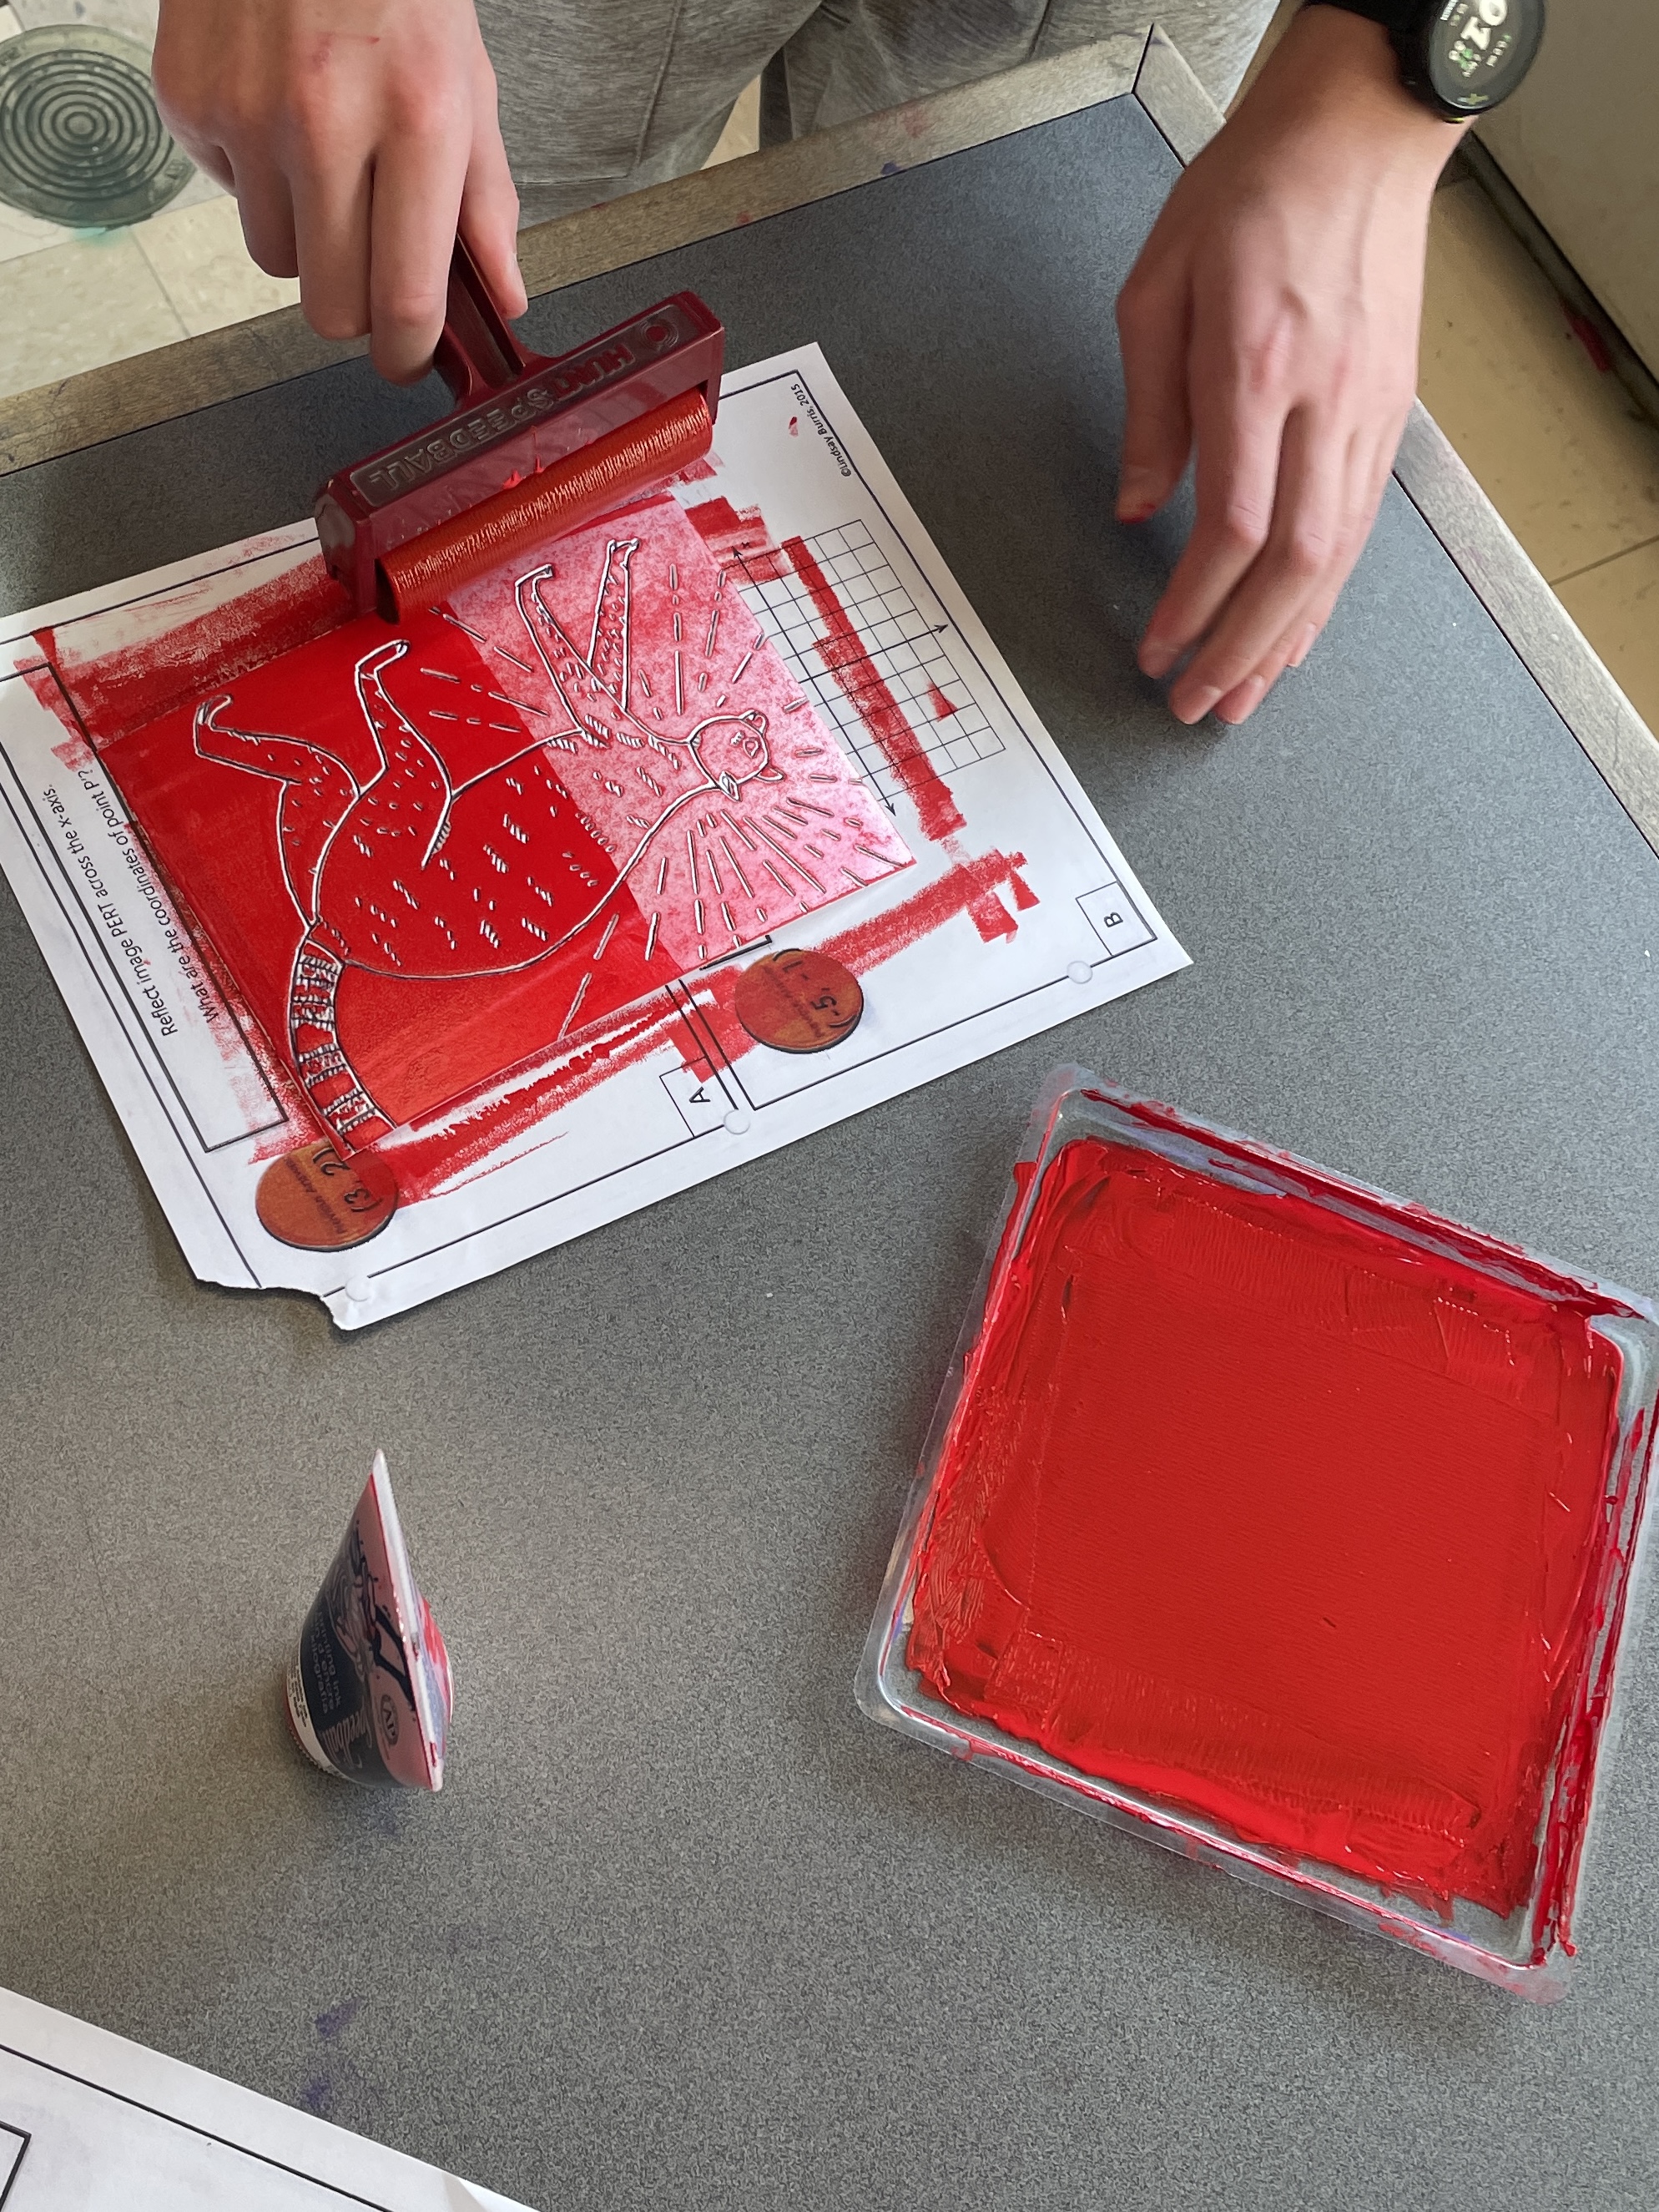
Above: Rolling Ink onto the foam printing plate
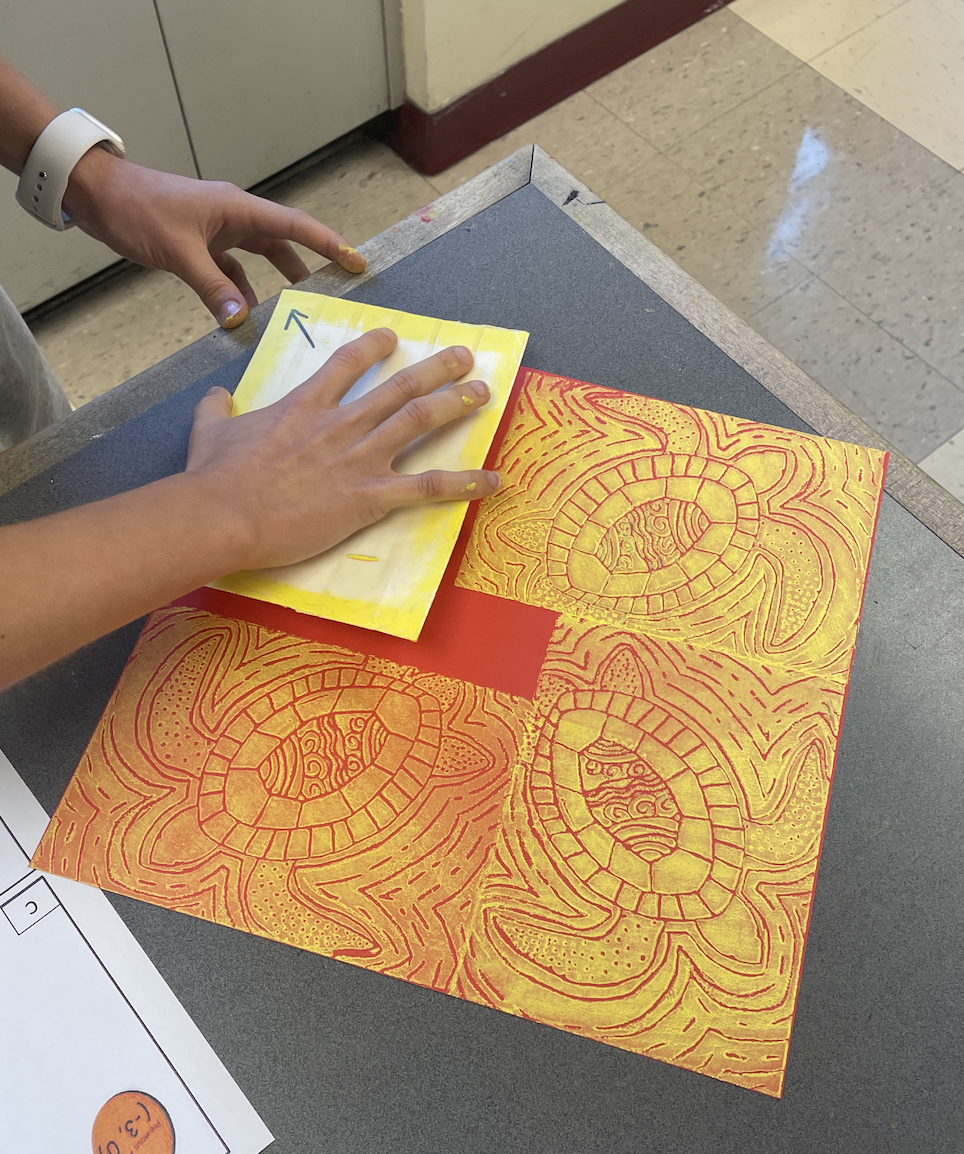
Above: Printing the large square, color # 1
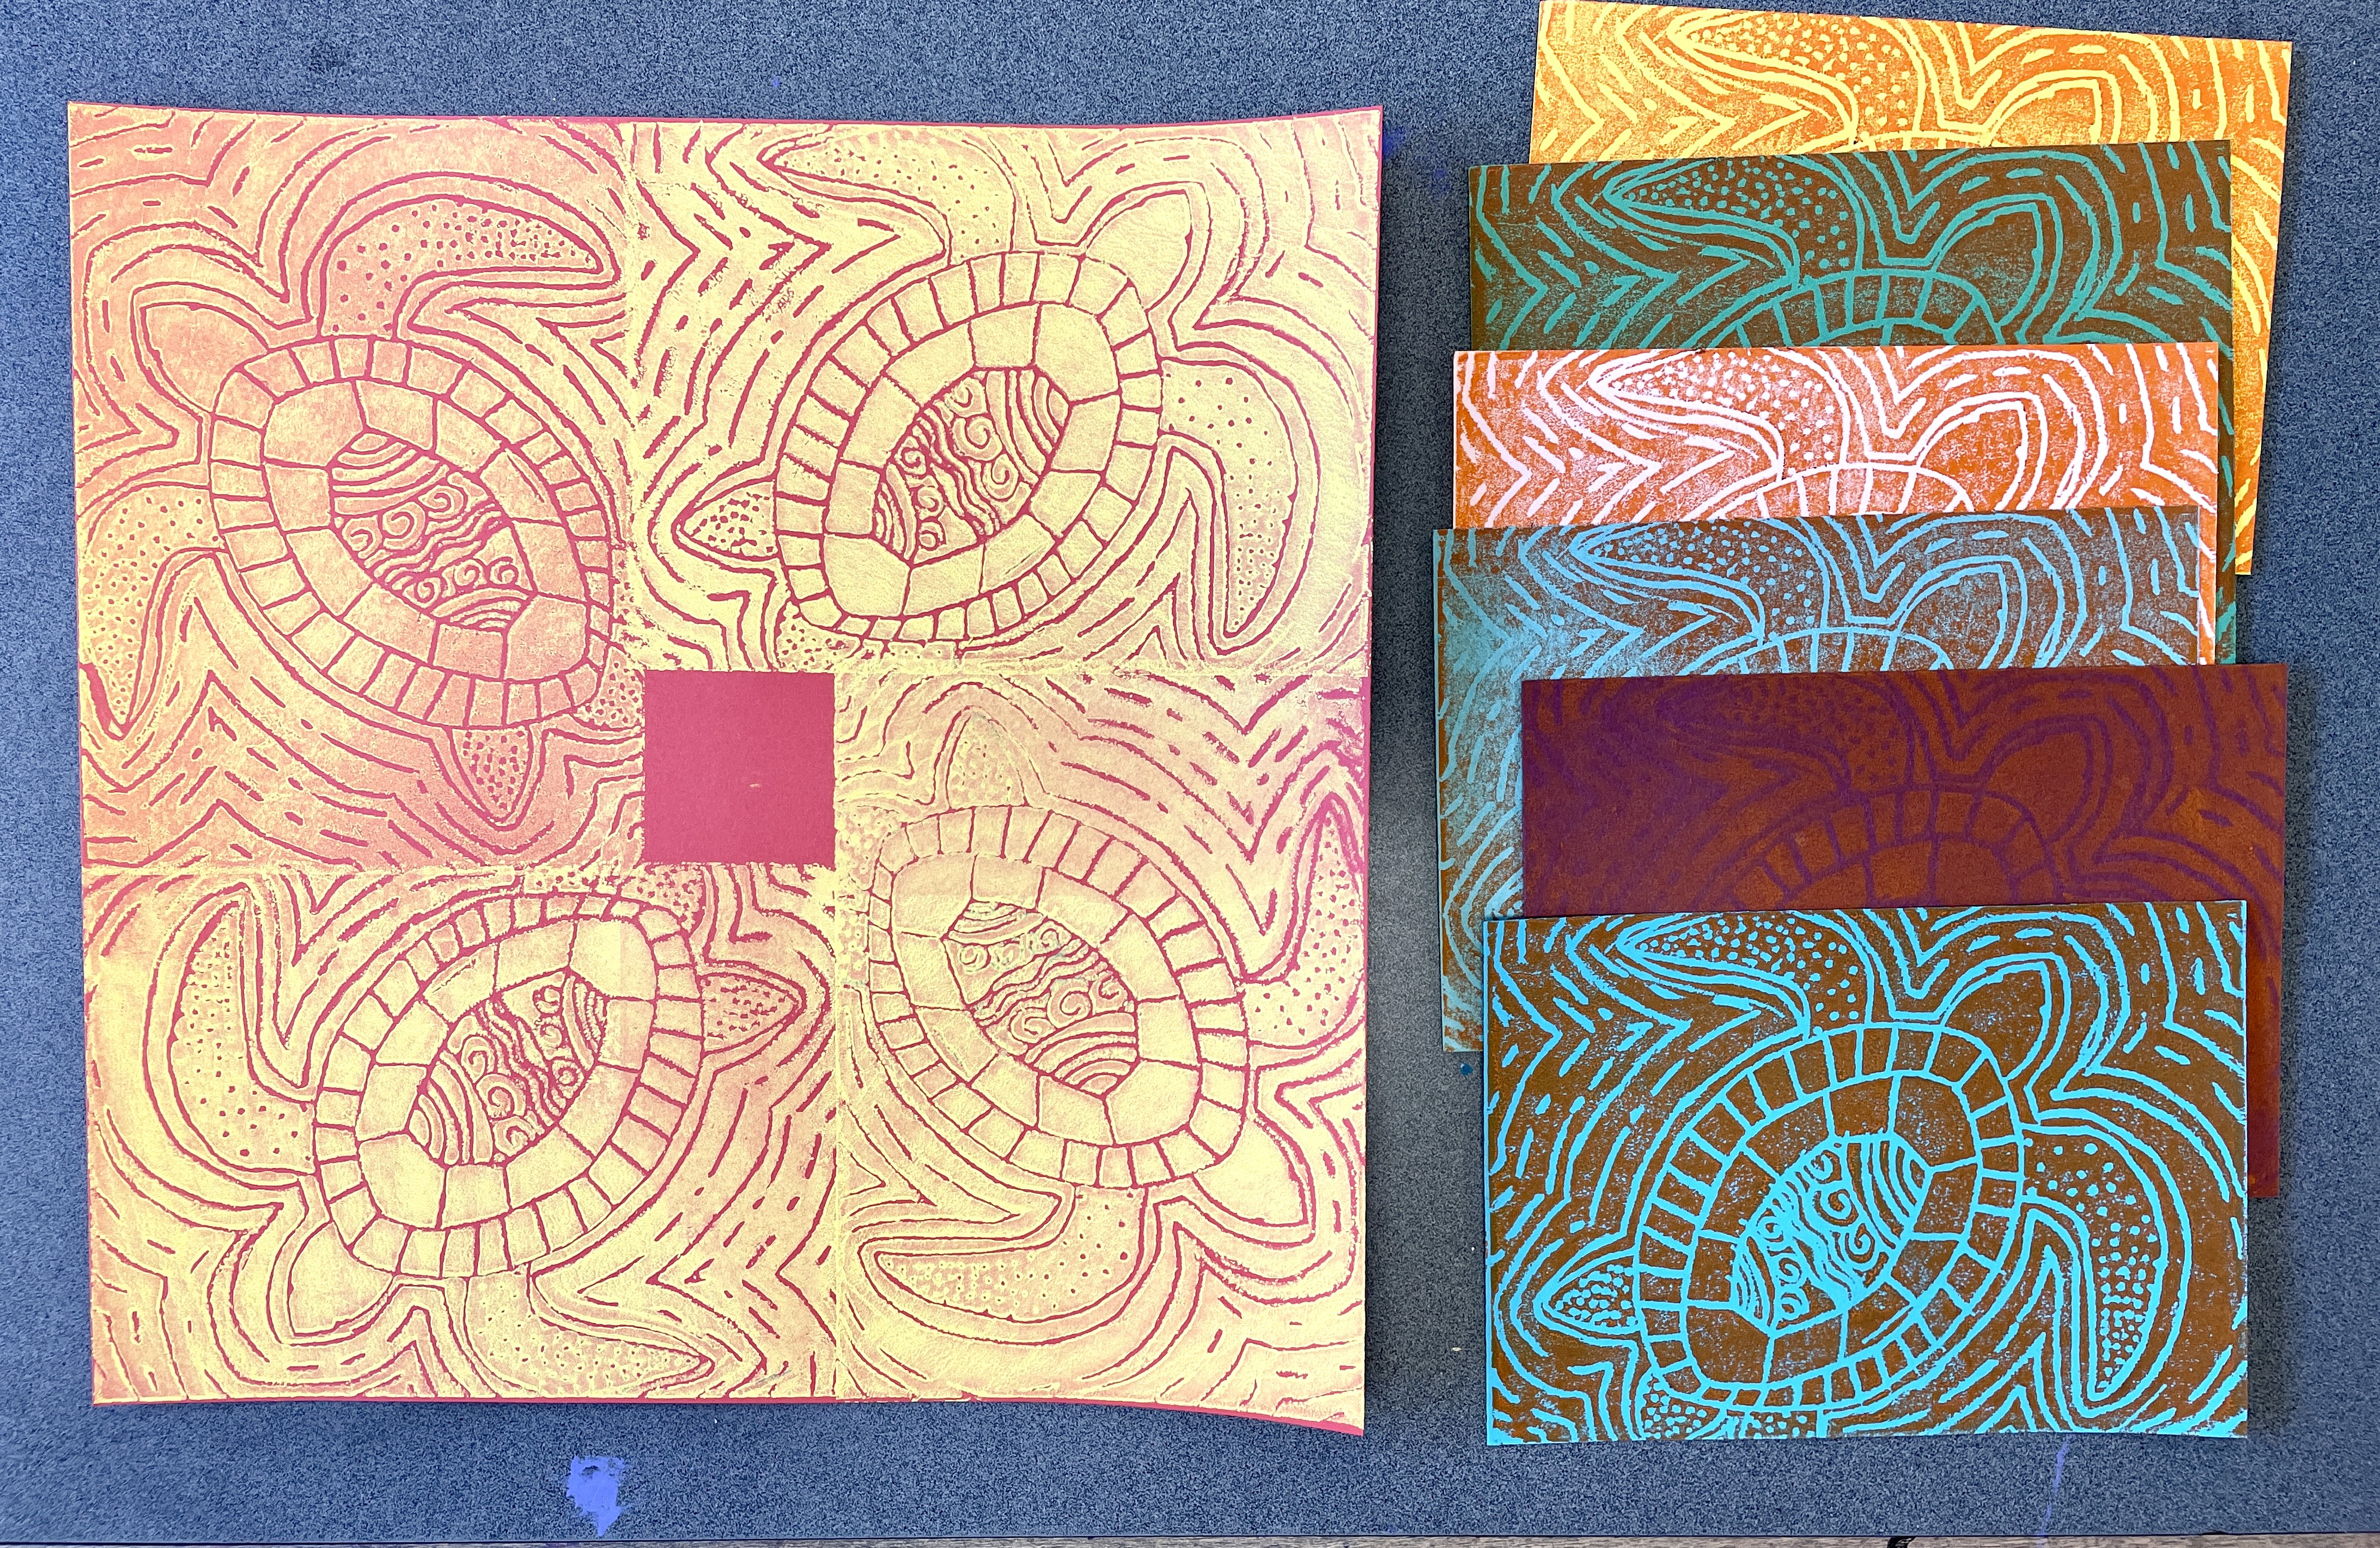
Above: A student’s collection of finished practice prints and the printed large square
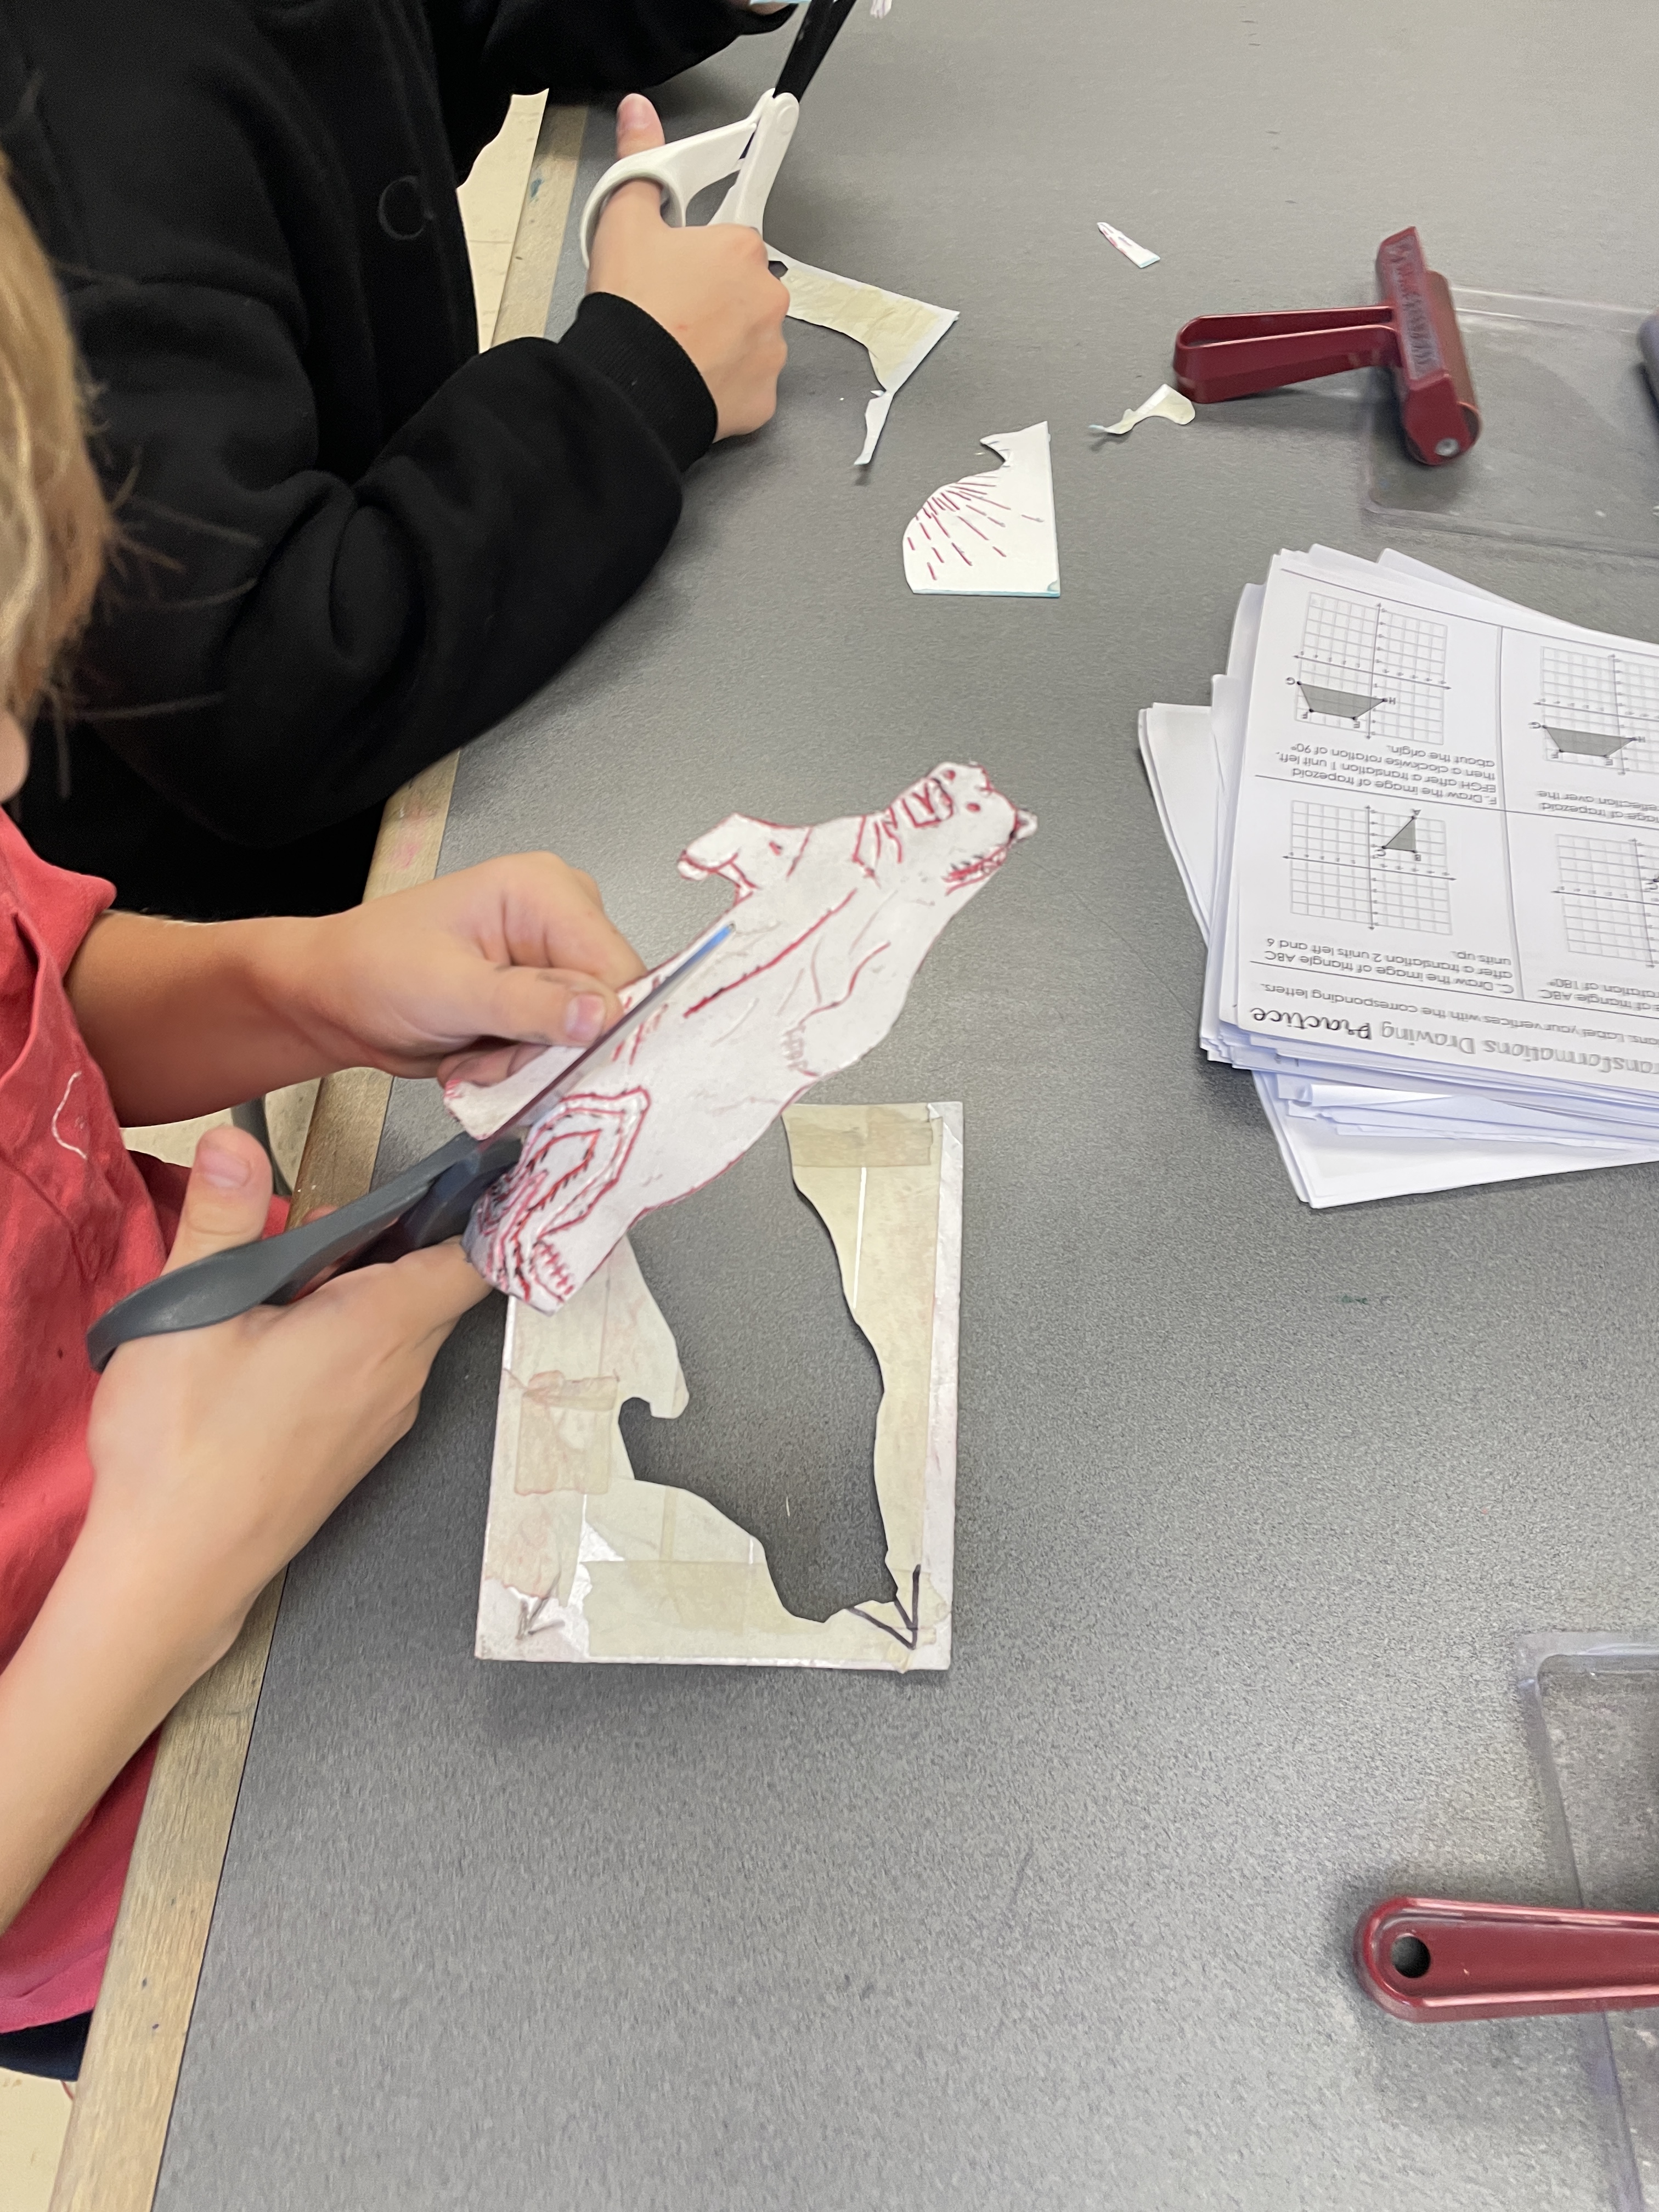
Above: Students cutting away their negative space in preparation for printing their second color
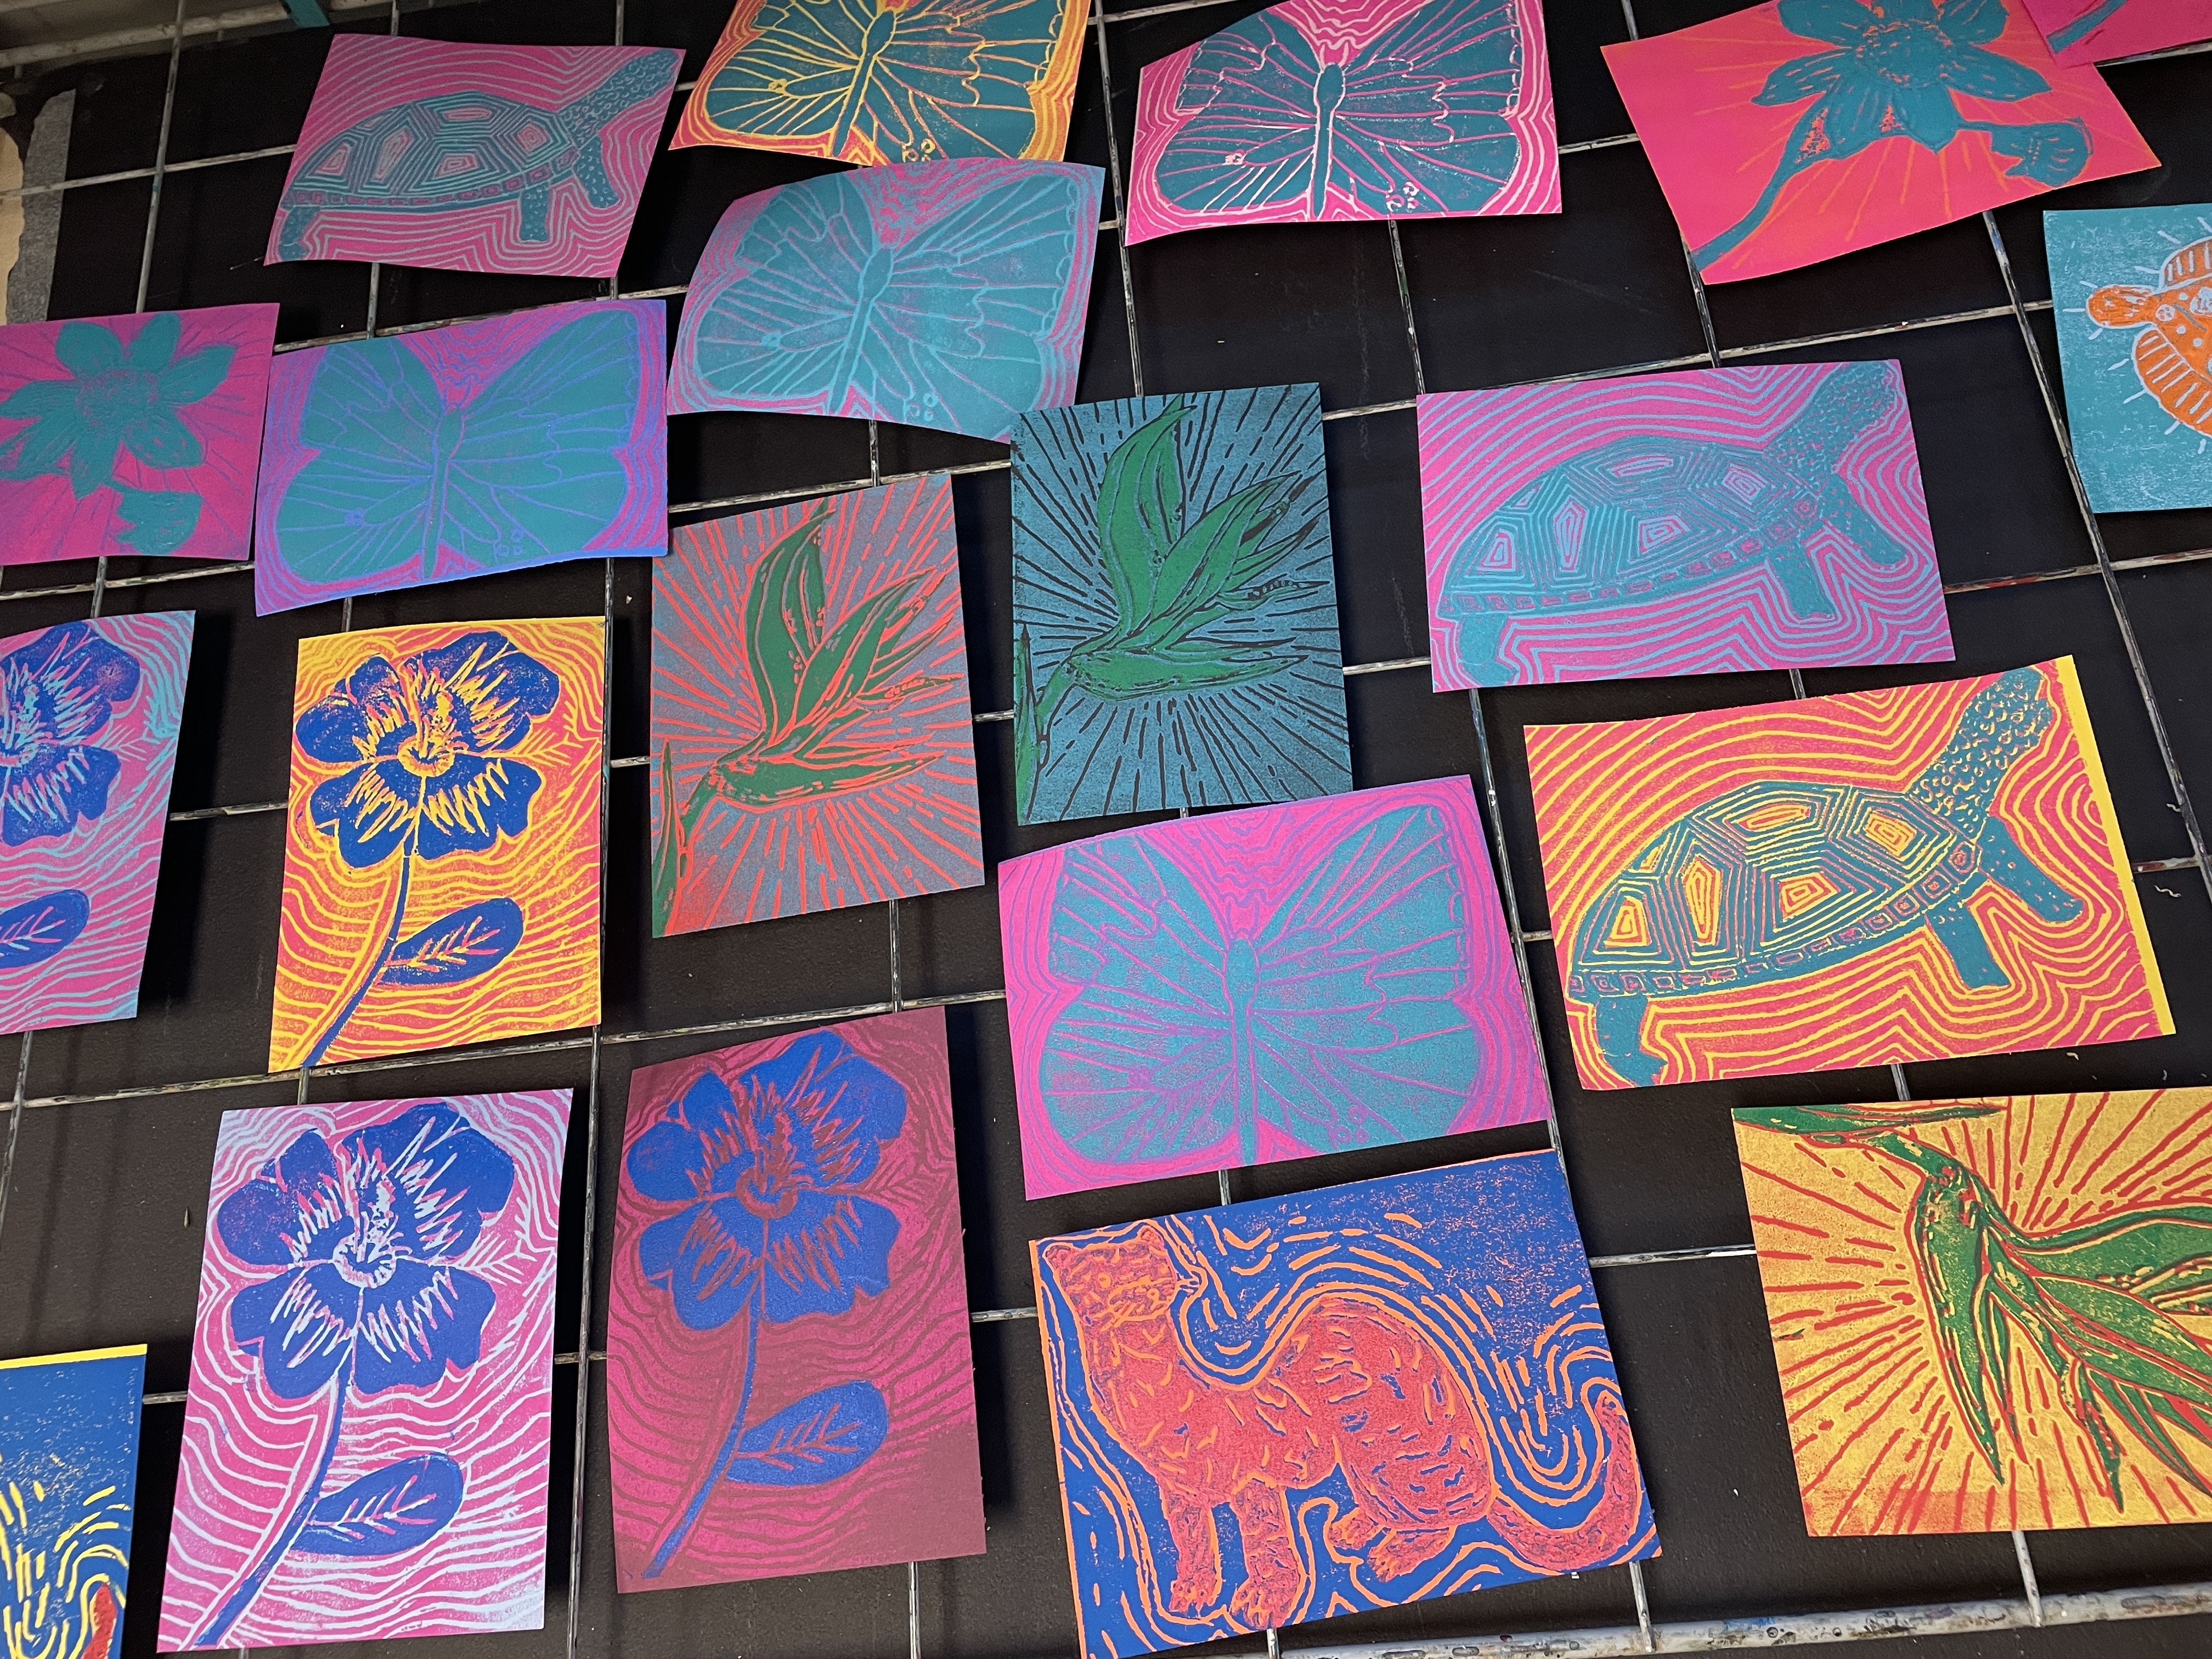
Above: Practice Prints Drying after being printed with color #2
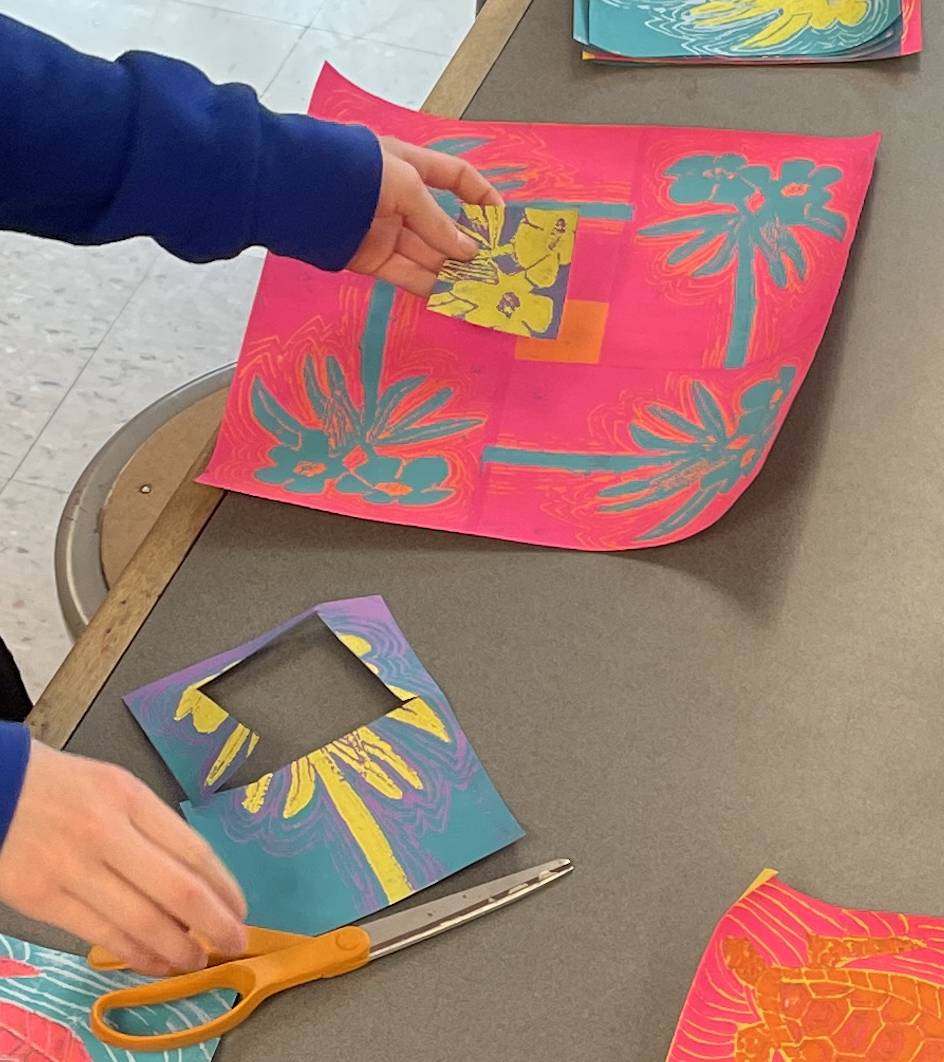
A student selects a section of a practice print to enhance the center of her completed large square print
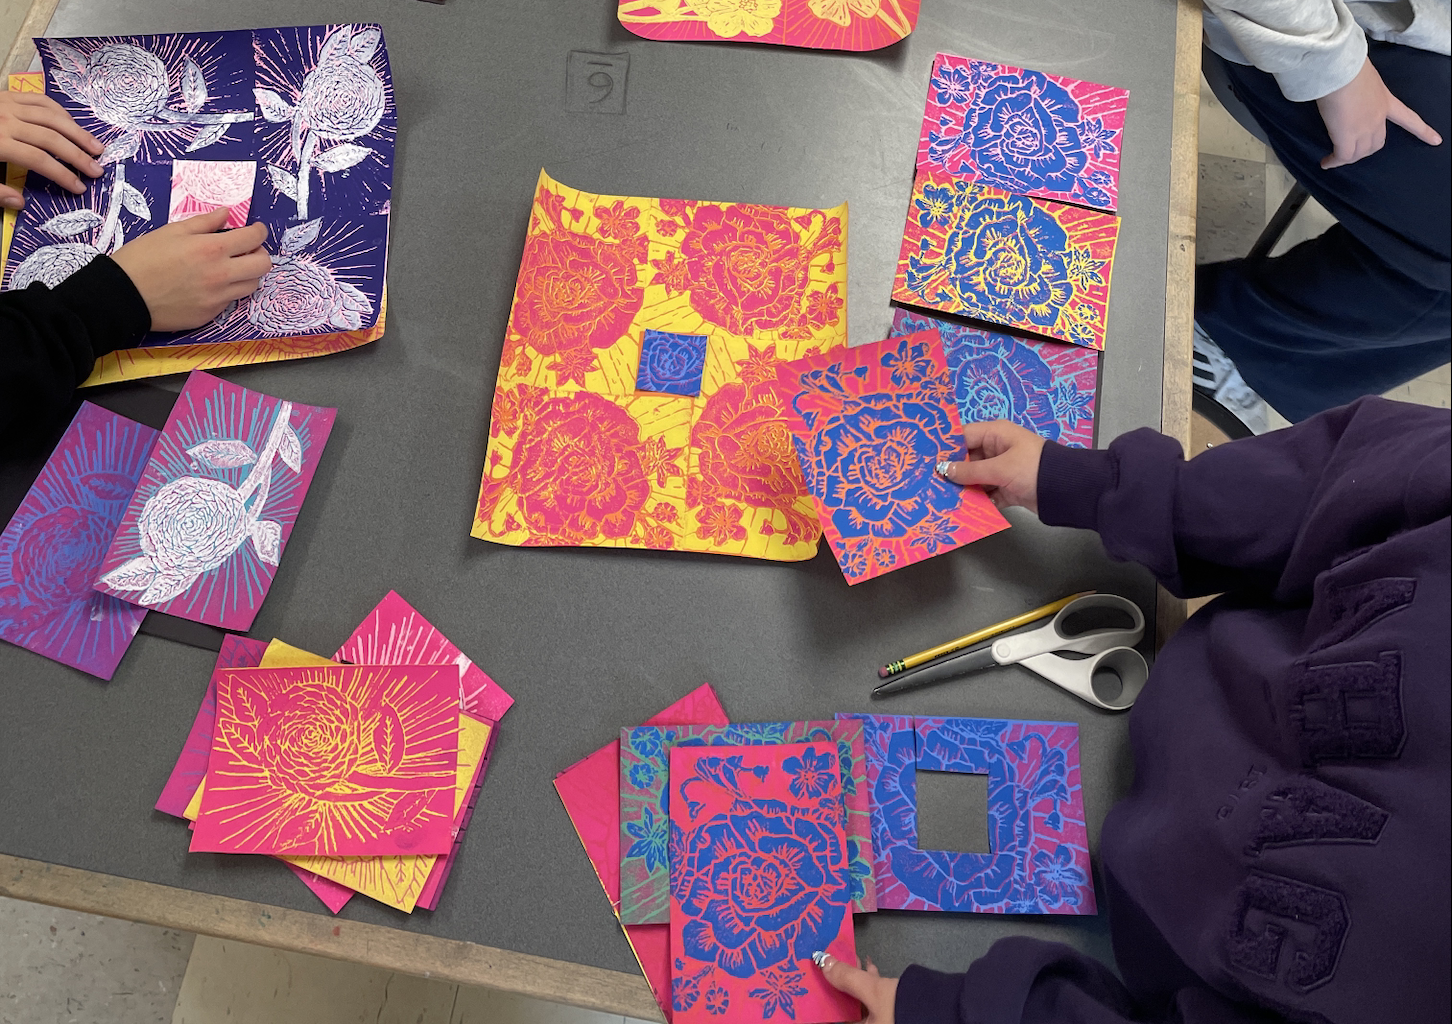
Above: Printing is finished! Time to make final arranging decisions.
Below: Proud Students!!!!


Apr 16, 2026 @ 00:37:18
Hello! Would you share the size of paper and plates that were used? Thanks so much!
Apr 16, 2026 @ 01:01:54
12″ by 12″ paper, 5″ by 7″ plates. (2″ by 2″) for the center!