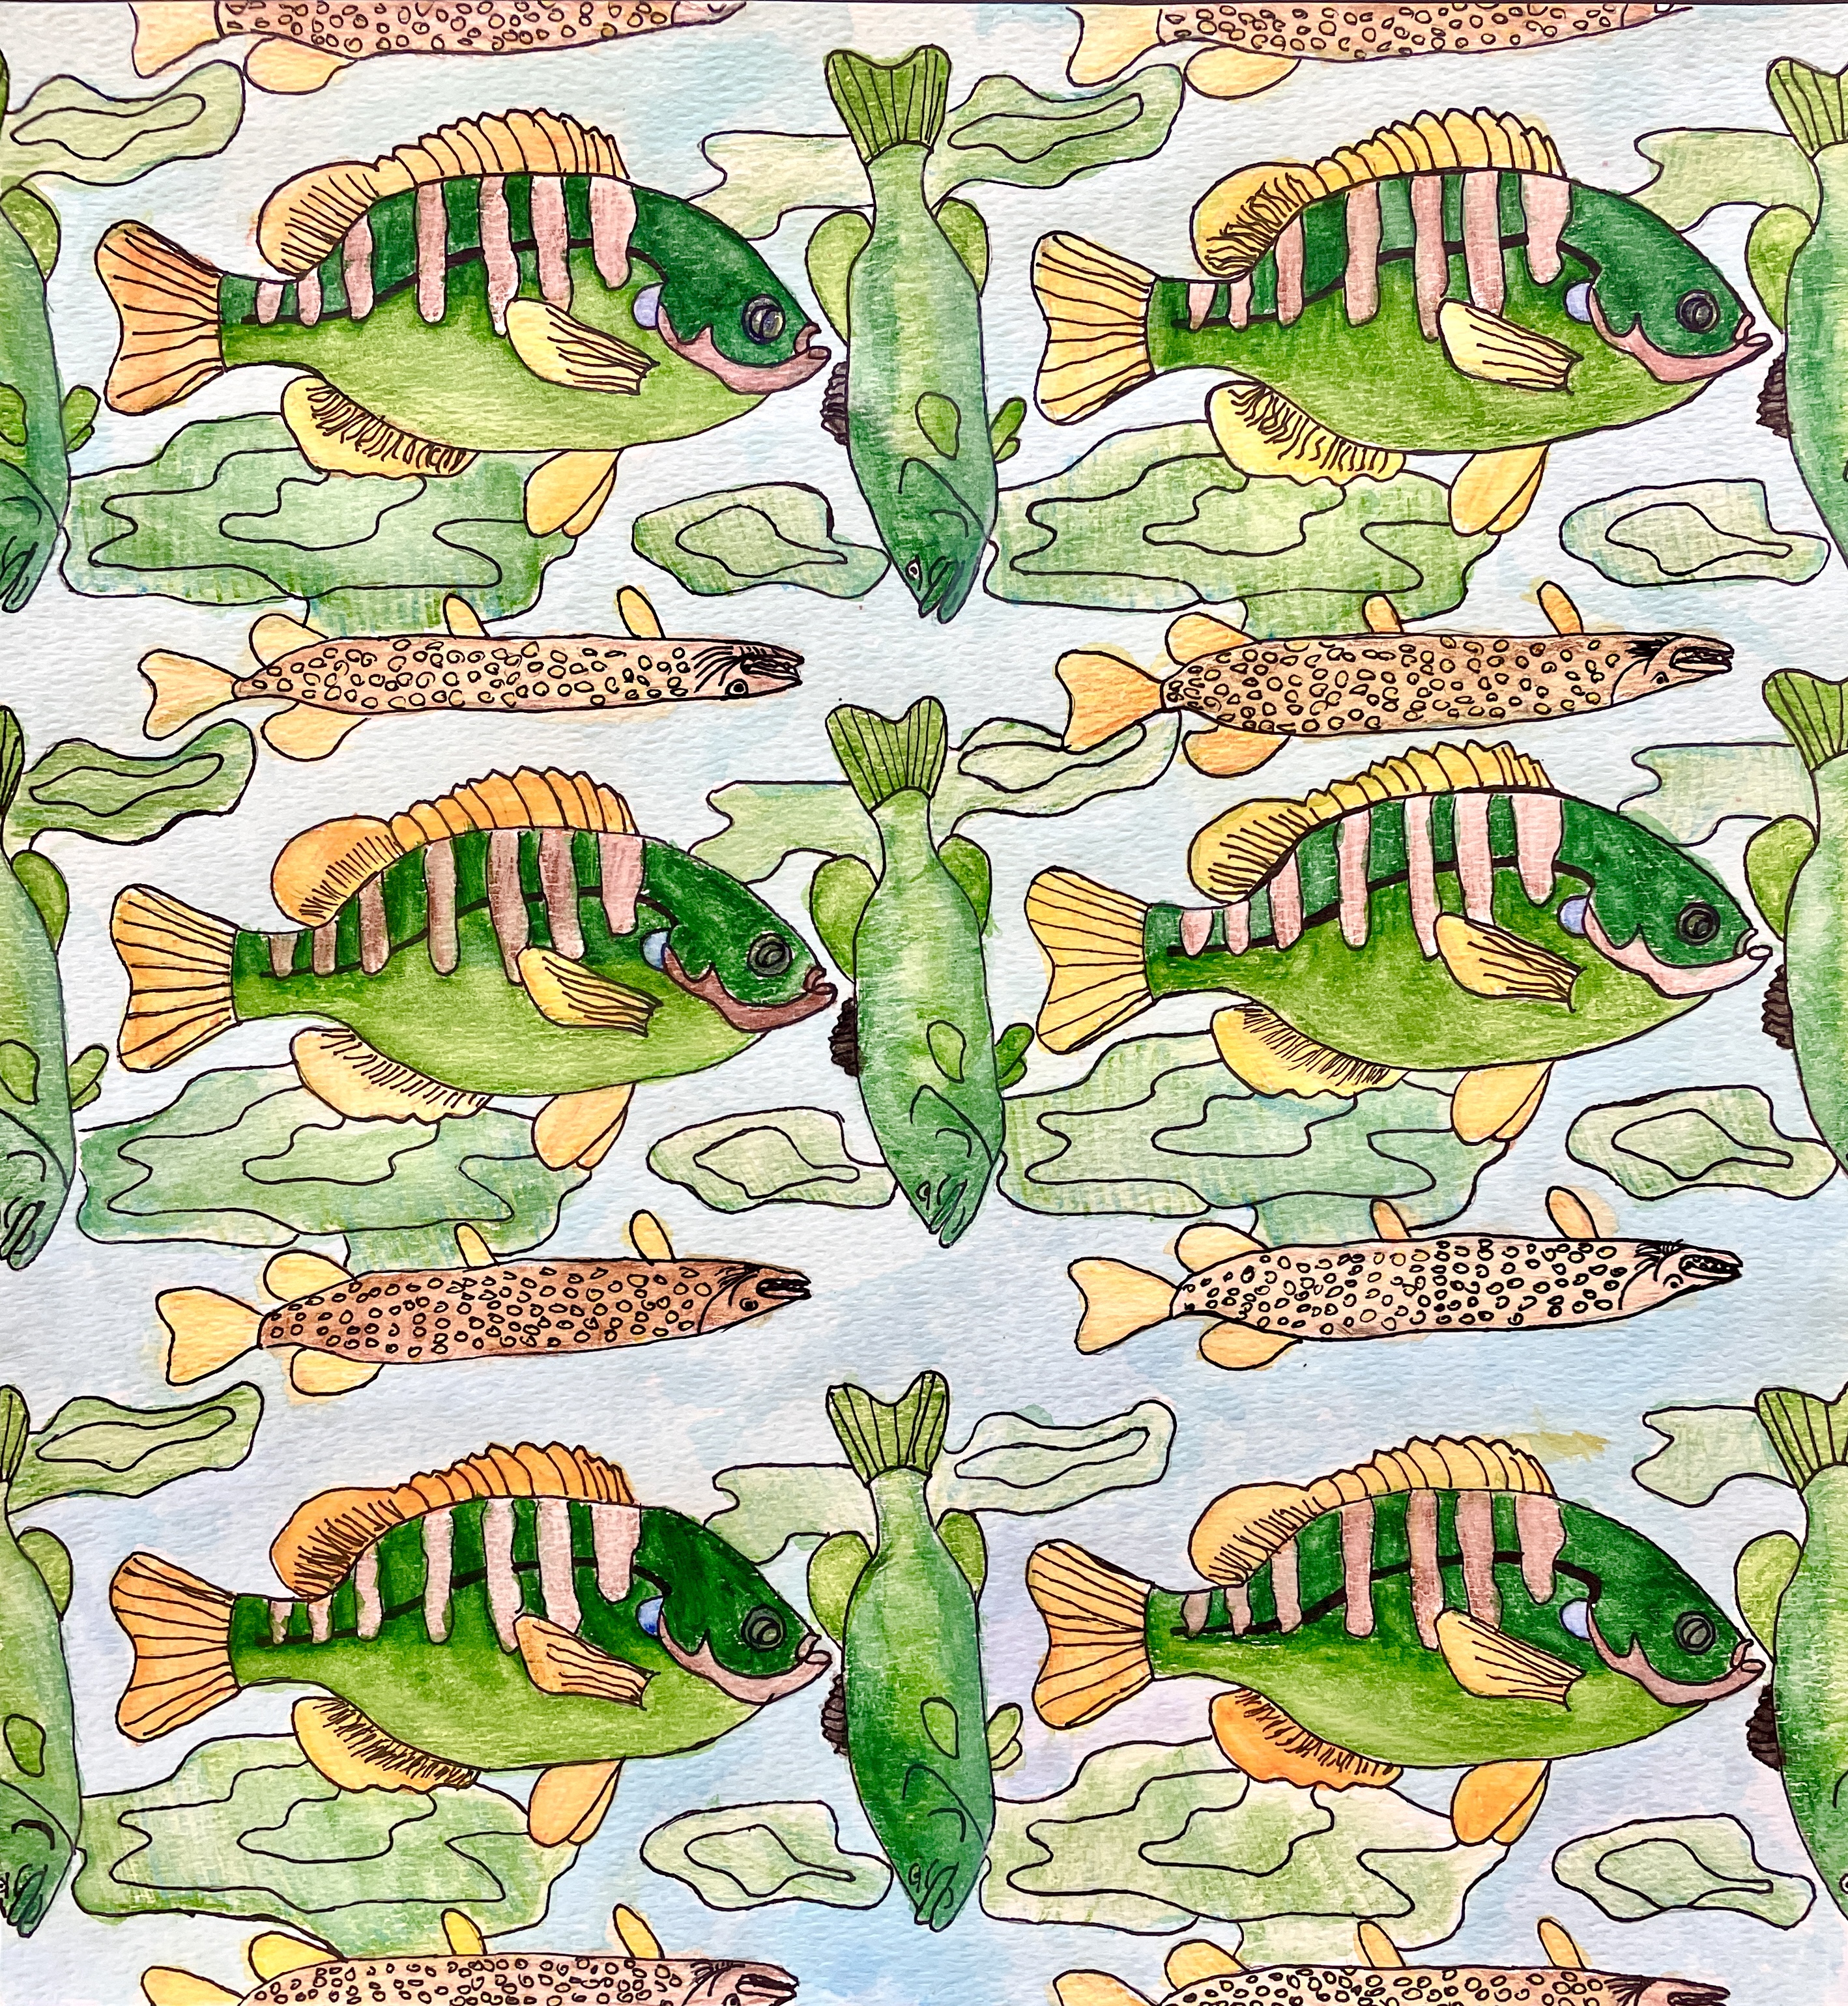
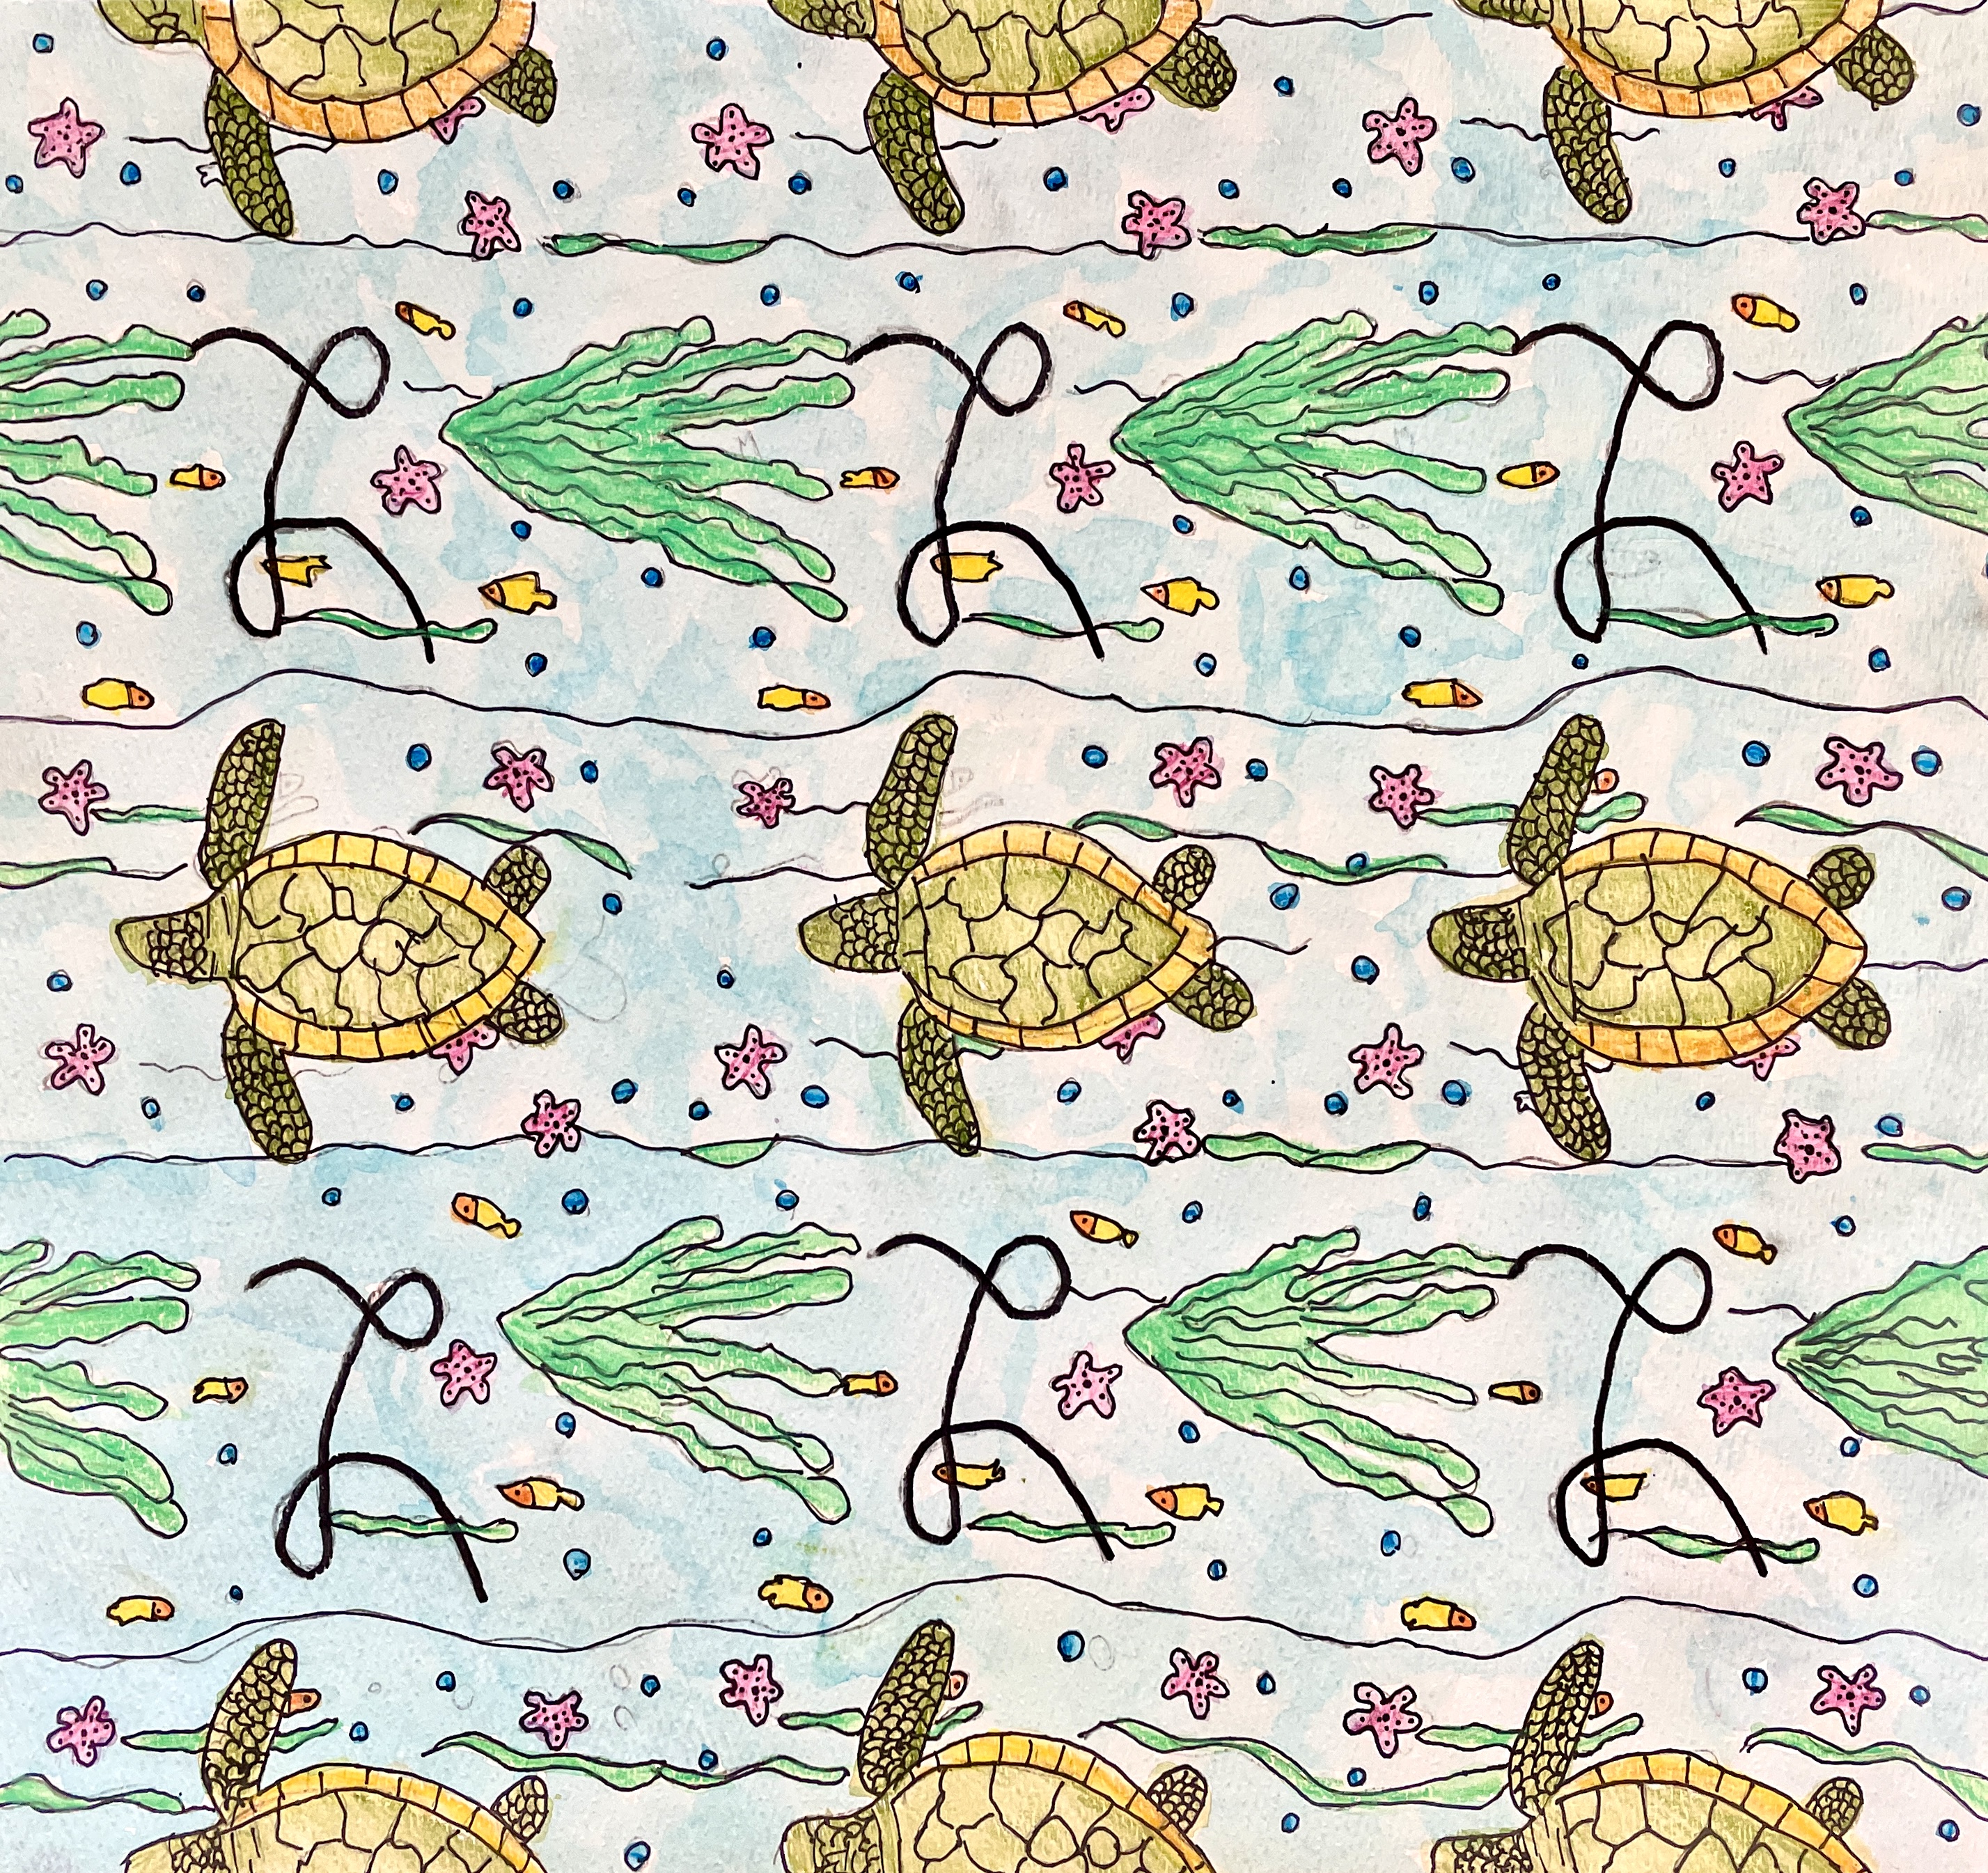
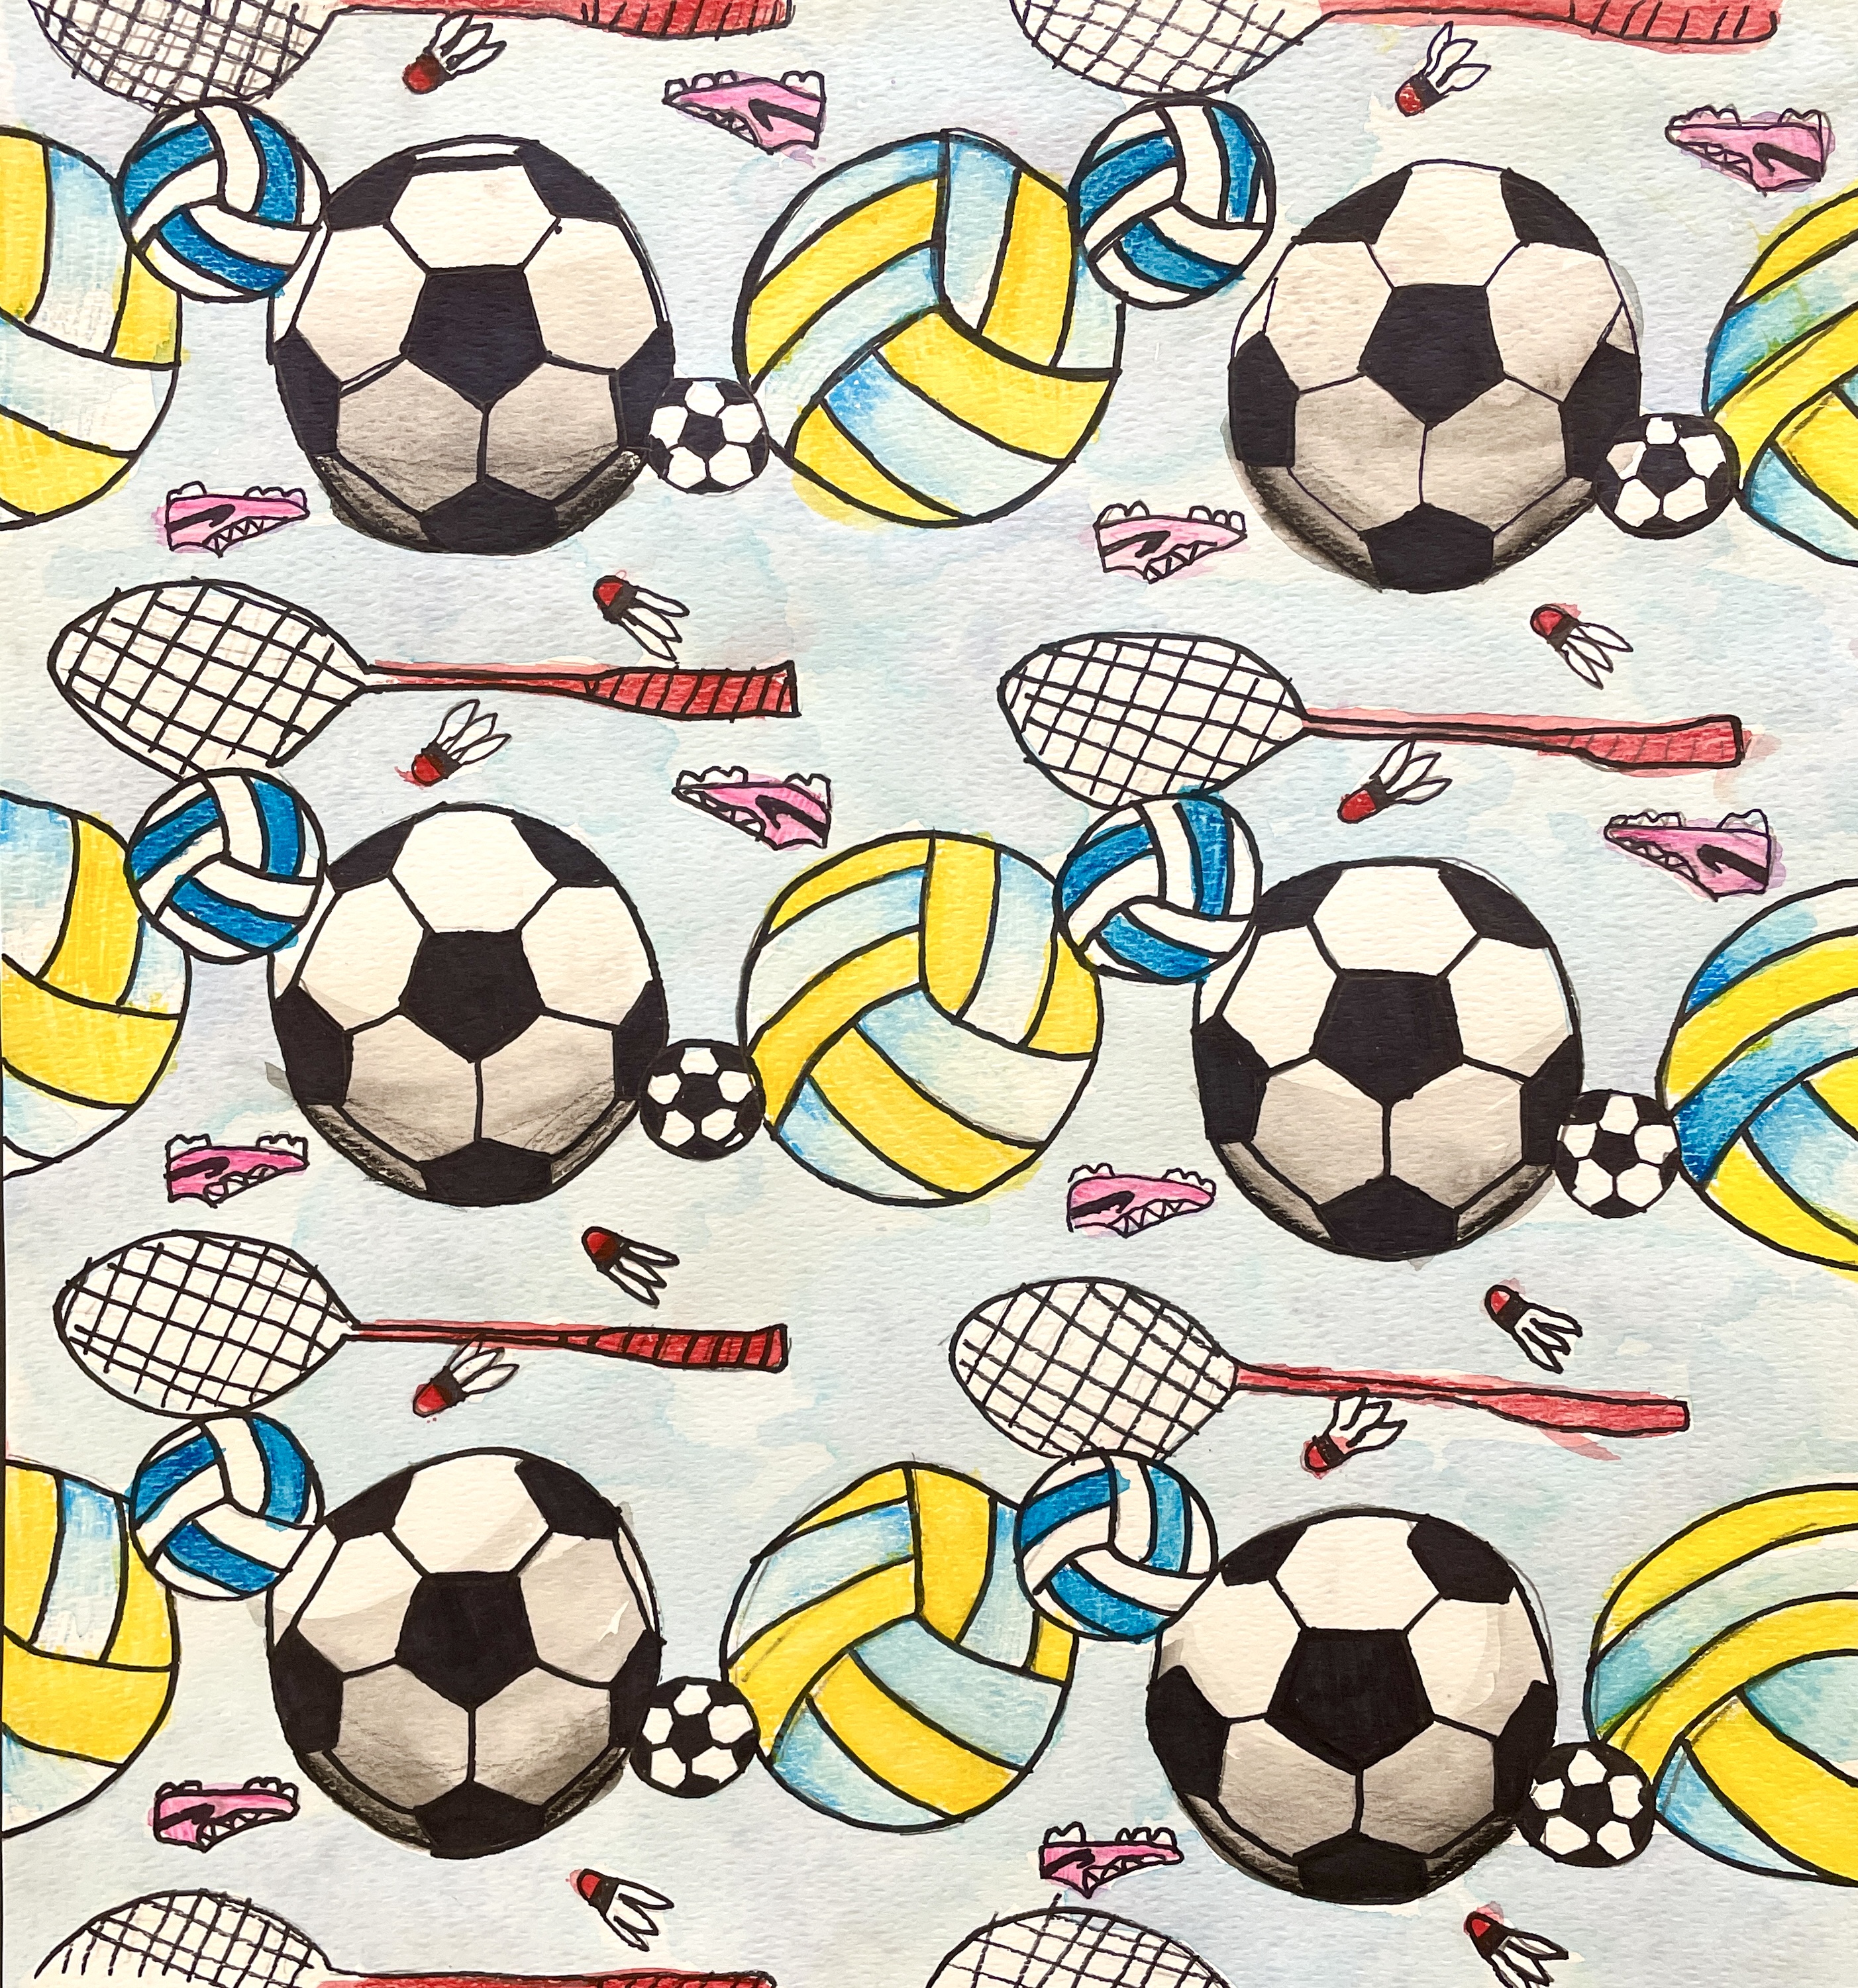
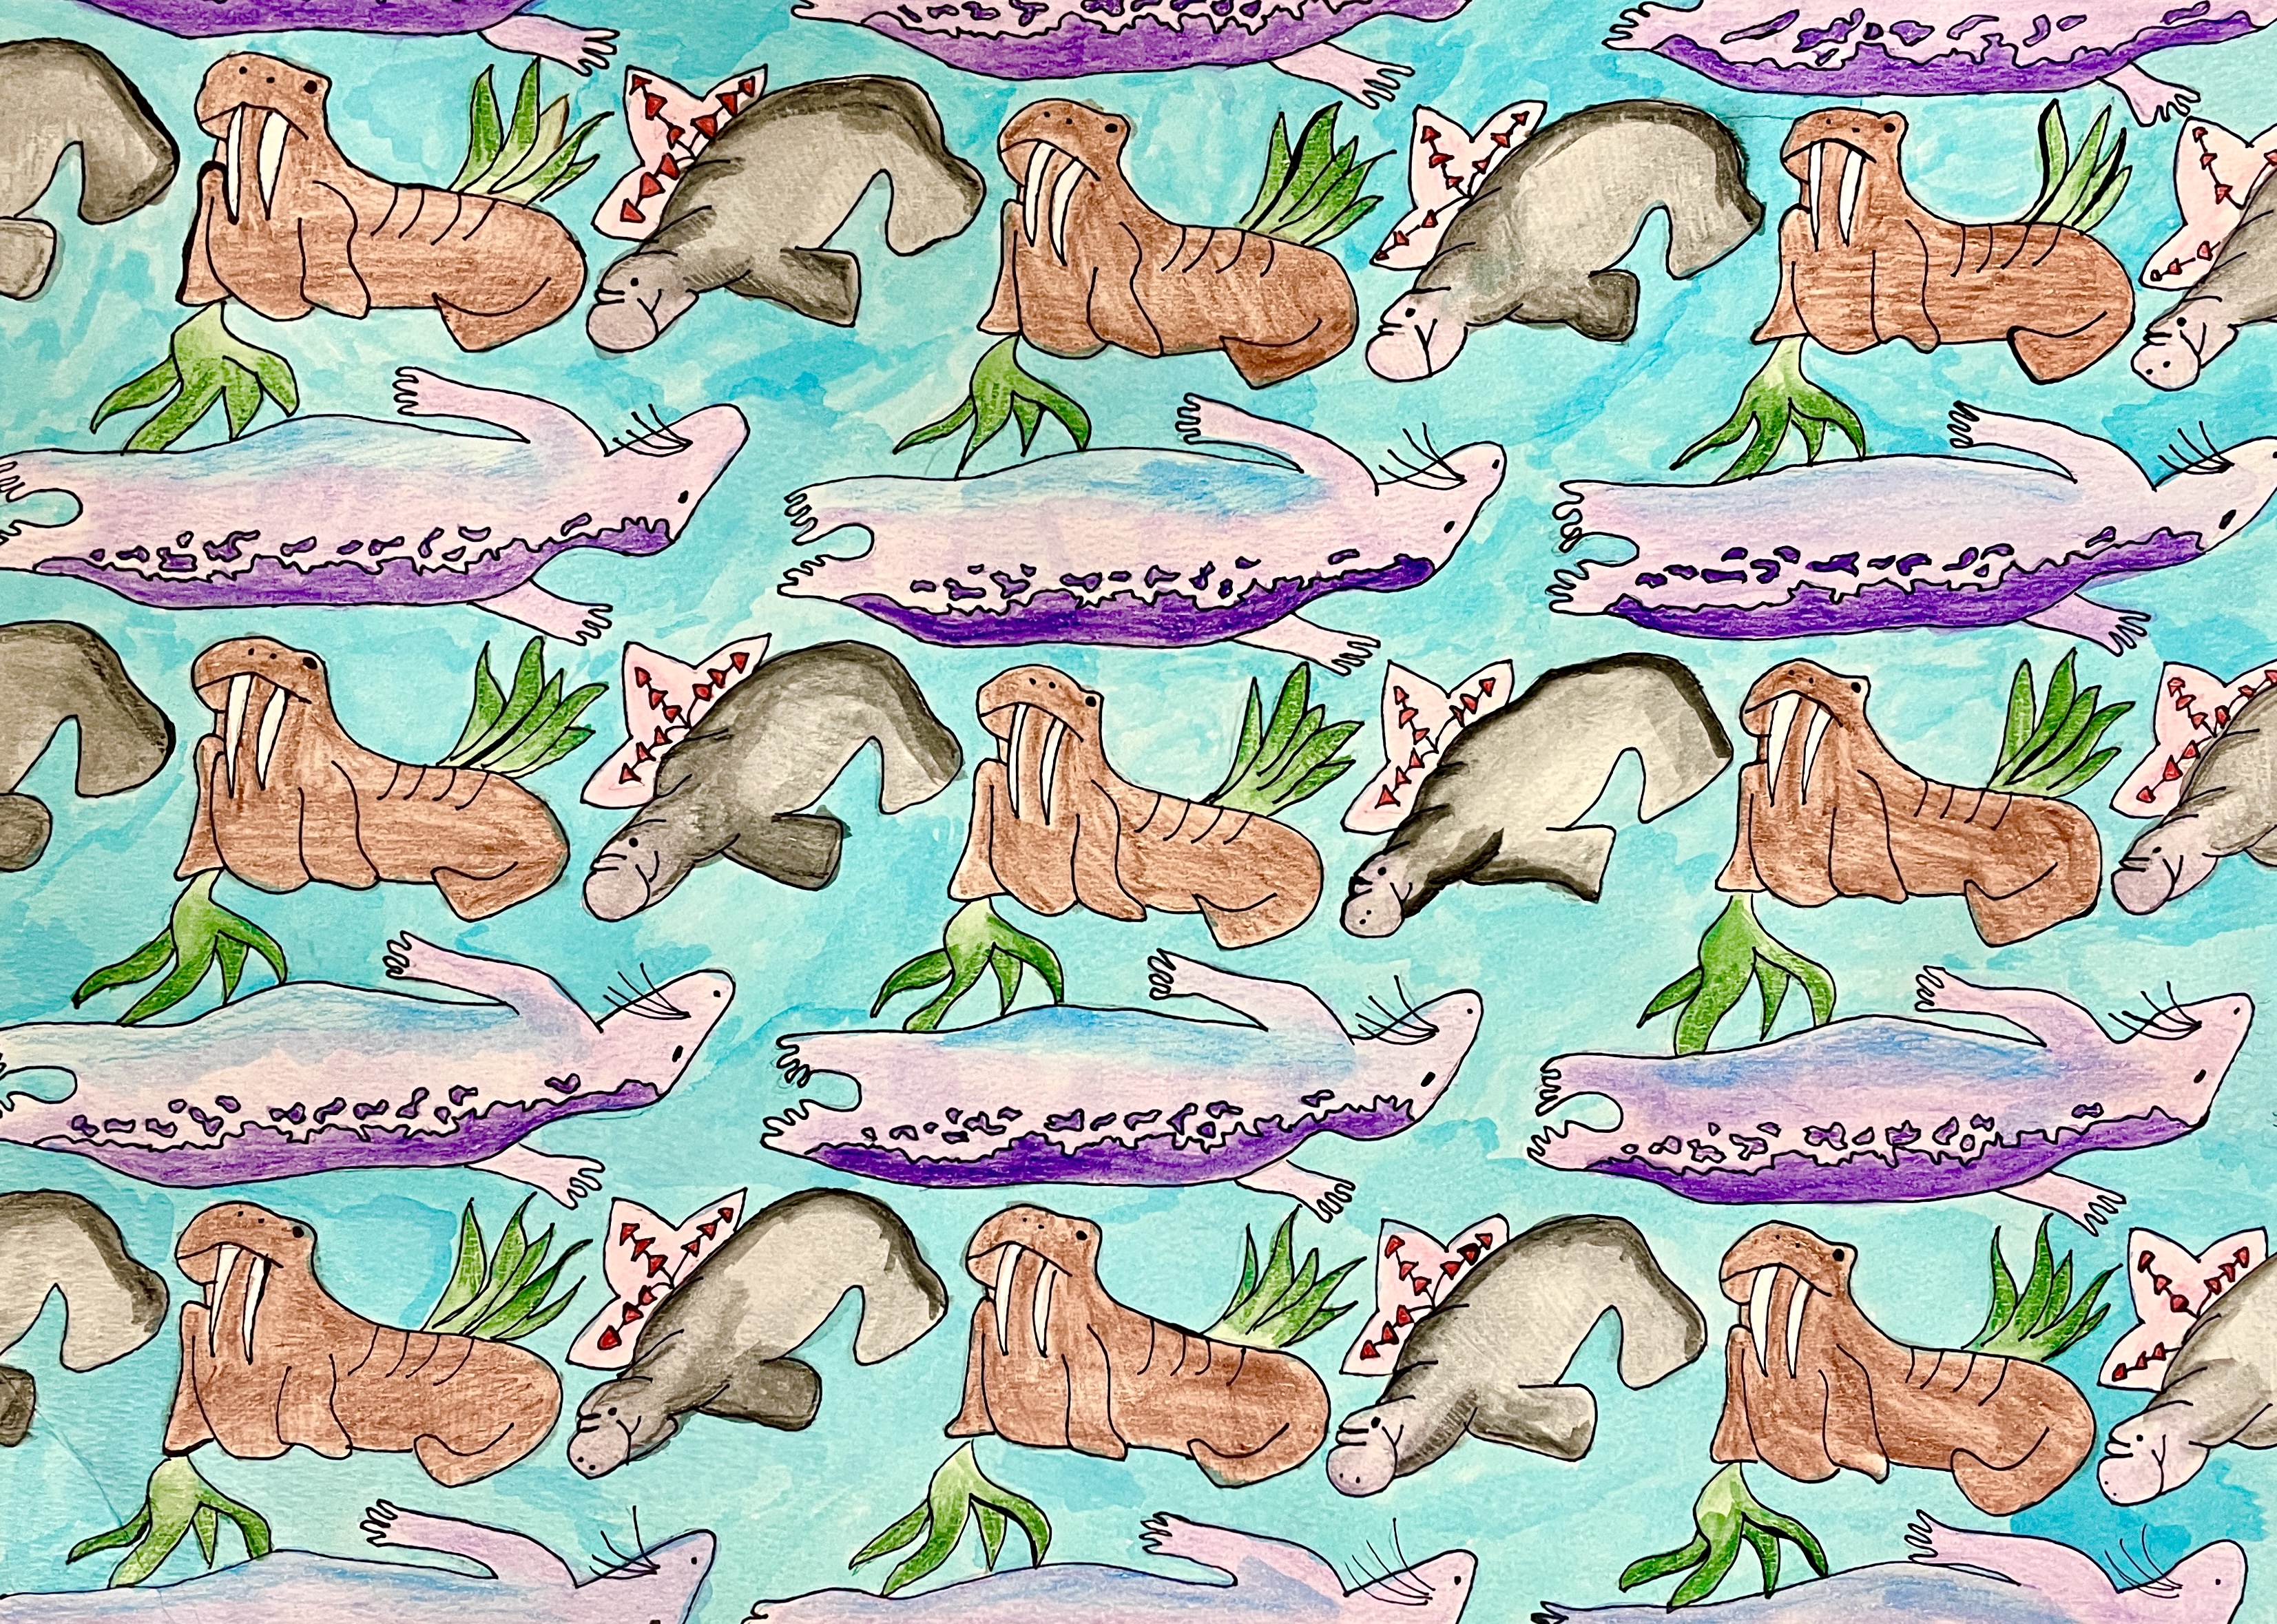
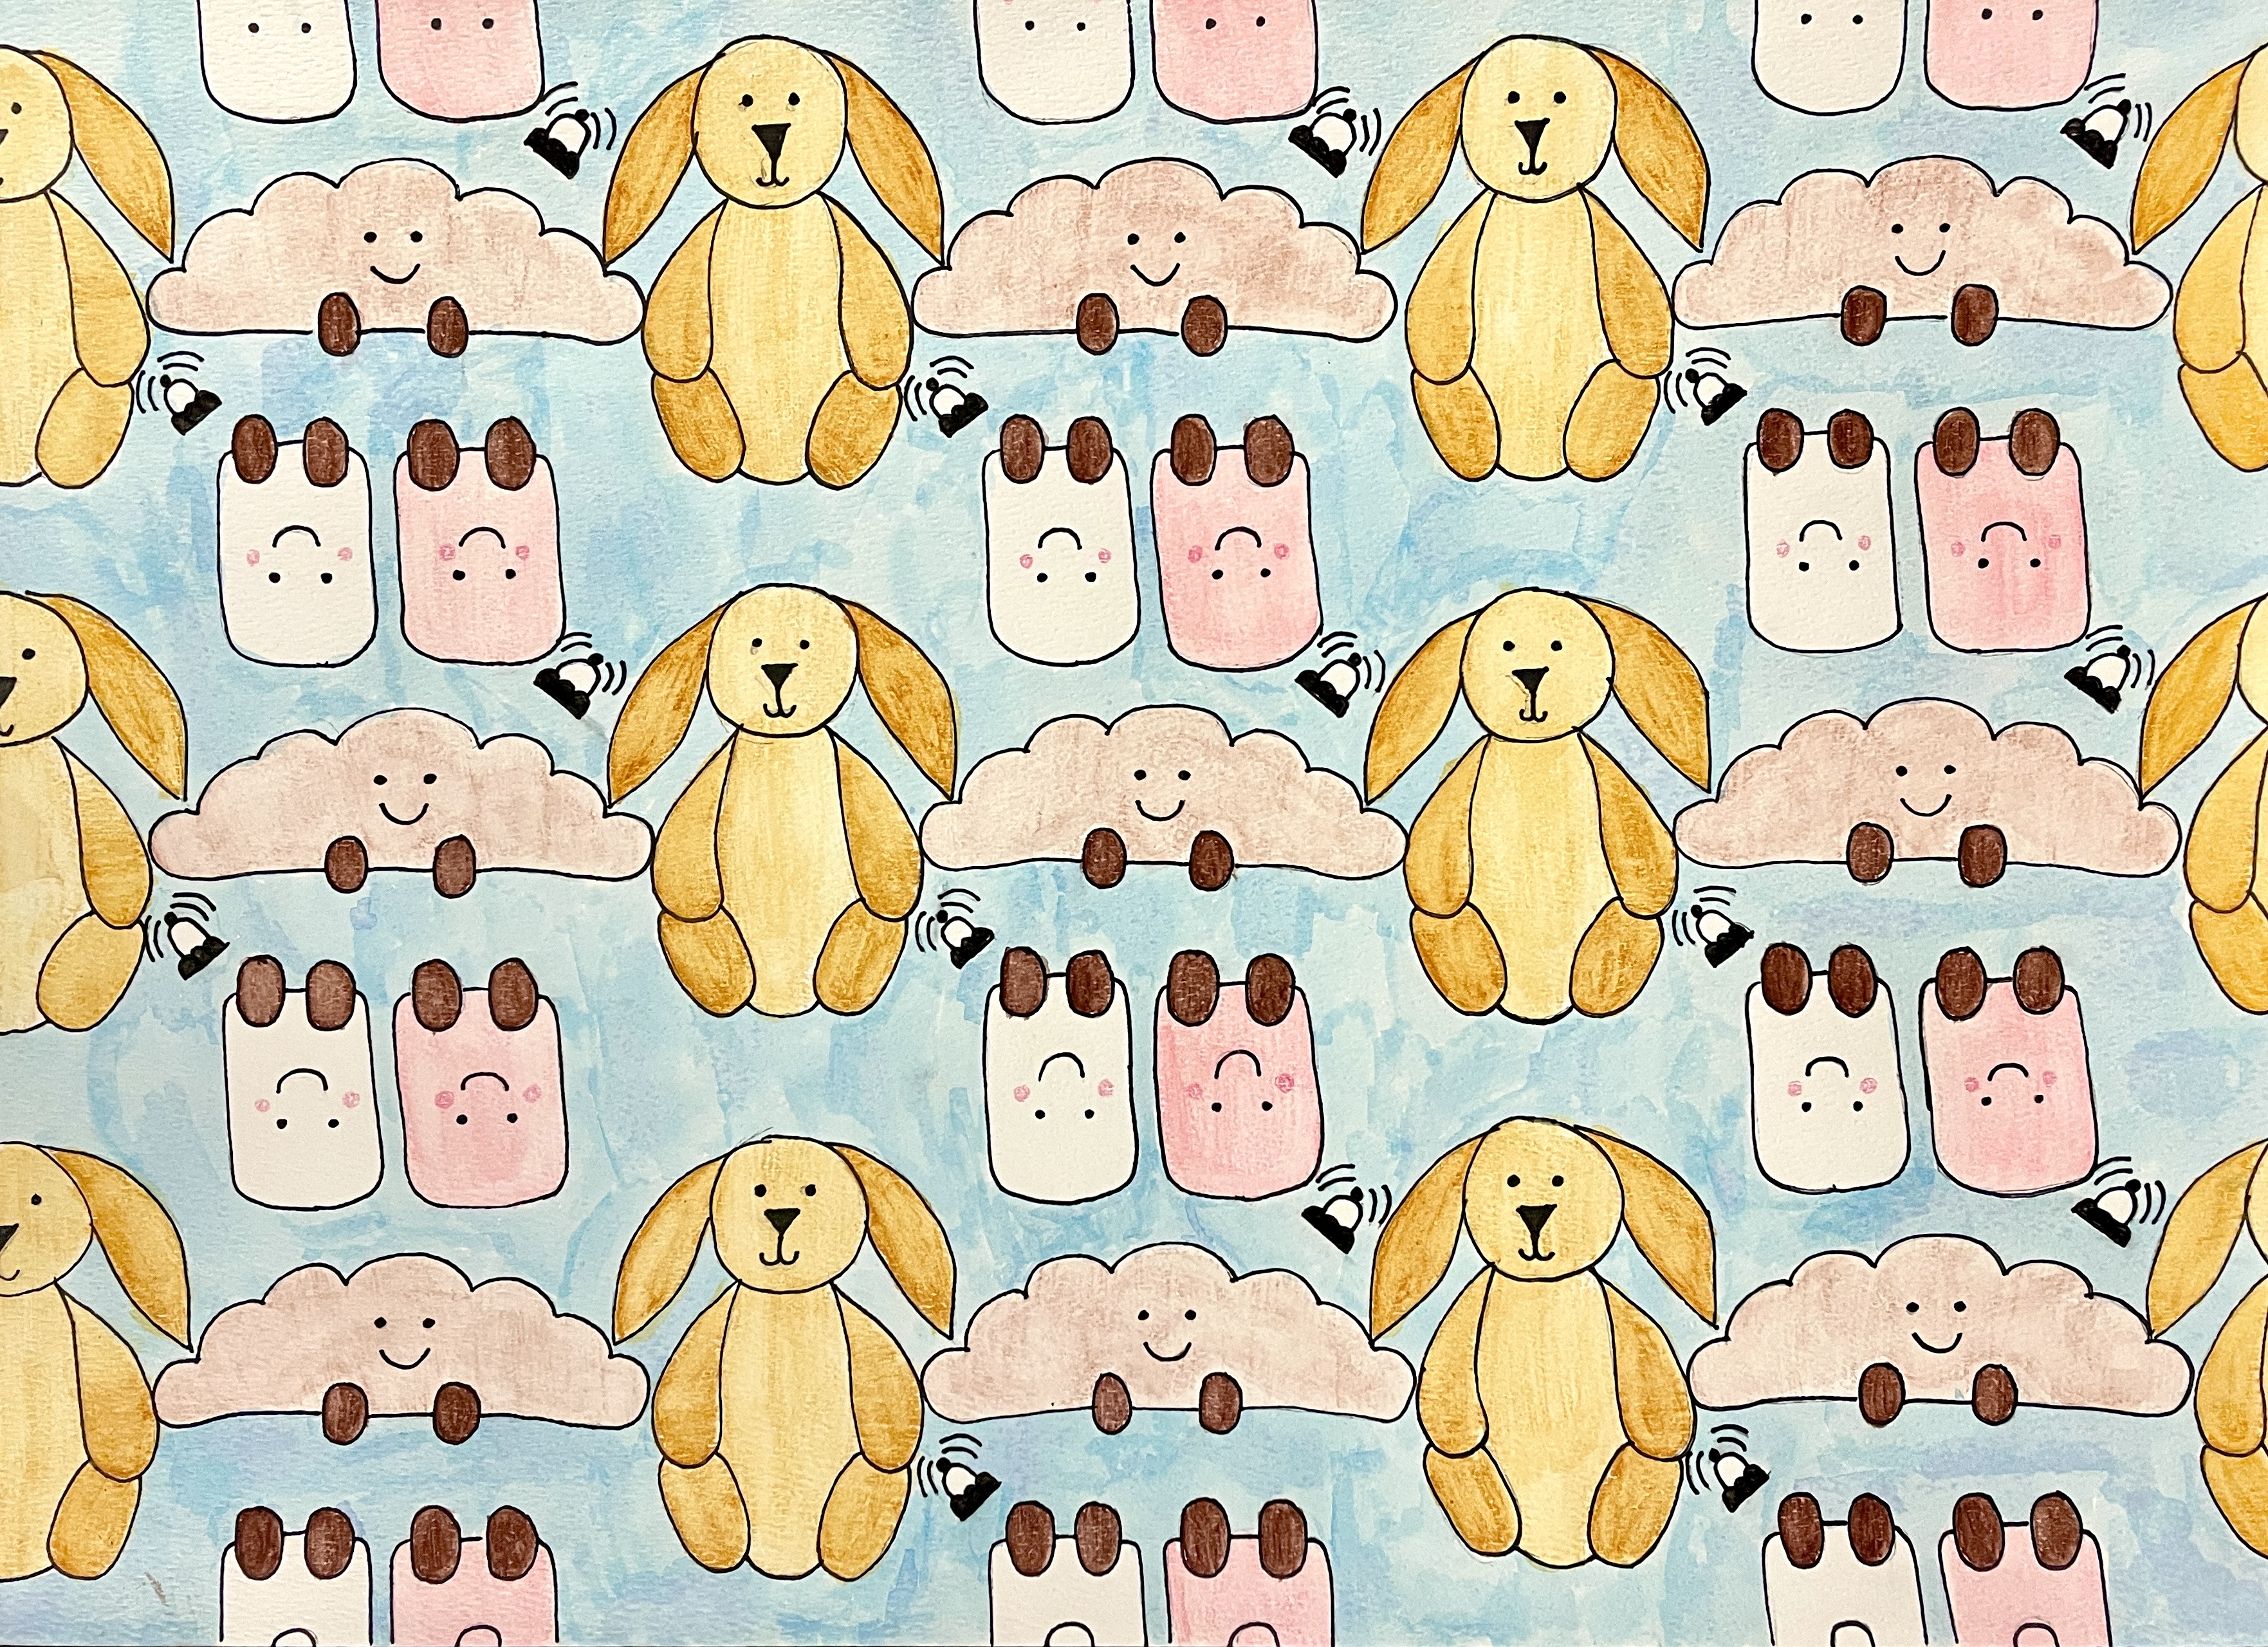
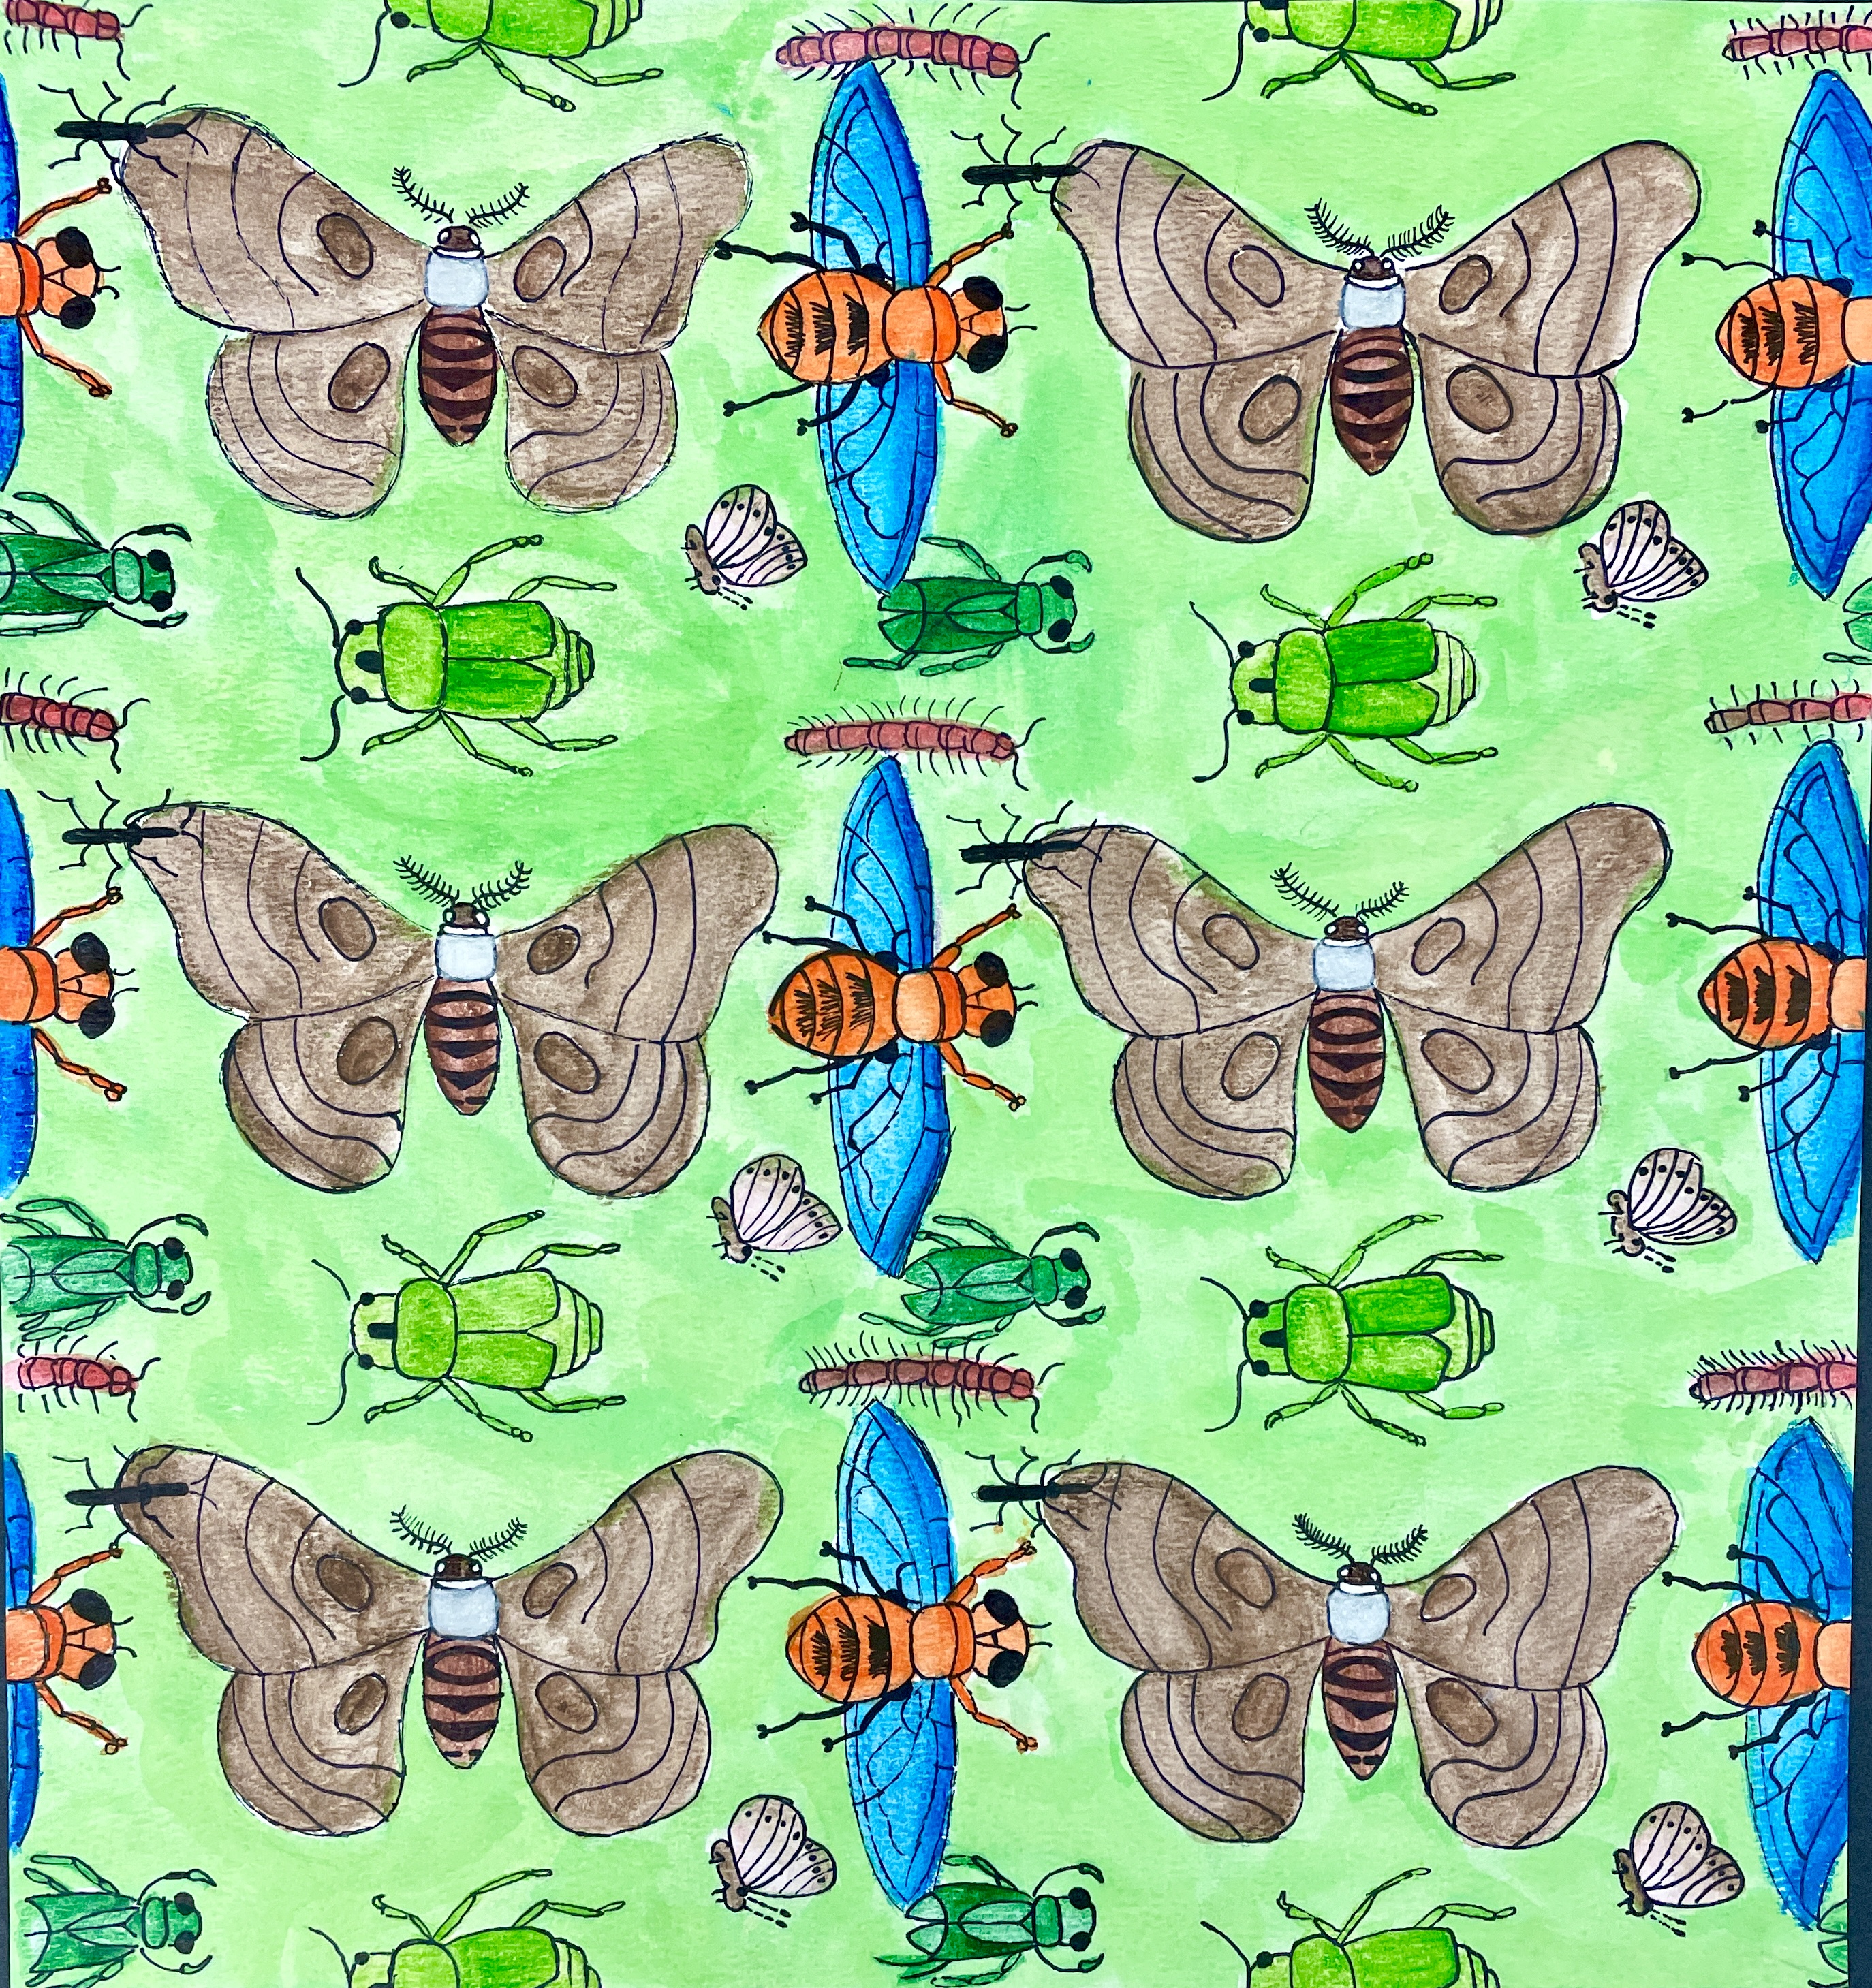
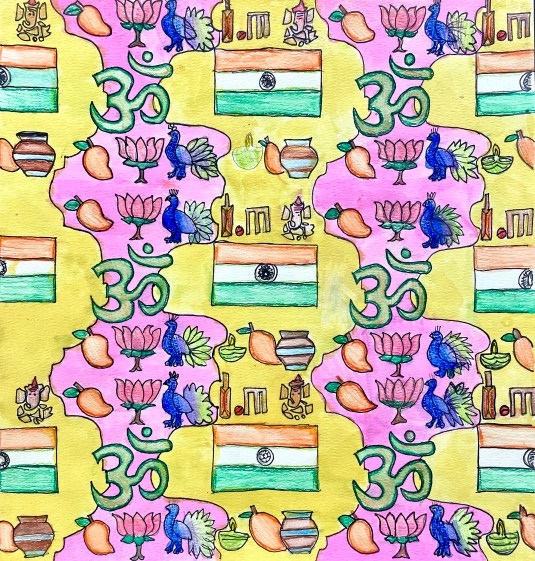
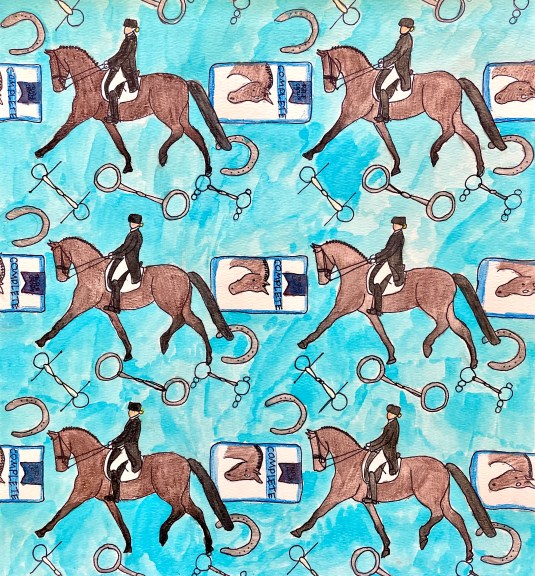
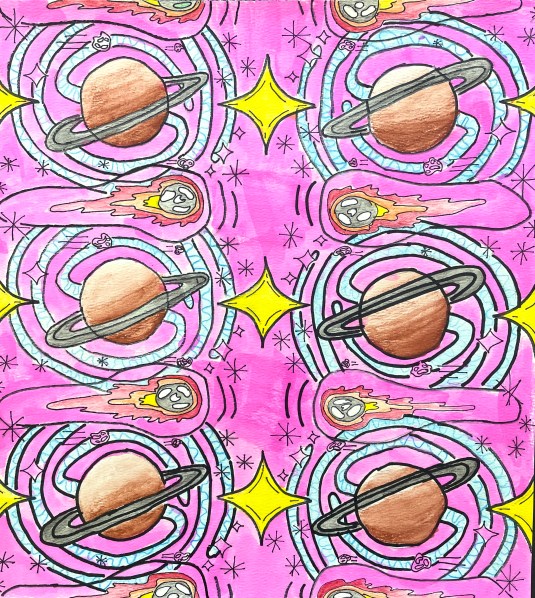
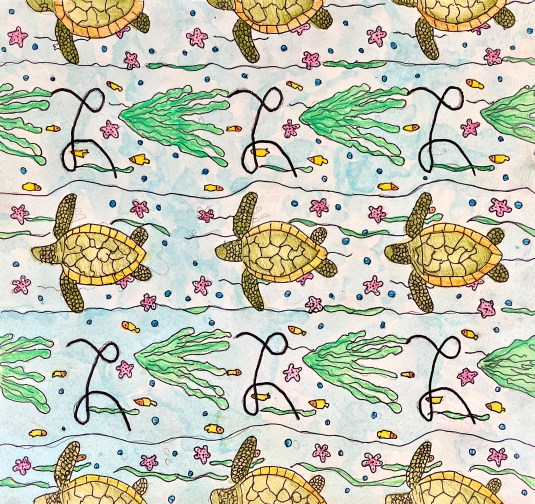
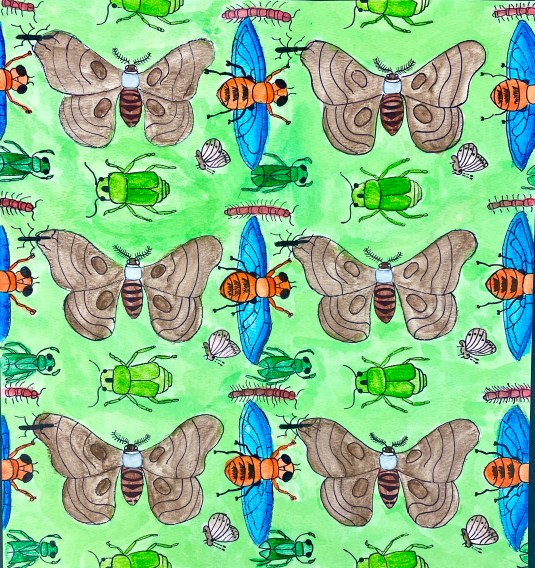
Tessellation/Repeating Pattern Illustration


(Use the arrows to toggle through the slide show above!)
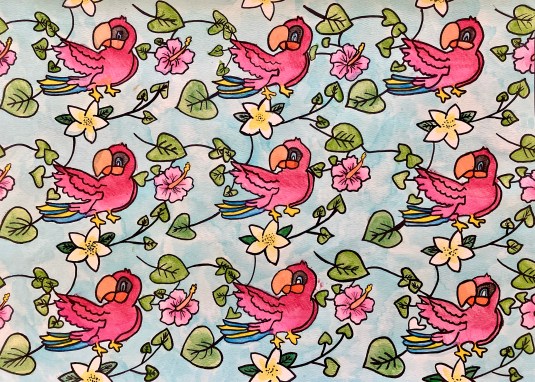
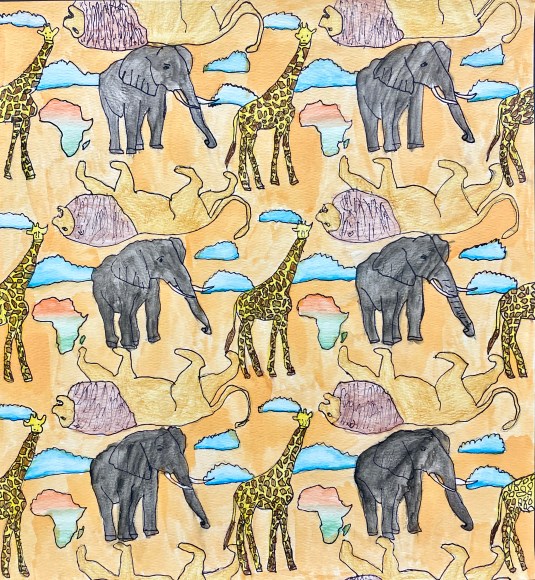
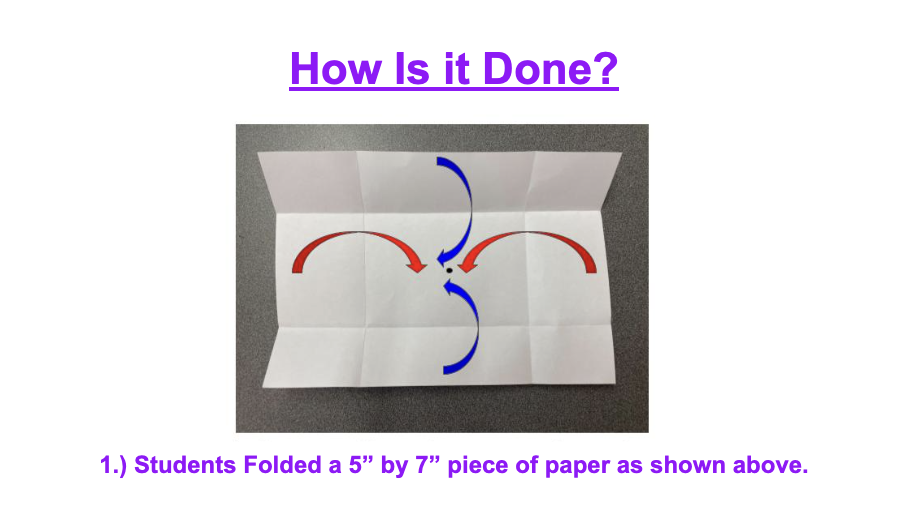
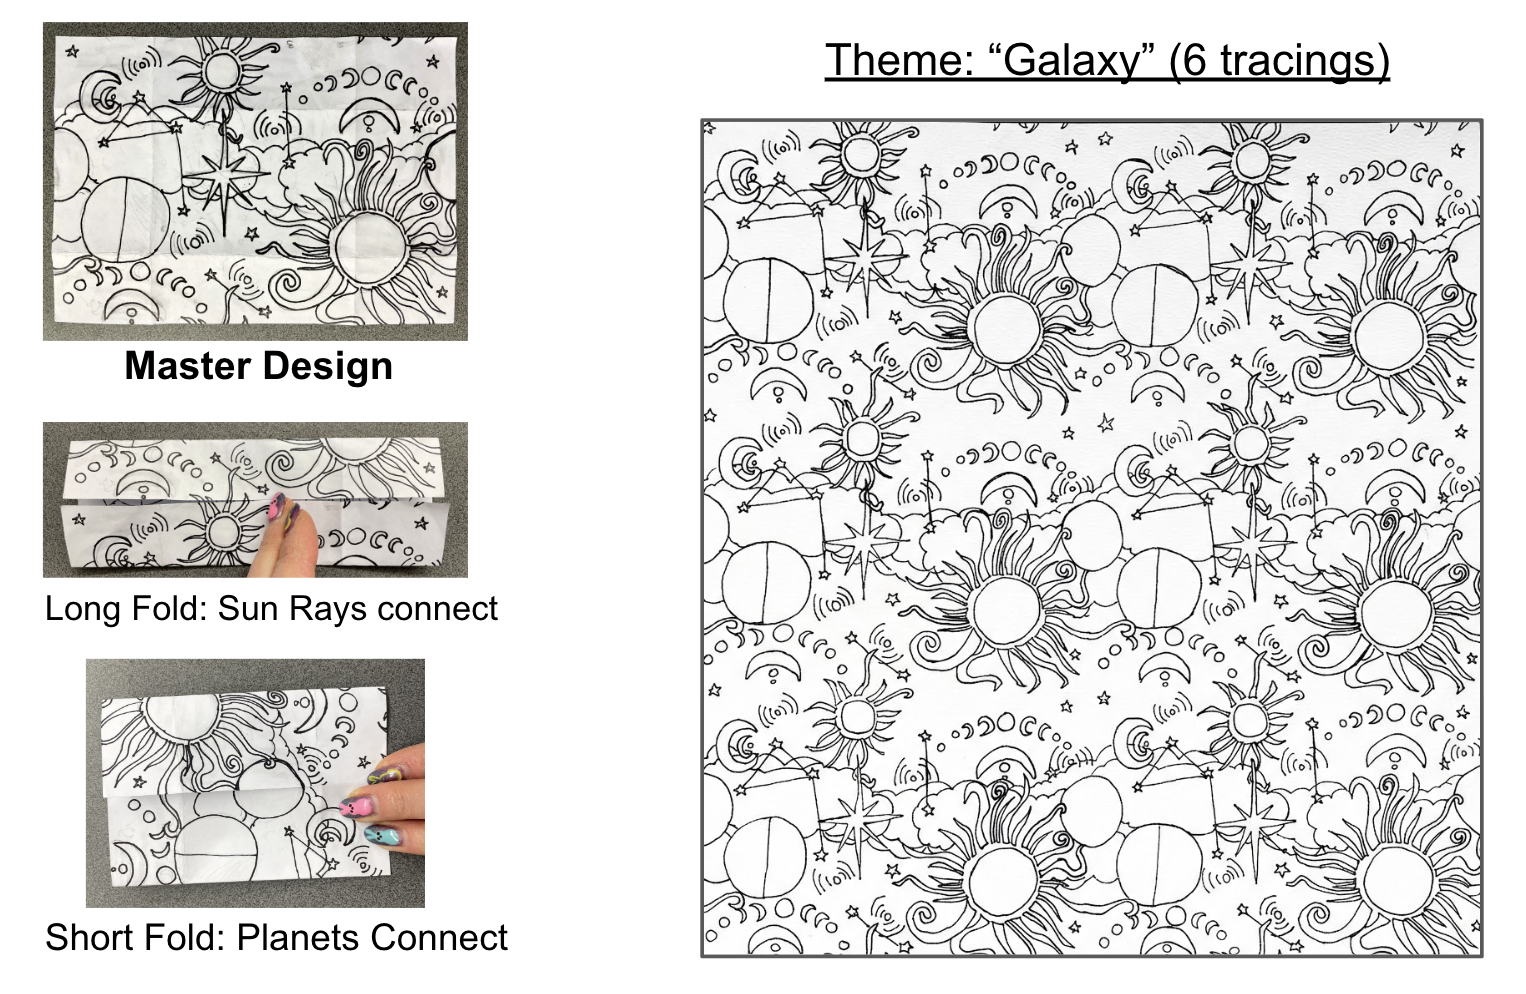
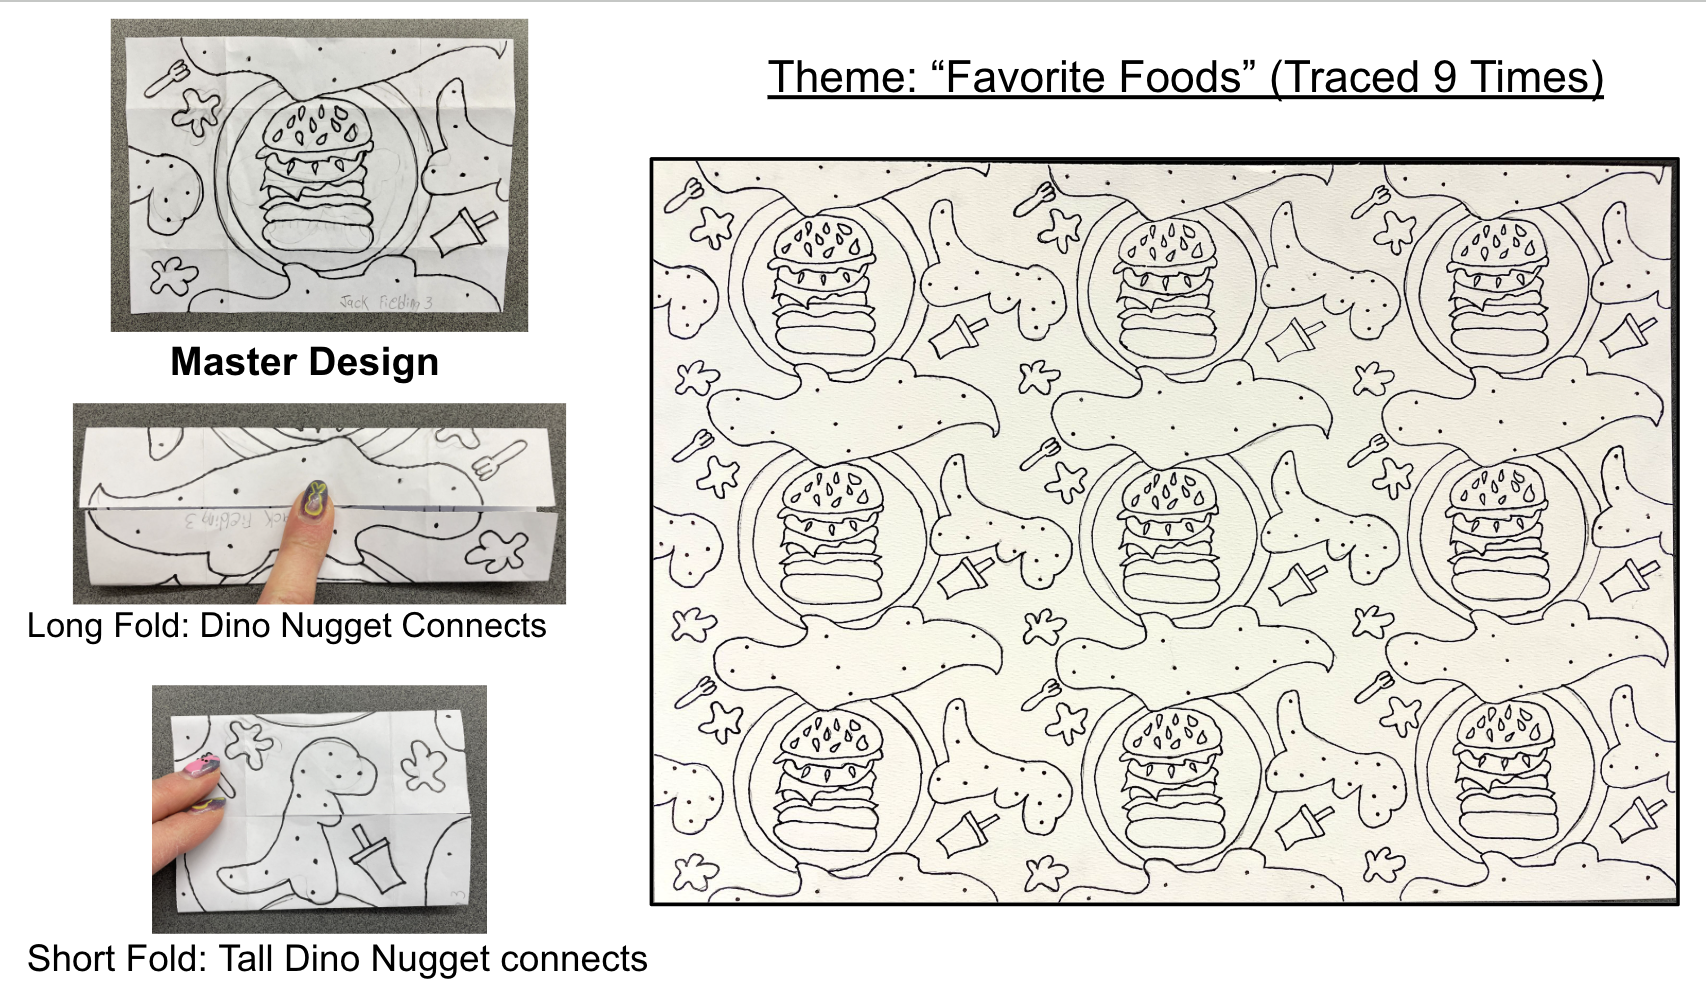
I recently participated in an all-day Arts Educator Workshop at which the keynote speaker was ceramist Roberto Lugo. Lugo showed us a simple yet mind-blowing way to create a repeating pattern using a cleverly folded rectangular piece of paper: Here are the basic steps:
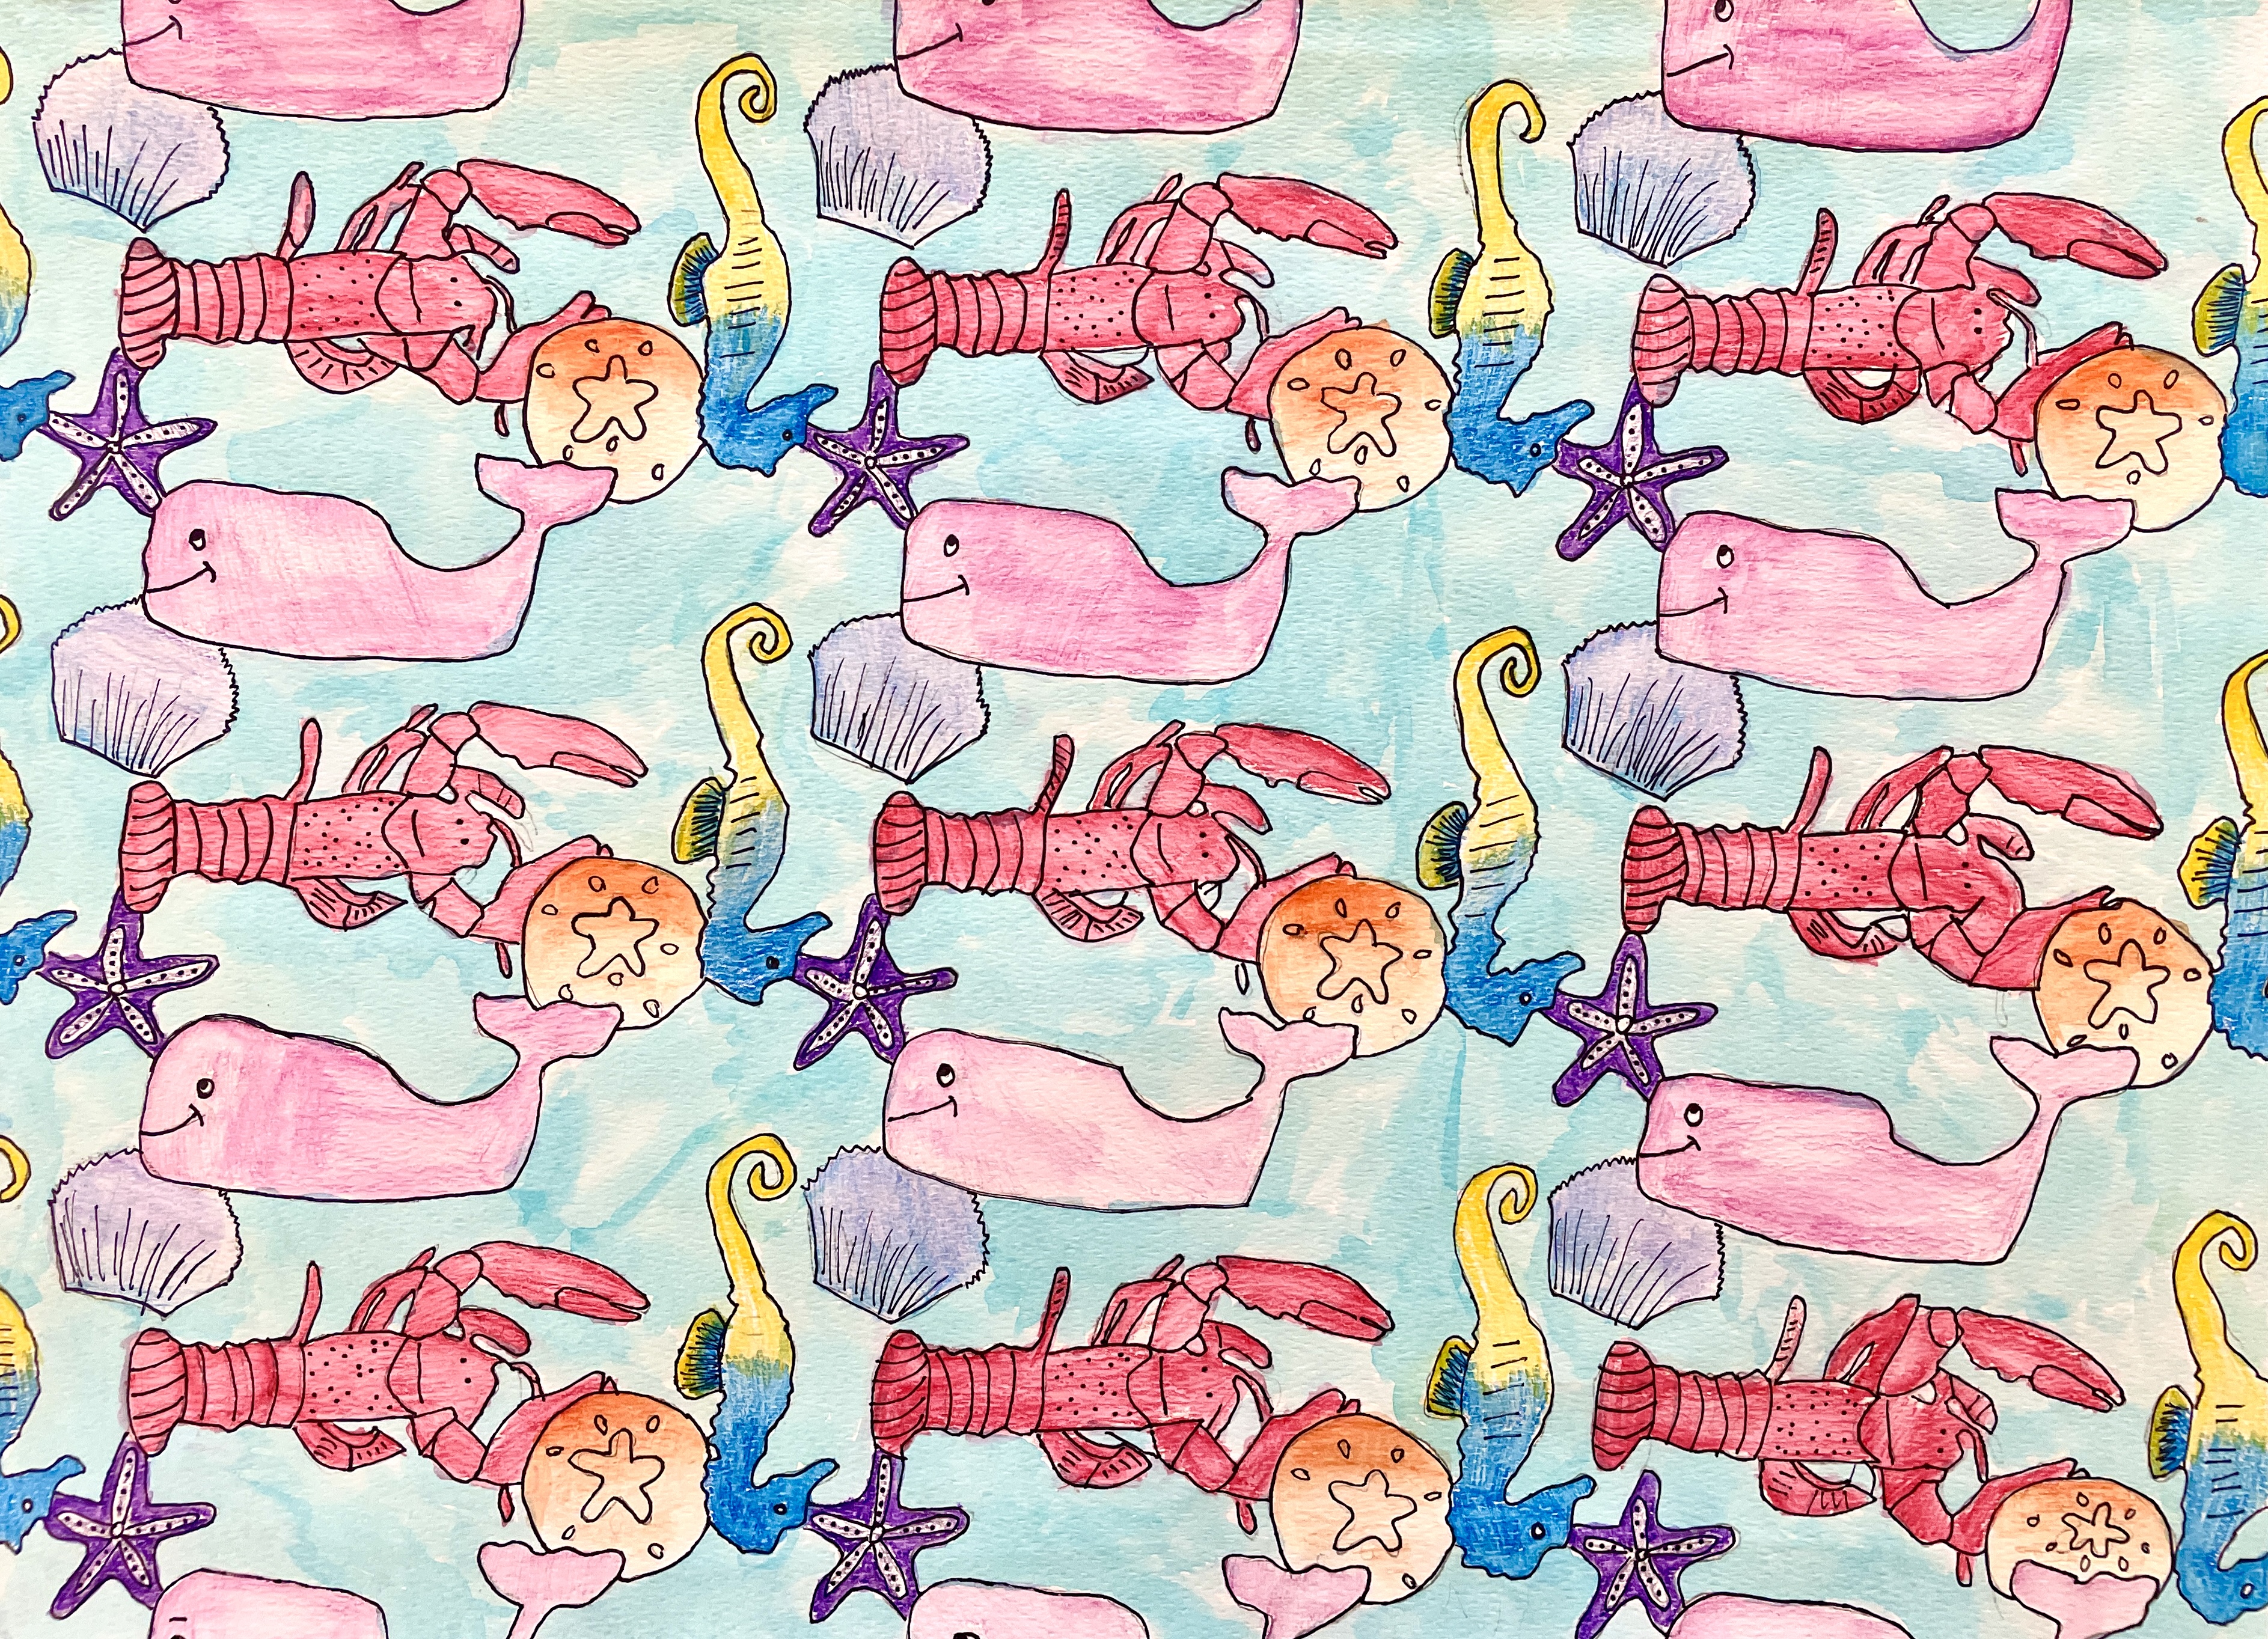
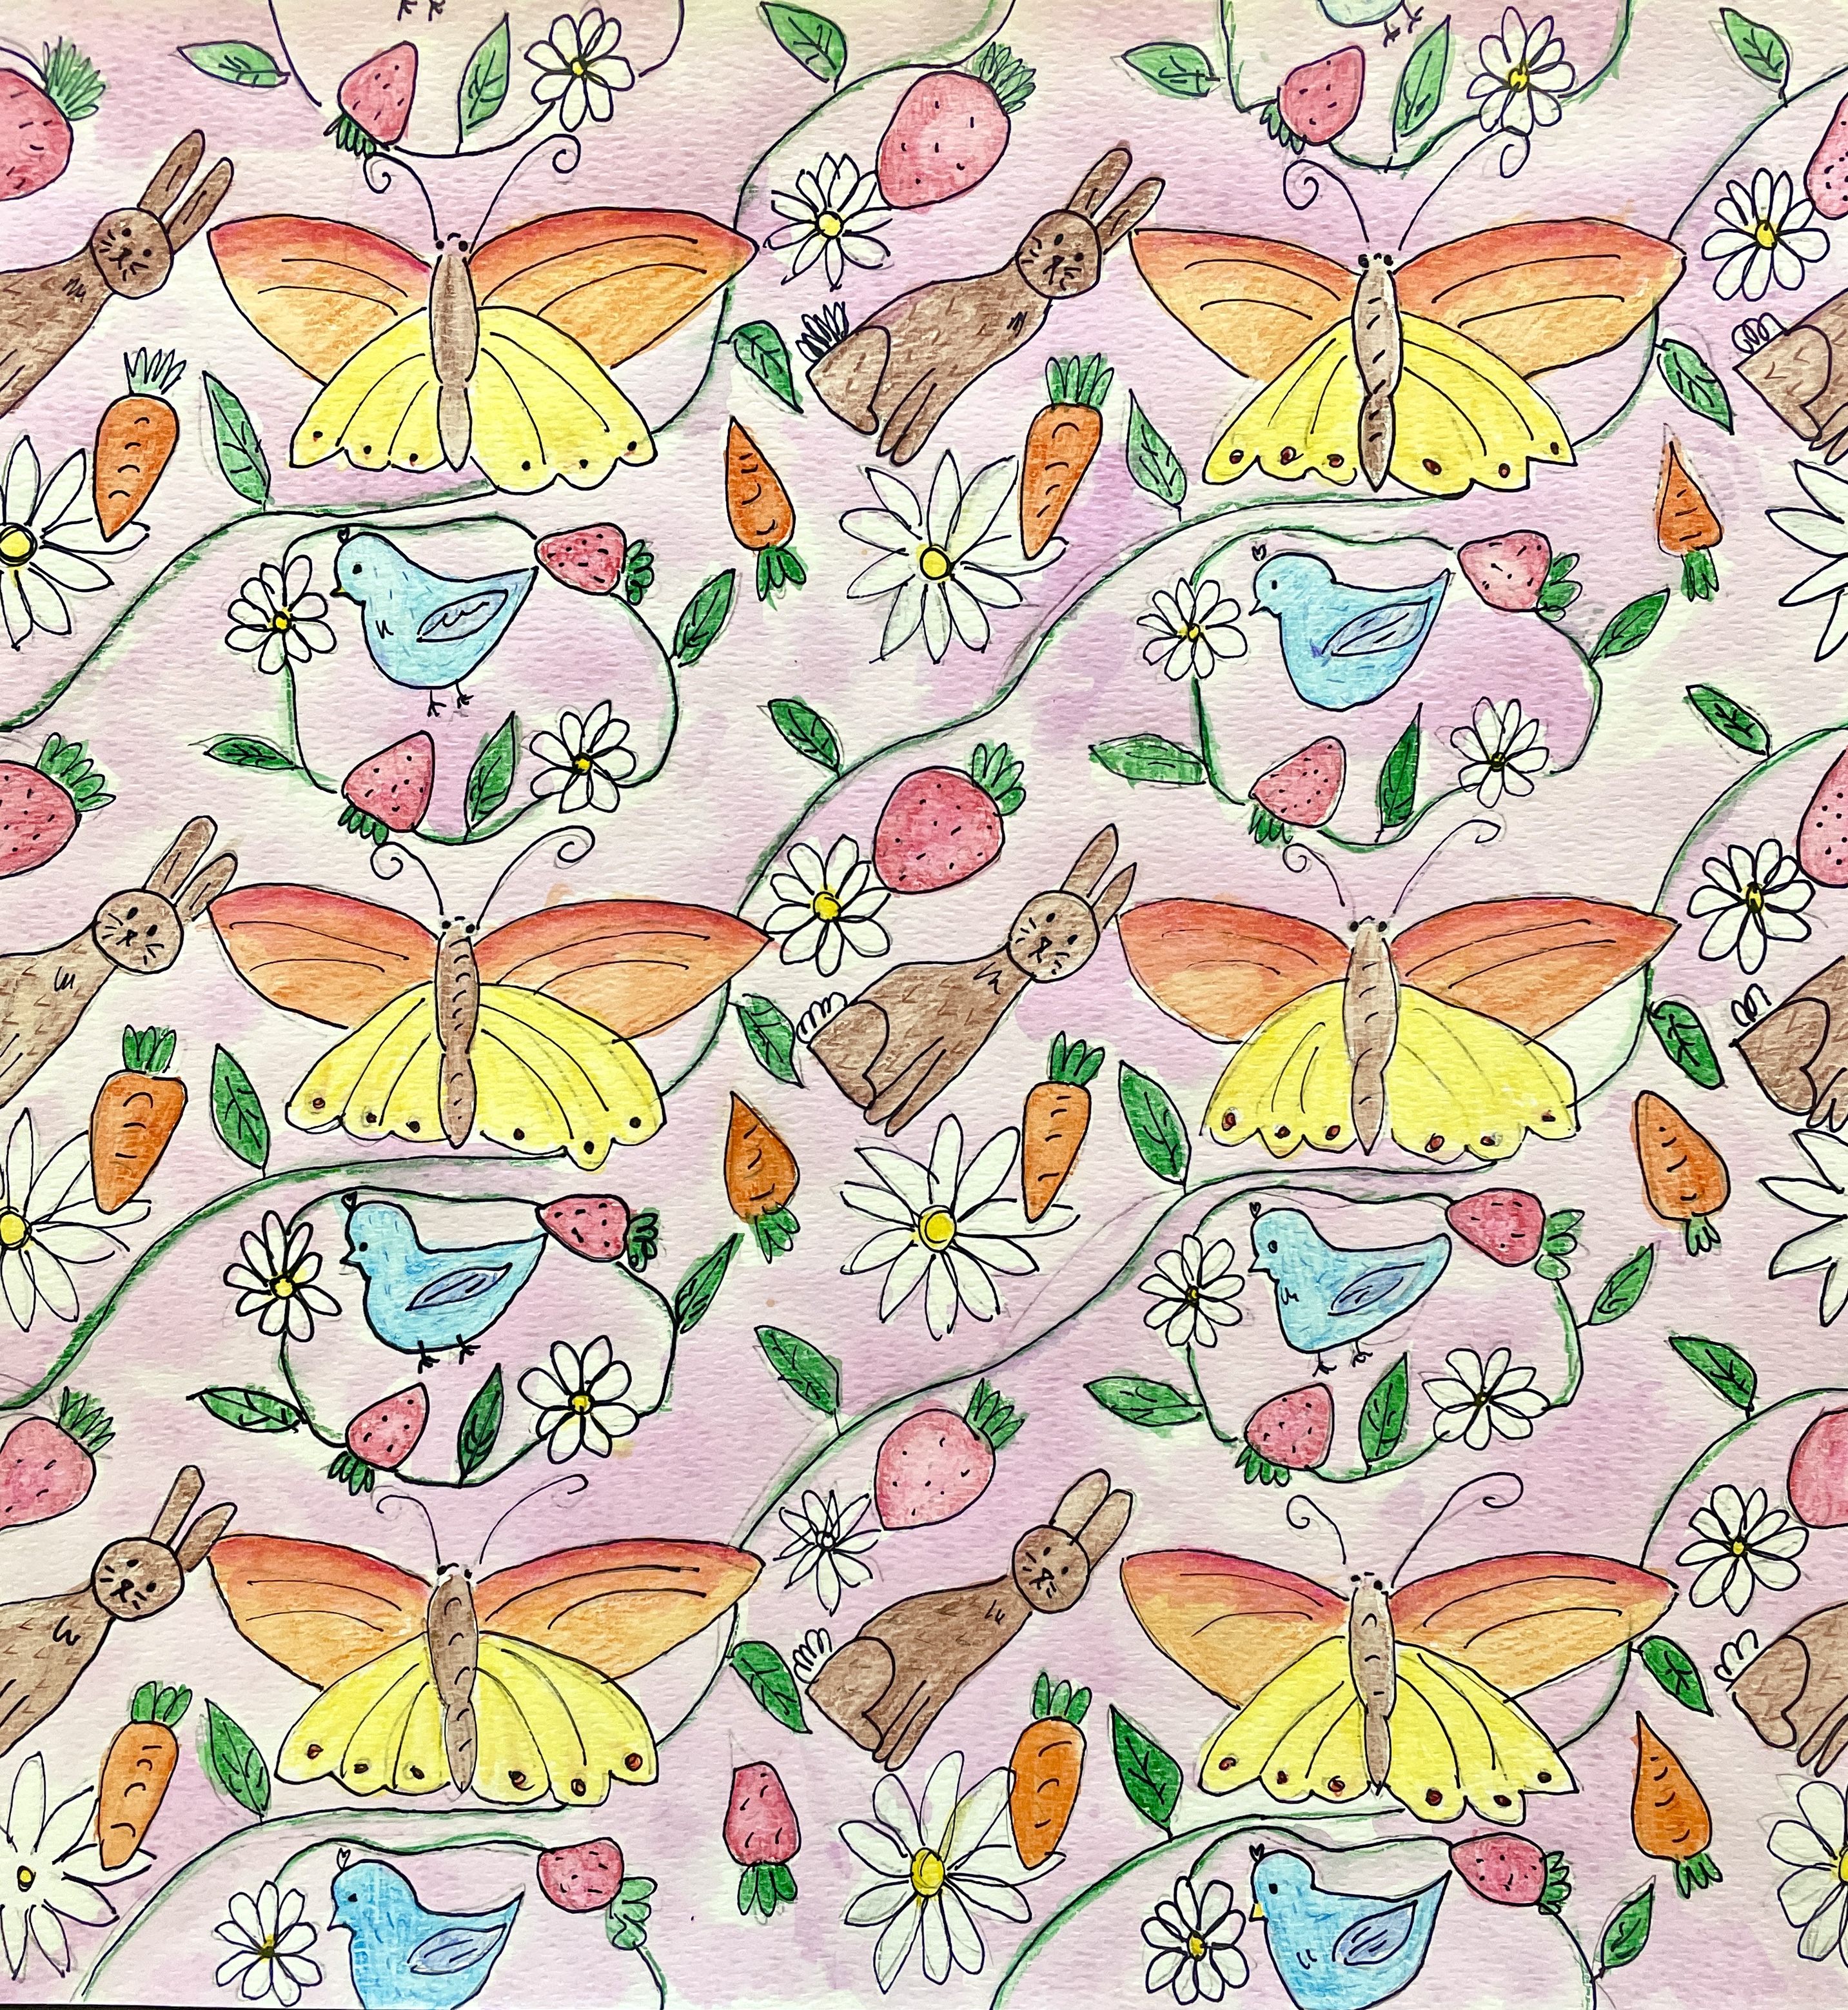
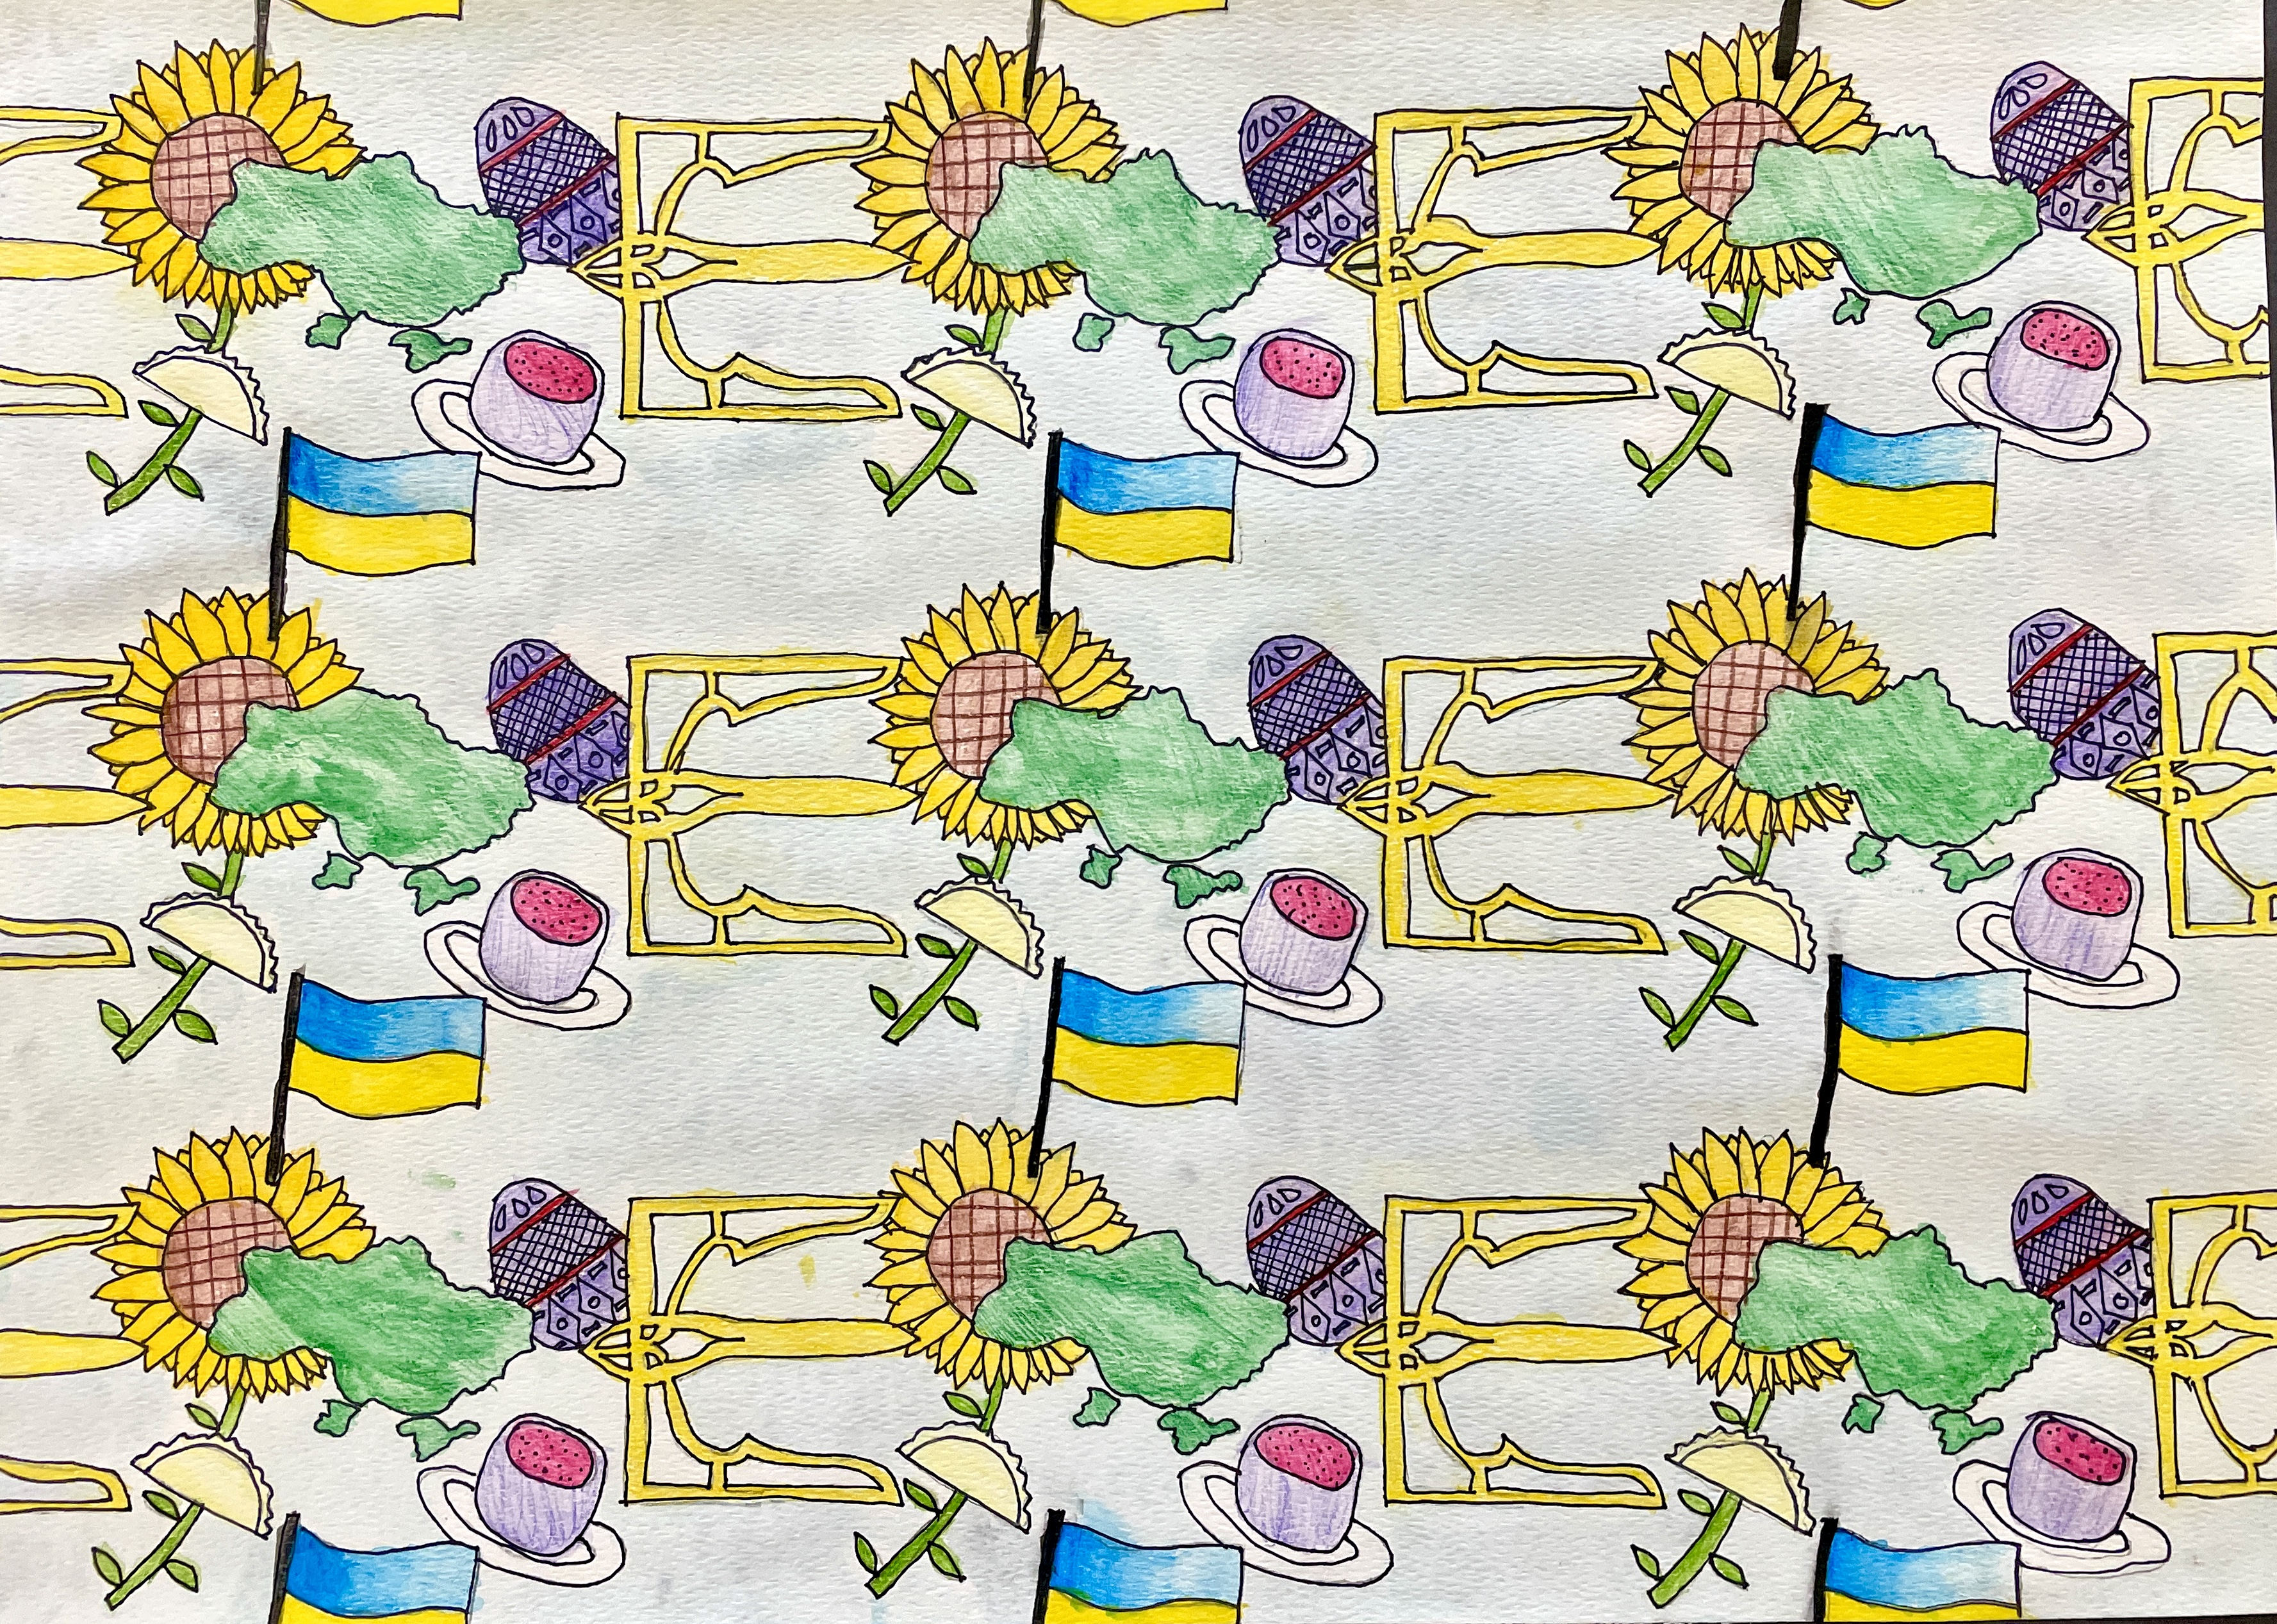
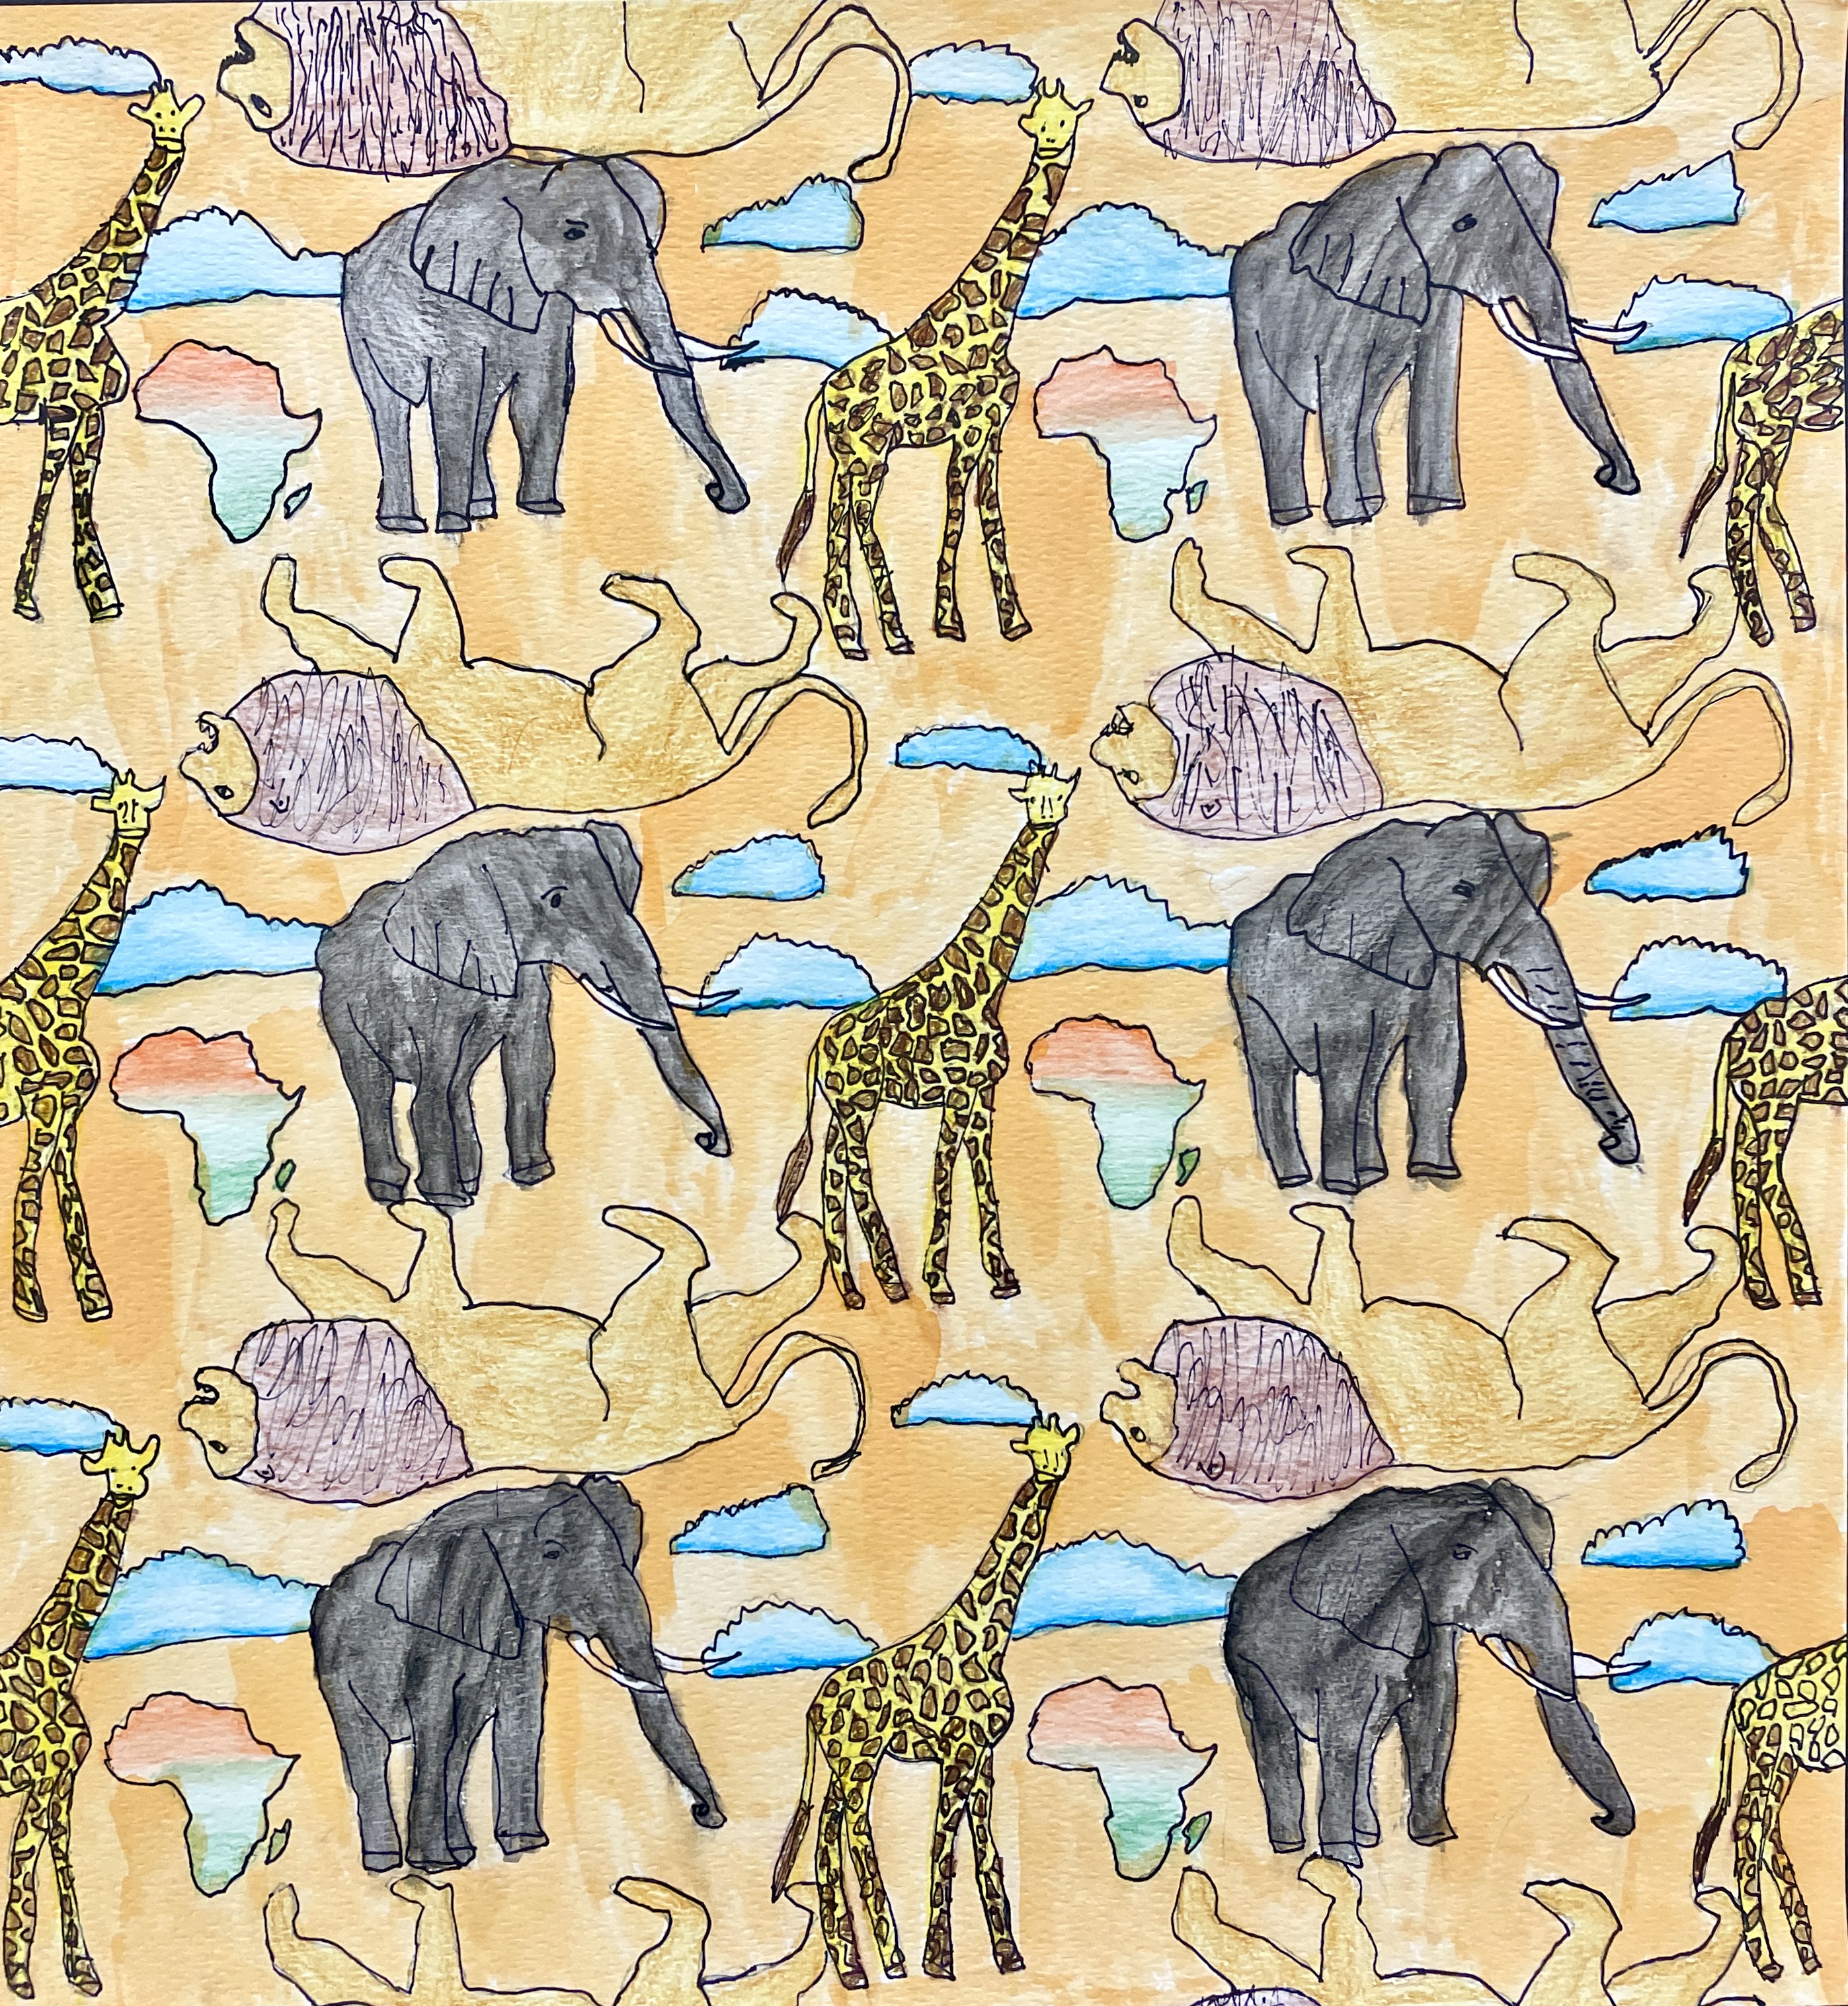
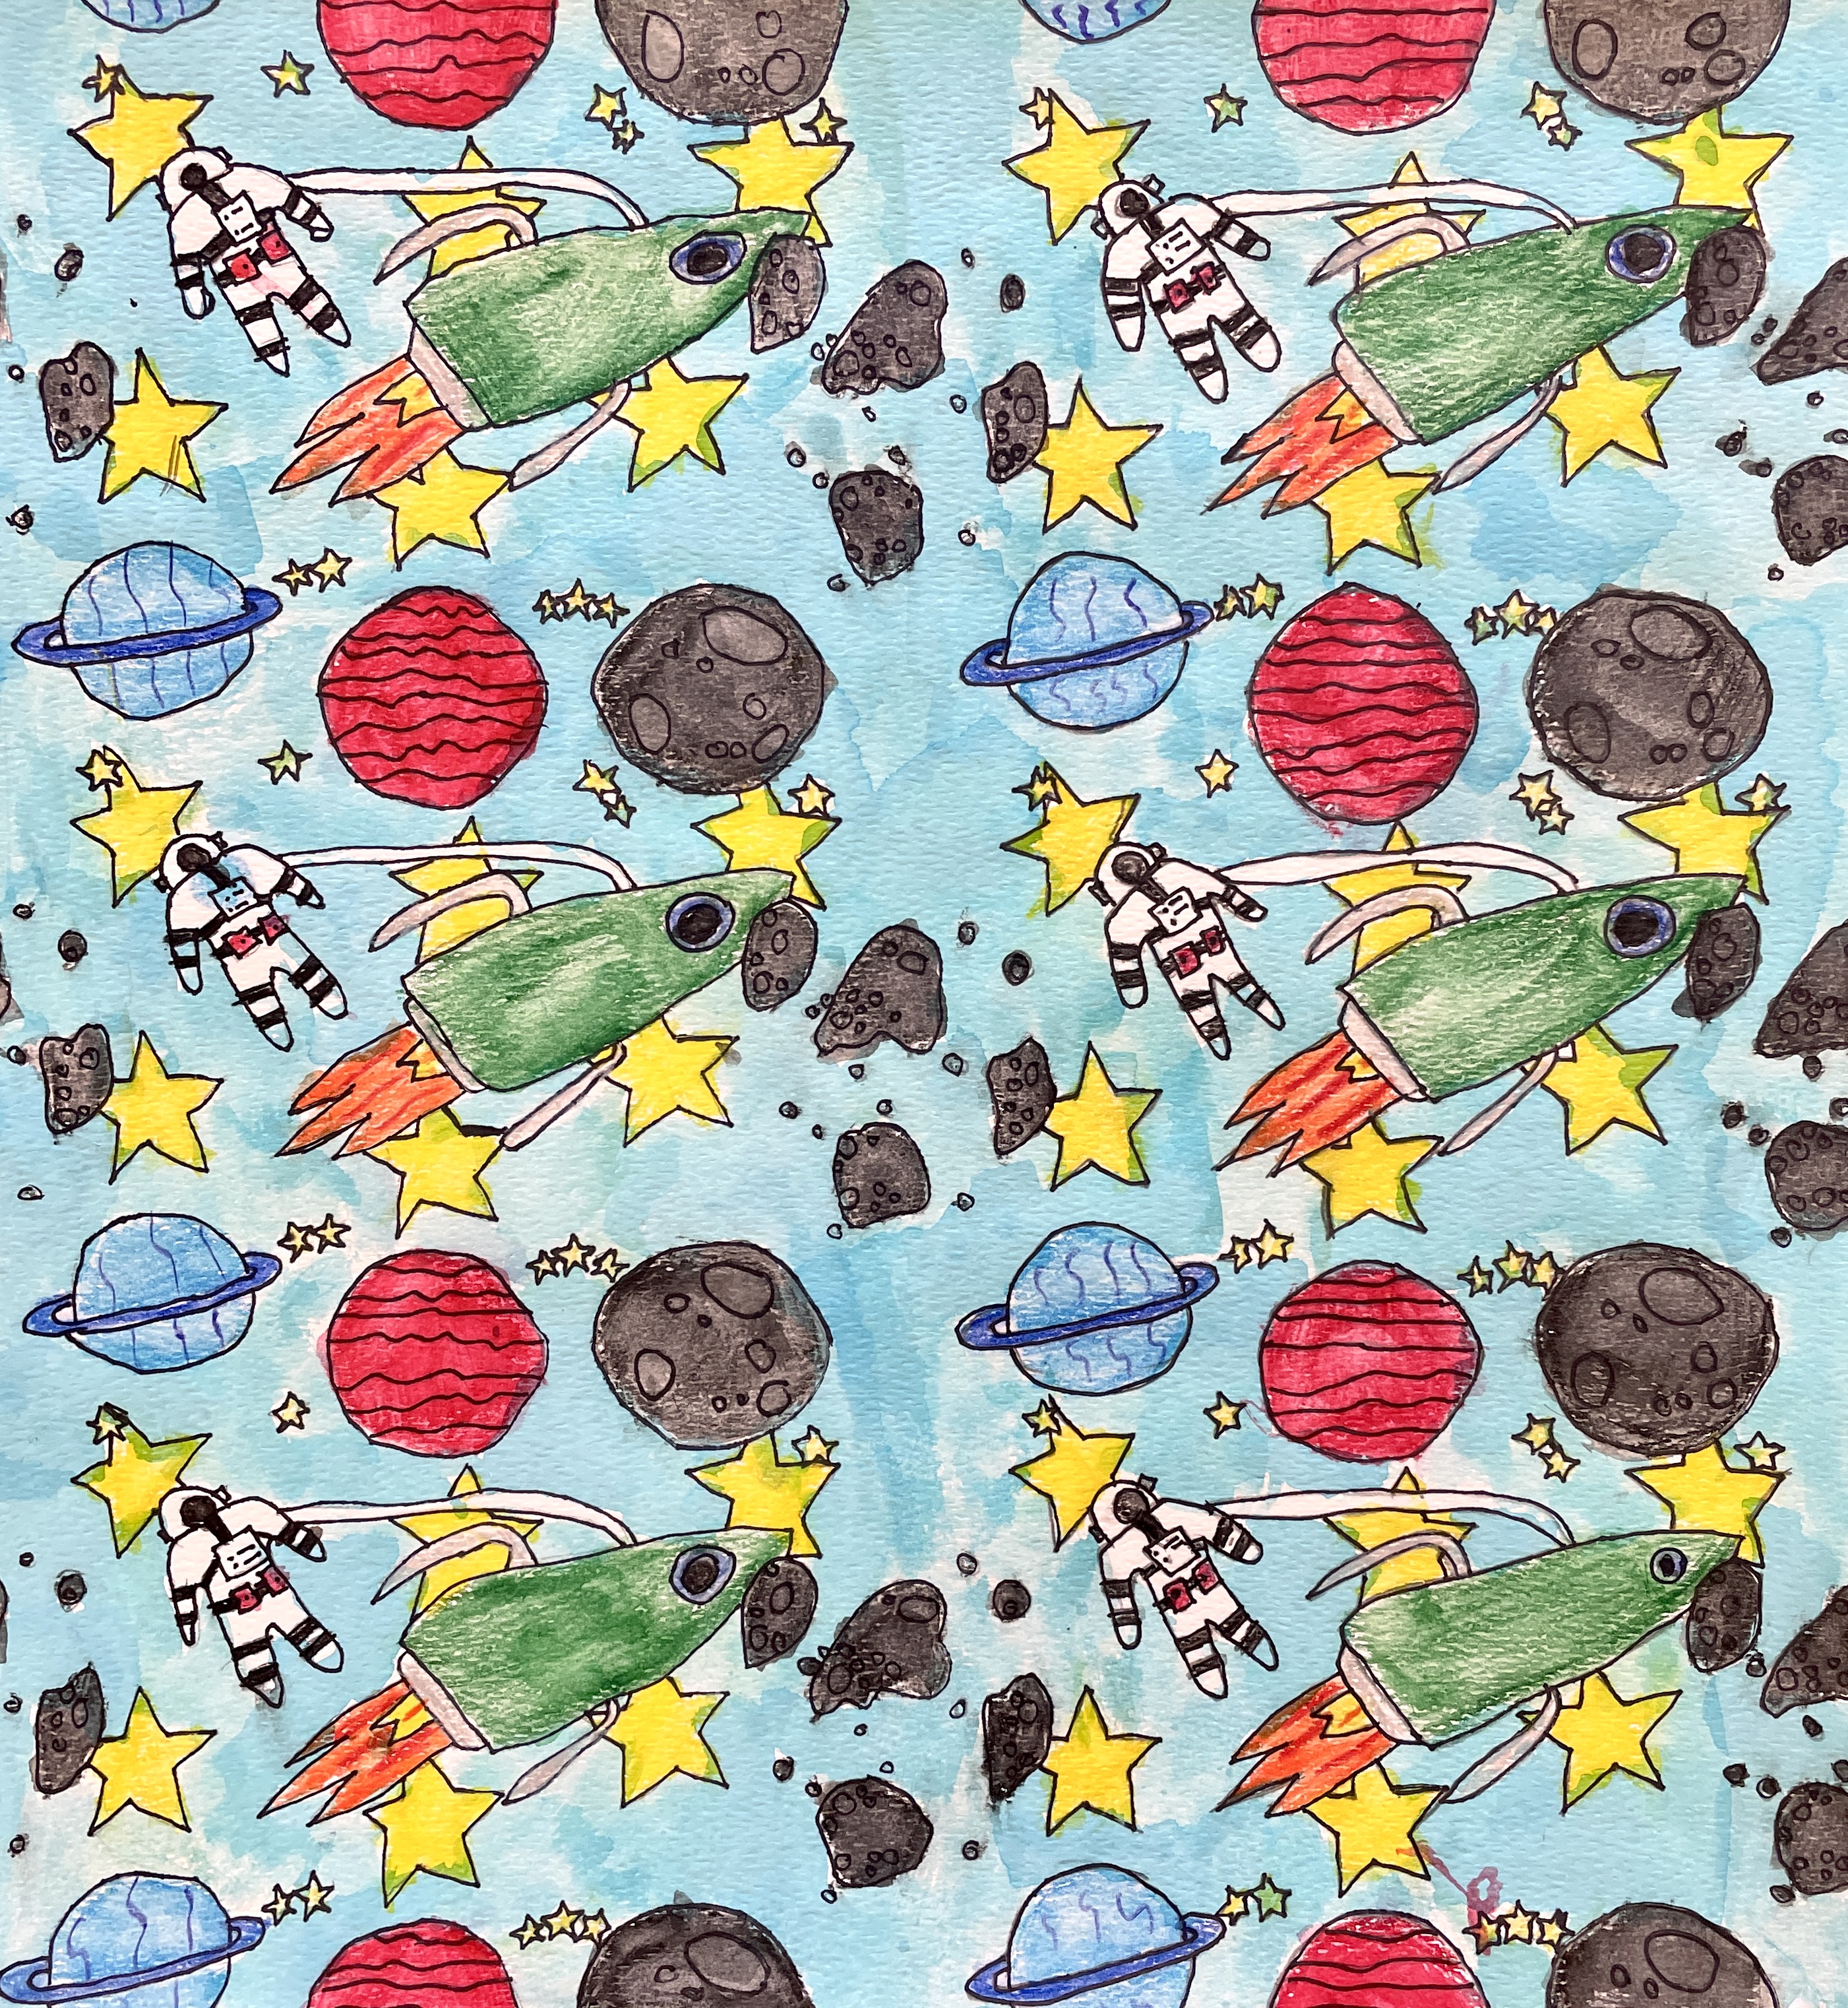
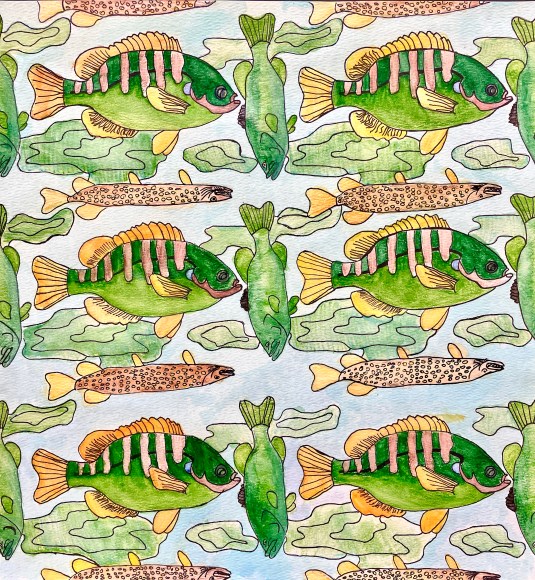
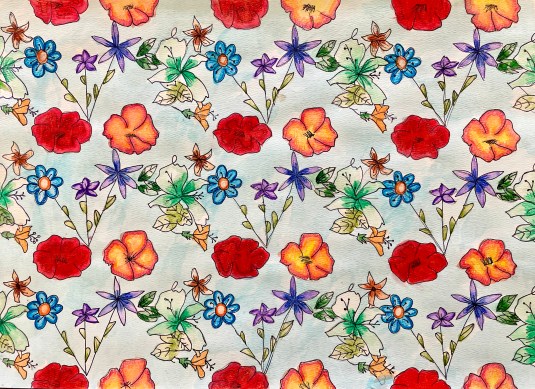
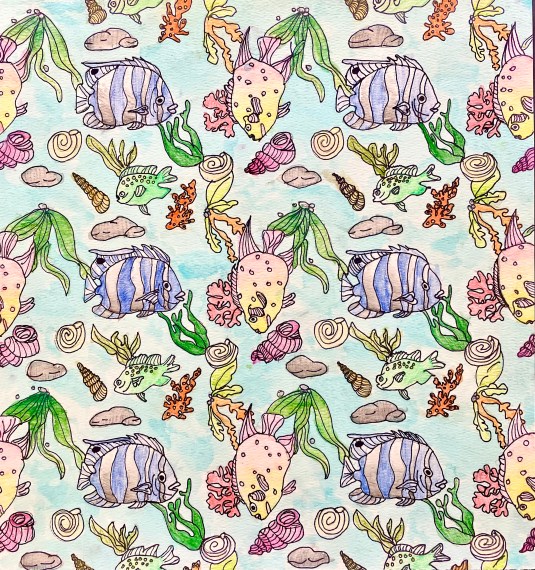
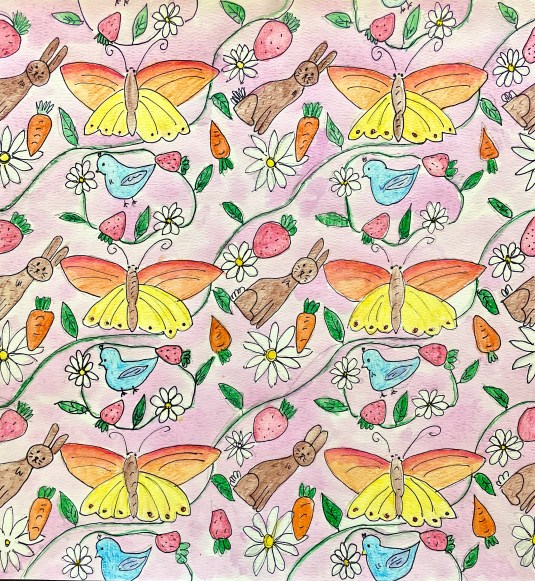
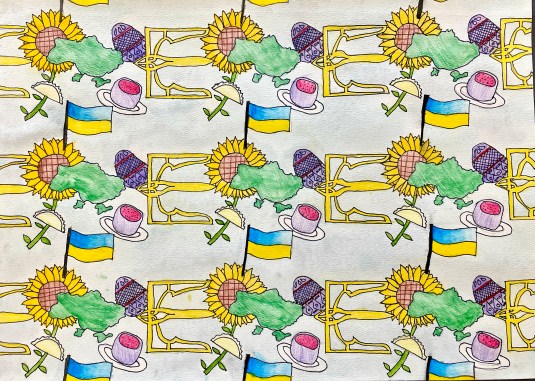
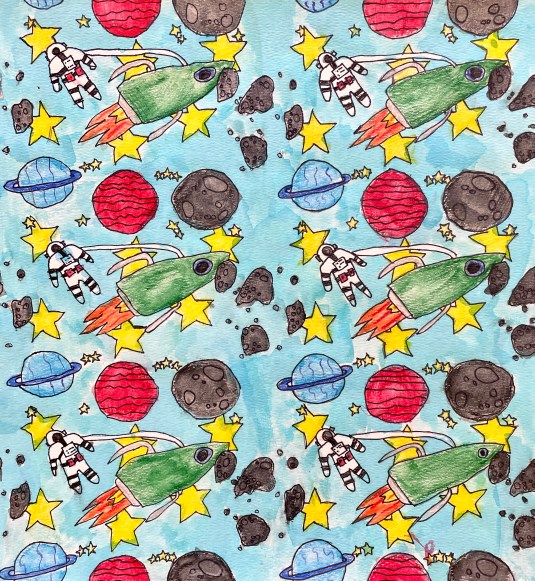
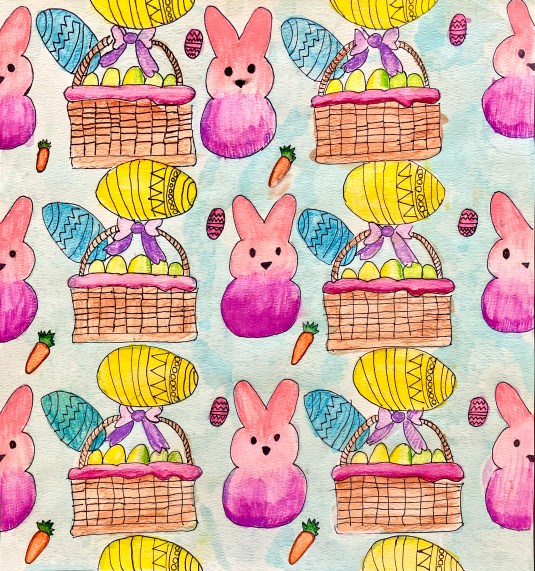
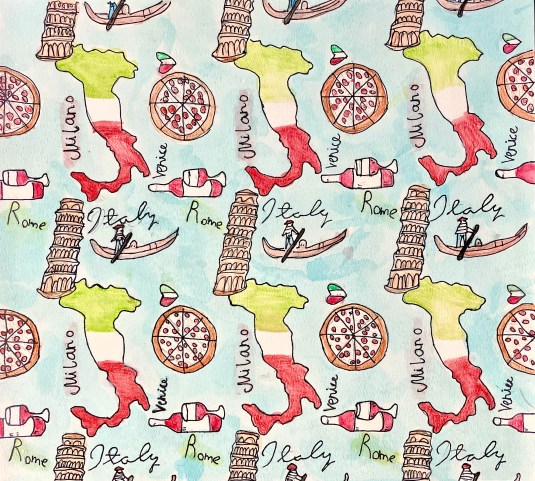
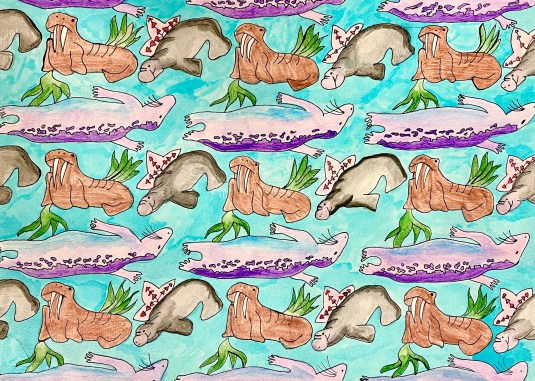
Some More Examples:
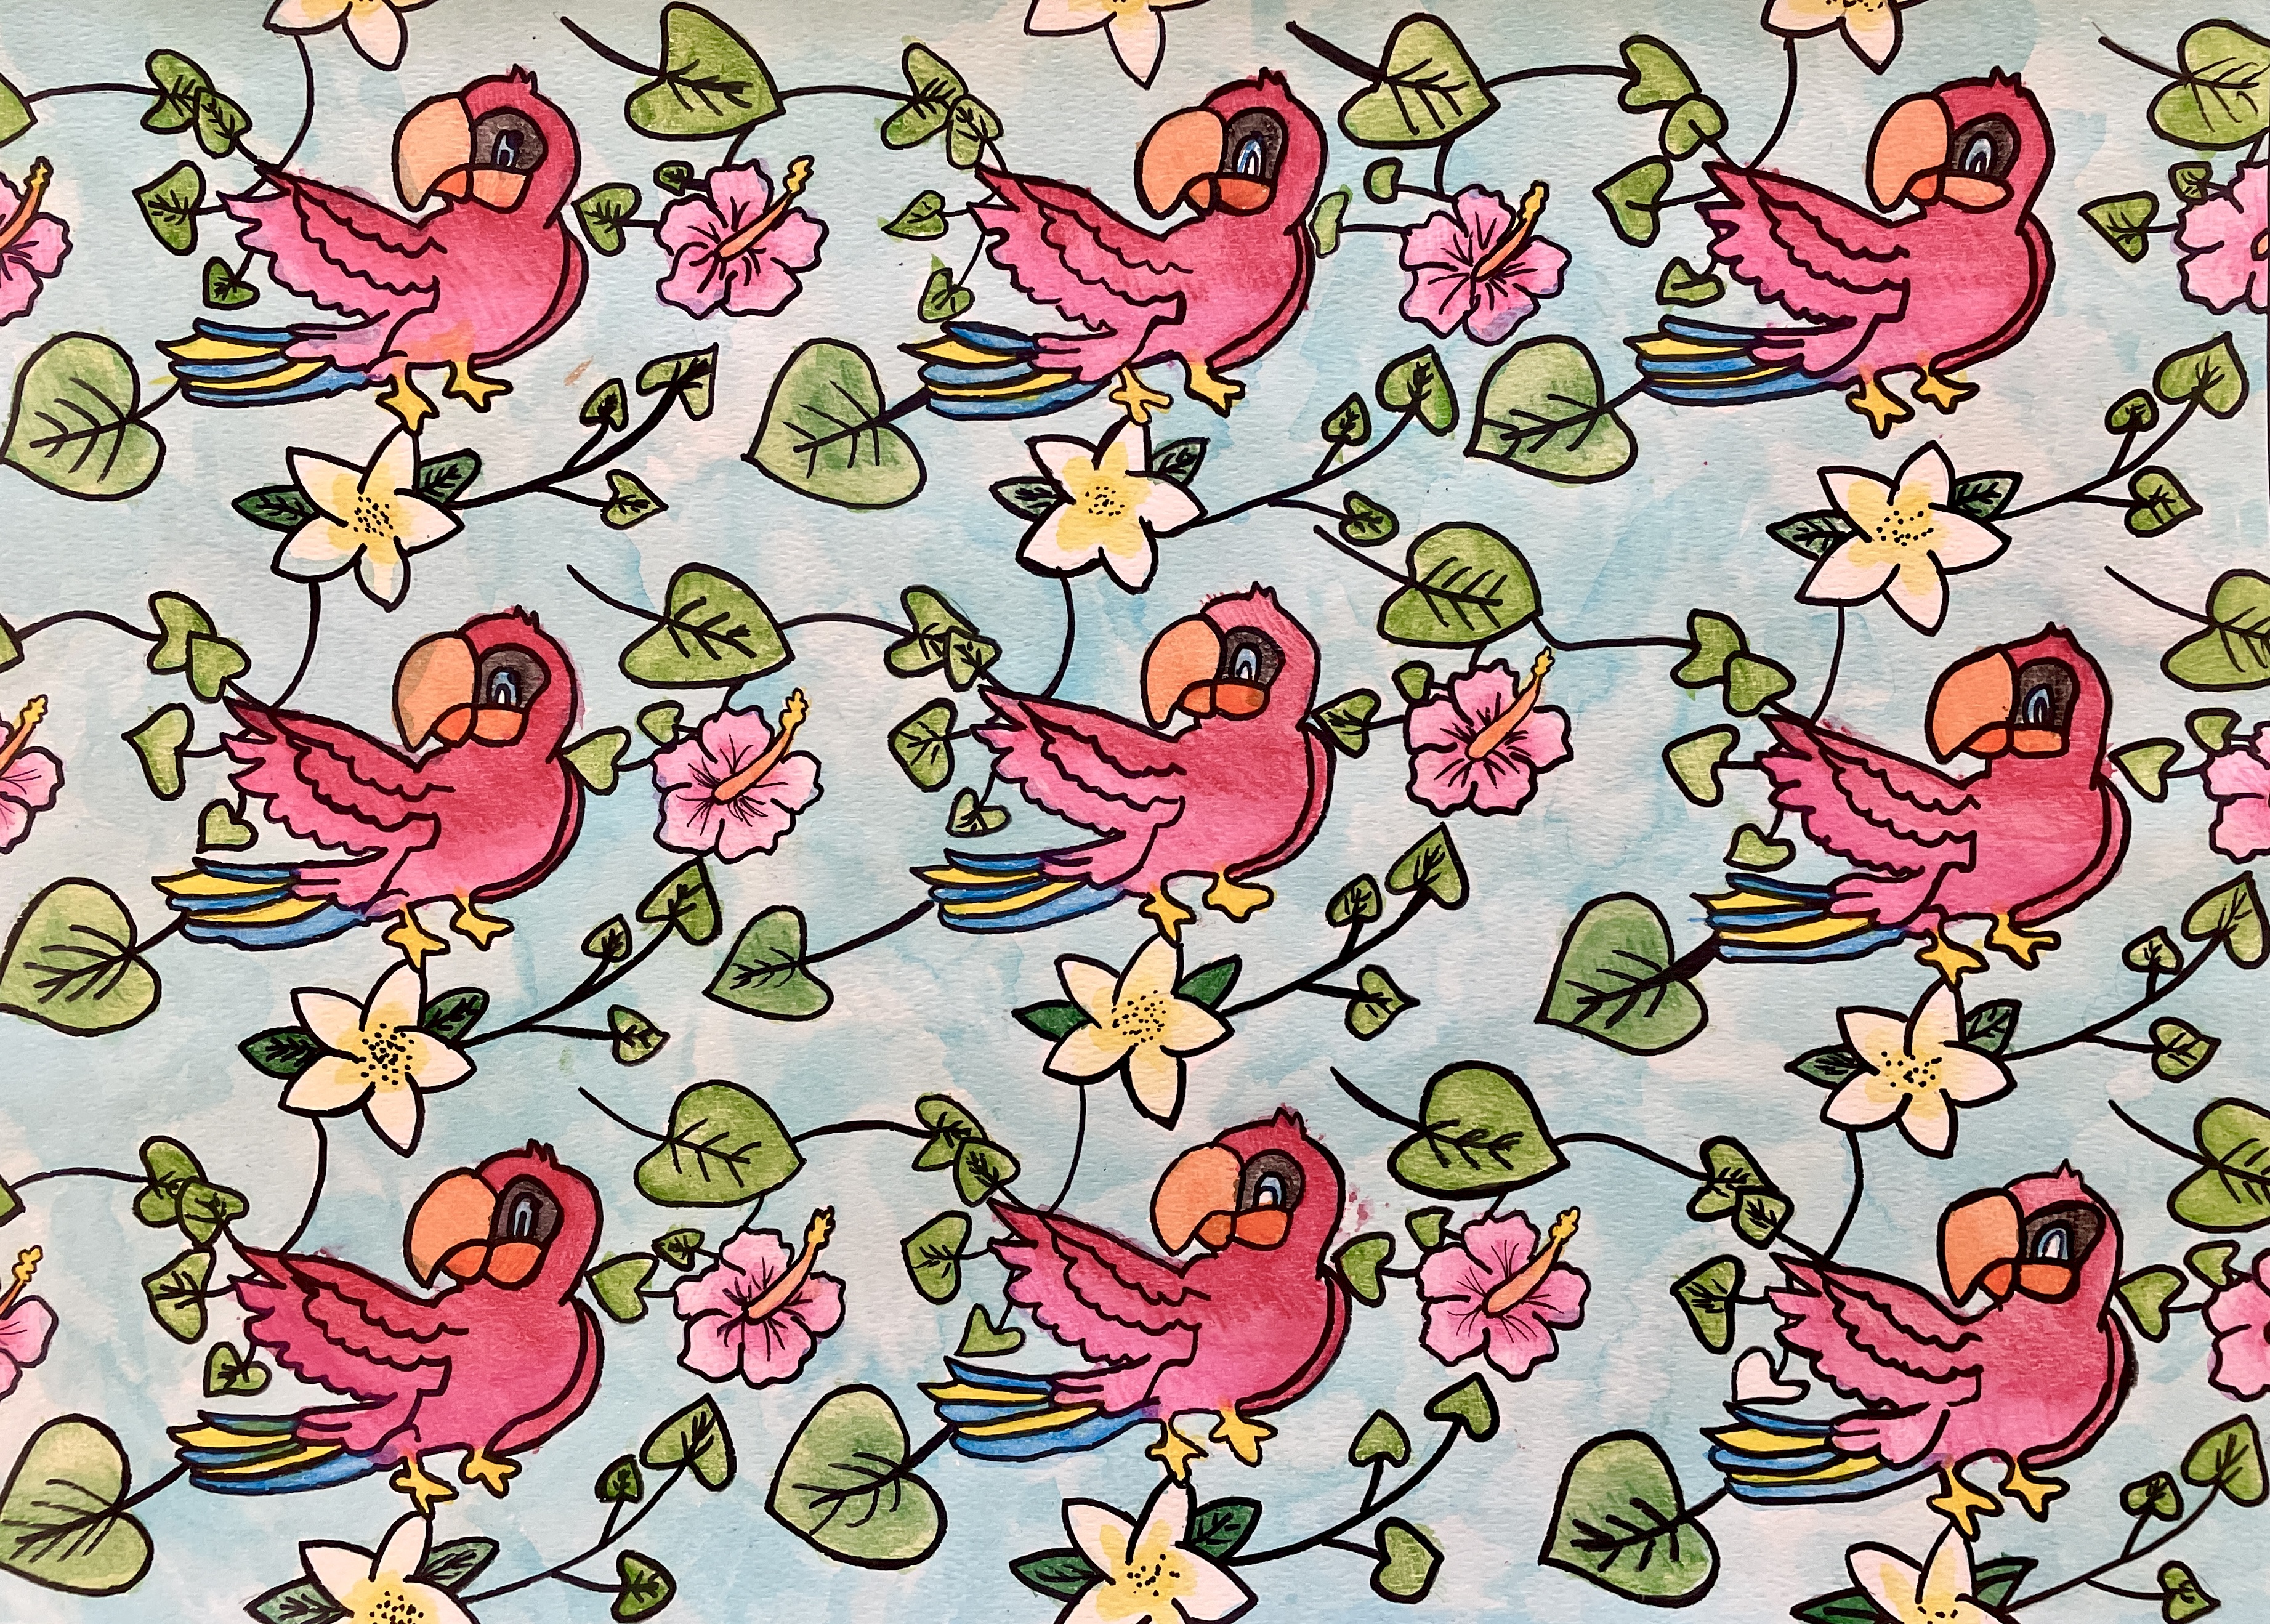
– – –
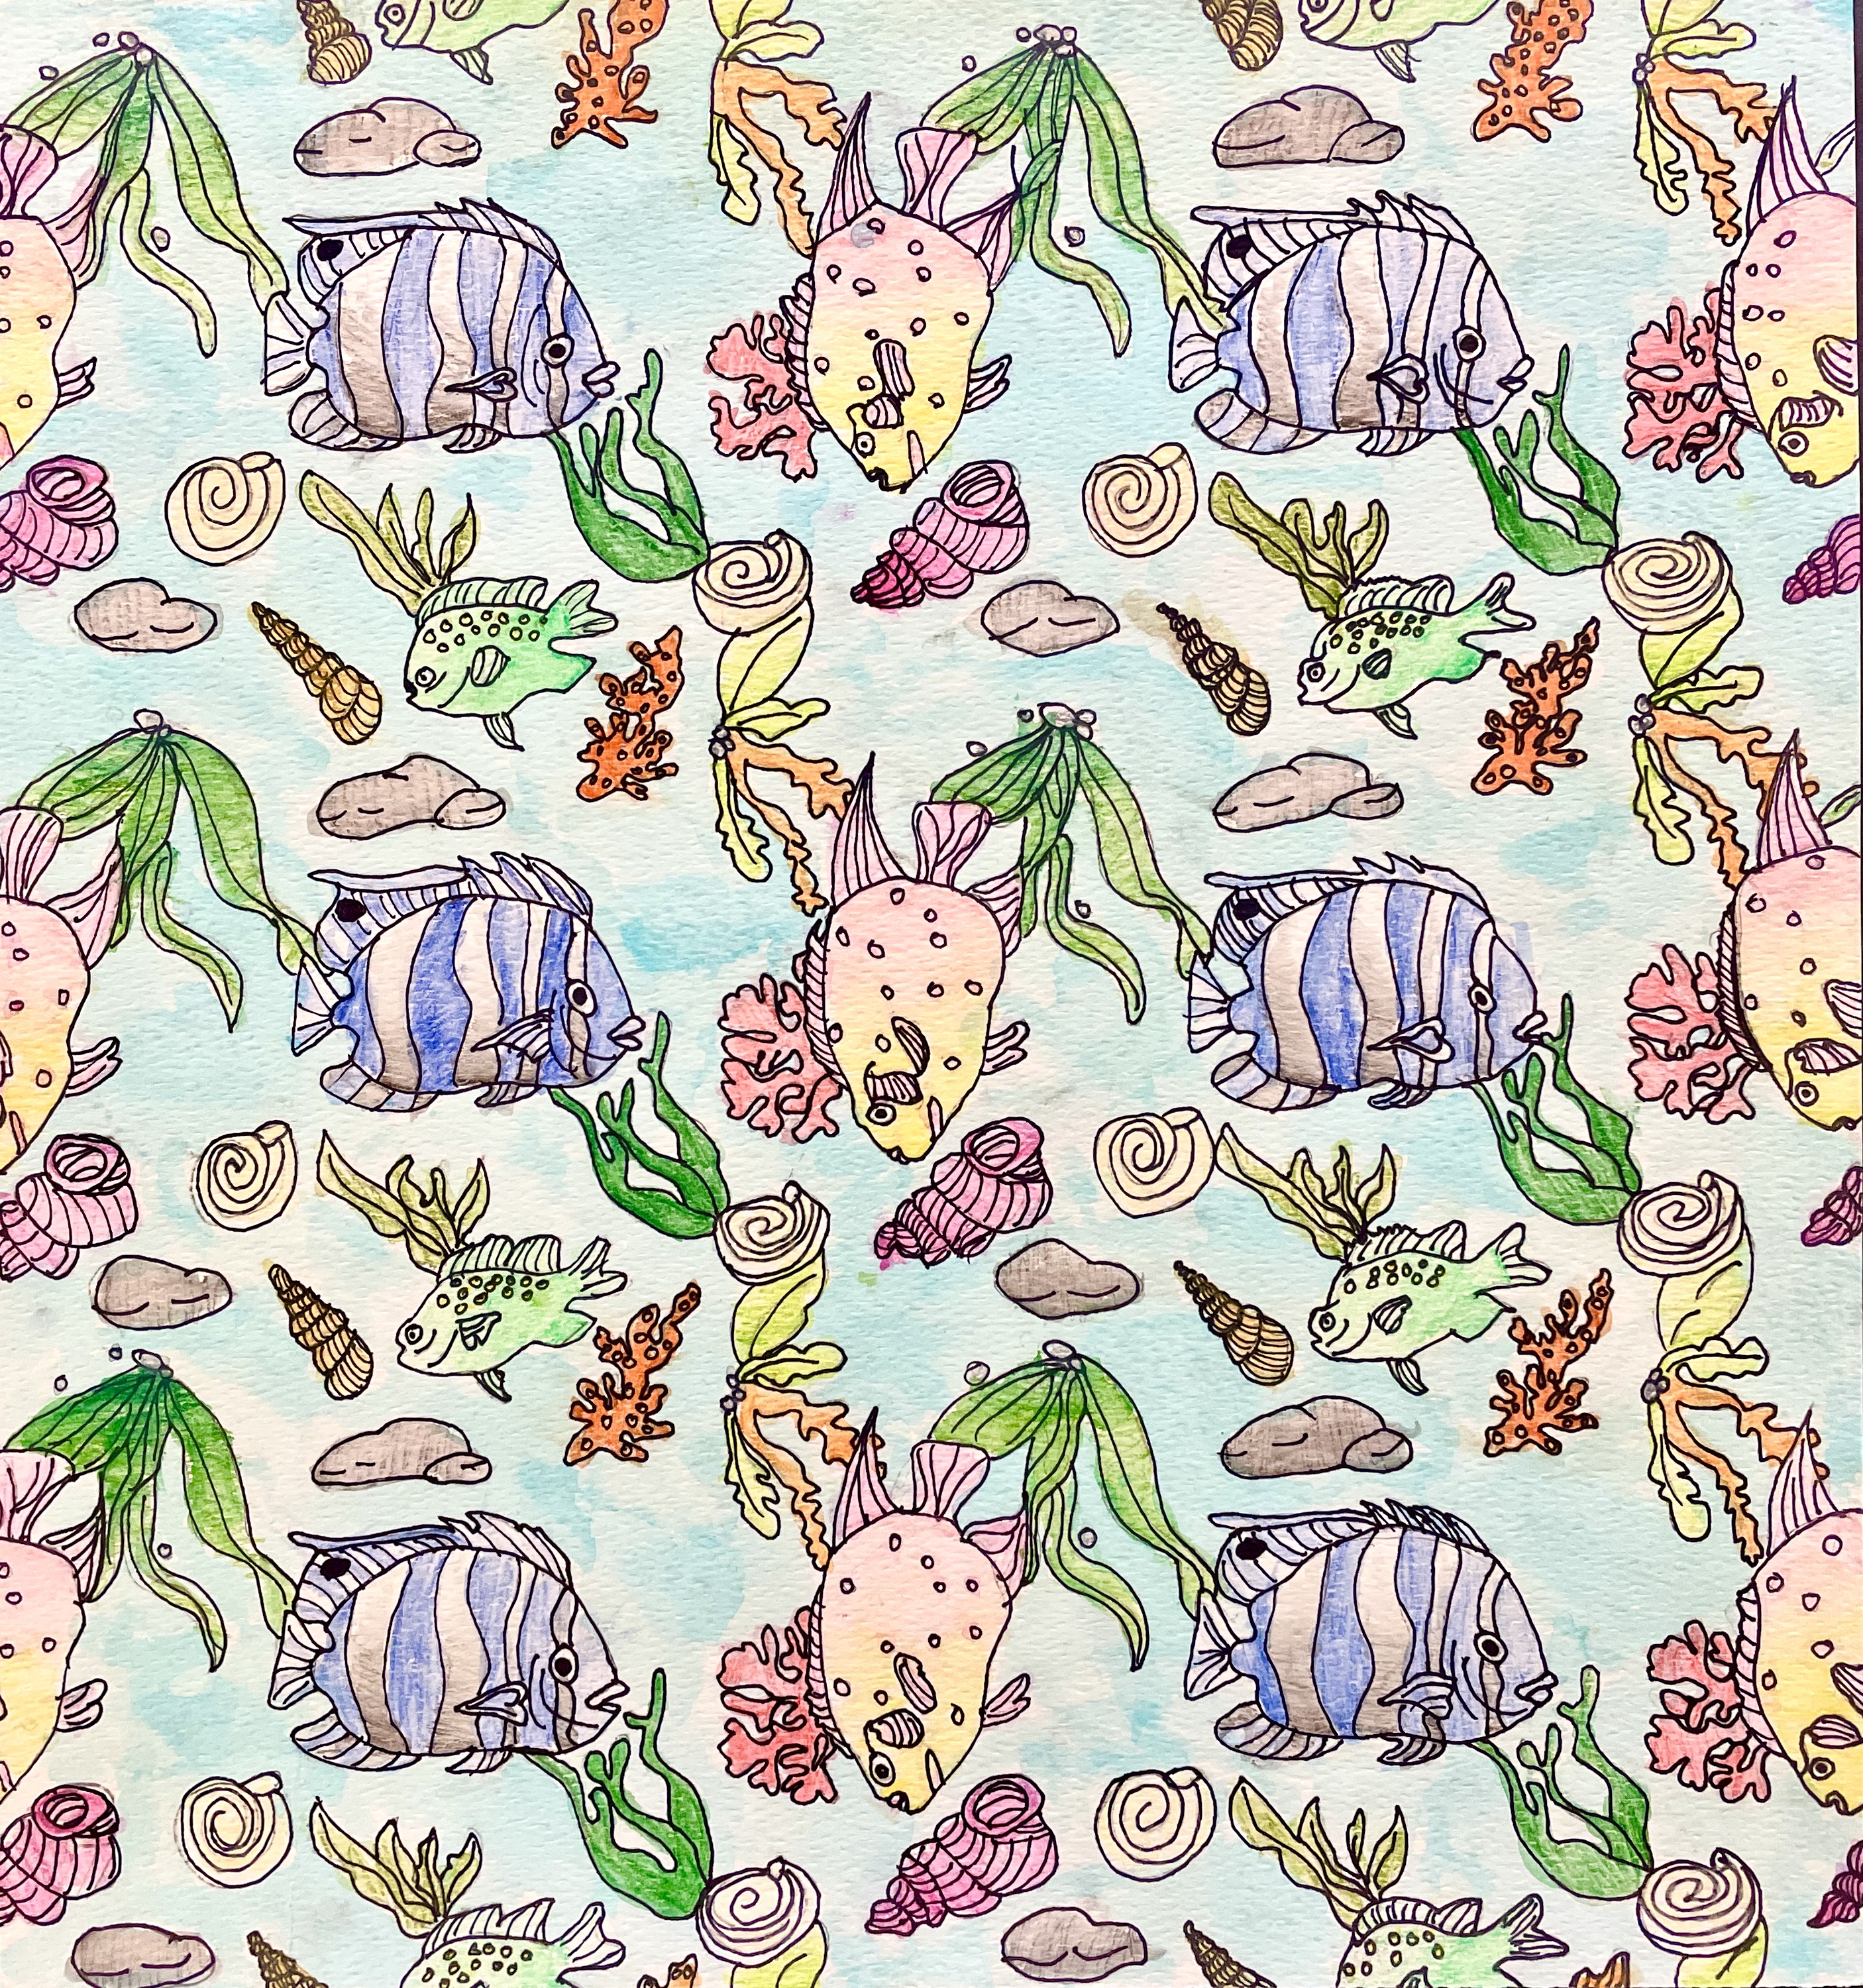
– – –
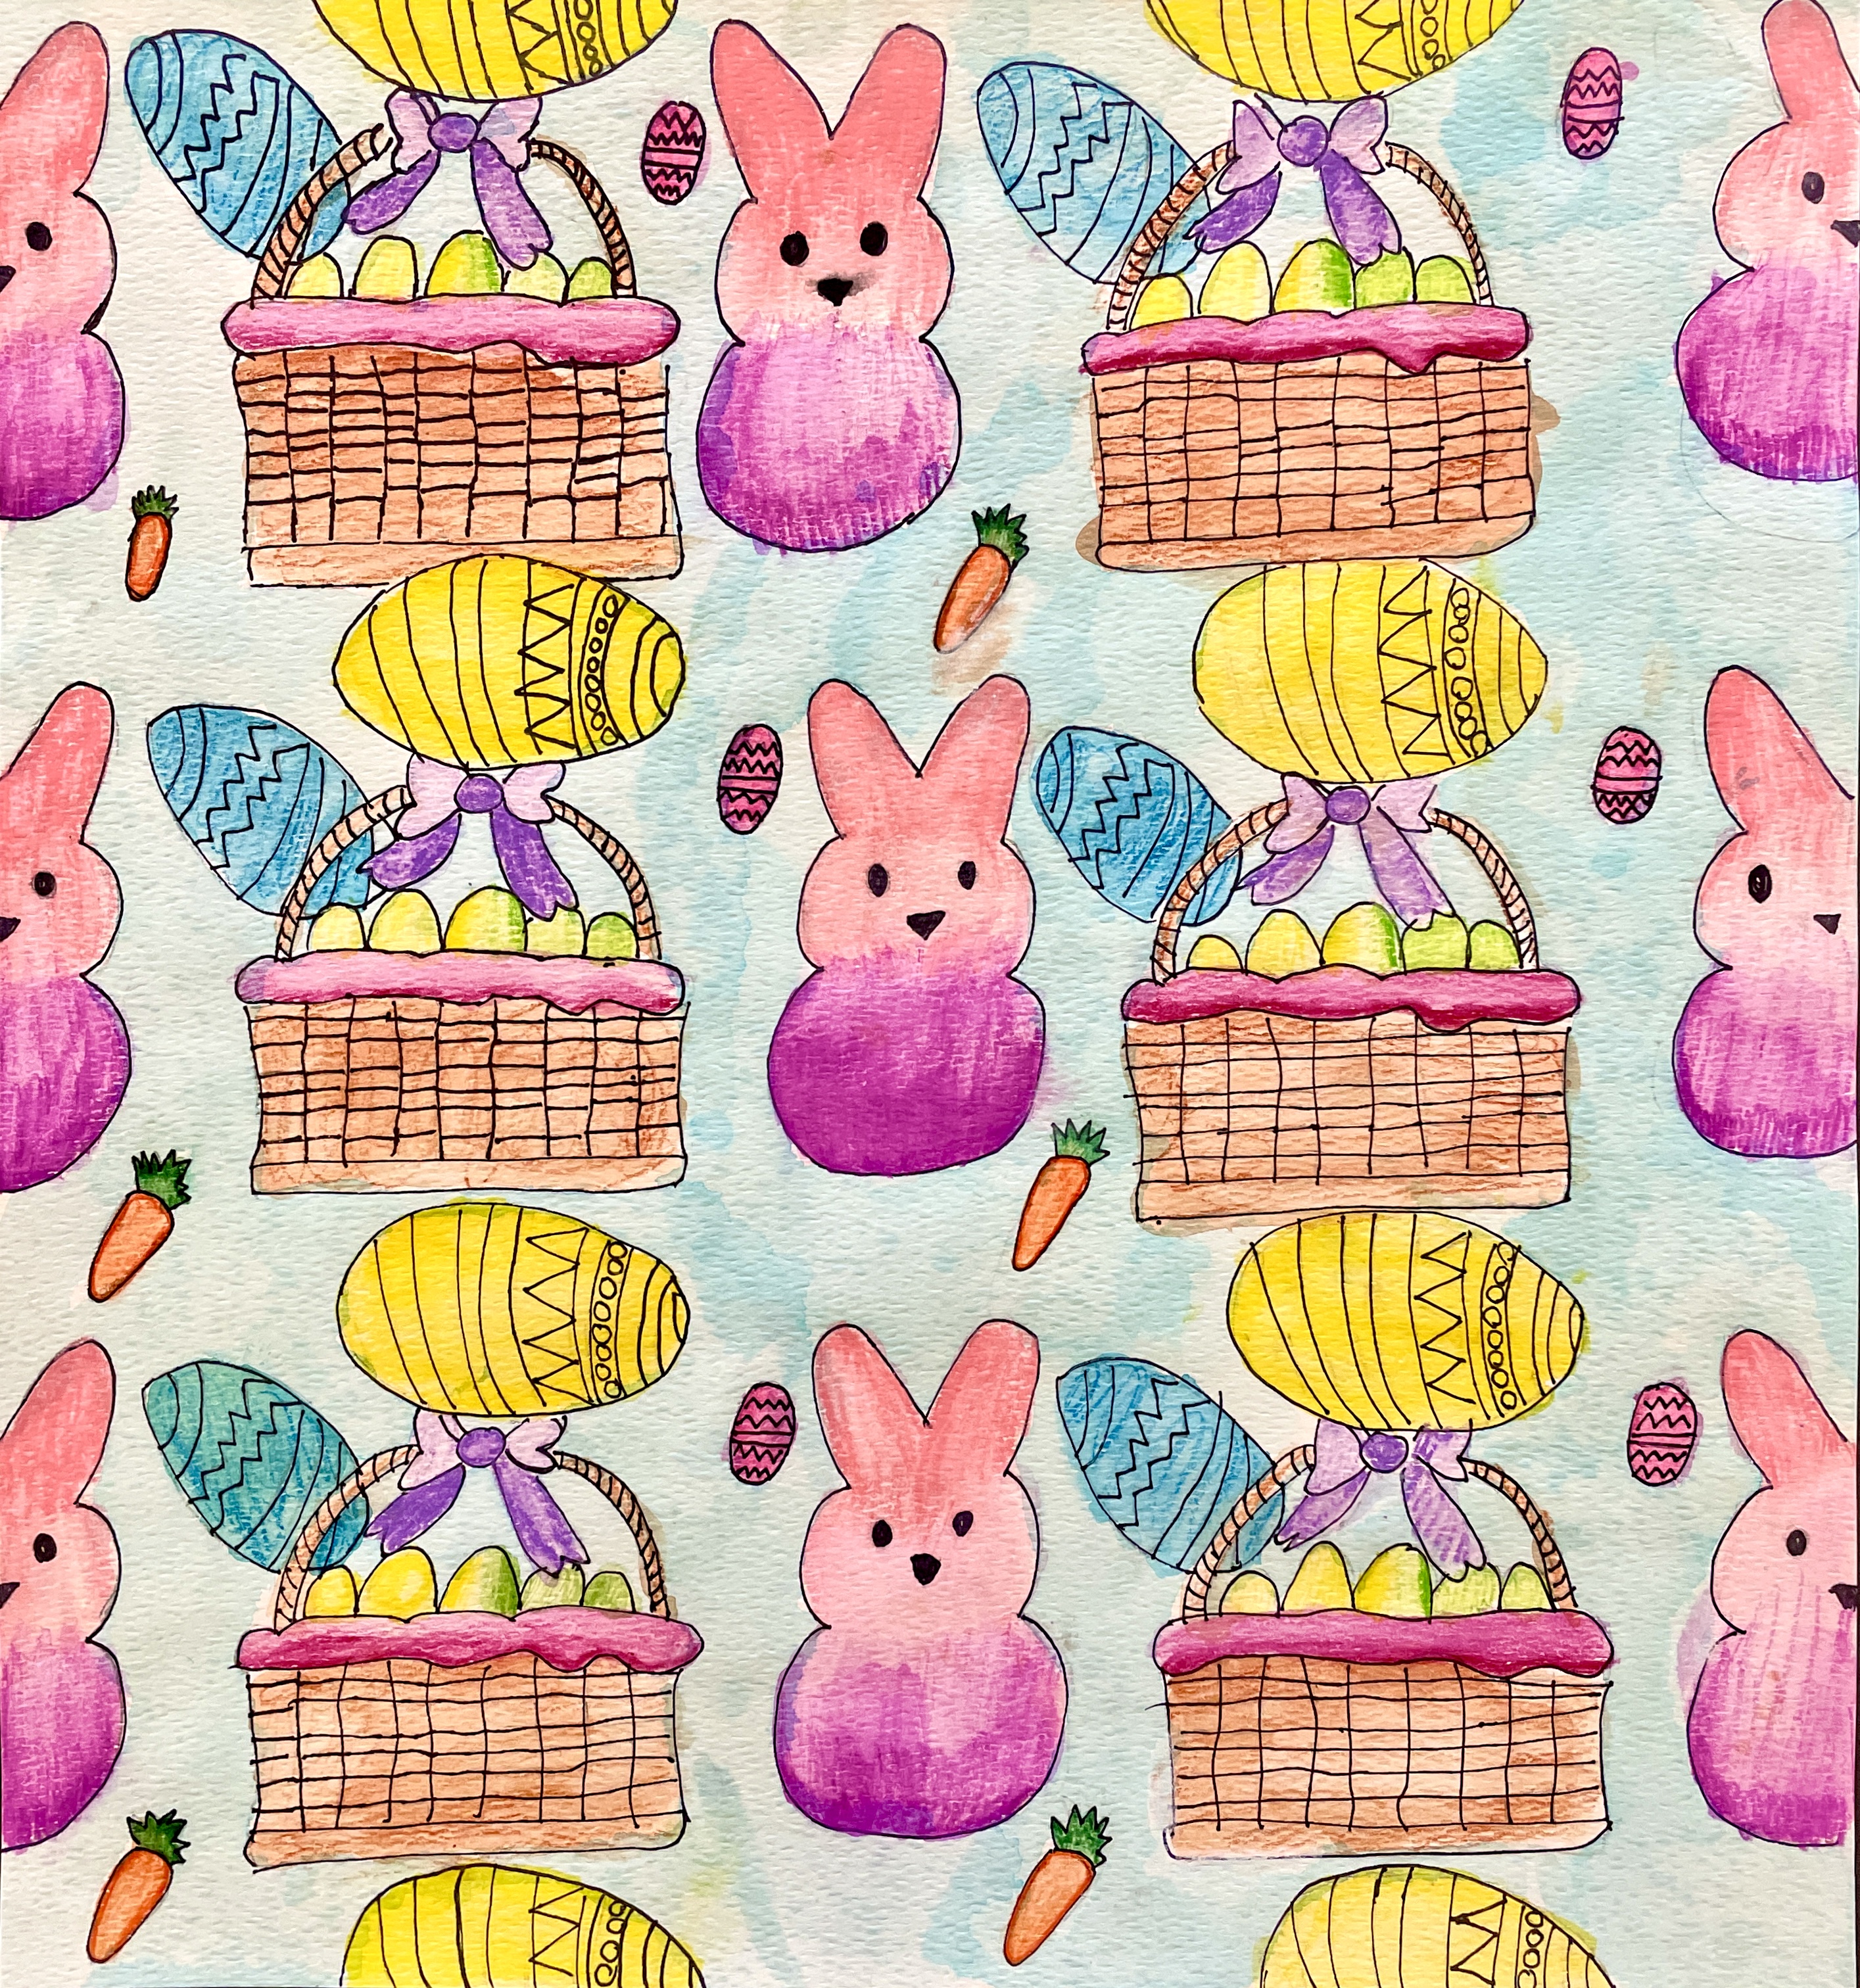
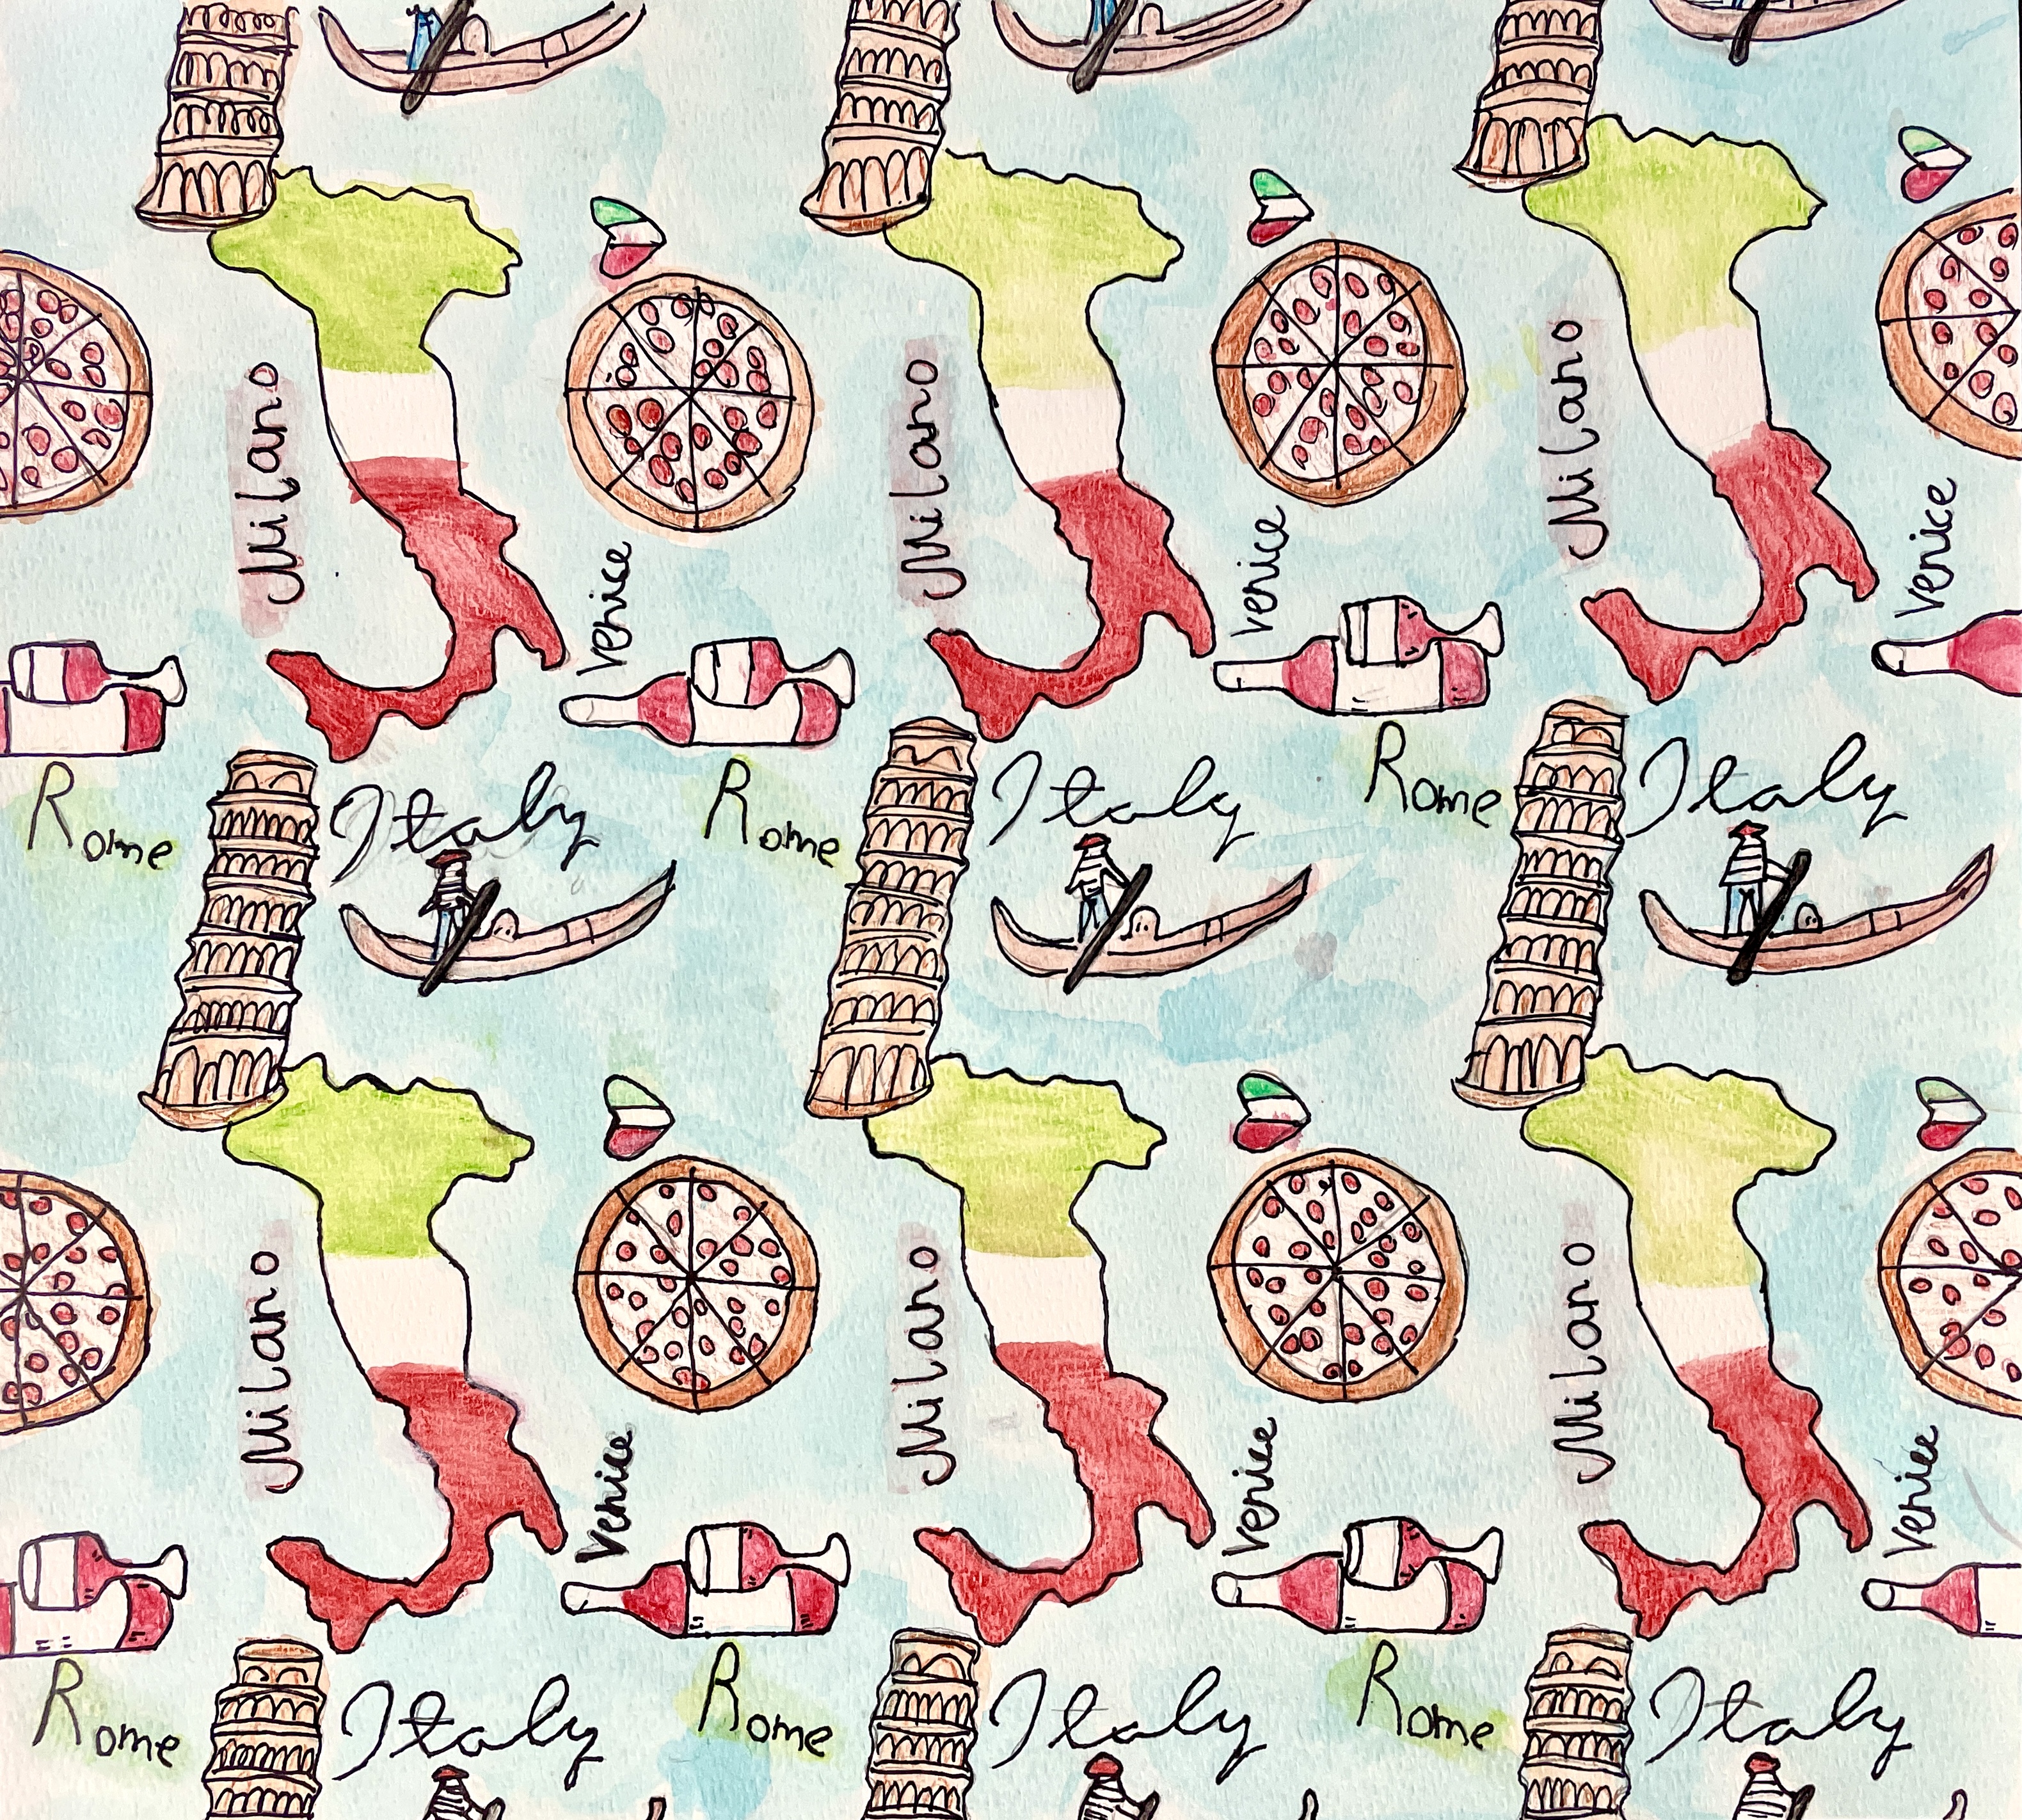
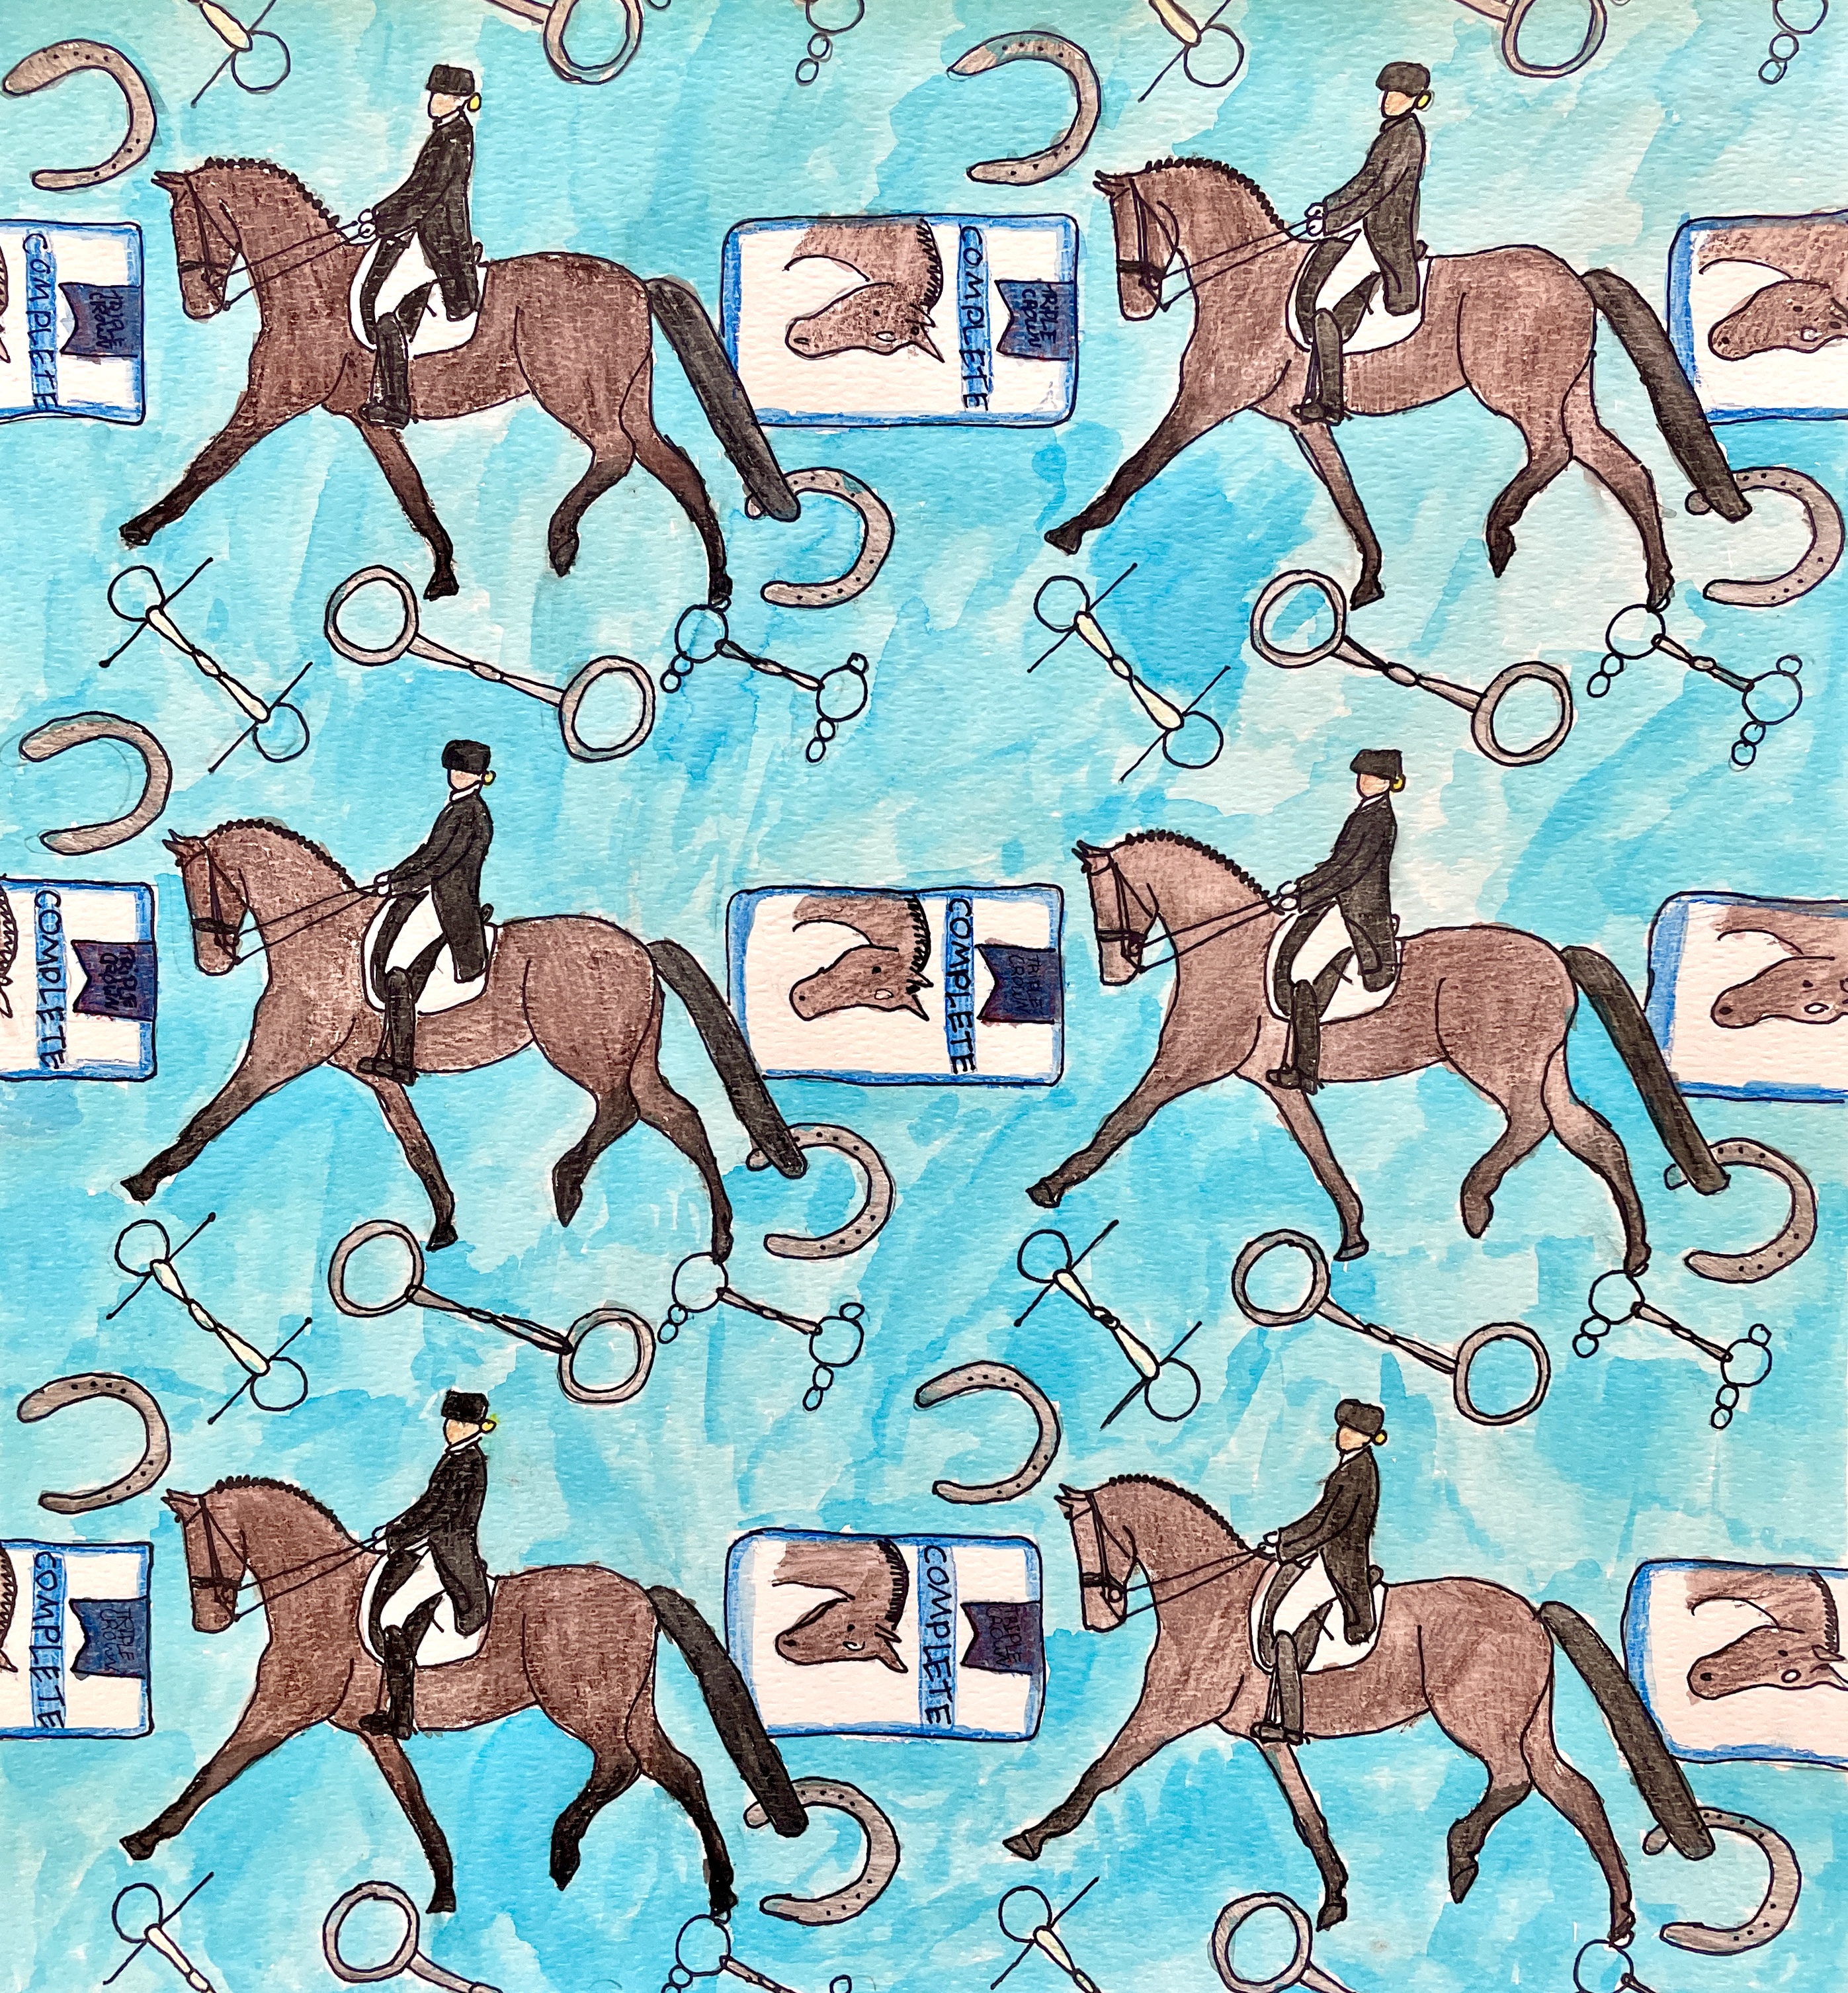
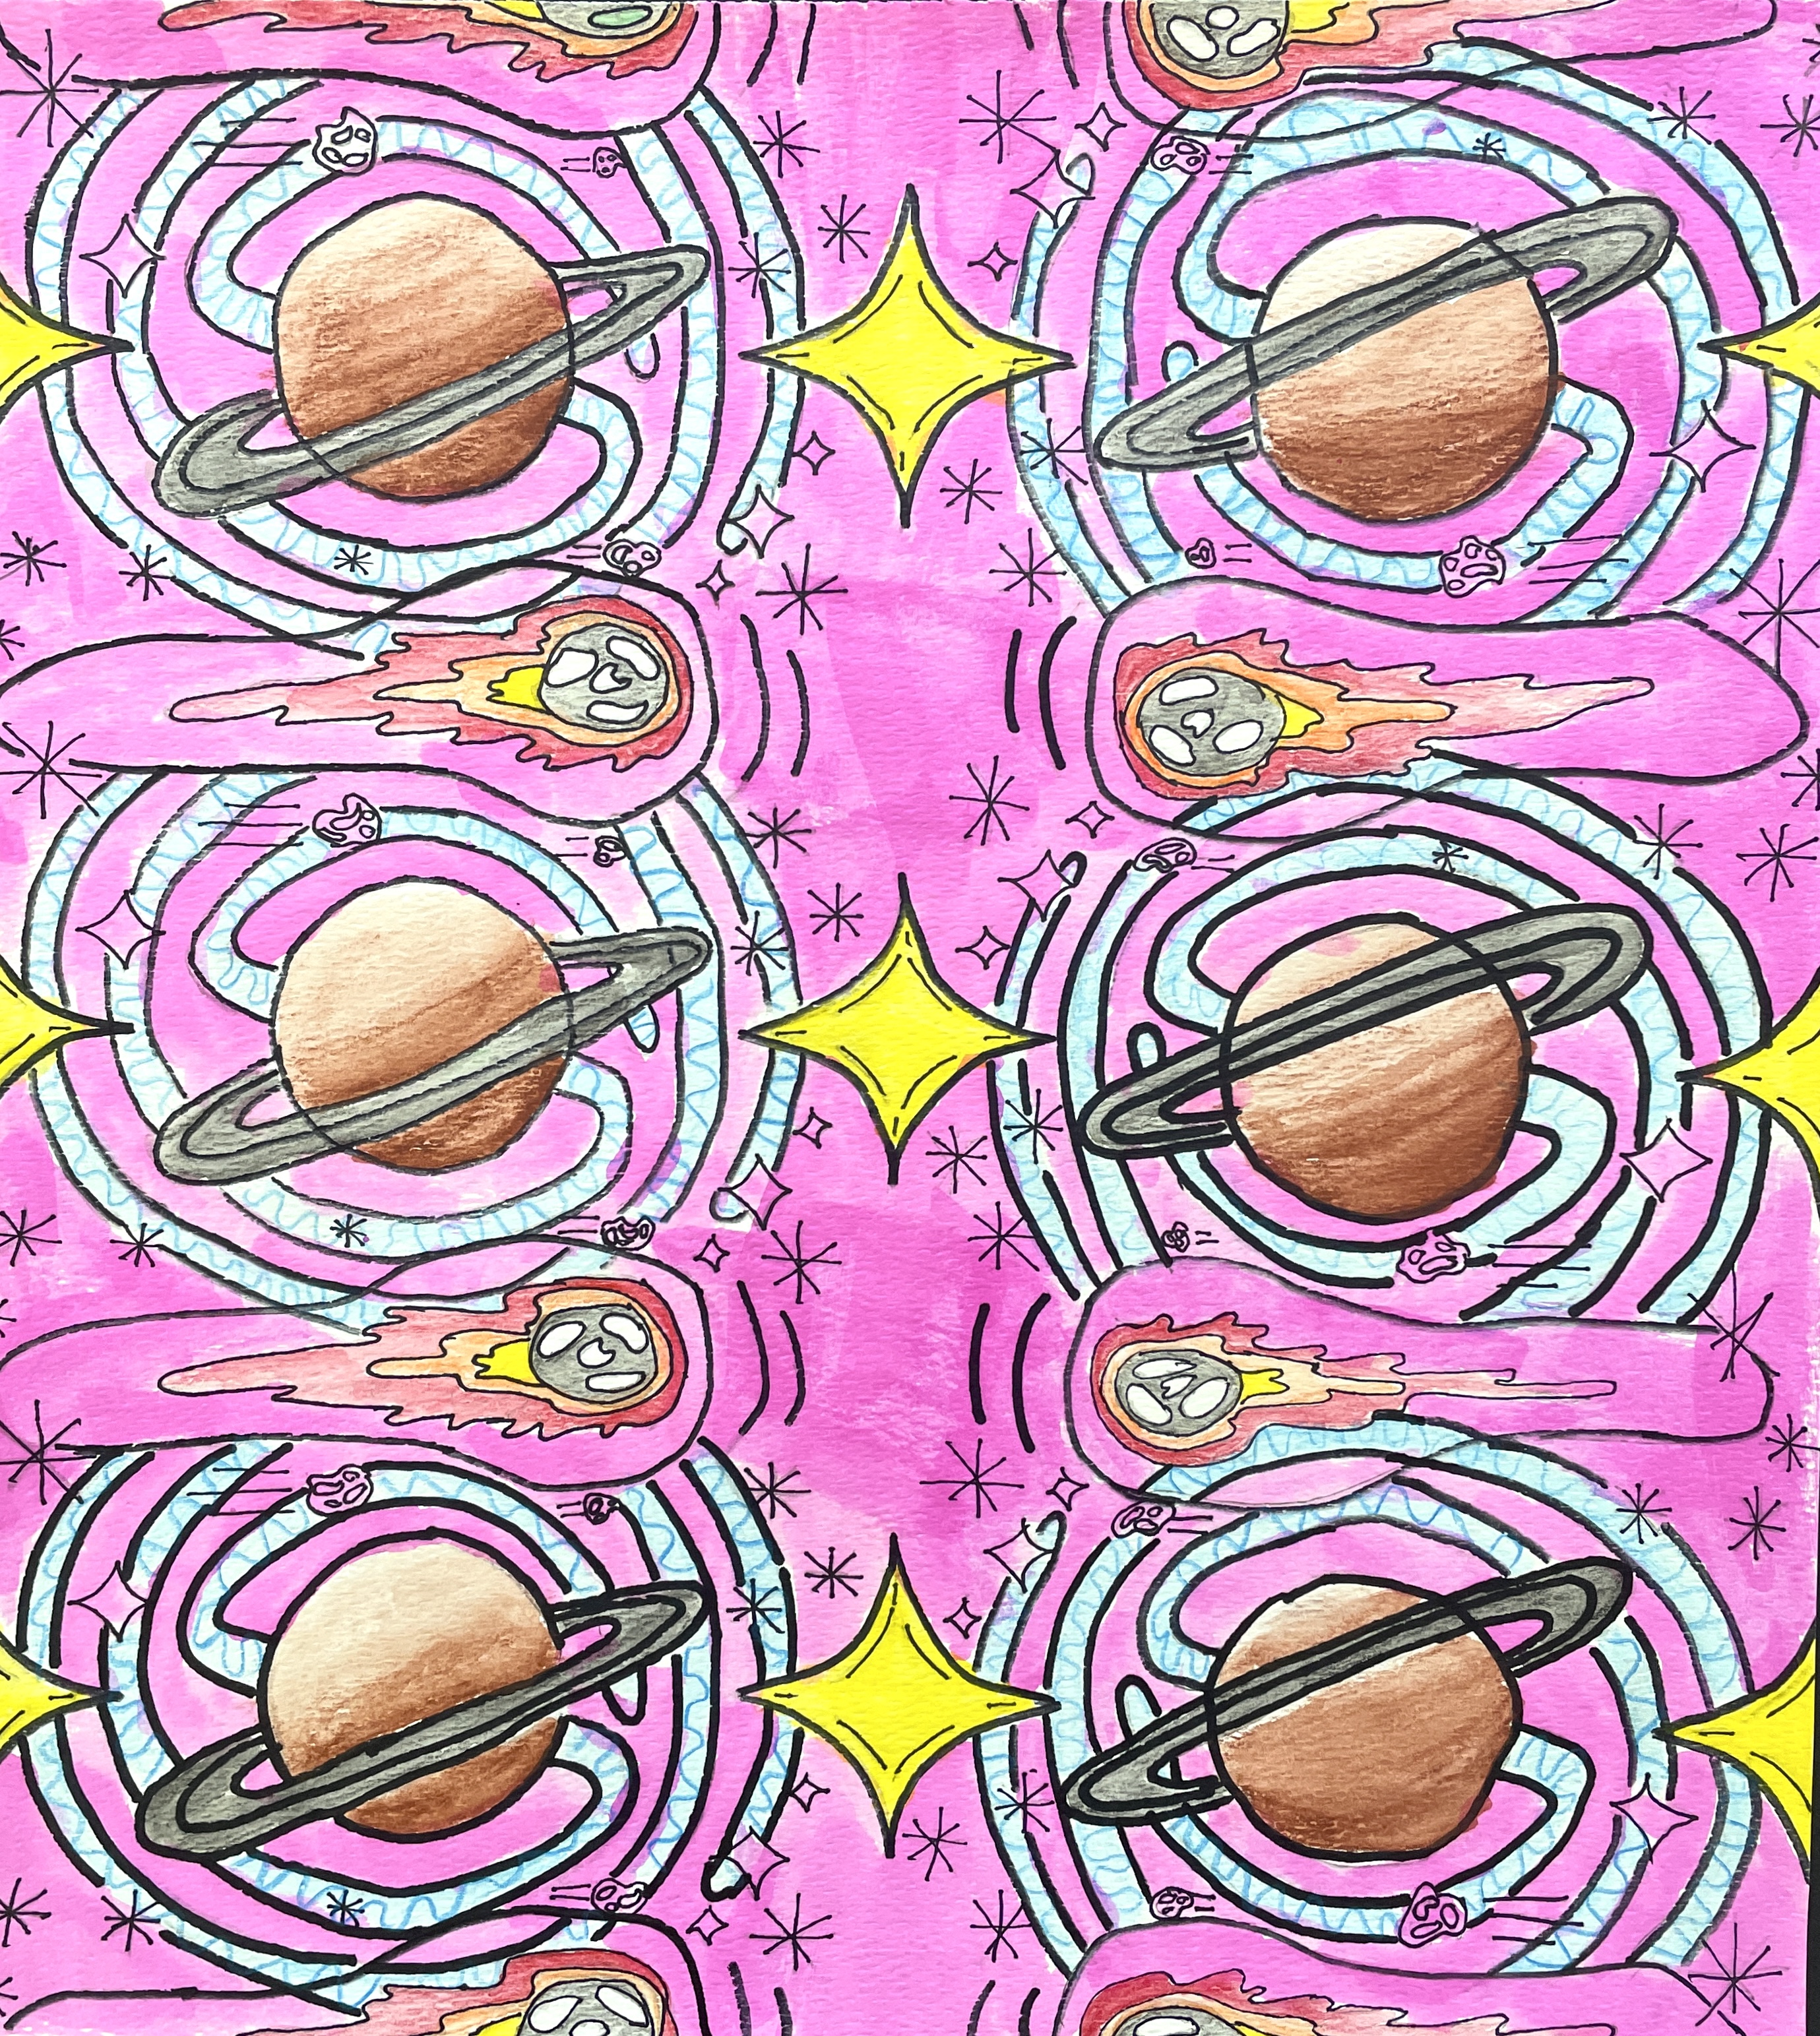
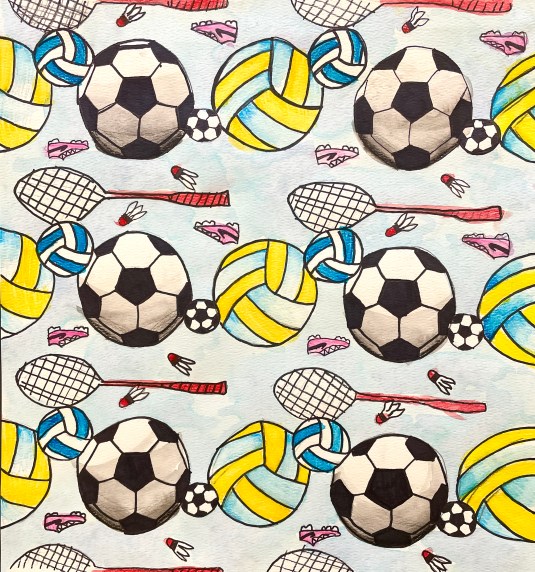
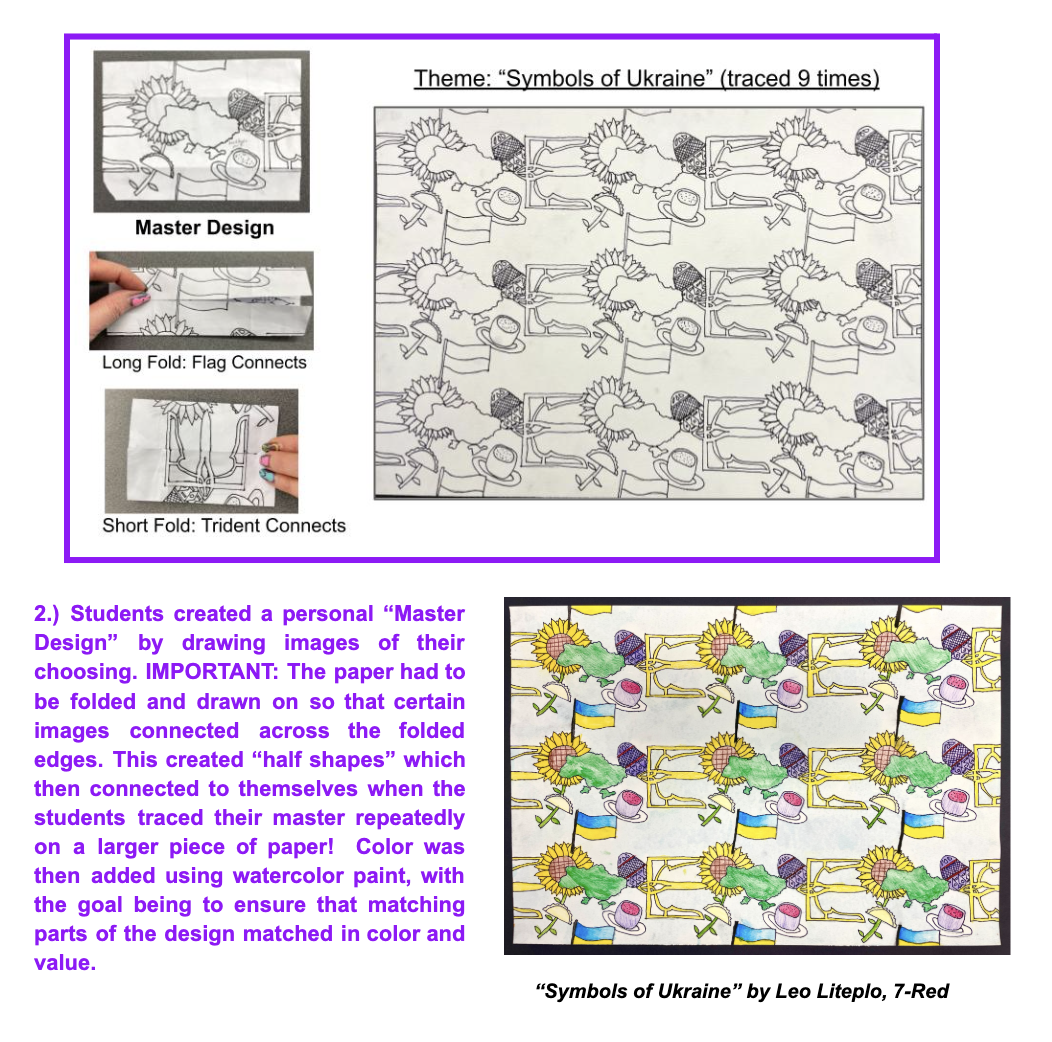
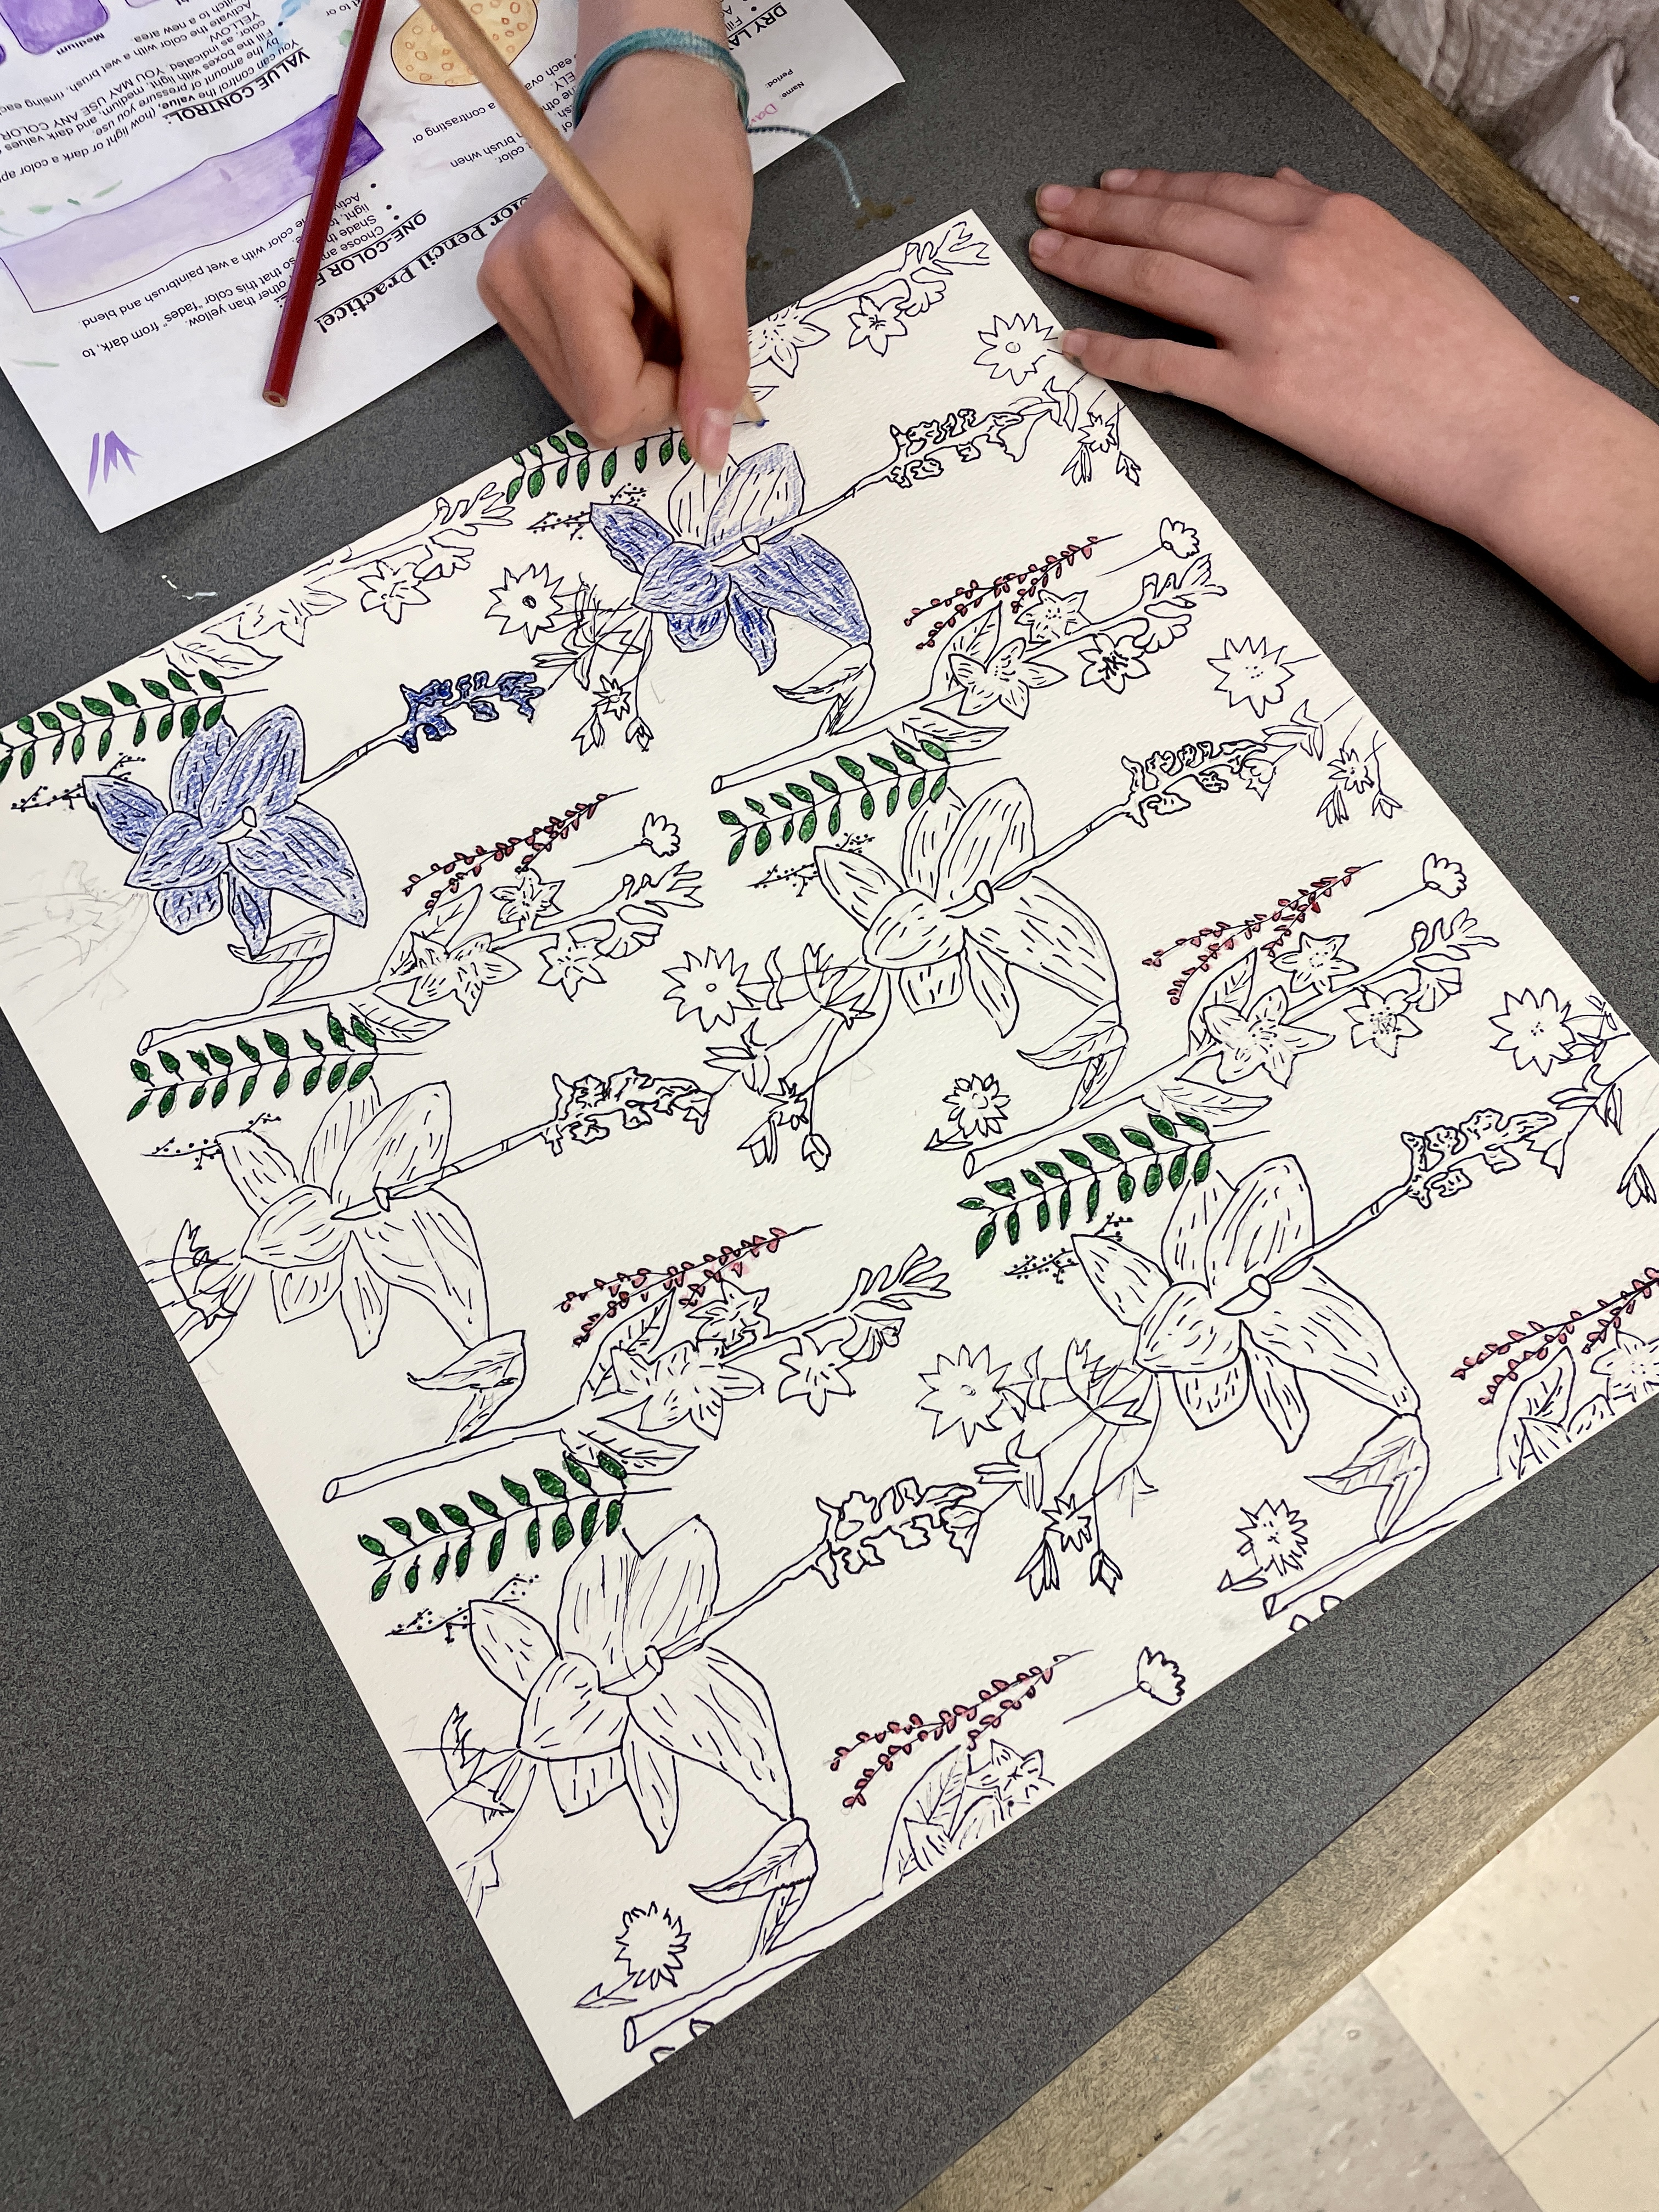
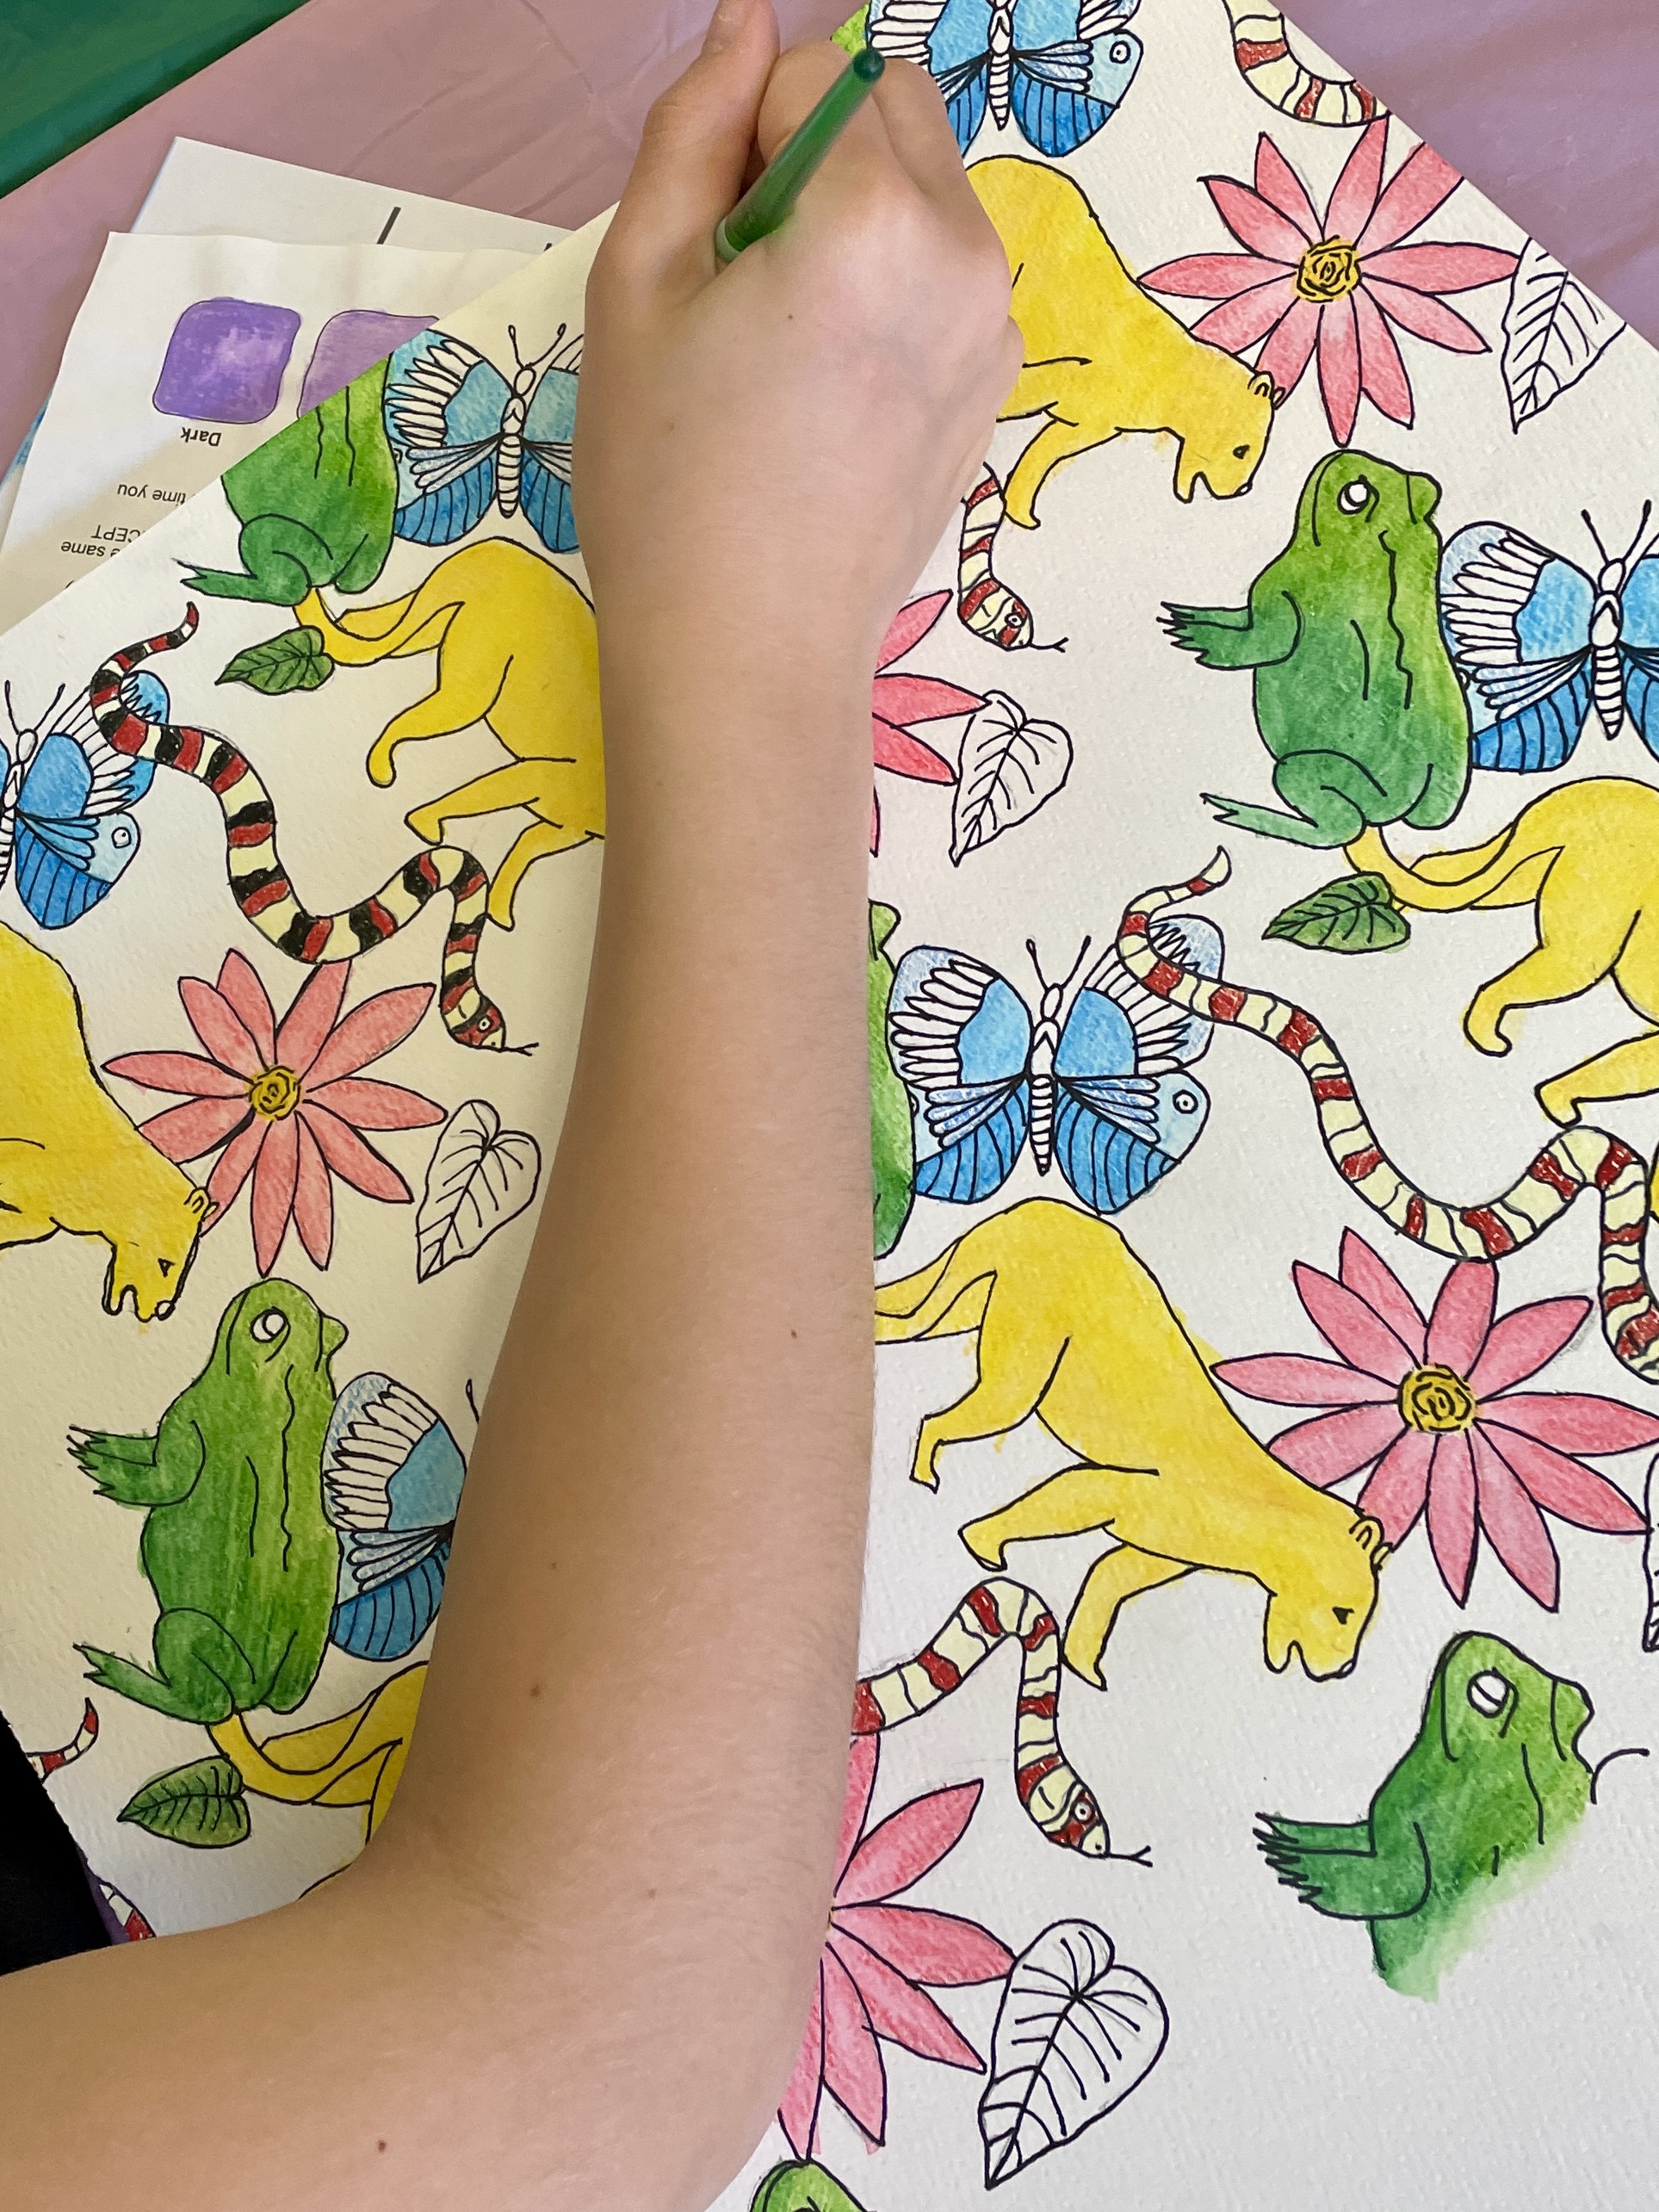
The kids LOVED being able to choose the theme of their repeating pattern, but it was tedious and required focus and patience to trace their “master design” a minimum of 6 times— first with pencil, then refined with thin Sharpie! We used watercolor pencils to color the images. They provide more control and precision than pan or liquid watercolors. We did use liquid watercolors for the background since it was crucial to mix and apply a very consistent tone! This lesson was a challenge for my 7th graders and I do think it would be most successful with 8th graders or high school students.
If you want to try this lesson with your students, you will find all the instructions, videos and access to practice worksheets in THIS GOOGLE SLIDE SHOW.
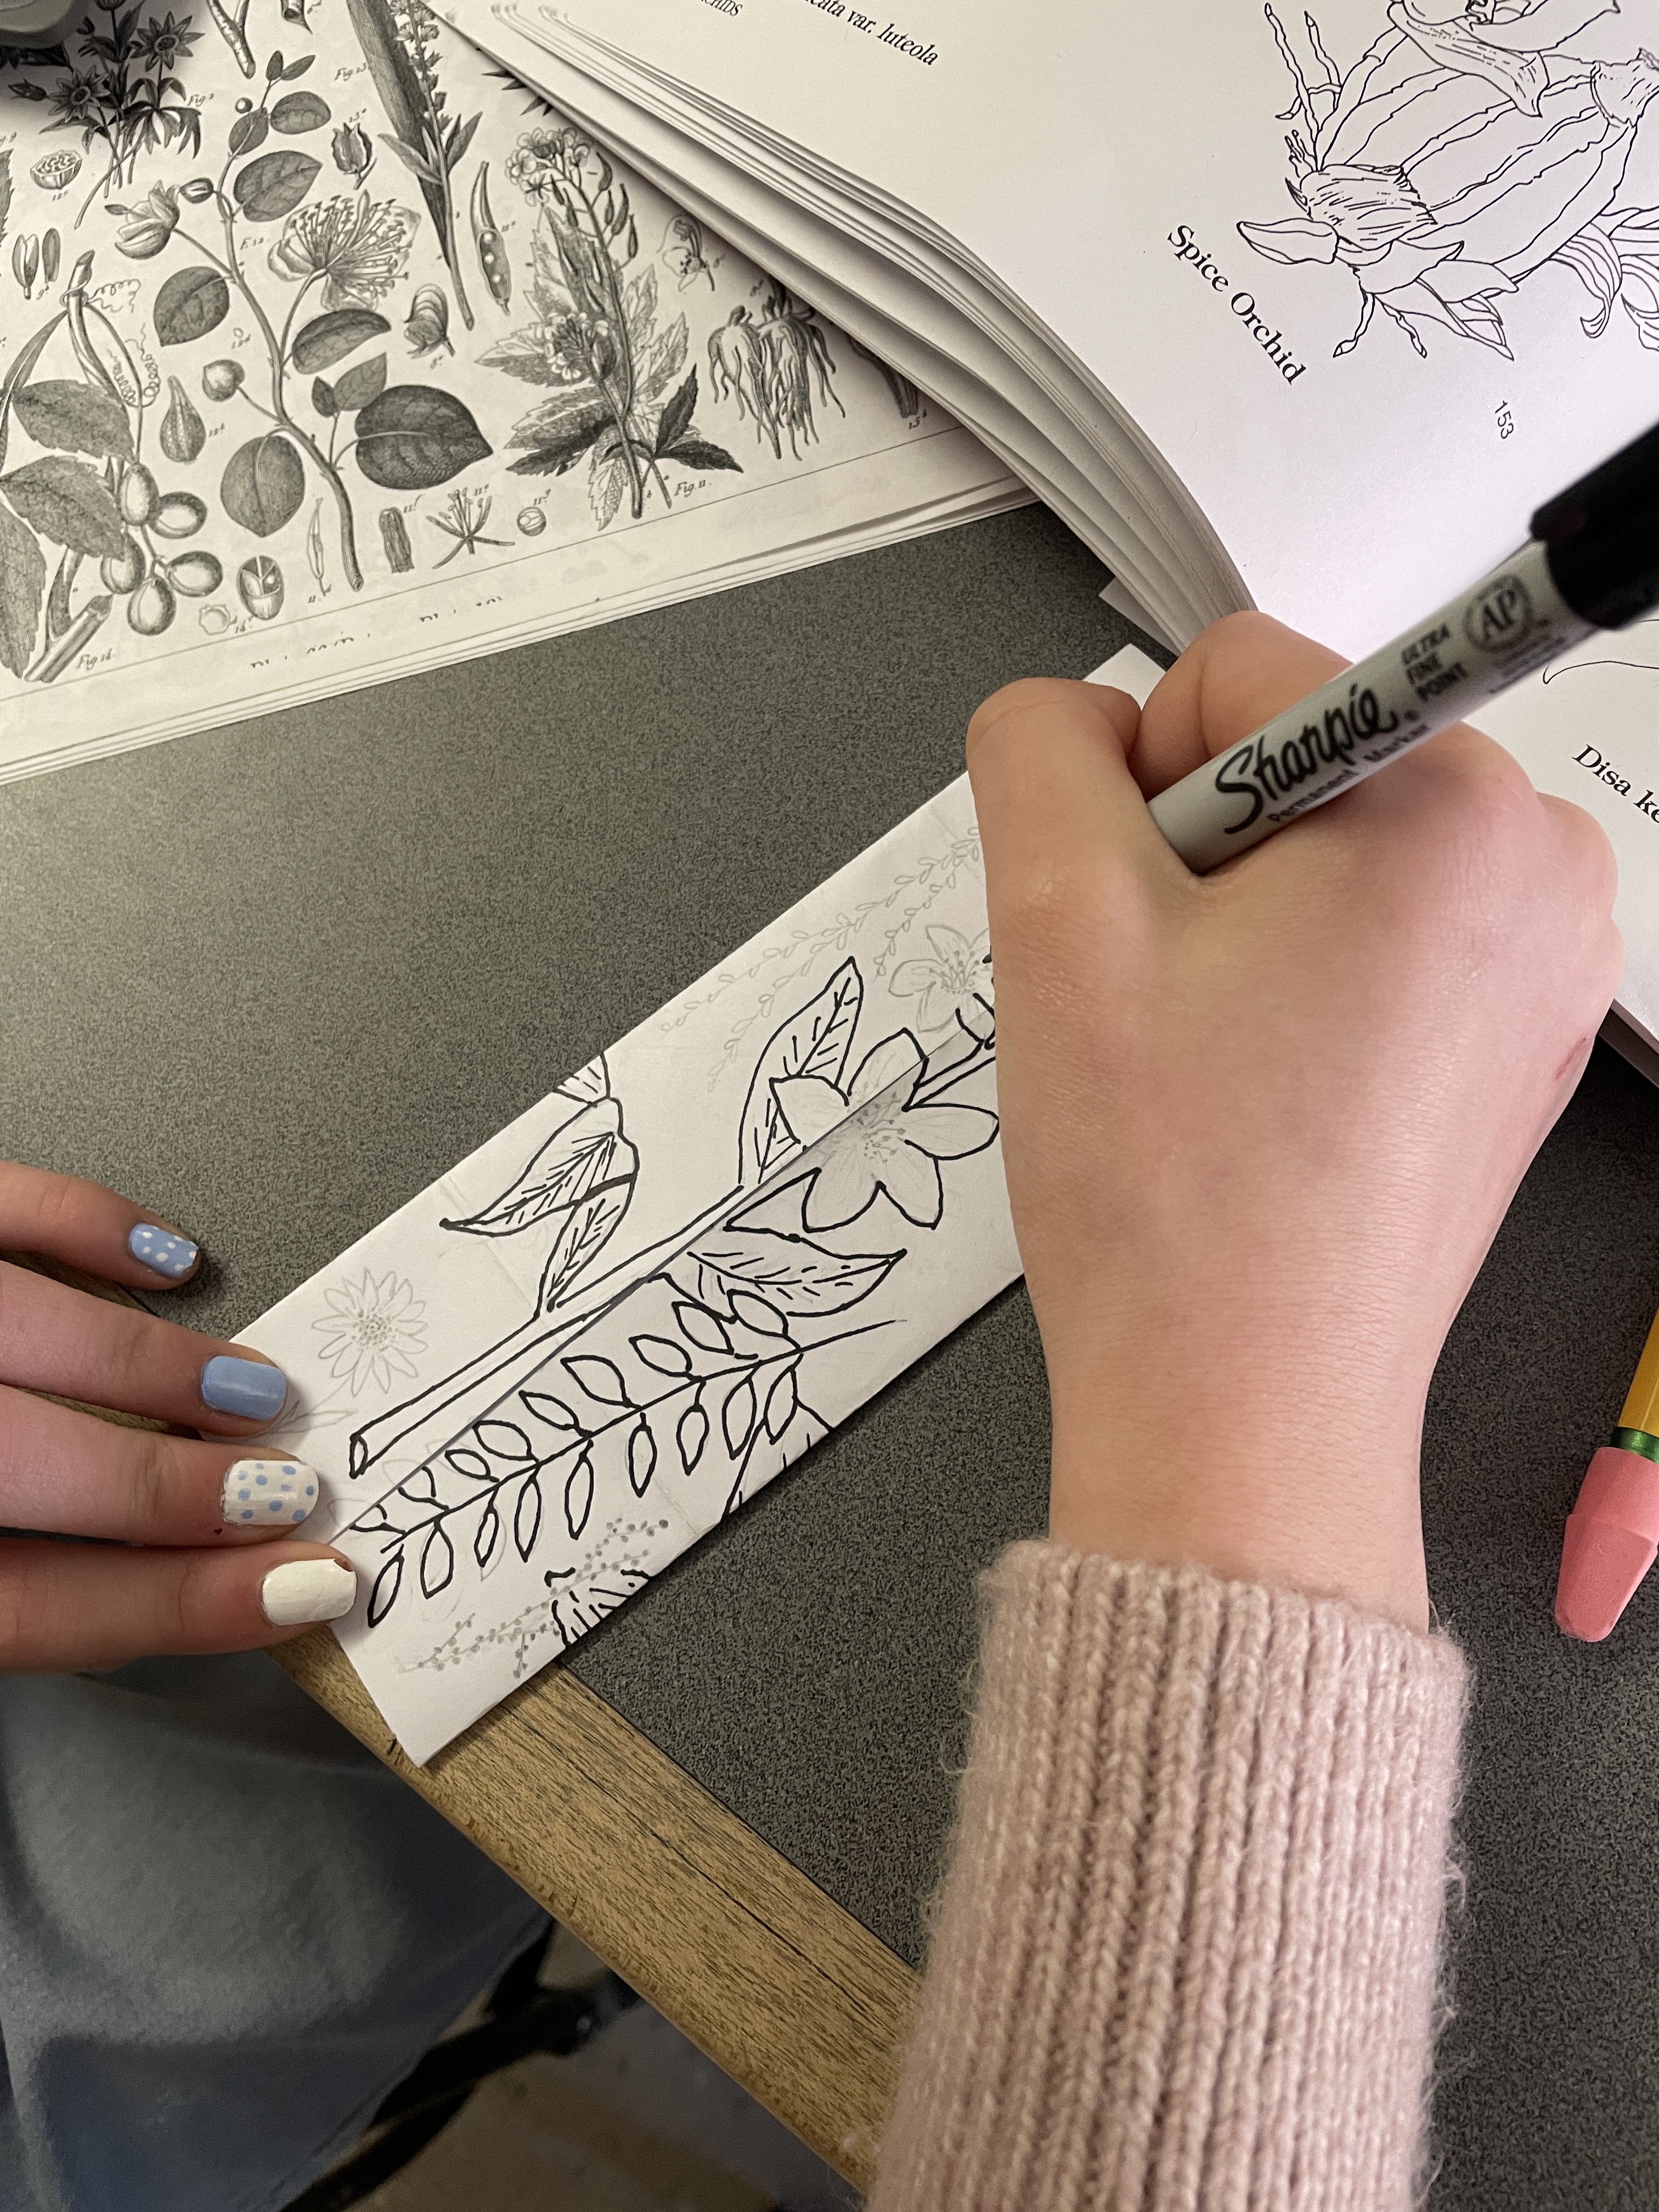
A student works on her Master Design
– – –
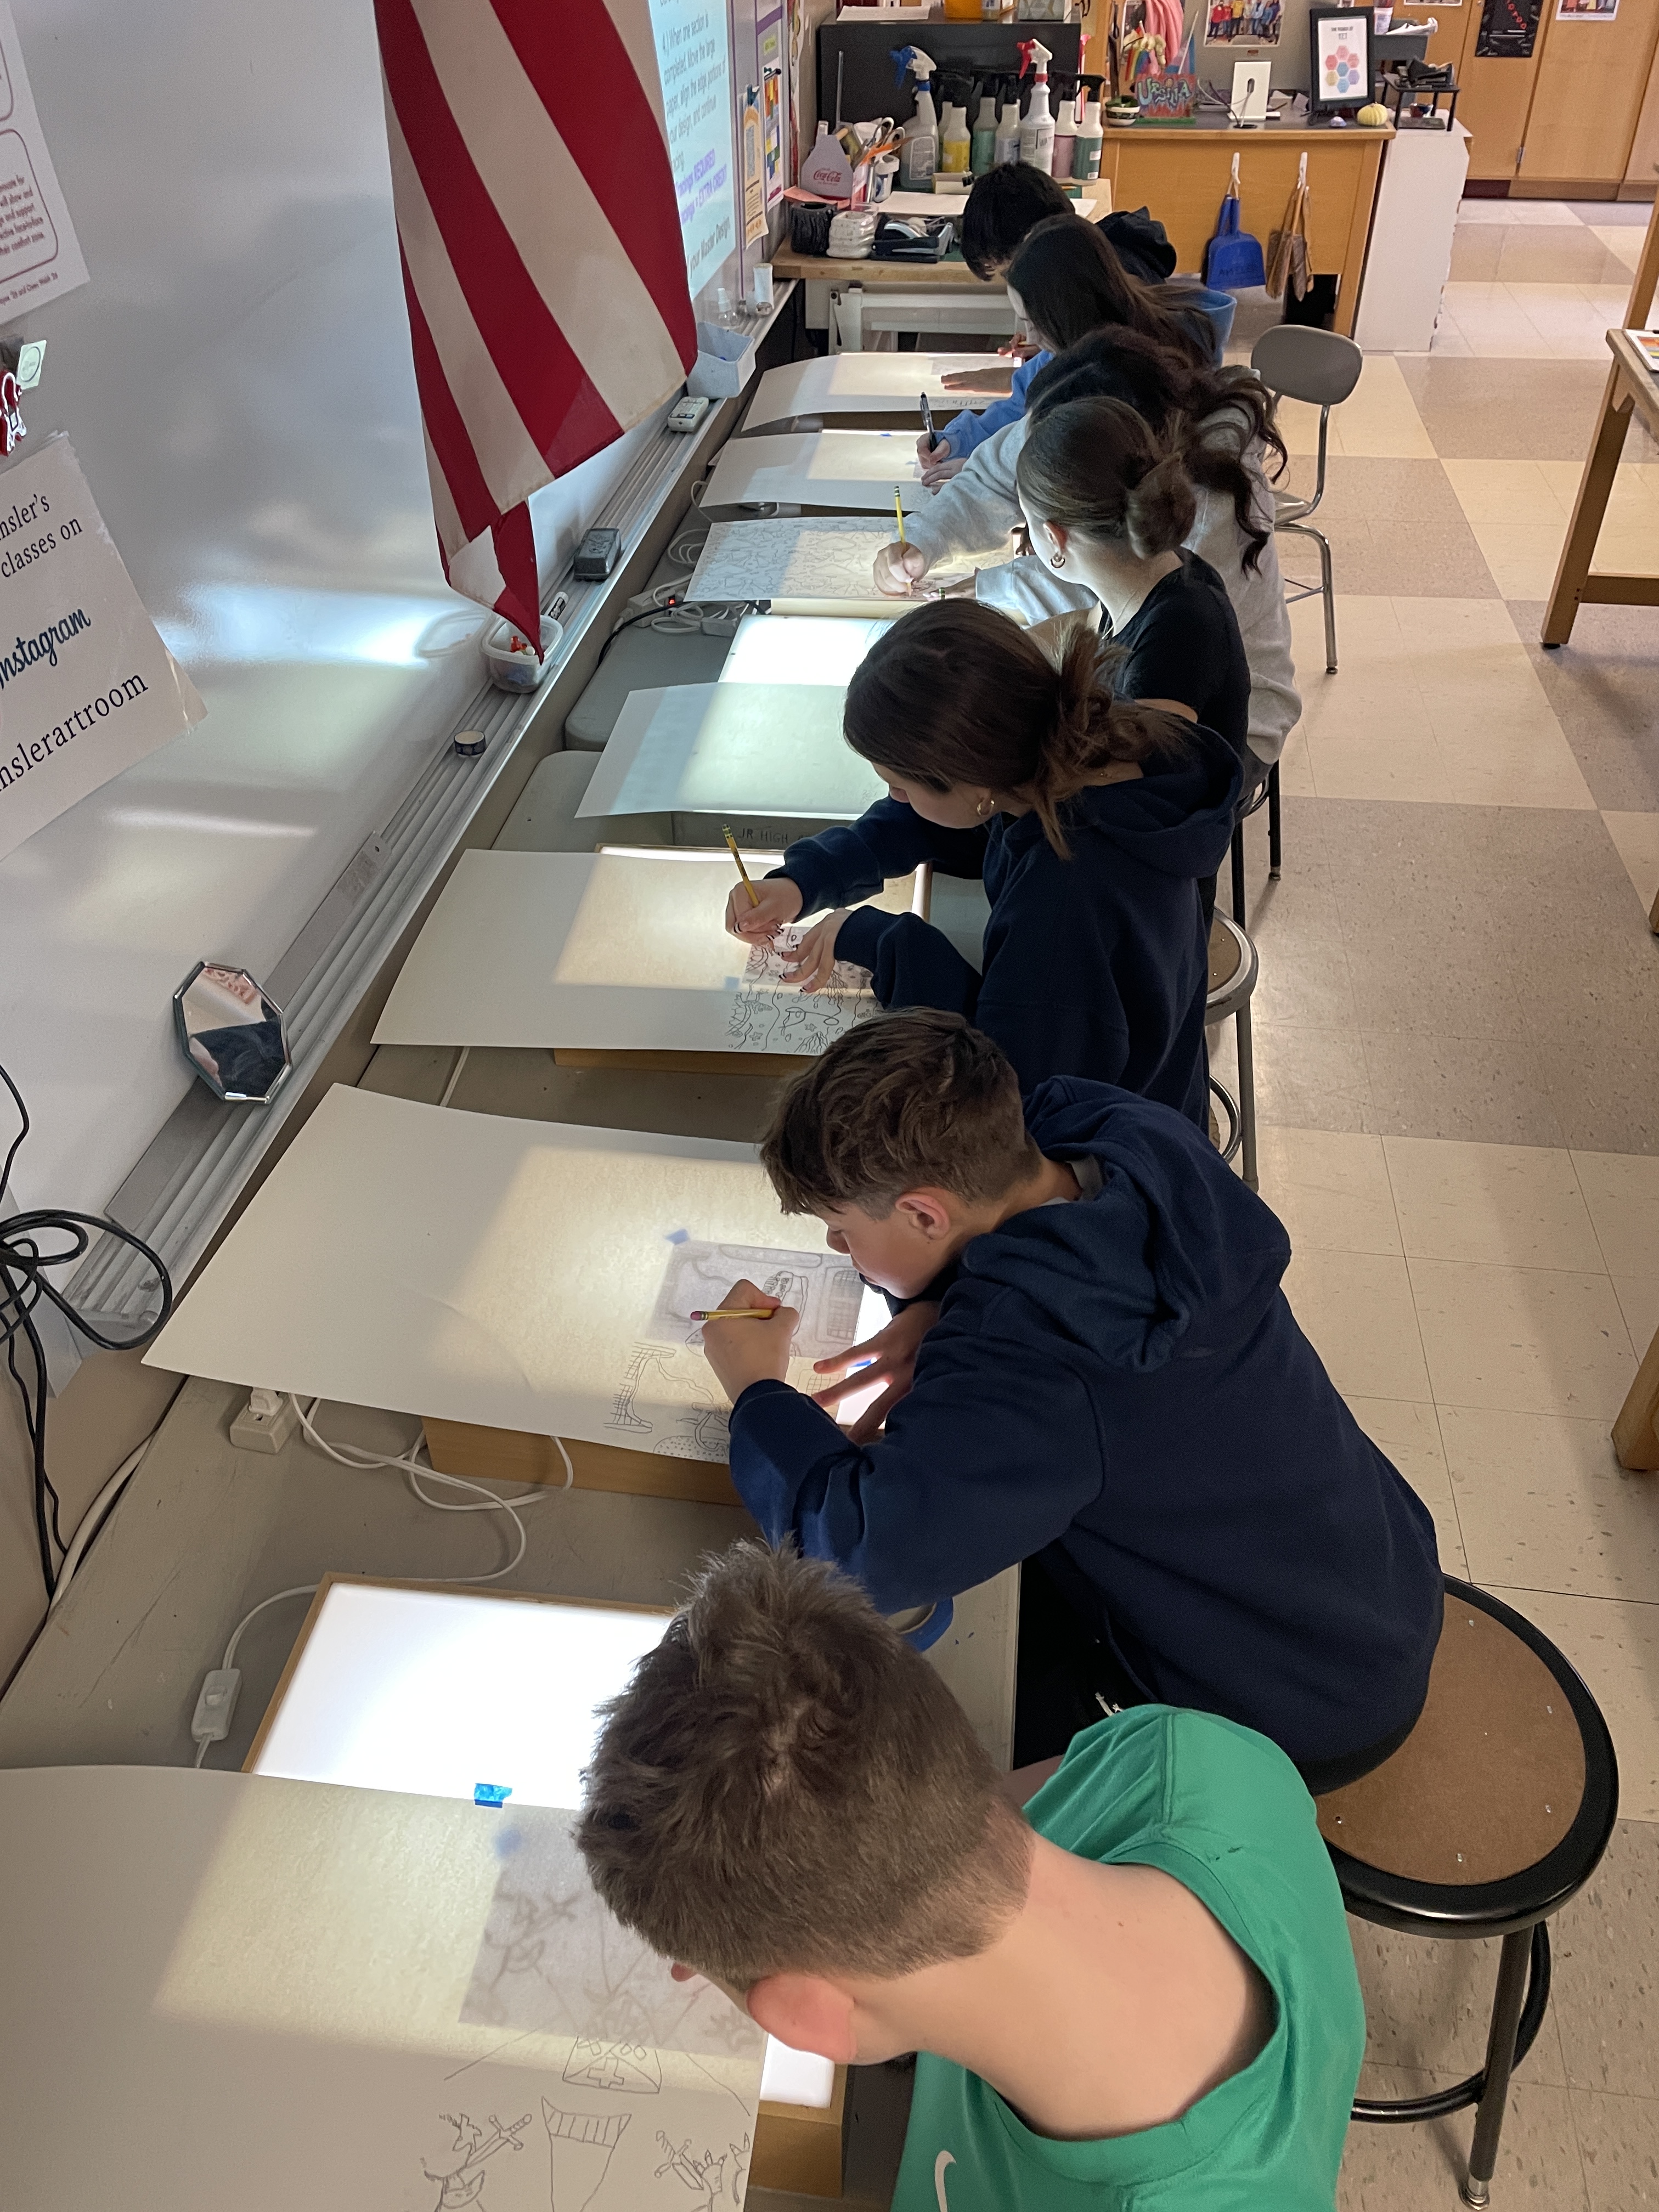
Students Tracing their “Master Design” at the Light Tables
– – –
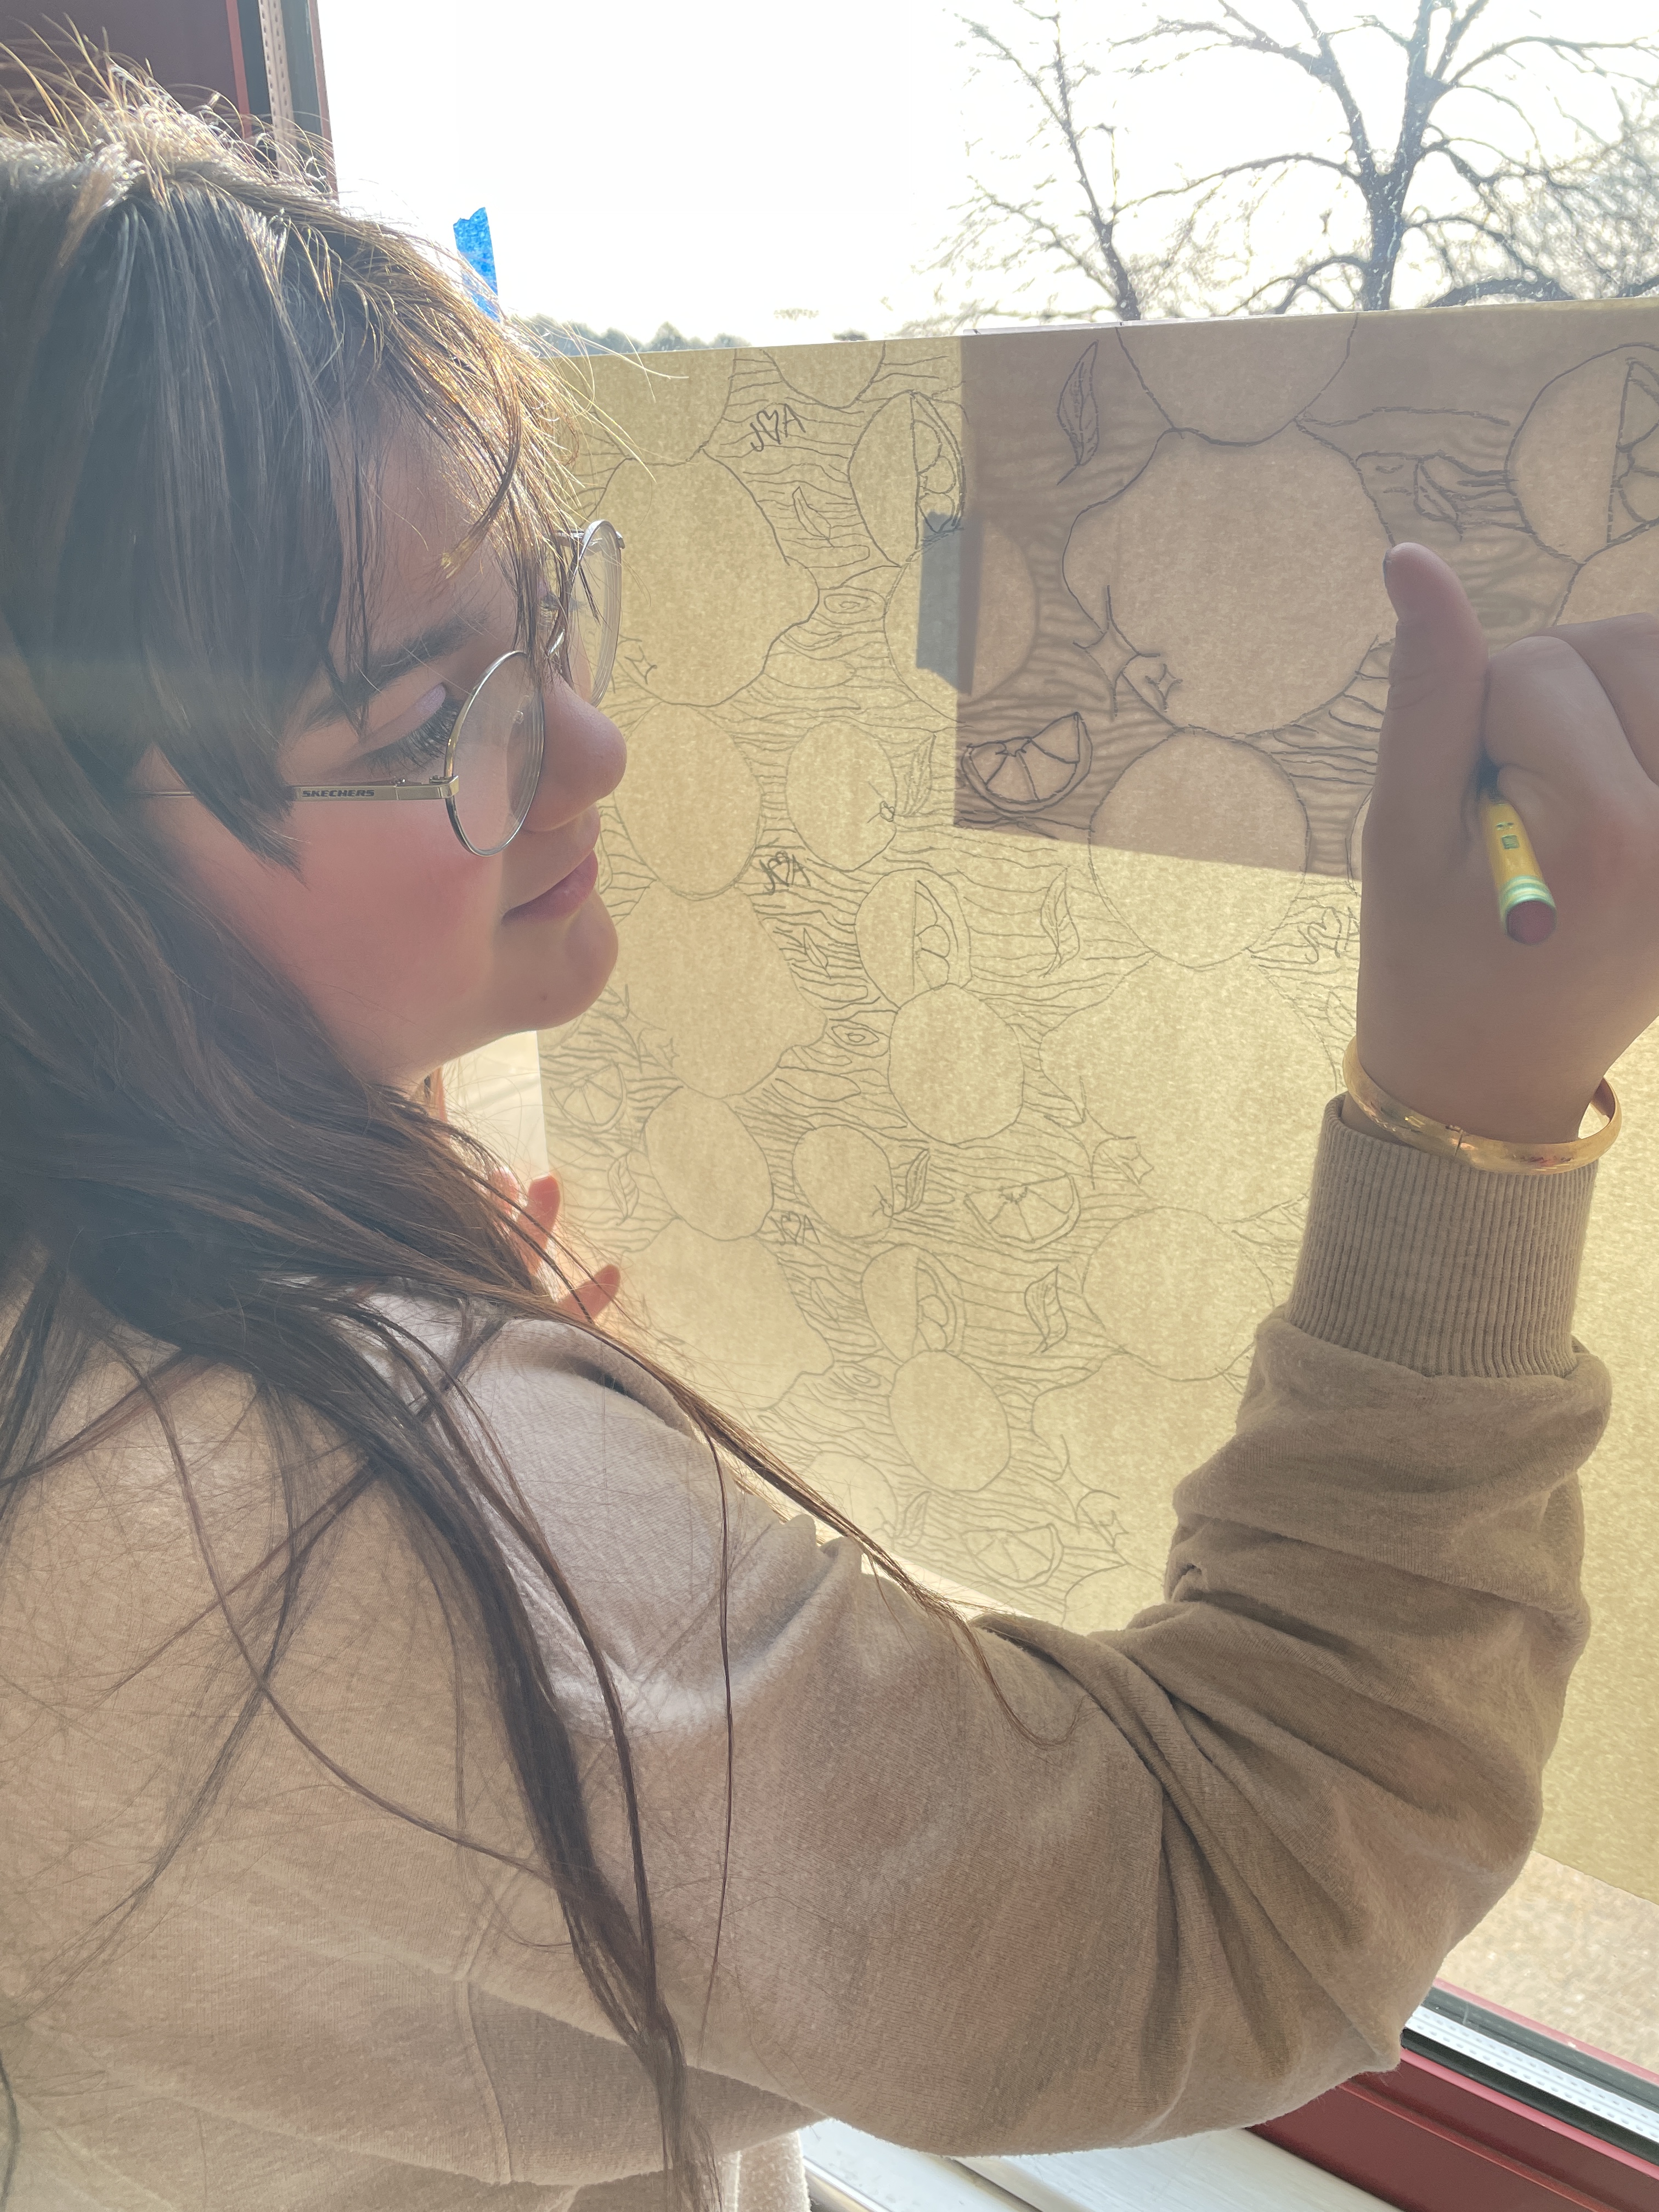
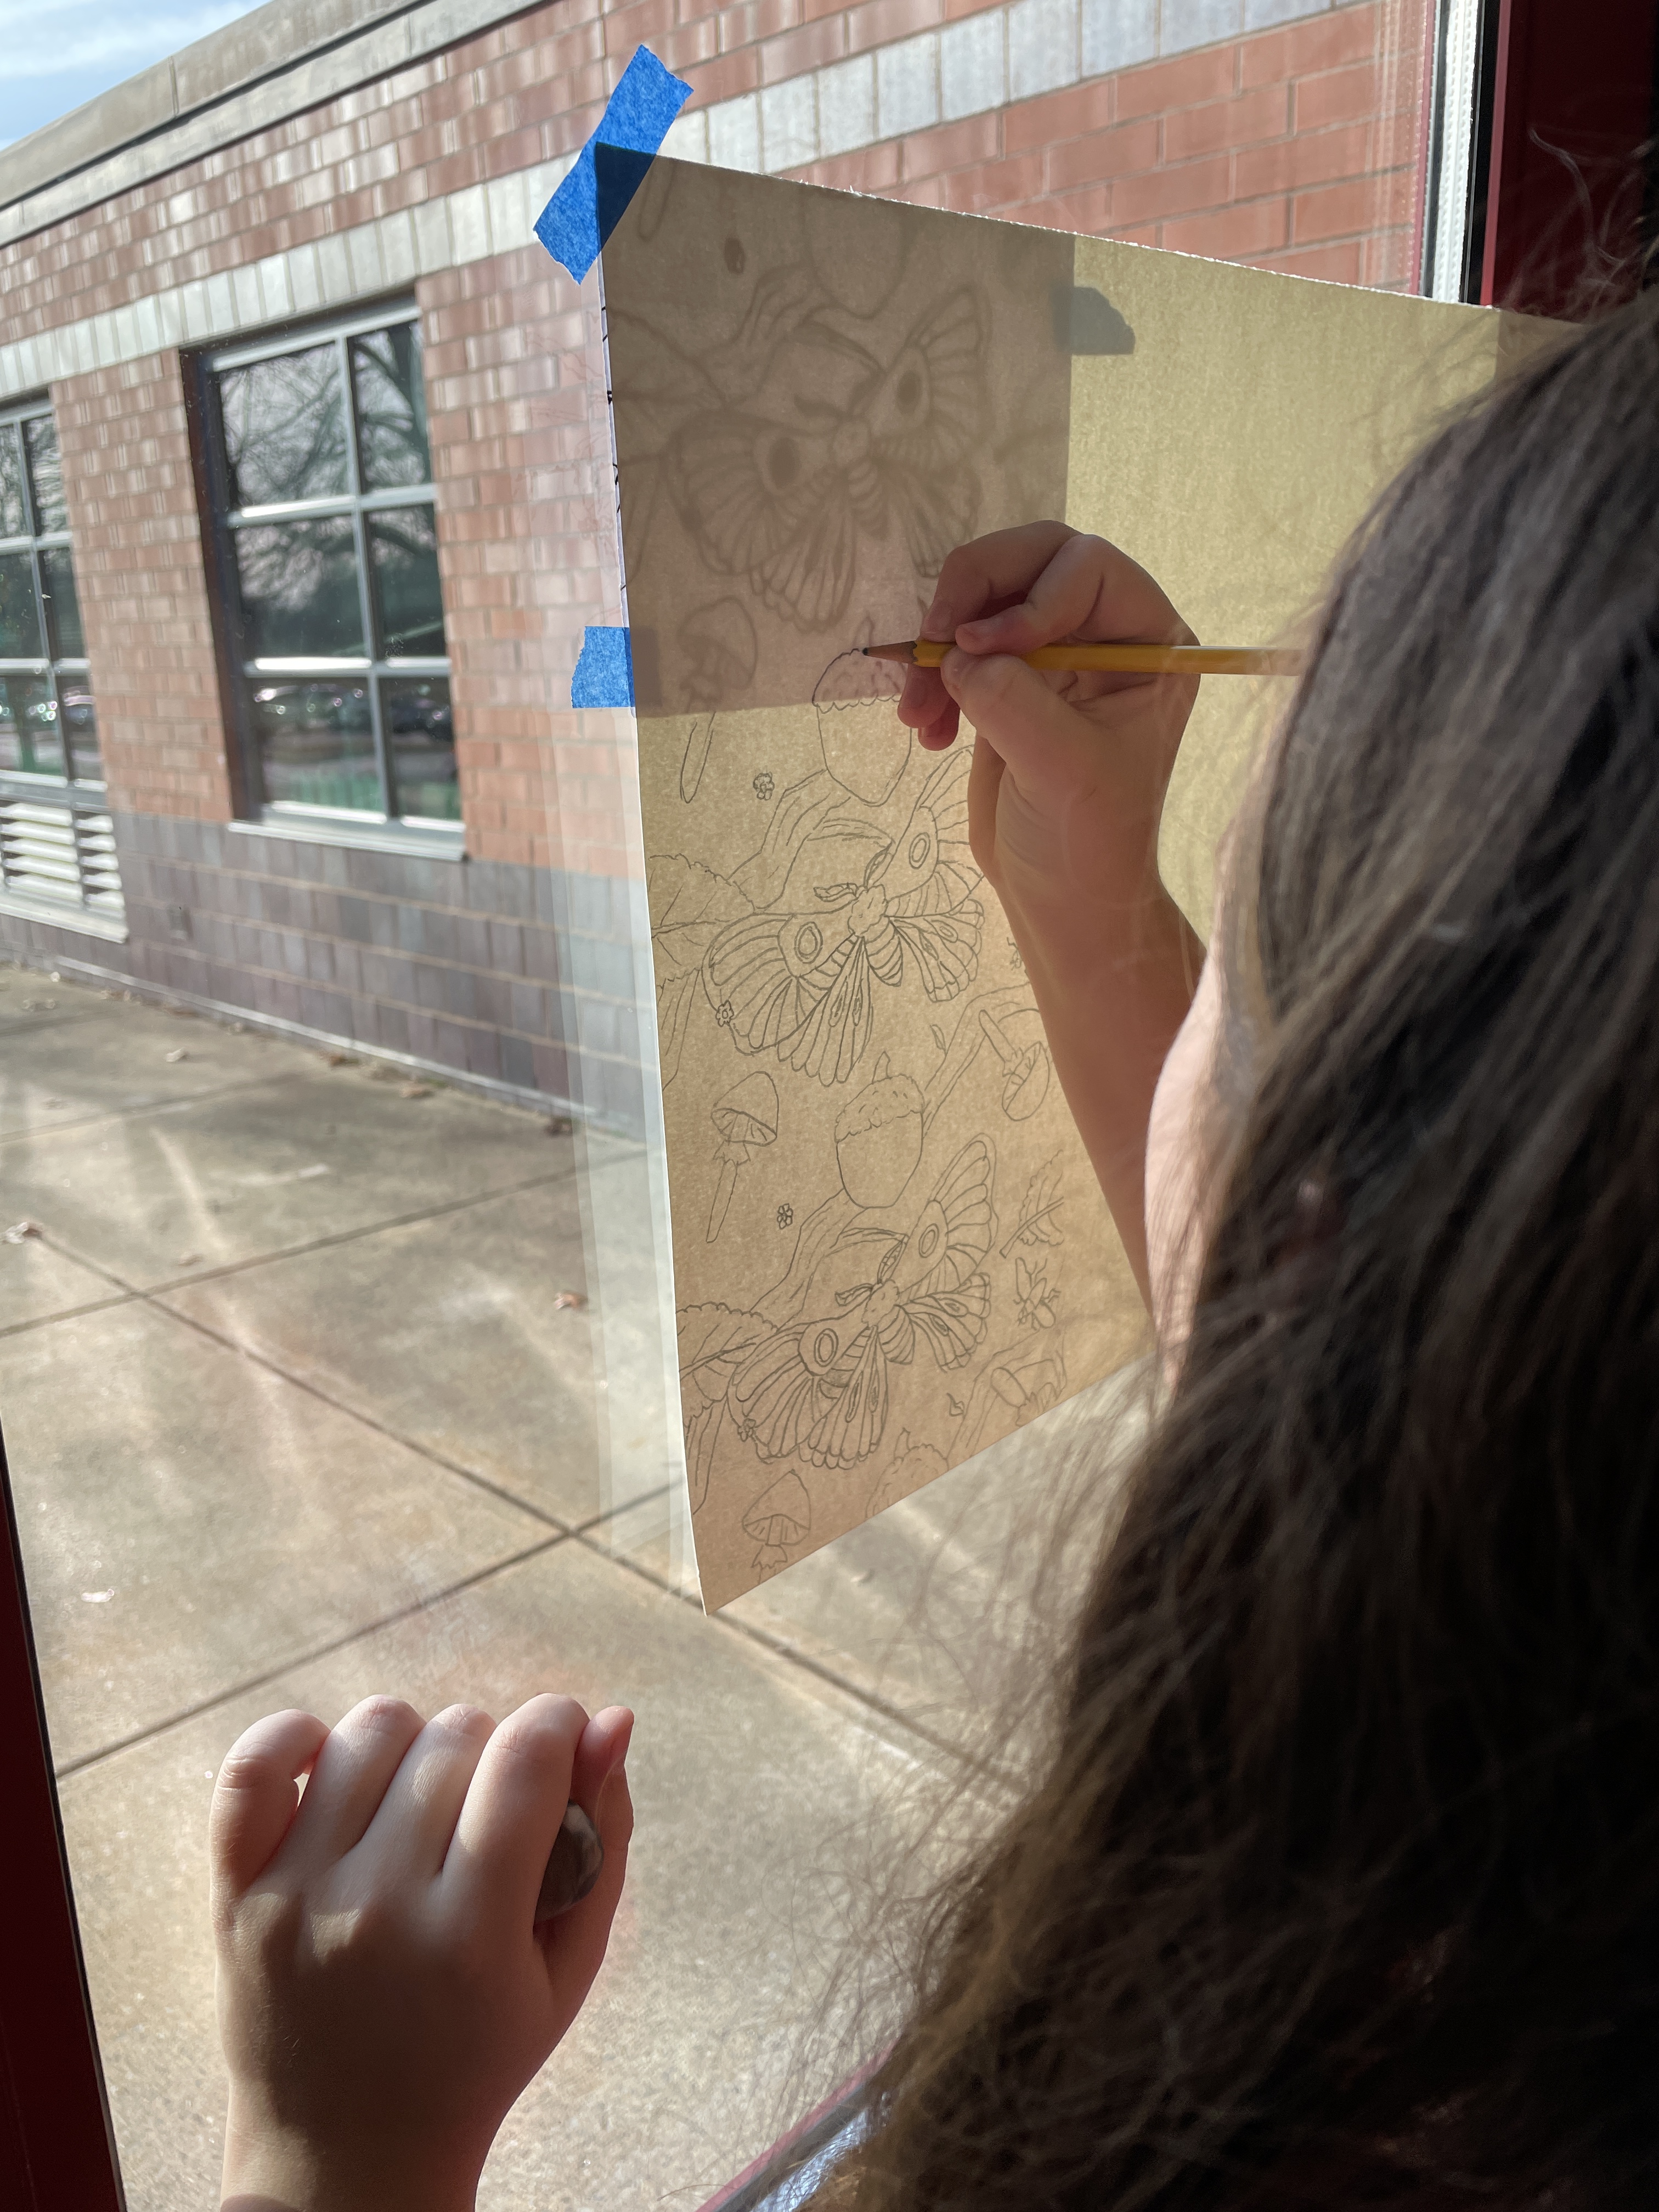
Windows Work Well, too!
—
Tips for Success:
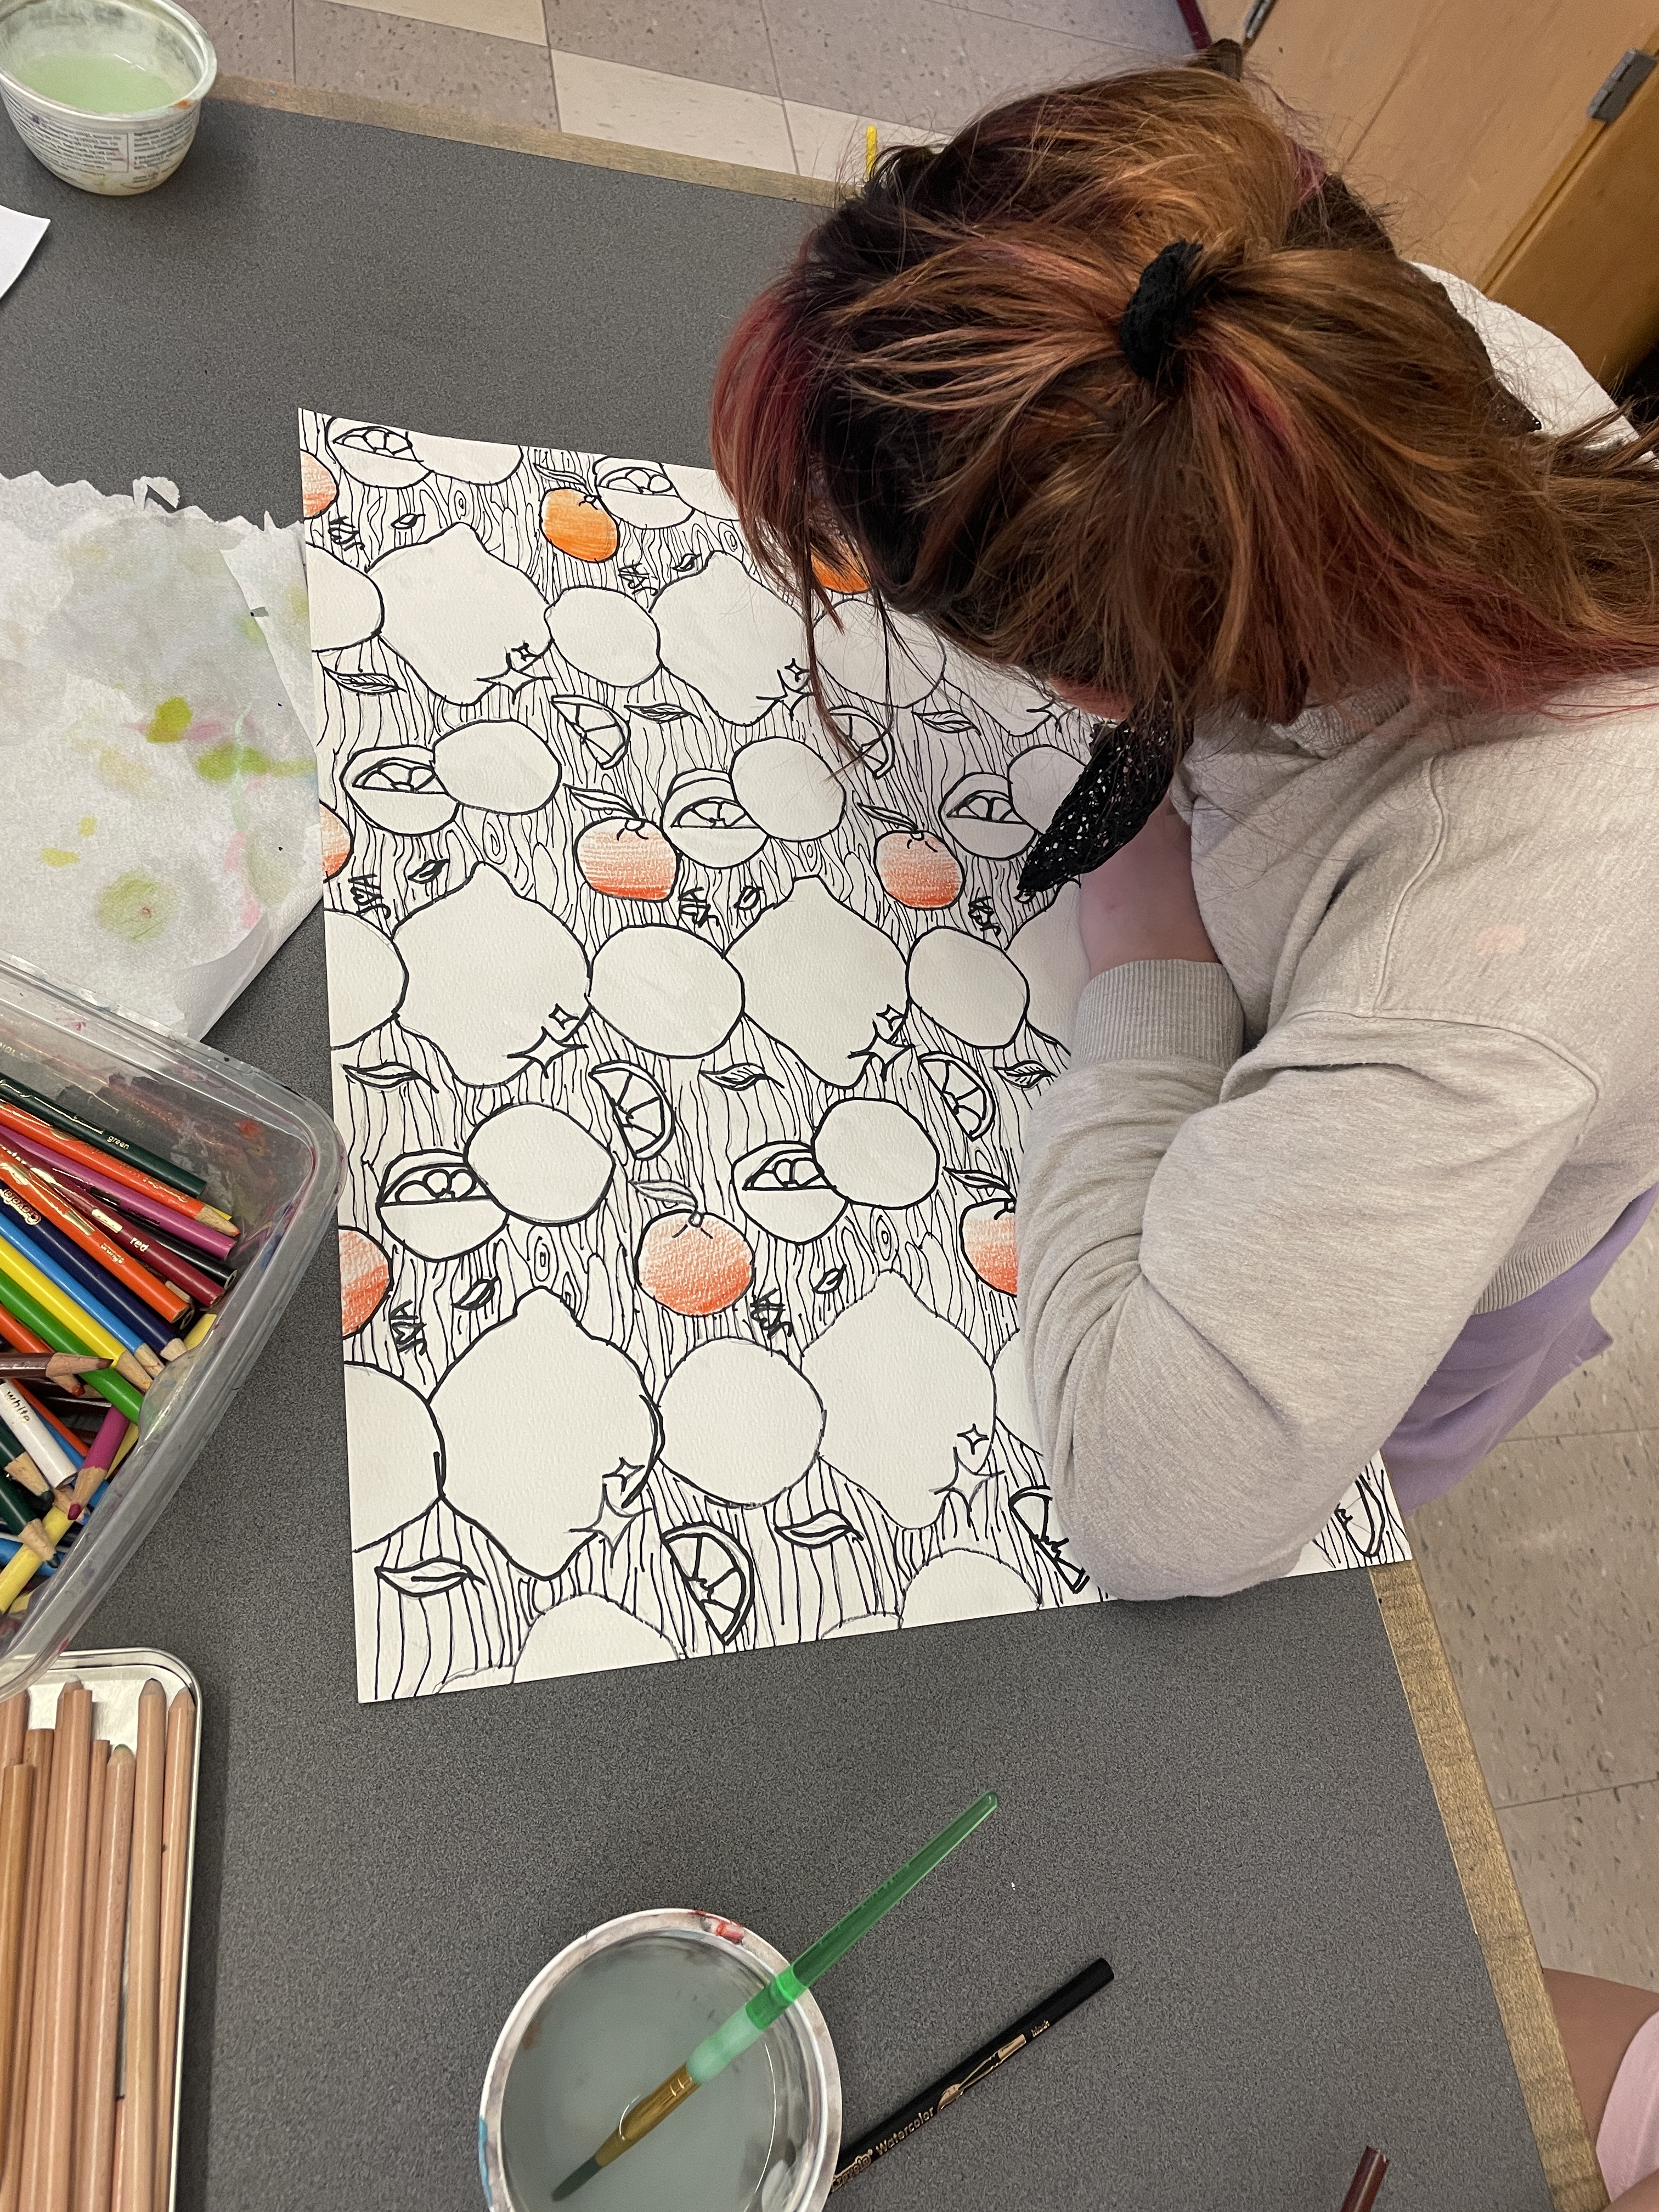
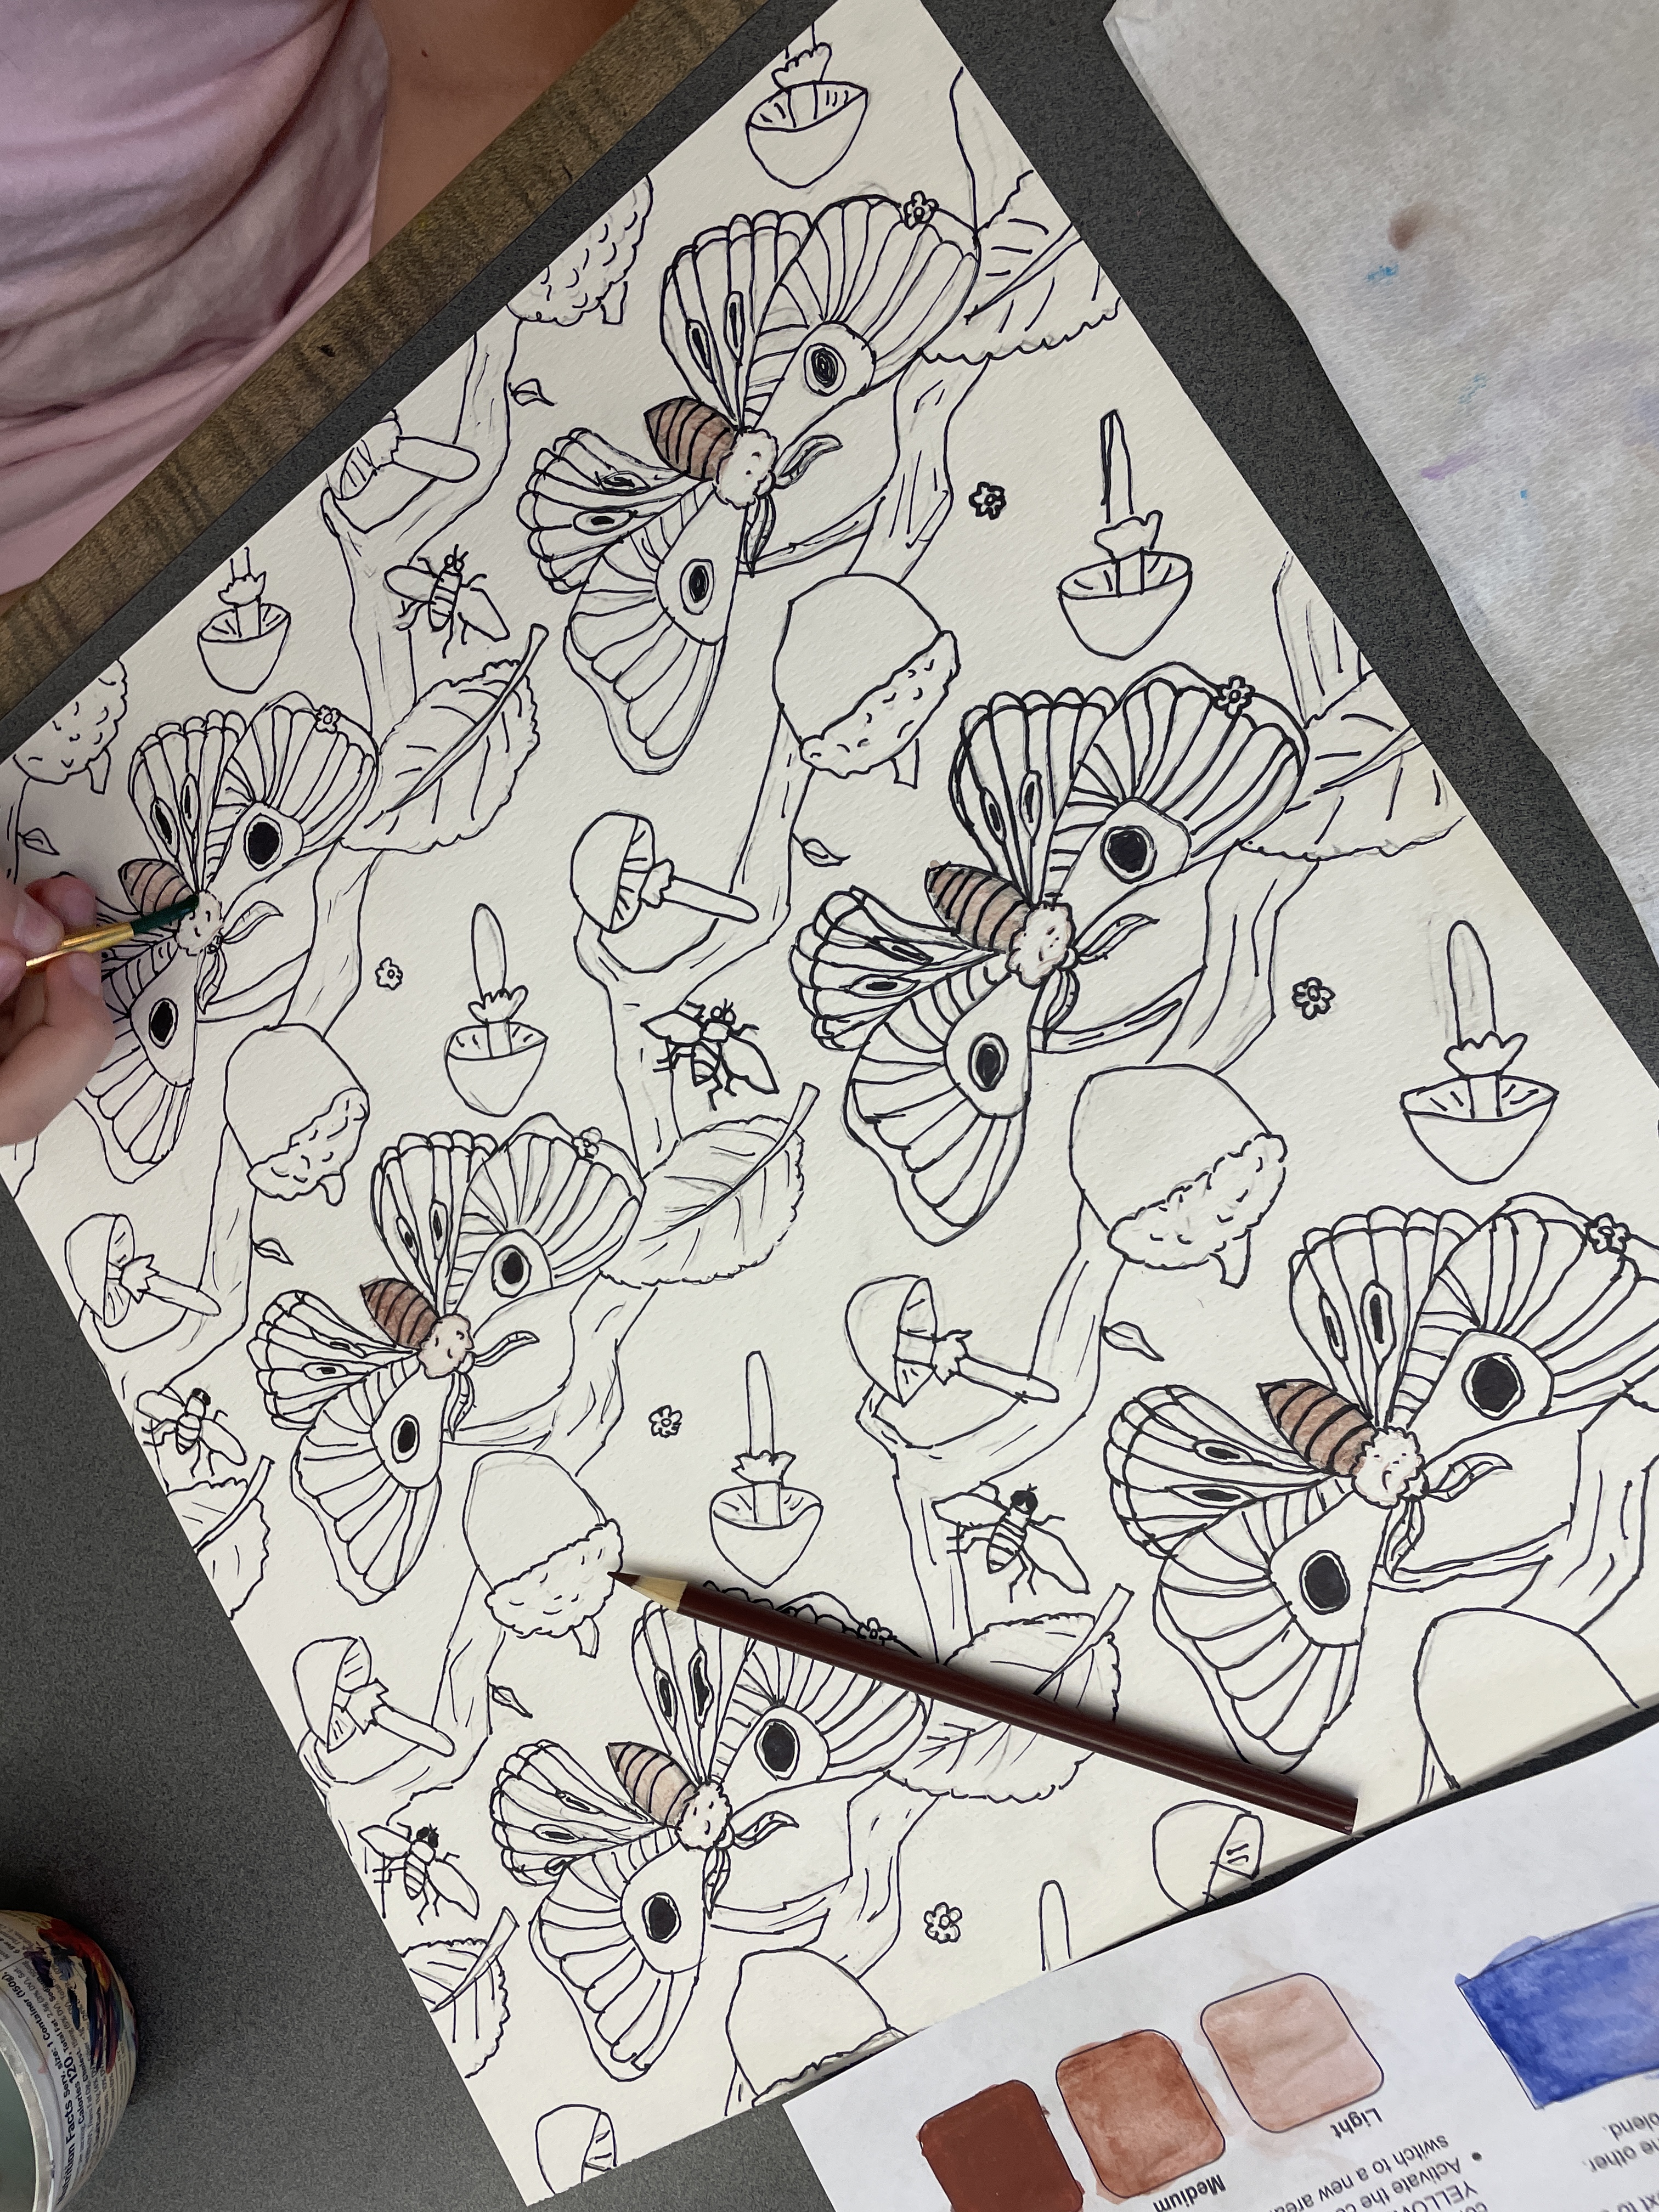
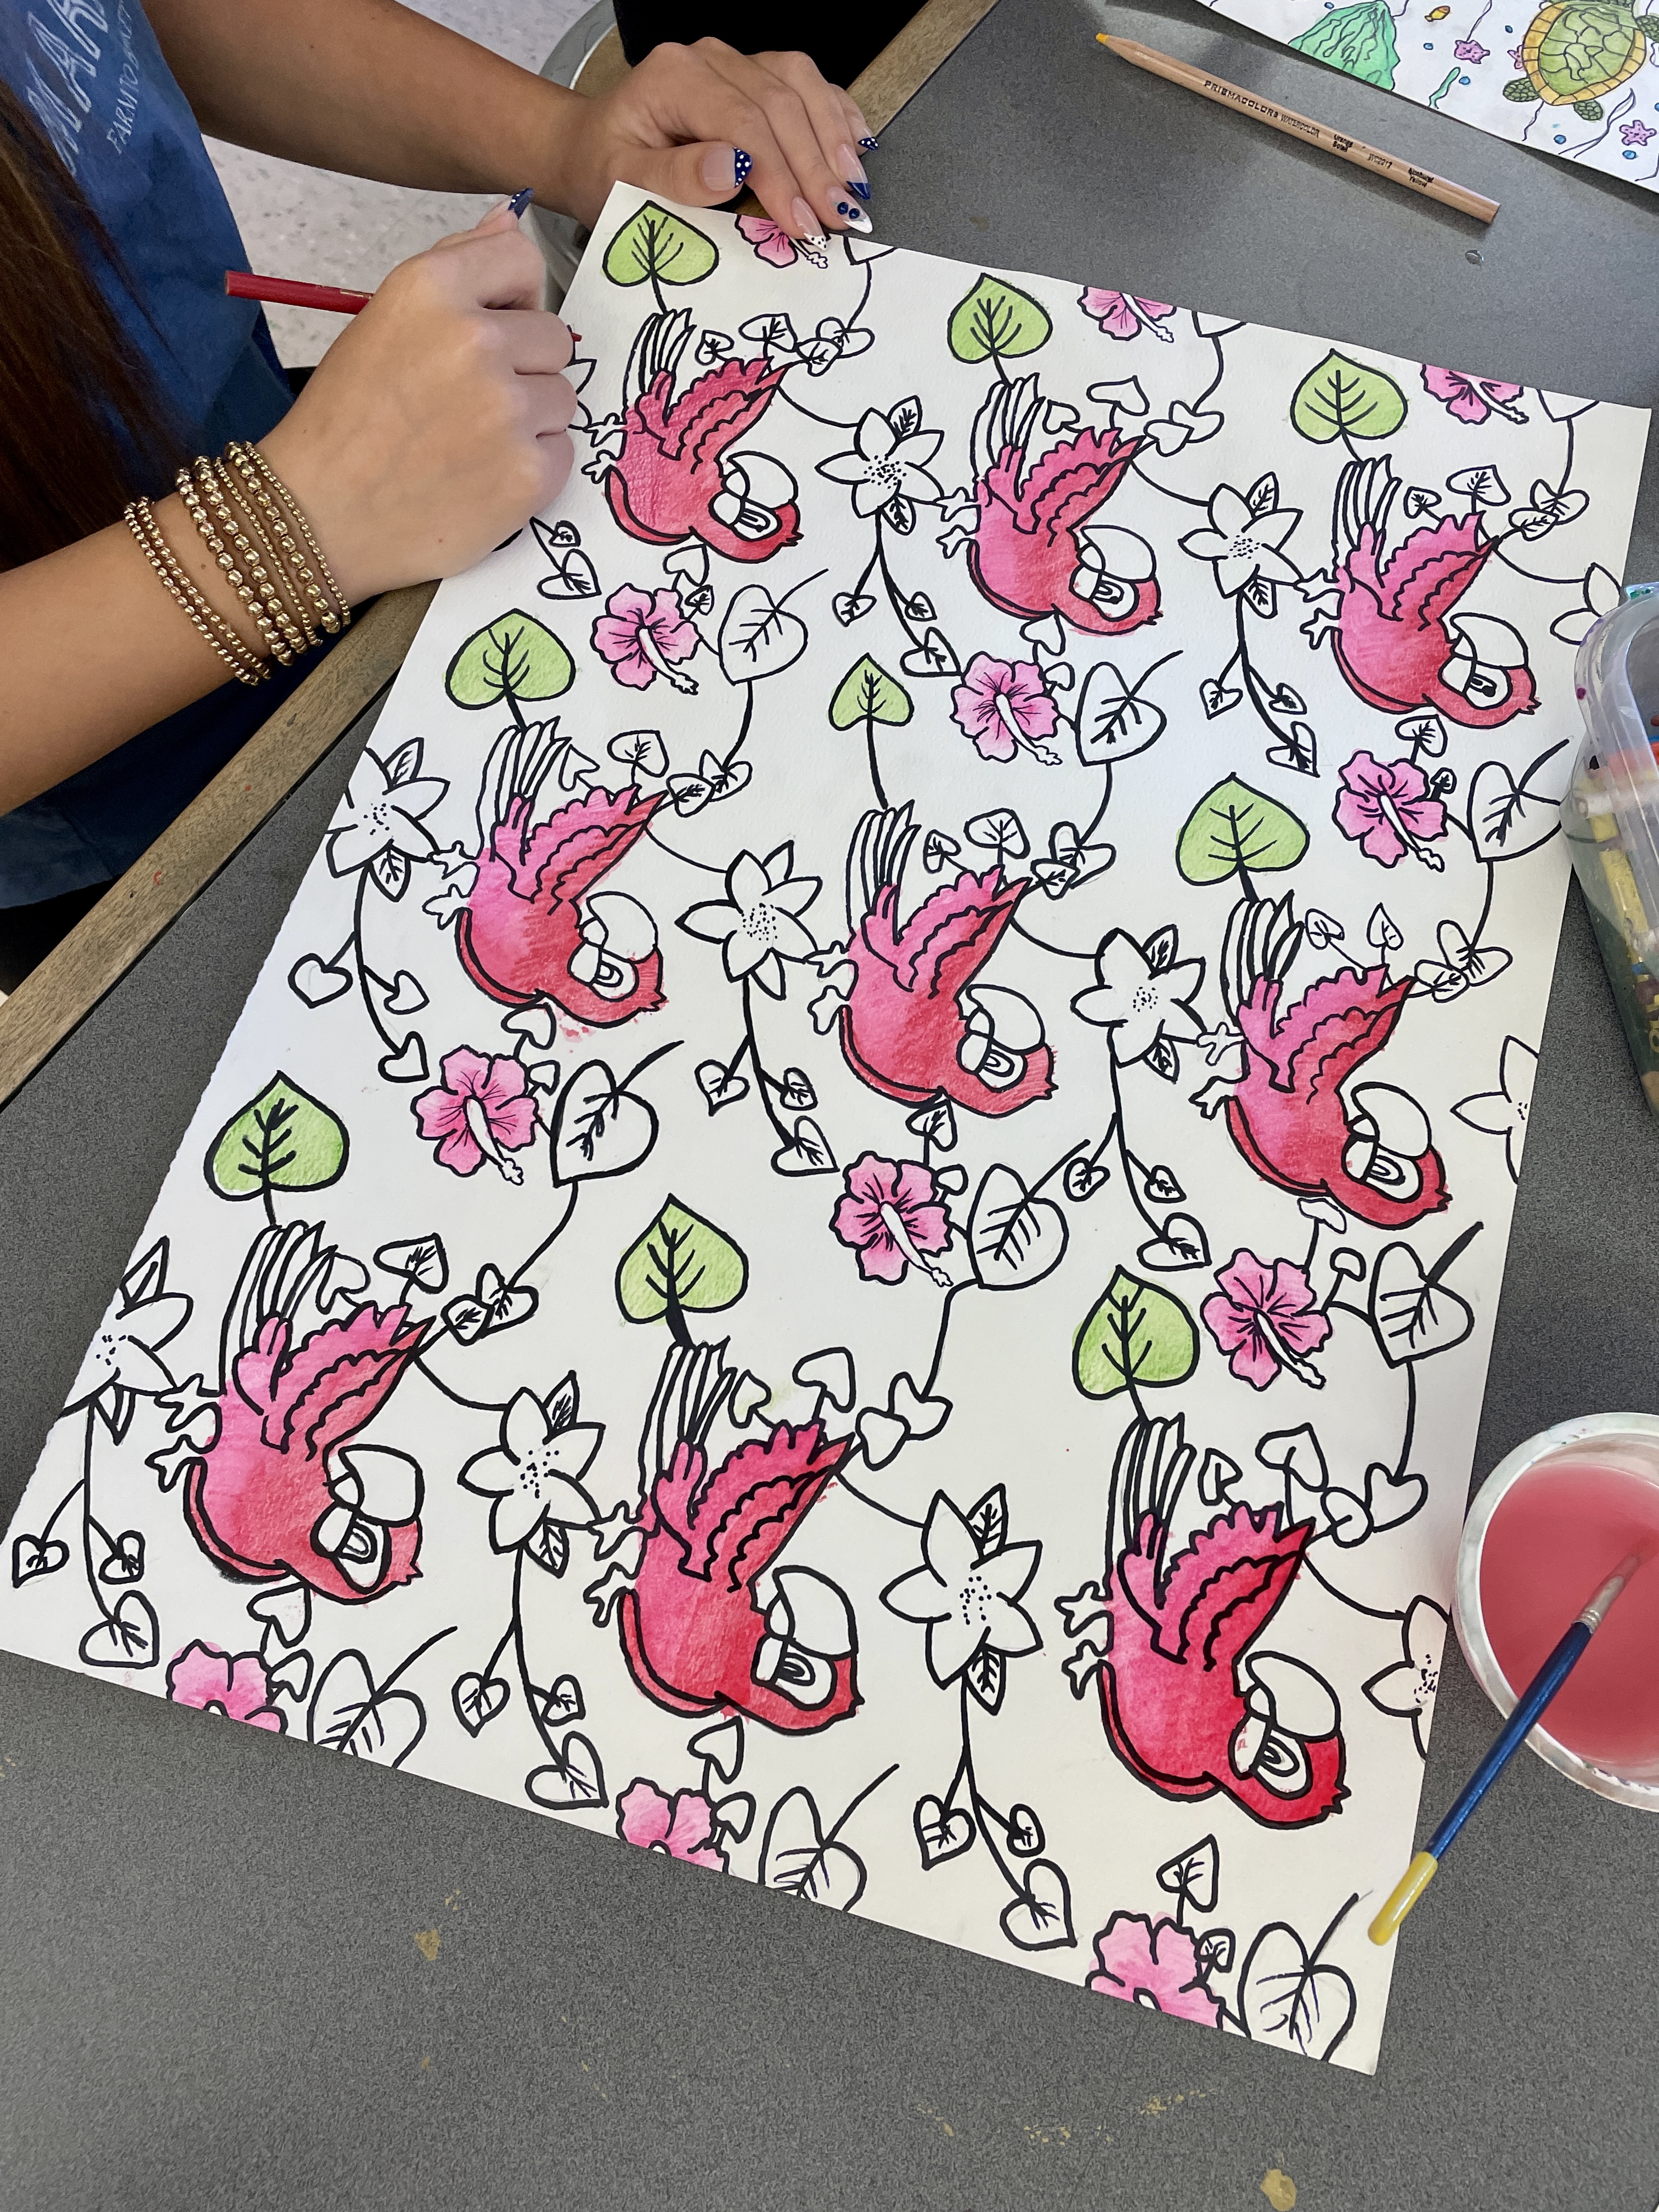
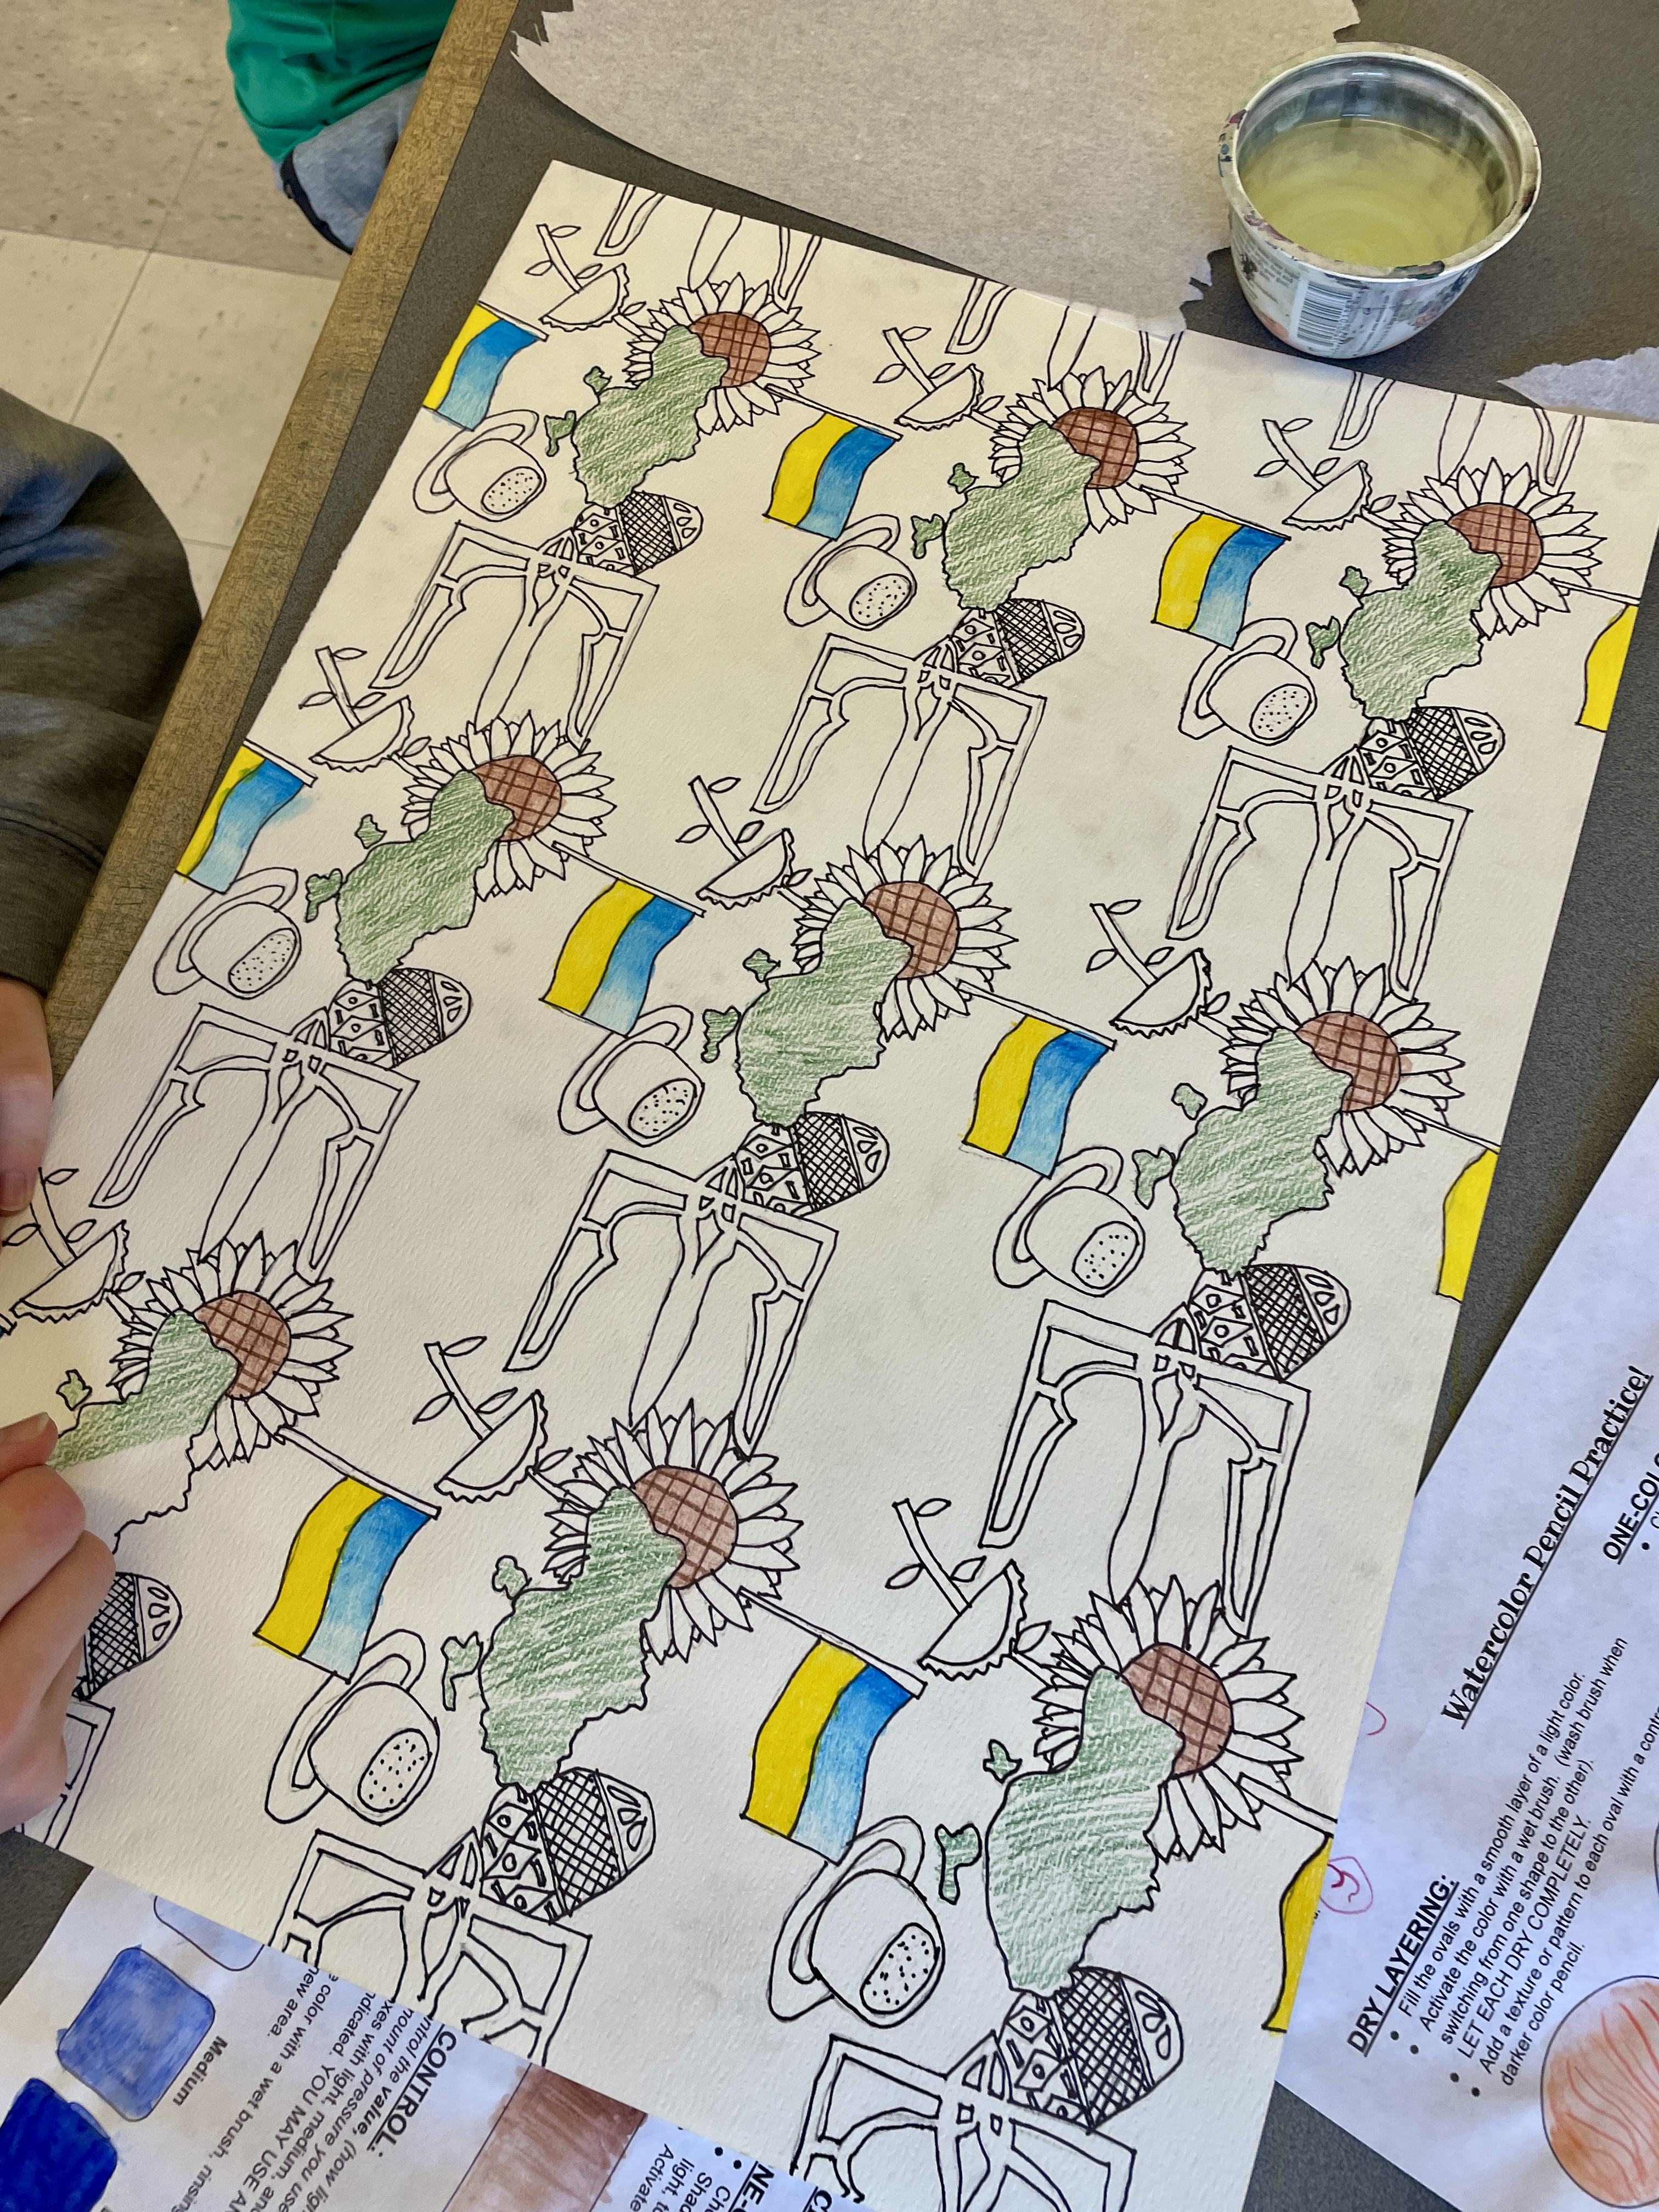
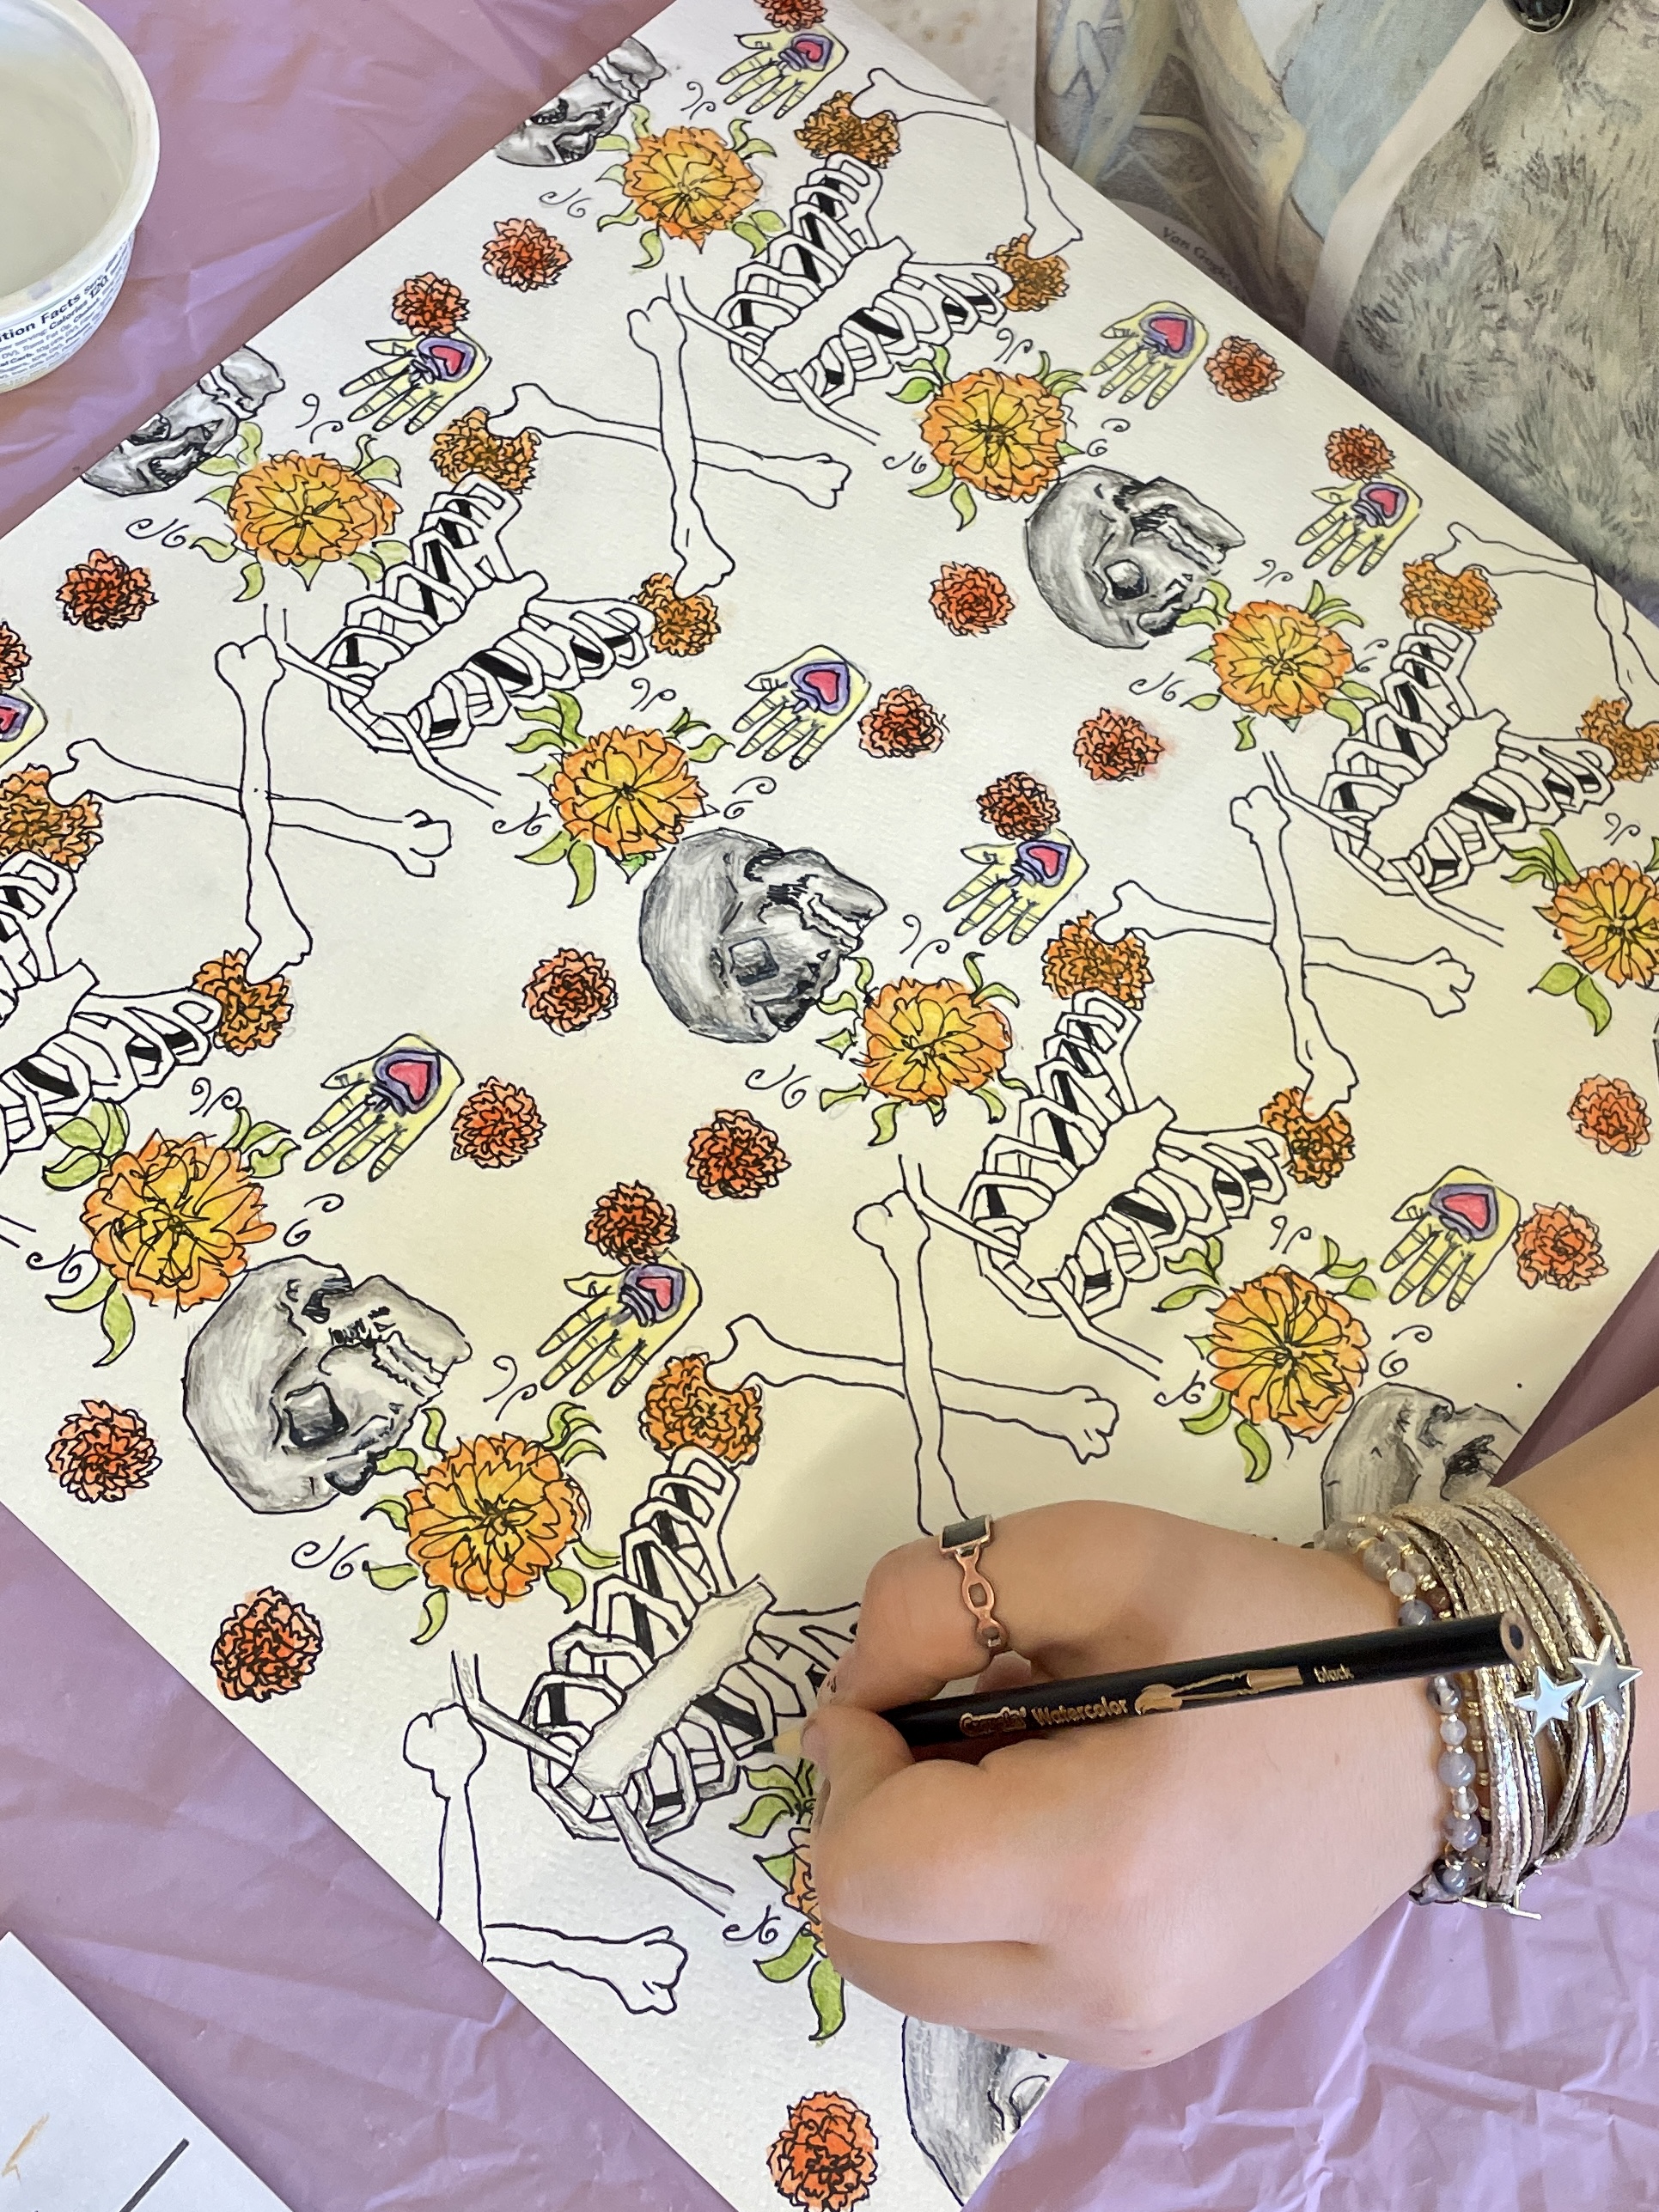
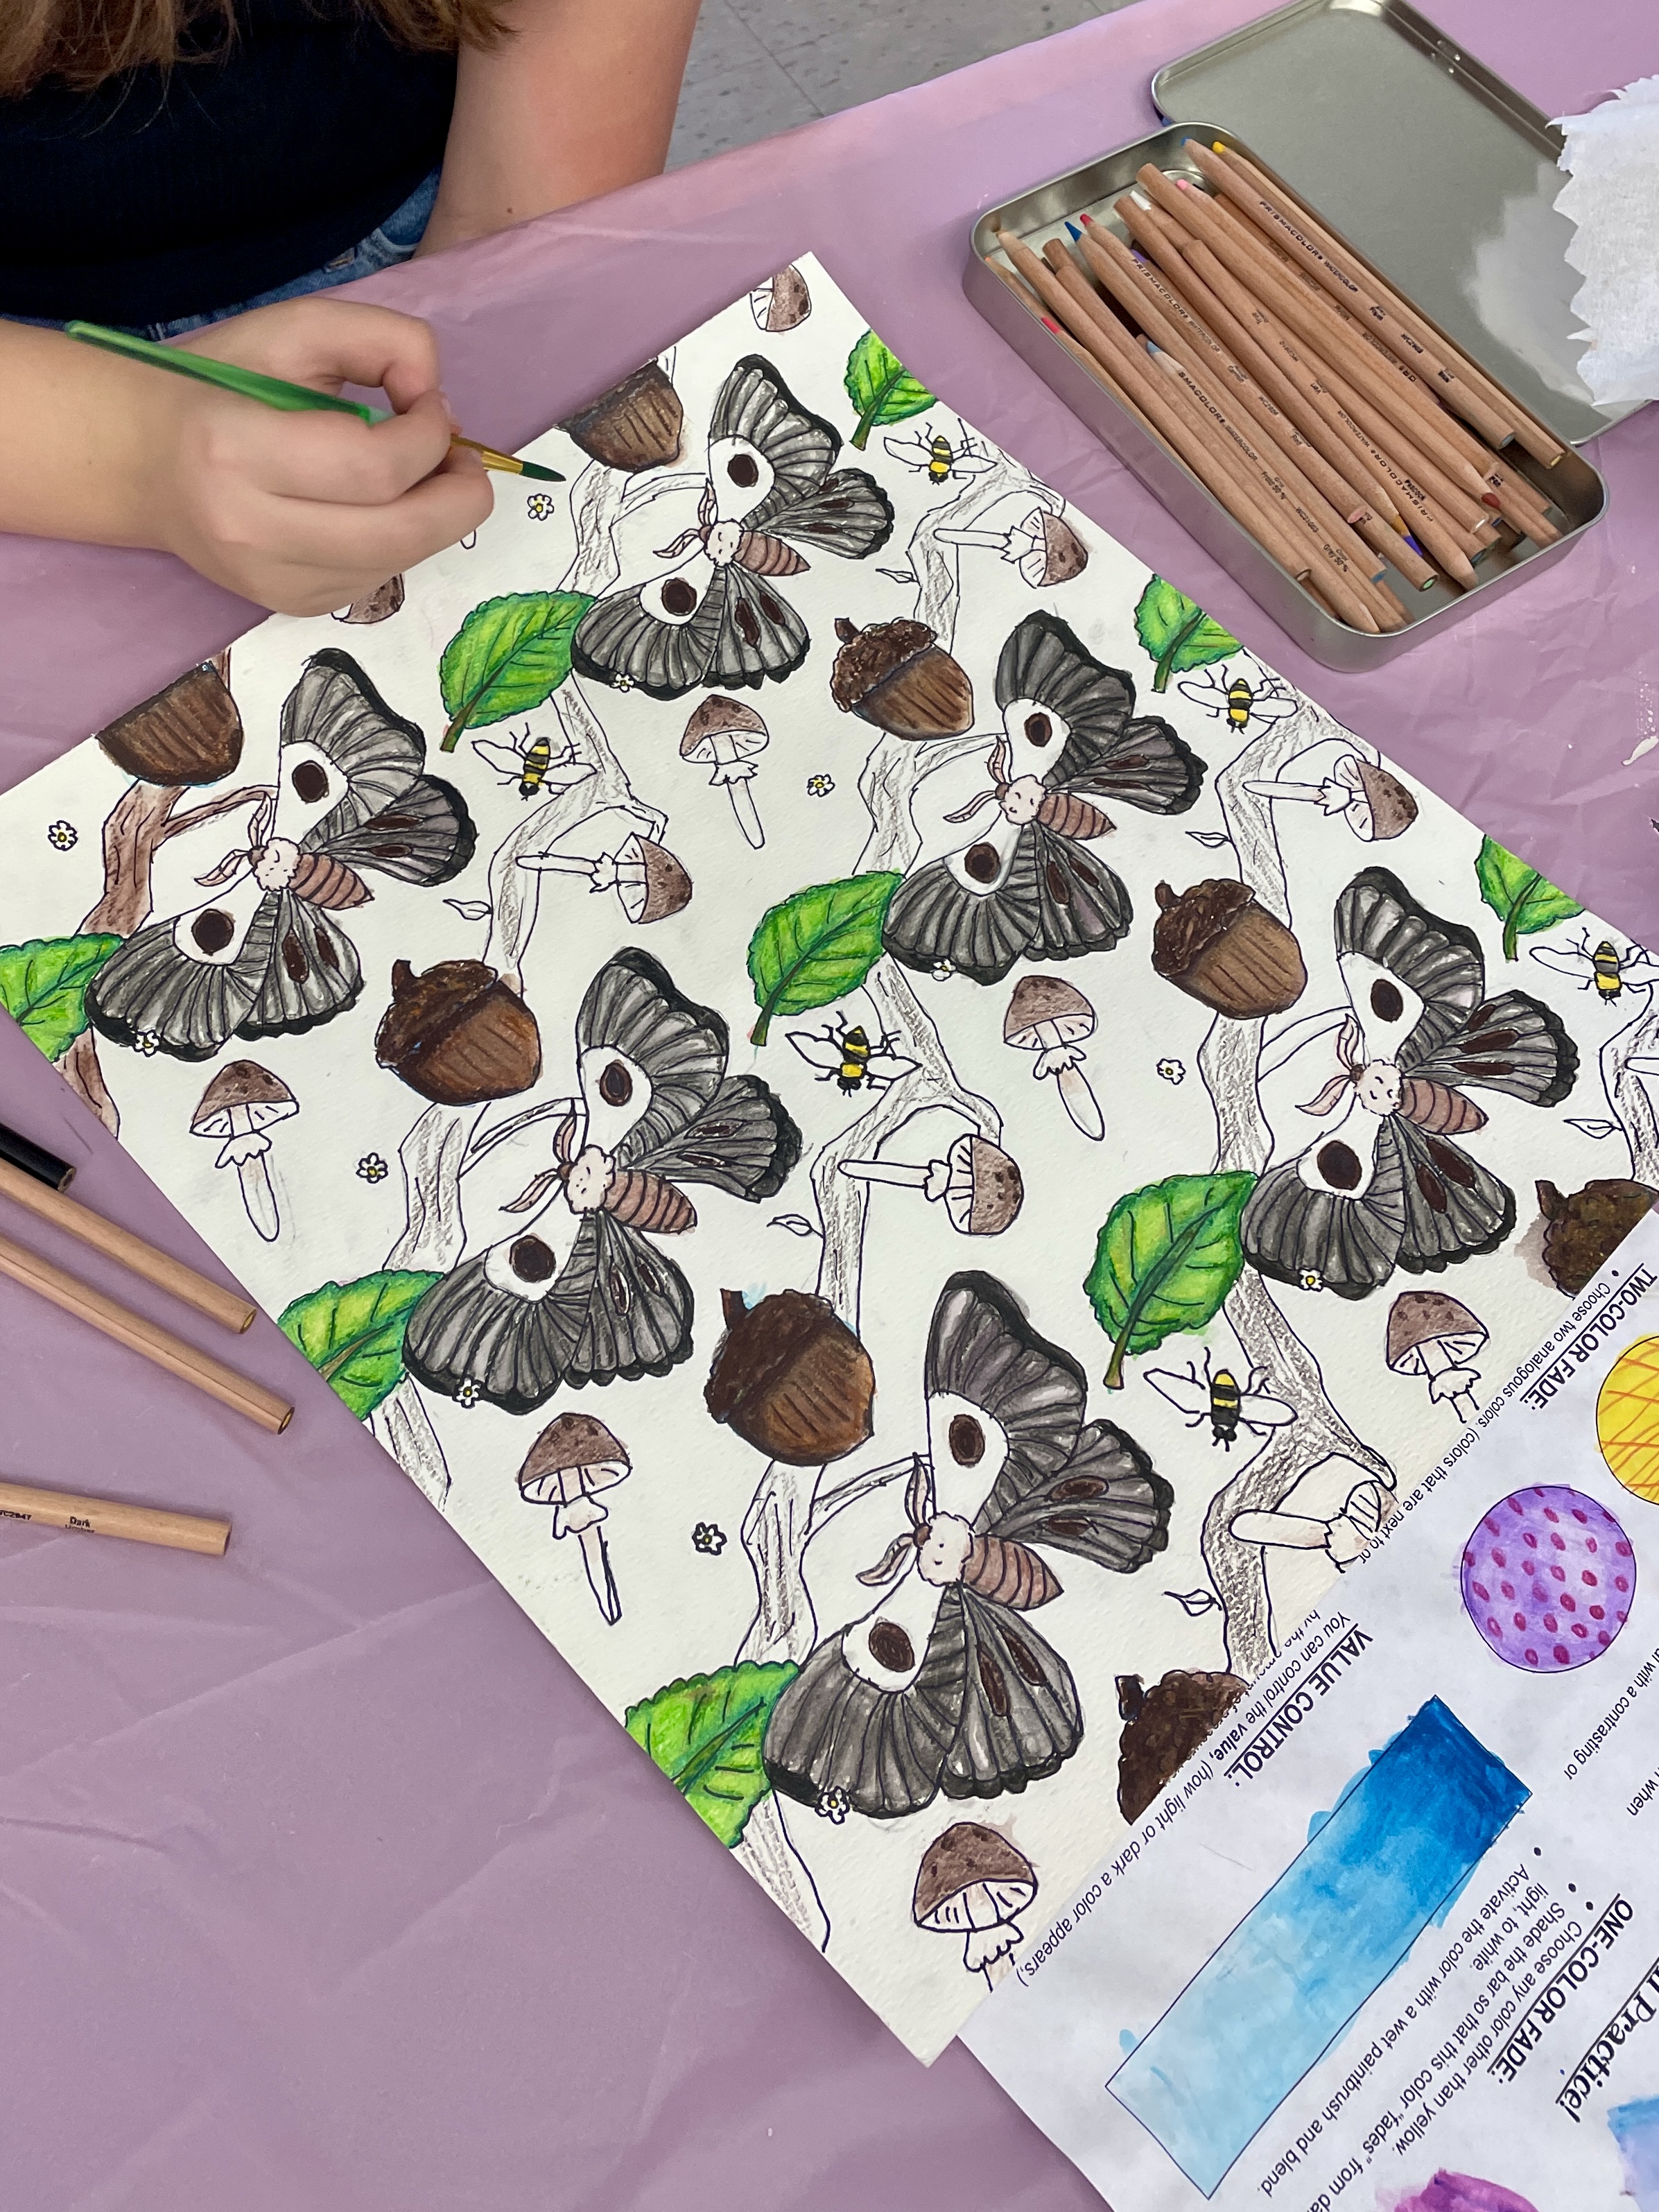
One way students ensured consistency was to pick a single object at a time. They applied the watercolor pencils “dry”, then painted all those corresponding shapes before moving on to another element.
—

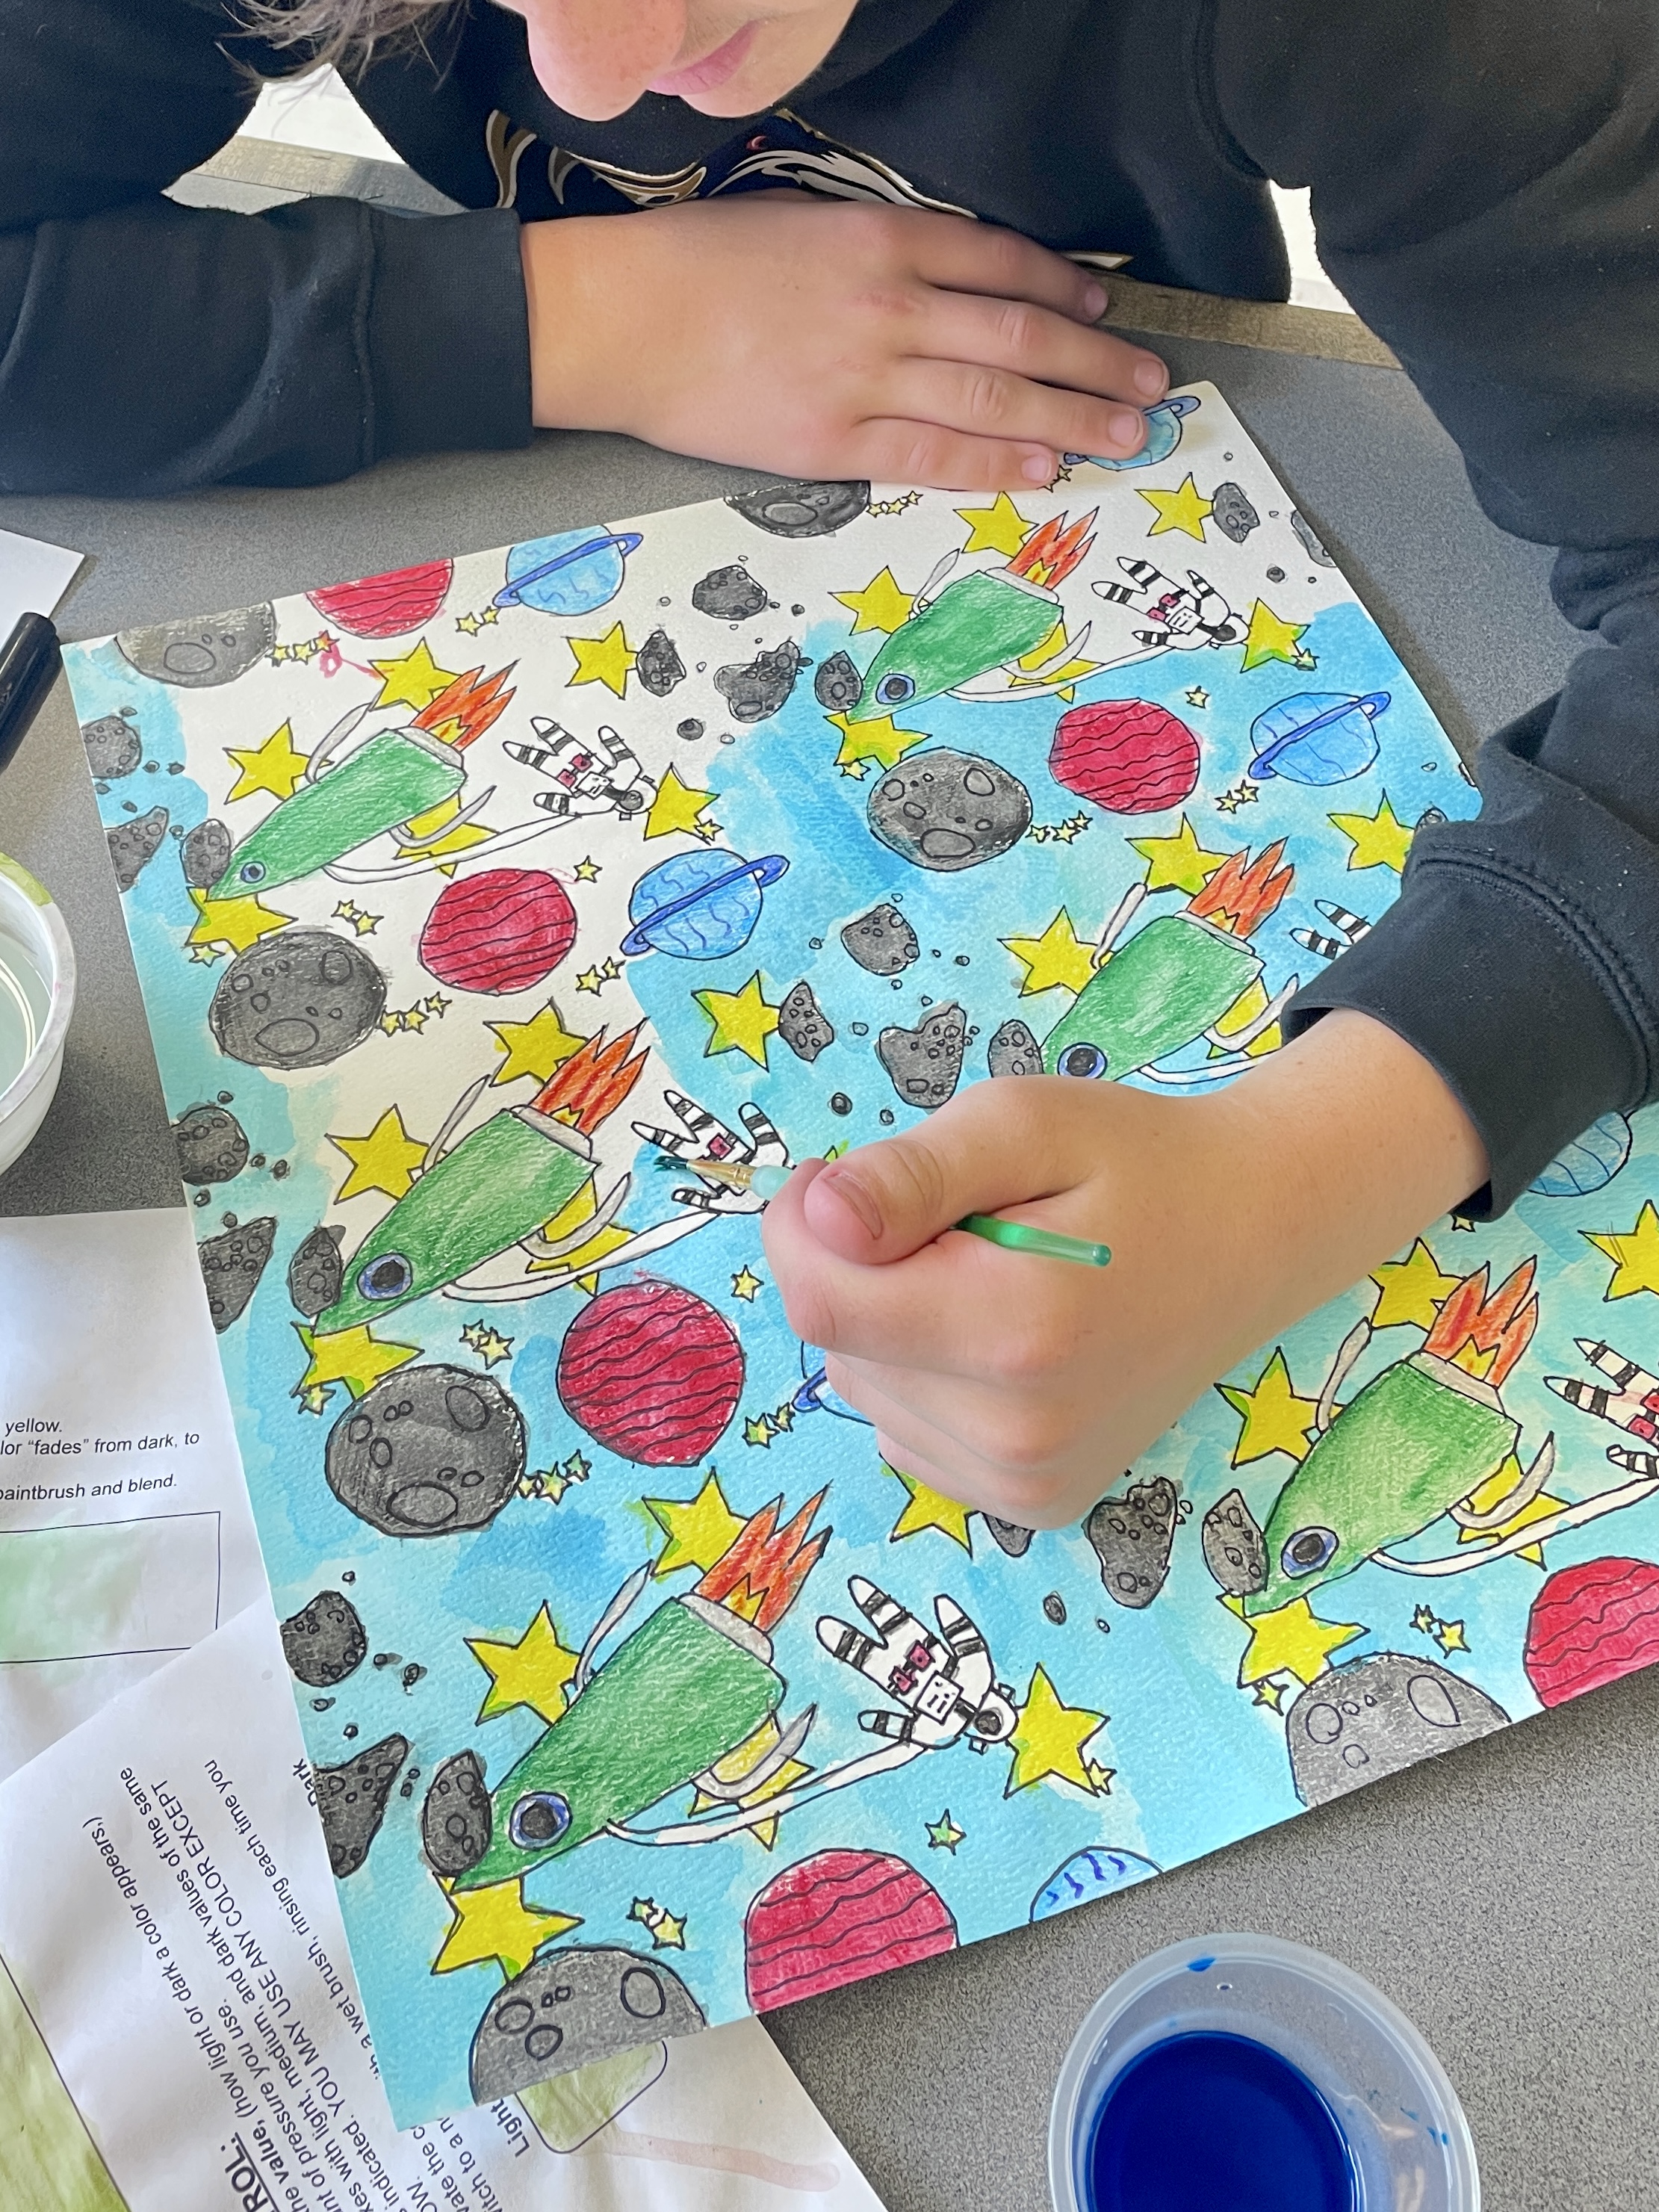
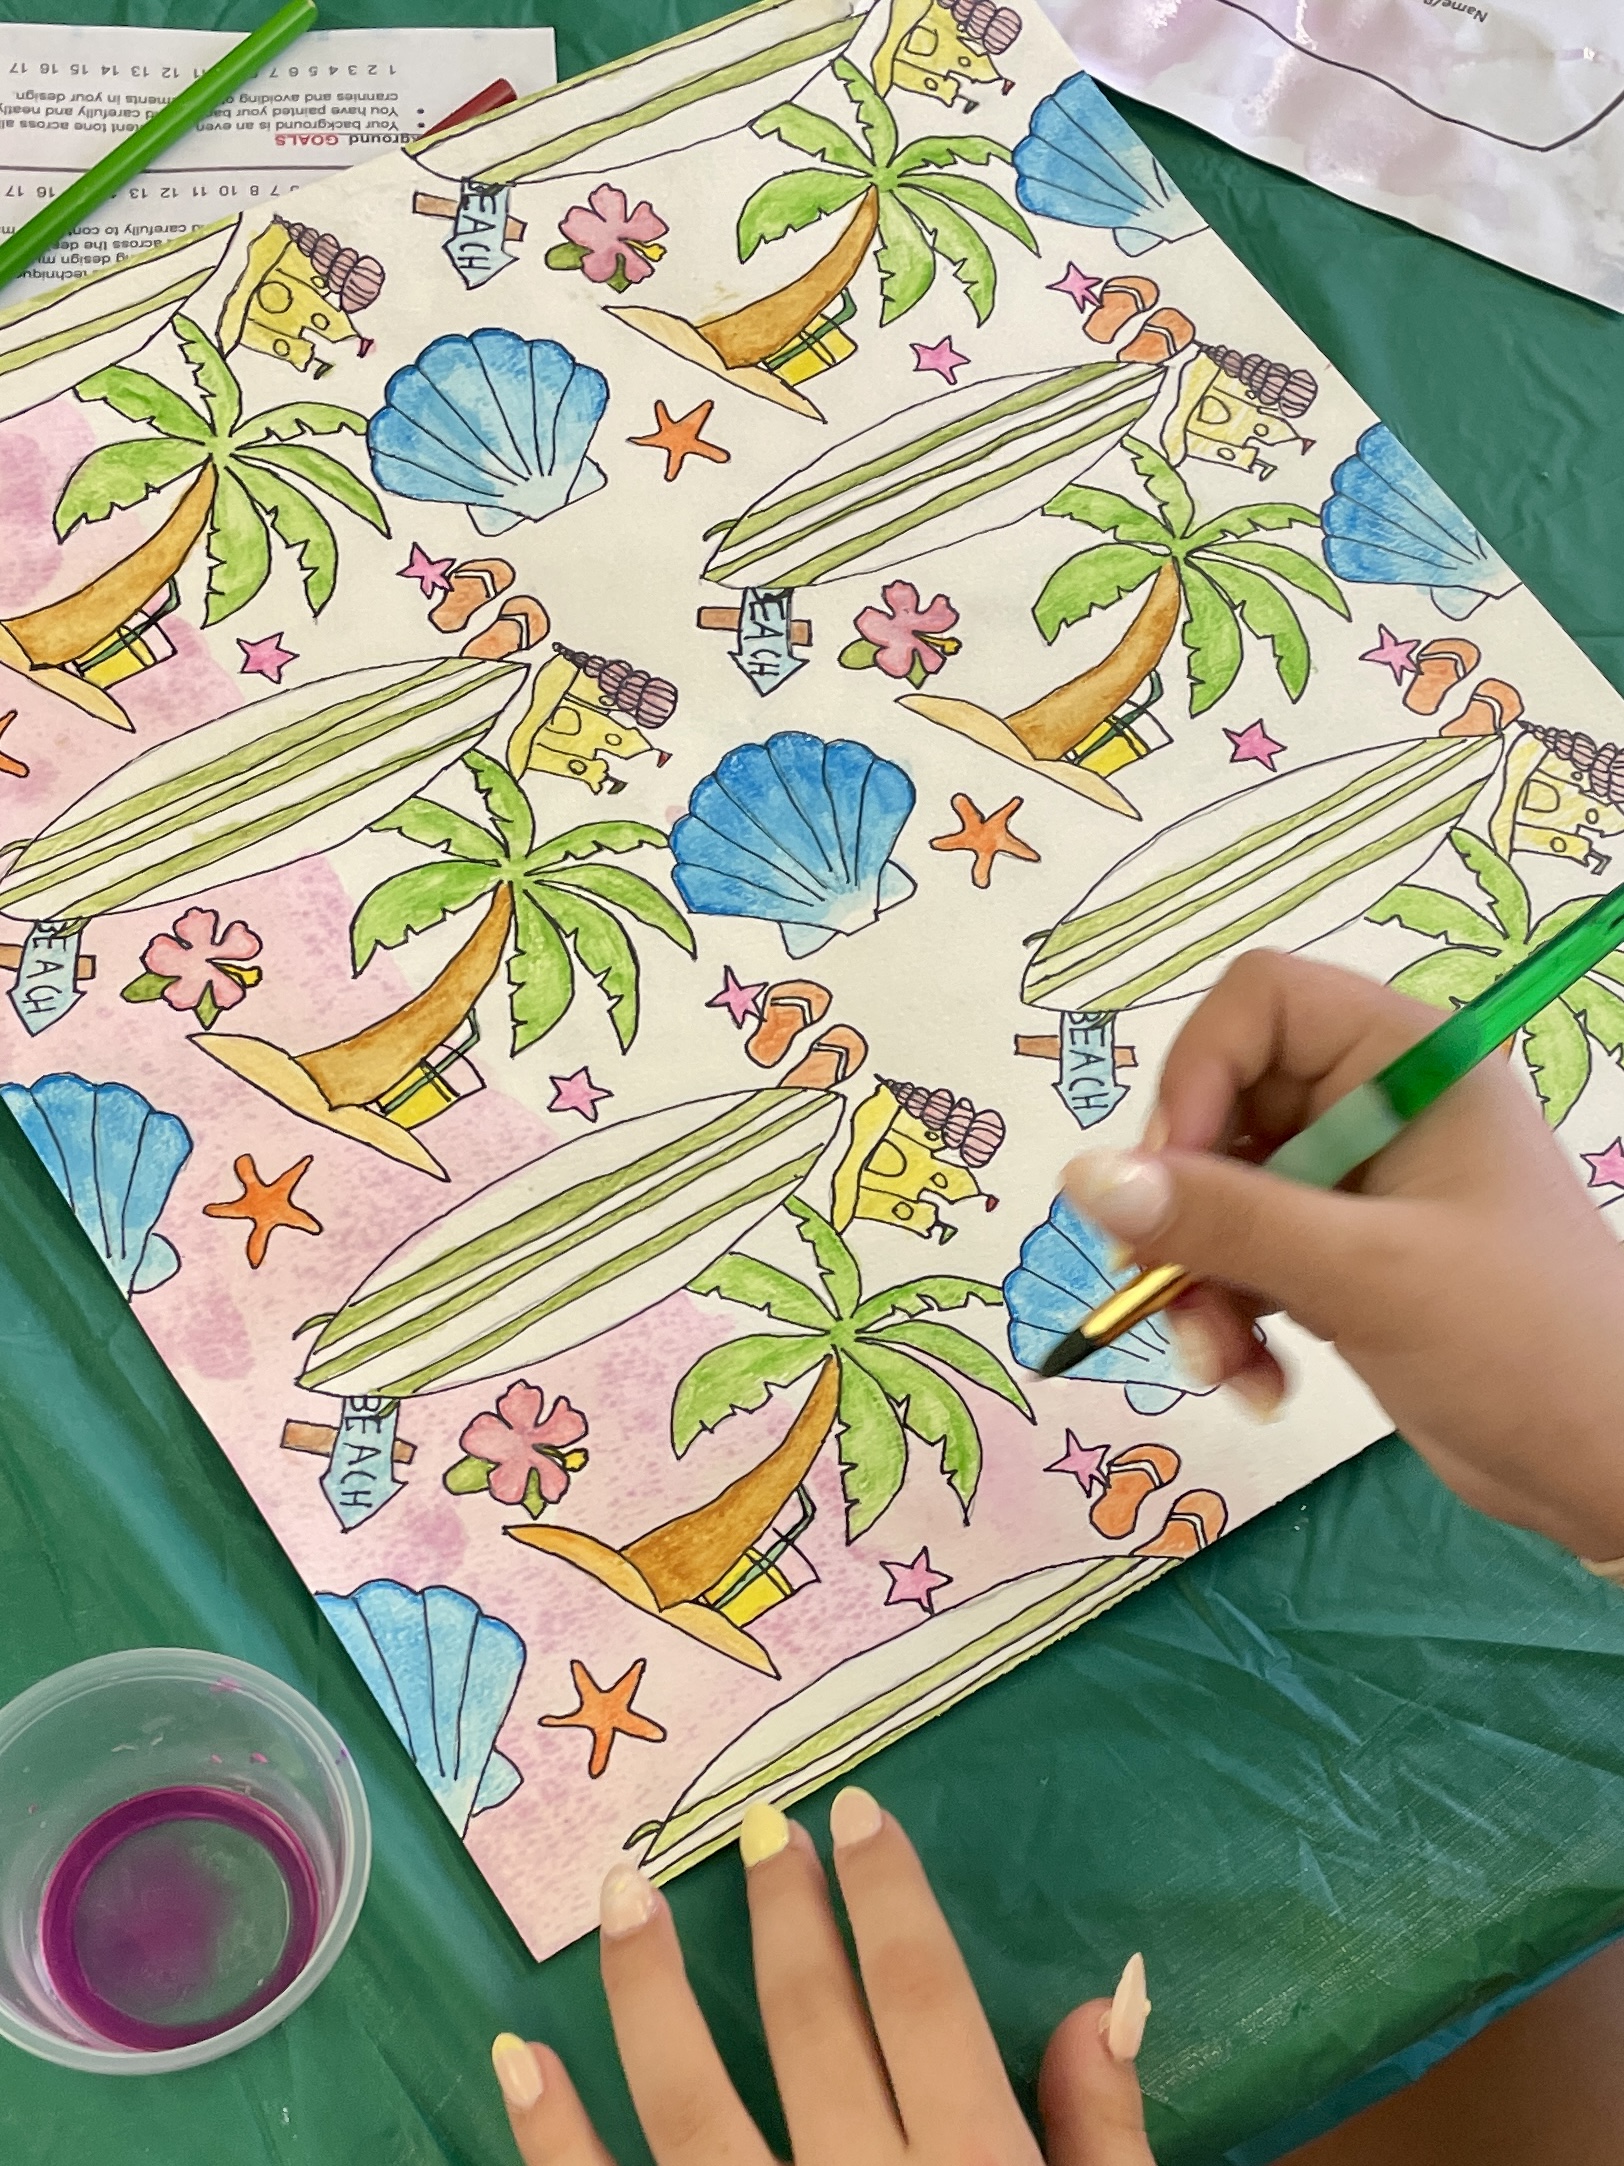
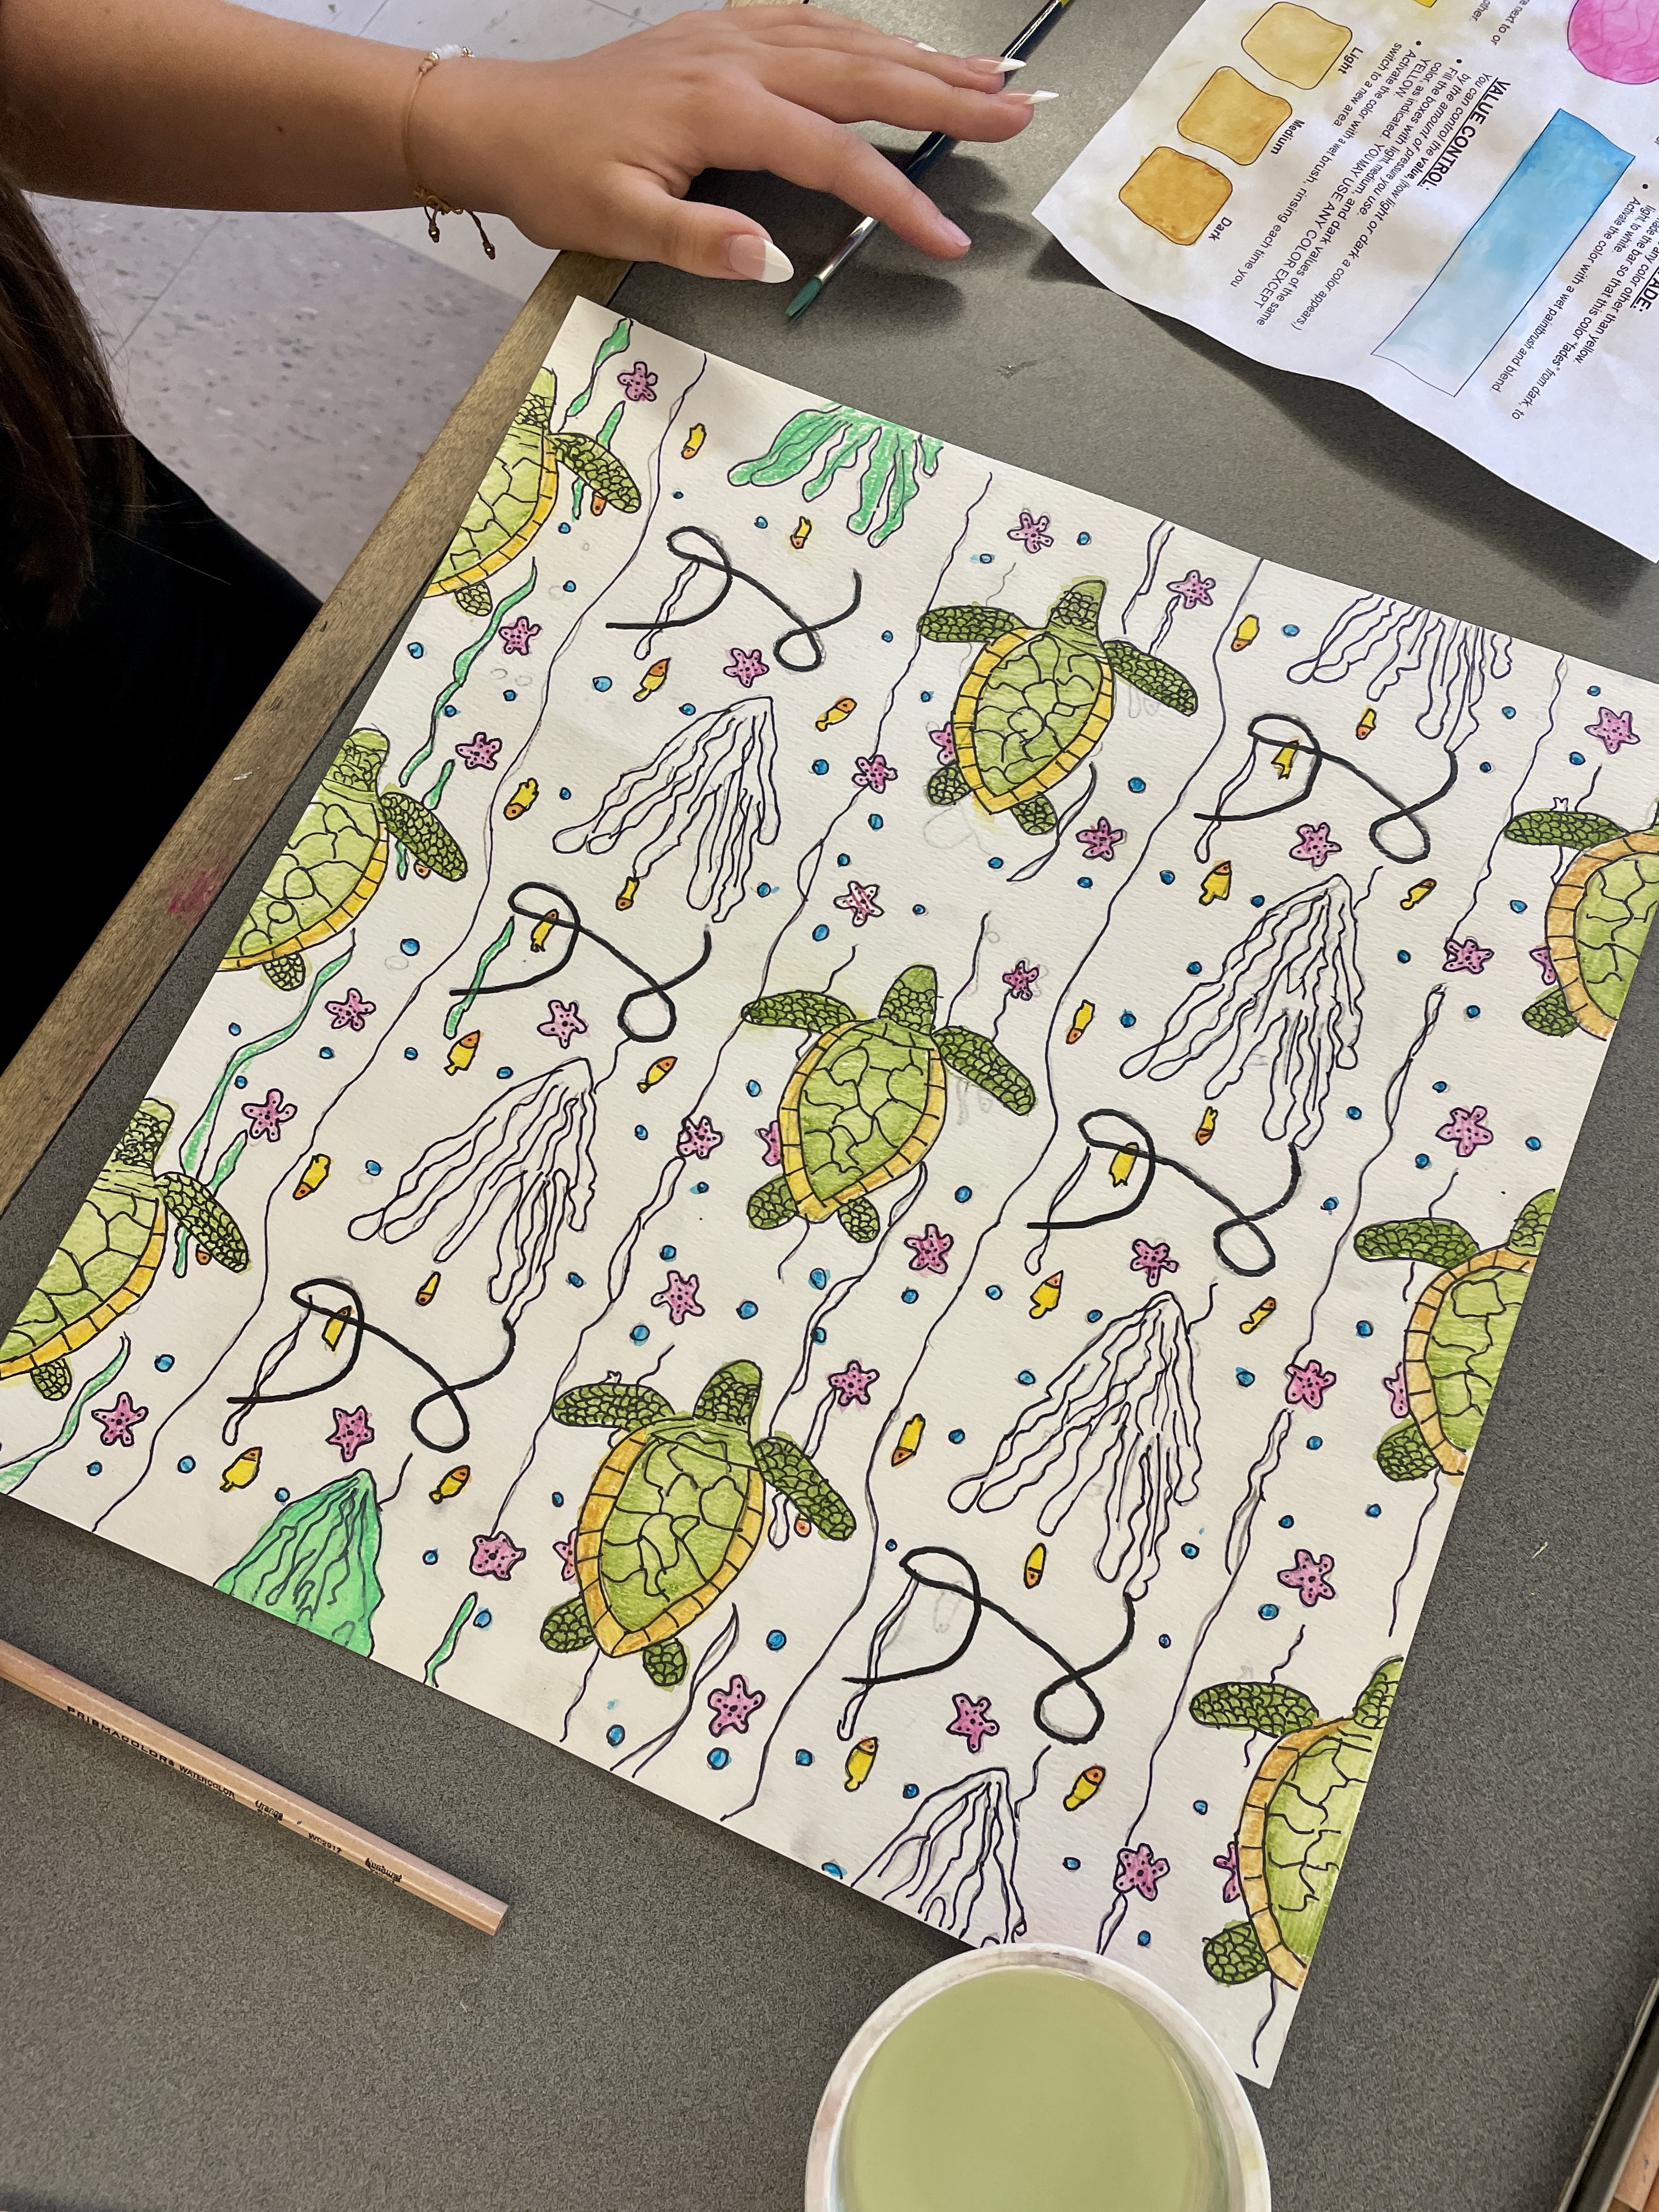
The backgrounds were done LAST with liquid watercolor
—