Surrealism Collage Books
We started this project by looking at examples of artwork from the “Dada” and Surrealist art movement of the early to mid 20th century. Focusing on how this type of art showcases bizarre, dream-like imagery, my 7th graders worked in groups to create large surrealist collages from cut magazine images. Each member of the group was given color photocopies of their group collage, which they individually cropped into five 5″ squares. Each student personalized their squares with patterns in the negative space, (background,) and with nonsensical captions created from cut magazine words. We then made accordion style books to display the embellished mini-collage works: one square for the cover, and four inside the book. Read on below for a step-by-step breakdown!
Step 1: For two days, the students worked individually to cut out good quality magazine images. I limit them to photographs, (no cartoons or illustrations,) and stress the importance of precise cutting and removing all visible background elements. During these days, the kids don’t know WHAT we’ll be doing— I keep it a mystery!


– – –
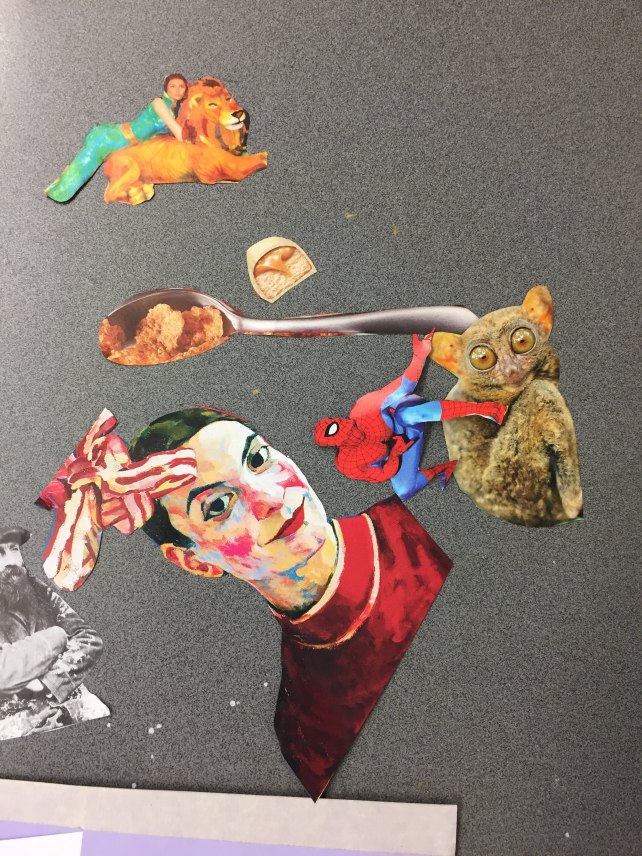
Step 2: On day three, I tell them that they now need to work in table groups to combine some or all of their cut images into two 11″ by 17″ collages. Each group member has to have a voice as to what-goes-where. I tell them they can have many separate little scenes and they don’t have to use everything they cut. They should spread out their vignettes across the paper. ALSO, any images that have cropped straight sides (like some of the people-images in the above pictures,) must be glued along a straight edge of the paper, OR the straight edge must be covered by another image. I explain this by telling them “no floating straight edges allowed!” Here are a few pictures of students arranging their group collages. (…and by the way, at this point I STILL haven’t told them what we’re doing!)


– – –
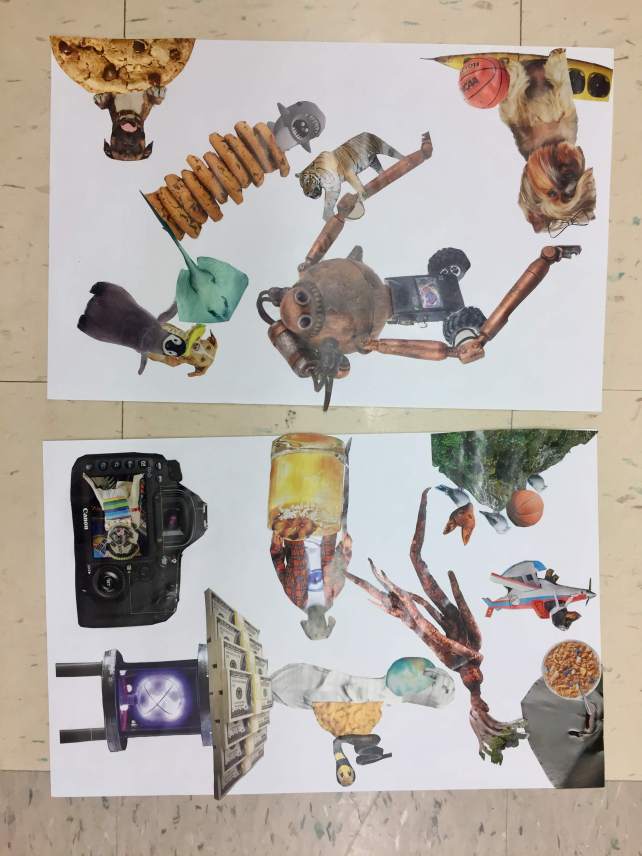
Here are examples of one group’s finished collages:

– – –
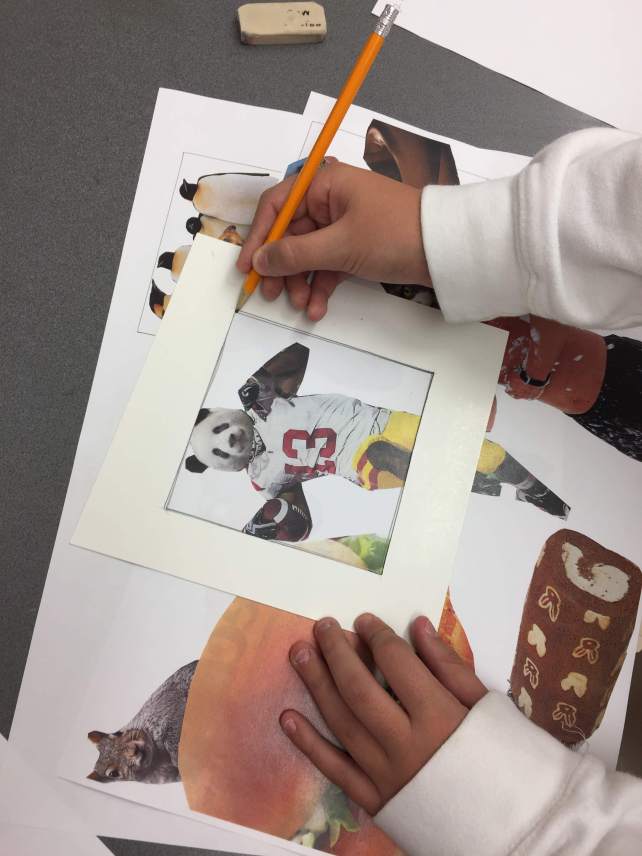
Step 3: My school is fortunate to have color copiers, so I make color copies of the finished group collages for each member of the group. I make full-size copies as well as reduced versions, as some images work better on a smaller scale for our next step. When I pass out the photocopies, I reveal the project, showing examples of the collage books from previous years. From this point on, they are working individually. Each students uses a simple cropping tool —(I cut a 5″ window in a piece of sturdy tagboard,)—to select and cut a total of five 5″ squares from their photocopies. They are instructed to be mindful of showcasing interesting sections and to consider having a focal point to their cropped image. They mark their selections with pencil and then carefully cut them out with scissors. NOTE: If you don’t have color copiers, black and white photocopies work well too, and you can hand-color the images with colored pencil, or better yet: watercolor pencils!
A student cropping a section from the photocopy of his group’s collage:

– – –
Step 4: PATTERNS! This is the most laborious part of the project. Students begin by marking 1/4″ borders around the edges of their images. They then fill these areas of negative space with their choice of pattern— first with pencil, then with a thin Sharpie. Note: the point of the borders is to allow a small “quiet space” between the photographic images and the patterned background. I have many pattern instruction packets and references on hand, but students are also allowed to make up their own patterns. I tell them to have ONE pattern per square, and to try to keep the scale and spacing consistent, even if it is crossing between multiple sections of negative space. In addition, patterns should go all the way to the edge of each space they are filling, with “half shapes” added at the edge, if necessary. I tell them to think about their pattern like wallpaper: it should look like it is BEHIND the images.

In the picture below, you can see the border prepared by the student, prior to adding pattern, on the right-hand square.
– – –
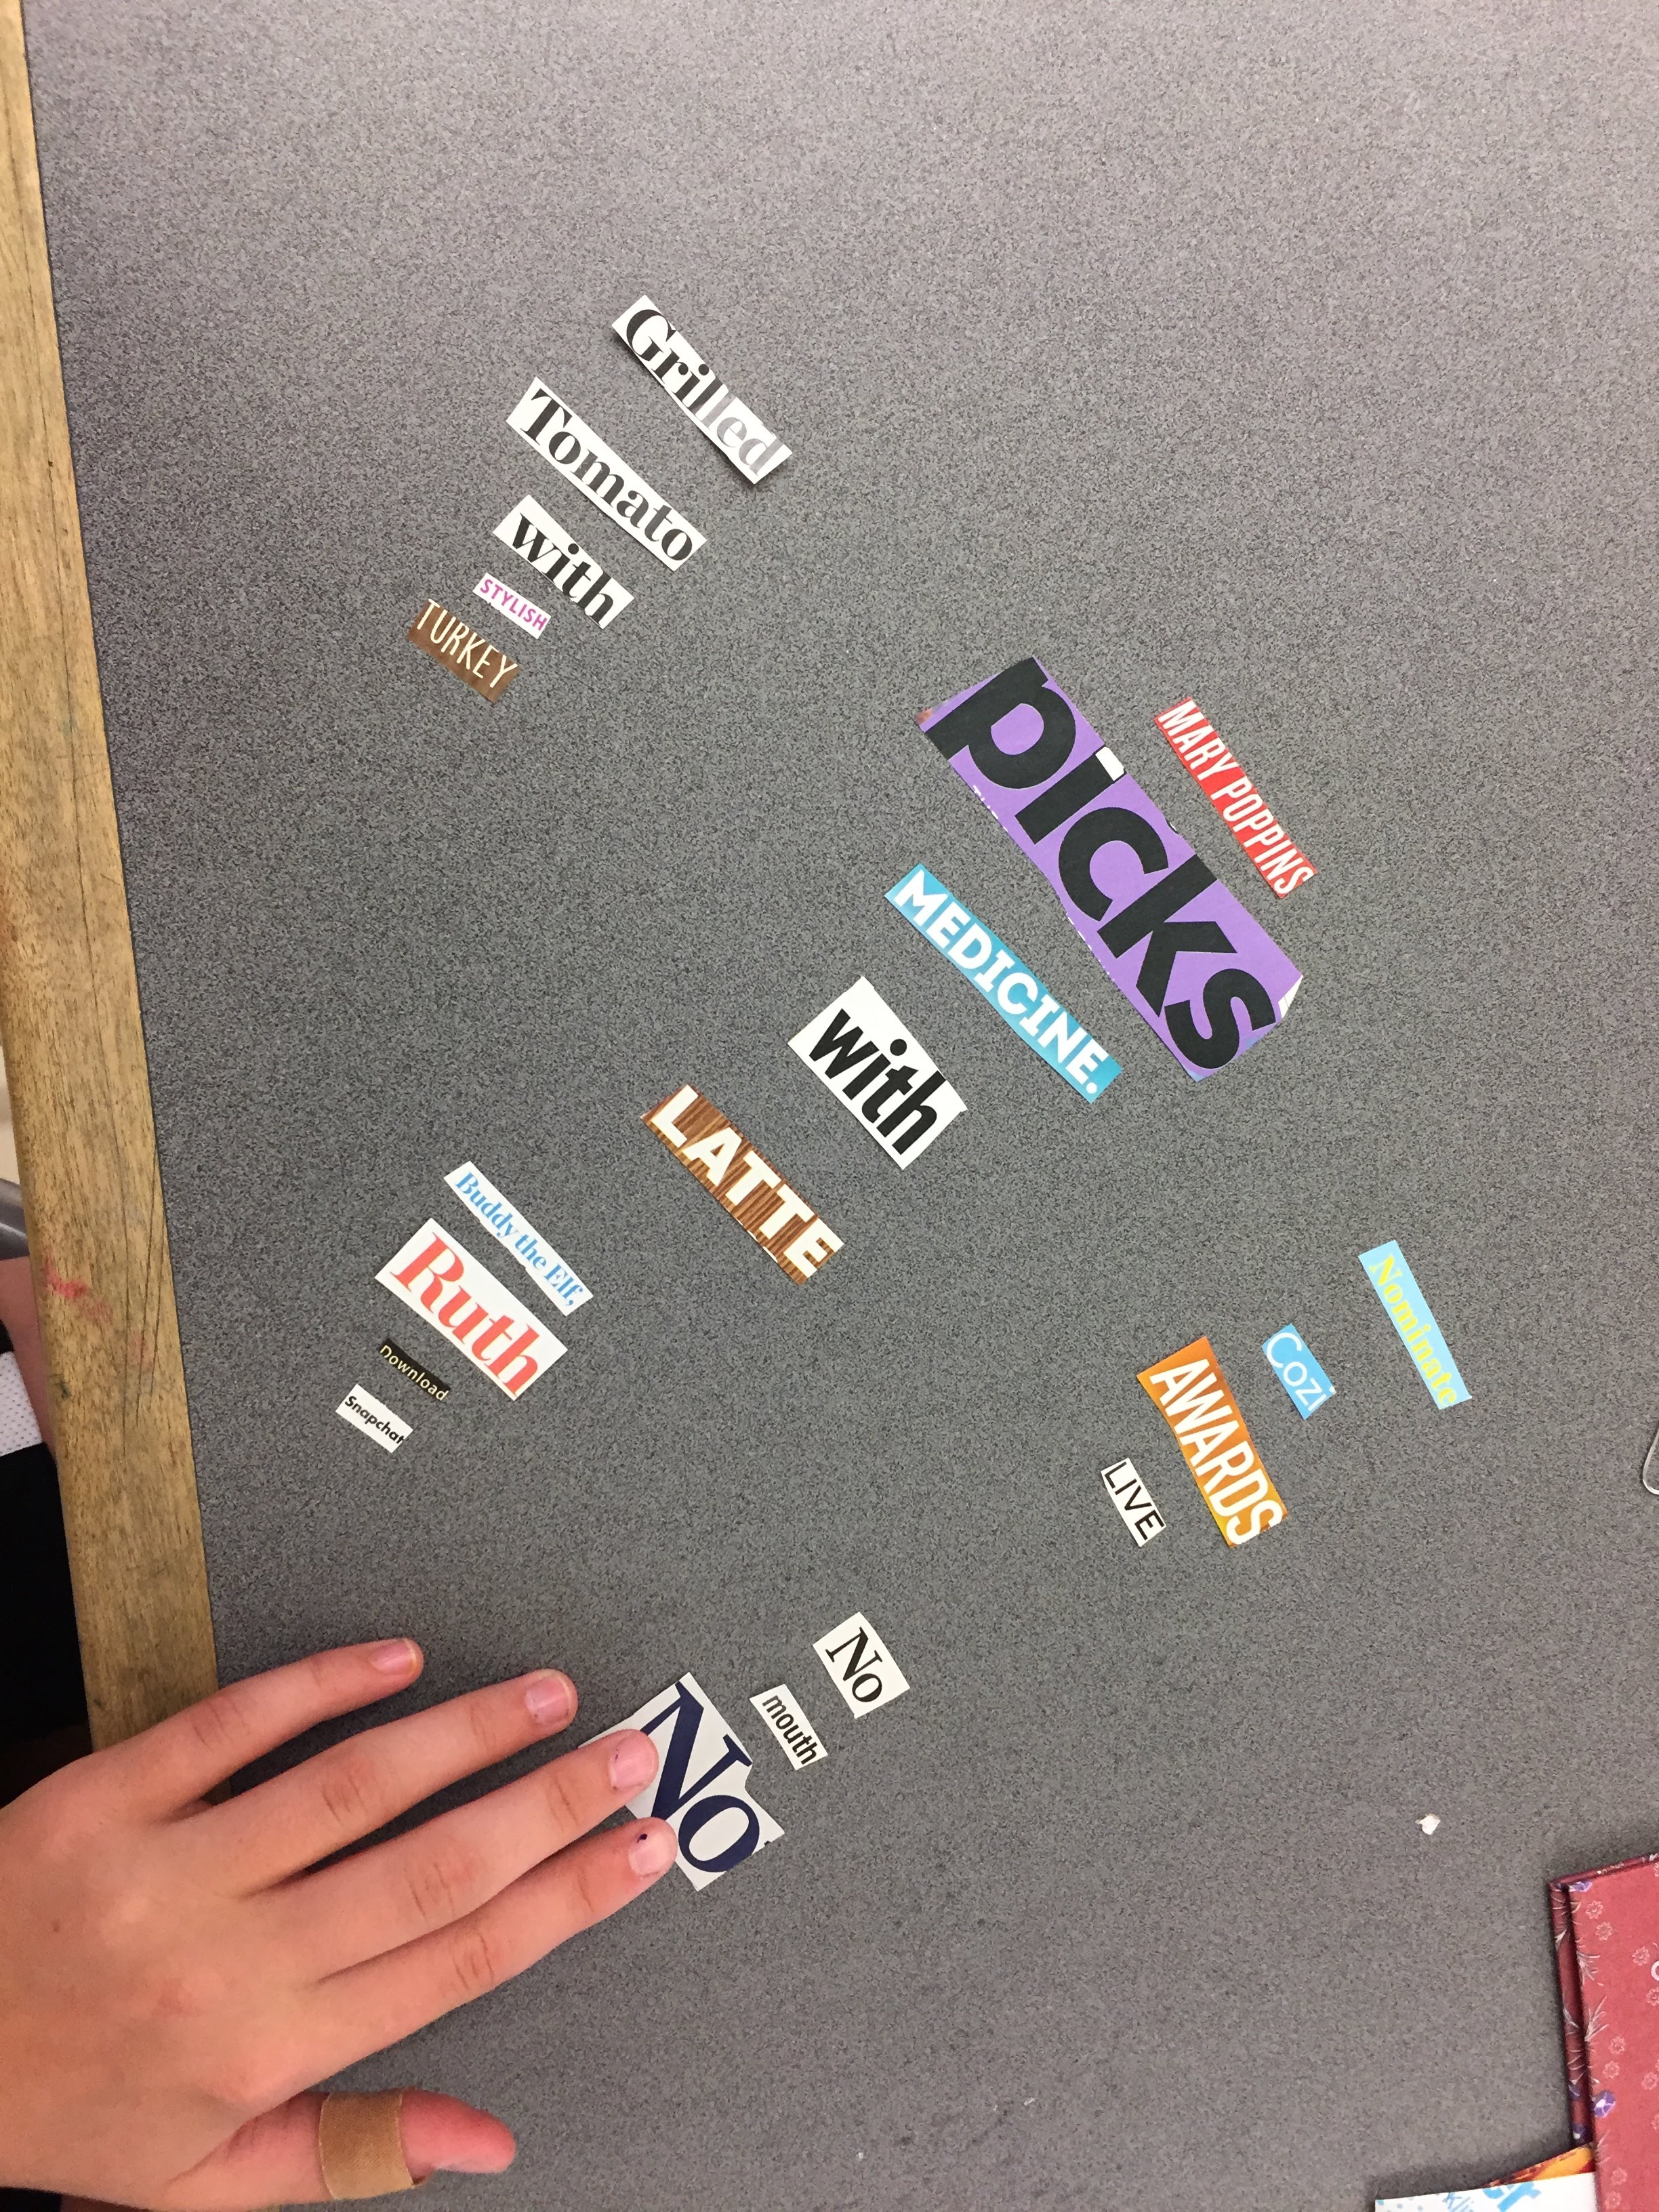
Step 5: When pattern work is done, (which usually takes 4 class periods,) we go back to the magazines and cut out individual words from advertisements and articles. The students play around with the words, making surreal captions for each of their embellished squares. They are instructed to arrange phrases or sentences that make sense grammatically, but which can be non-sensical and wacky. Lots of silliness and laughing happens when they start piecing together their found words!


– – –
Step 6: Book making! We do this in a single class period. (Many steps and instructions make this work best when done together, regardless of where they are in the previous steps of the lesson.) Essentially, each student wraps two 6″ squares of cardboard with decorative paper. They then fold a 5.5″ by 22″ strip of paper into an accordion fold. These are assembled with glue stick to make the book. The ribbon is optional and can be held in place with tape for easy assembly. (I press the assembled books under something heavy overnight to help them set.)

– – –
Step 7: Final assembly of the book happens the next day, assuming all pattern and caption work is done on their five squares. Each student chooses one of their finished patterned squares for the cover. OPTIONAL: cut some 5.5″ solid color paper squares as “frames” for their cover image. The remaining four pages get assembled in the accordion book in any desired order. This lesson takes a good two weeks, meeting daily for 45 minute classes. It will take longer if you hand-color your photocopies. TIP: You can speed this lesson up by skipping the pattern step and having the students use marker to color the negative space of each square with a single color.


