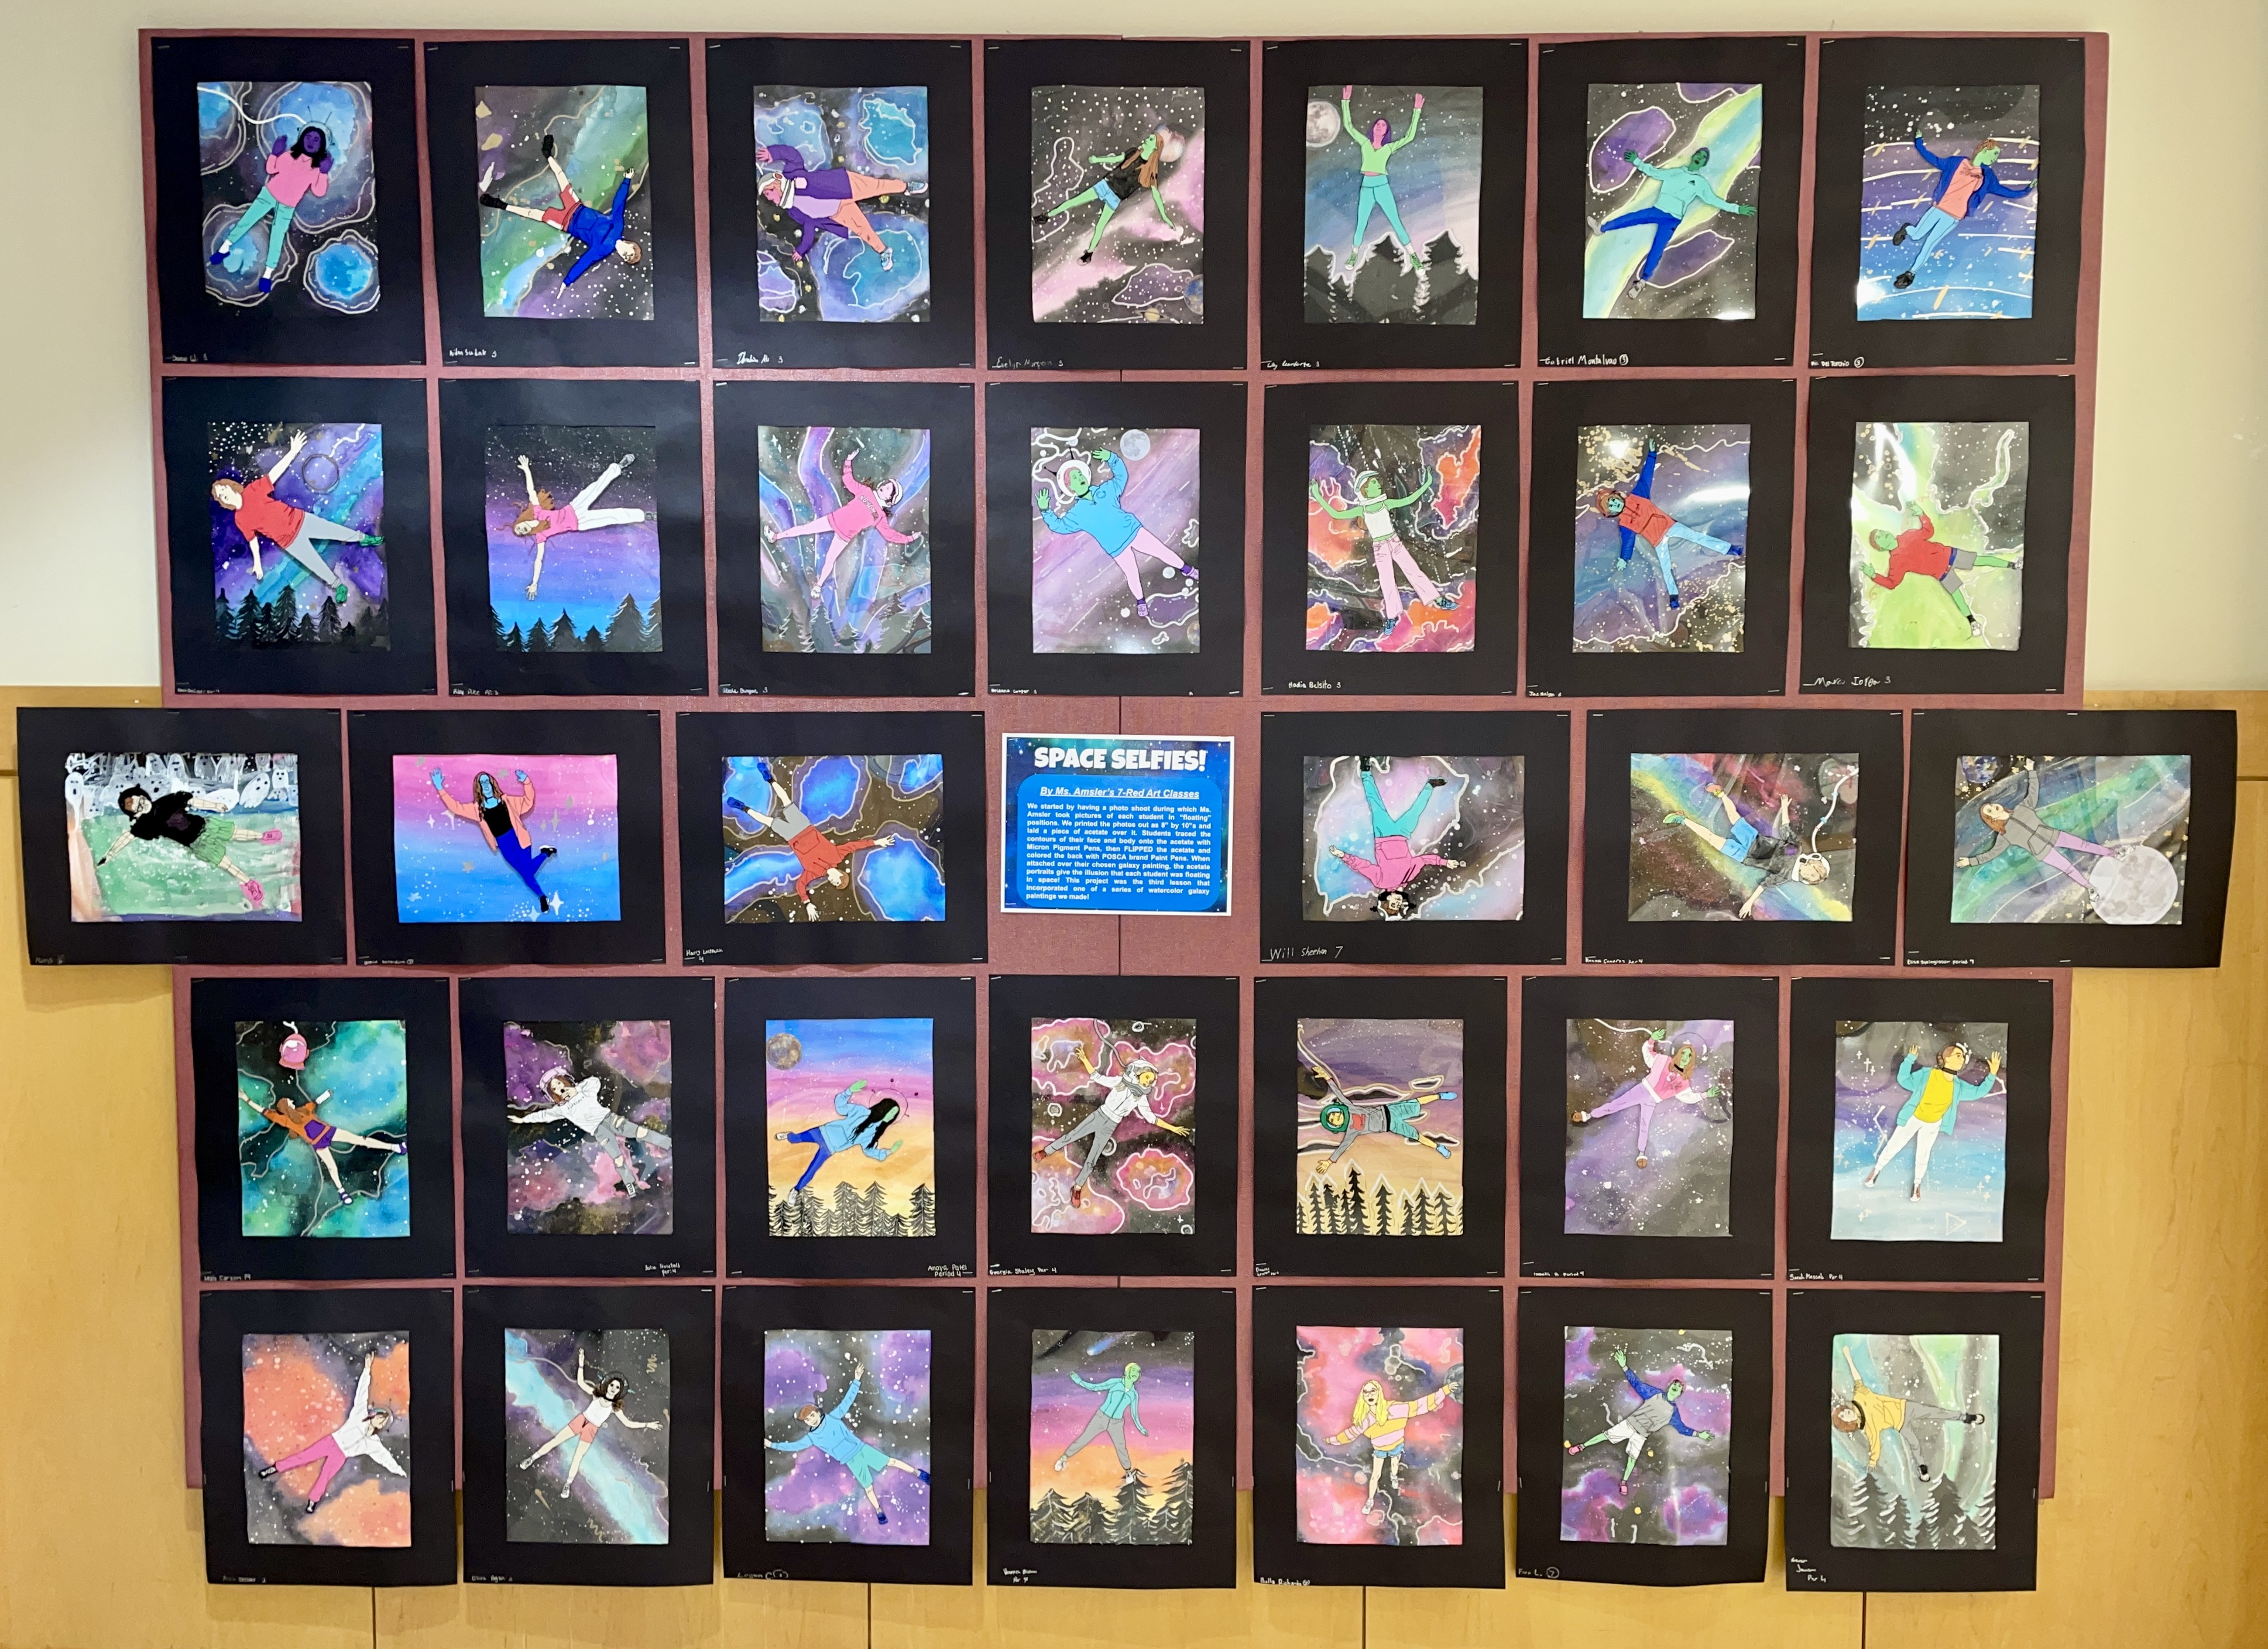
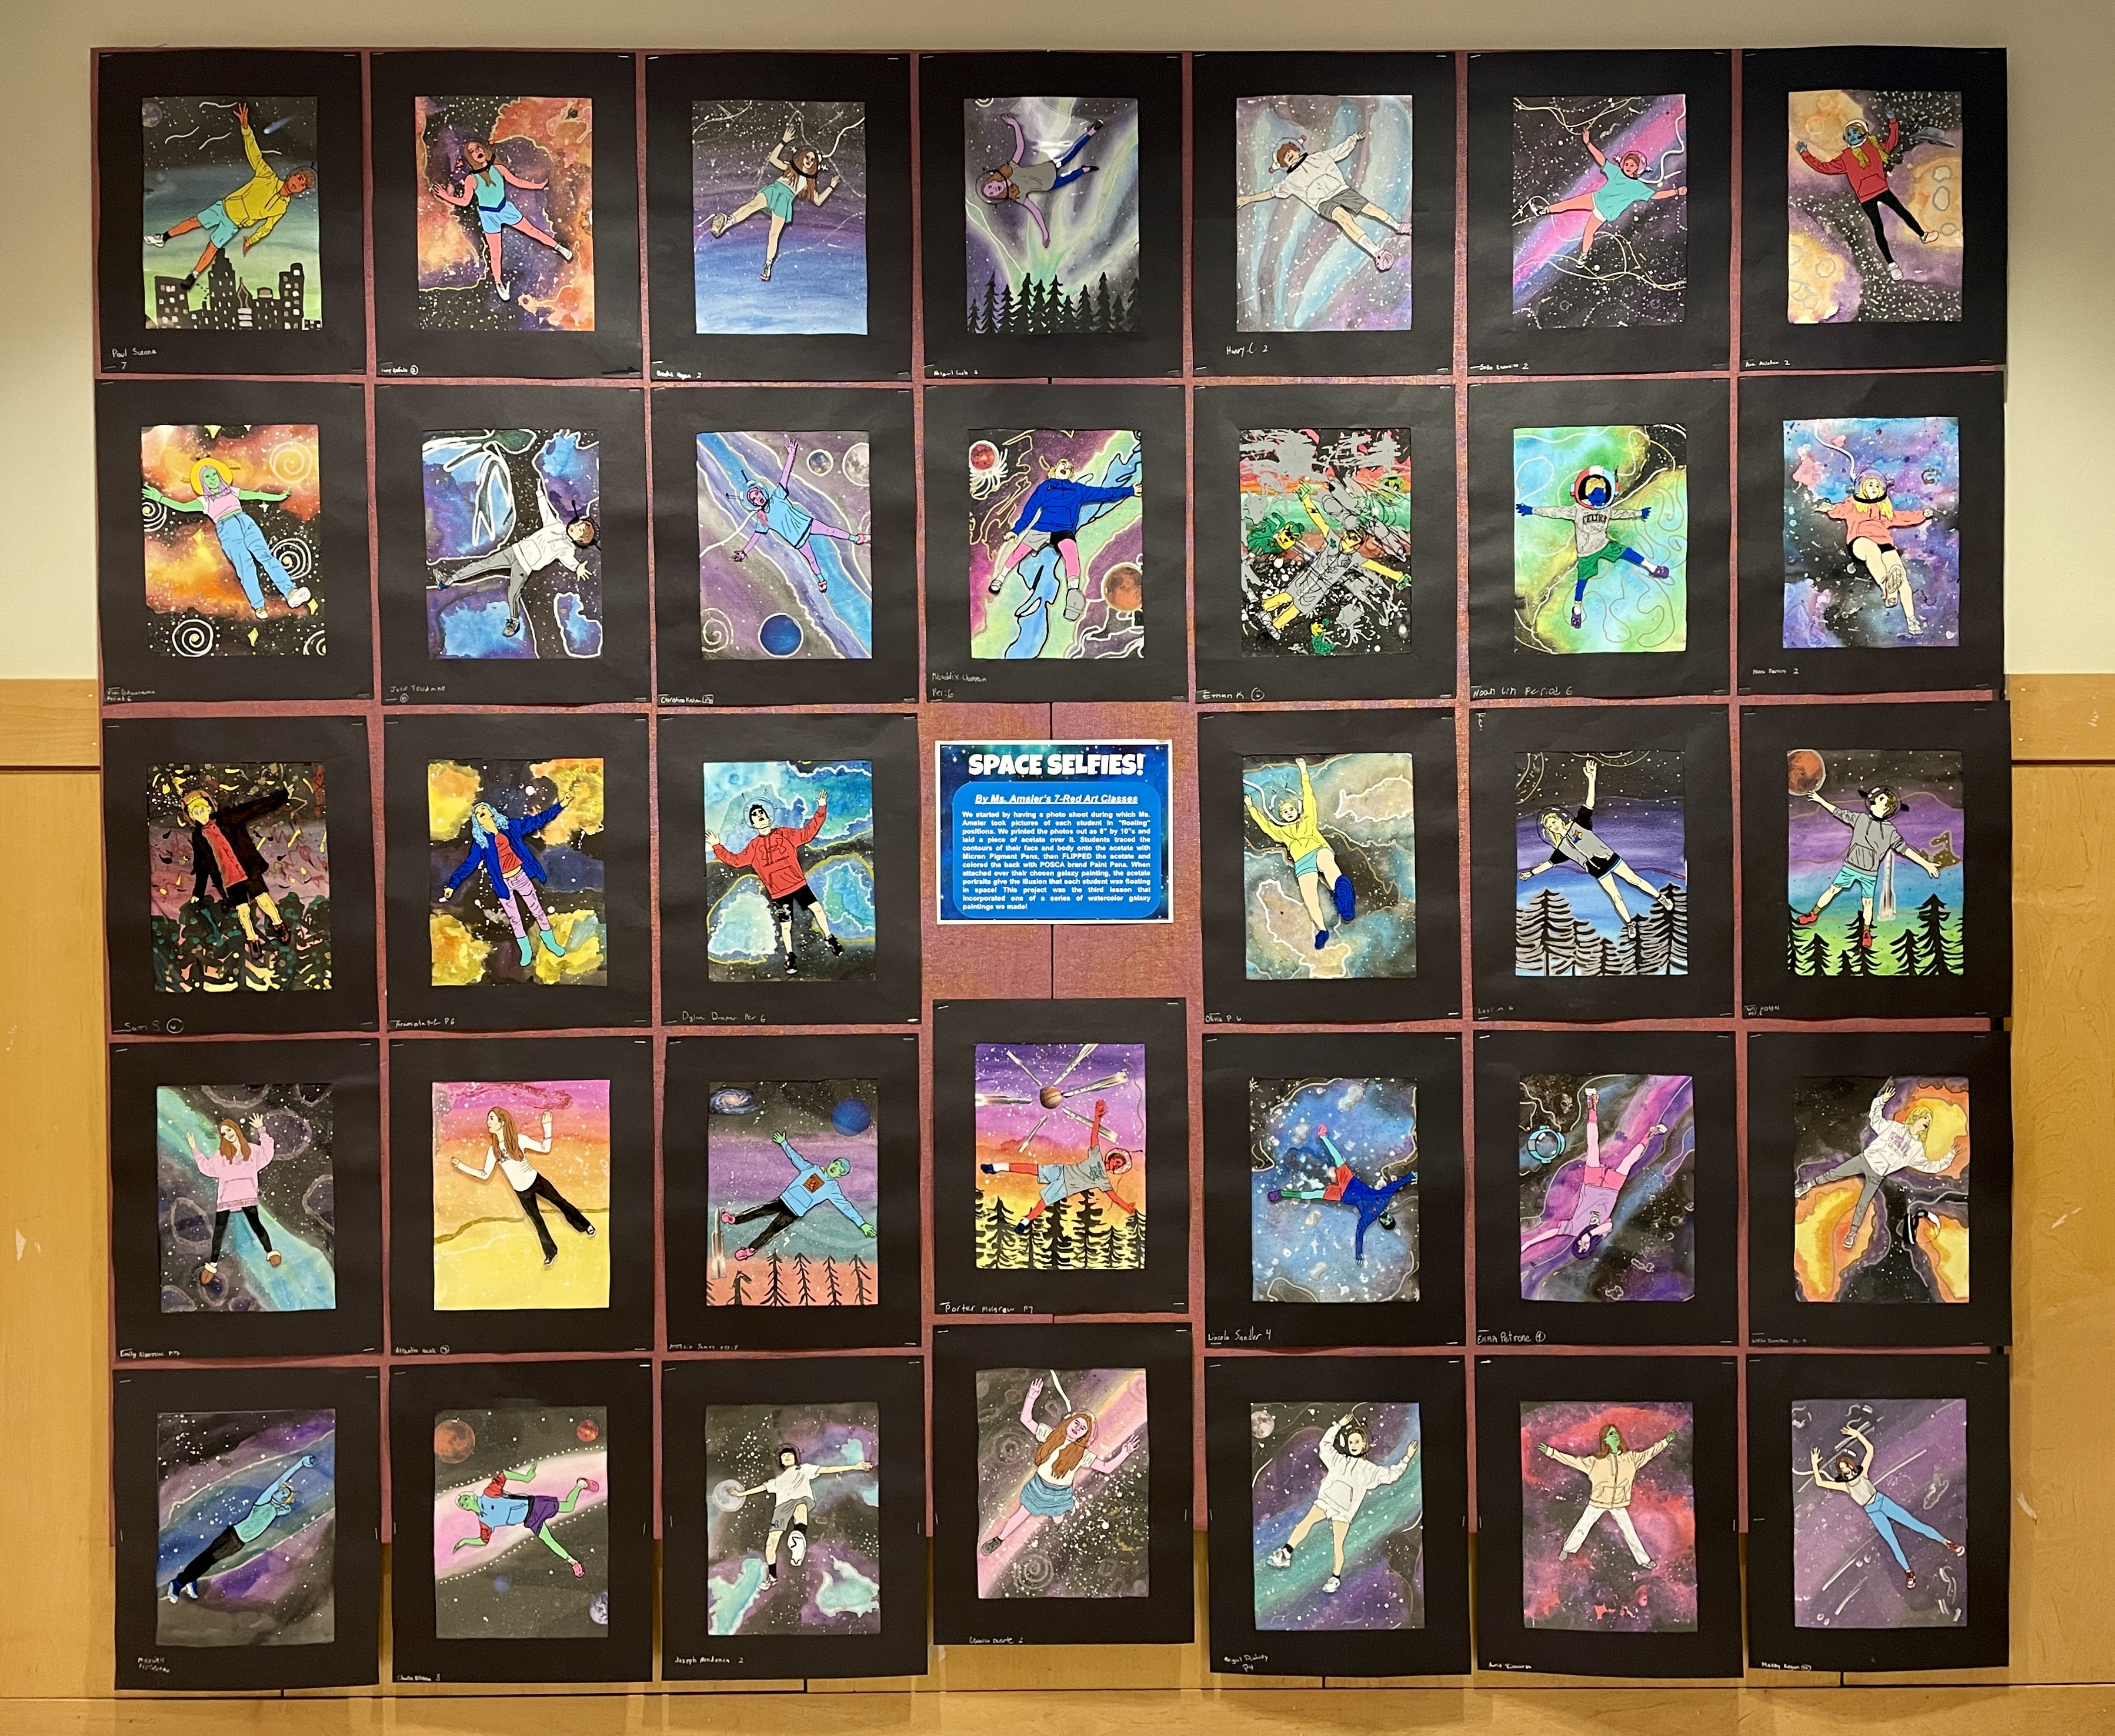
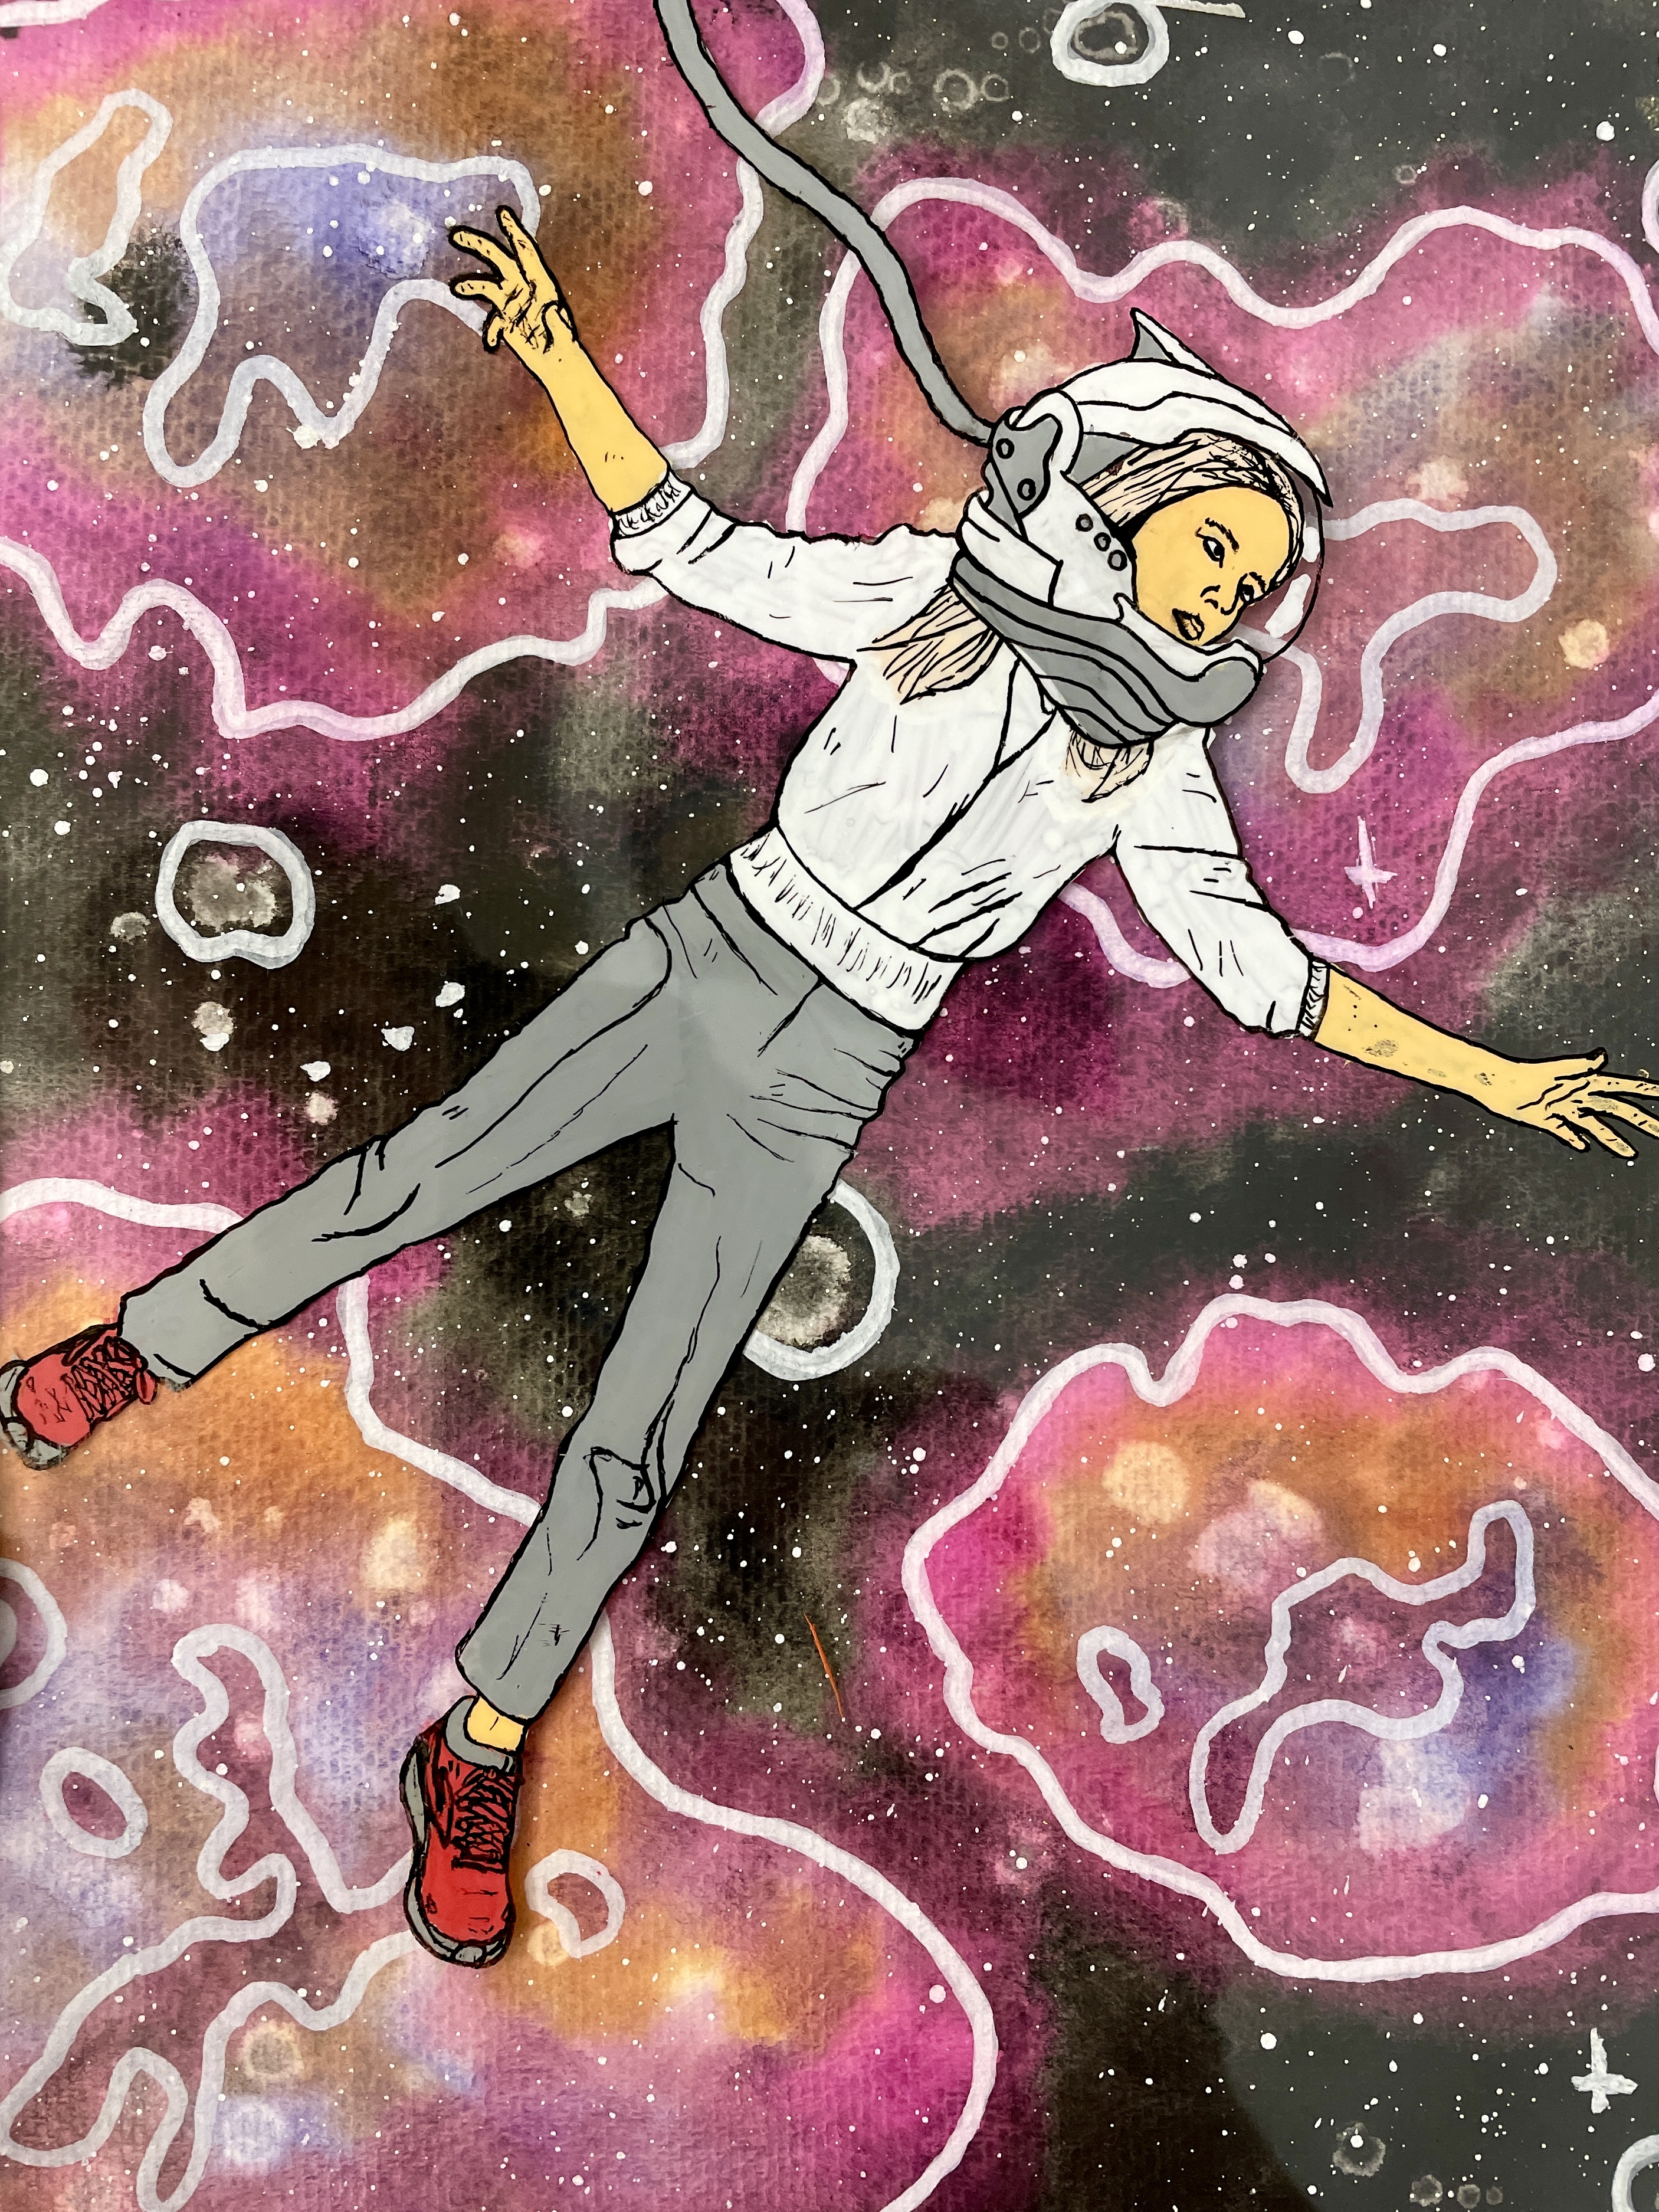
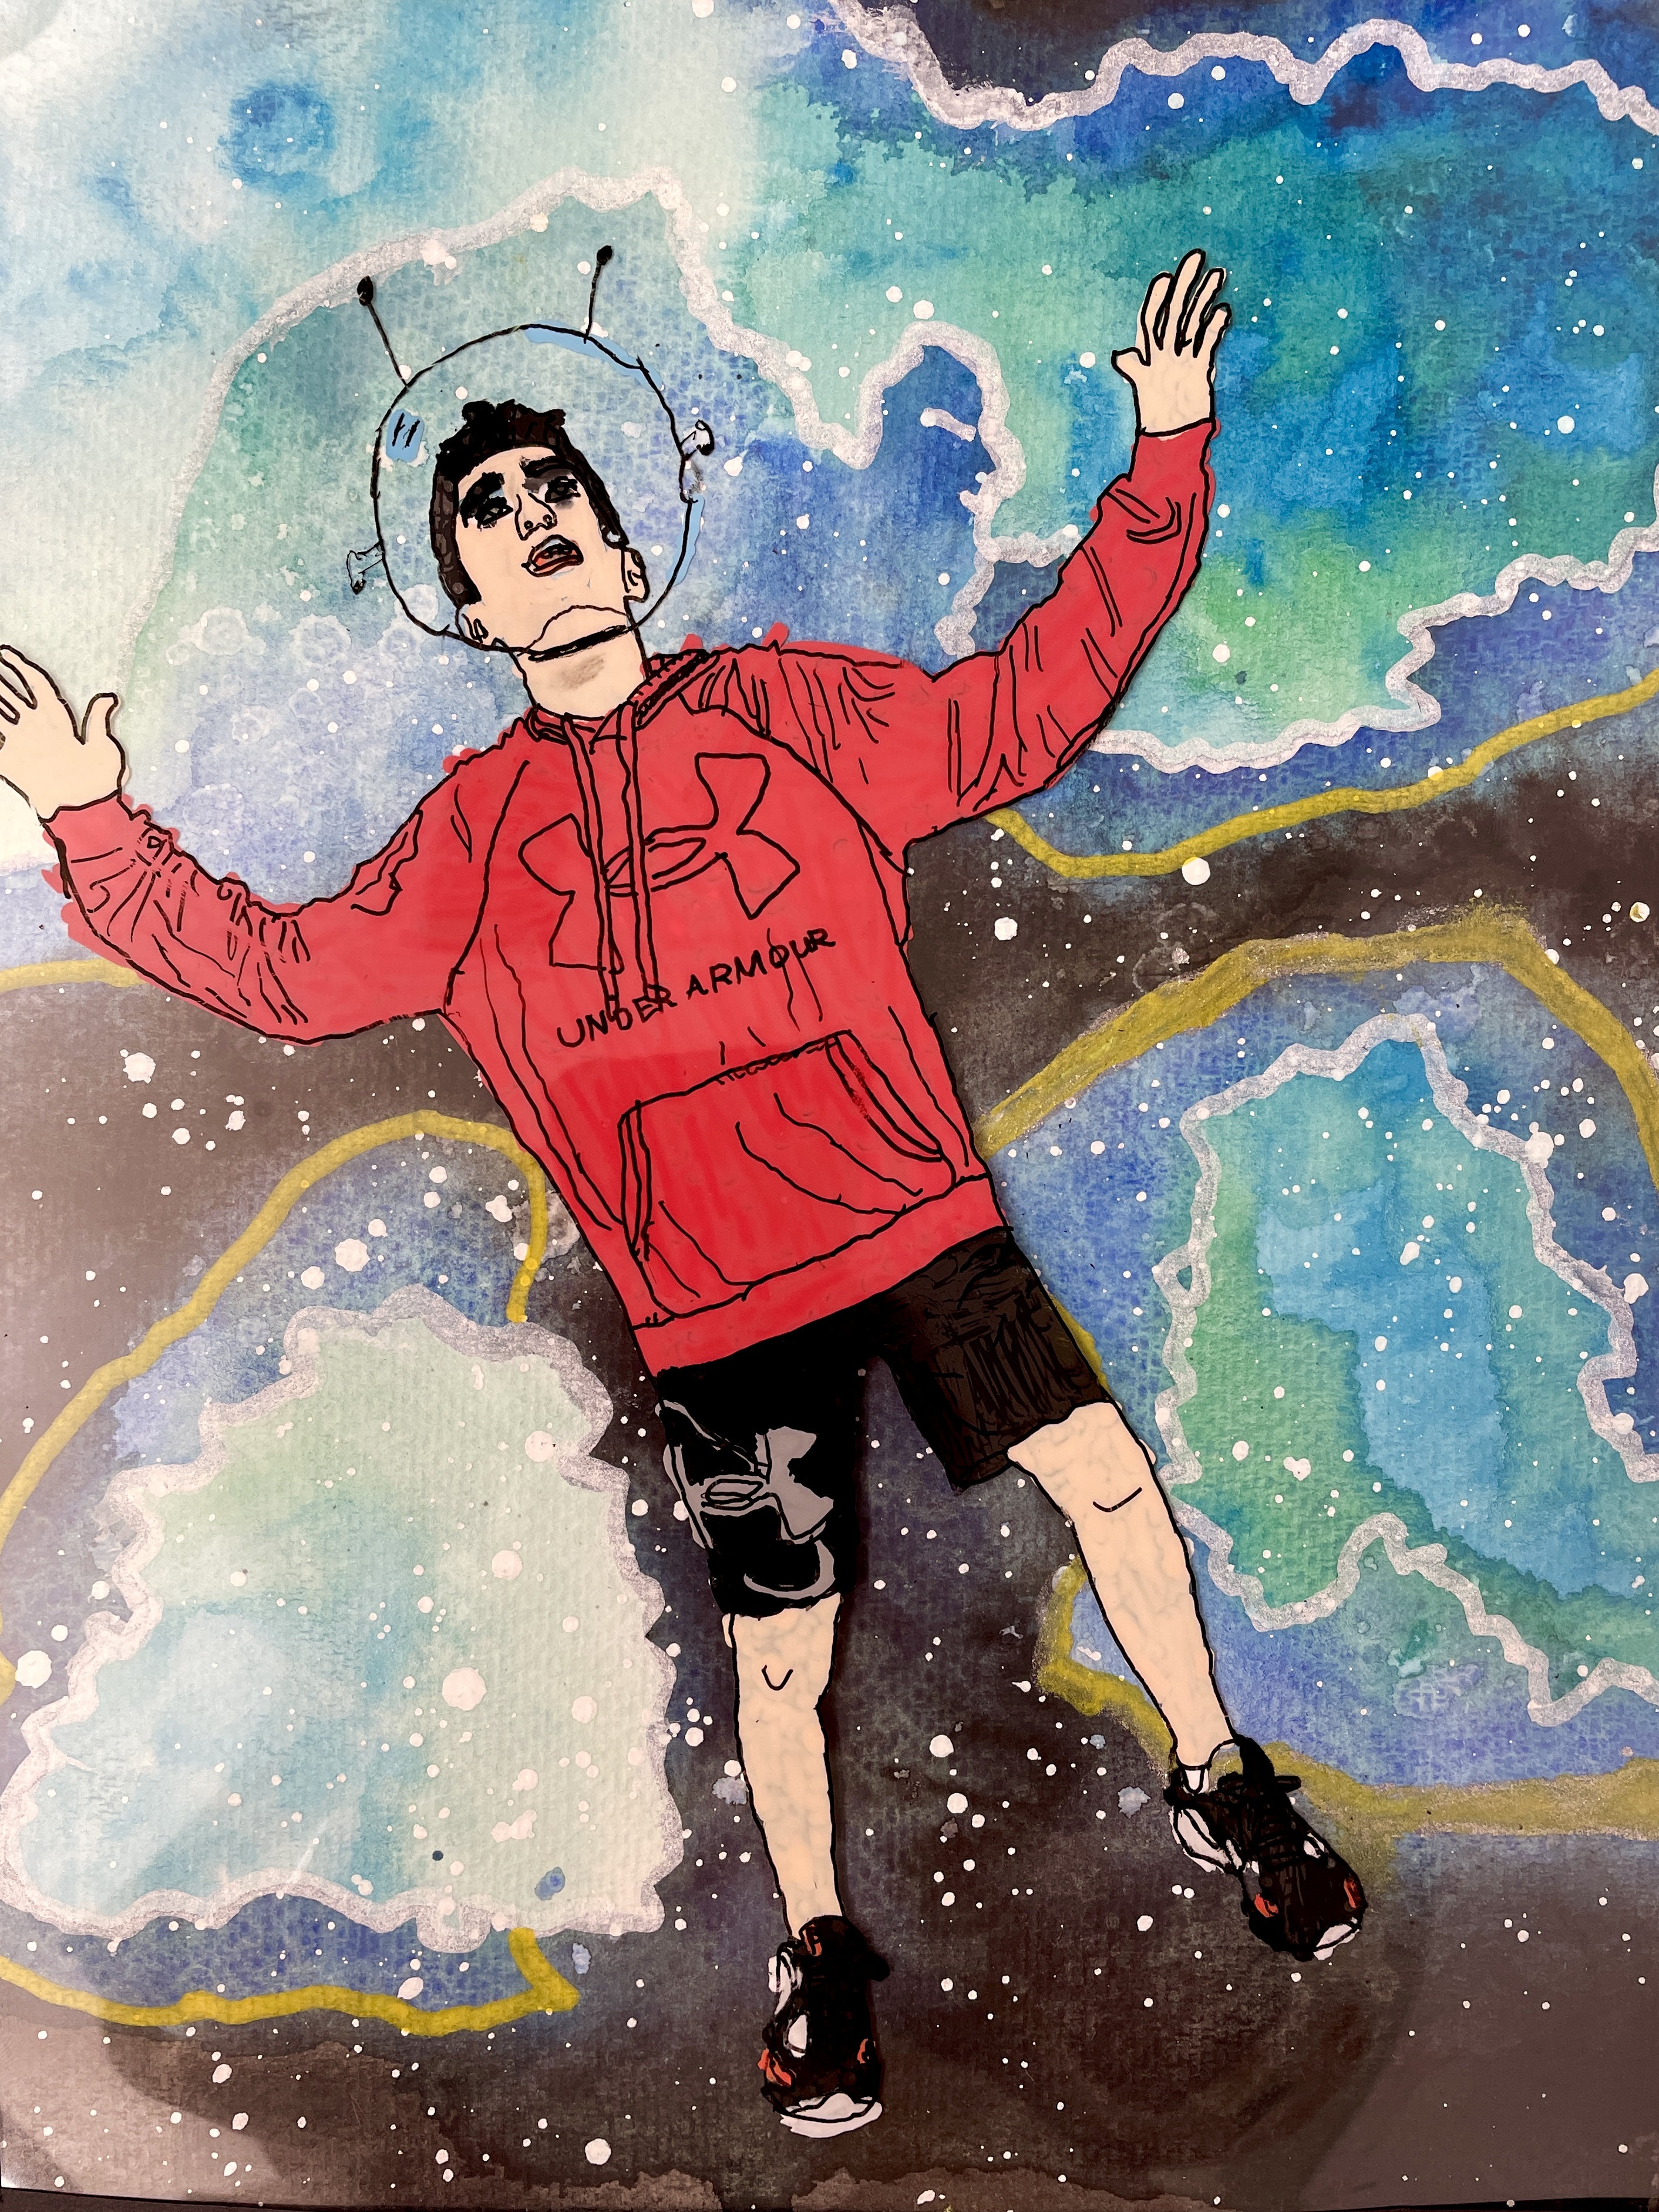
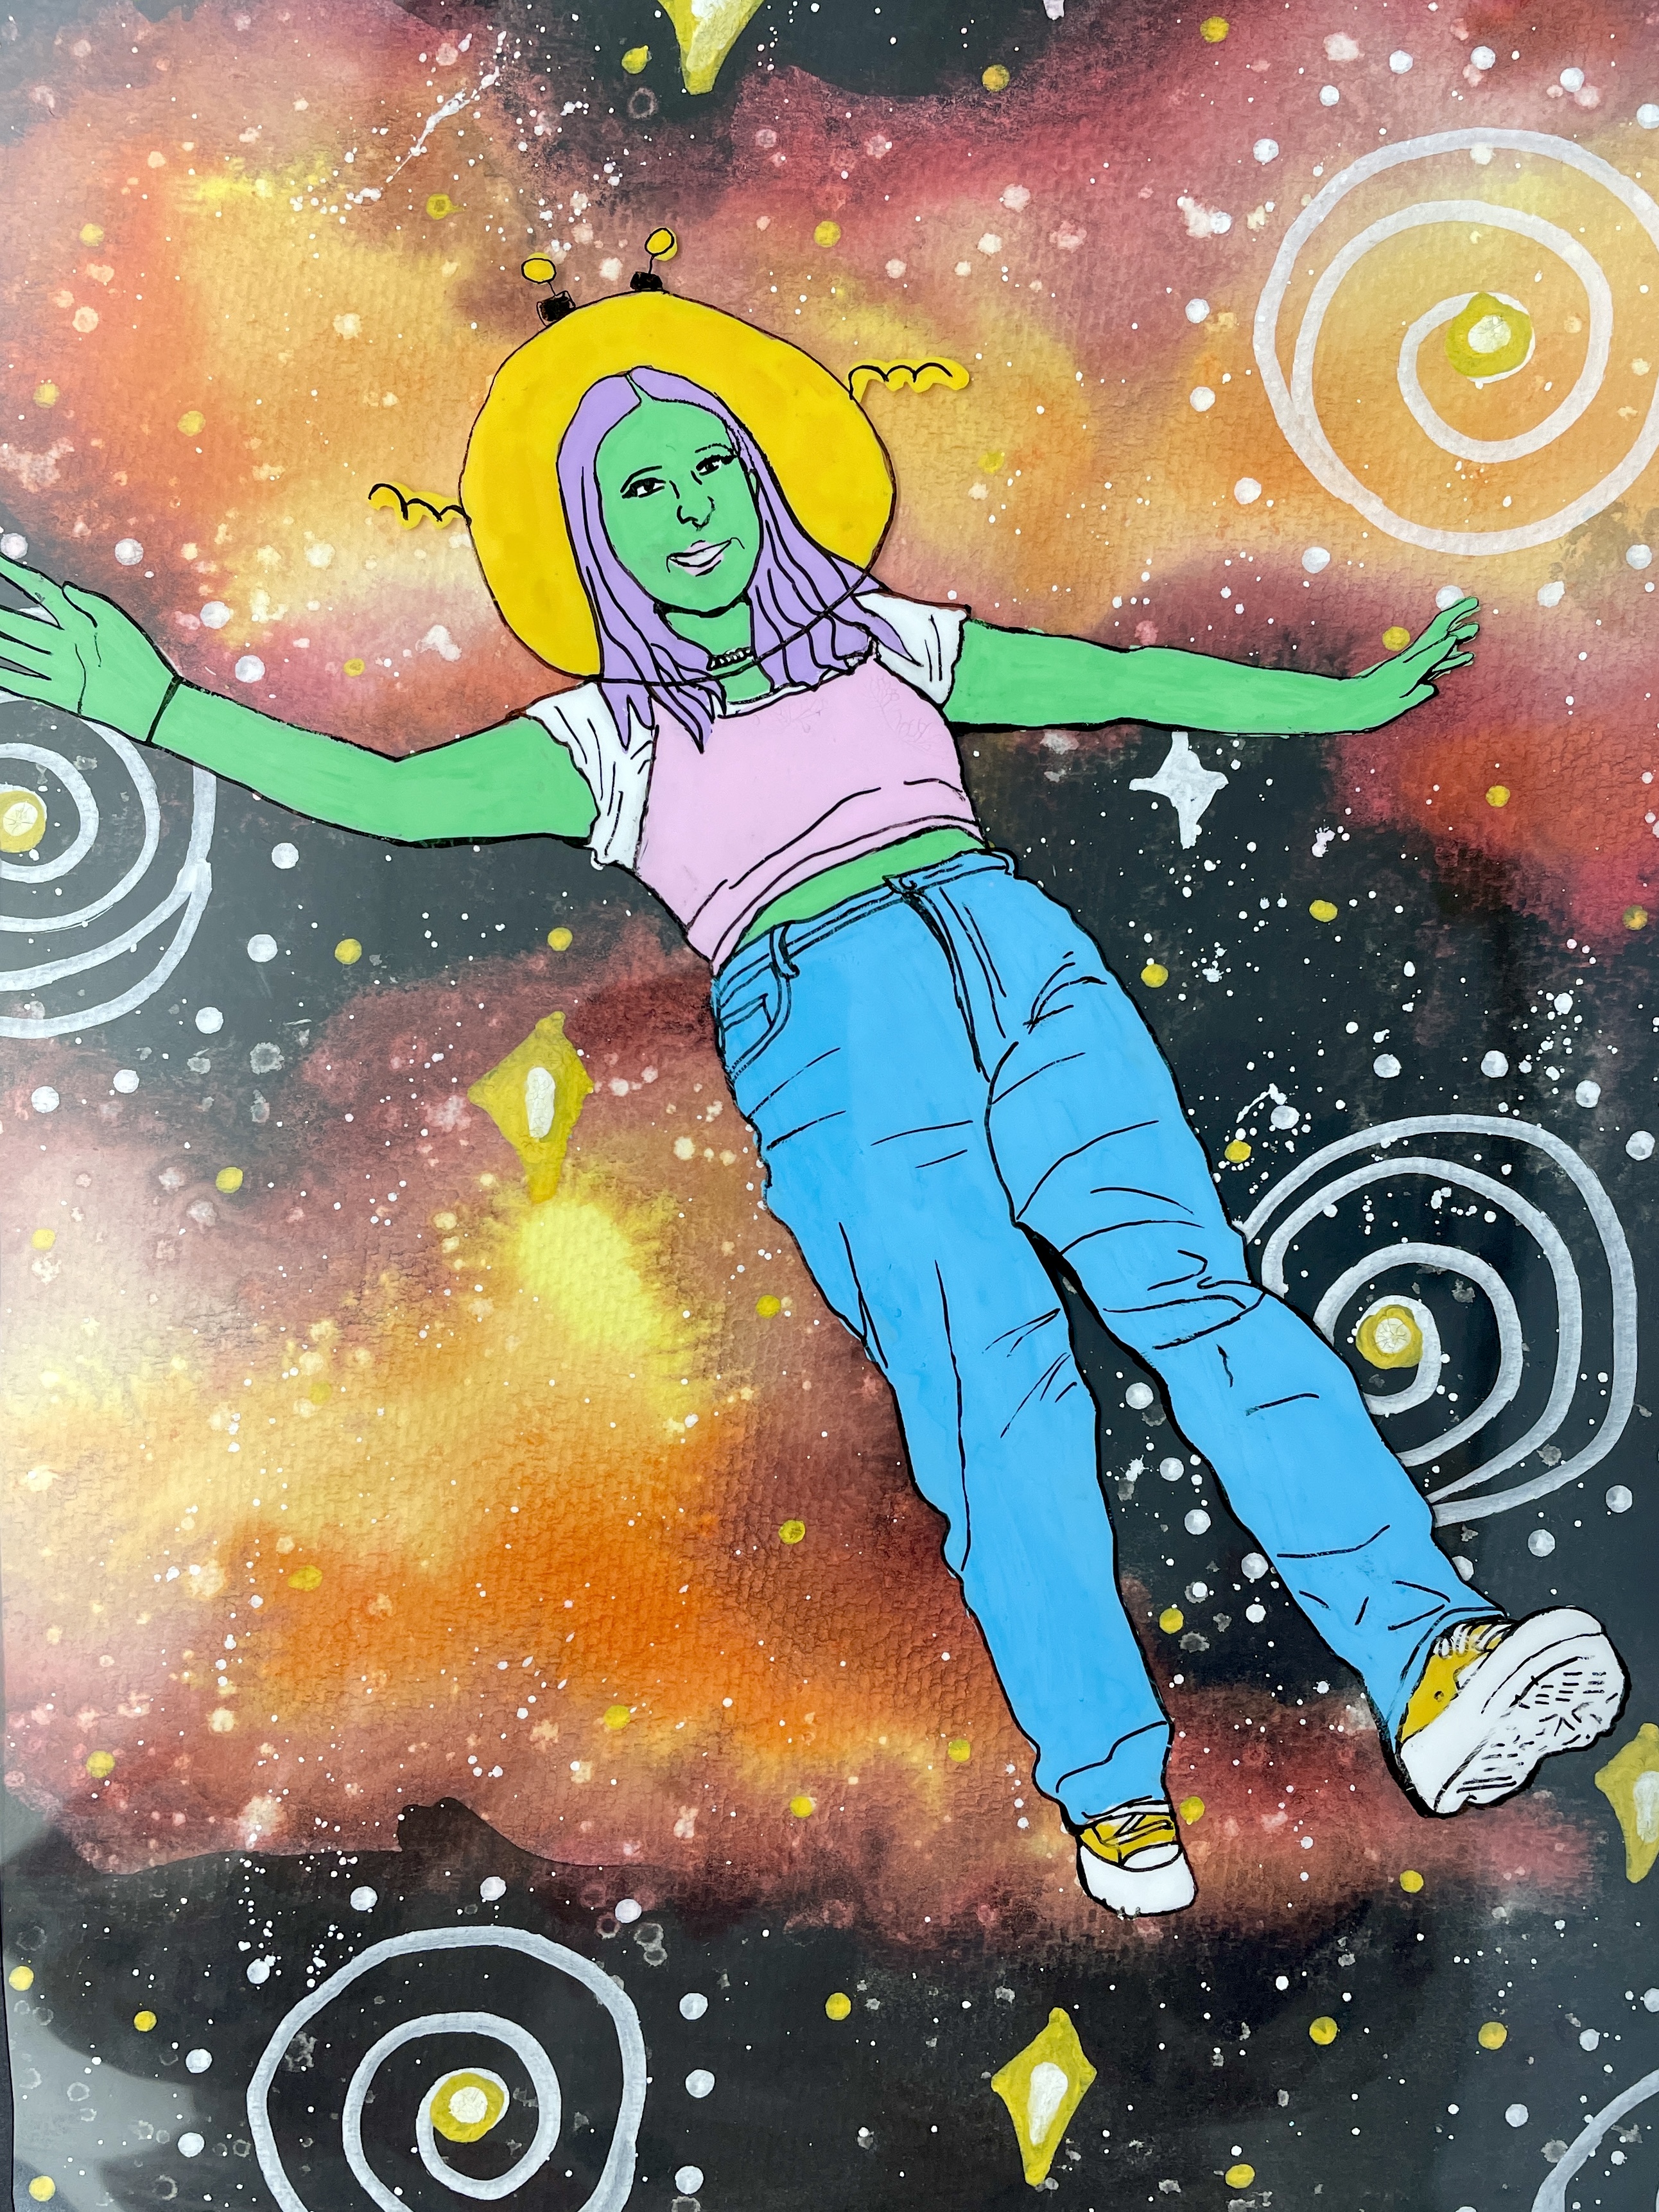
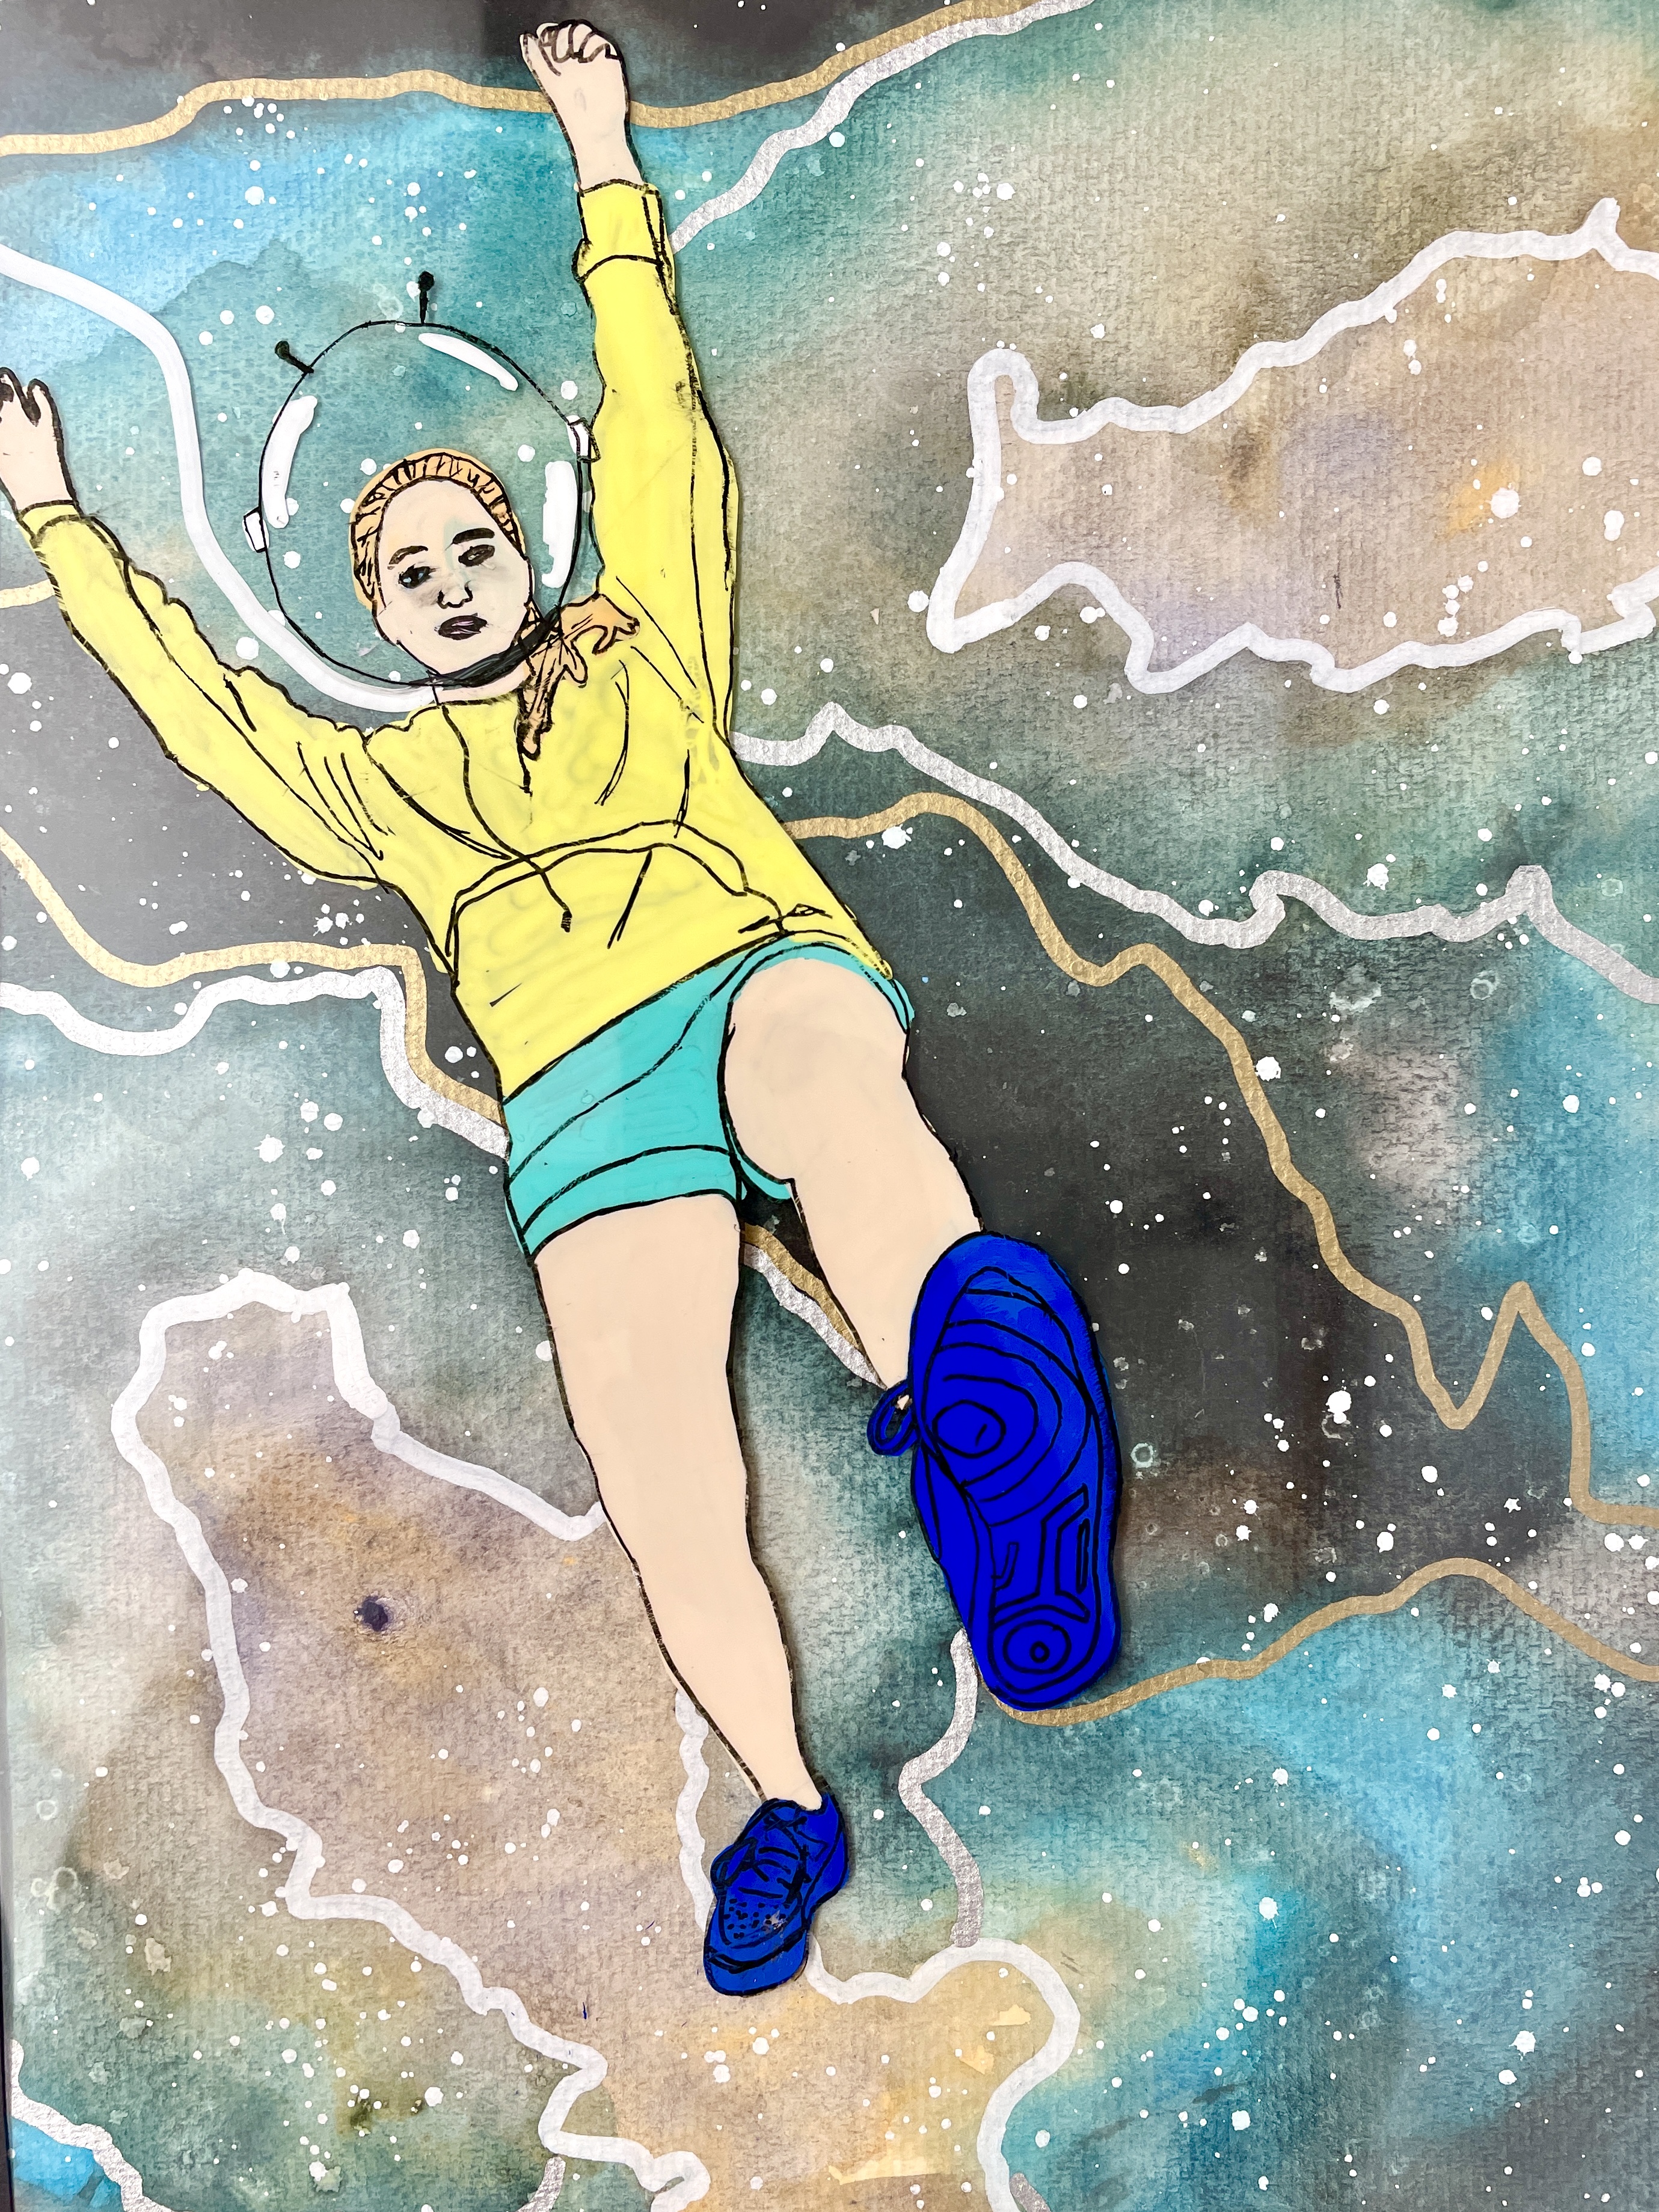
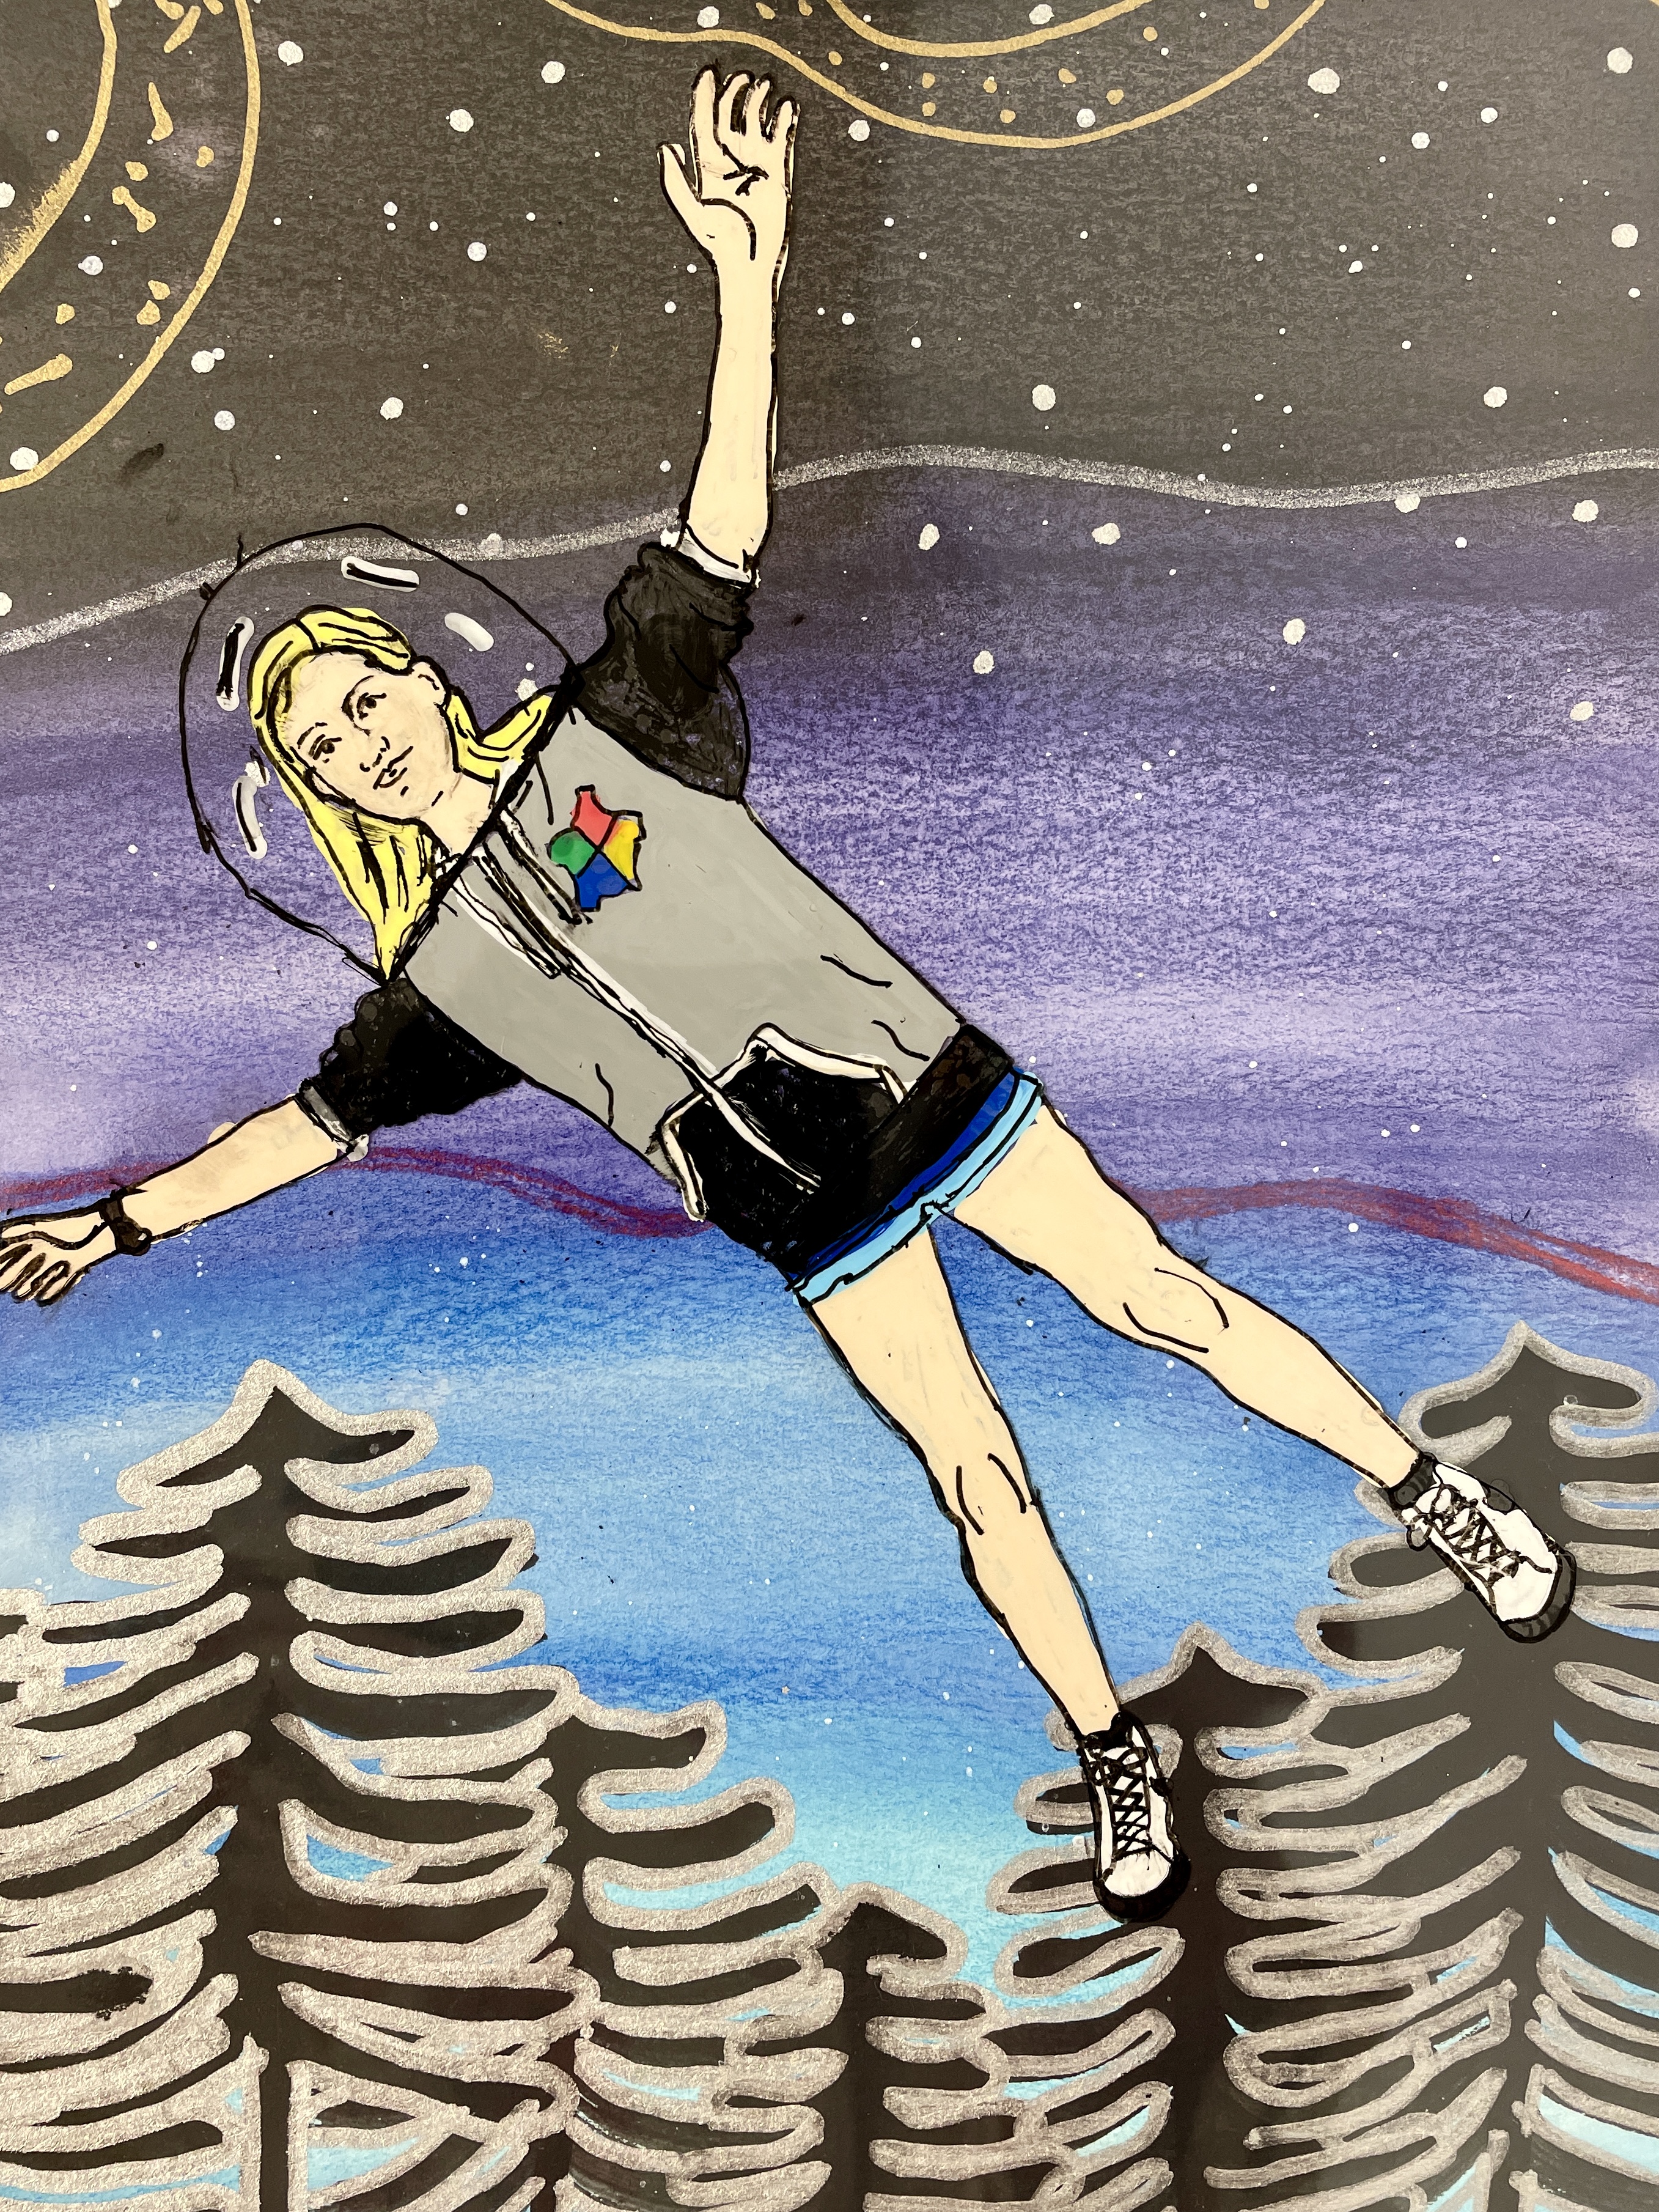
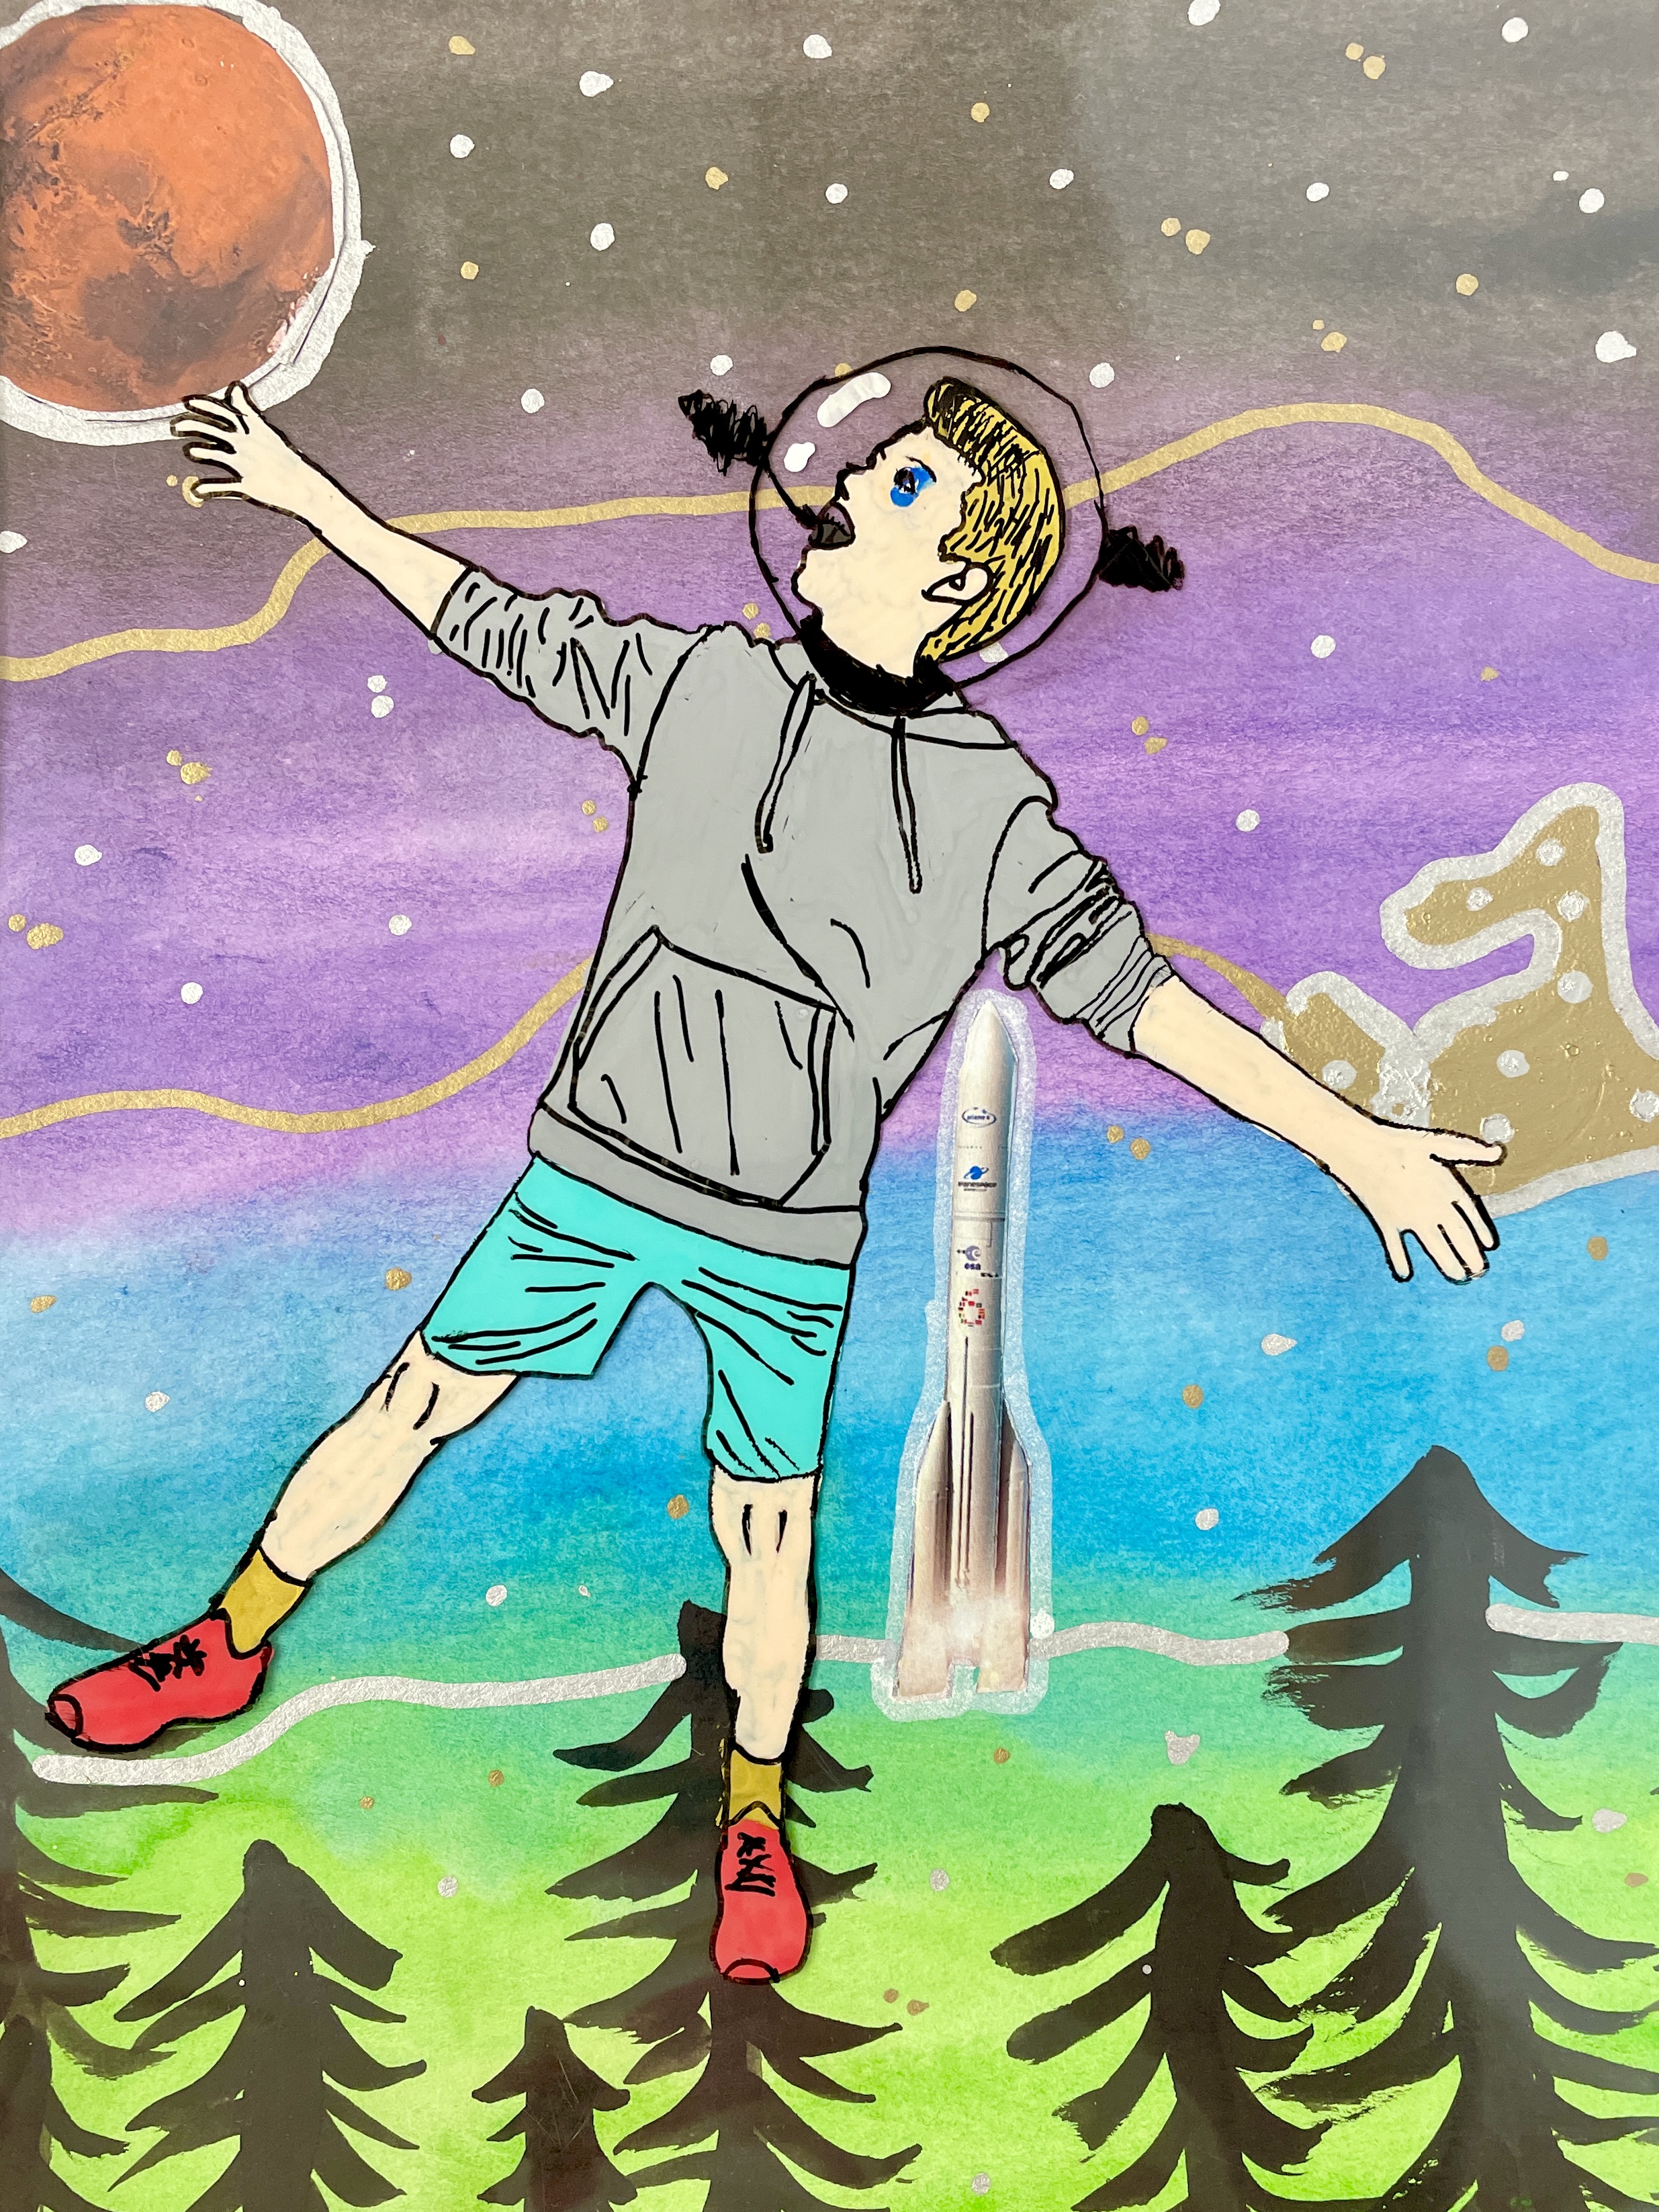
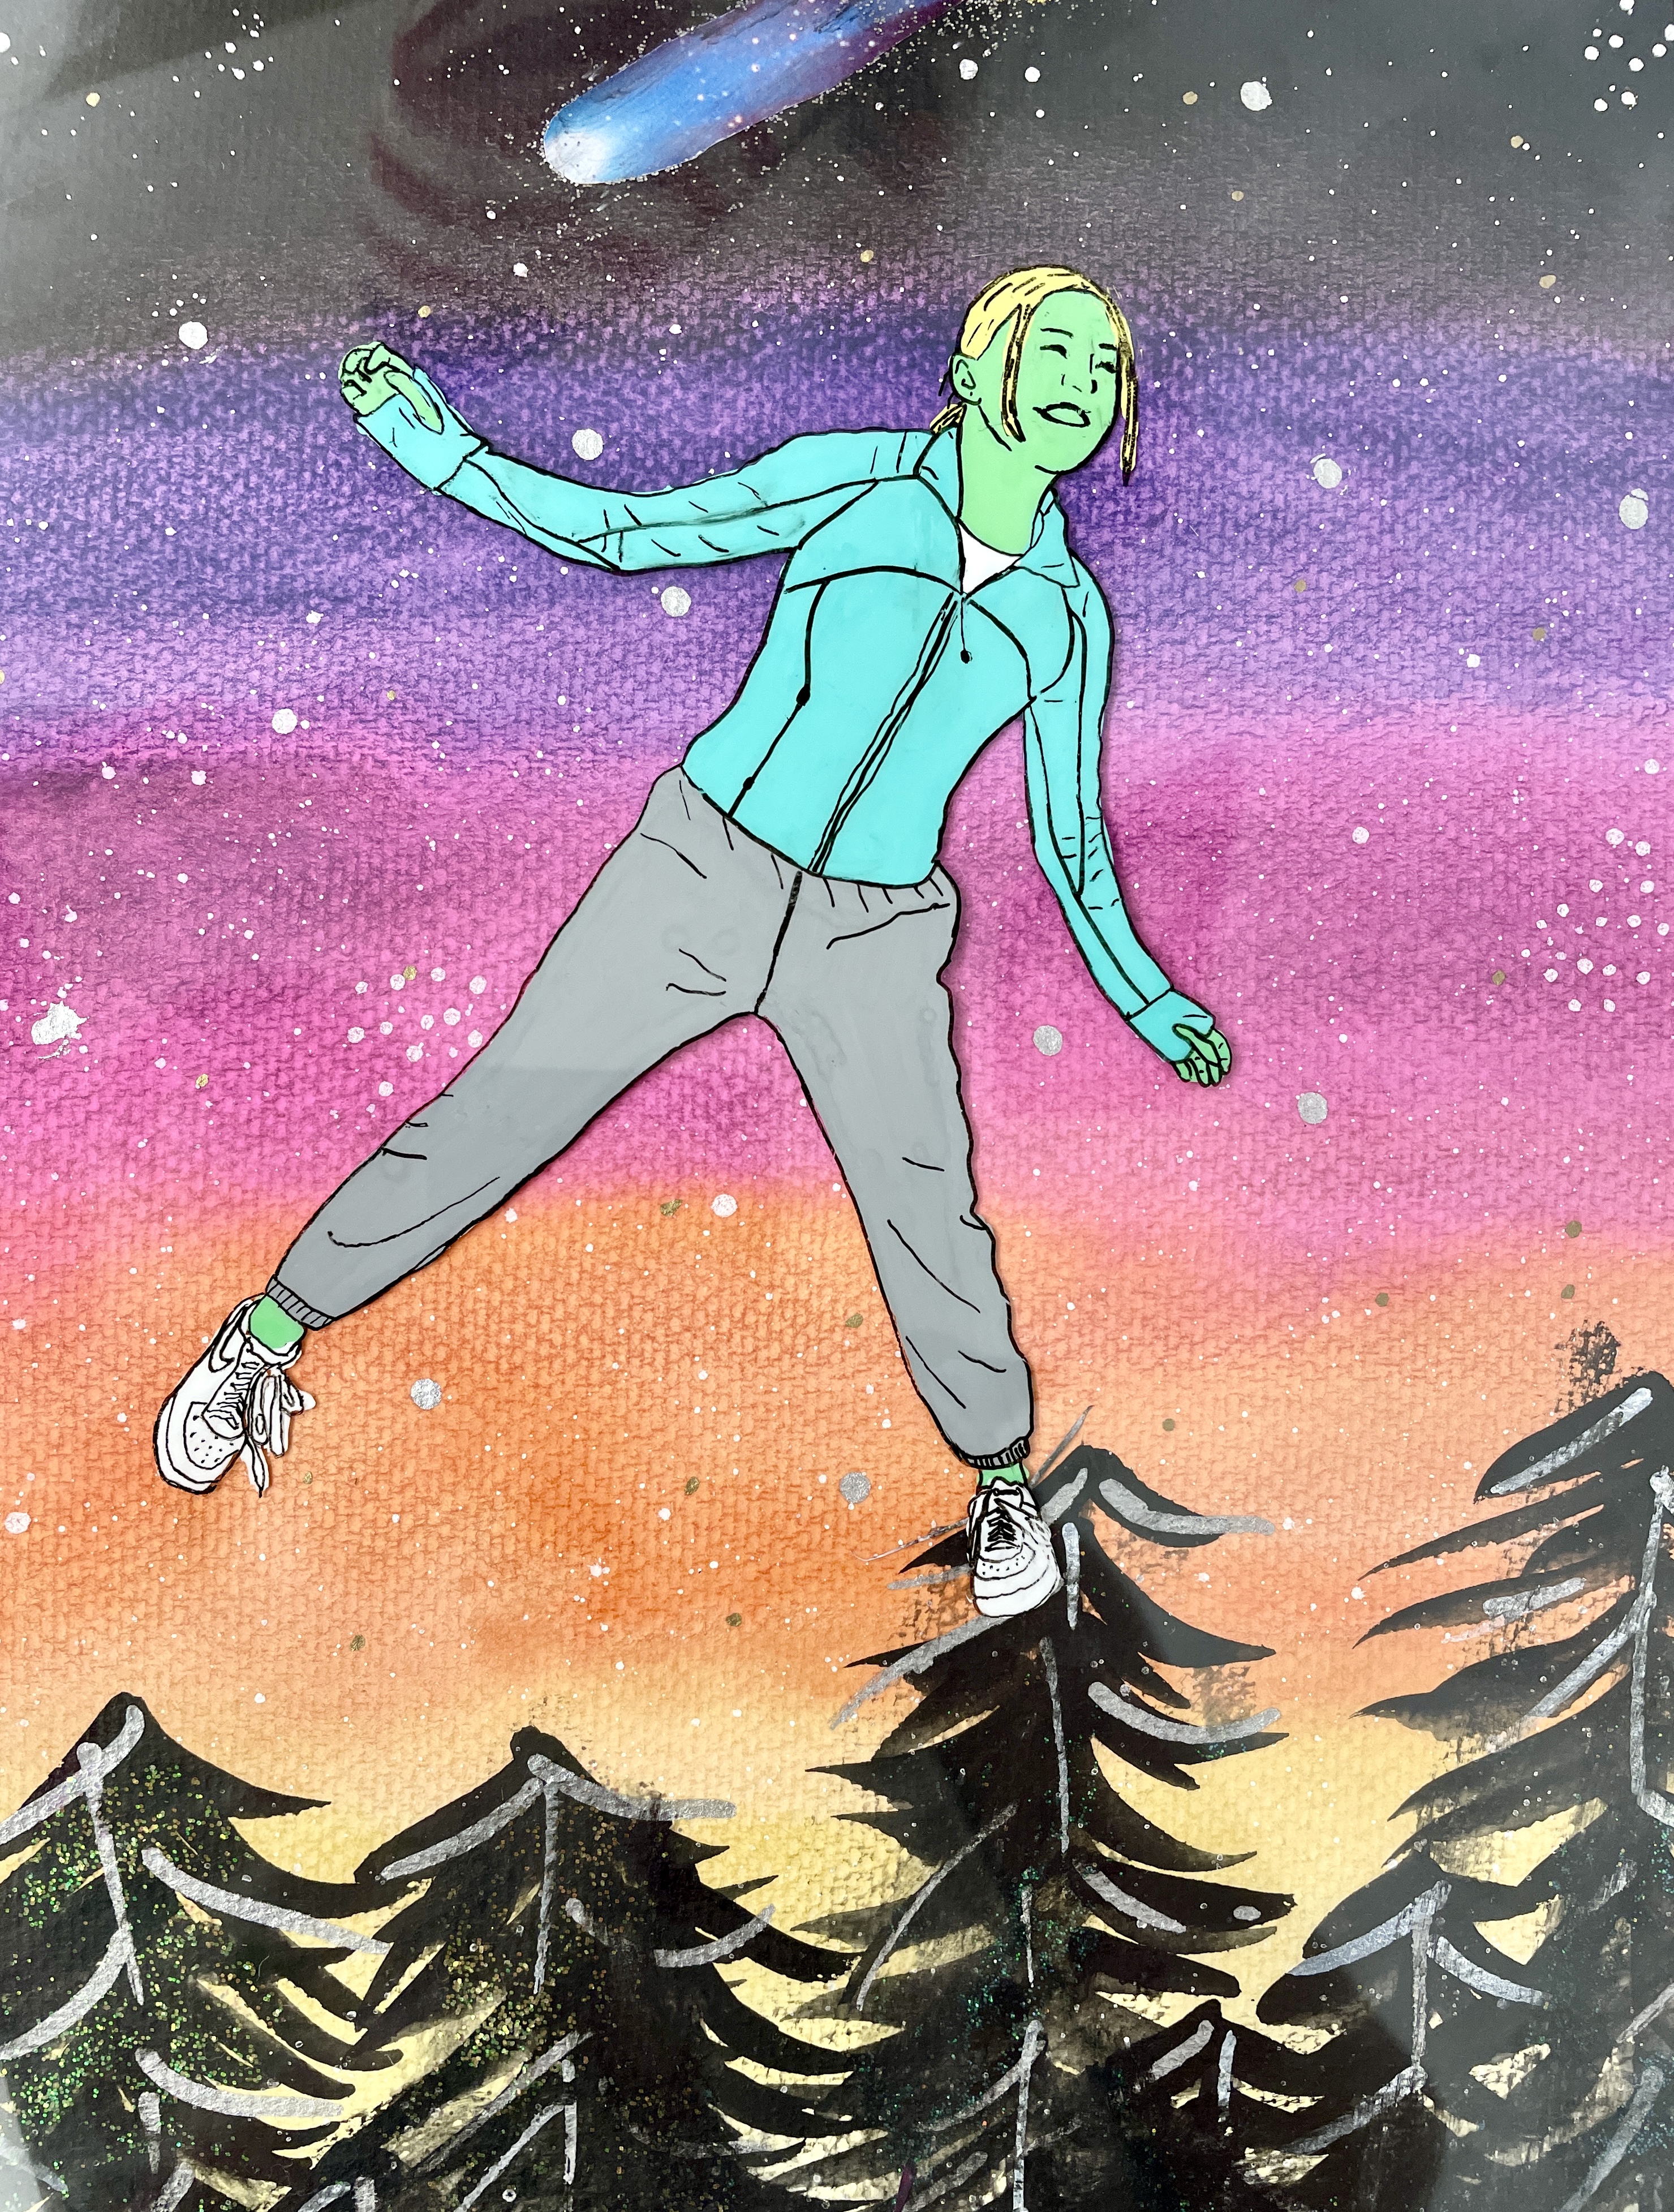
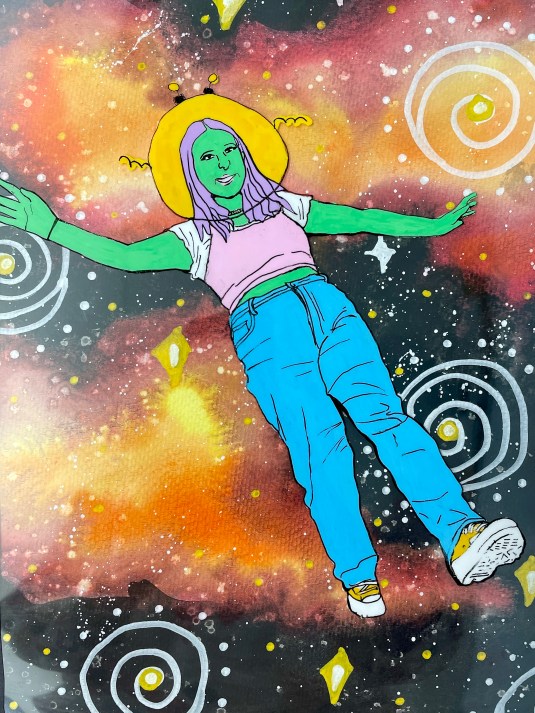
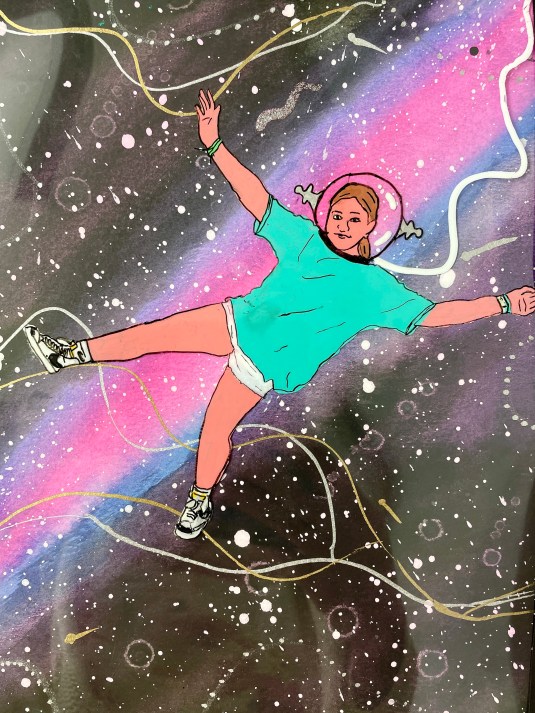
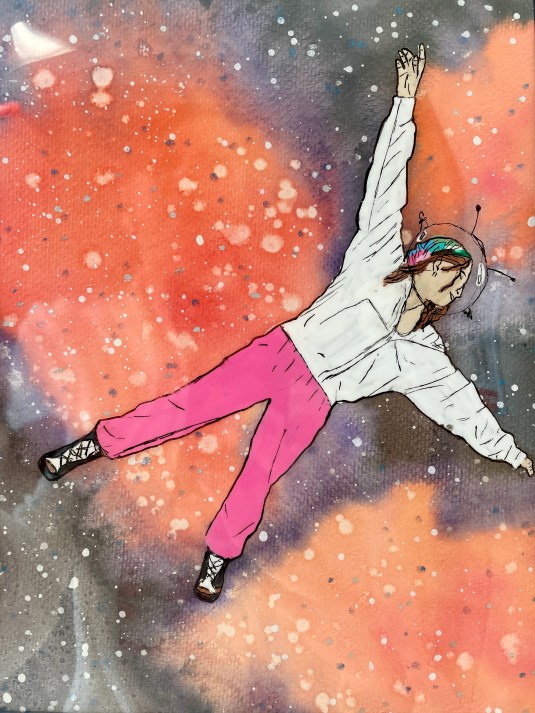
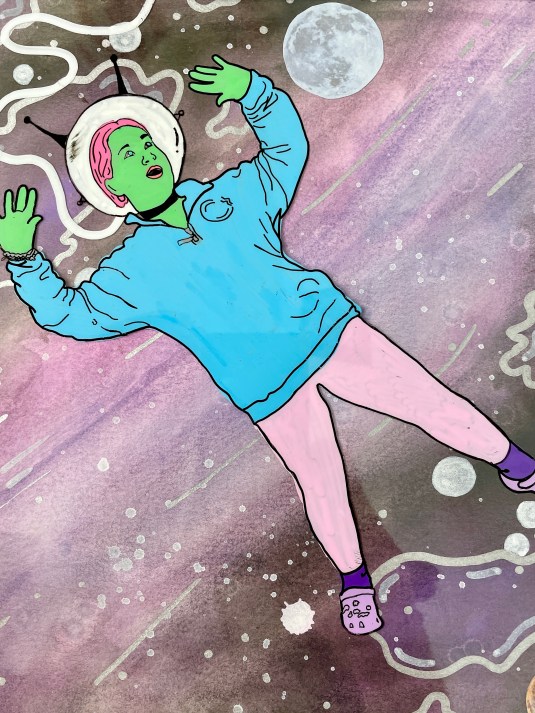
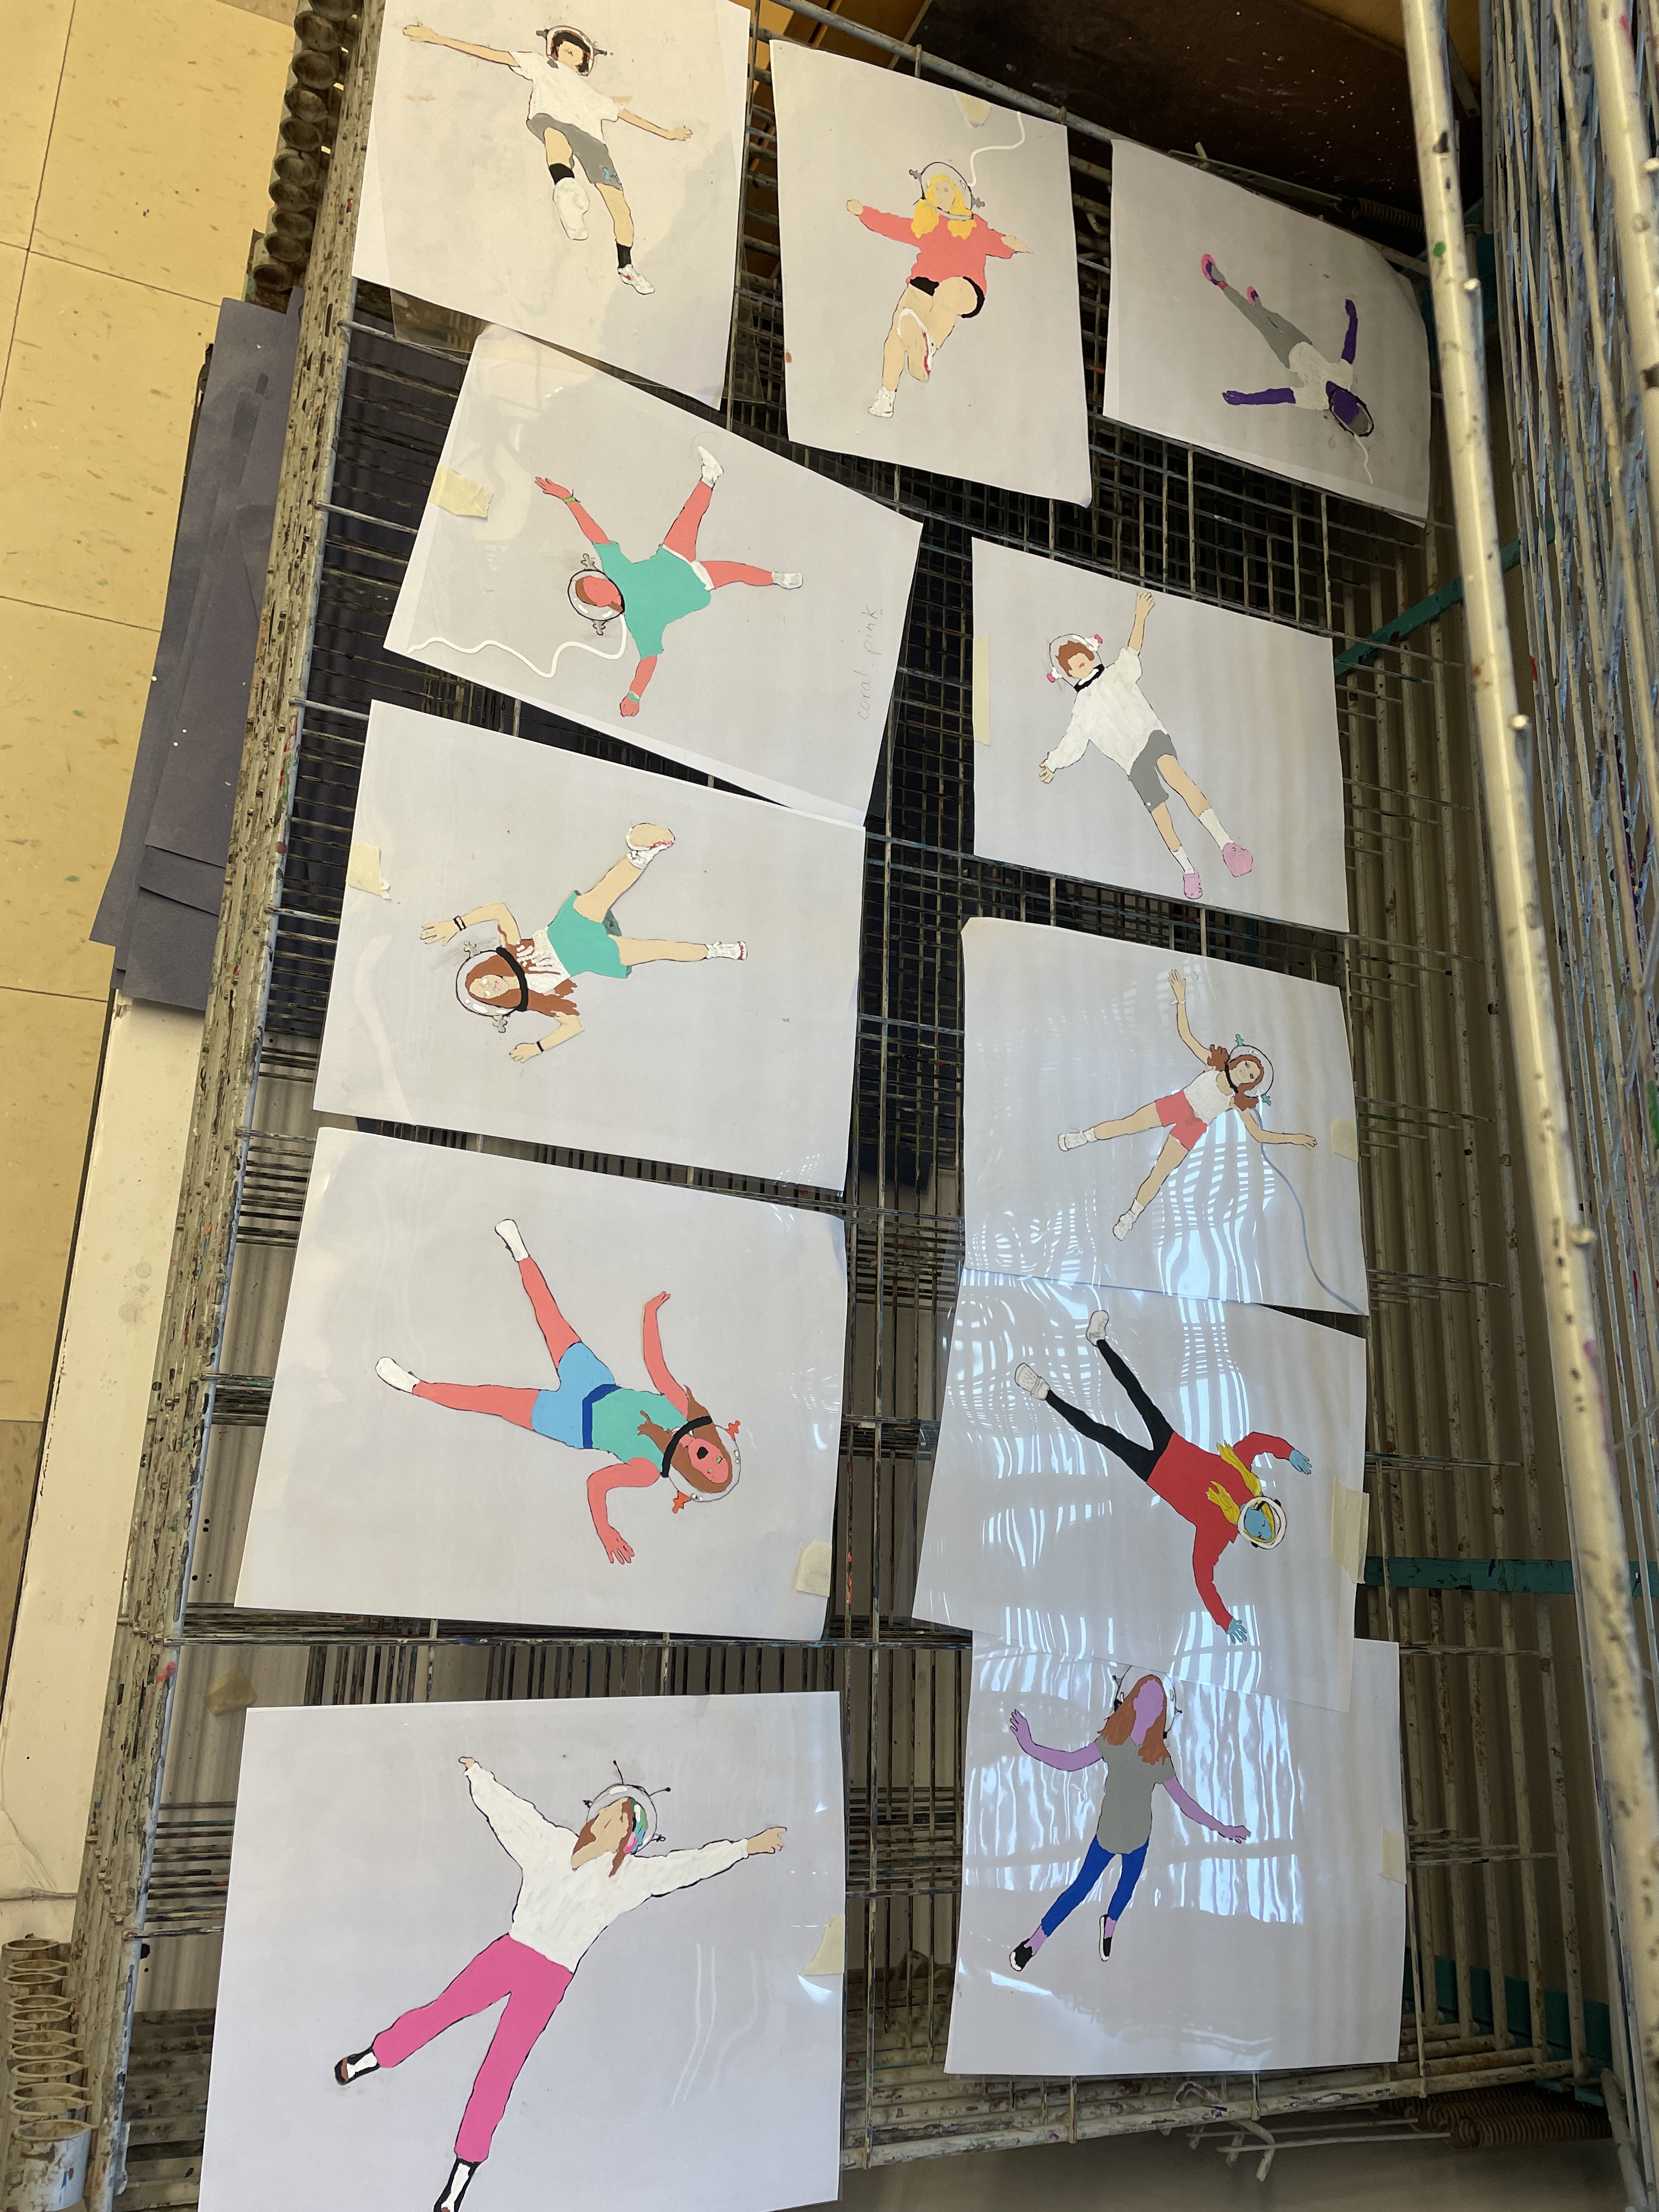
Space Selfies!

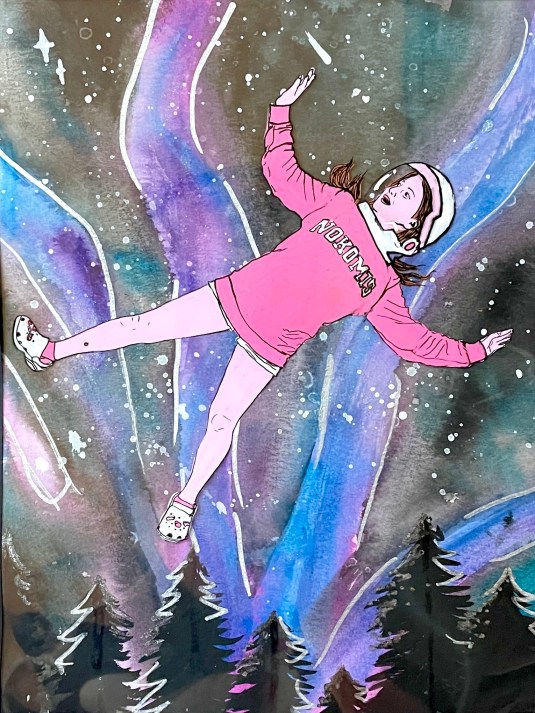
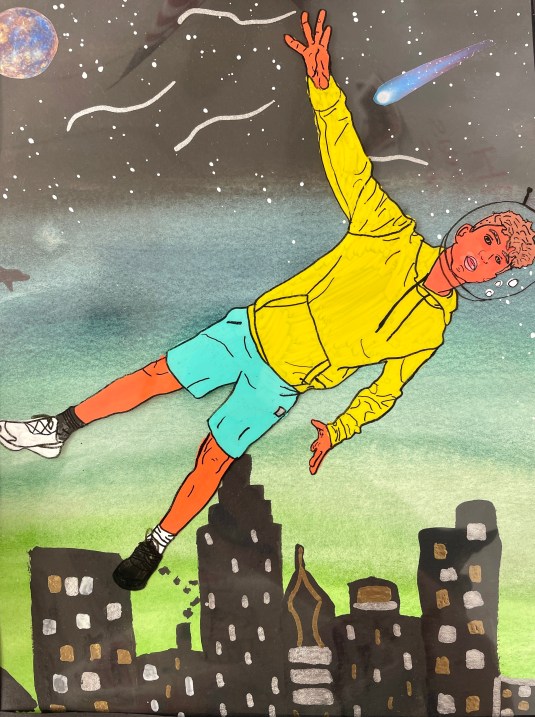

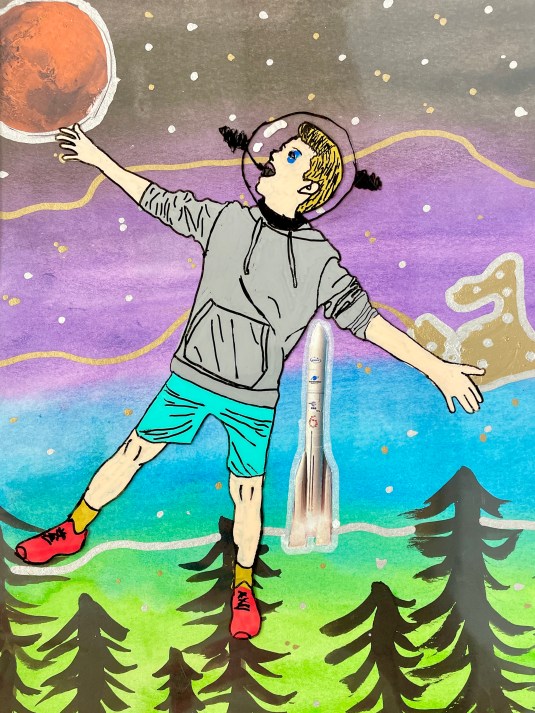


This whimsical self-portrait was the third lesson that incorporated a series of watercolor galaxy paintings that my 7th graders made.
To see the techniques we learned when painting the galaxies, as well as other Projects we made with them, CLICK HERE
Preparations for this lesson Included having individual photo shoots with the students a day or two before we were ready to start. I took one or two students out to the hall at a time to pose them in floating-like positions while the rest of the class was busy with some independent task. (This particular week, I had a senior intern who helped keep the classes organized and running smoothly while I was in and out!) Students chose the pose/picture they like best from the 6-10 shots I snapped on my phone. I printed the photo out as an 8 x 10, being sure to include the whole body in the composition.

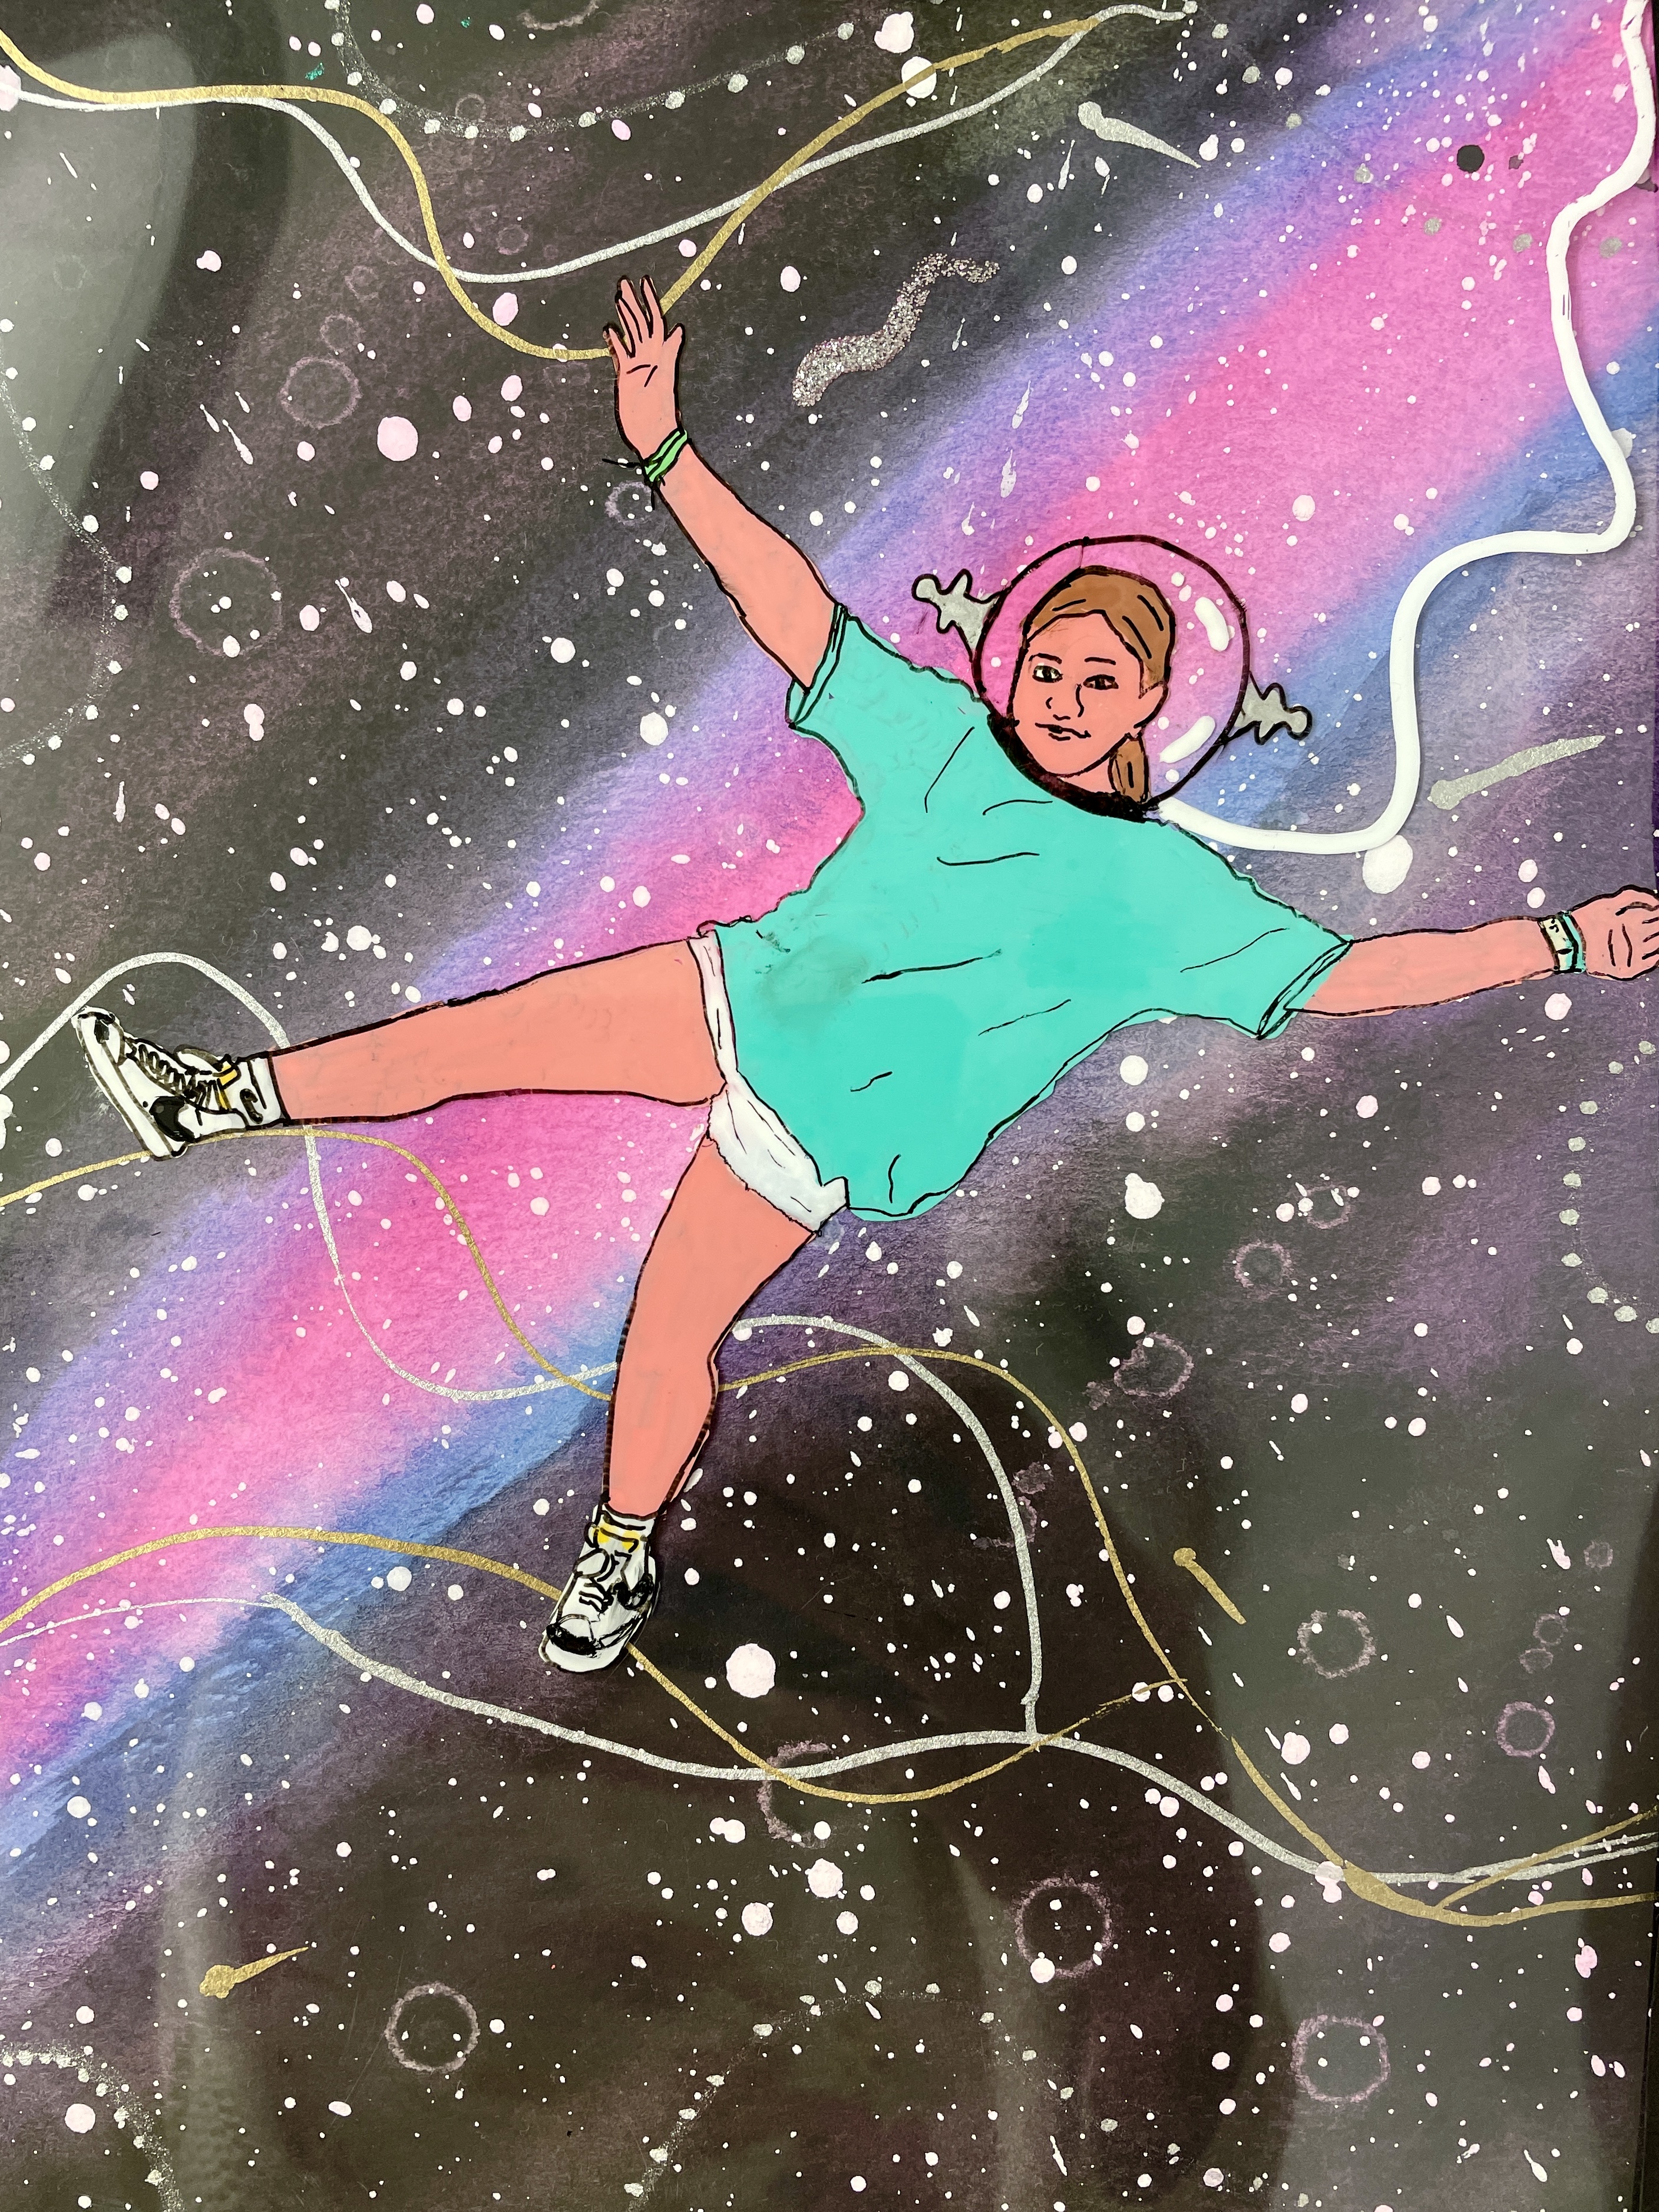
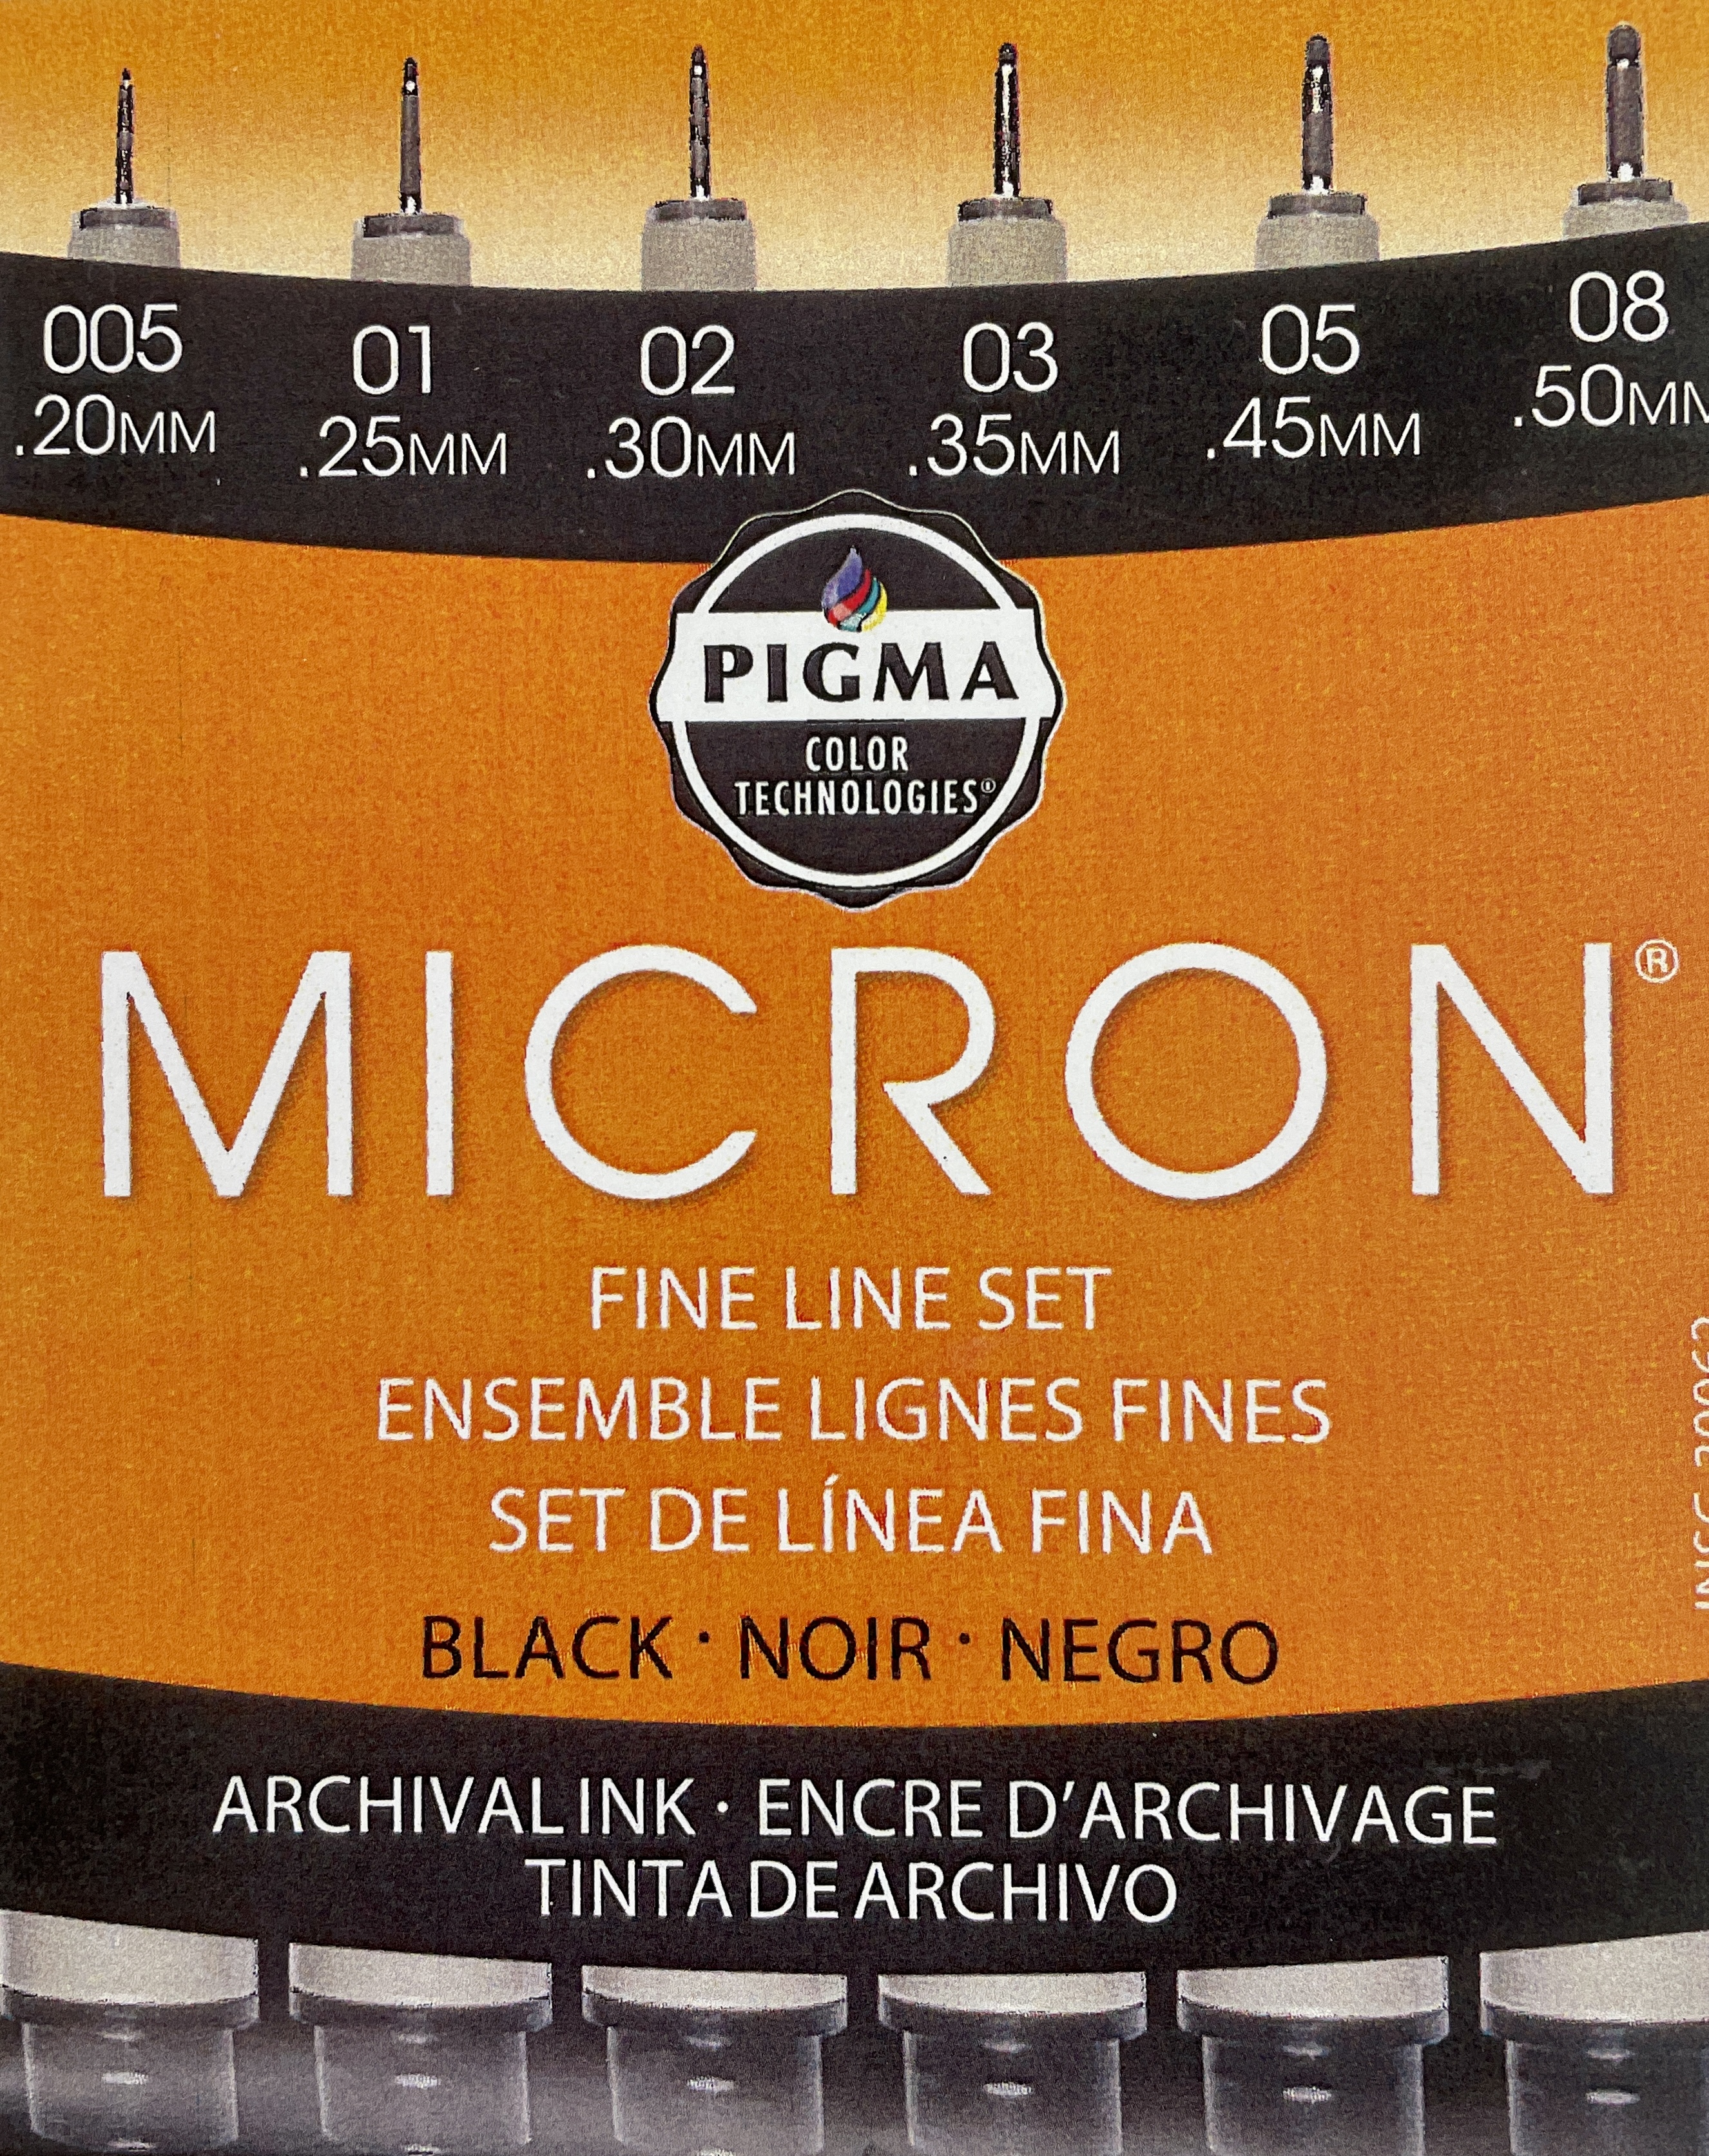
Next, students taped a piece of acetate over their photo (You can also use overhead transparency film or whatever thin clear plastic material you might have available.) Now for the tracing: I have done this with both thin Sharpies as well as Micron brand pigment pens. My experience with the Sharpies is that they dry quickly but lack a variety of tip widths. Also, the look at the Sharpie tends to be a little bit more “purple-y” and transparent. The Micron pigment pens, while requiring more time to dry, are a richer black and allow more detail. Whatever tracing material you choose, be sure to warn the students to watch where they rest their hands to avoid smudging. In addition, they should try to trace as many details as they can, including clothing folds and hair strands. Faces can easily be overdone and I usually encourage them that a “less is more” approach is best for noses and mouths. Both the sharpies and pigment pens can be erased using a cotton swab and rubbing alcohol in the event of mistakes, (though I try to withhold this information as long as possible so as to avoid a lot of anxious and sometimes unnecessary erasing!)

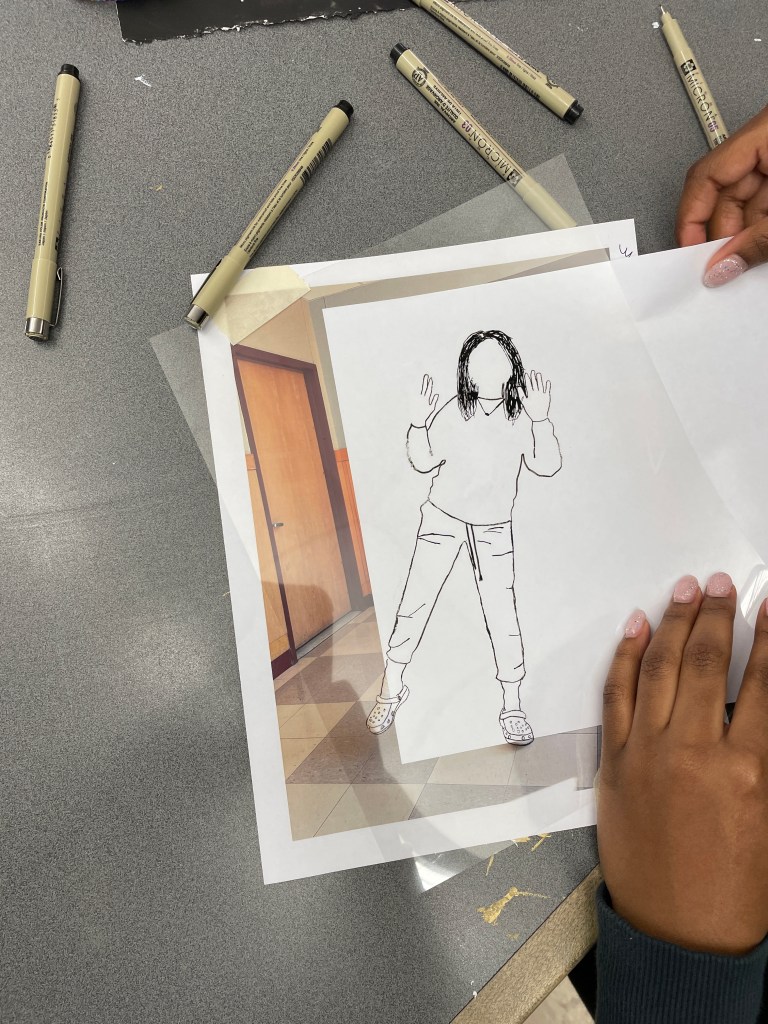


Students in various stages of tracing. Sliding a white piece of paper between the acetate and the photo is a great way to check your progress!
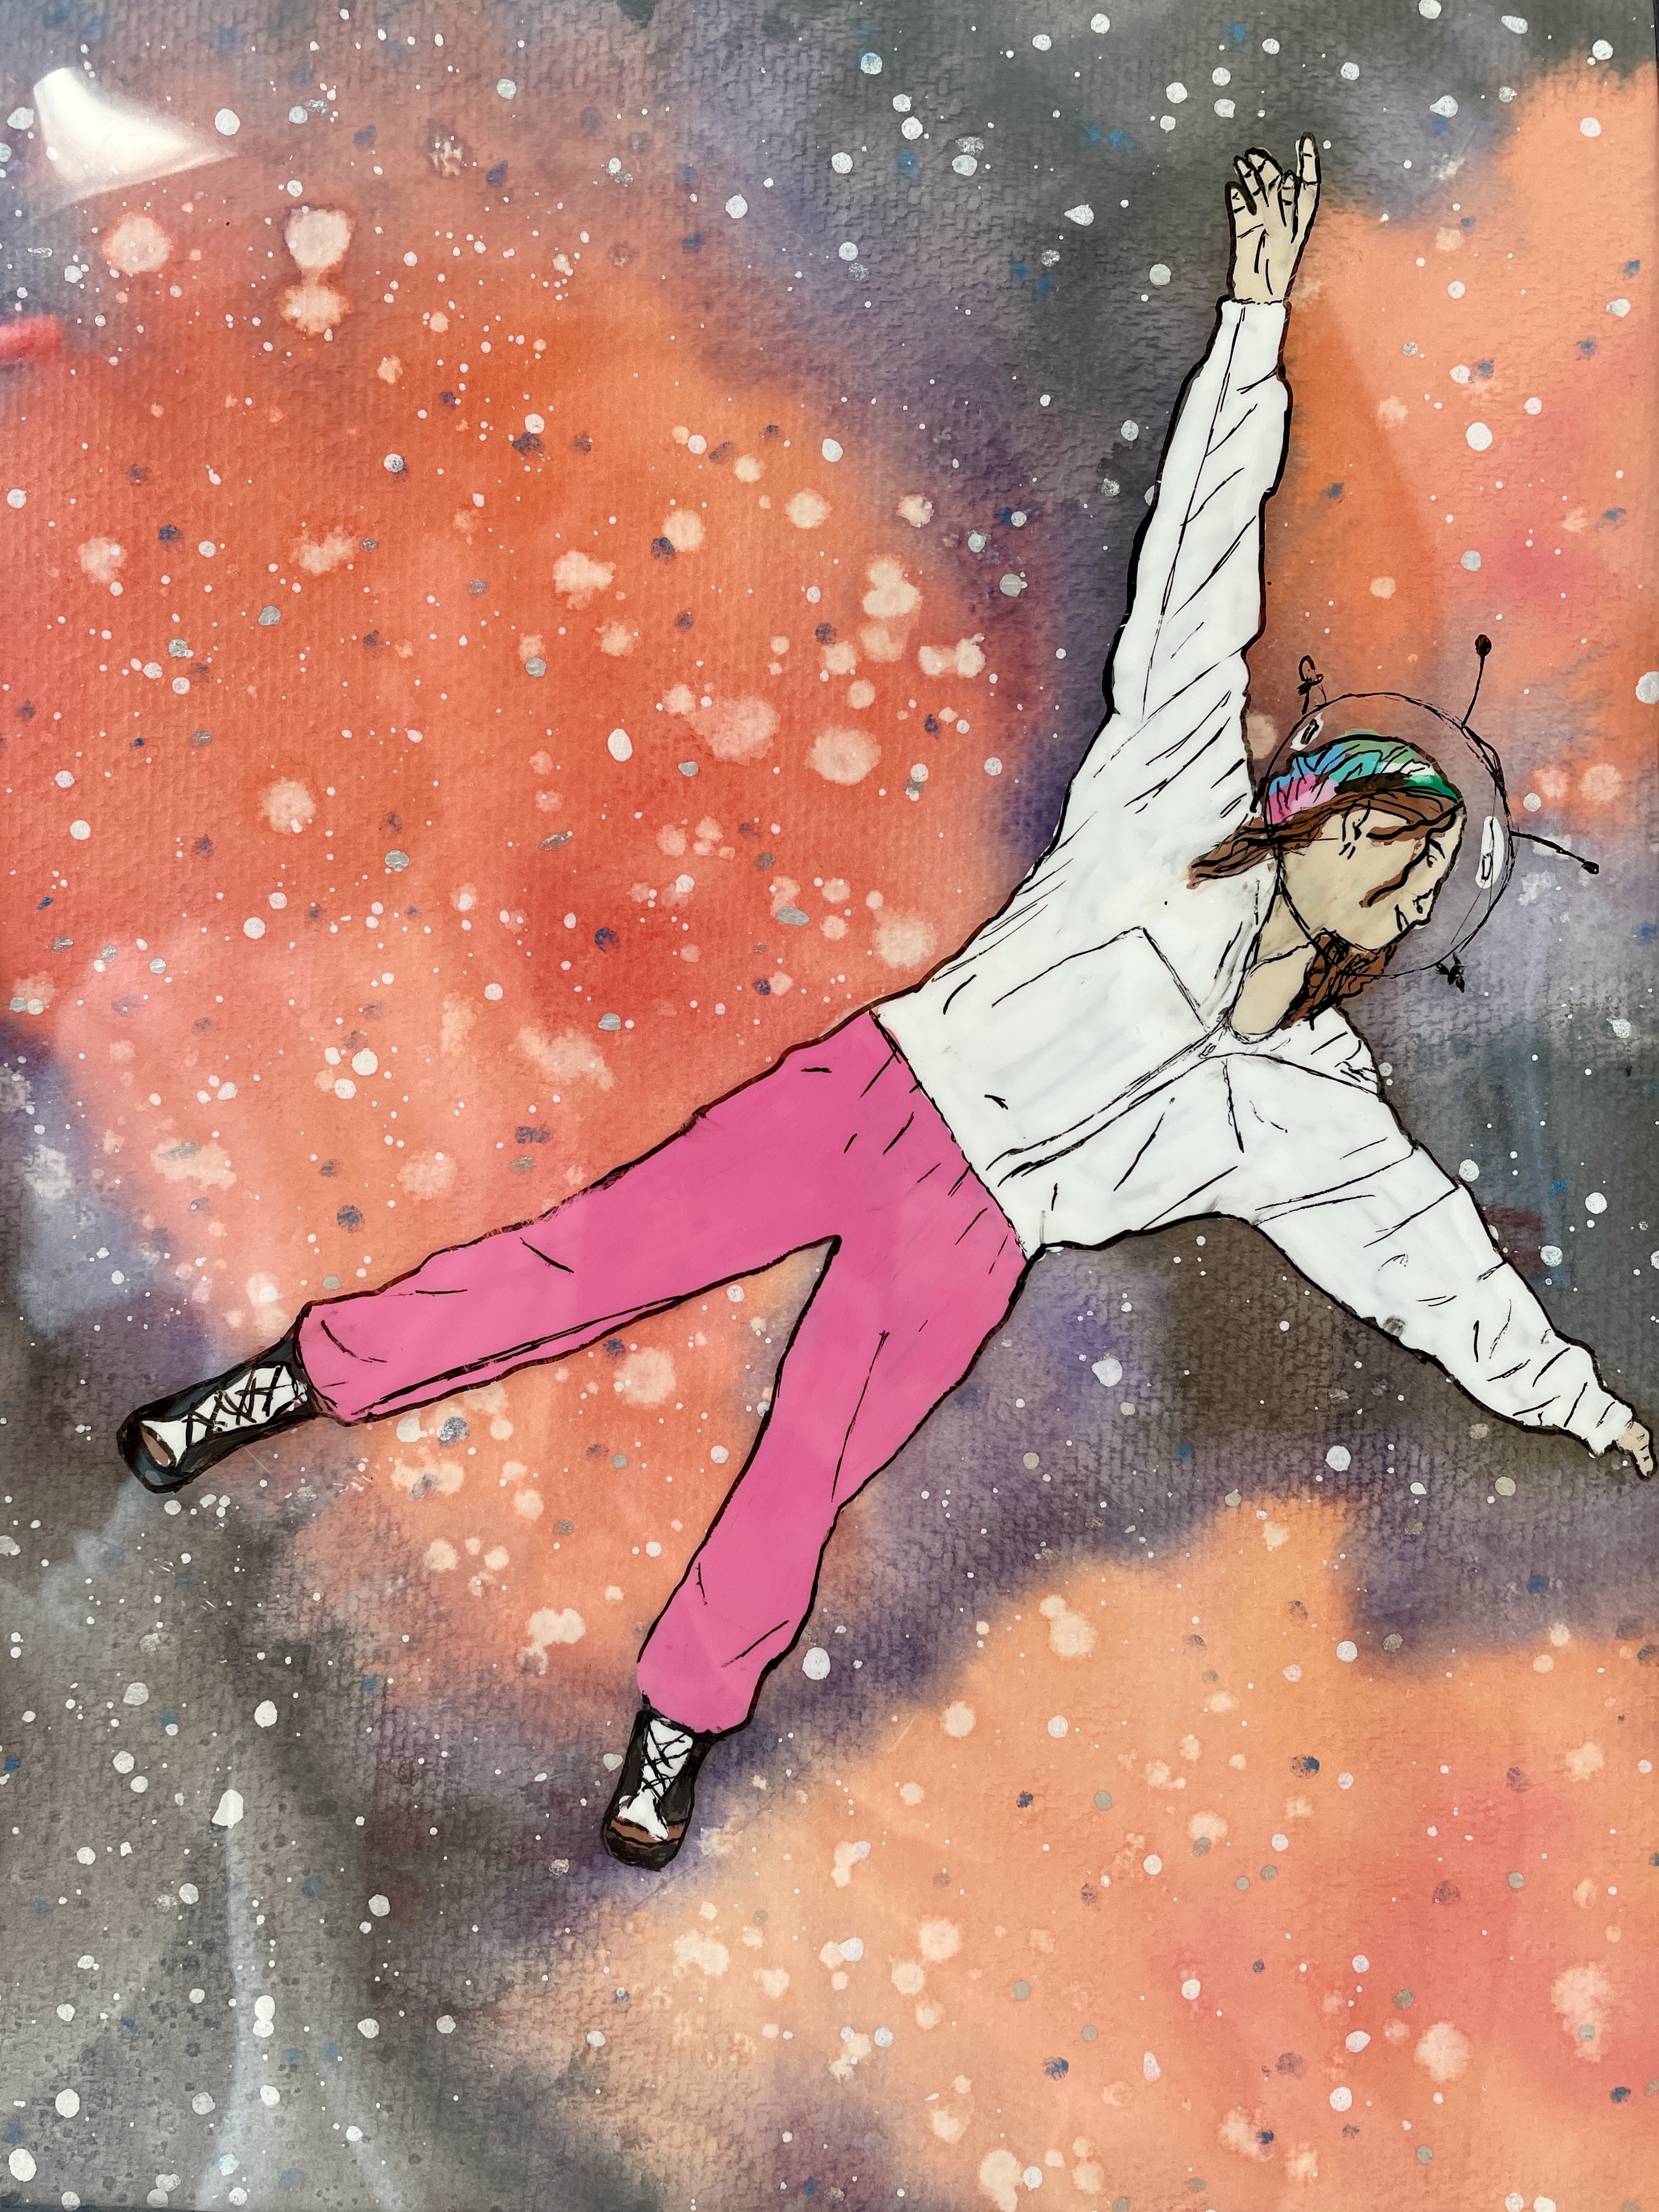
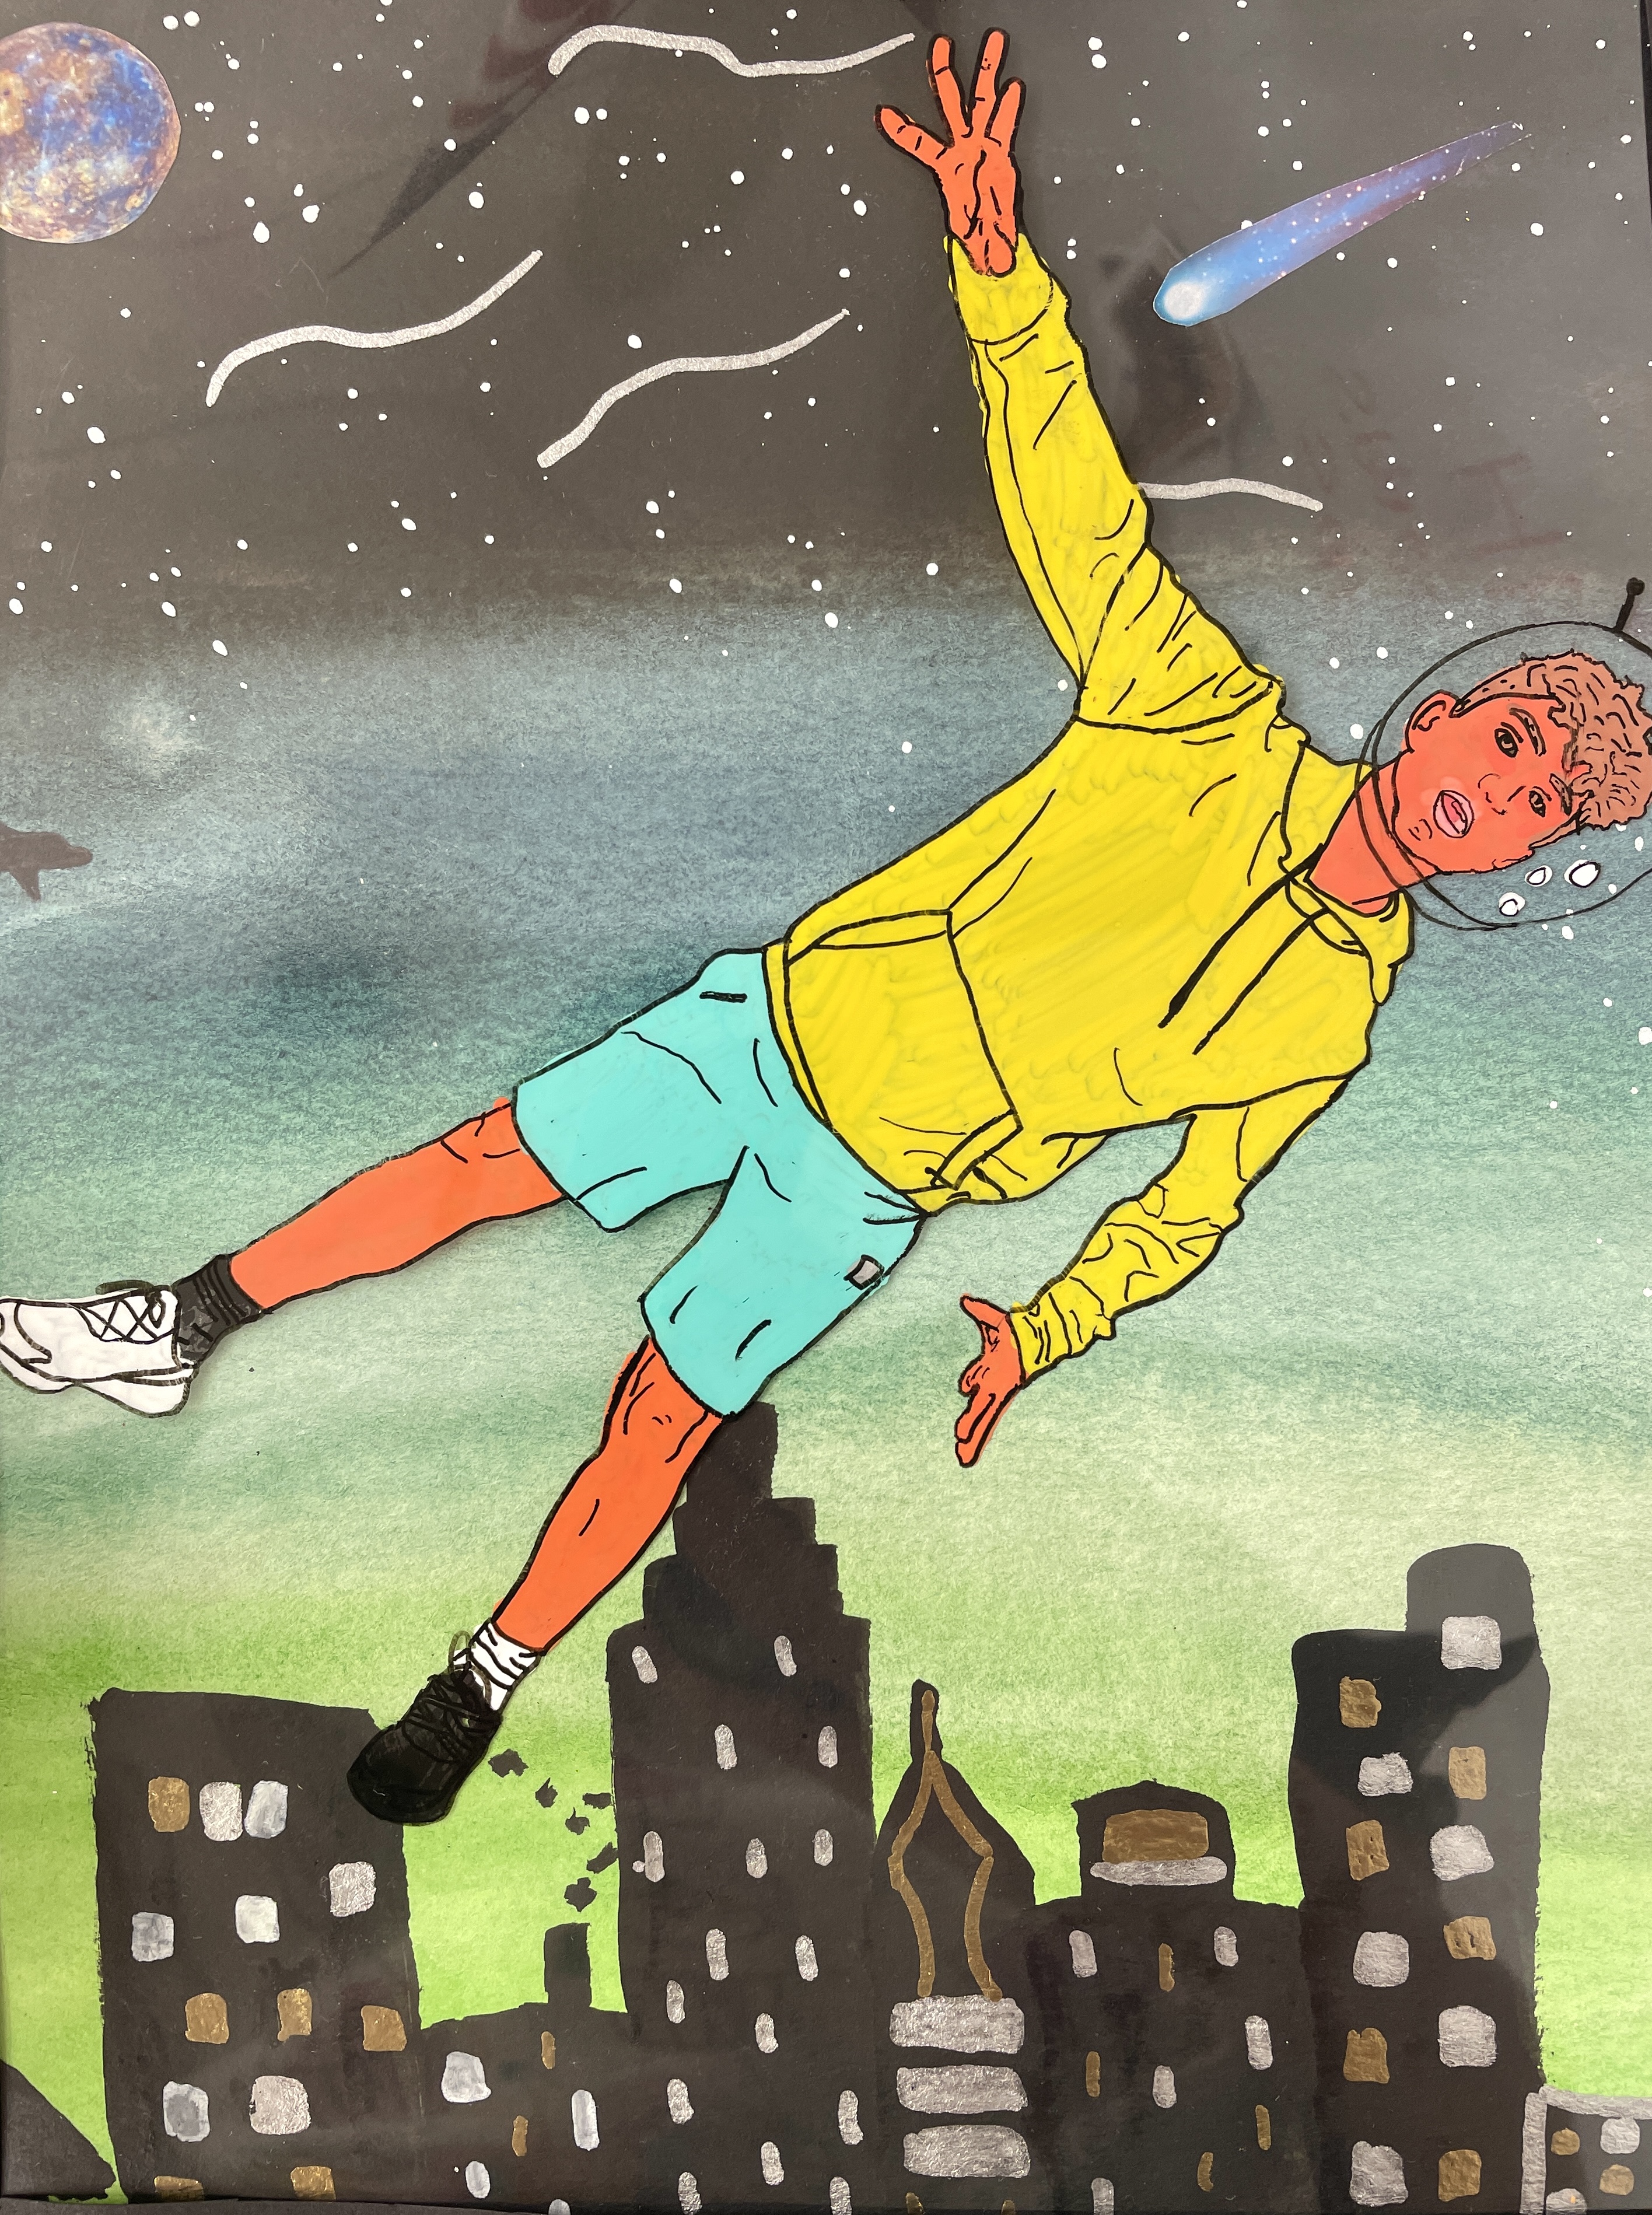
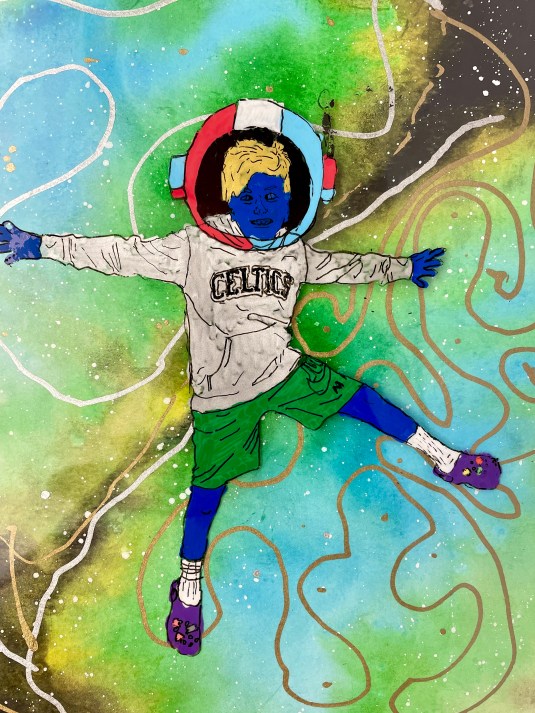
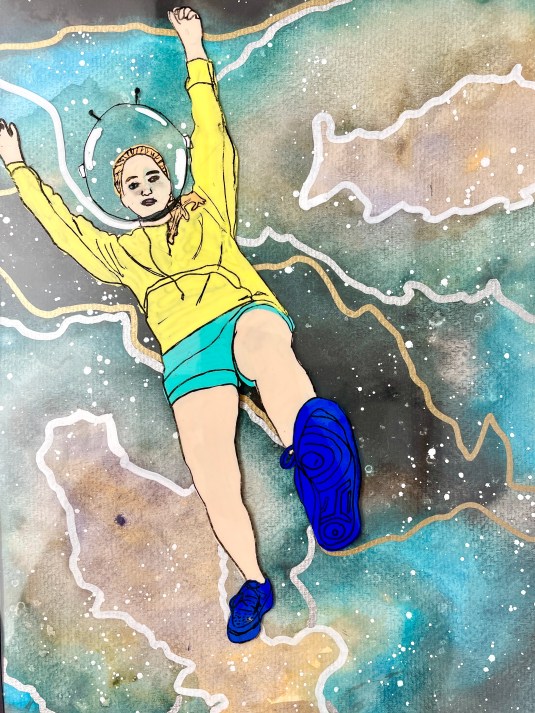
When the students finished tracing their bodies, they had the option of adding a space helmet. I provide a page of options for reference in my INSTRUCTION PACKET. Students could freehand a helmet design of their choosing or trace one of the printed reference helmets if it fit.
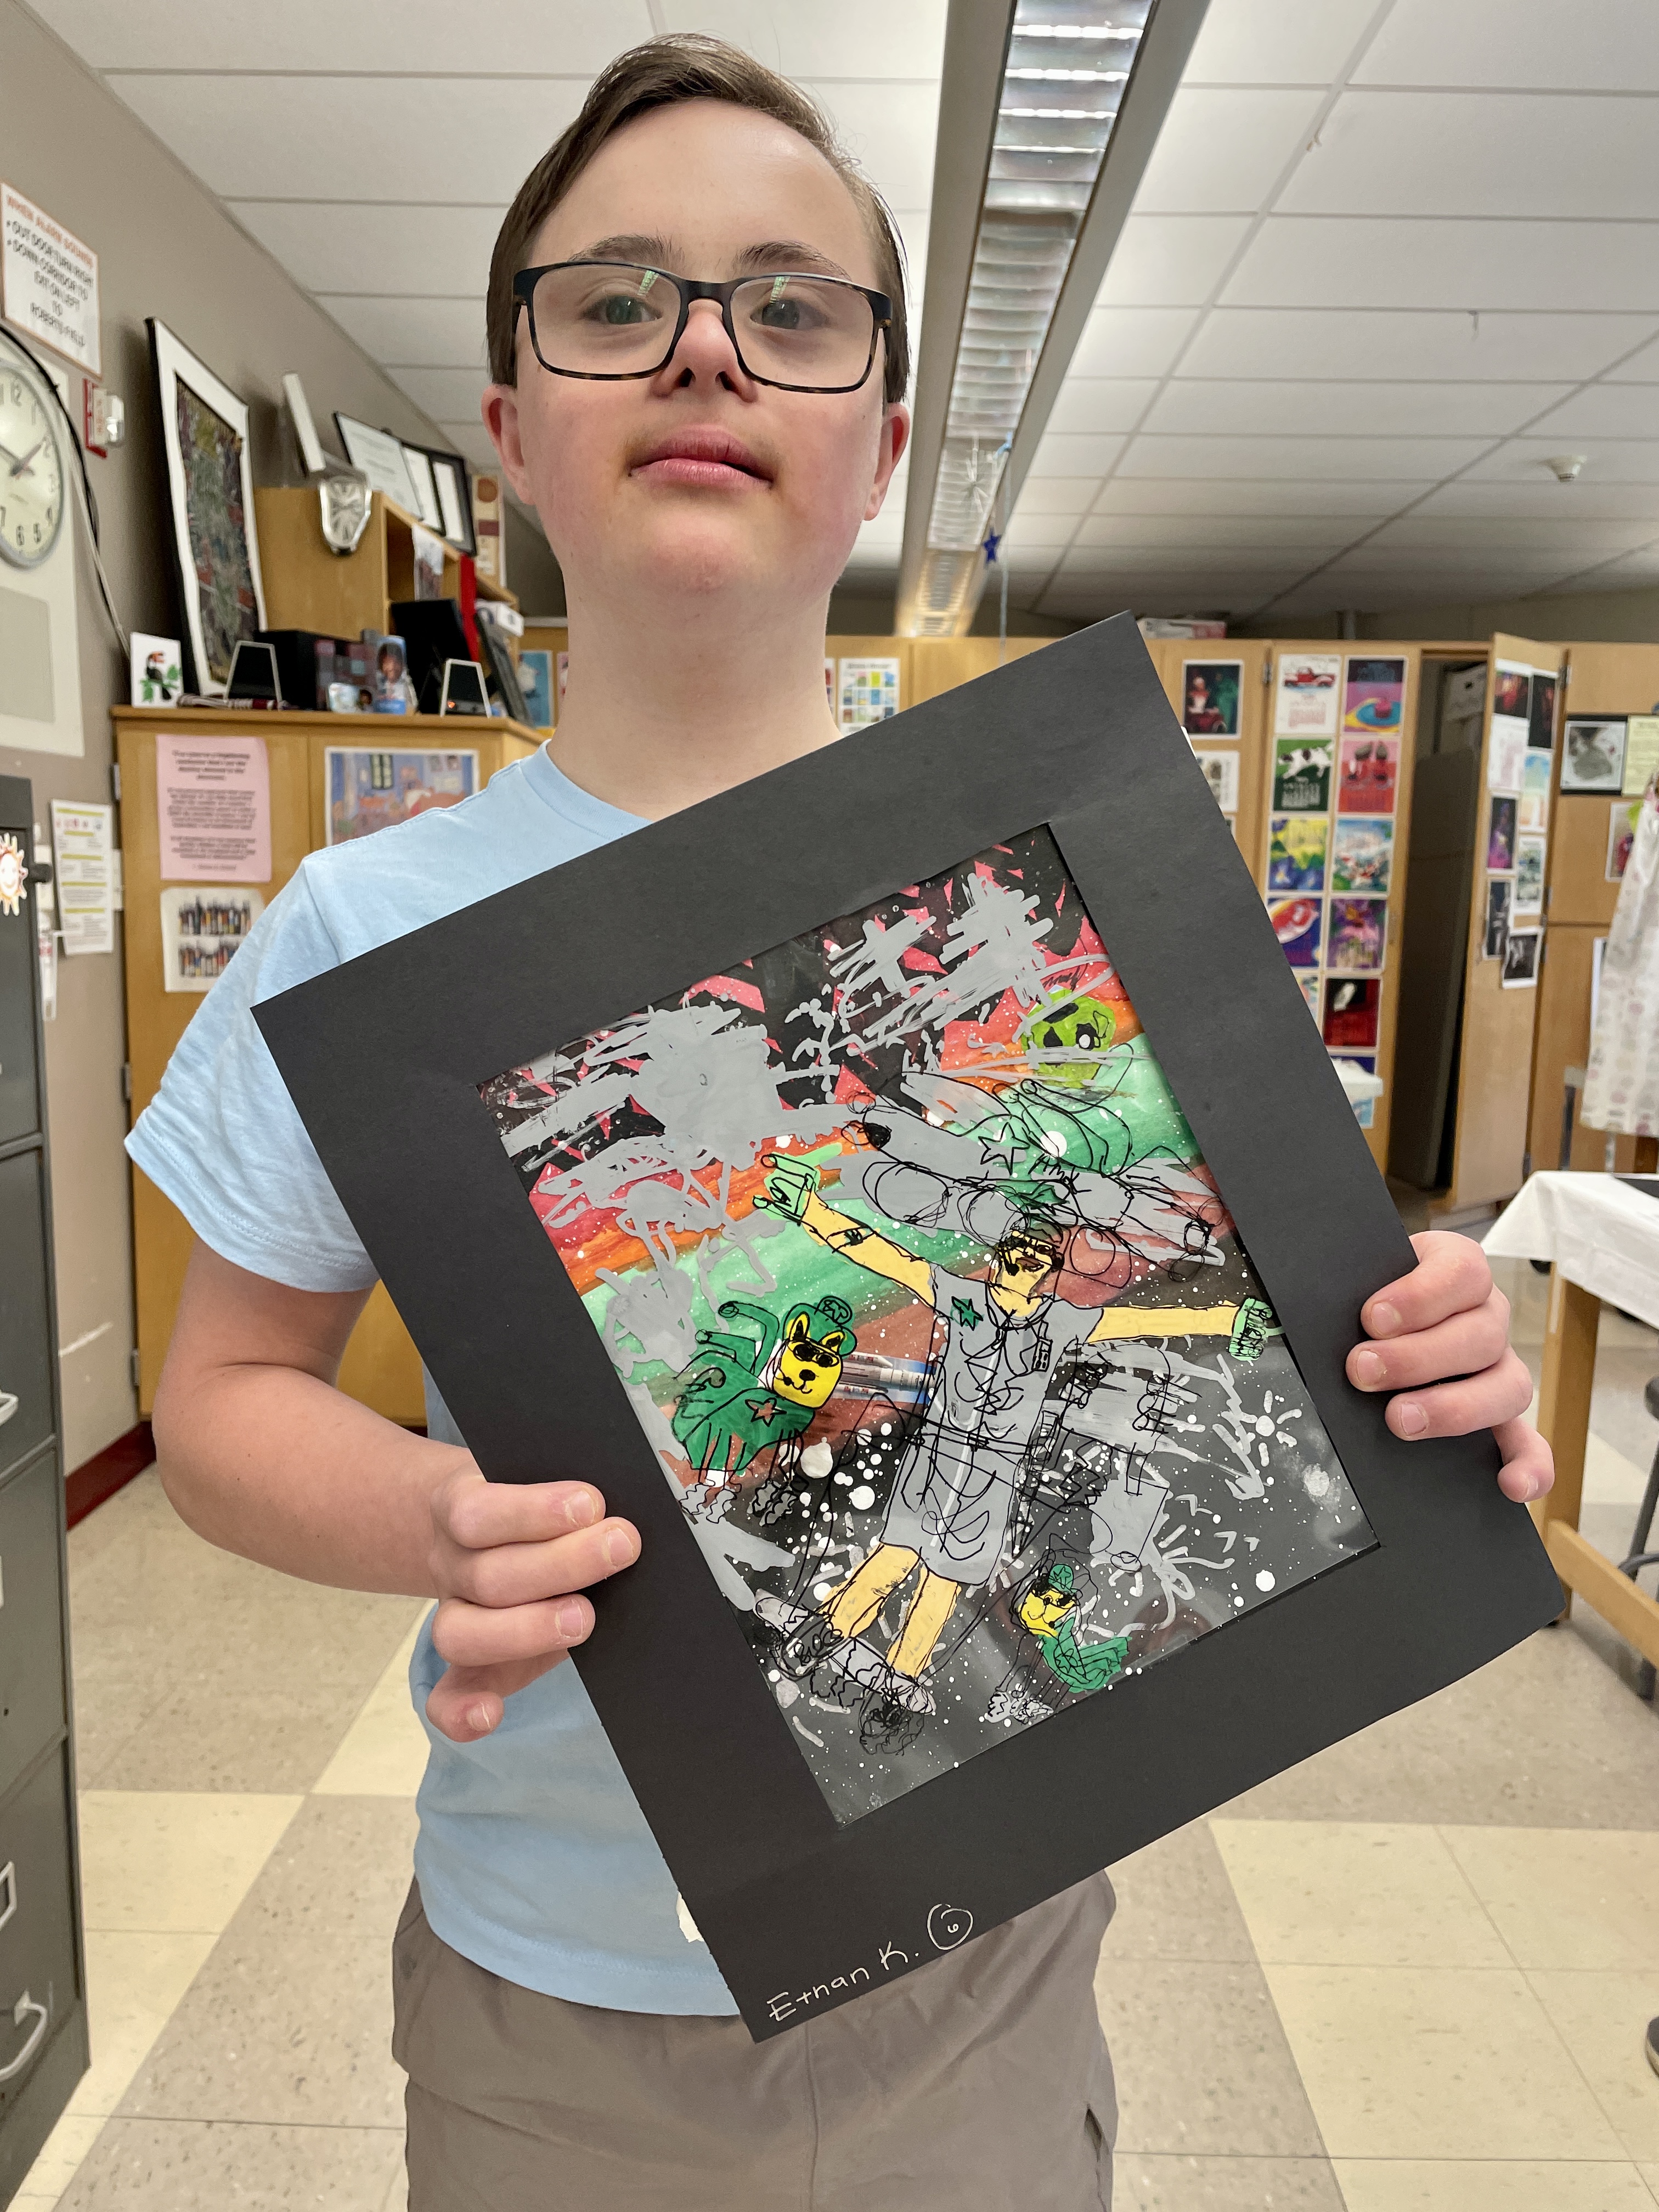
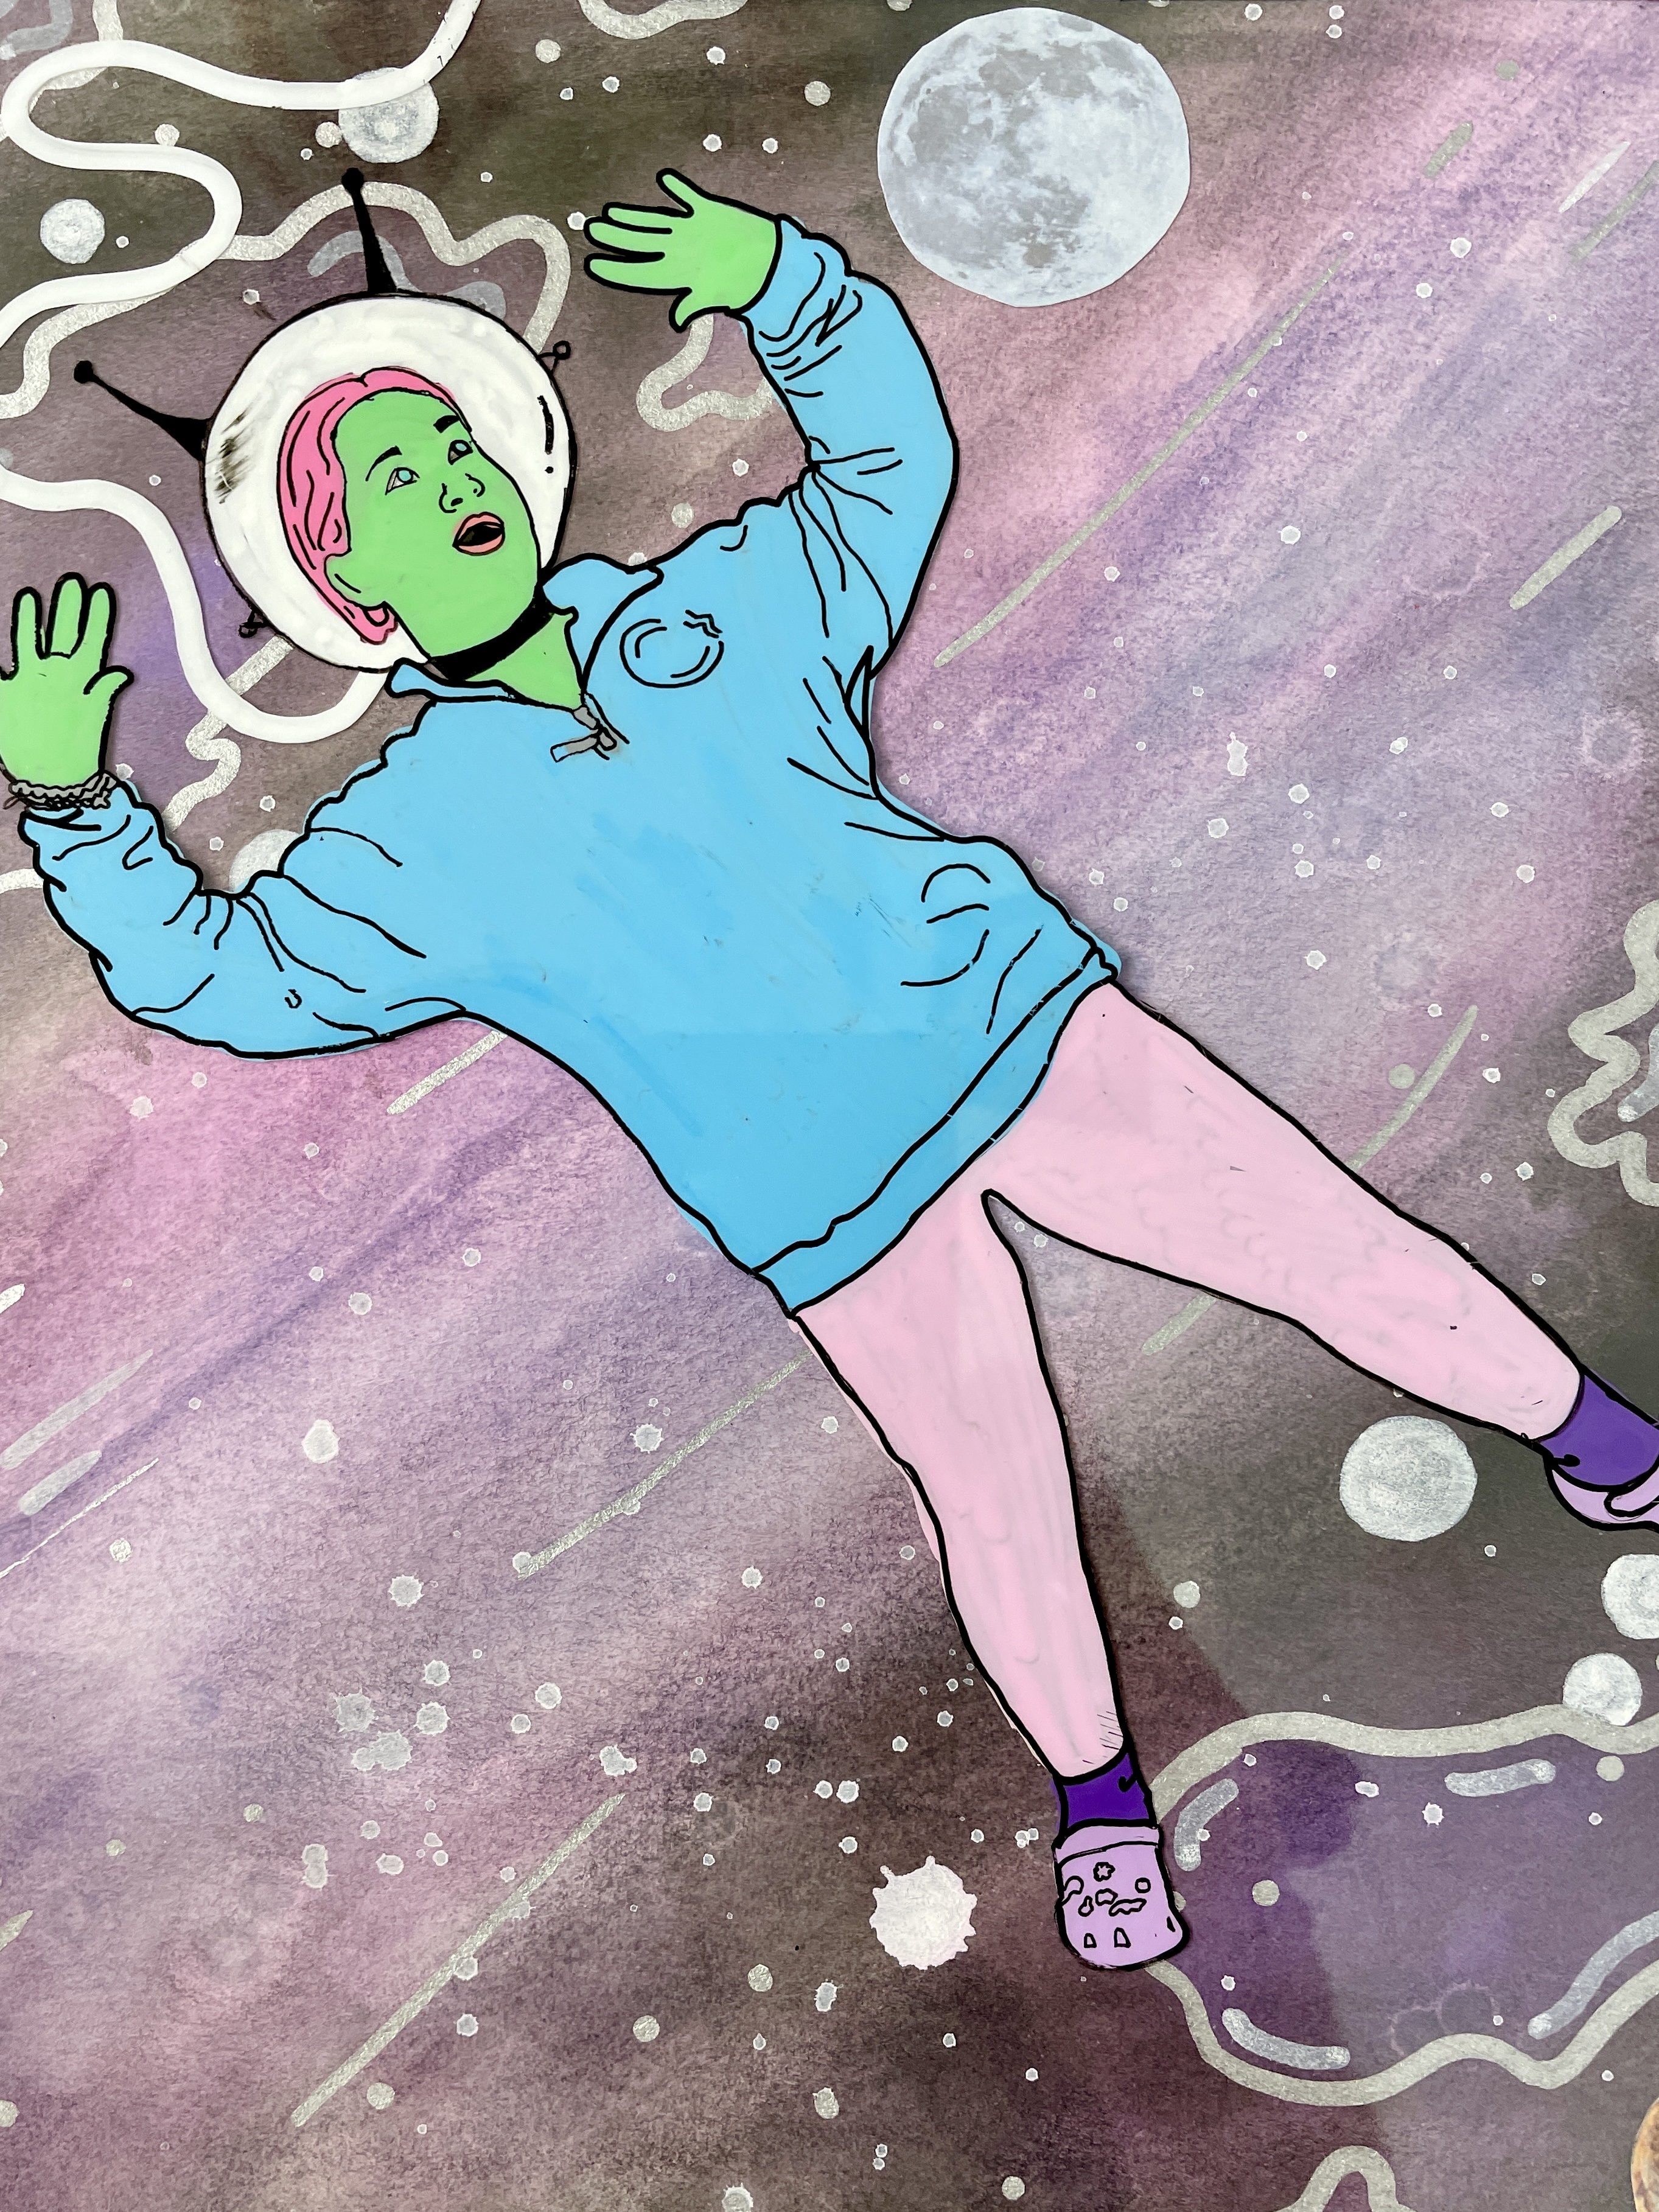
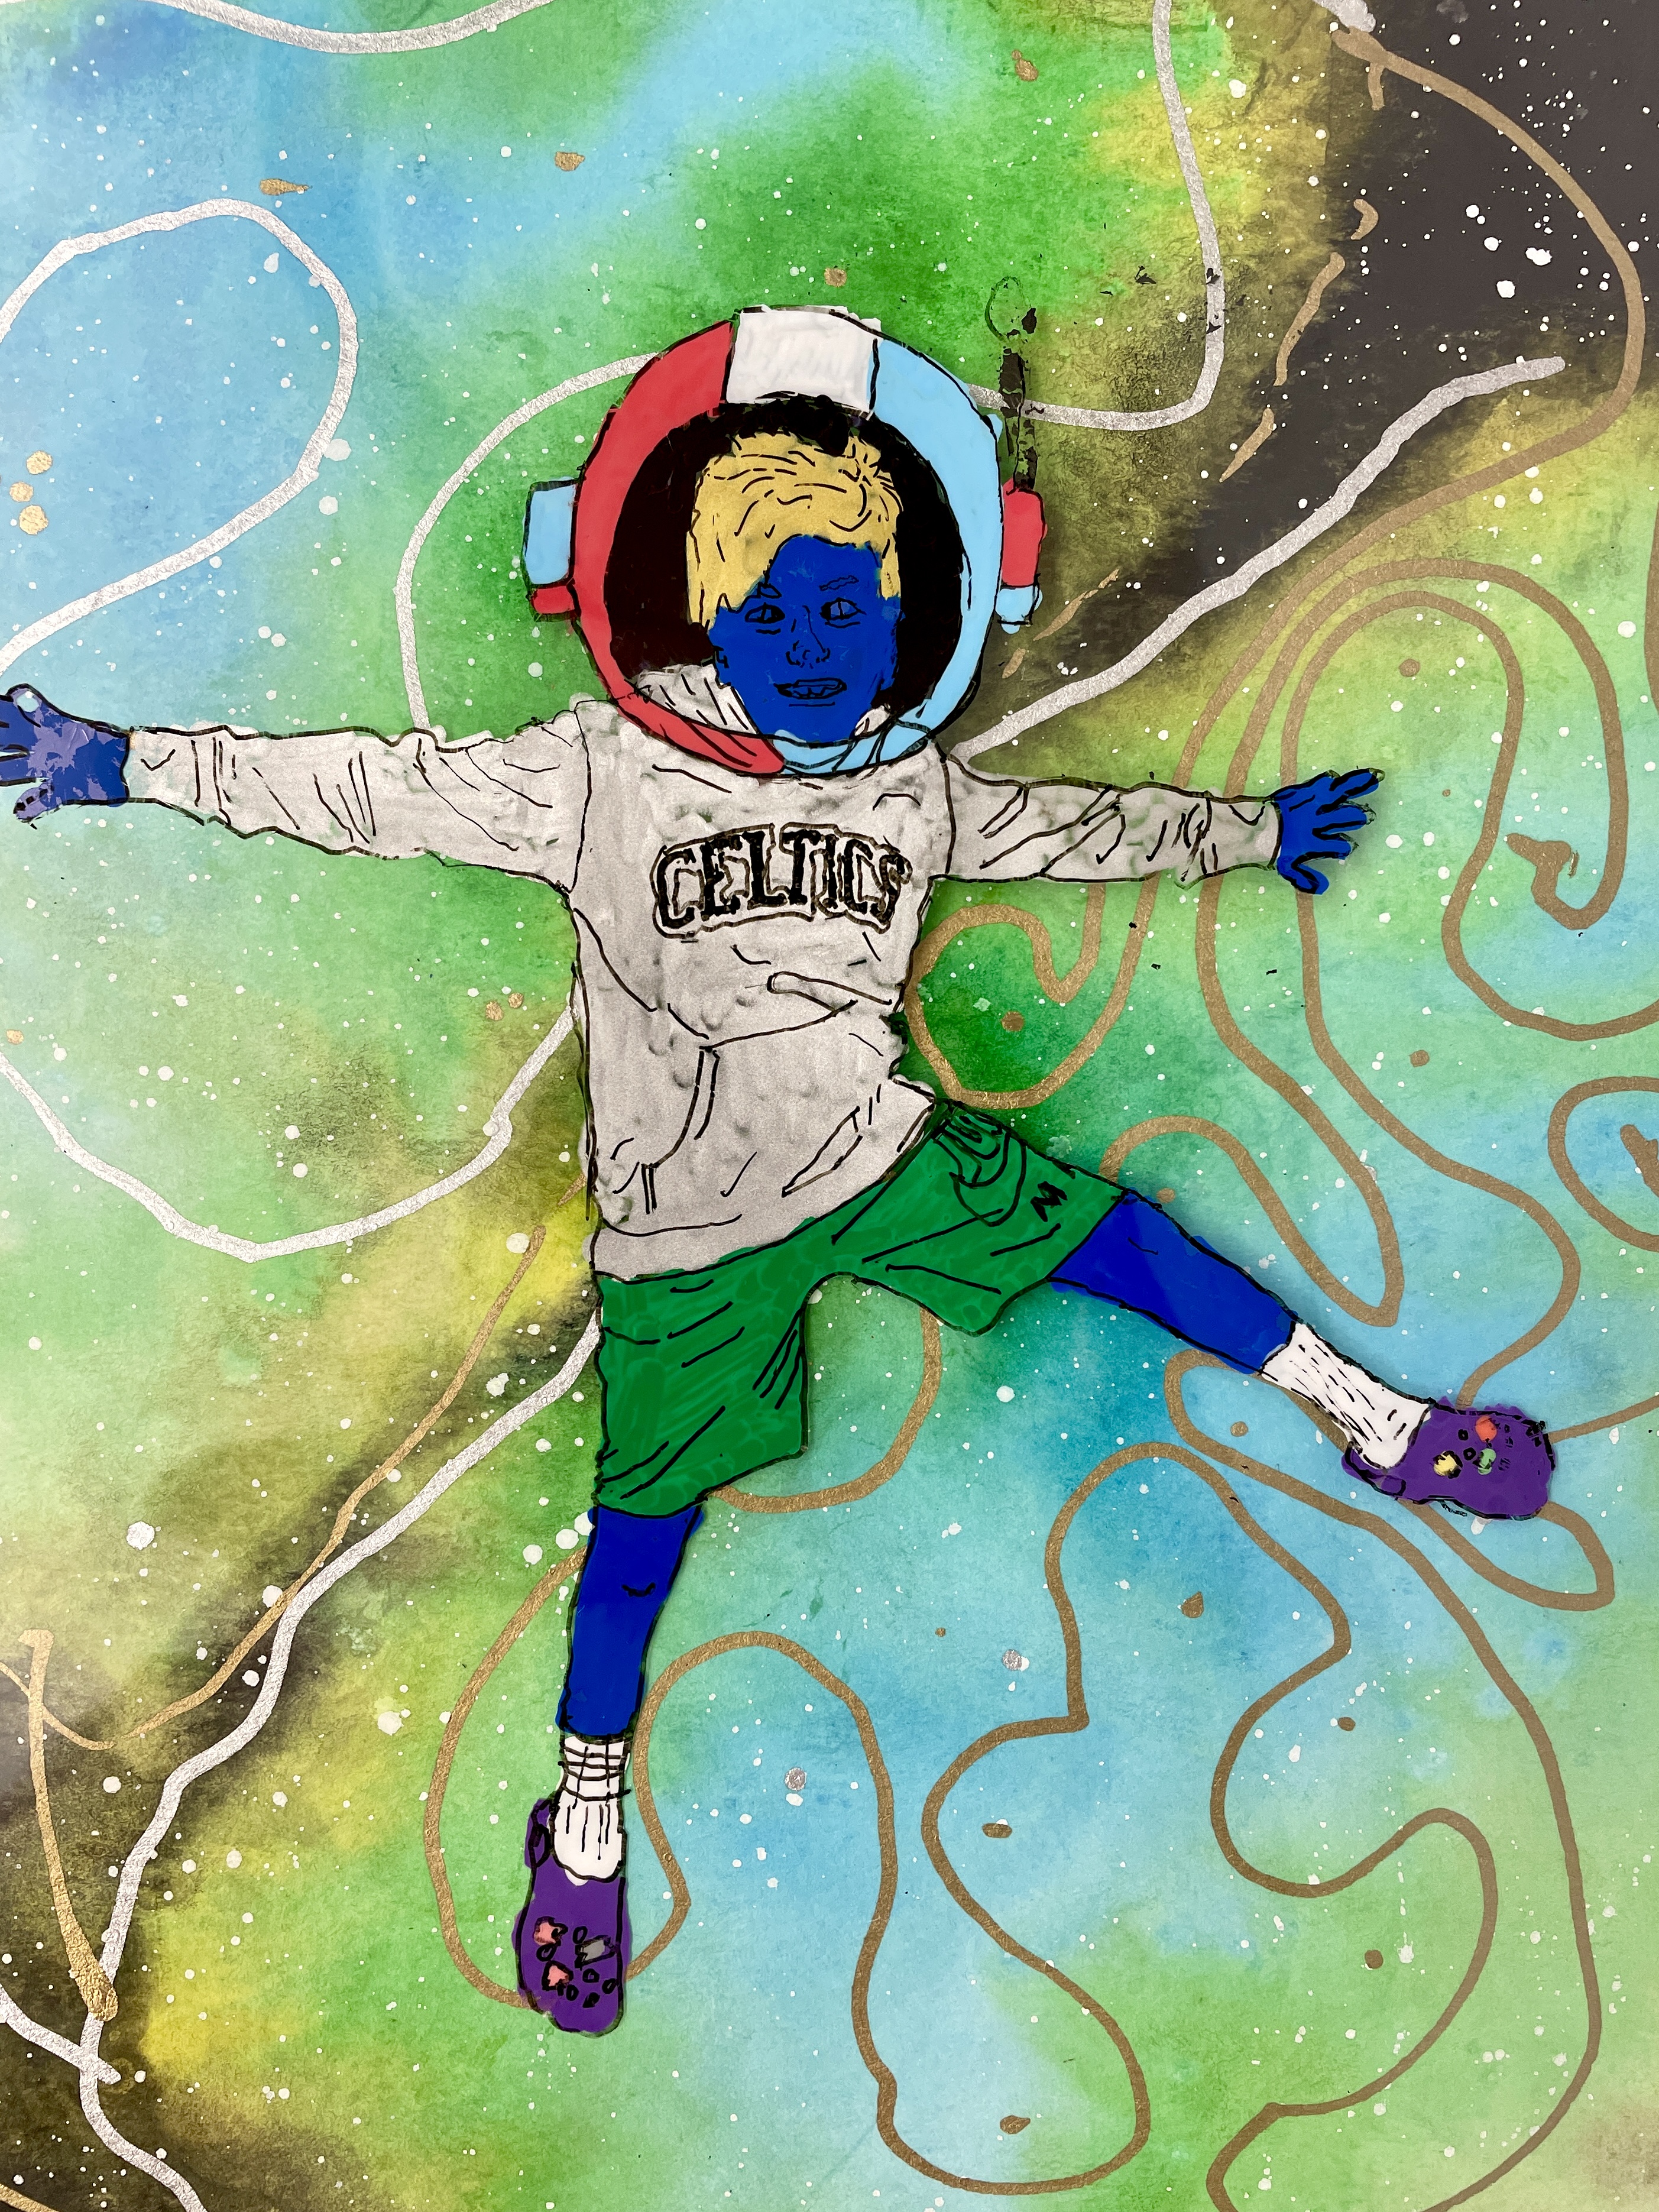
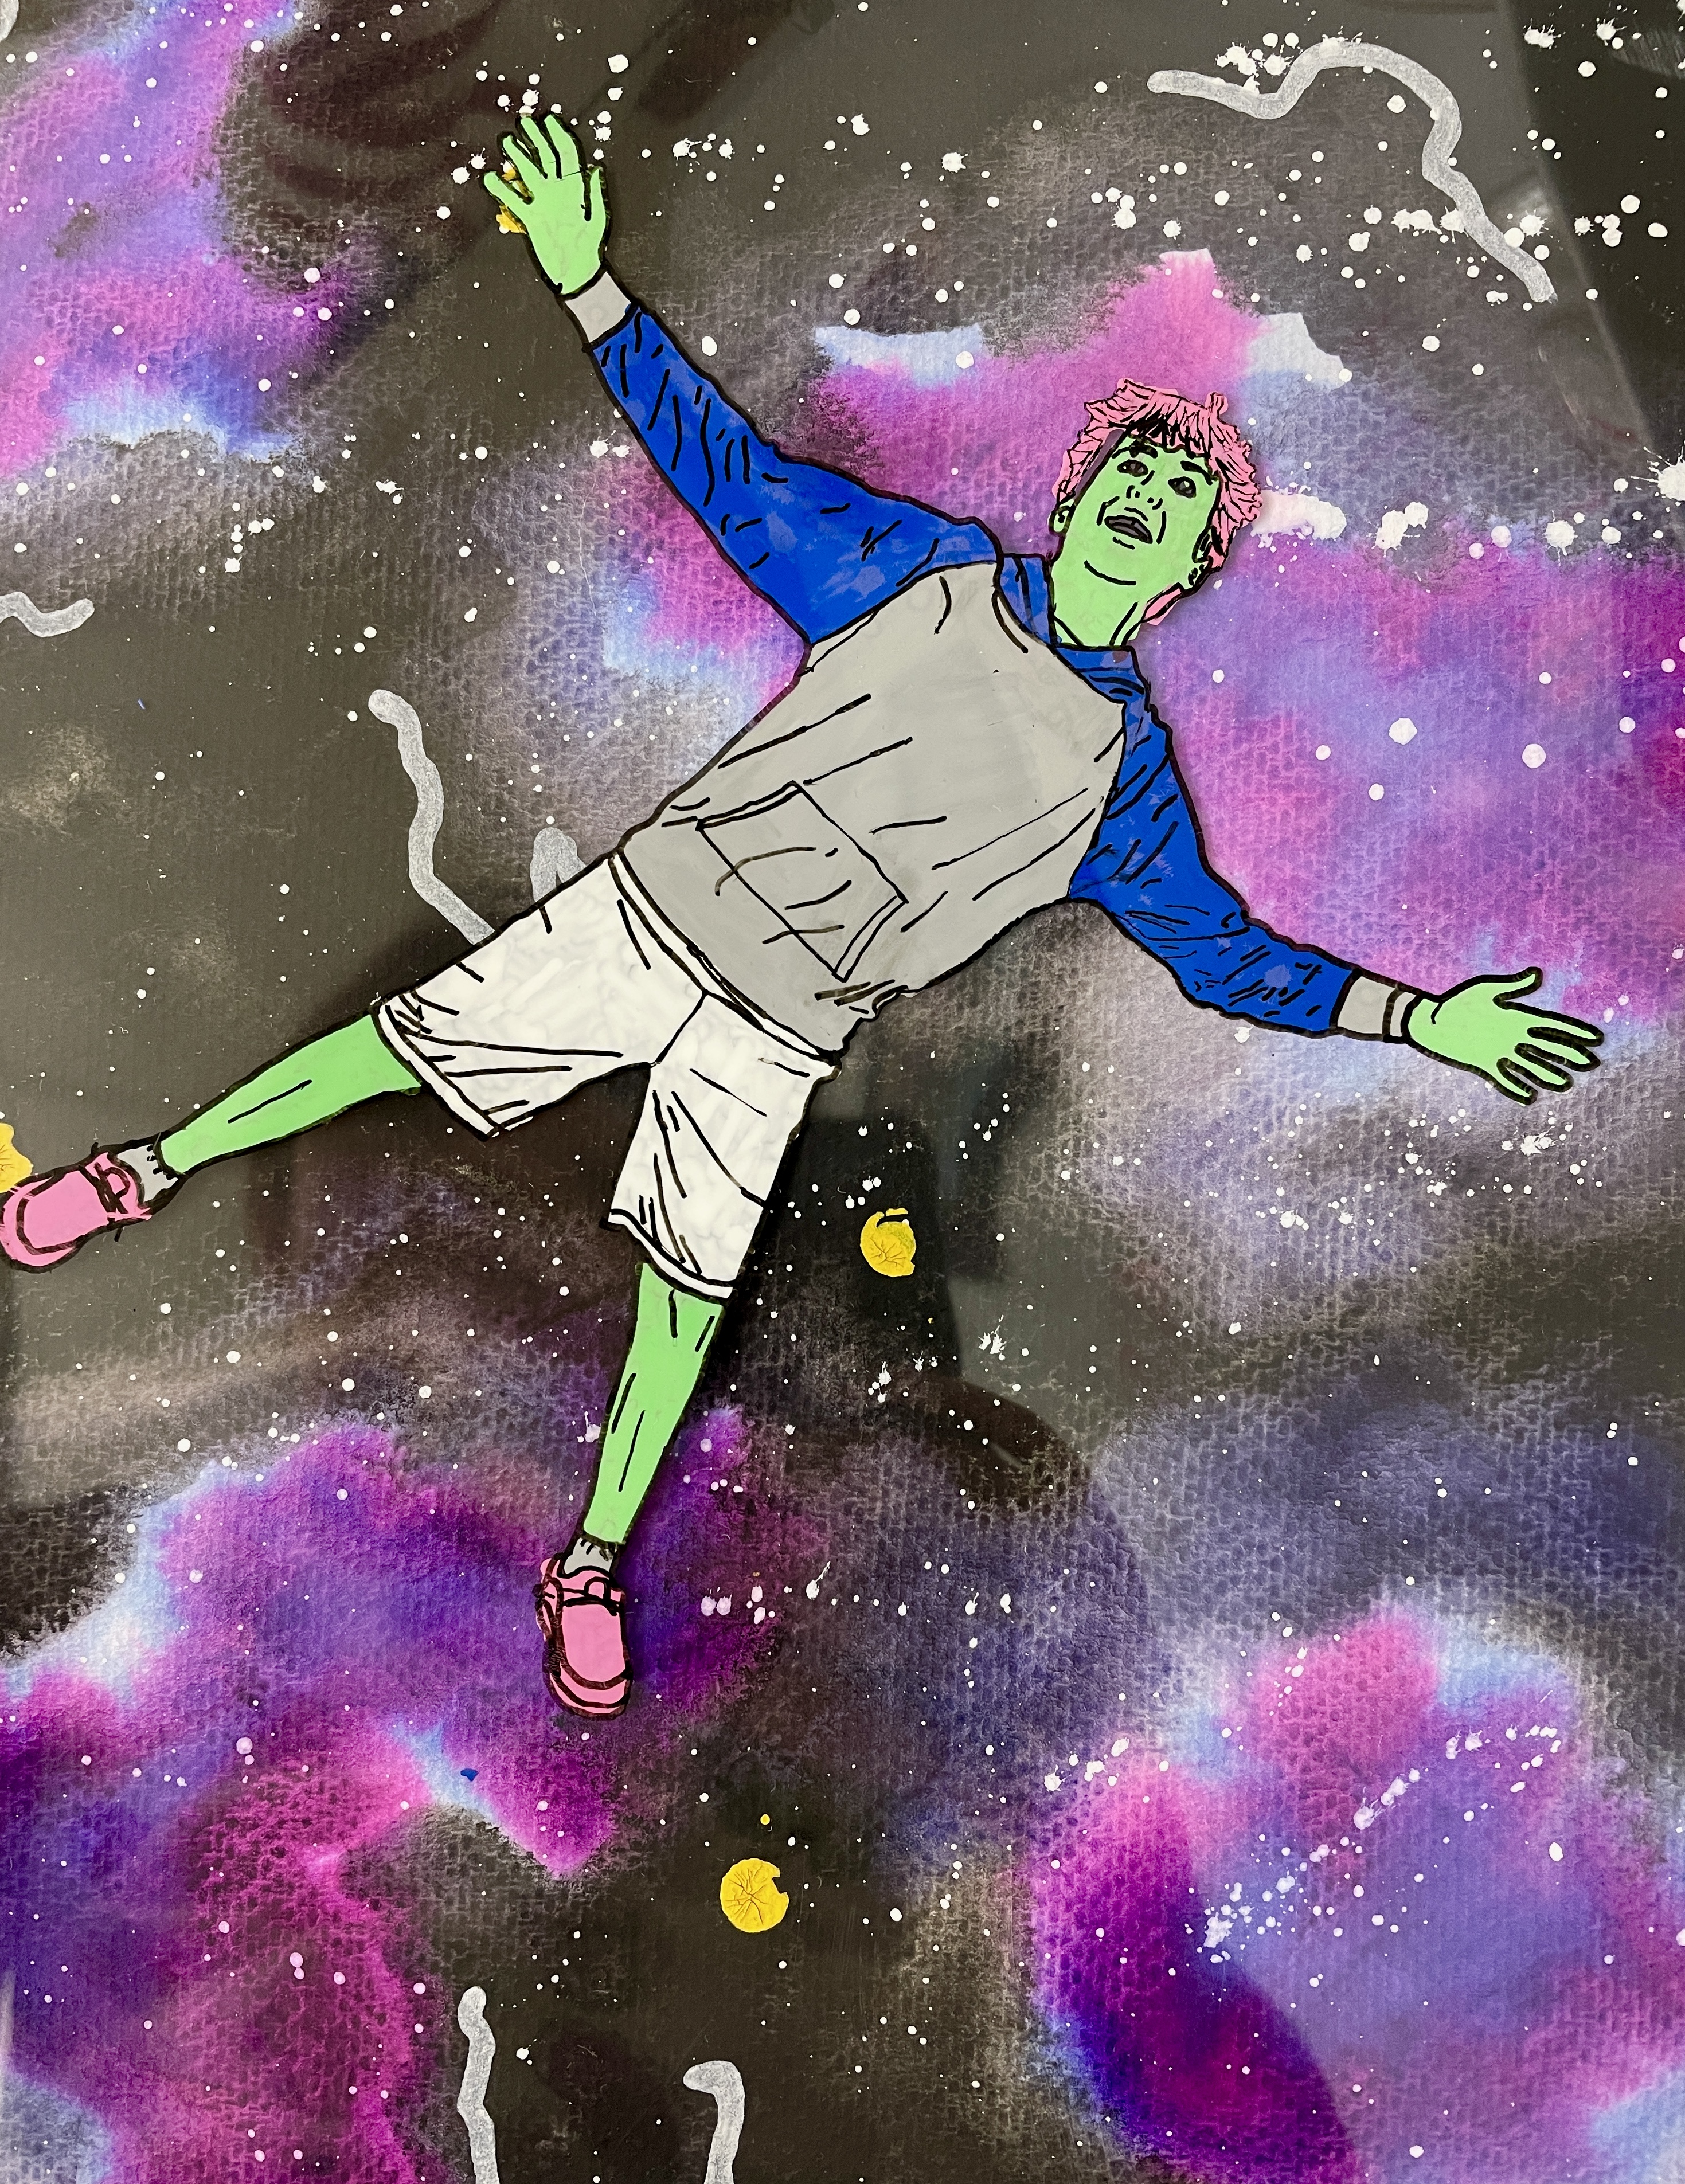
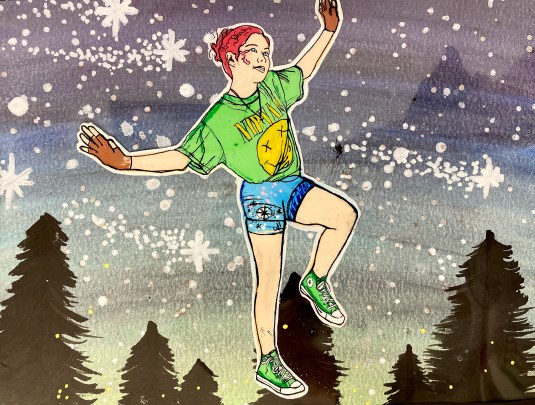
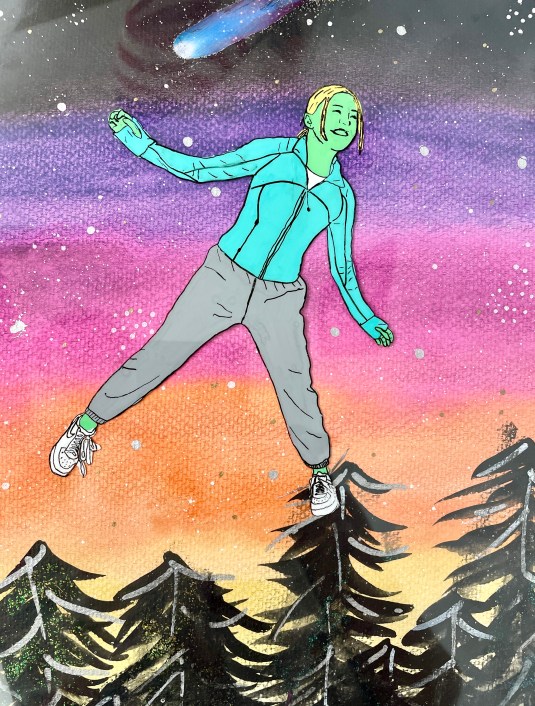
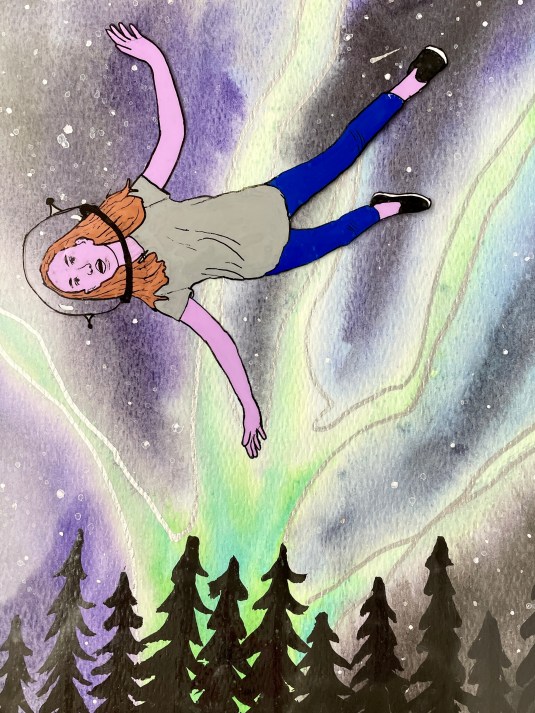
On to the coloring! We detached the tracing from the photo and carefully FLIPPED the acetate. I had the students reattach it to the white side of their printed picture to avoid having the Micron pen lines smudge against the table. Now that the backside of the acetate is facing up, they begin coloring with the POSCA pens. Even though the paint pens will cover the appearance of the micron pen, fear not, because eventually when we flip the acetate back to the front, all the beautiful line work will be visible! Color choices may be realistic or fantastical—we ended up with lots of green and pink-skinned astronauts!

Important! This is another opportunity to remind students of taking care as to where they rest their hands, as the POSCA pens remain wet for an extended time on the non-porous acetate. Students can peek at their work by lifting the acetate, but should be sure not to flip it all the way over while the paint pens are wet. Also, we made the unfortunate discovery that occasionally, the POSCA pen flakes off the acetate when dry. Black seemed to be the worst culprit, and also any color that was applied too thickly. Thin layers work the best! At the end of class, we kept the acetate attached to the back of the photographs and put the portraits in the drying rack to give the color ample time to set.
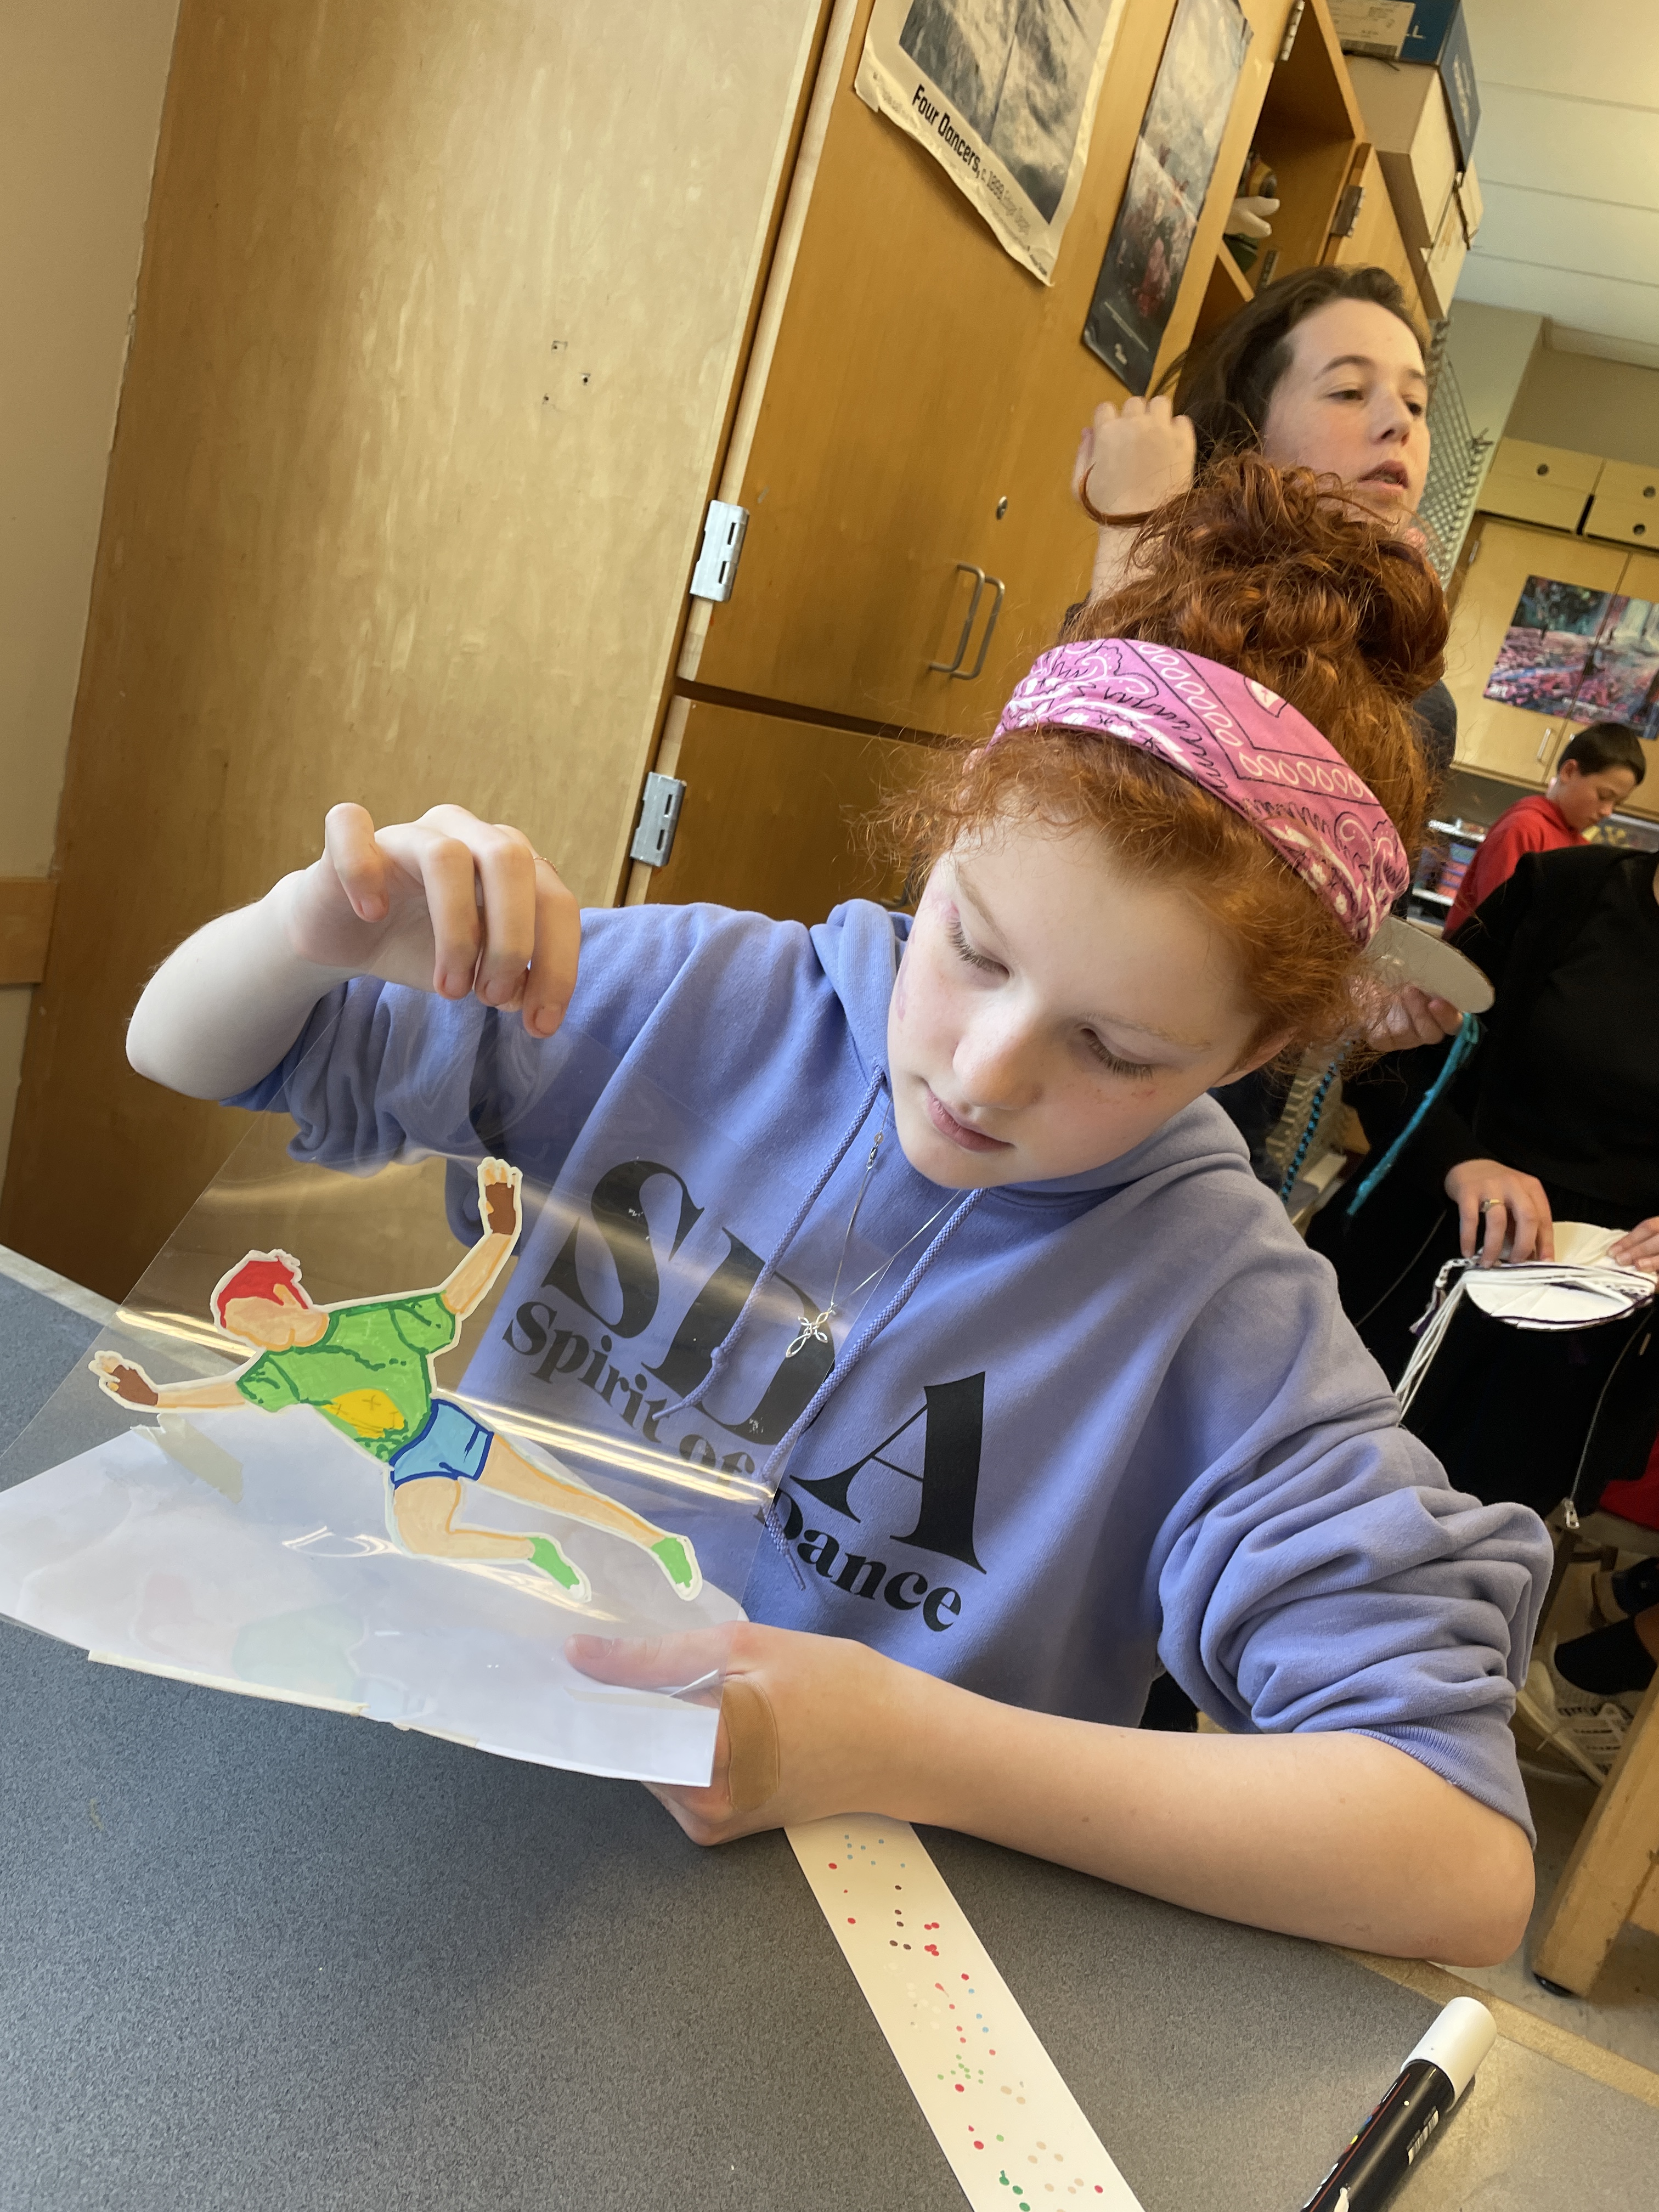
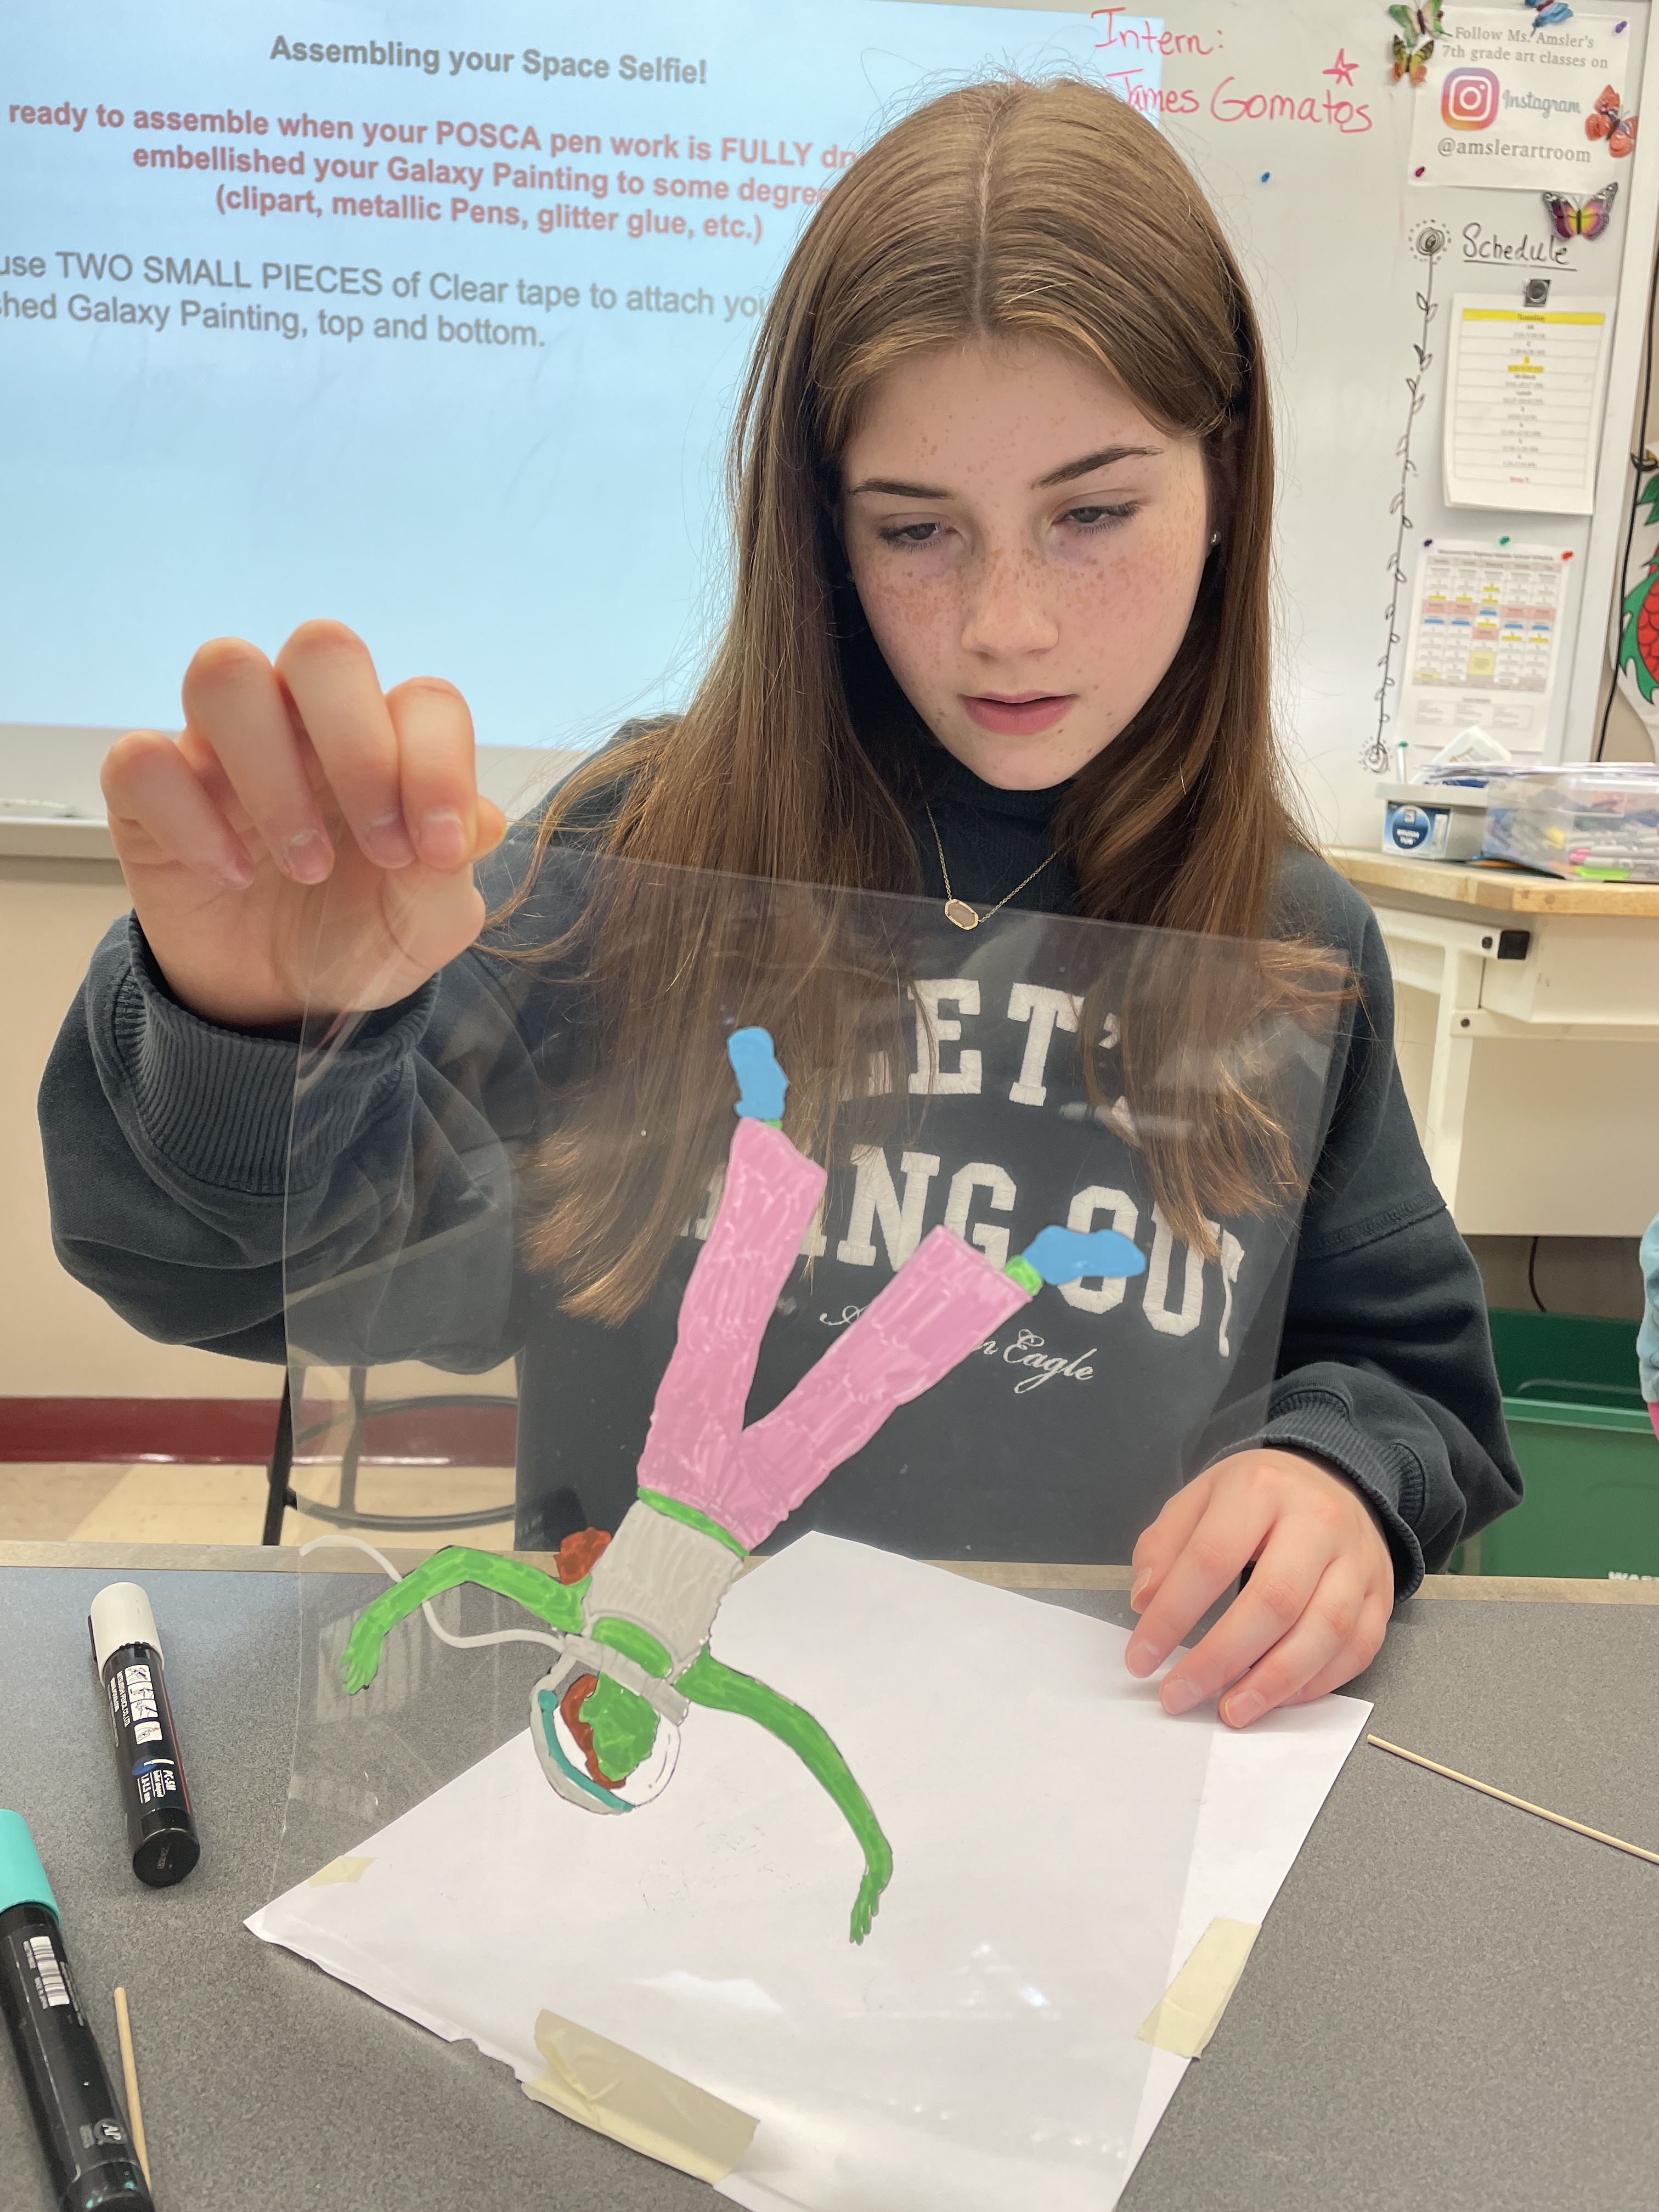
Students checking their in-progress coloring work.
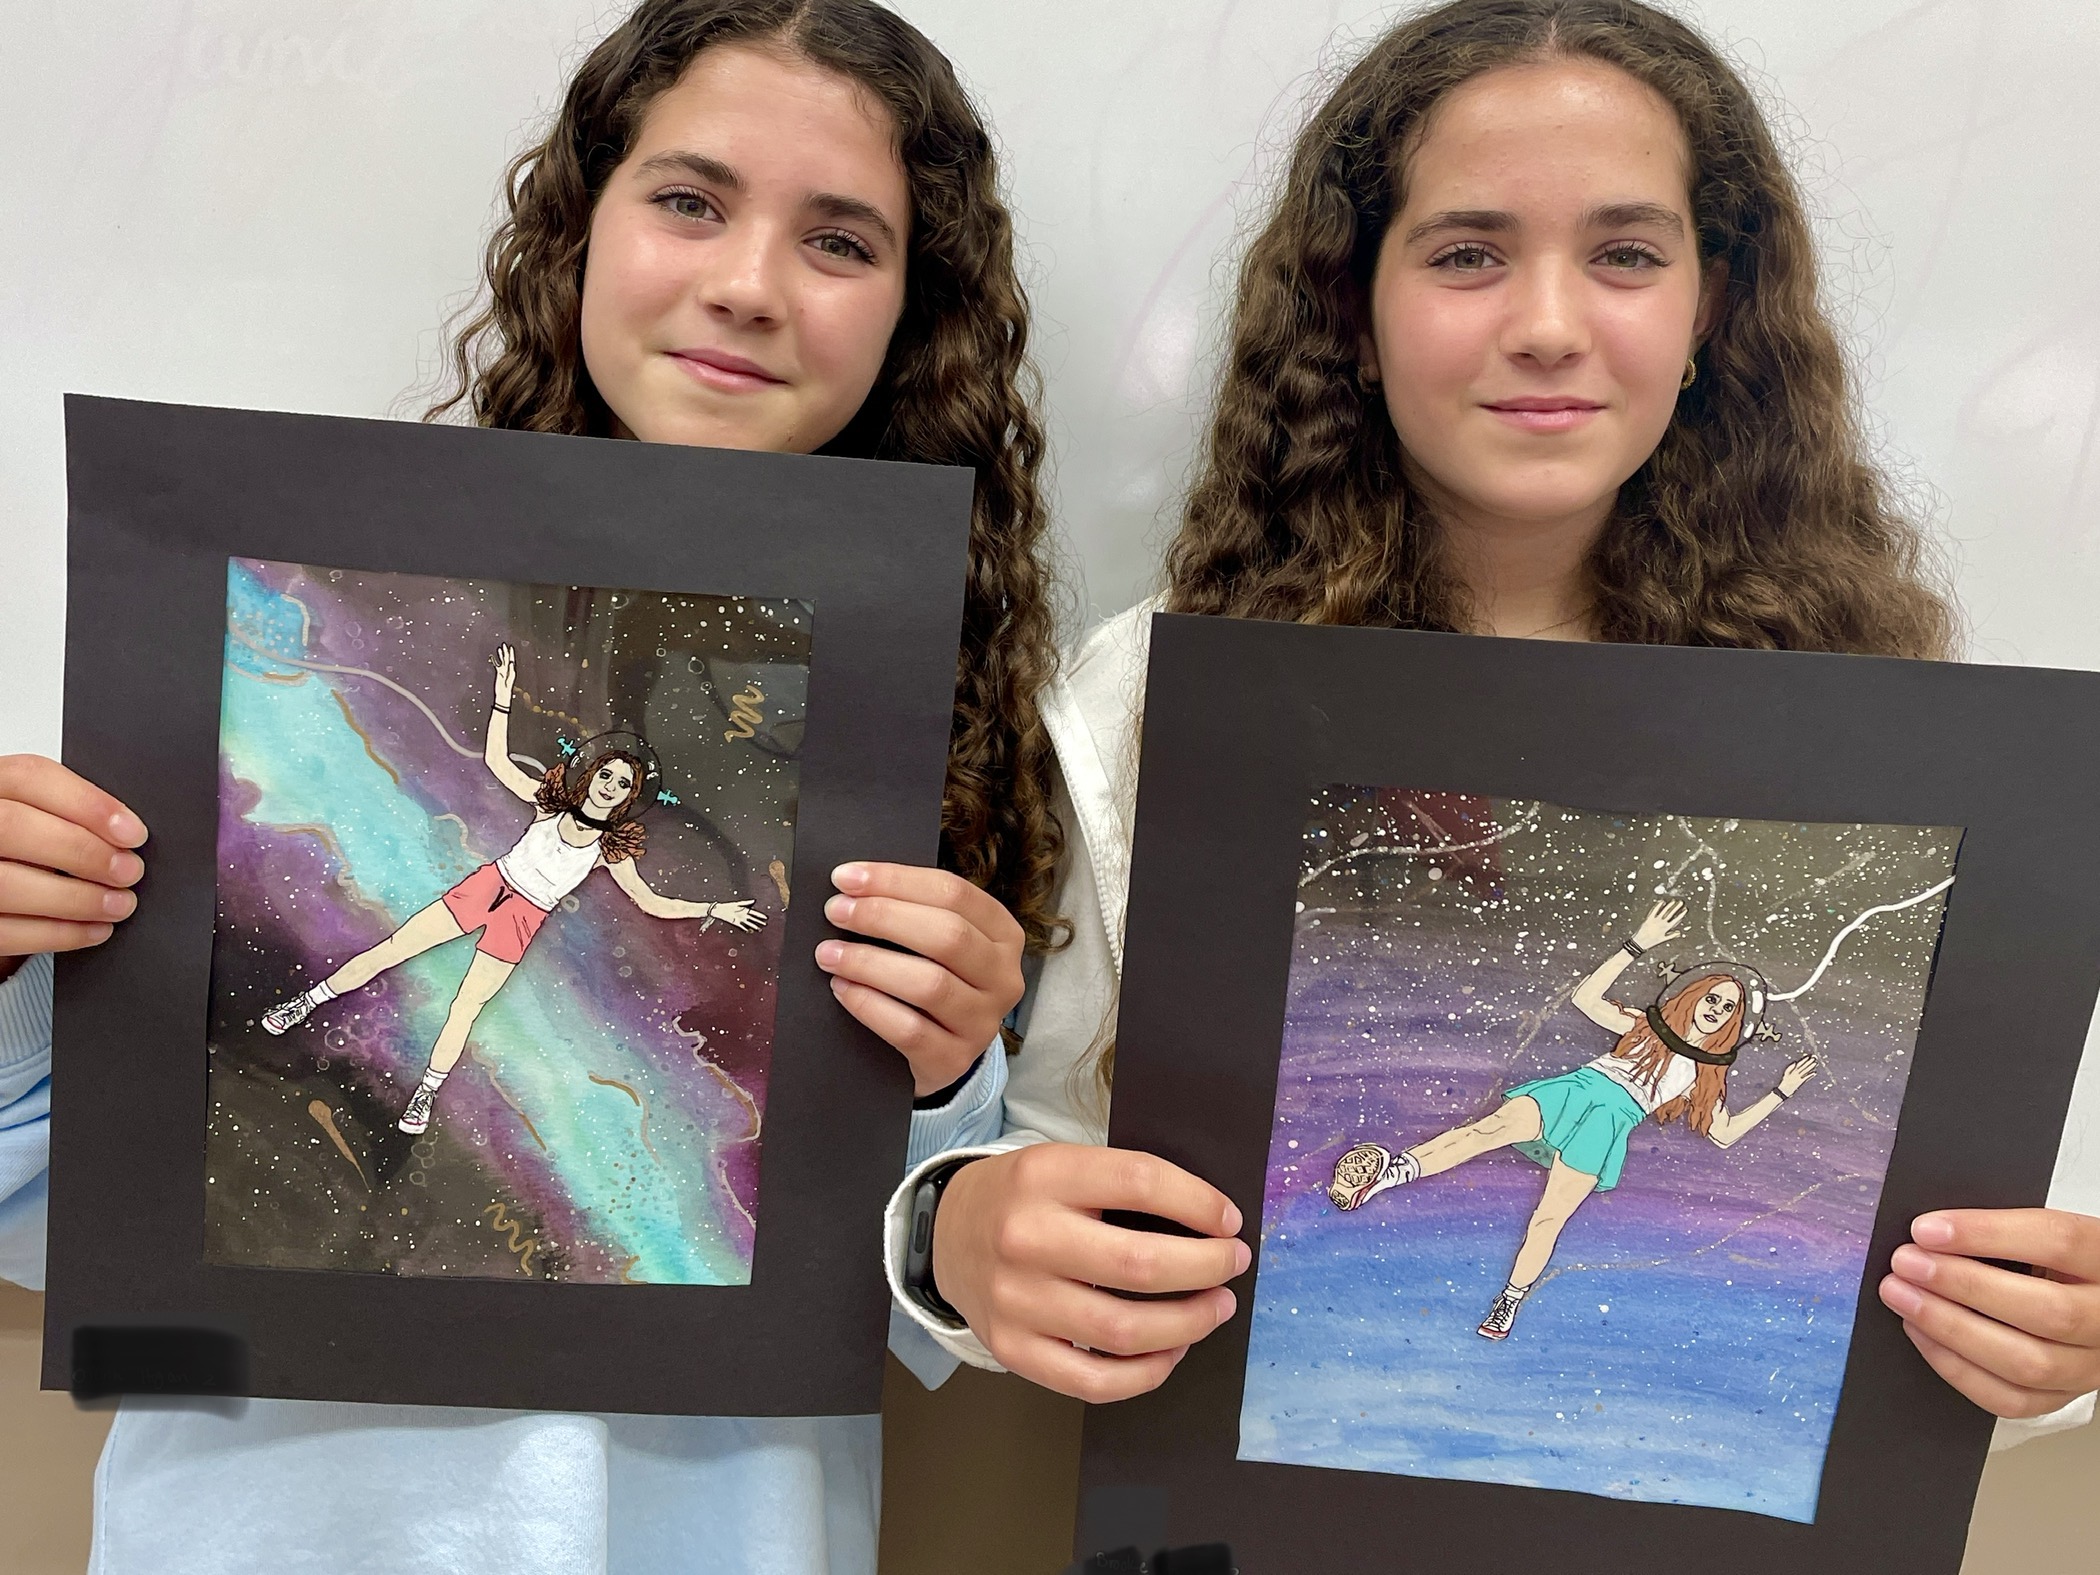
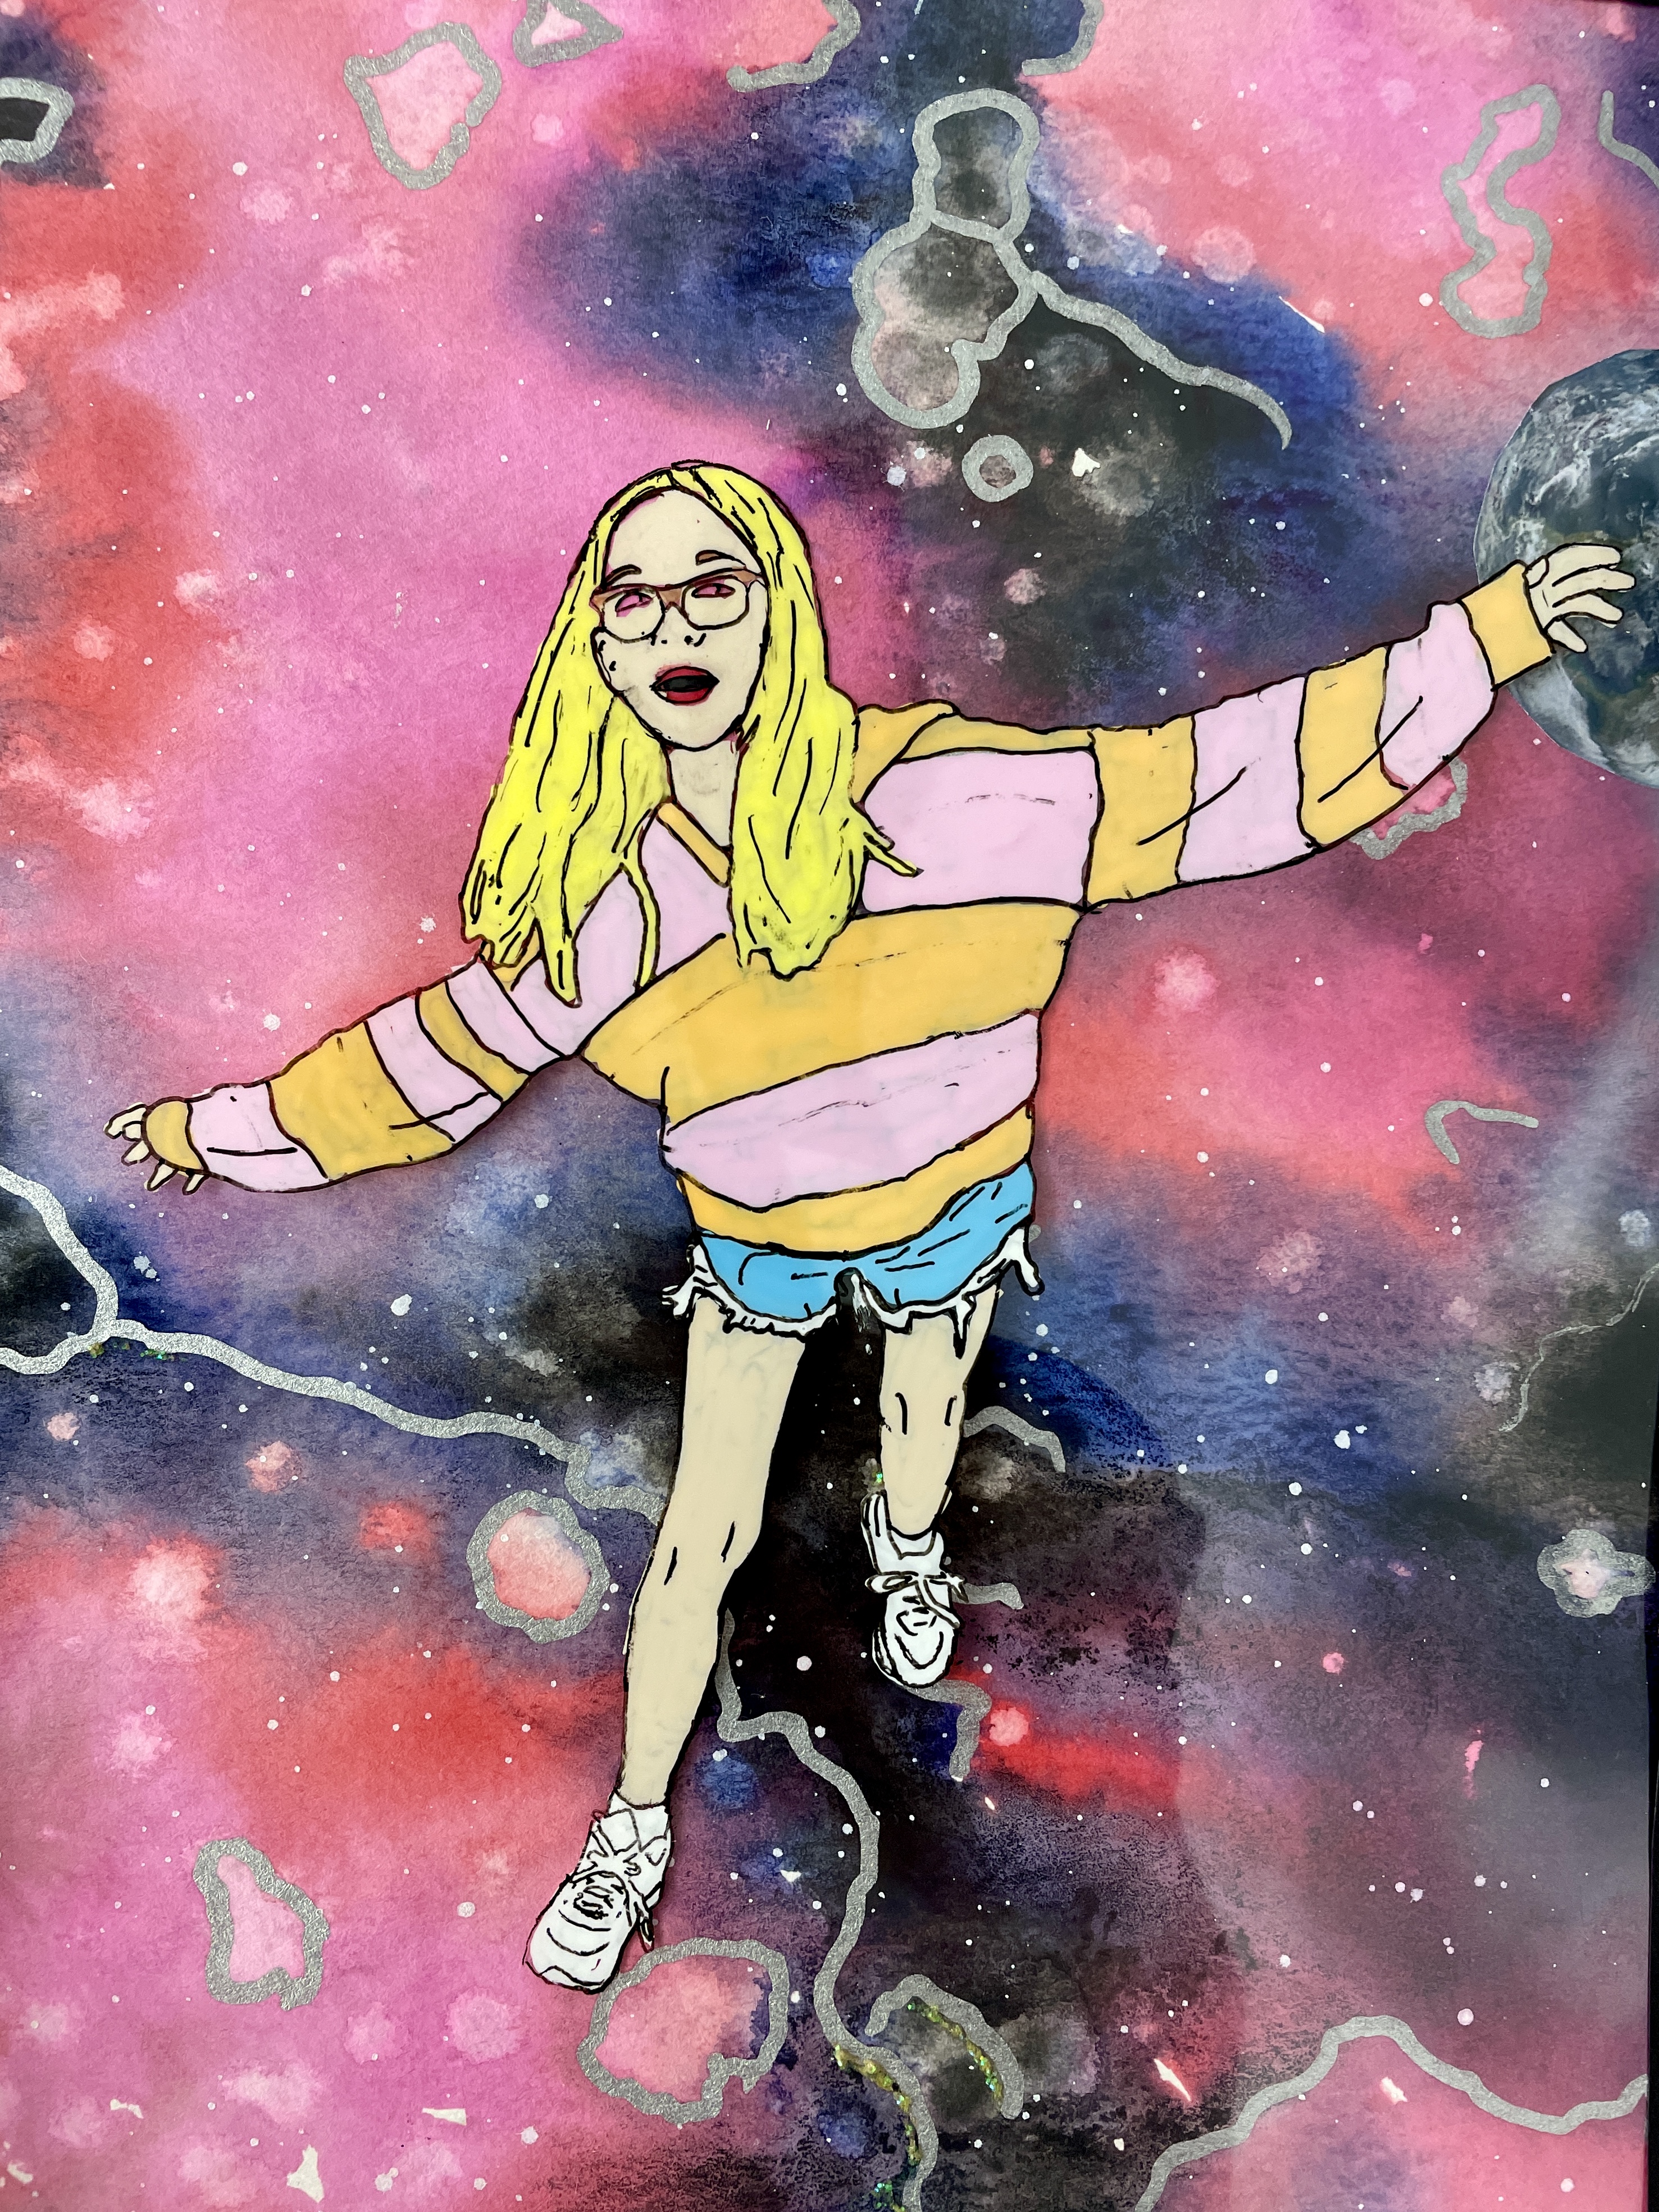
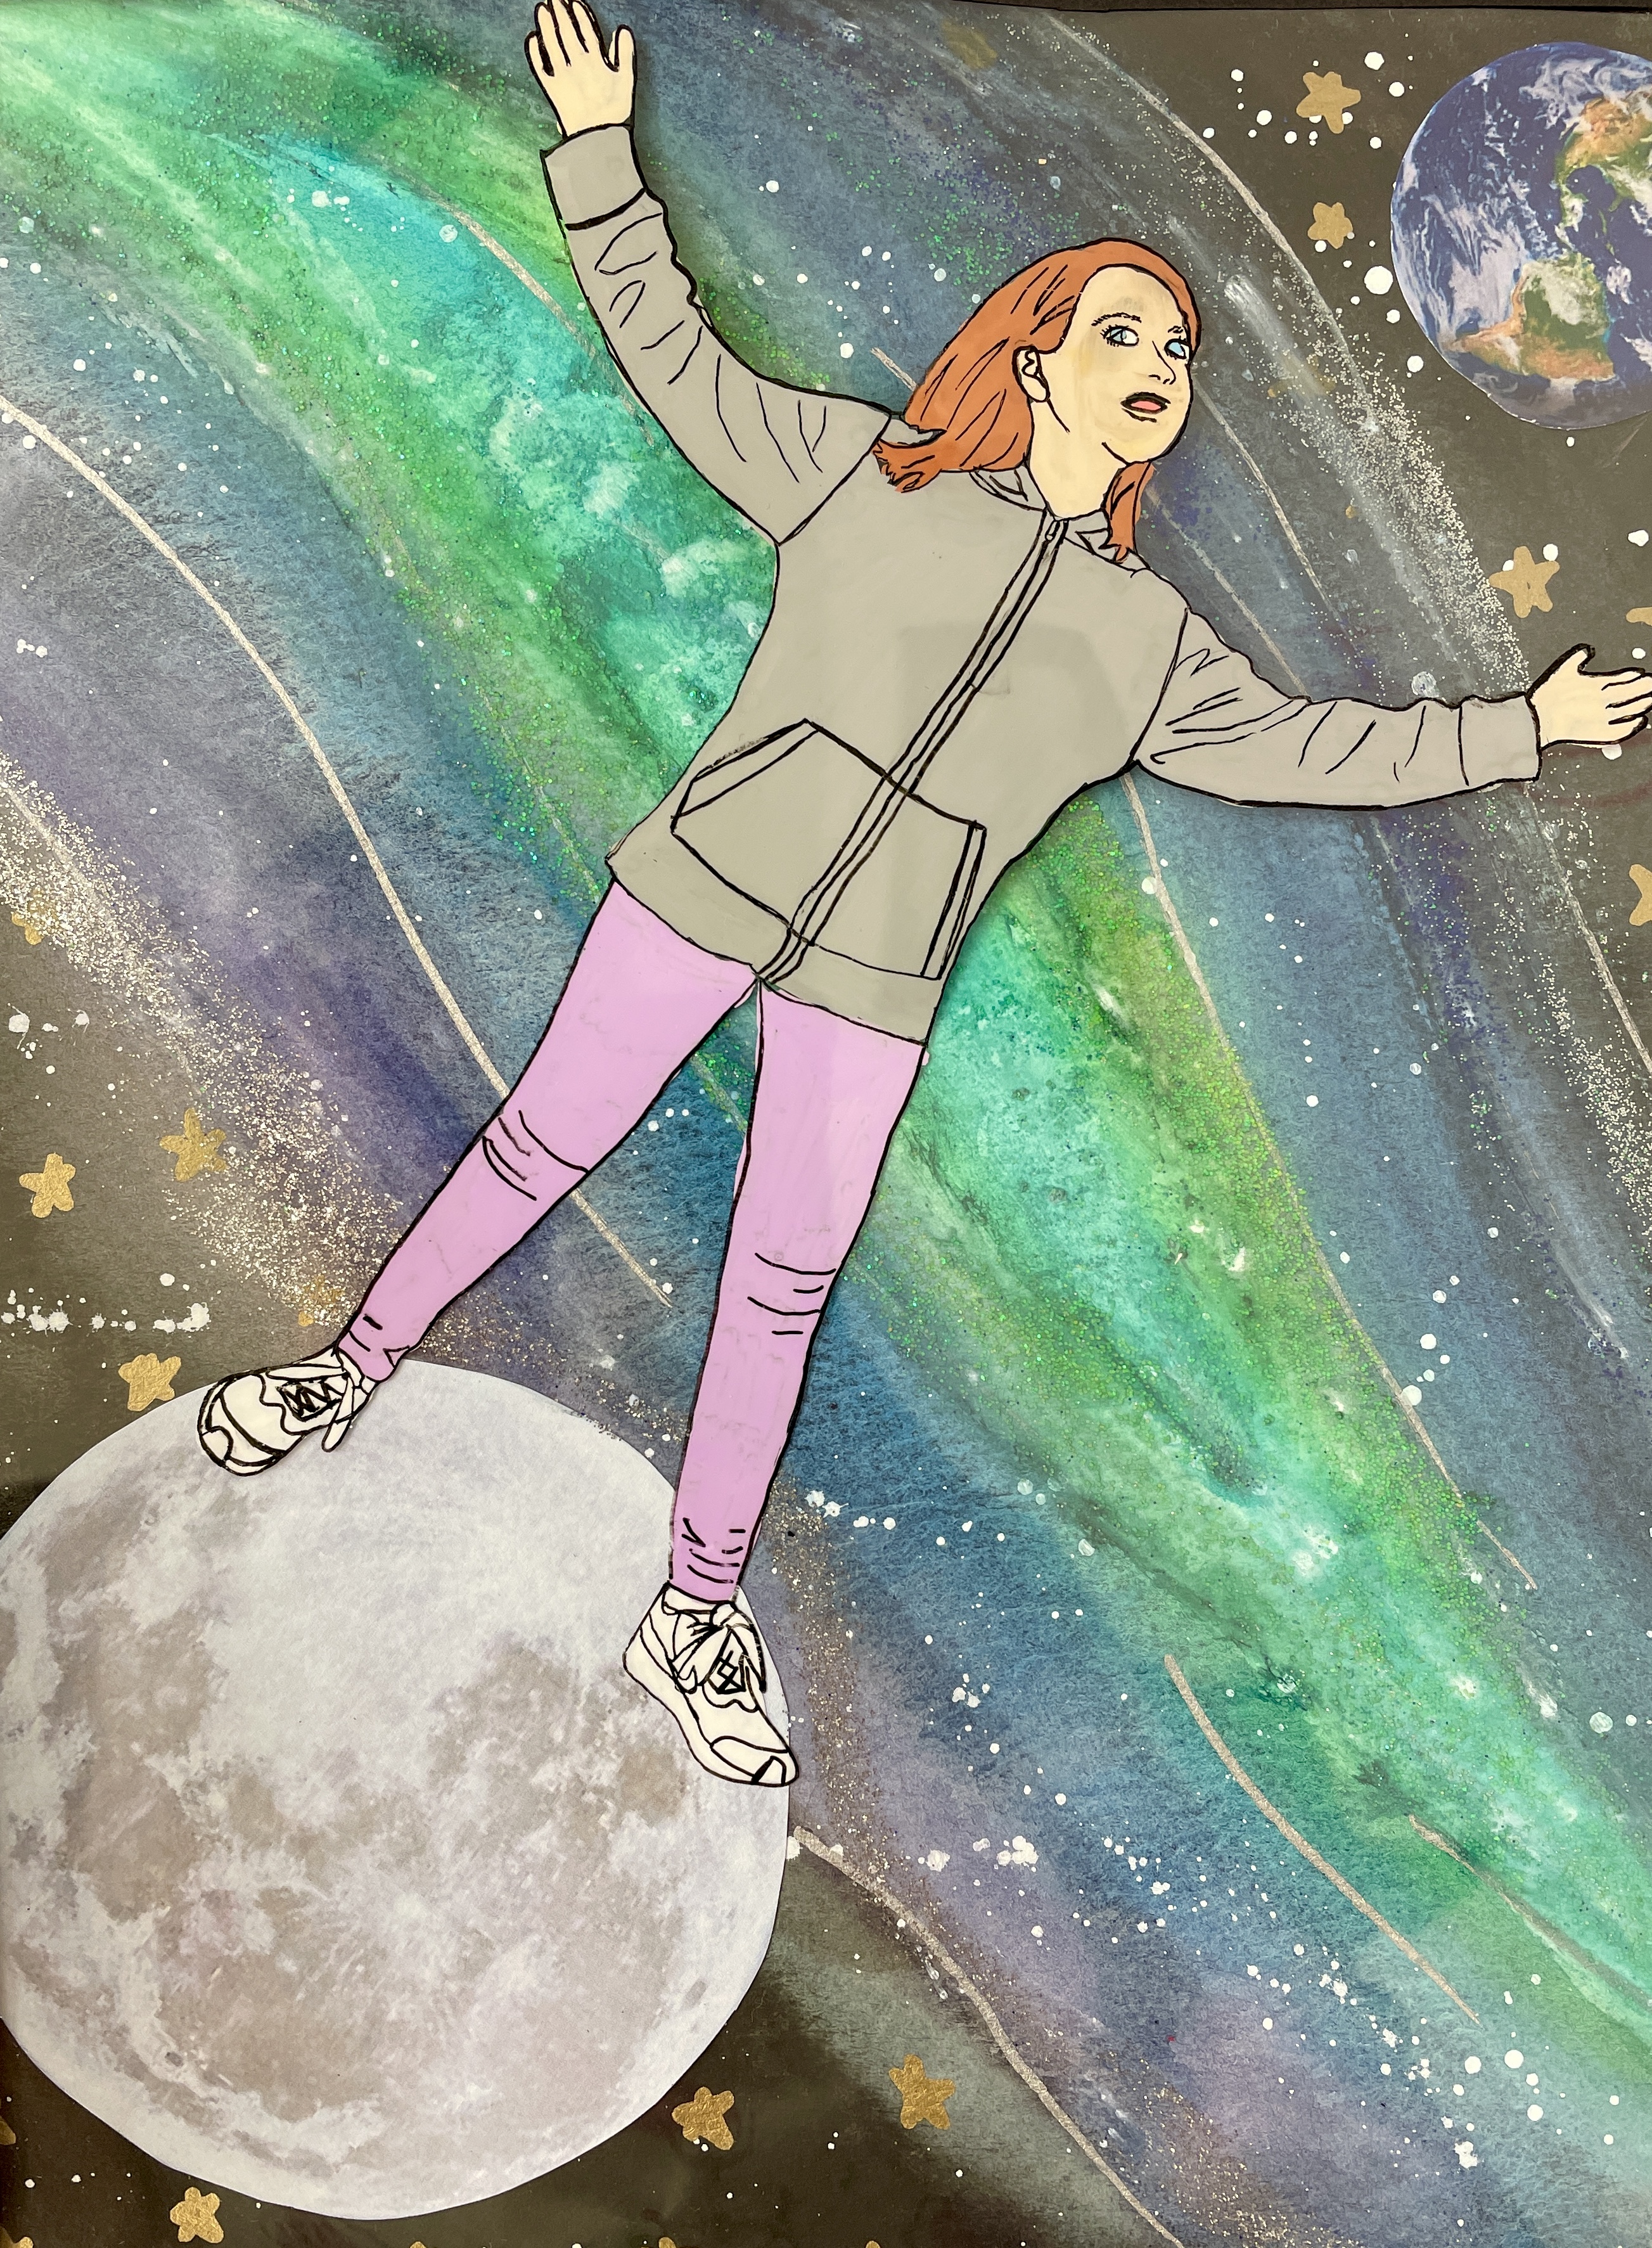
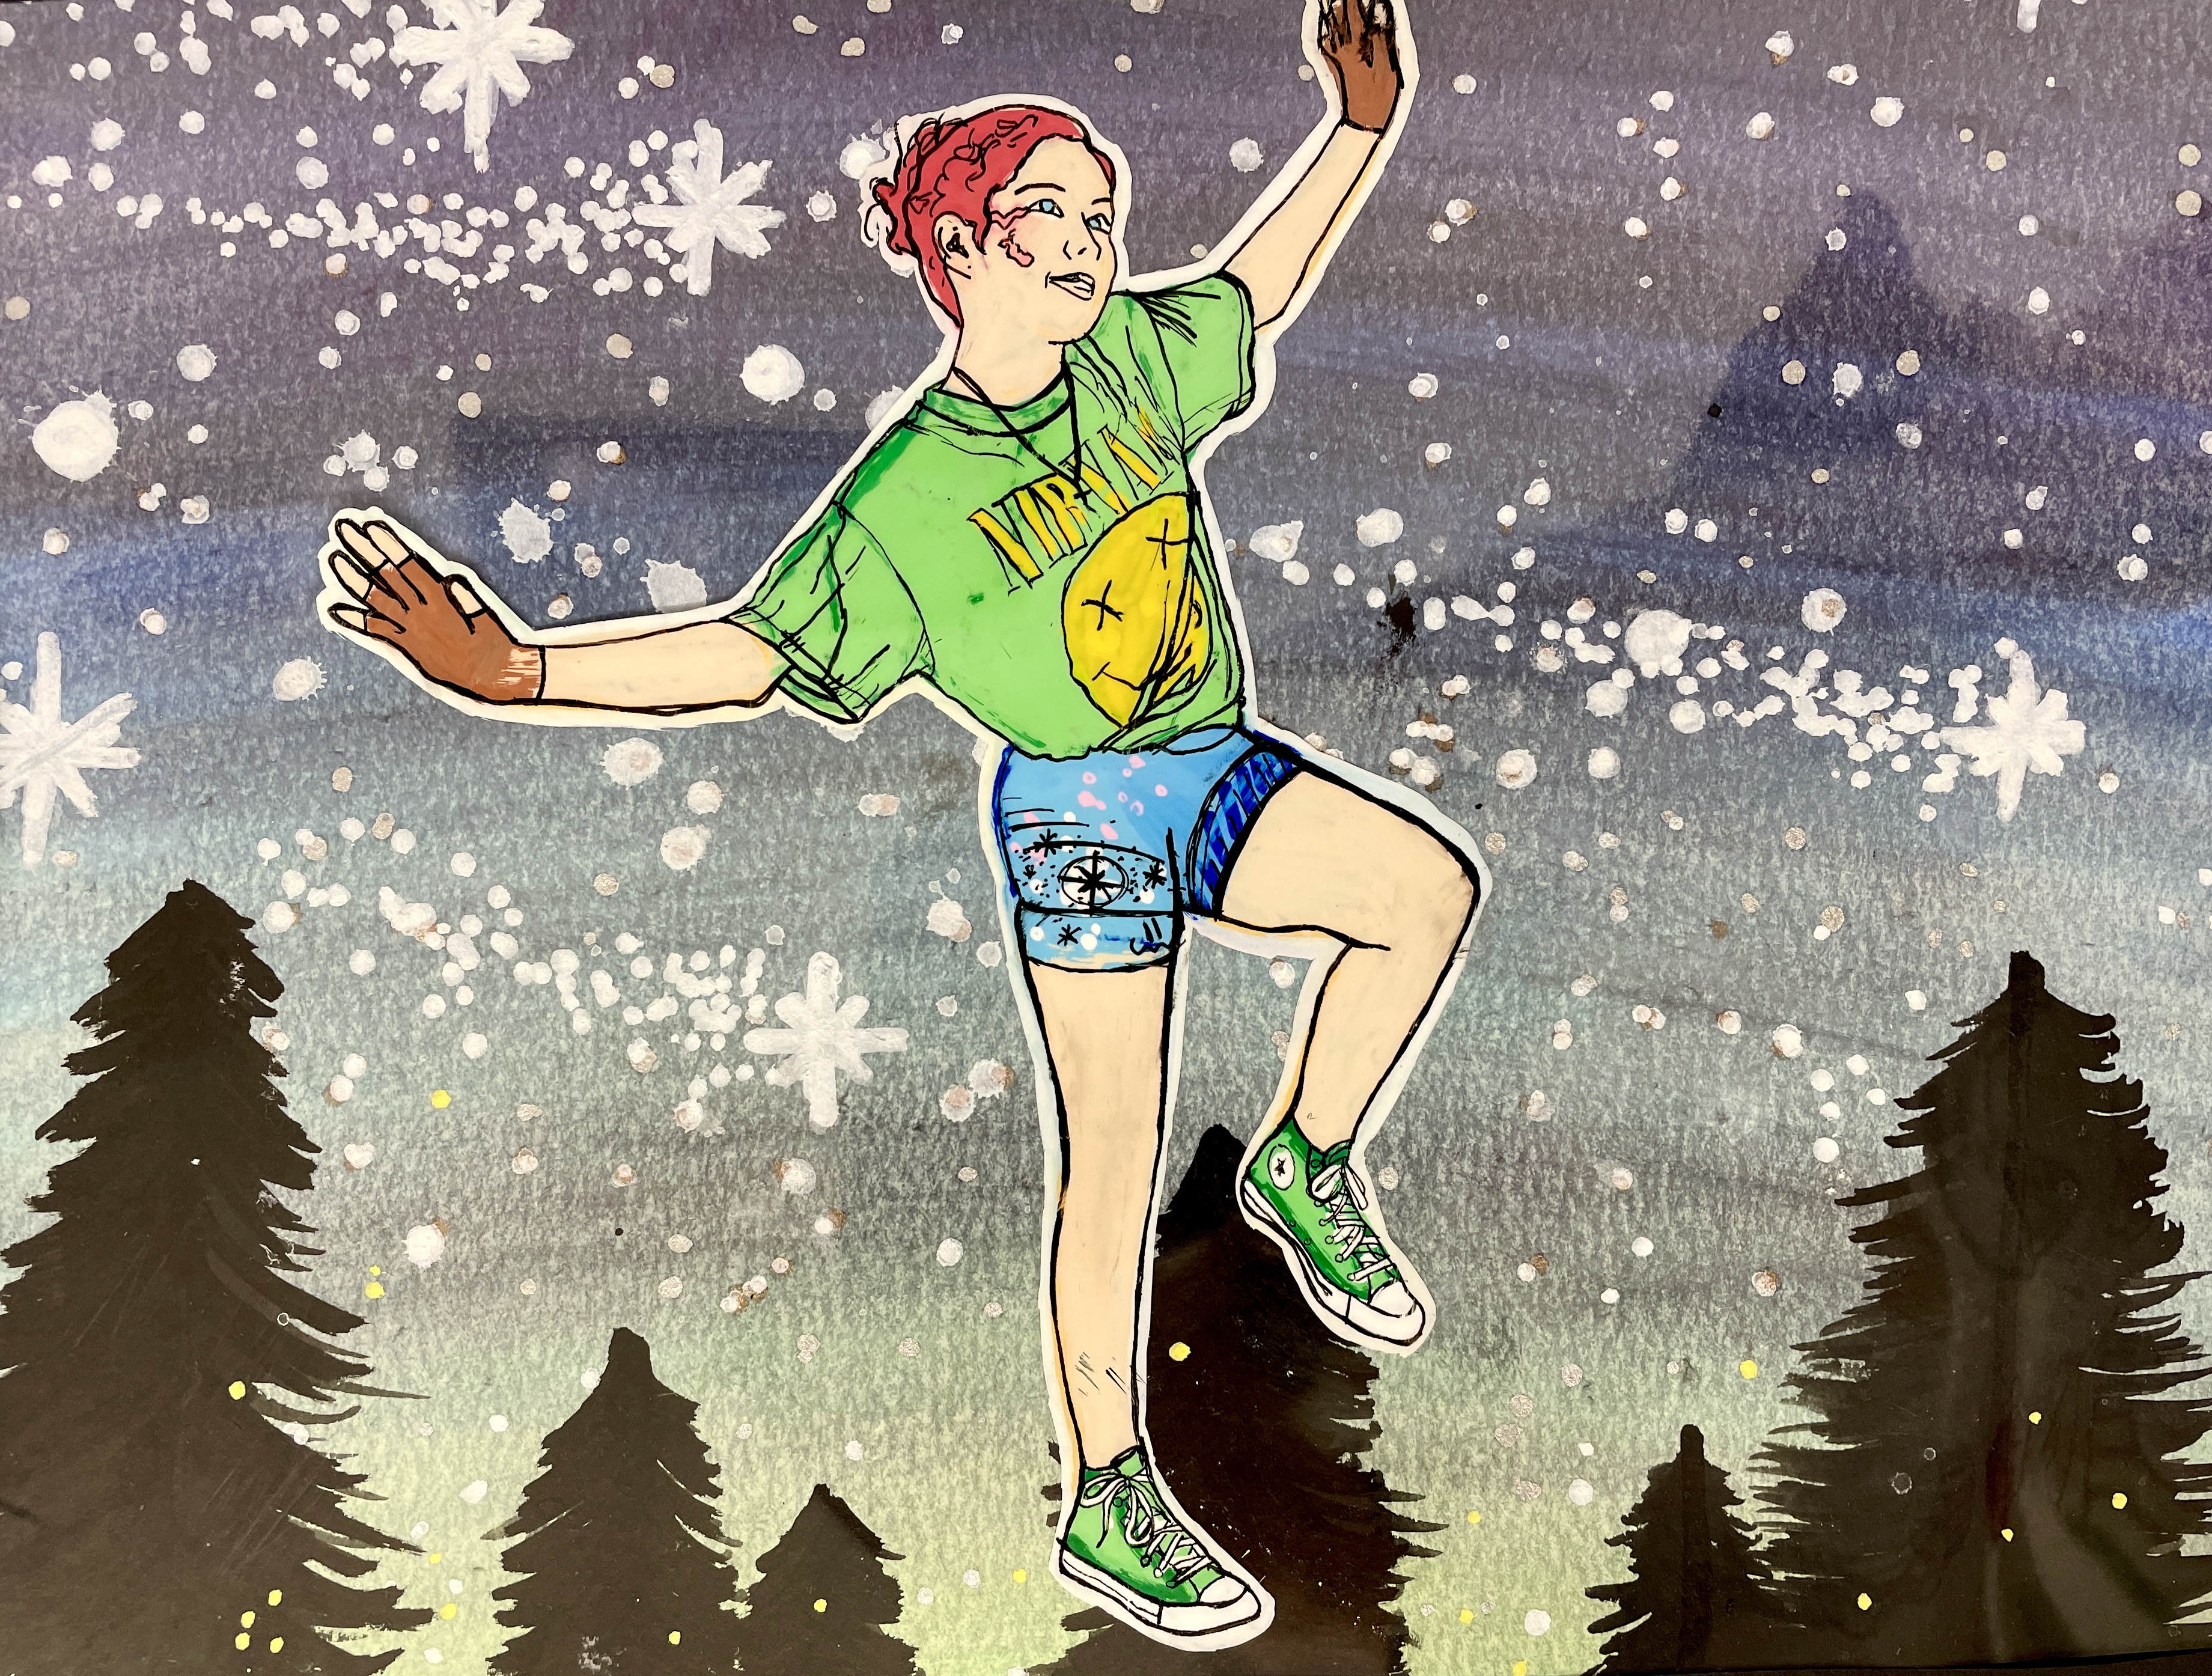
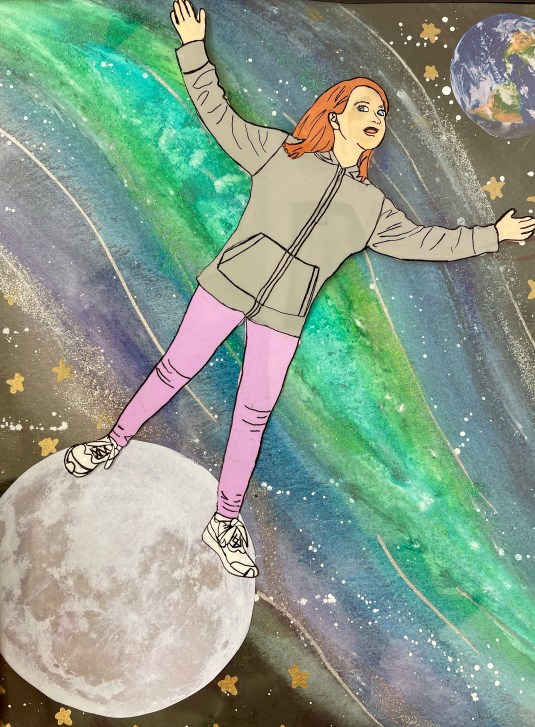
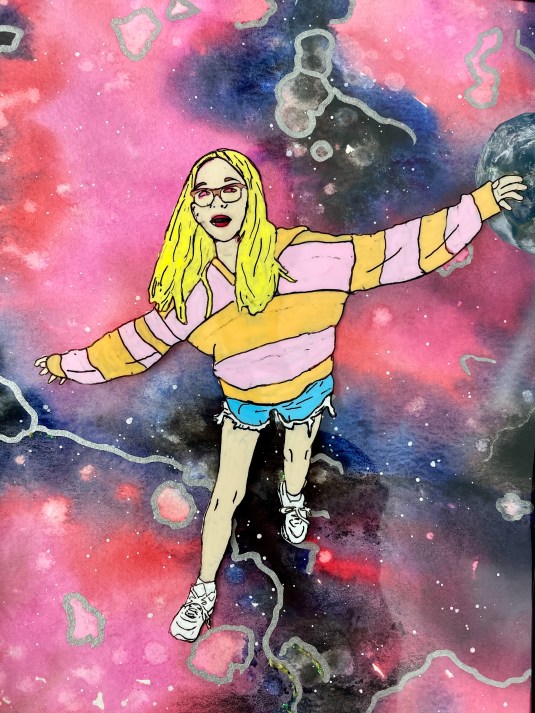
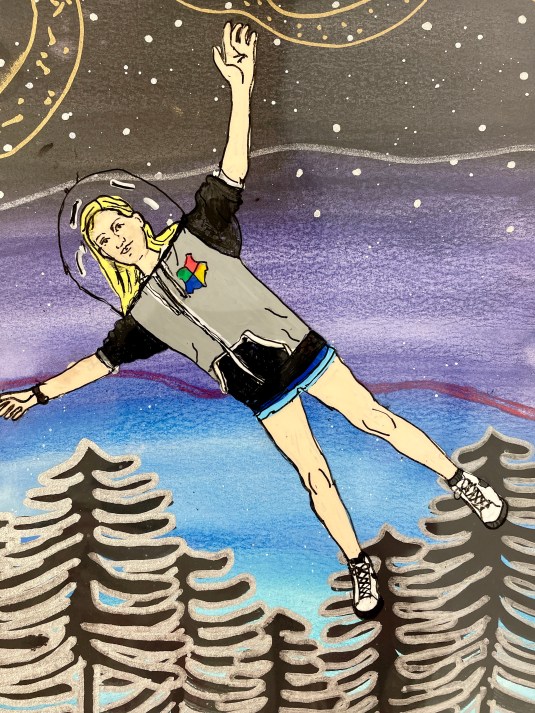
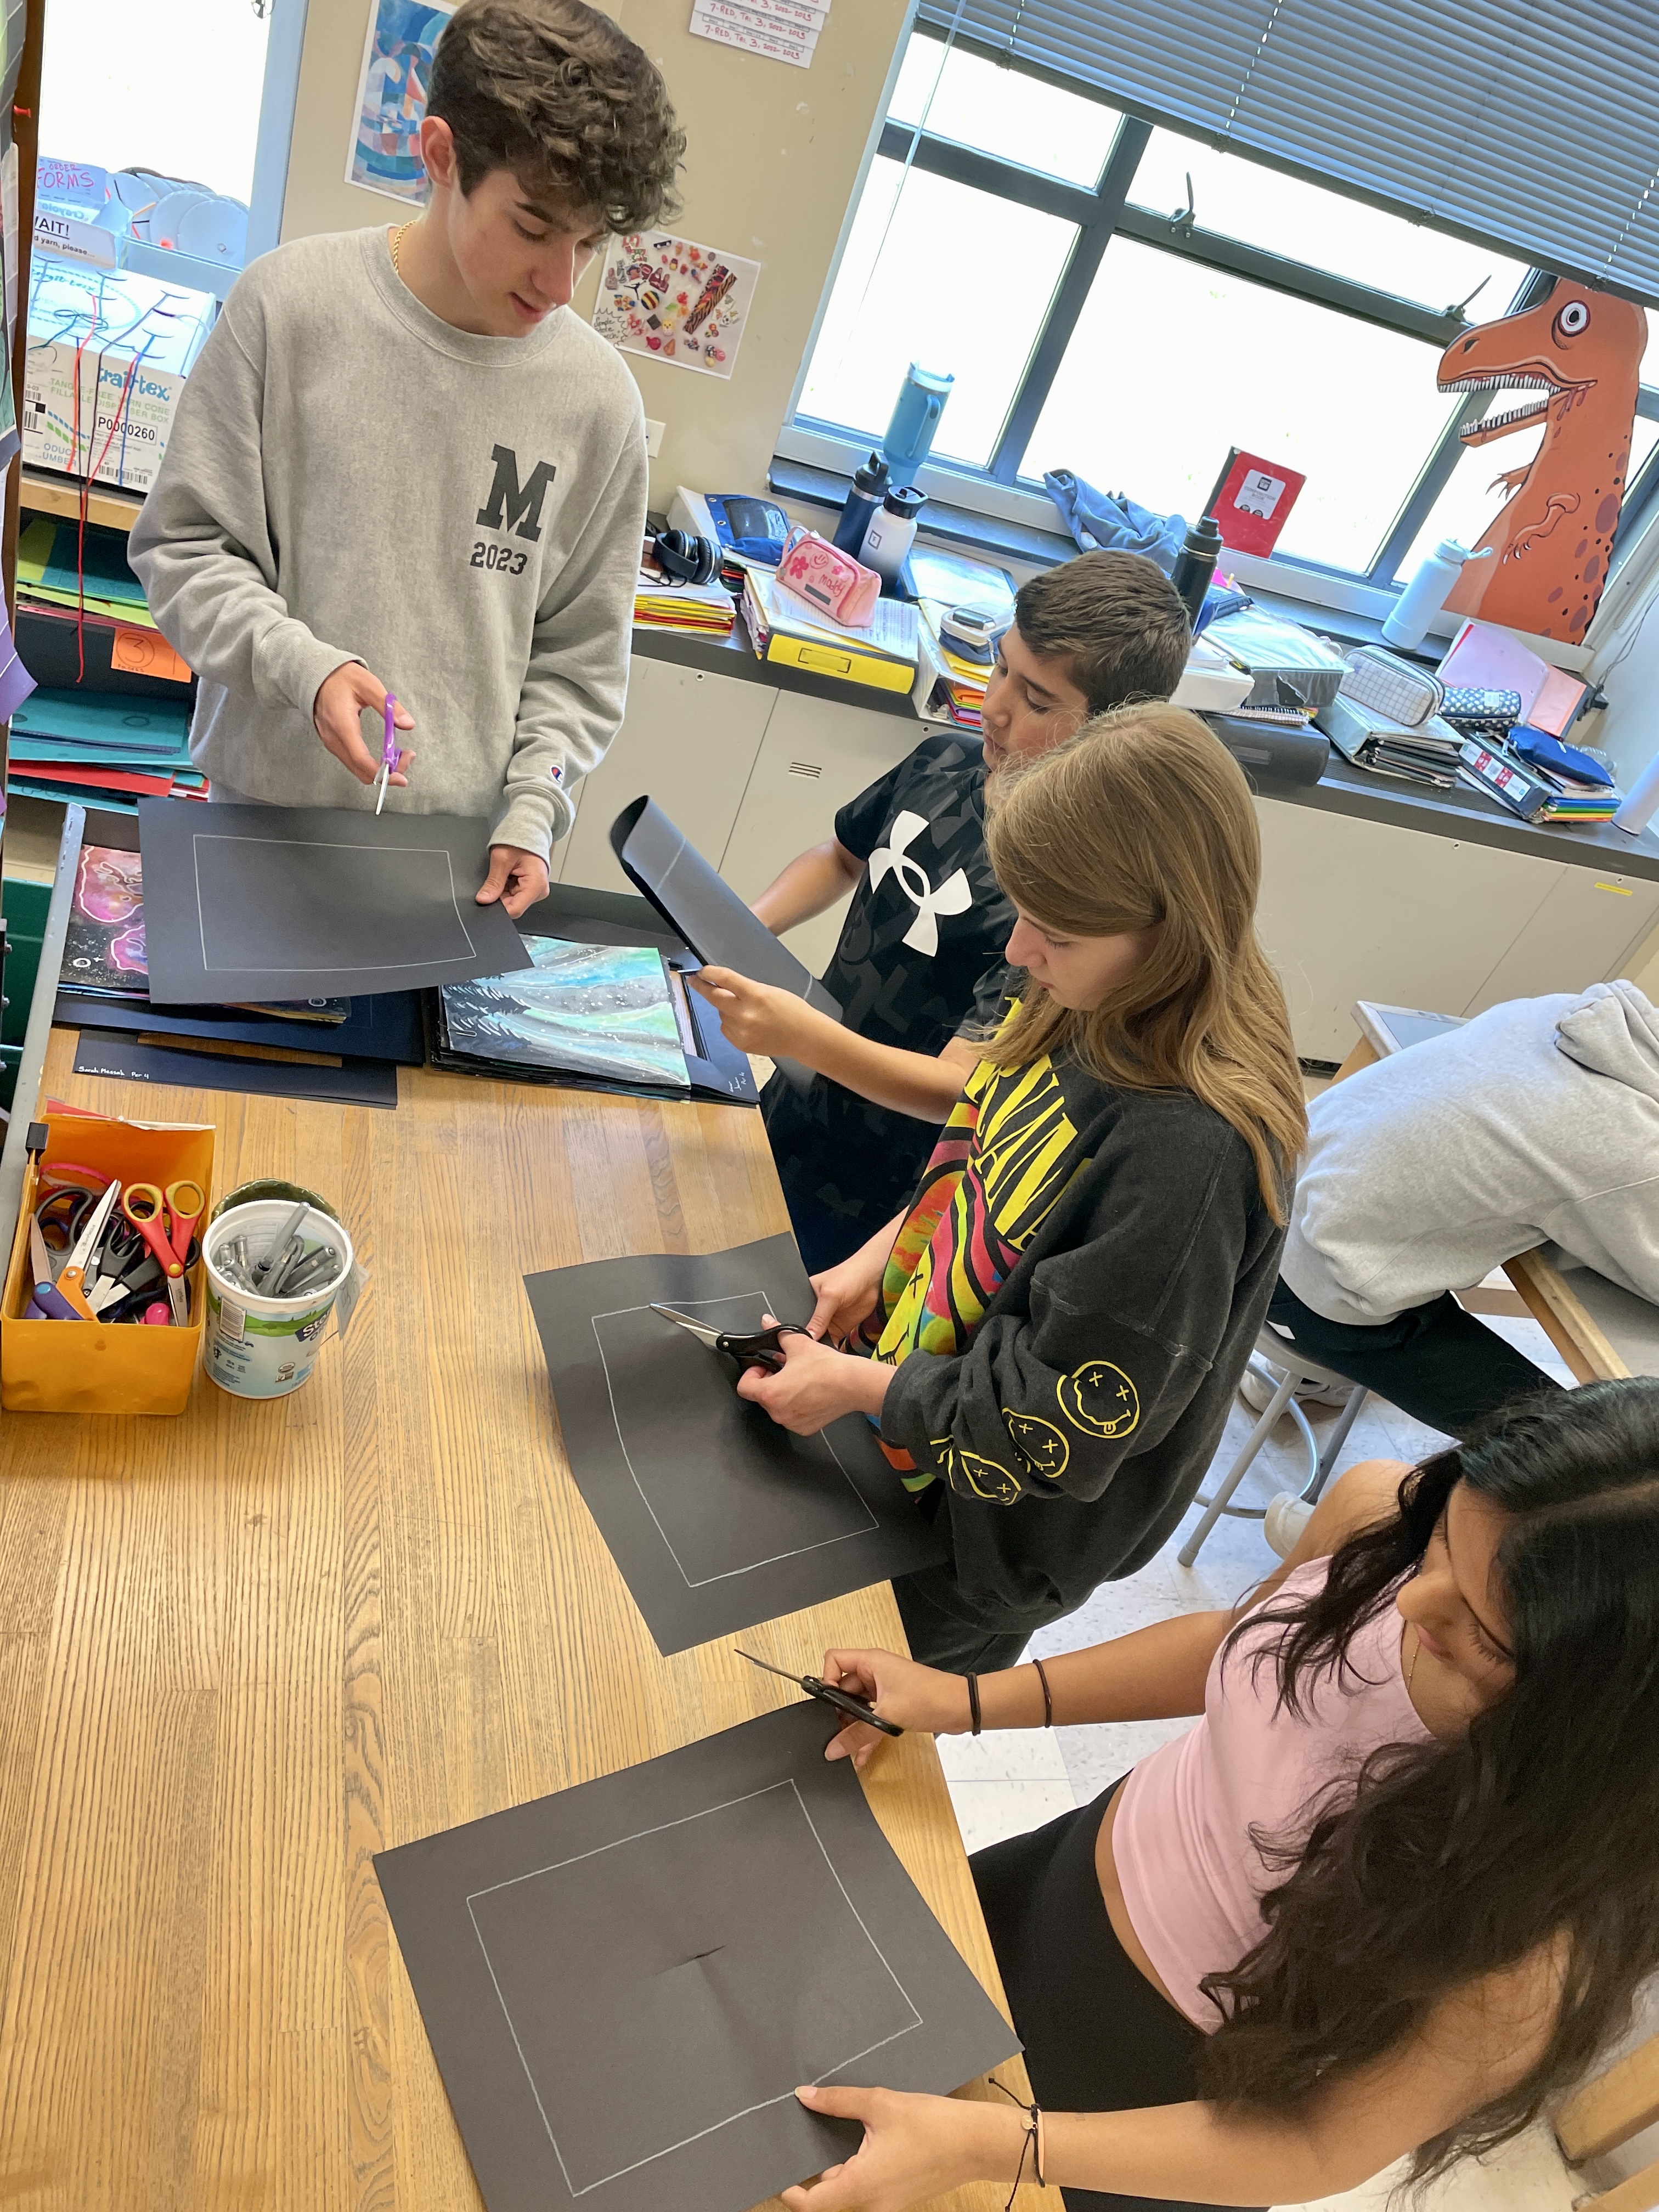
Once the acetate portraits were finished and dry, students taped them over their selected galaxy painting using two small pieces of clear tape. They had the option of embellishing their galaxy painting beforehand with metallic pens, glitter glue, clip art planets, etc. (See my GLIMPSING GALAXIES lesson for links to Clipart pages!) We also created black paper mats to frame the finished work. This helps to cover edges and inconsistencies if your acetate and paintings are different sizes. Carefully cutting the mat and assembling the layers together with masking tape counts as a portion of the student’s project grade.
The kids loved this lesson and the whimsical effect of floating in space was enhanced by their gorgeous watercolor galaxy paintings! Here’s my INSTRUCTION PACKET which includes more pictures, steps, goals, etc. If you try this lesson with your students, be sure to tag @amslerartroom and let me know how it goes!