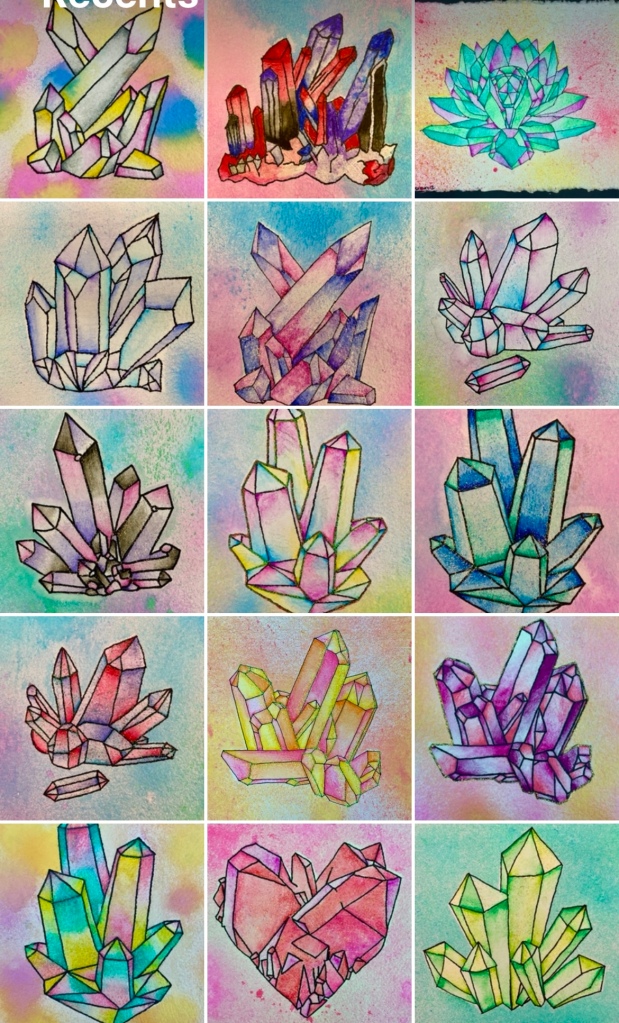
Crystal Gem Paintings
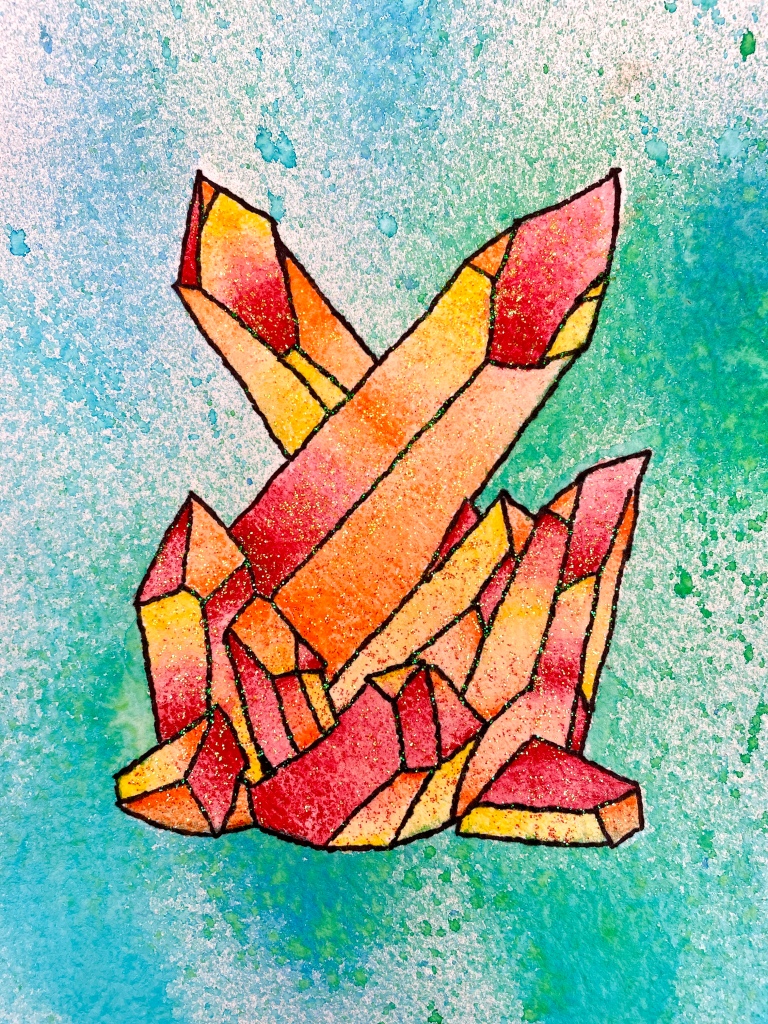
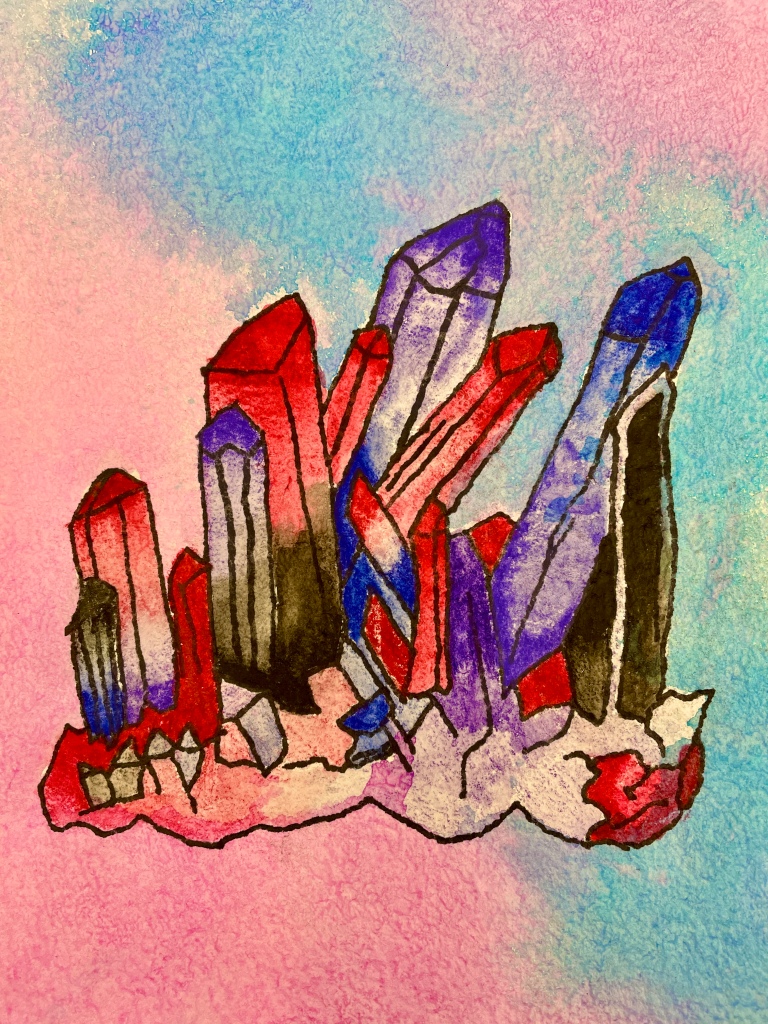
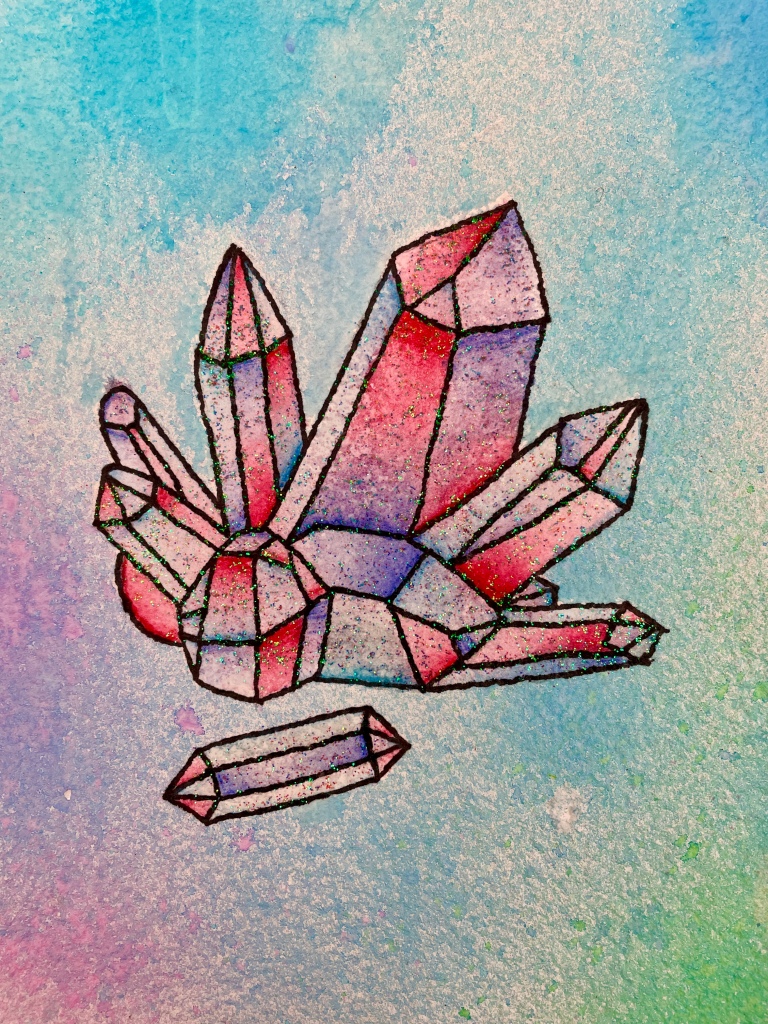
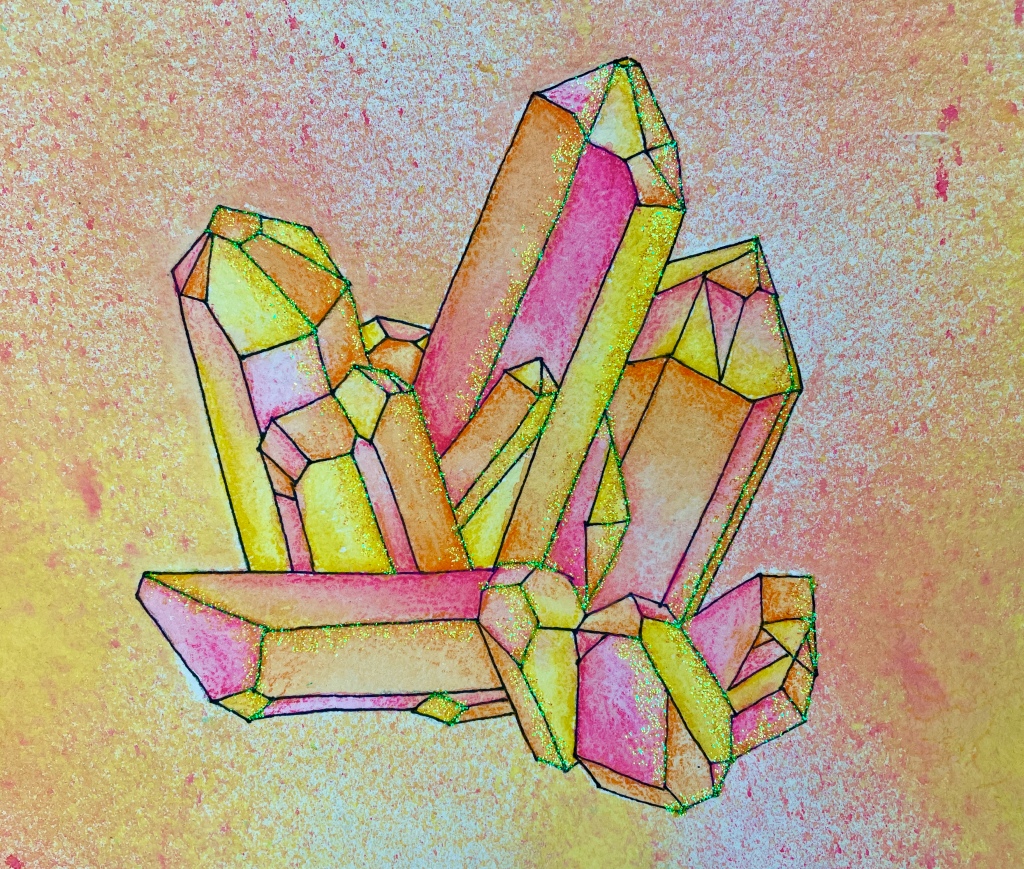
These Crystal Drawings/Paintings were a quick and easy lesson that I introduced at the beginning of a new trimester. It checked a lot of boxes: compelling subject matter, fun materials, fast and successful for virtually all students, AND it covered some essential drawing skills and color concepts.
This instruction packet will help make this leson clear for you and your students, and I’ll reference it in the lesson description below.
– – – – –
Let’s get started! I usually don’t allow tracing from published sources in my classroom, but for this lesson, I did search the internet for basic clip-art style crystal reference pictures. I created a crystal picture packet, (attached below,) and made multiple loose copies of each option. Students chose their favorite and then traced it lightly with pencil, centered on a piece of watercolor paper, at a light table or window. Since drawing lightly is always a challenge for my middle school students, I had them write their name on a piece of practice paper lightly, five times, before tracing their crystal. After tracing, students inked over their crystal with their choice of thin or thick Sharpie.


Students Sharpieing their traced crystal images
– – – – –
IMPORTANT: Any watercolor paper or heavy weight drawing paper will work for this lesson, but I especially like the tooth and deckled edge of this handmade watercolor paper. Also, The students need to write their name on their chosen reference picture and keep it safe—they will need it later!
– – – – –
At this point in the lesson, I show the students the magic of watercolor pencils! Personally, I find Crayola brand watercolor pencils, (while not providing a huge array of color choices,) to be consistently easy to blend, affordable and durable. I show my students THIS VIDEO and let them practice creating value gradations of one and two colors on their practice papers. After this exercise, we’ll discuss analogous colors and complementary colors more in depth— they generally figure out through experimentation which colors are going to work together on their crystal and which are going to make “muck” when blended.
After significant practice and a check-in with me to finalize the 3-4 analogous colors they wish to use on the crystal, the students move on to adding the dry color to their crystal facets before “painting” with a small round brush and clean water. Check the INSTRUCTION PACKET for my goals and guidelines for these steps. It is important to note here that students do all of the dry color work before painting any sections, and that once they do start painting the crystal sections with clean water and a small brush, they cannot go and add more pencil blending on to the wet paper—it will leave un-blendable smudges. However, they can allow the paper to fully dry, and then the next day they can re-add dry color and re-paint to intensify the values of any painted section, if they desire.
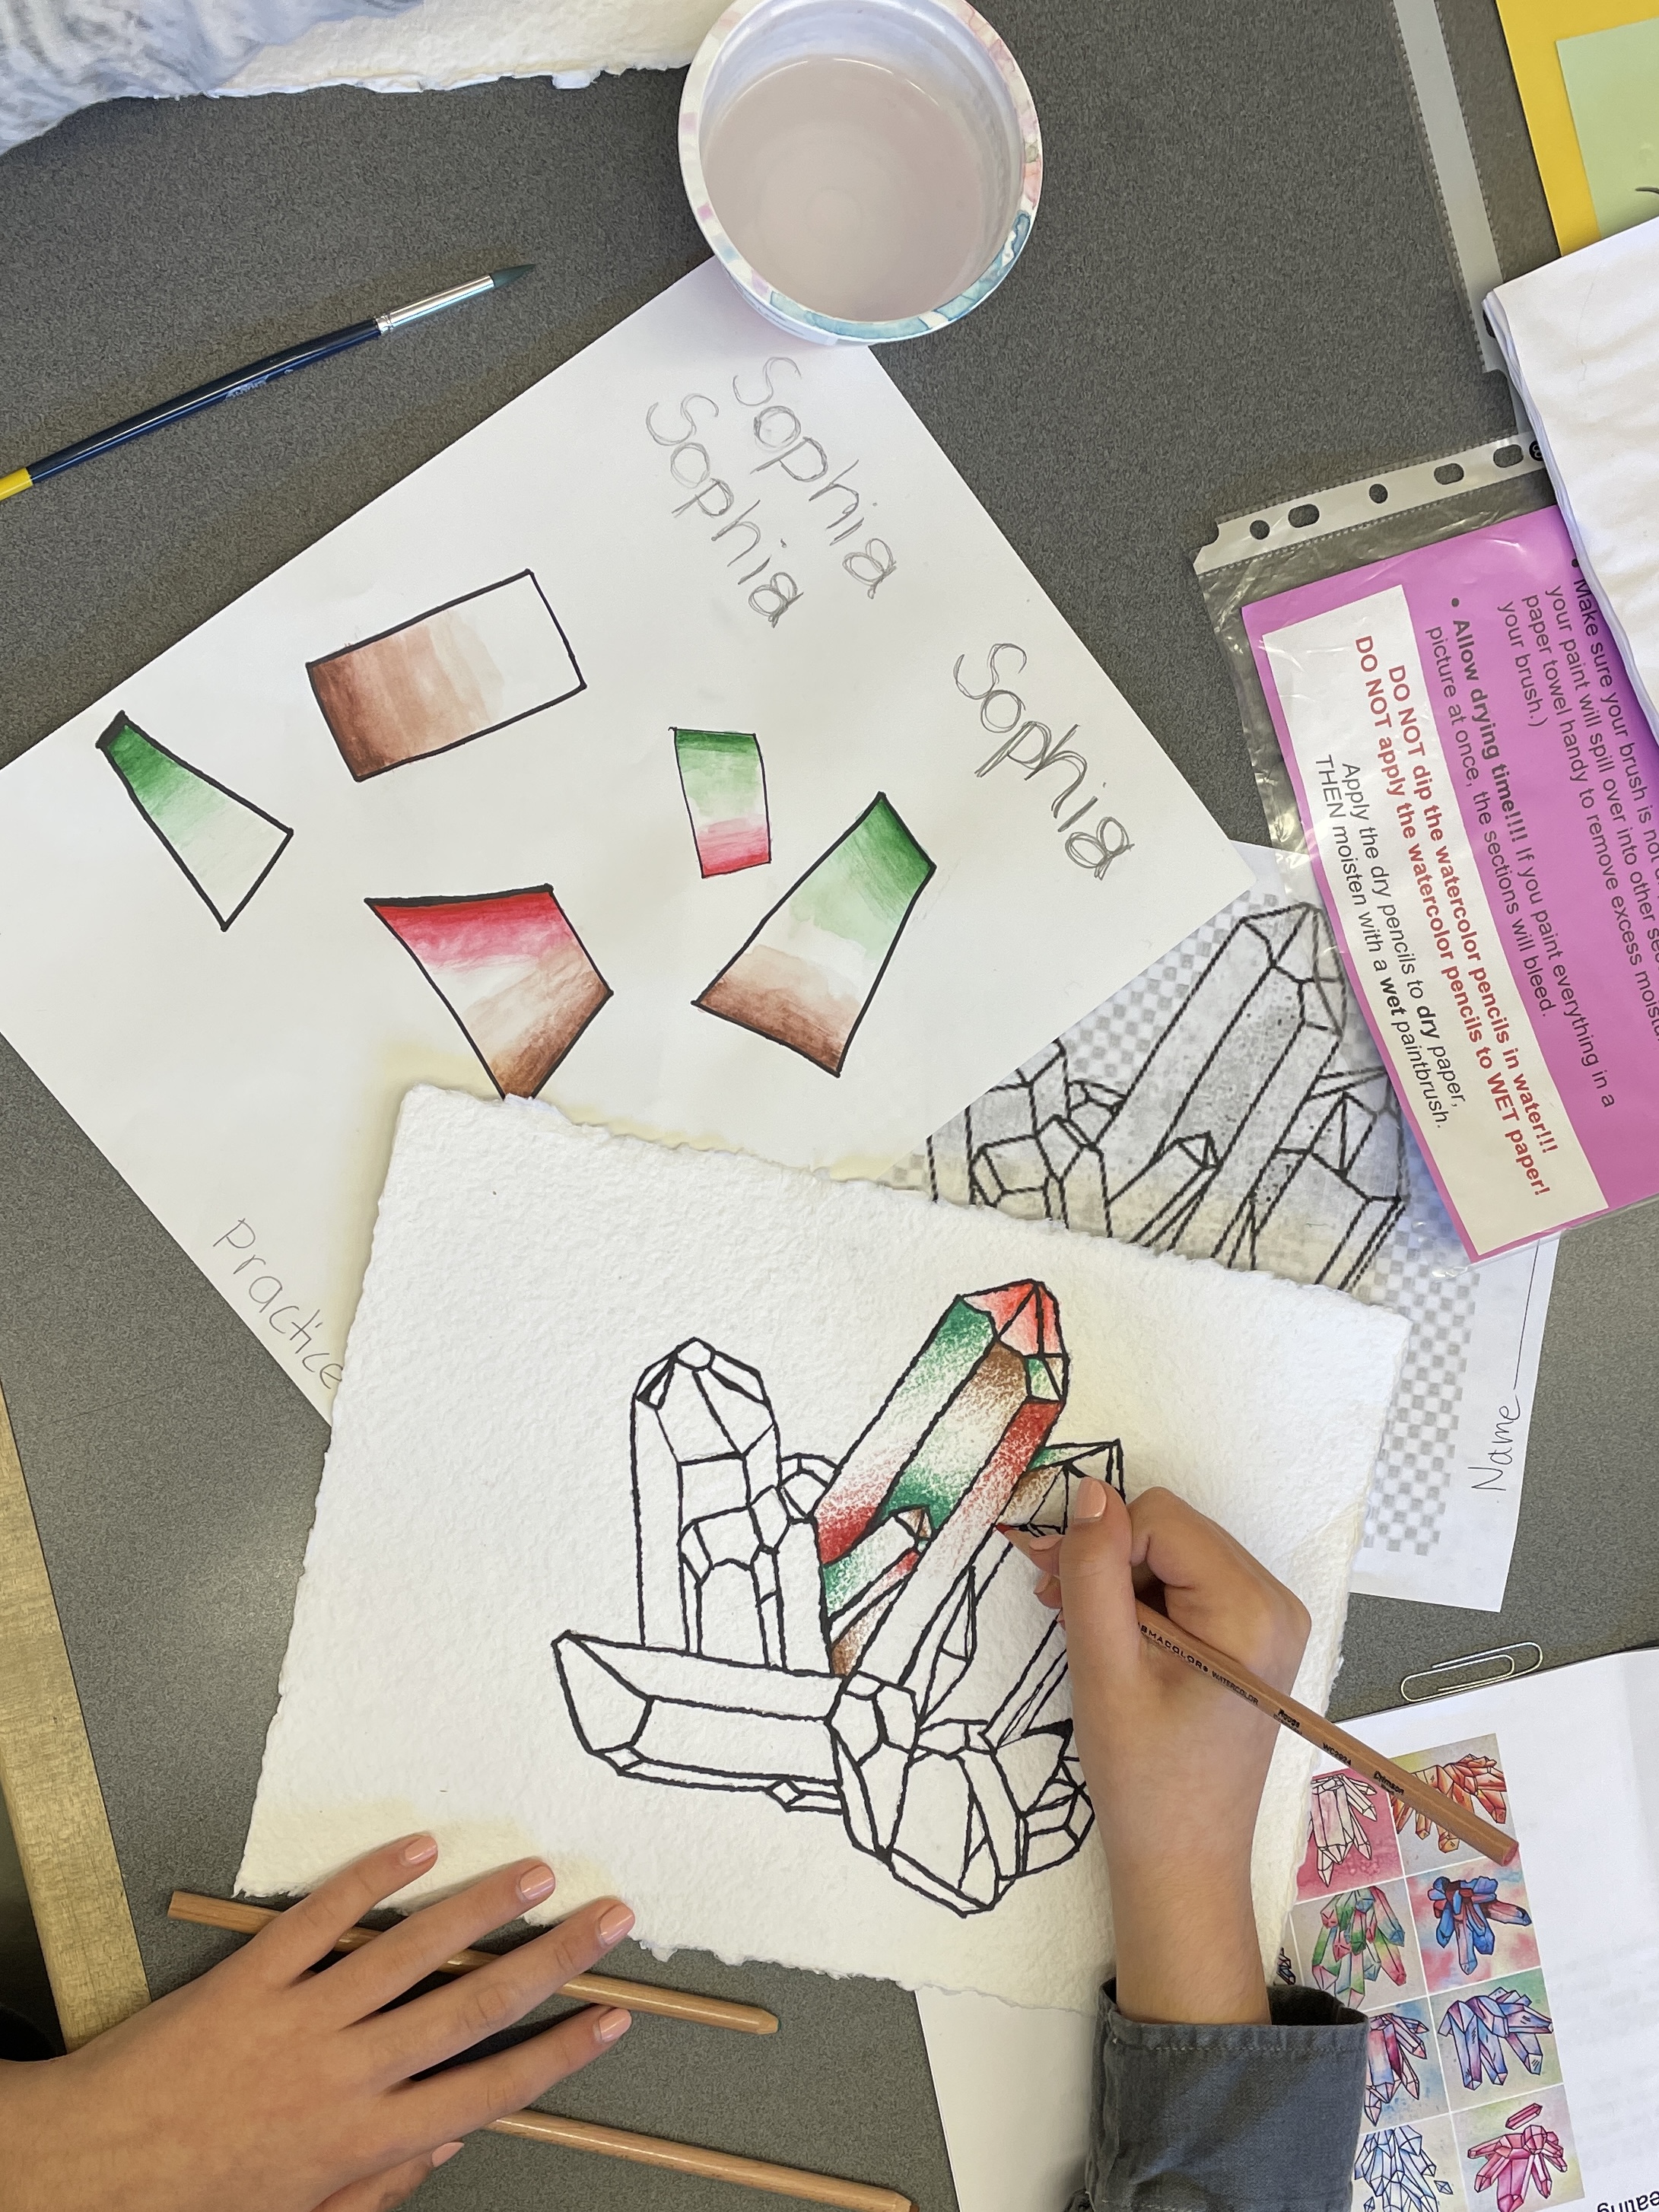


Students working with the watercolor pencils to add value gradations on their crystal drawings
– – – – –
Below are some drawings just about ready to be “painted” with a wet brush. You will notice in the instruction packet that I show some good examples like these as well as a “rushed” example. The finished project will look best of students really take care to apply the dry color carefully and as smoothly as possible! It is just fine if some white is showing— the water will dissolve the color and the gaps will be filled in. As a matter of fact, applying the watercolor pencil with a heavy hand will actually generate more dissolved pigment than you have space to spread it.


– – – – –
Students love the effect of dissolving their pencil work with a wet brush! As instructed in the packet, I have them move around their crystal, painting/blending one section at a time.
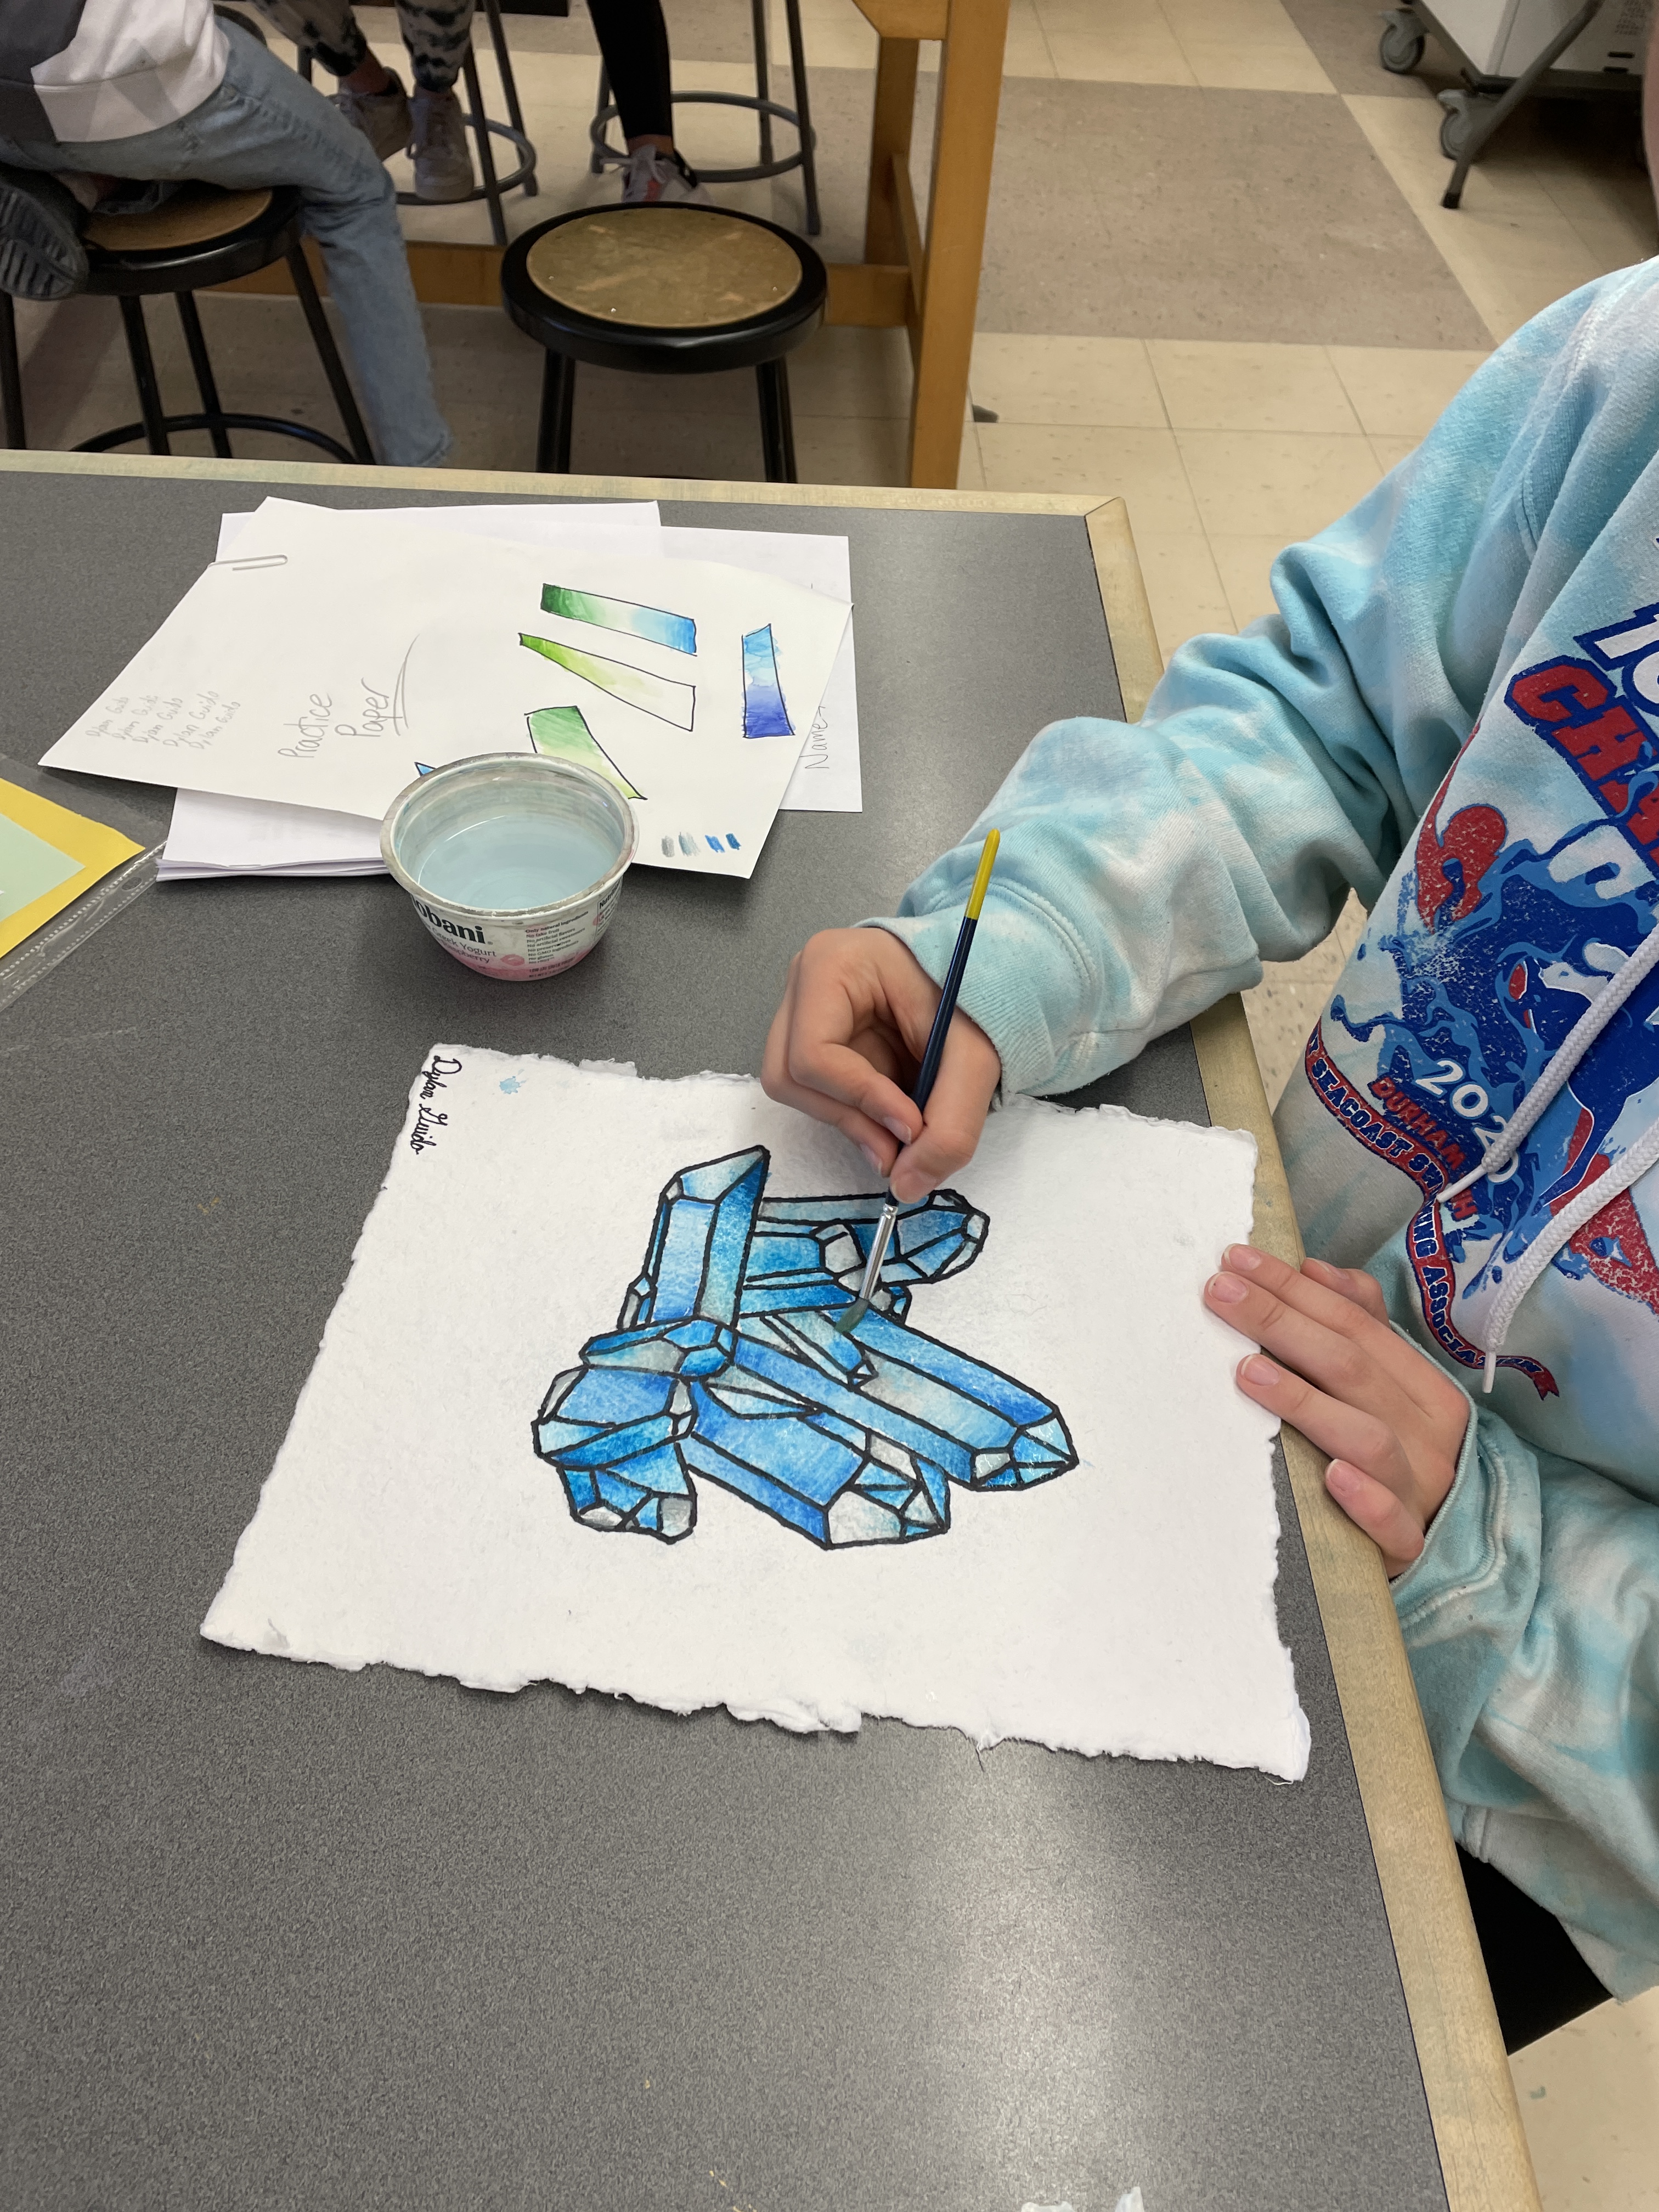
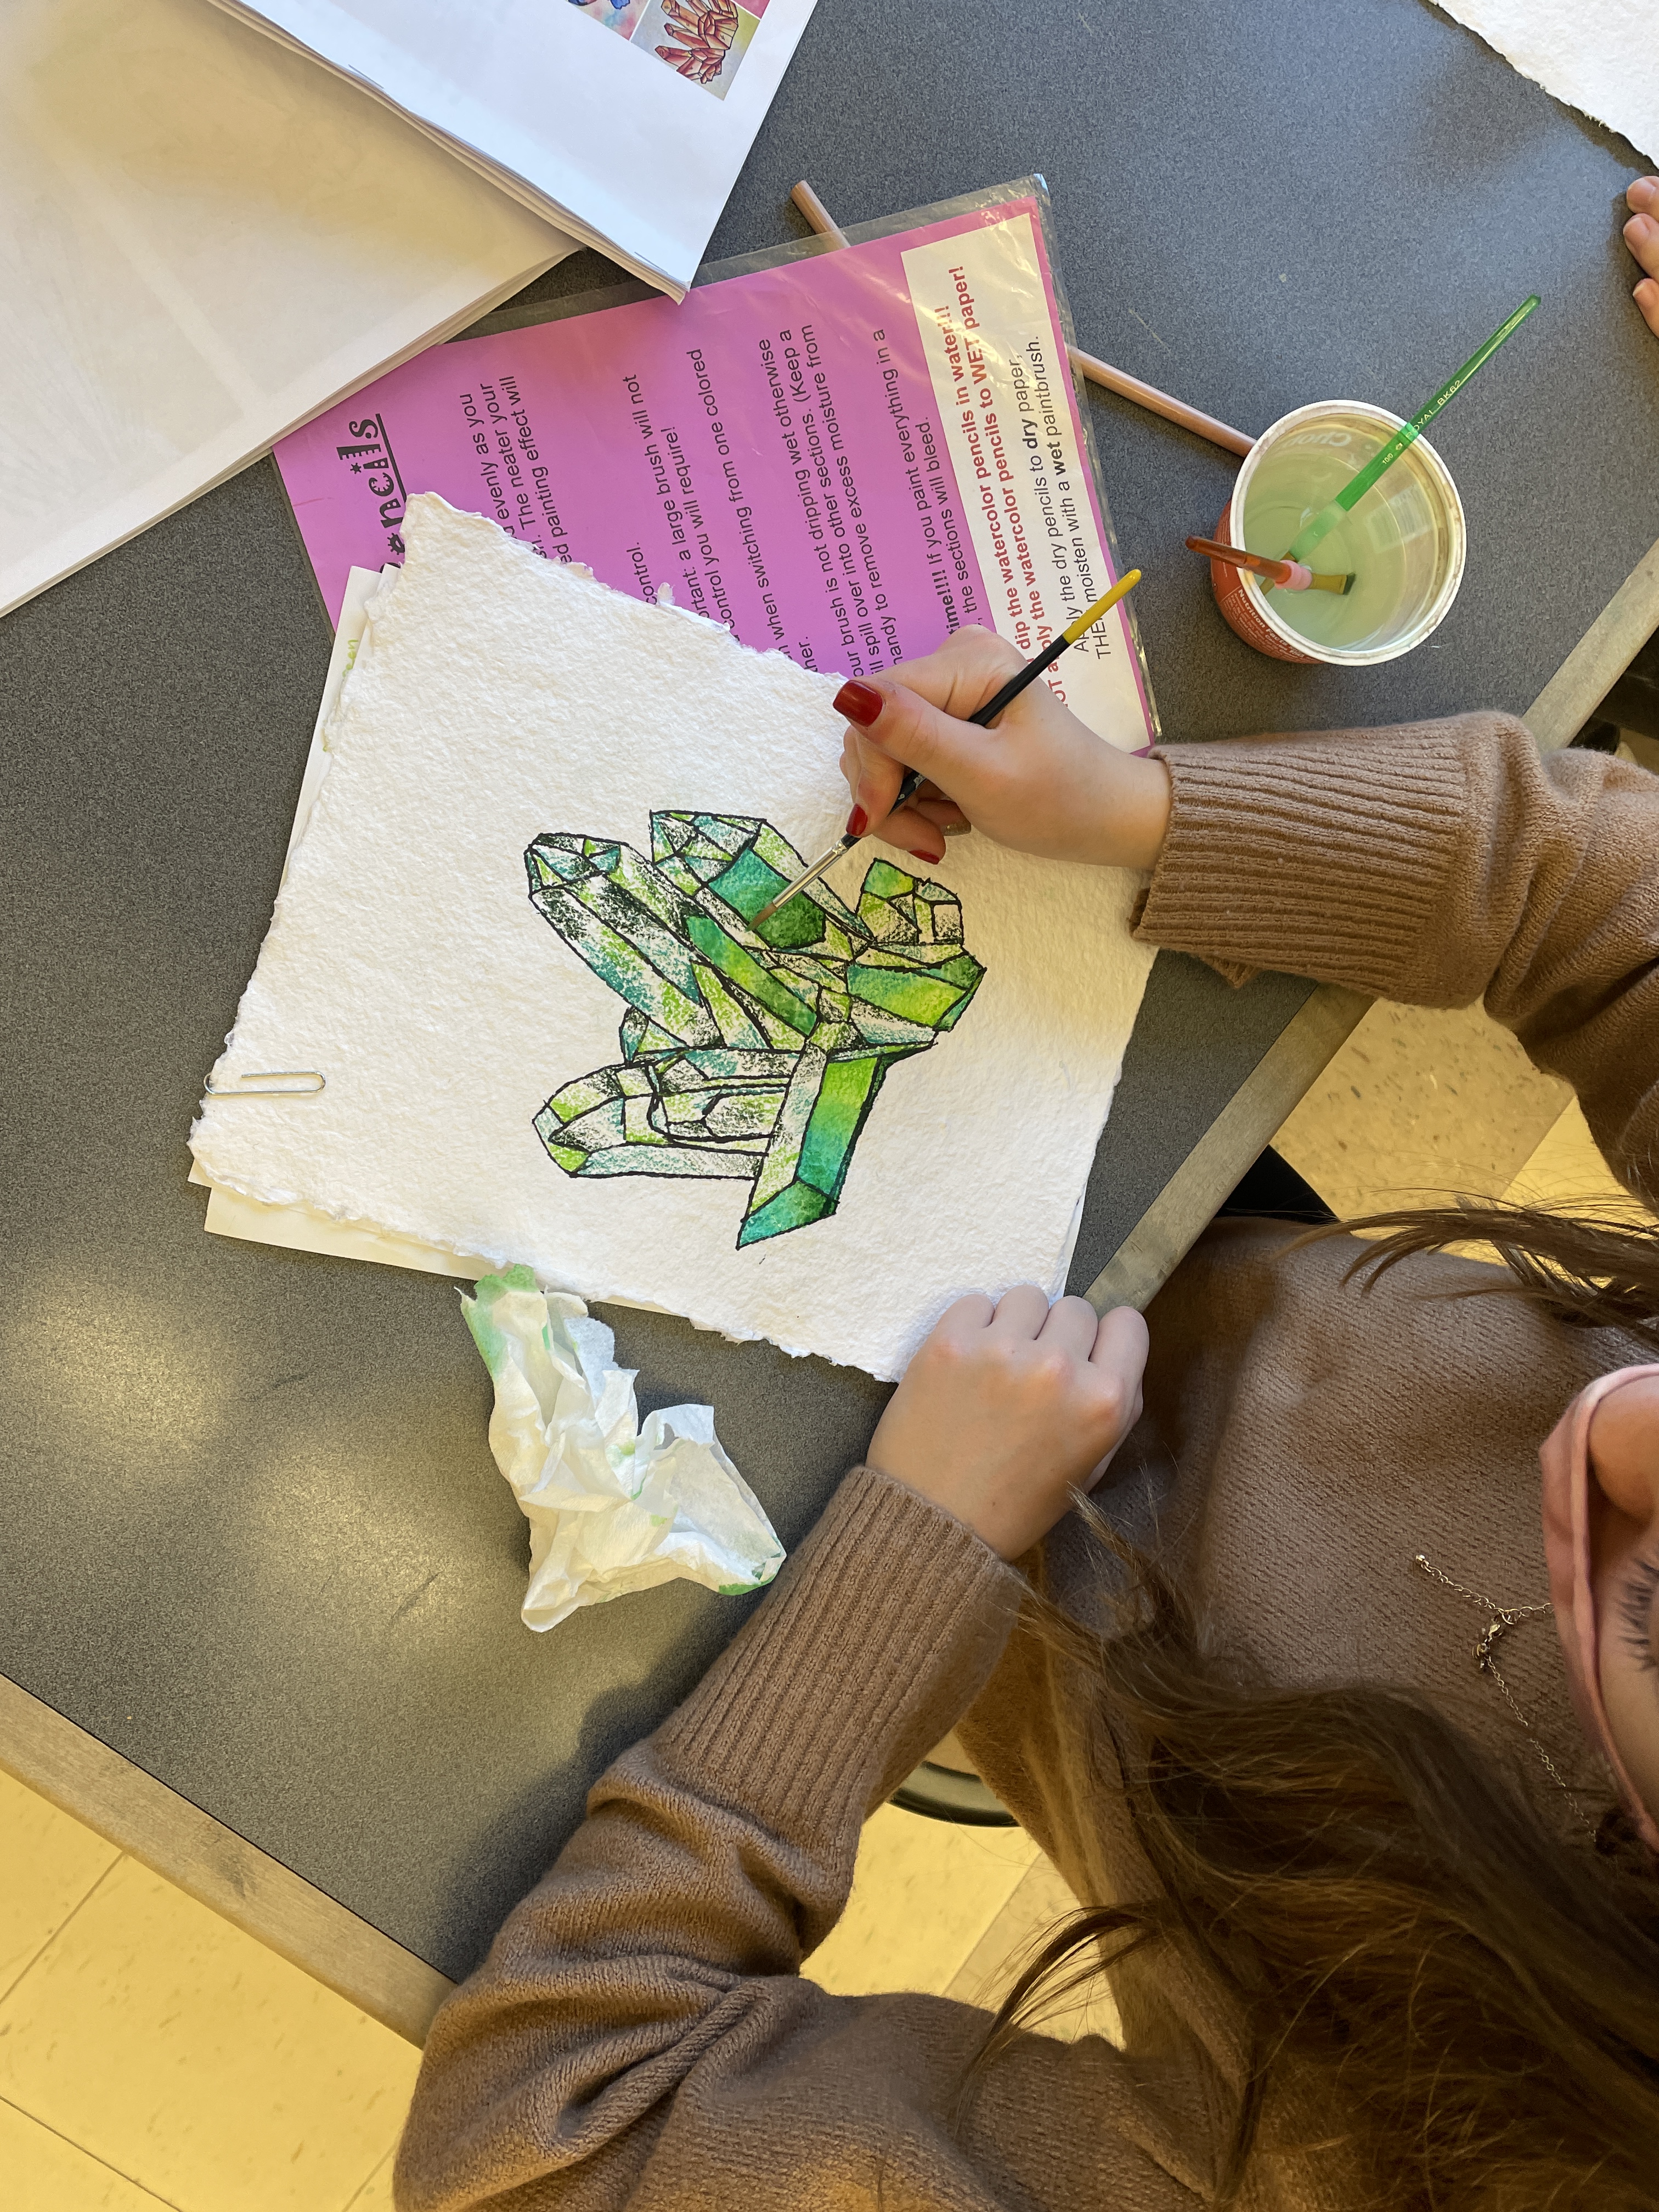
Students carefully adding water to their colored crystal facets, one section at a time
– – – – –
The soft, blended background colors are done with Sax brand liquid watercolors which I dilute significantly and set up in small misting bottles. Background planning provides another opportunity to have a color discussion with the students: Do you want to stay within your analogous color scheme to unify the entire picture, or perhaps you want the background to demonstrate high contrast with your crystal, in which case perhaps choose a complementary color scheme? Regardless, students at this point will need their original photocopied crystal reference picture in order to mask and protect their crystal as demonstrated in the picture below. I usually designate a specific area on our back counter for this step—it is quick, but messy, so it tends to be easier to drape just one area with protective covering and allow the kids to have at it!

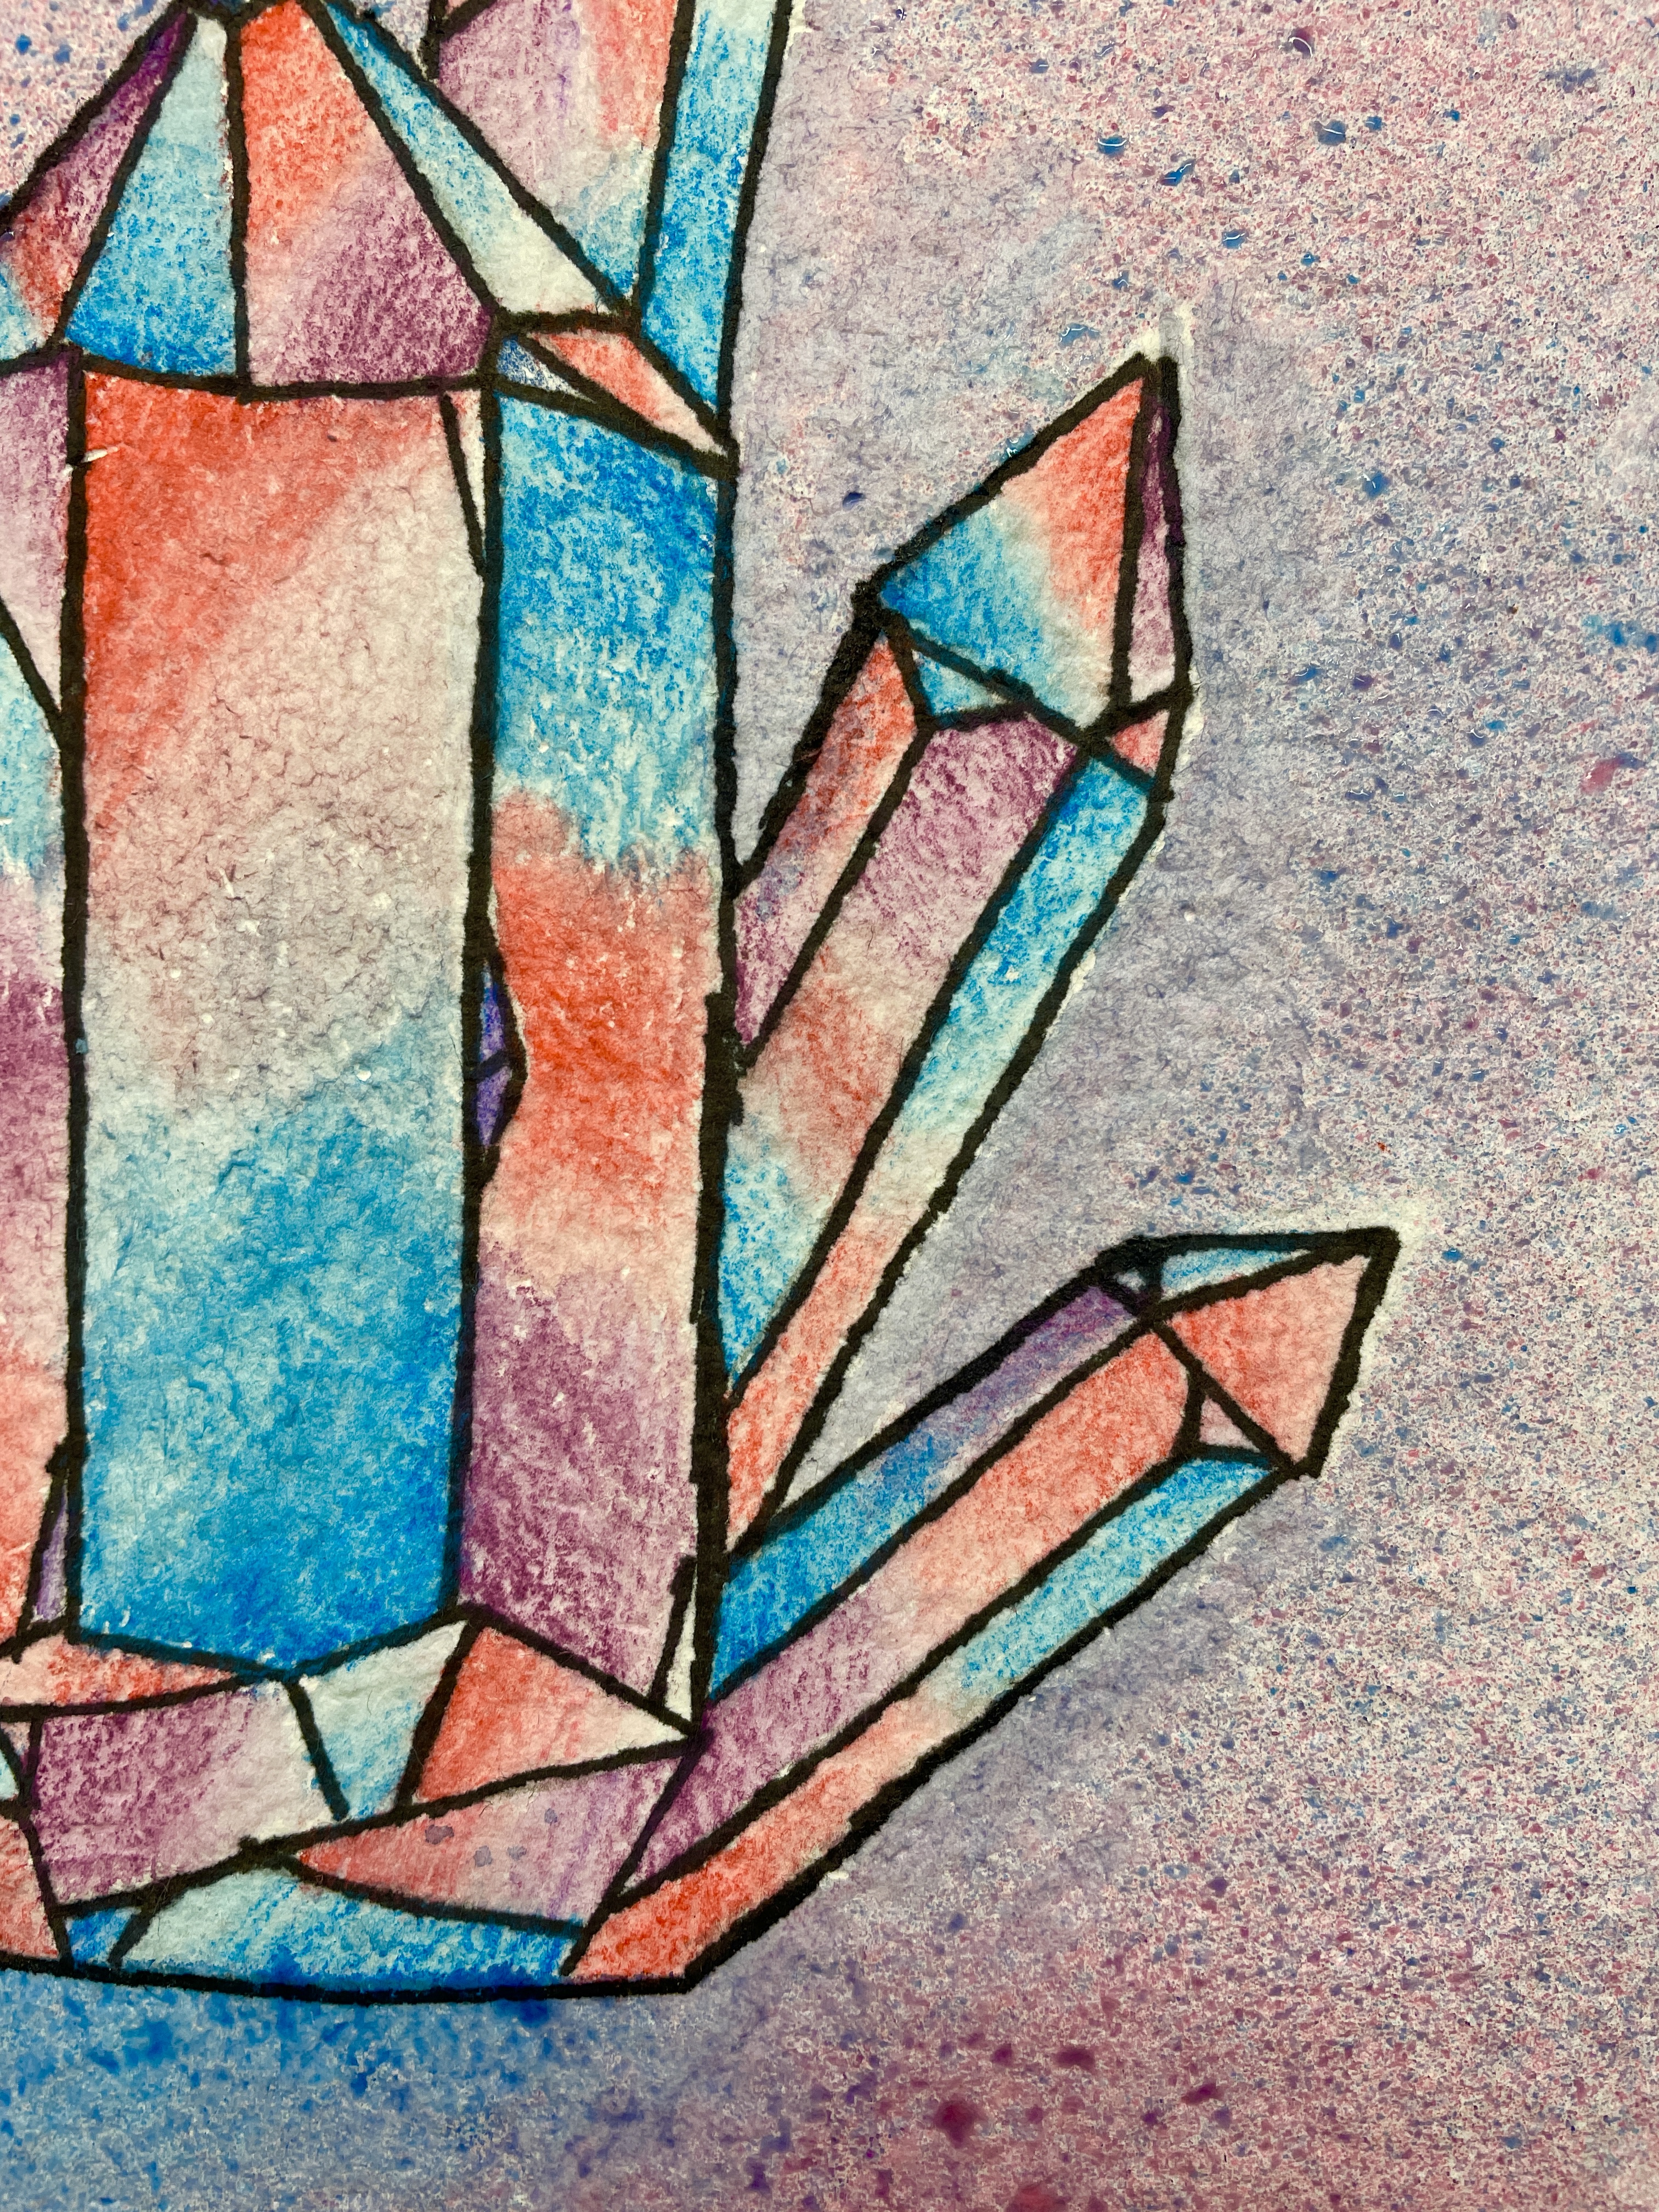
The first few students that completed this step tended to uniformly mist their background a solid color, at which point I verbally tried to encourage the next group to think more about creating a “tie dye” effect. I haven’t updated my packet to reflect this suggestion, but having some examples to show might be helpful! “Over-misting” might also create problems, so encourage a light touch. When done spraying, carefully peel away and discard the paper crystal mask, and use a small brush while the background is still wet to touch-up/blend any spots where the paper mask wasn’t a perfect fit. Note the before-and-after touch-ups examples here:

– – – – –
The final and optional step is to add small amounts of glitter glue, either to outline, or to spread over desired areas of the finished crystal. Crayola washable glitter glue works well for this, as it has a transparent quality that won’t significantly cover or discolor the subtle effects of the painted crystal. Once again, check out THE INSTRUCTION PACKET for my guidelines and tips on this.
Have fun with this bejeweled lesson and let me know if it was successful for your students!

