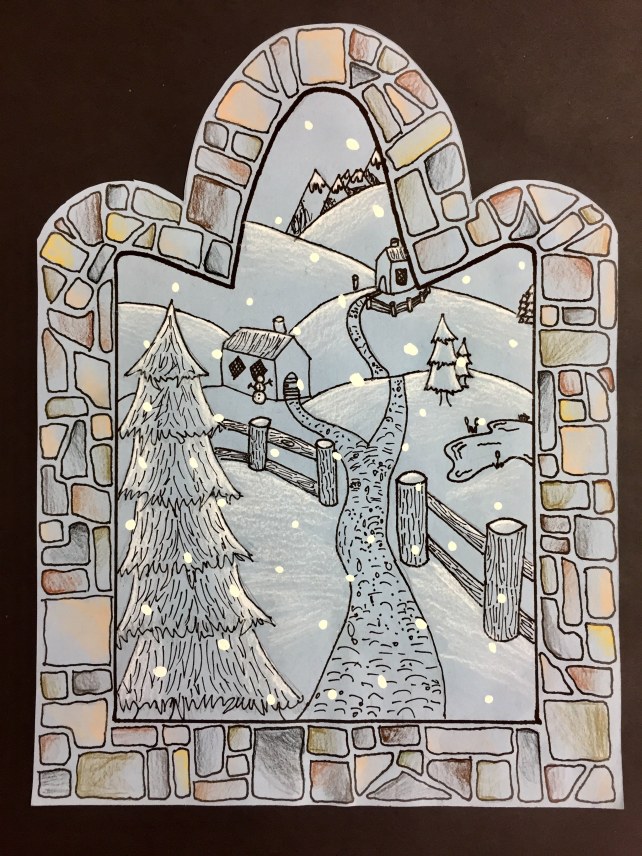
Winter Windows
Creating the illusion of depth on a flat surface isn’t as hard as you think!
We learned that when viewing a landscape, things that are closer appear larger and lower in the picture, while things that are far away are higher and smaller in comparison. We used these size relationships to help create a wintery scene as though we are looking out a castle window.
After a tracing an arched window template on pale blue paper, students added a one inch border in which they drew stone “blocks” to suggest a castle window frame. Students then drew their landscapes to include foreground, middle ground and background realistically.
How do you do this successfully? Two ways:
1.) Start at the BOTTOM and work your way UP.
2.) Everyone started with a LARGE tree on either the right or left of their paper. This immediately established a close-up feature, thereby making it easy (and automatic!) to create the illusion of depth as things got smaller, relatively, higher up in their picture plane.
We used small touches of color pencil and white paint as final embellishment options, but the light blue paper also works very nicely unadorned and gives these landscapes a hushed and quiet feeling!
Here’s some more step-by-step information:
Before we draw anything, I put a simple picture like this on the white board and ask the kids: “which cottage is closer?”

Invariably, a student will raise his/her hand and answer that the left cottage is closest. When asked for agreement or disagreement on this, the class will almost always wholeheartedly agree. I then tell them that they are all wrong. I emphatically slap my hand against the white board and say “this is a flat surface! Neither of these cottages is closer or farther from us, —they’re both the same distance!”
Once they realized they’ve been tricked, I will ask the students to determine HOW I was tricky and they of course realize that instead of saying “which cottage is closer?” a more fair and accurate question would have been “which cottage appears closer”. We then delve into the reasons why the left cottage does indeed appear closer and the kids are able to figure out these two reasons:
It’s BIGGER and it’s LOWER.
This observation governs the rules of our landscape: and provides an opportunity to discuss perspective and the way our curved eye lenses see the world. You can even link this discussion to science and mention how our ancestors needed to be able to gauge the distance of prey or predators accurately for survival. Size perception is a major way we can do this. An easy and fun activity is to have the kids hold up two fingers very close to their nose. Have them close one eye, (to remove depth perception,) and have them extend one arm straight out, while still keeping their fingers lined up, visually. The one that remains close to the face will loom large and blurry while the one on the extended arm will look diminutive in comparison.
– – –
Now to draw! First the window. I provide 7 different templates with various arched tops for the window shape. These are traced with pencil on 9” by 12” light blue construction paper. Then, using a ruler, students mark an inner frame on the left, right, and bottom edges. (Most students just use the given width of the ruler for this.) They will need to hand draw the inner frame for the top arch shape, which can get a little tricky and requires some creative ingenuity!
Here’s a student choosing and tracing her window template:

– – –
The next step is to free-hand draw the “stones” on the window. Students can draw organic blocky shapes for this, or more free-form “field stone” shapes, but either way, the goals for this include keeping the spacing between the stones consistent to suggest an illusion of mortar. We also talk about drawing shapes that could actually be stones: Not too wiggly-edged, and not too skinny: but good, solid stuff! Students ultimately used a thin Sharpie to go over the lines of the frame and stones. Those that have time start on toning the stones: Using softly blended greys, tans and browns to add a little warm emphasis to the frame. I demonstrate how to vary the pressure of the pencil to create a value range on each stone, and encourage them to leave some of the blue paper showing—they don’t need to solidly color the stones and it generally looks best in the end if they do this with a subtle touch rather than heavy-handed “coloring in”.
Students working on their stone window frame:
When most students are done with drawing their stones, (whether or not they have completed the toning step,) we will begin our landscape! This definitely can get a little formulaic, as I do this as a guided drawing, but you can encourage your students to find their own unique approach and maybe demo a few different ways of doing things.
As mentioned above, we always start with a big tree! I demonstrate both a pine tree and a deciduous tree and tell them they can have one or both kinds, but their tree should be at the edge of their composition, (left or right,) and should go up nearly to where the arched part of their window starts. By establishing this close-up feature, it will make it easy (and automatic) to get smaller as we move up the picture plane, thereby establishing depth.
After the tree, then we go up a little ways and draw a fence or stone wall. Again, there are options here for straight, angled, curved, etc. Gate or opening, path or patio. Adding a snowman or an animal to personalize their scene can be fun!
Here are some students’ drawings after starting the foreground (note the large tree in each one on either the left or right side!):


– – –
To start the middle ground, I suggest drawing a simple horizon line about halfway up the paper. On this first little hill, they can add some more trees, smaller this time. This is also a good place to plunk down a little cottage, a pond, or a river winding across the scene. I demonstrate that a pond needs to be wide, but not tall, to make it look like it’s on the ground. (Similar to how the circular opening of a drinking glass looks like an oval when viewed from across a table.) If students wish to have a path or road, show them how to make it get wider as it comes lower in the picture, and to make sure that path segments interrupted by rolling hills don’t connect to themselves perfectly!
More hills, trees, and perhaps a castle on a distant slope completes the scene. I have packets with castle reference pictures and animals to help them personalize their landscape options. Often, there will be very little space leftover for “sky”. If there is, some students will draw clouds, or add some distant jagged mountain peaks. When the kids are happy with their scene and have successfully followed the size rules and created several layers of land to suggest foreground, middle ground and background, they are ready to Sharpie over their drawing.
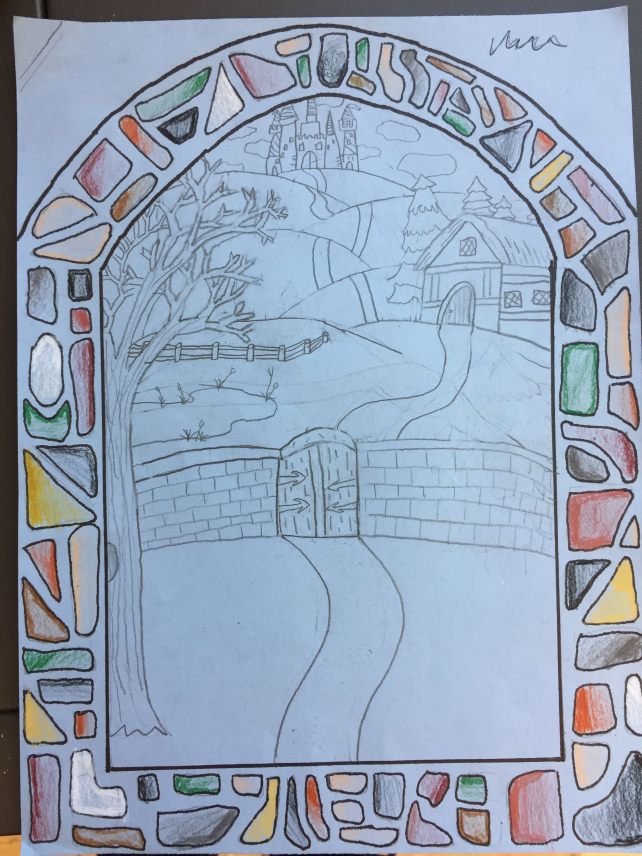
Here is a drawing with middle ground and background added, ready to Sharpie:
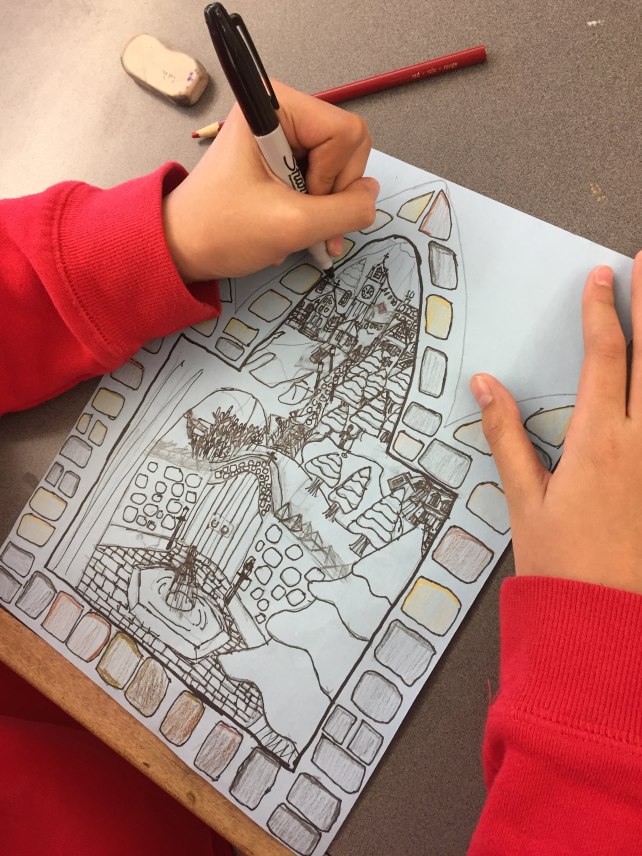
A student working on the Sharpie step once their landscape drawing is complete:
– – –
After Sharpie-ing, there may be an abundance of pencil smudges or stray marks that need to be cleaned up. I usually keep a few communal kneaded erasers handy for this purpose. (“Draw Lightly!” is a mantra oft repeated and ignored in my classroom, LOL.)
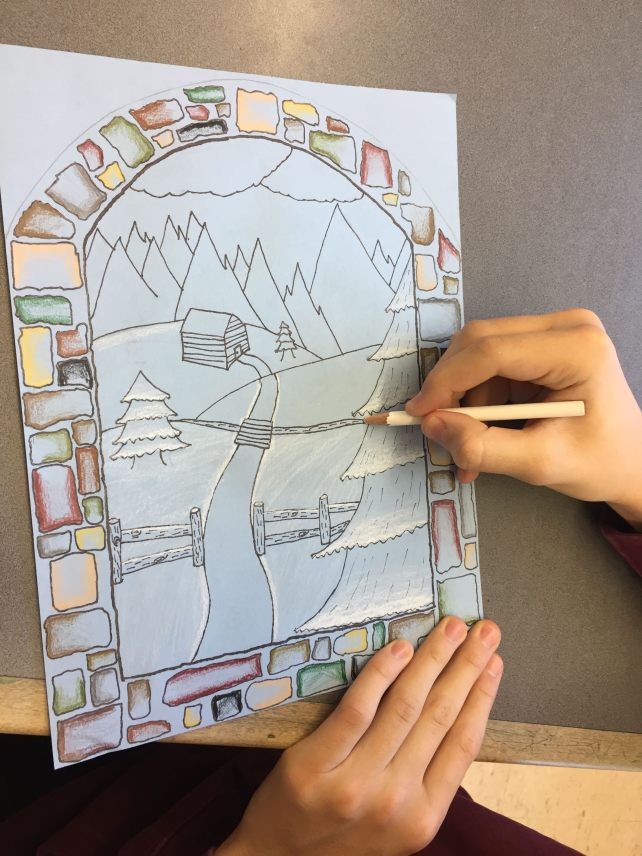
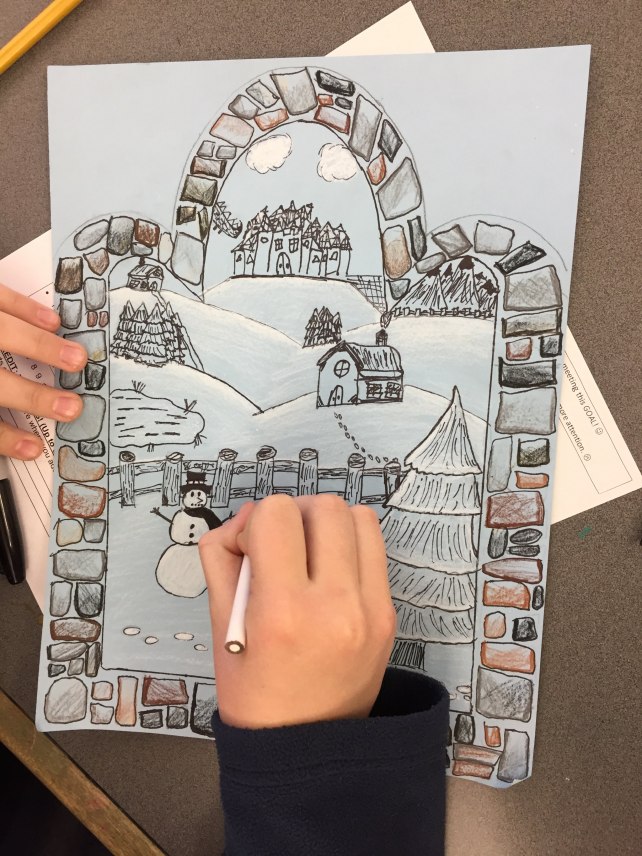
Next comes “Snow Surfaces”! Students use a white colored pencil, again varying the pressure, to add the suggestion of snow on tree branches, roof tops, fences, etc. Hills can be accented using a firm pressure along the crest of each hill to create a bright white edge and decreasing pressure as the hill dips into a valley, allowing more of the shadowy blue of the paper to show.
Students working on the “Snow Surfaces” step:

– – –
Falling snow is a final (optional) step and is done with white tempera paint and a very small brush. I set up a “snow station” for this purpose rather than having paint at every table. I tell the students to start at the top of their scene and work their way down to avoid smudging, and also suggest practicing first. Holding the brush very vertically and dipping just the tip in the paint will yield the most precise snow flake! When dry, cut away the extra paper above the window arch and mount on black paper!
A student at the “Snow Station”:


– – –
This lesson takes my students five or six classes; —my class periods are 47 minutes long. One of the most important things to guarantee success is to build the landscape like a sandwich: from the bottom up. If students jump up to the background and start with a distant castle, it just won’t work as well, because once they have something on their paper, they feel very committed to it. It’s much easier to add background elements in the space leftover by foreground objects, but it doesn’t work so well the other way around. If you try this with your students, let me know how it works out!
ADDITIONAL RESOURCES:
I do not spend a lot of time making polished, social media-worthy videos, 🙂 , but here are some basic “How to” videos I show my students as we are going through each step. Also are some reference sheets of trees, cottages, and animals which are handy as they develop their scene!
Video: Foreground Instructions, Part 1
Video: Foreground Instructions, Part 2
Video: Middle Ground Instructions
Video: Background Instructions


