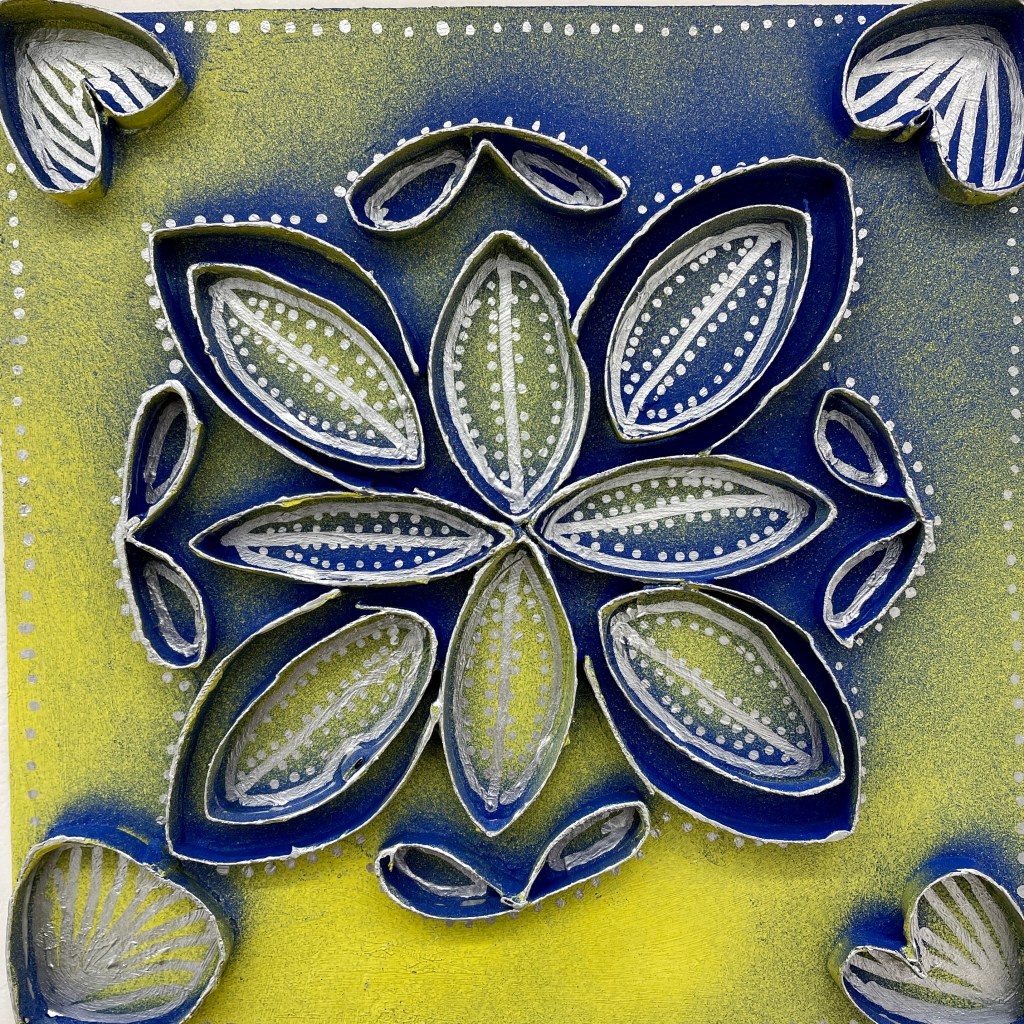
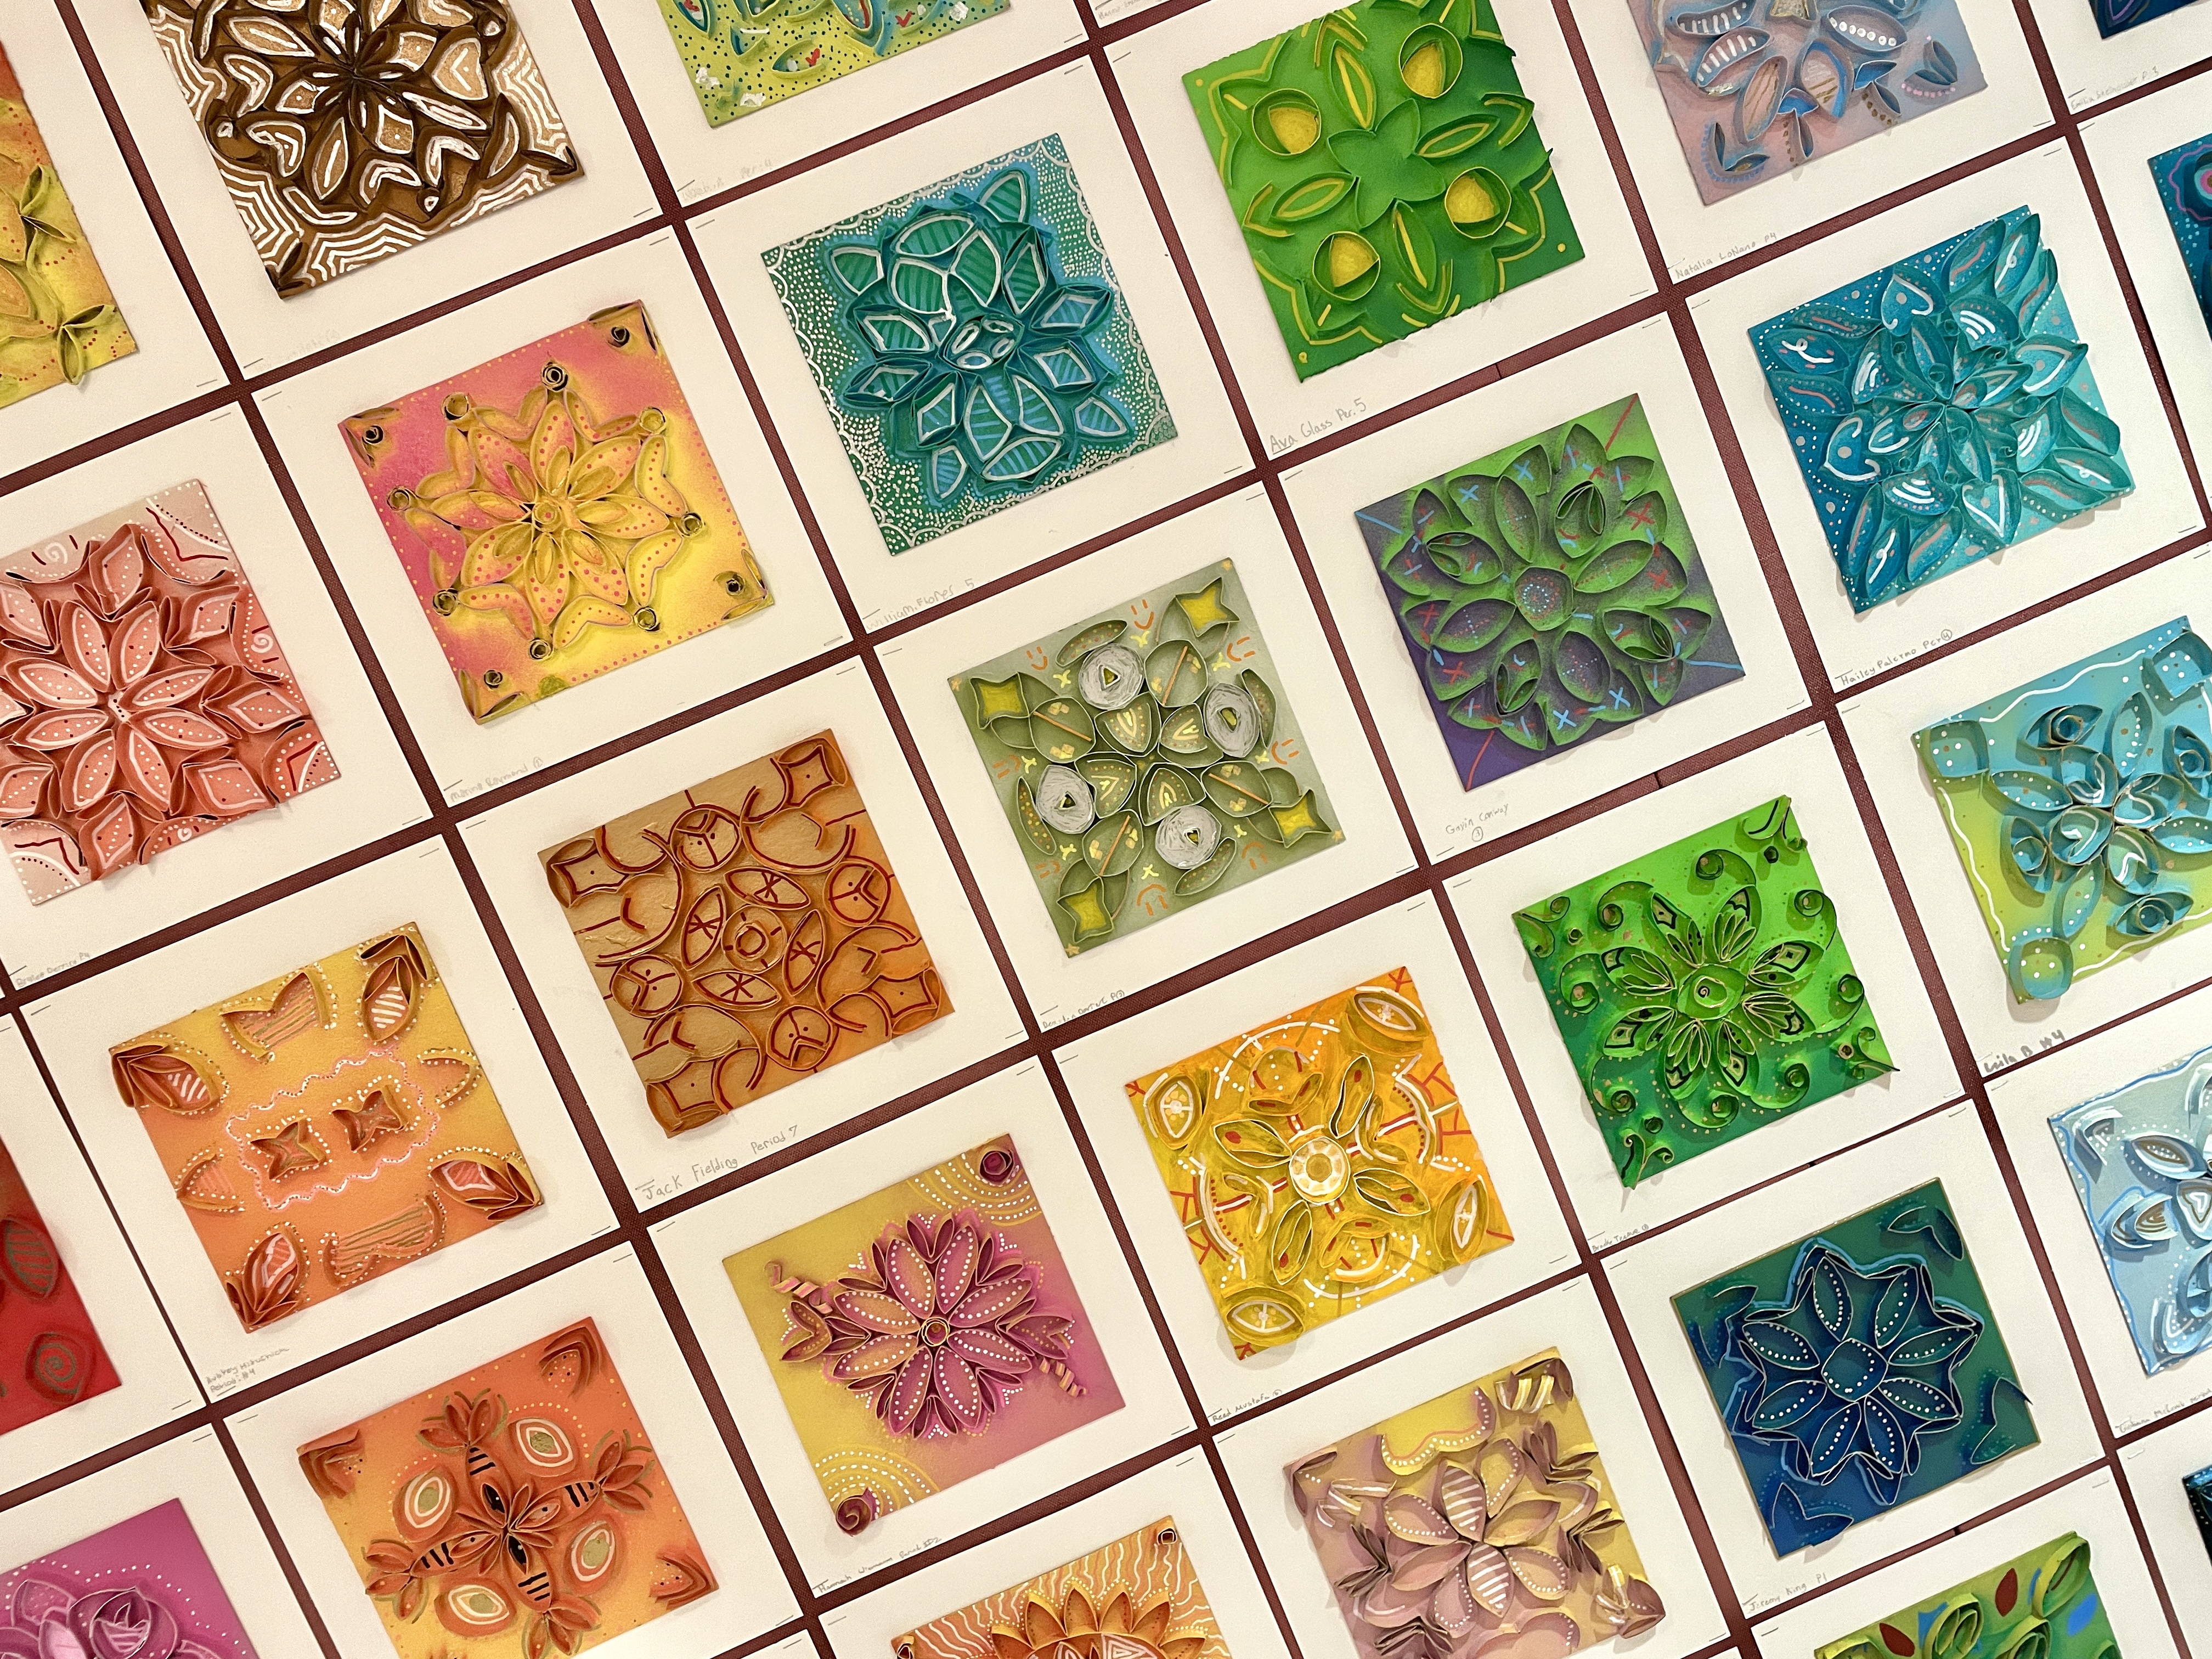
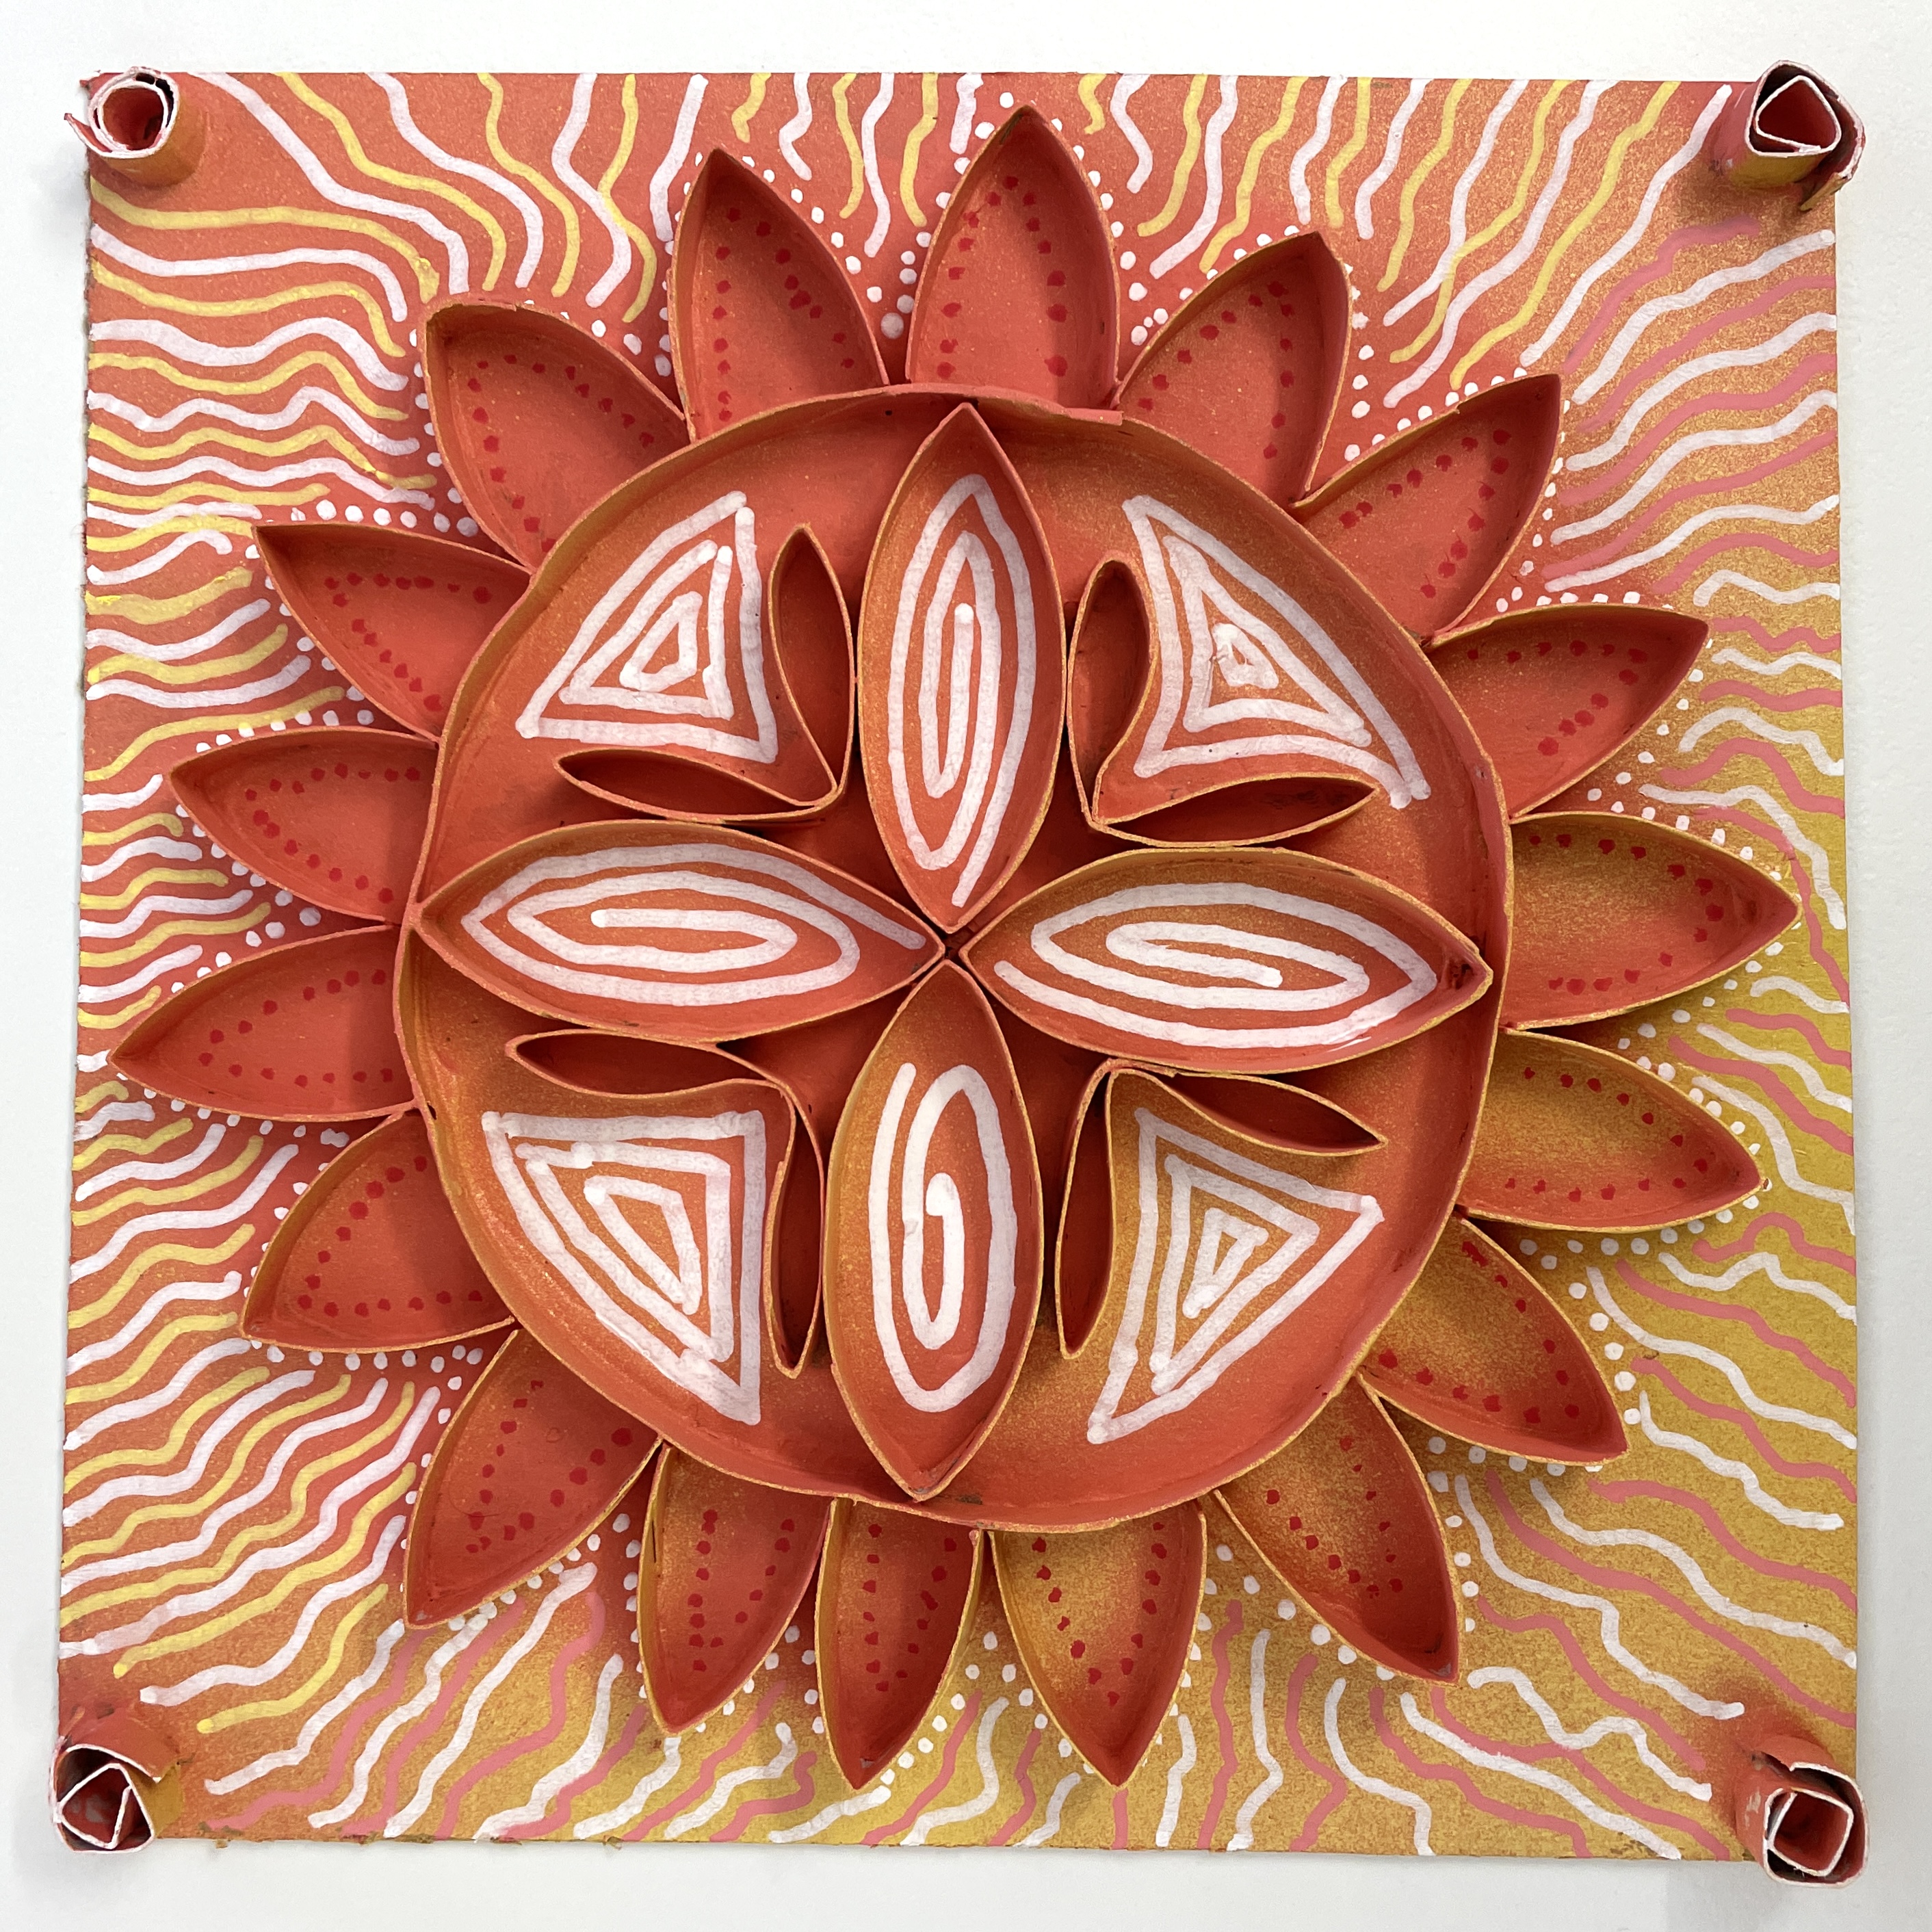
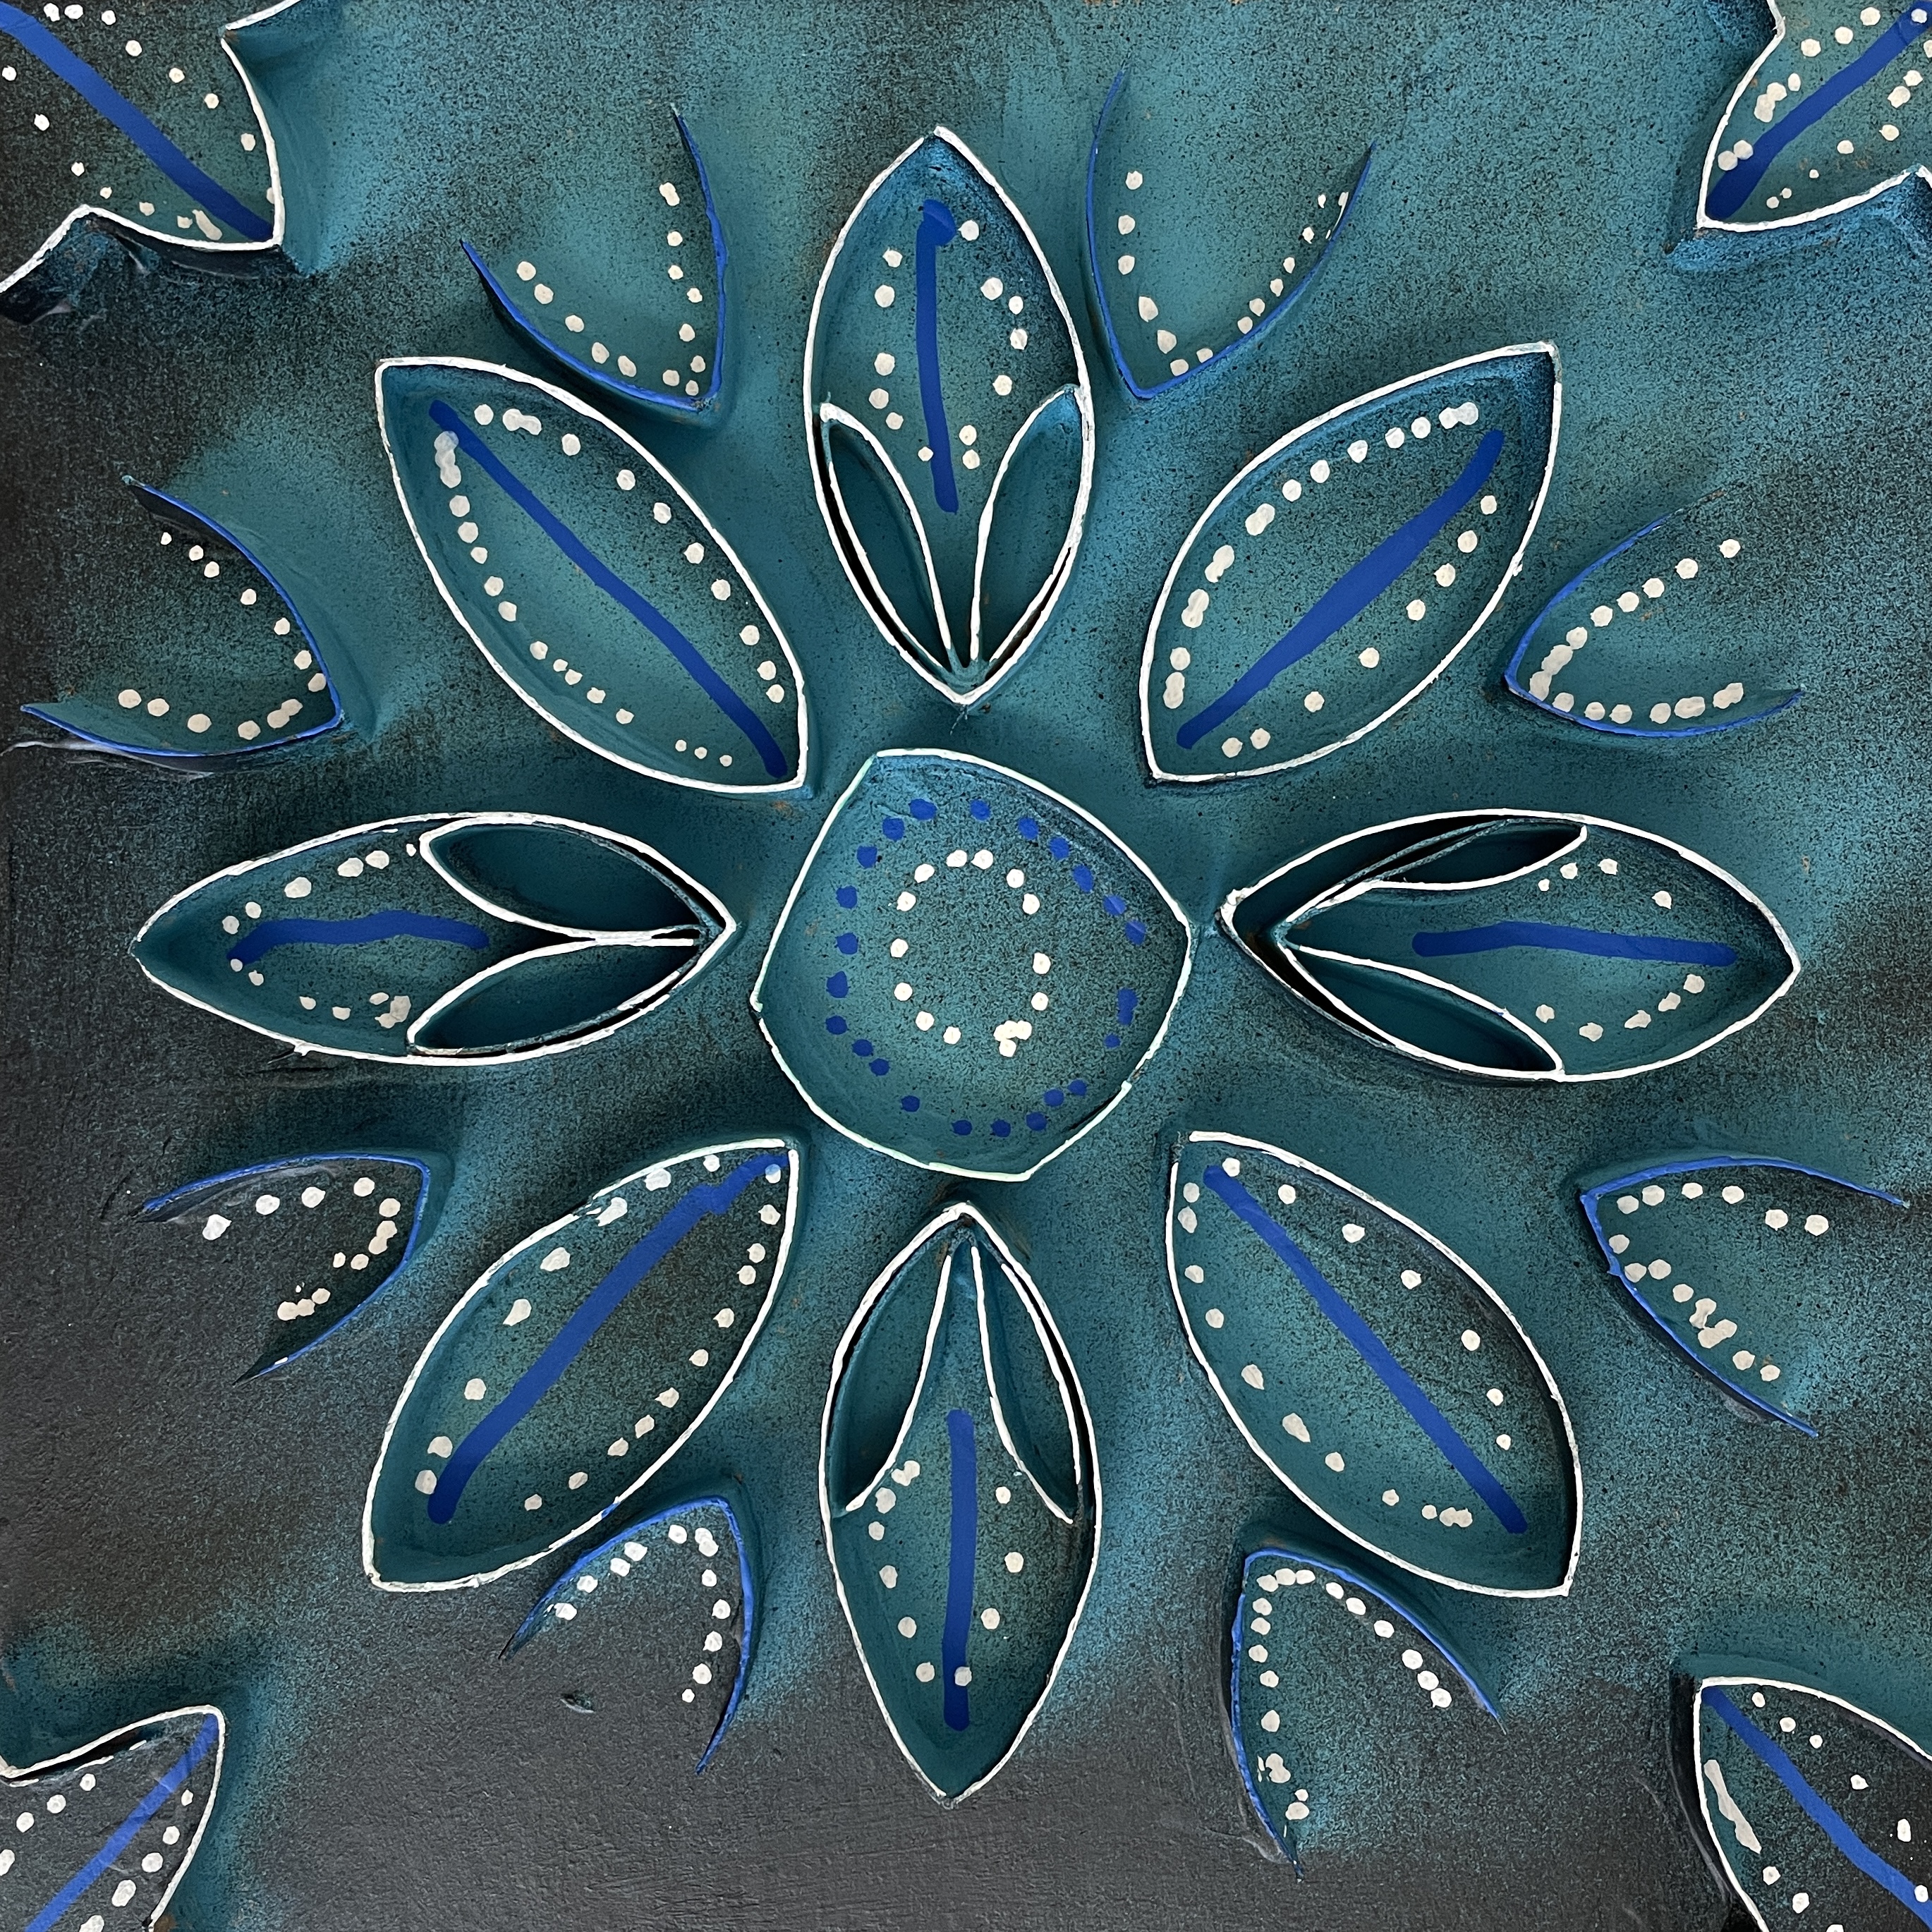
Cardboard Tube Relief Sculptures
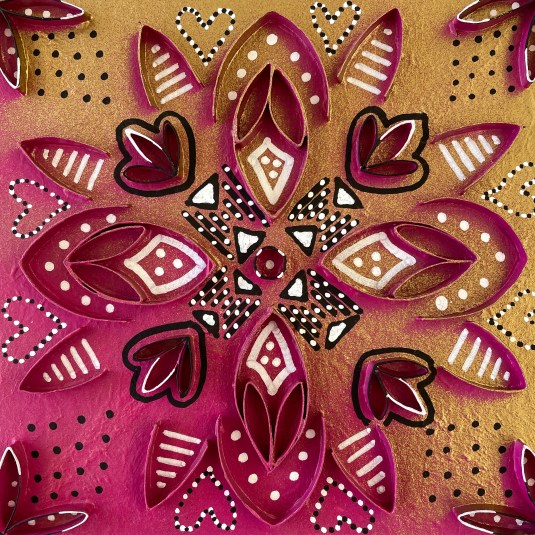
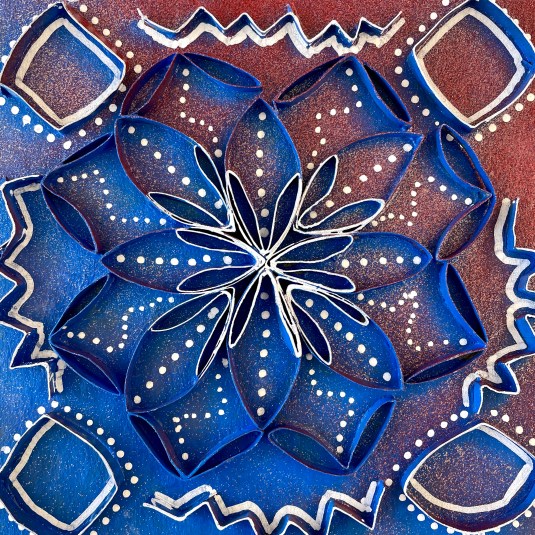


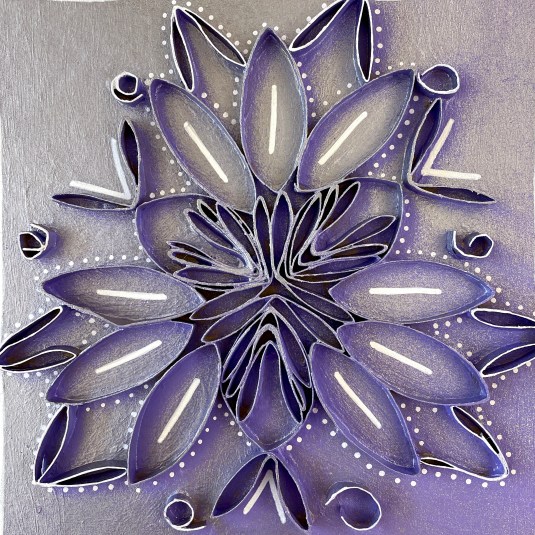

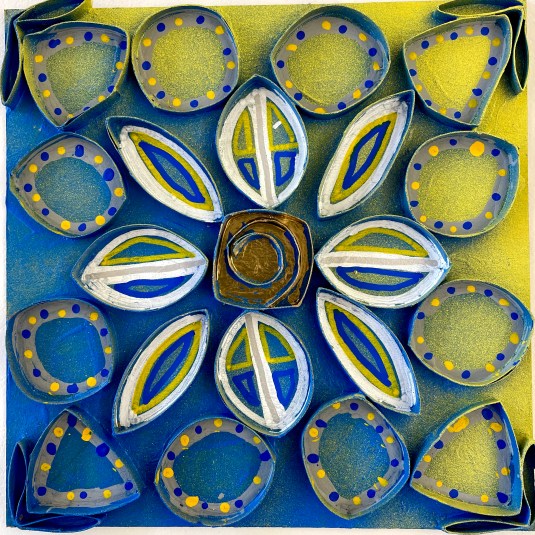


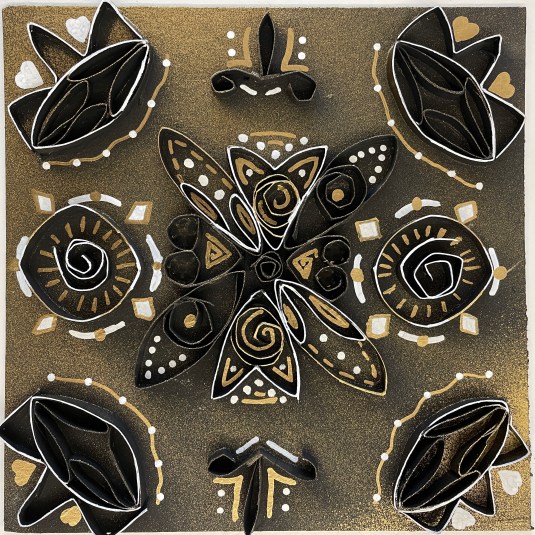


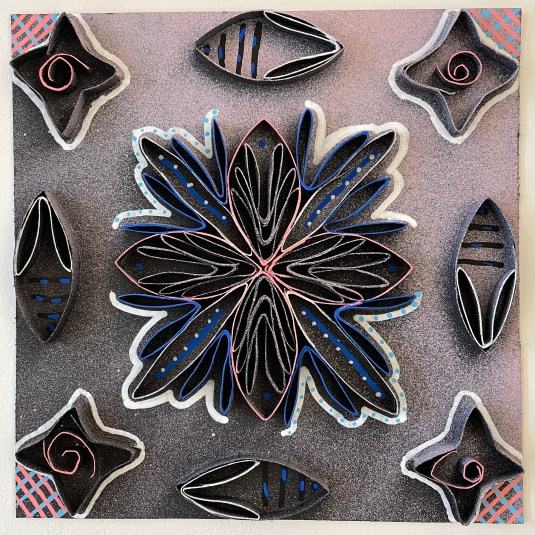


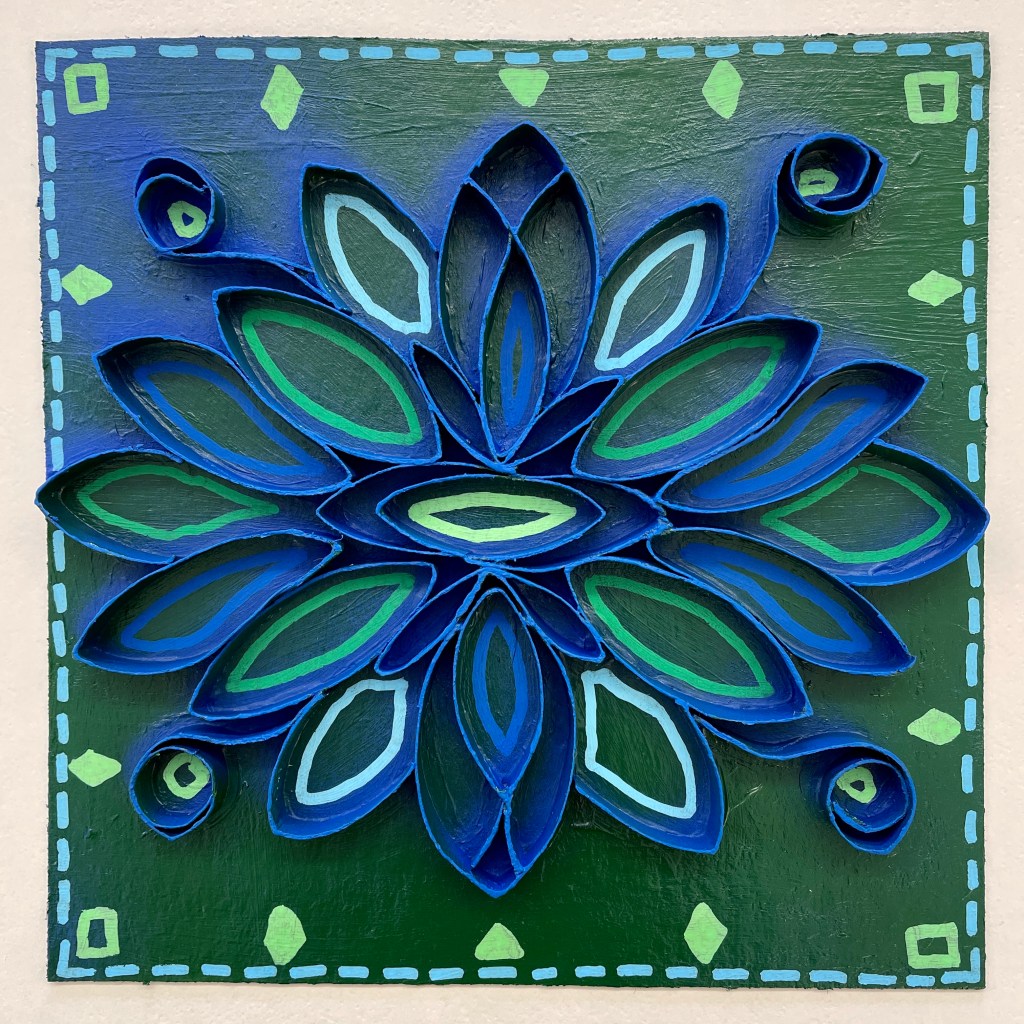
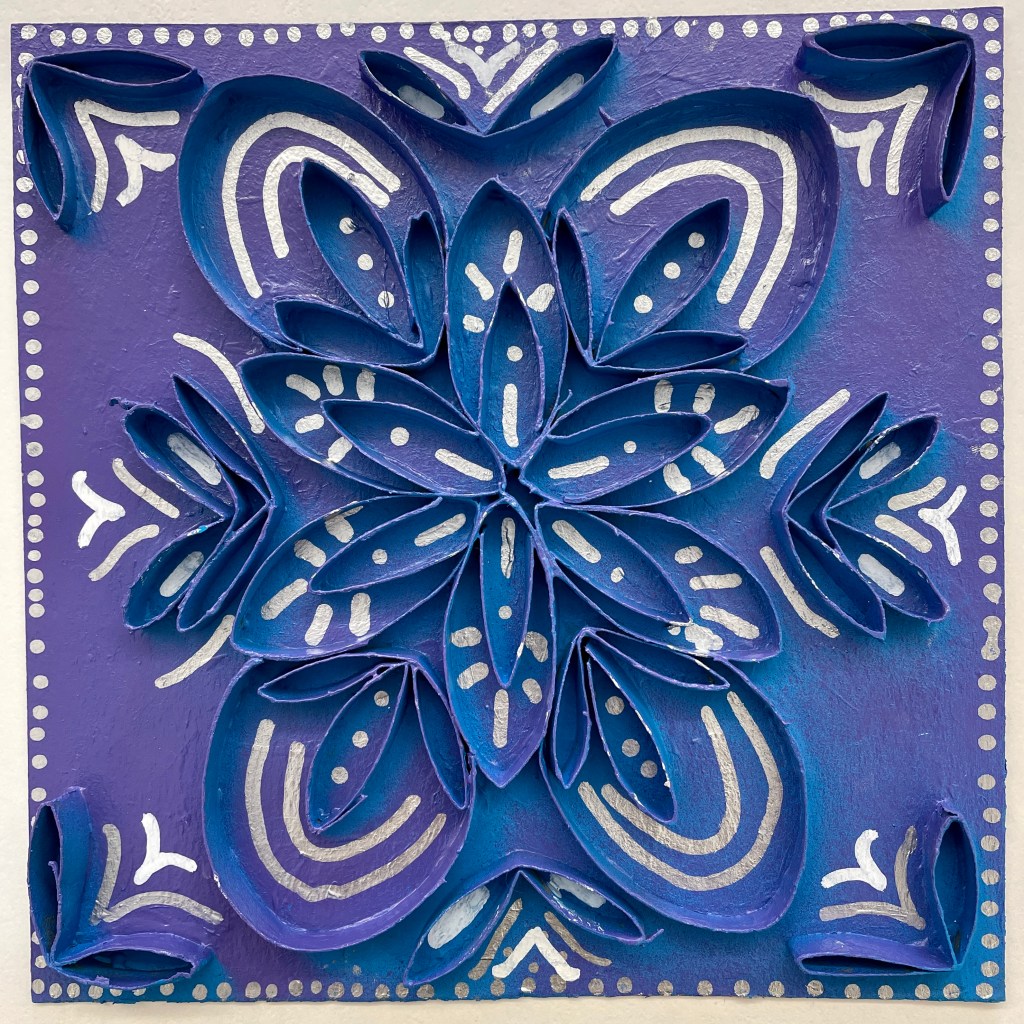
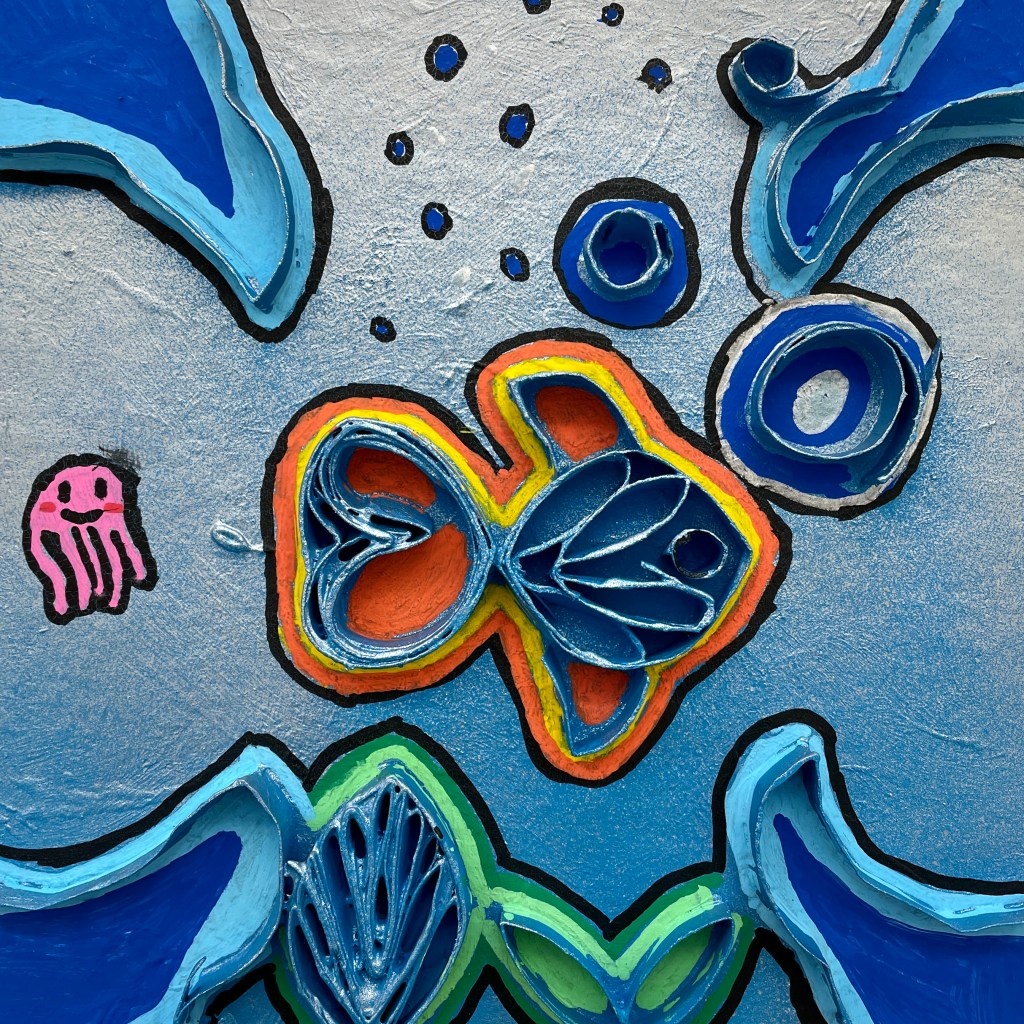
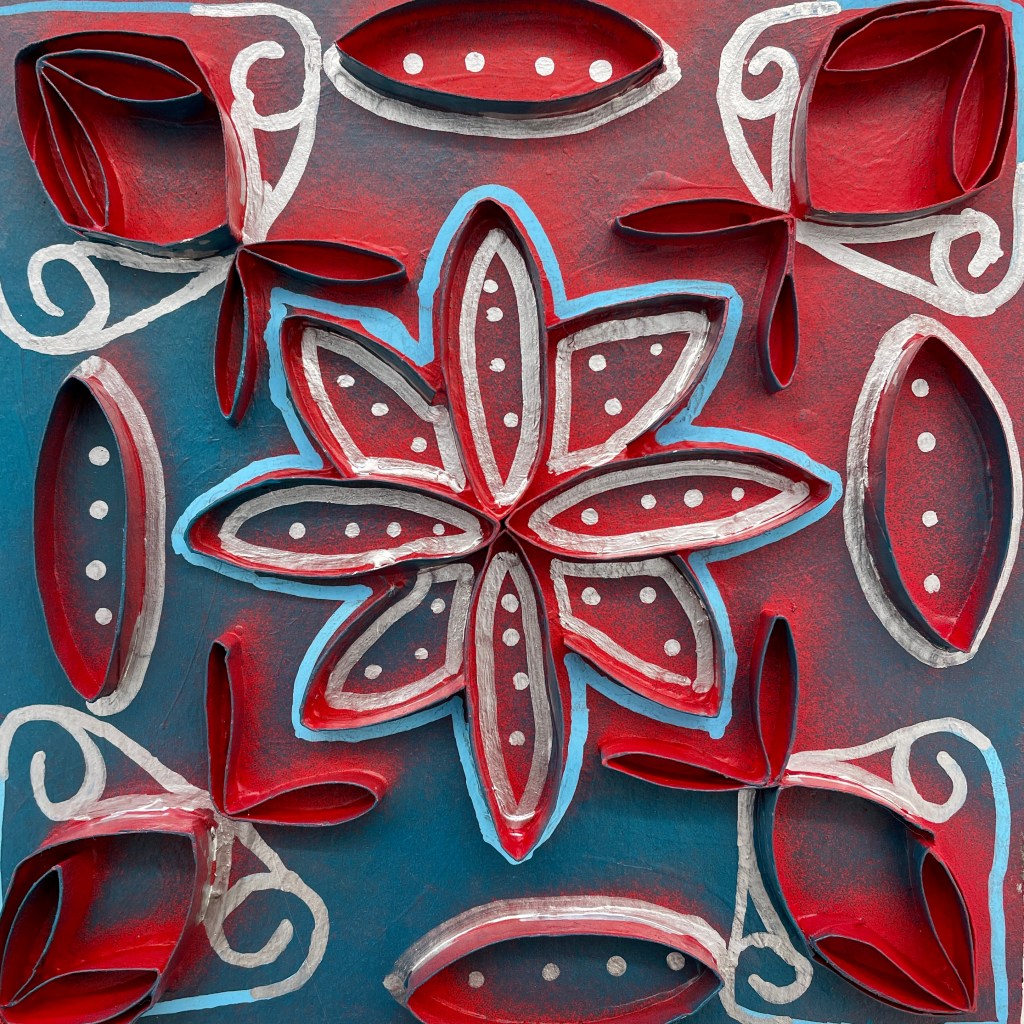
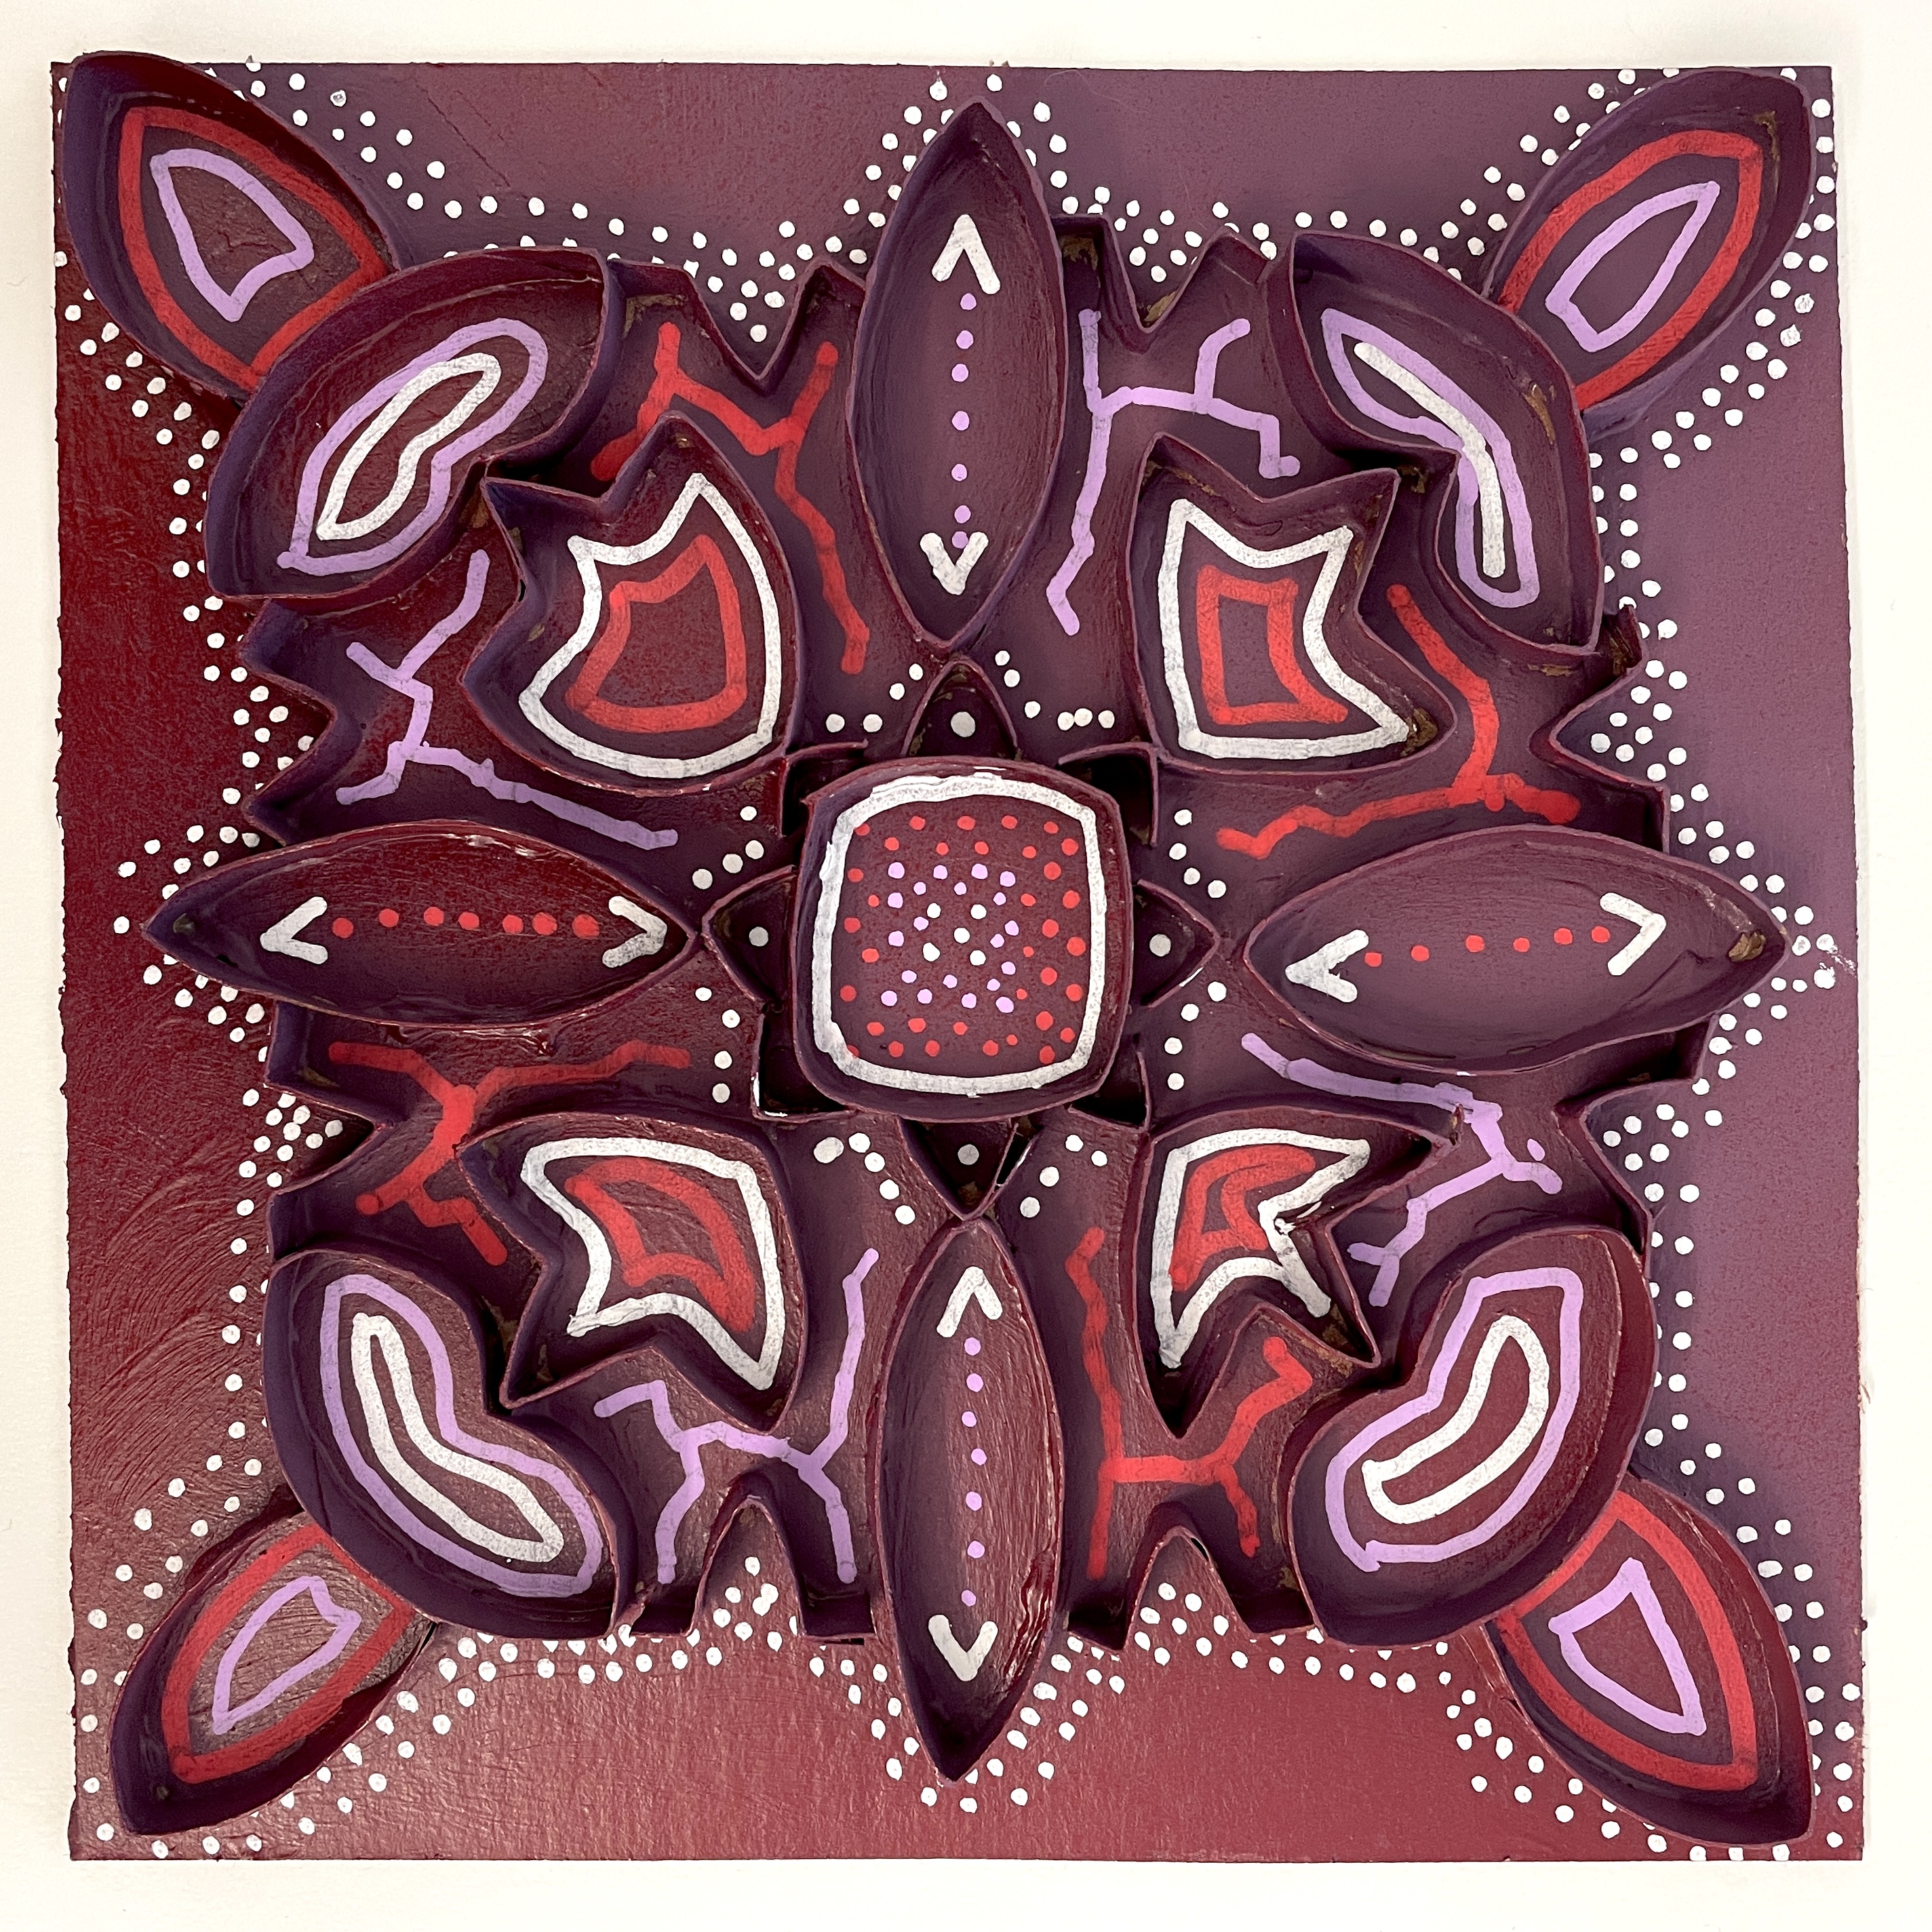
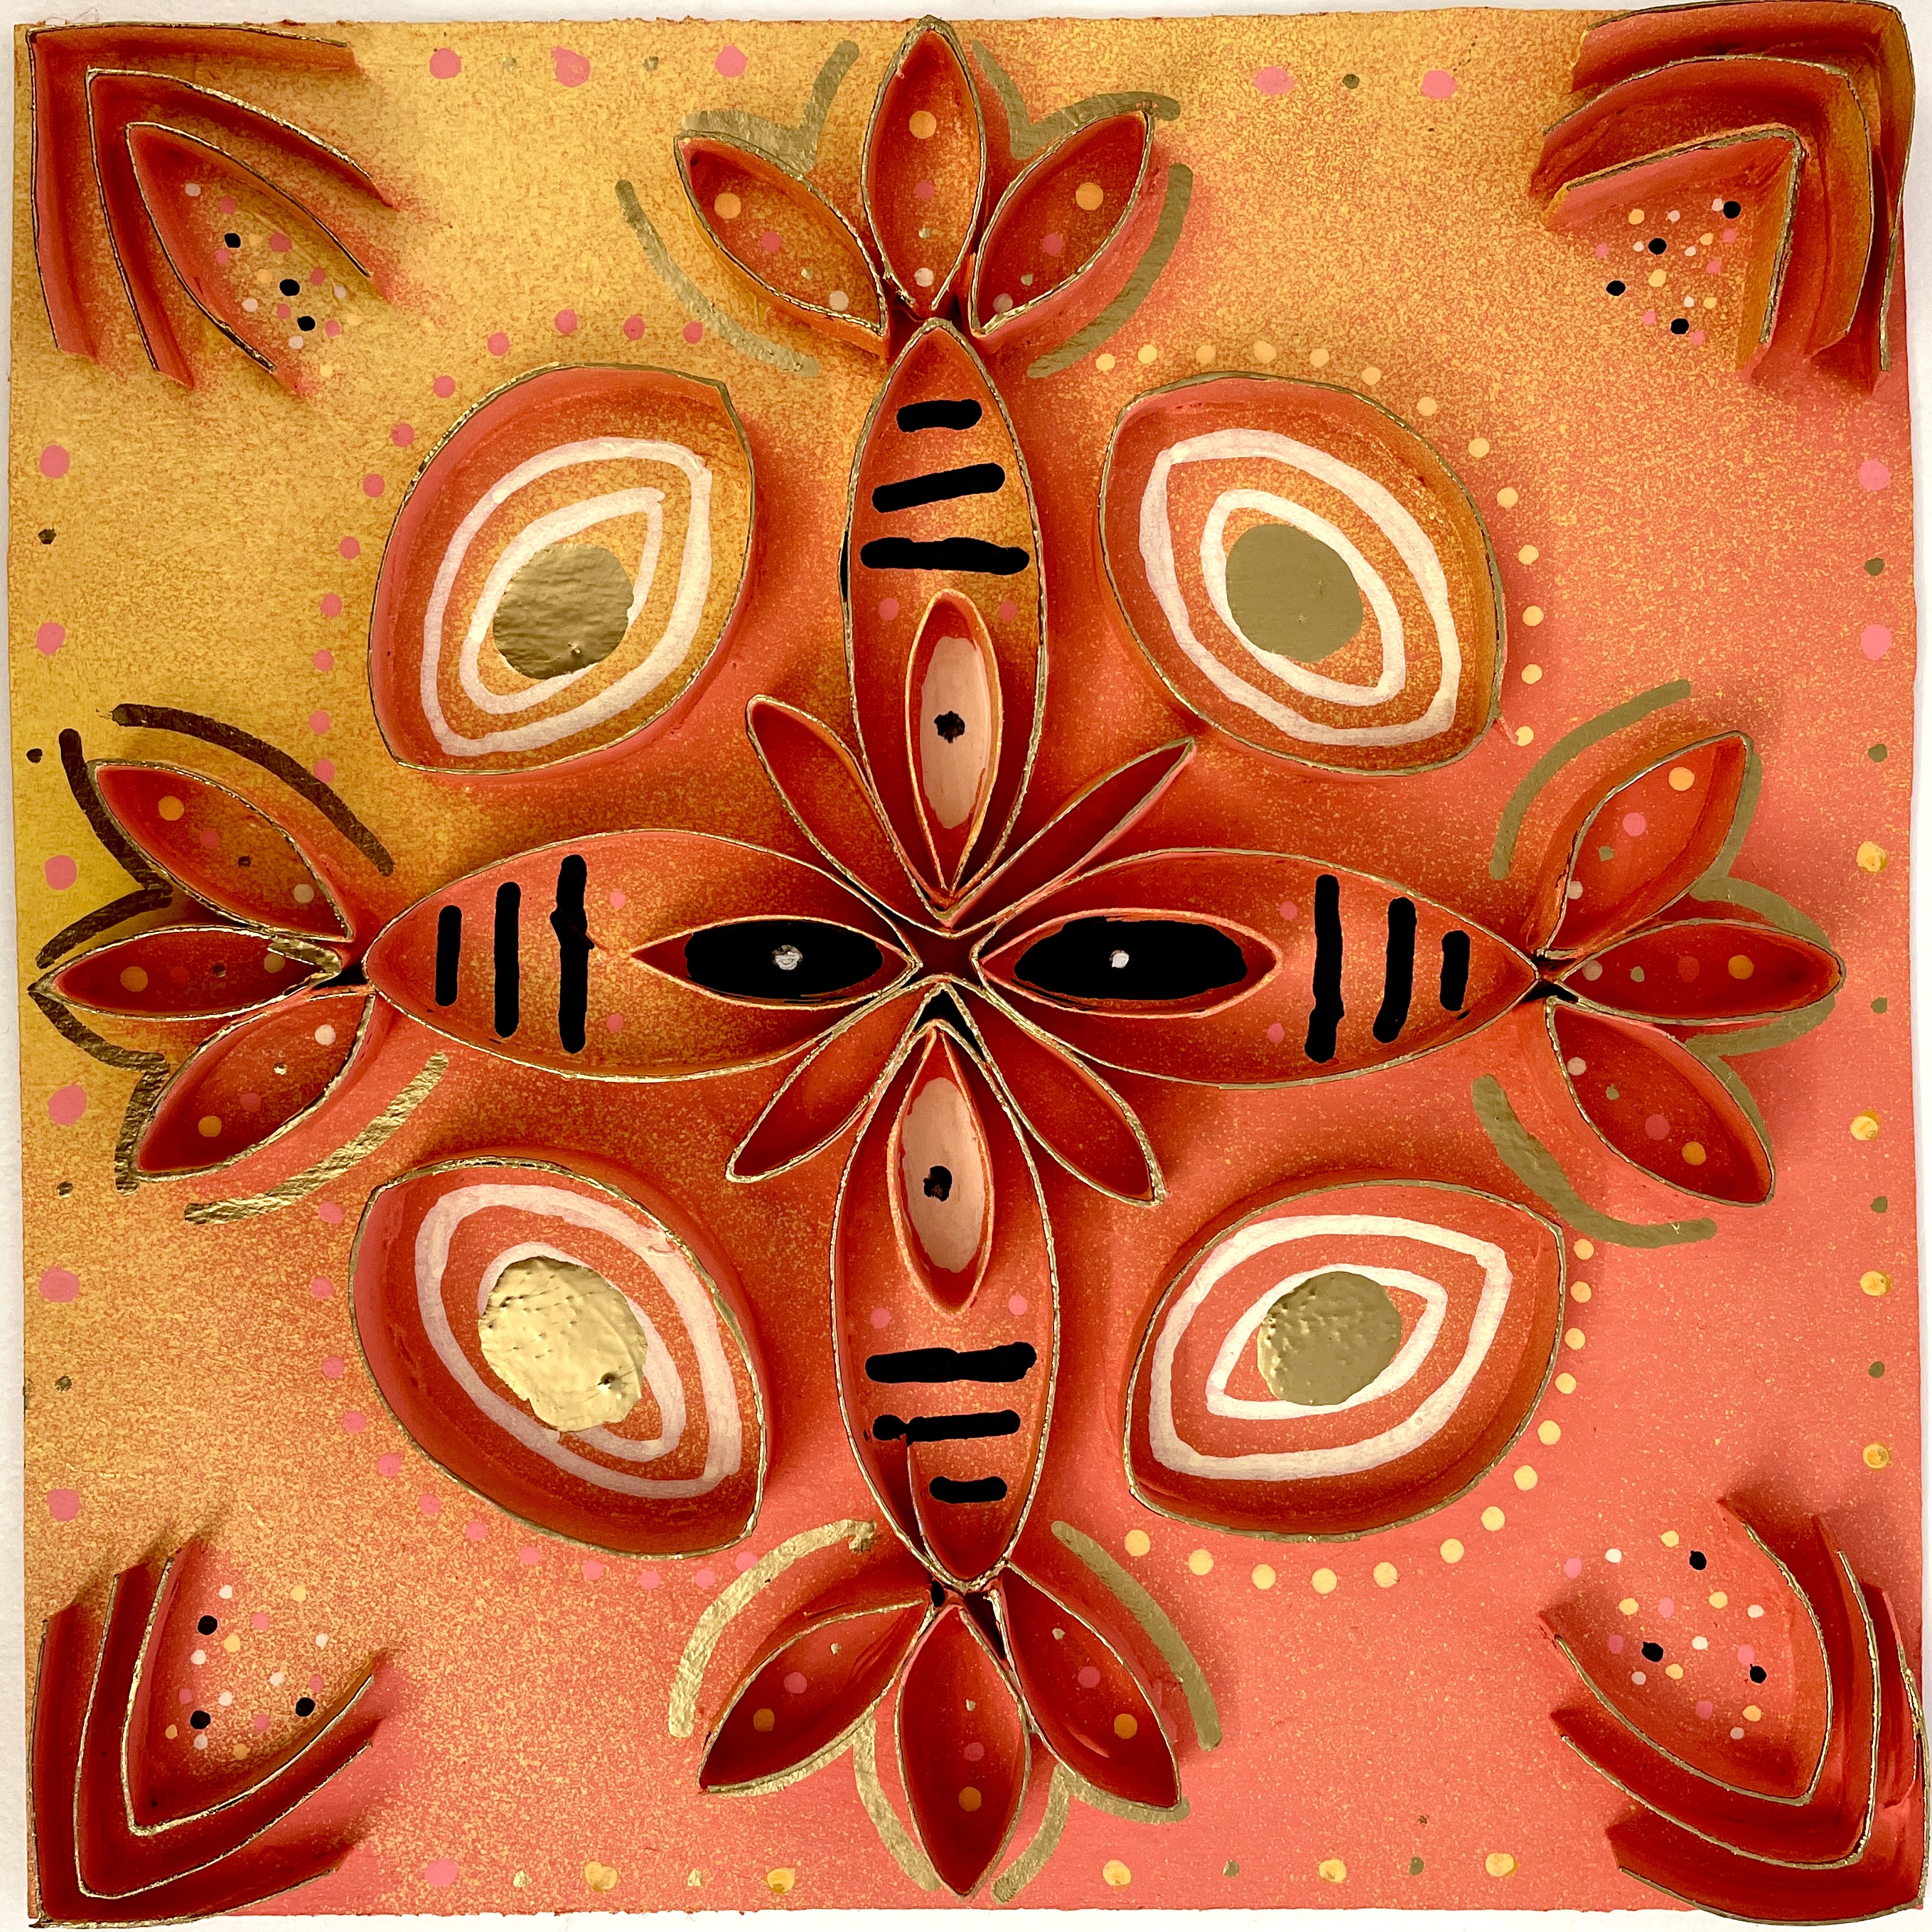
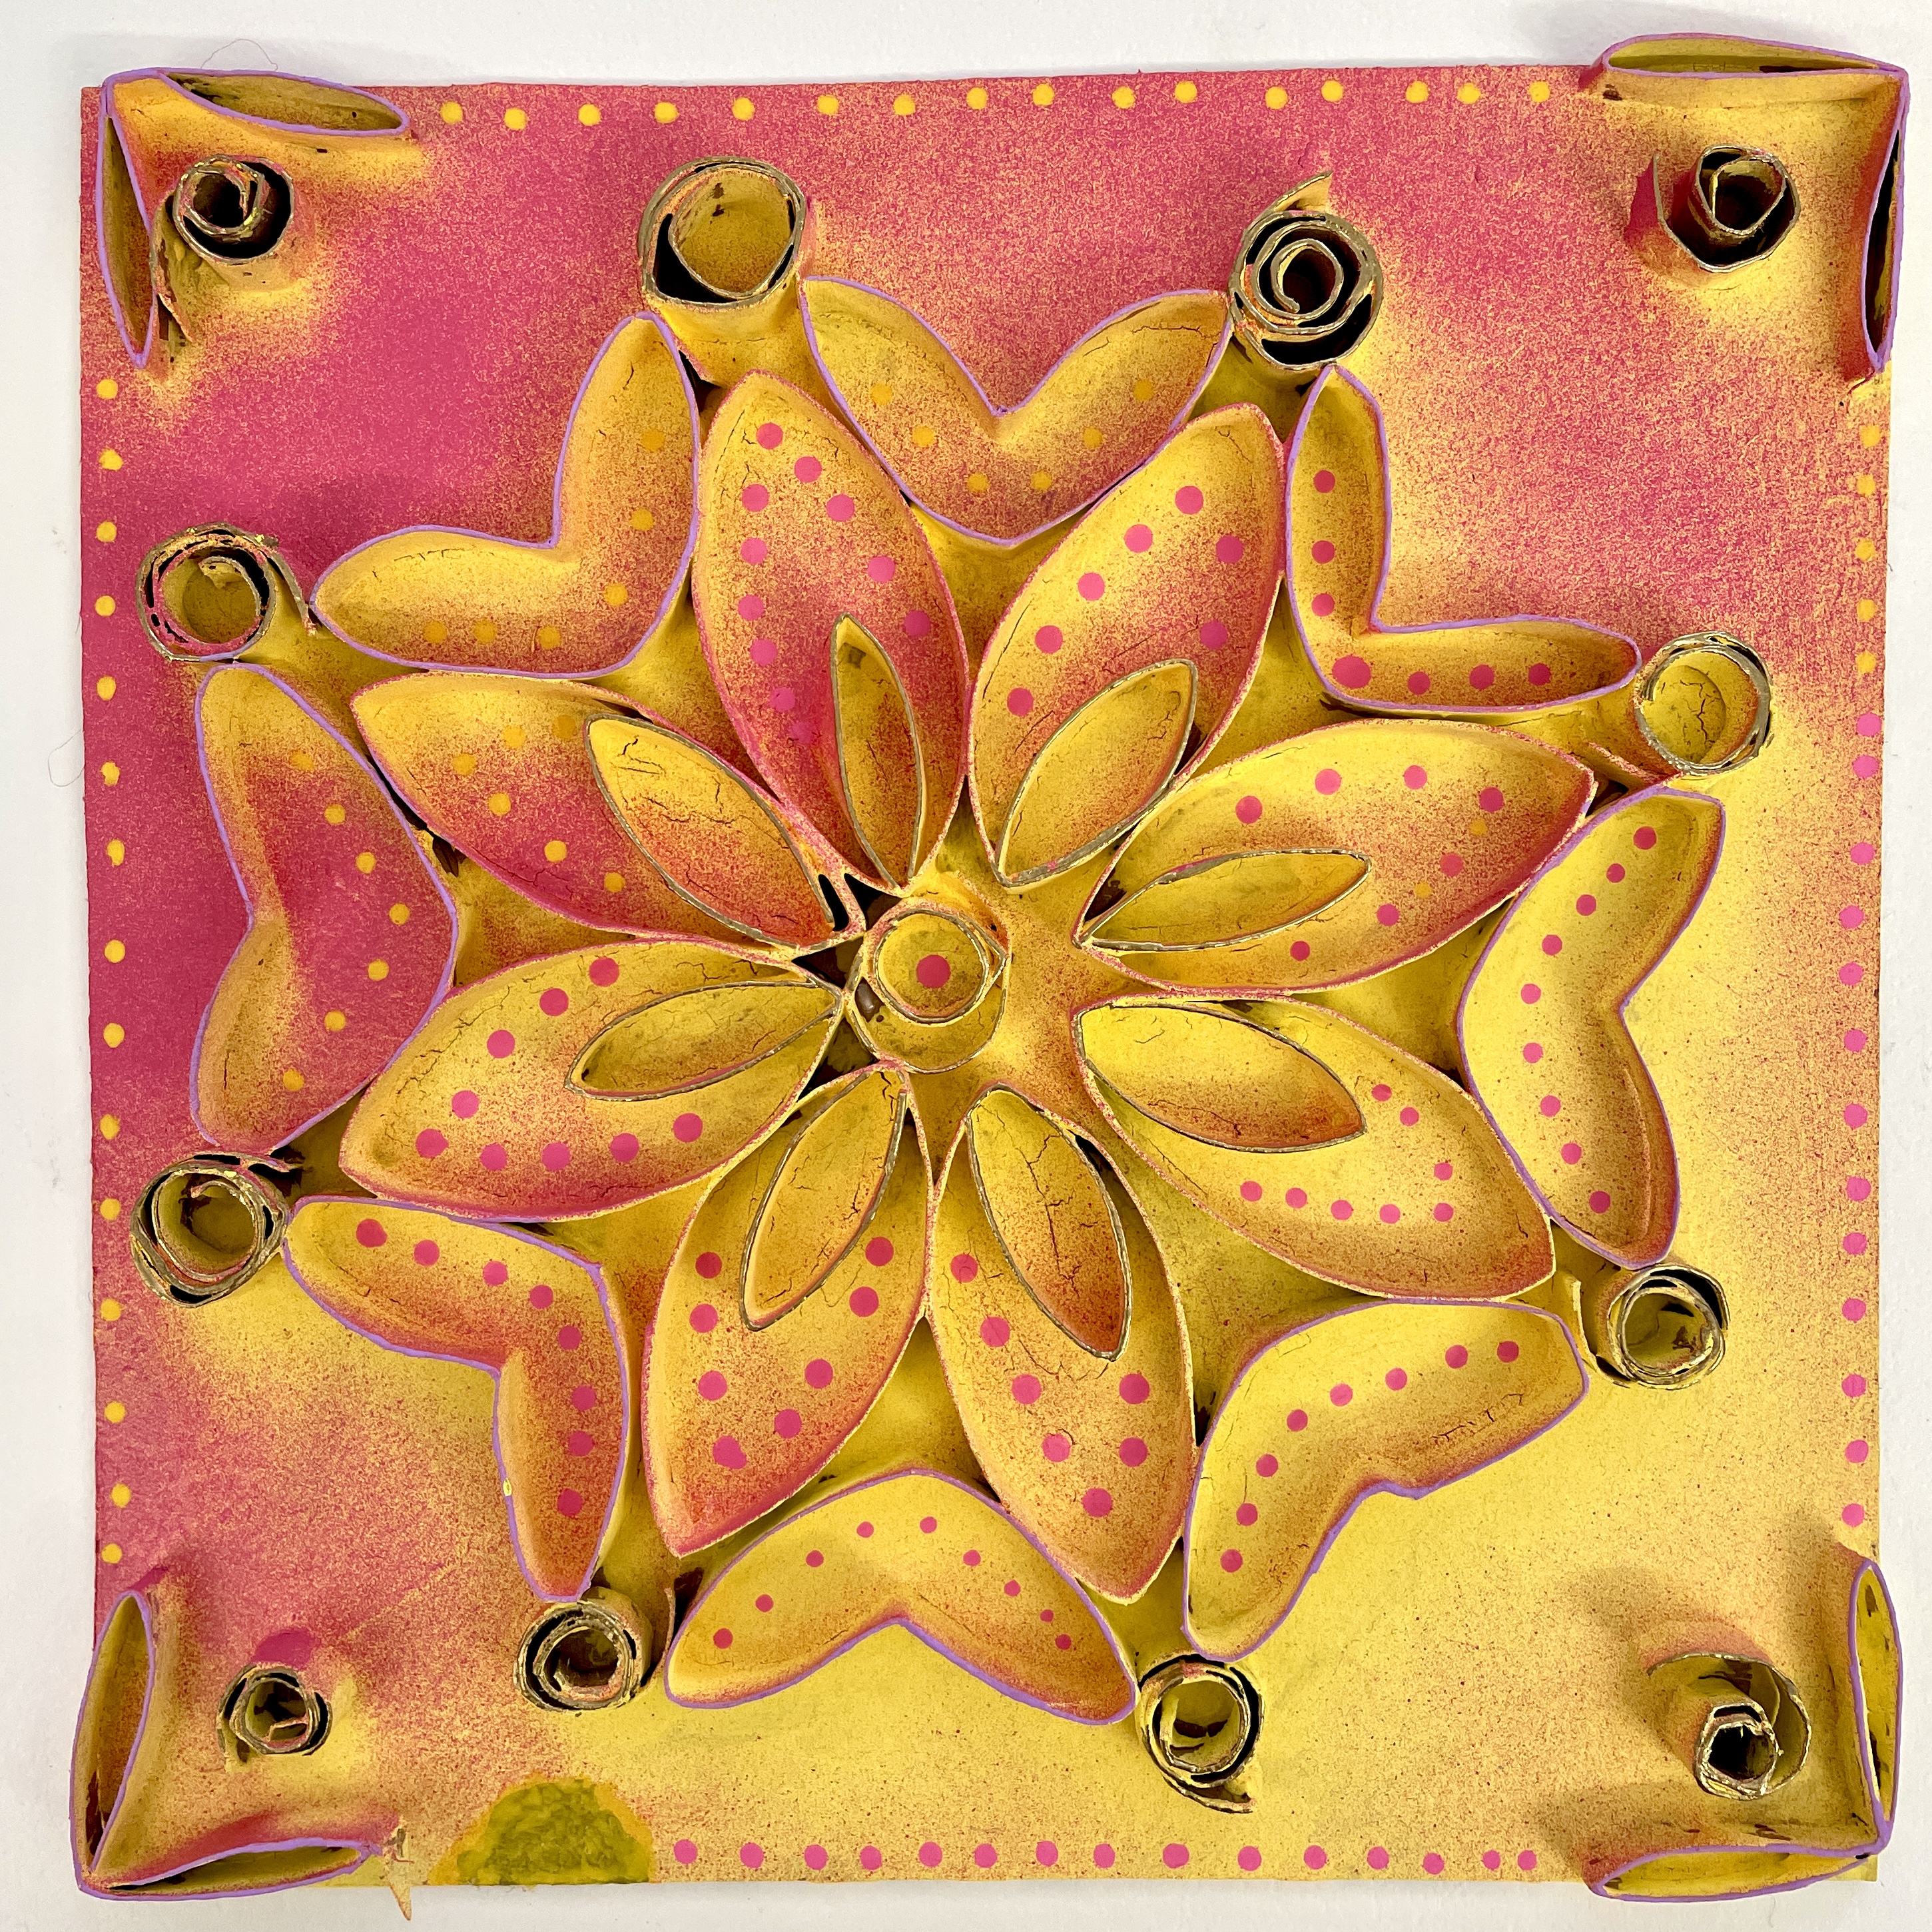
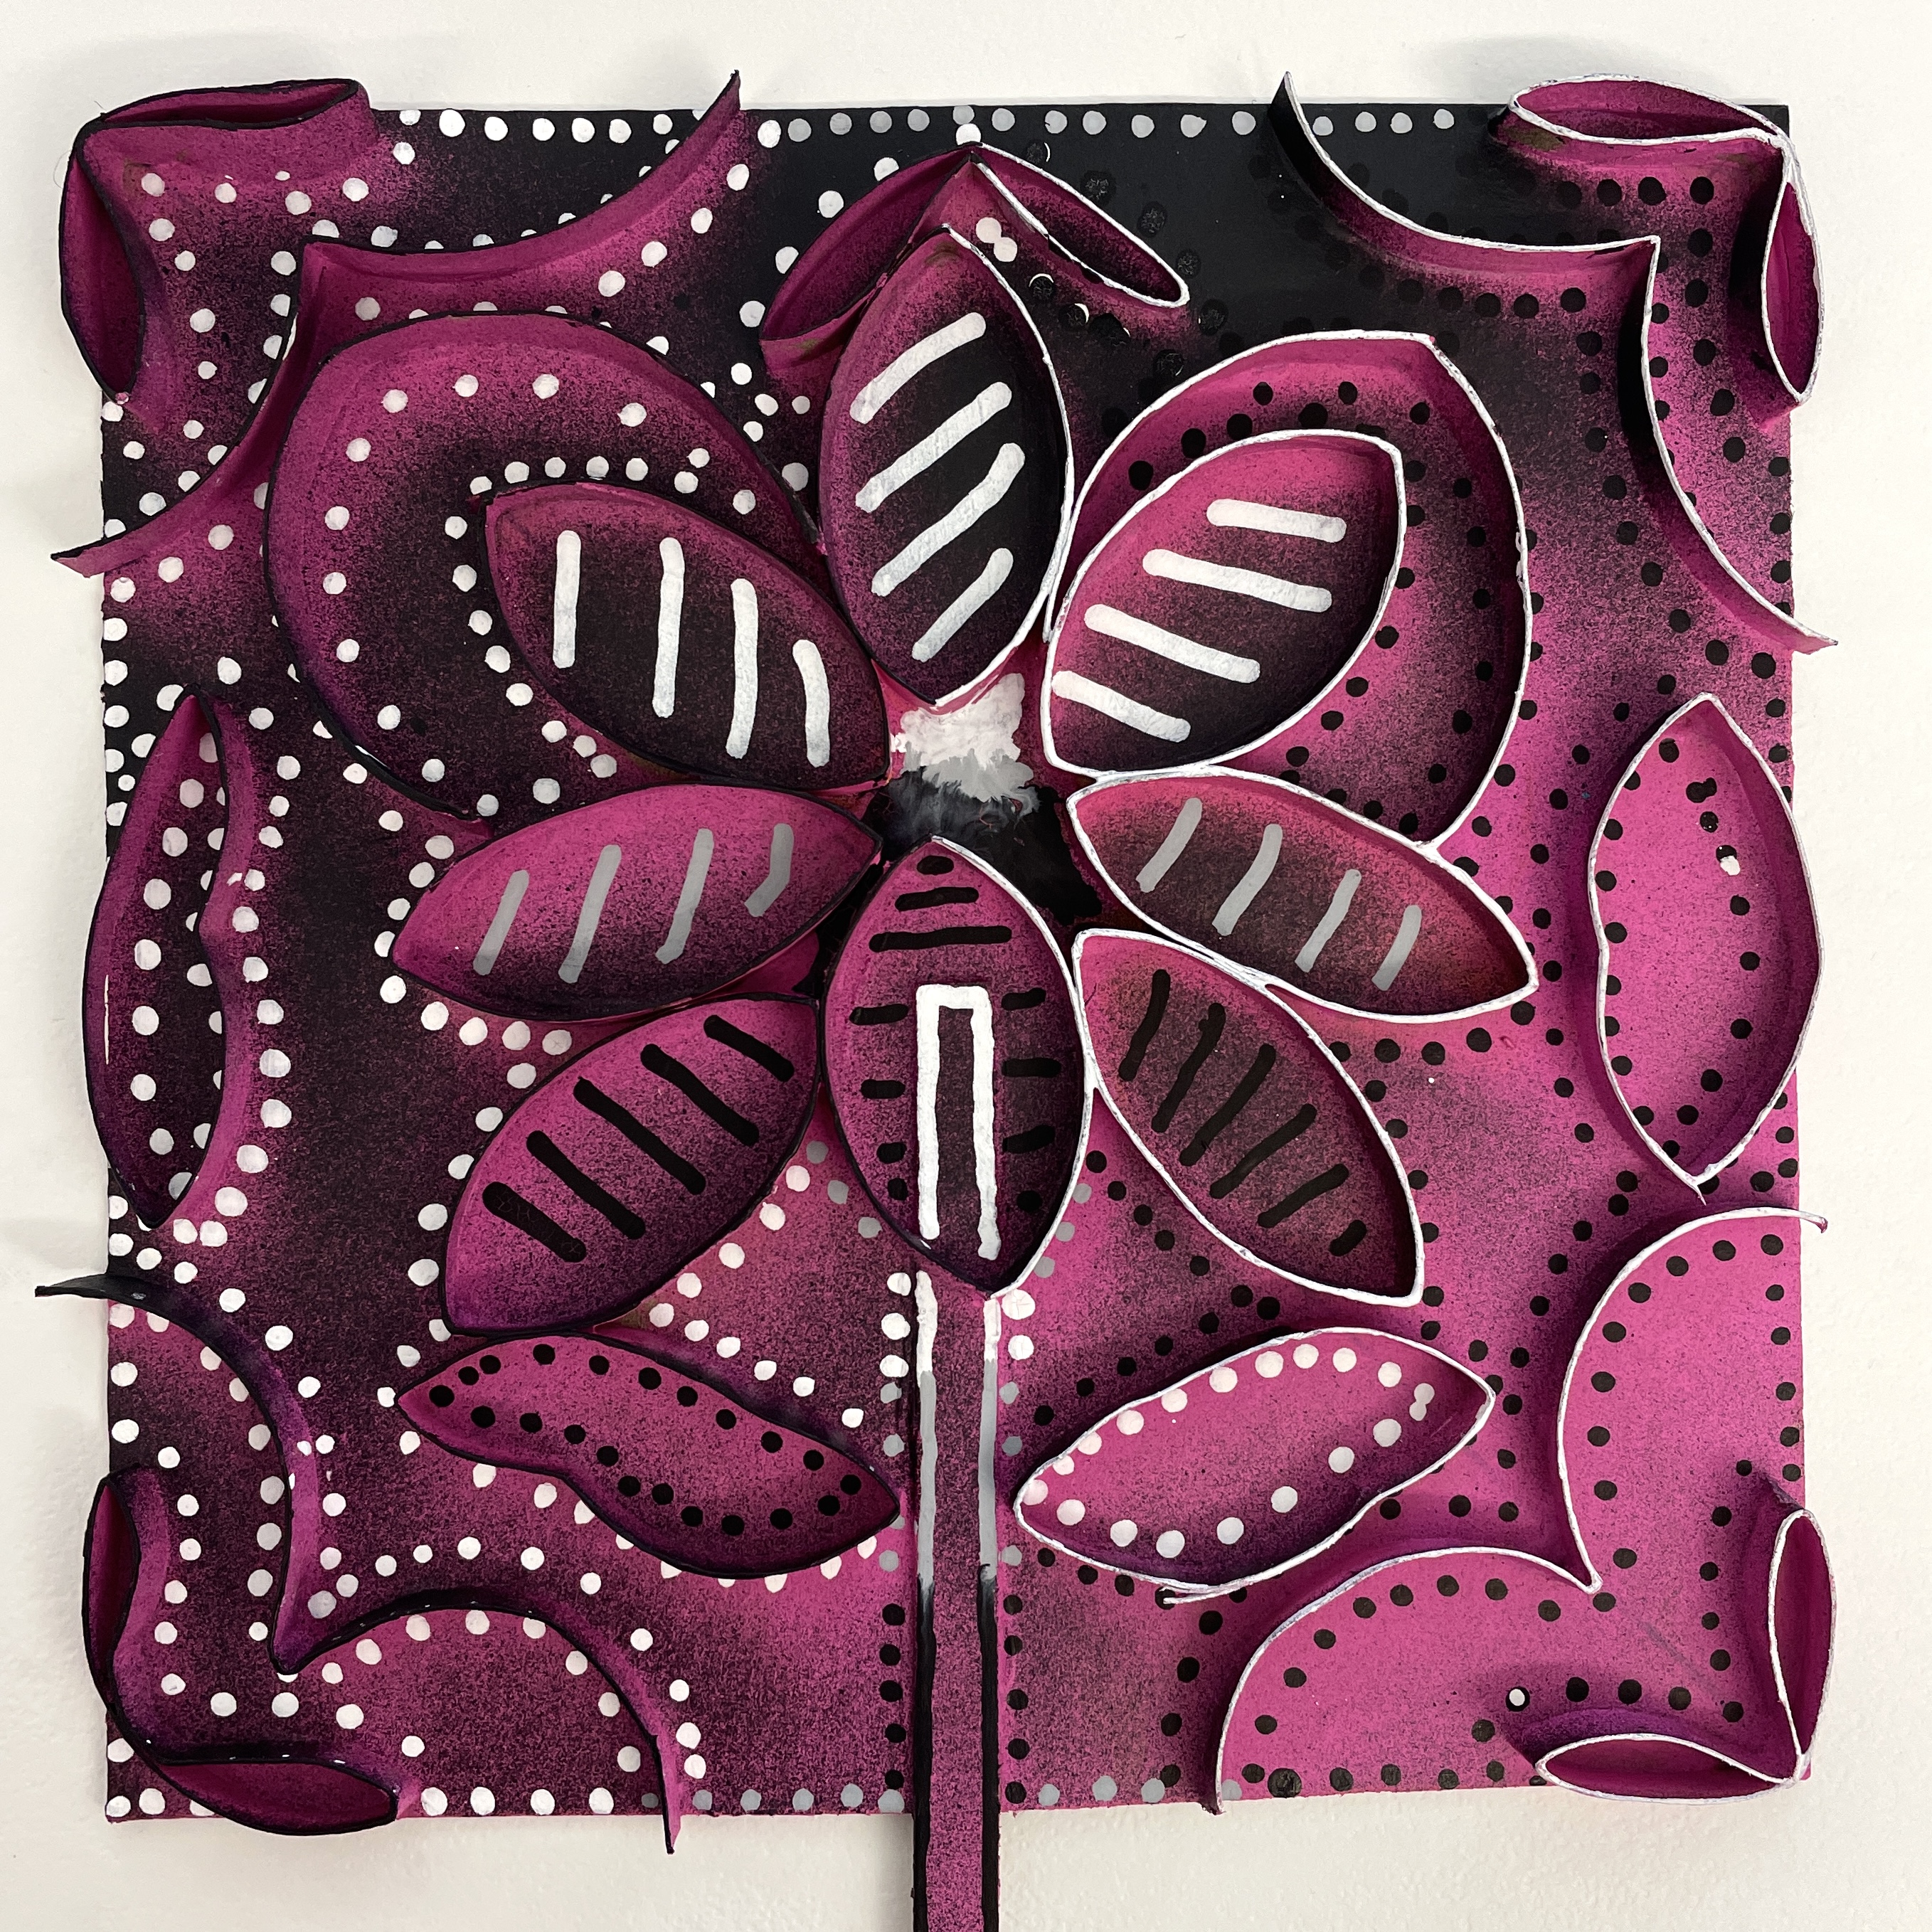
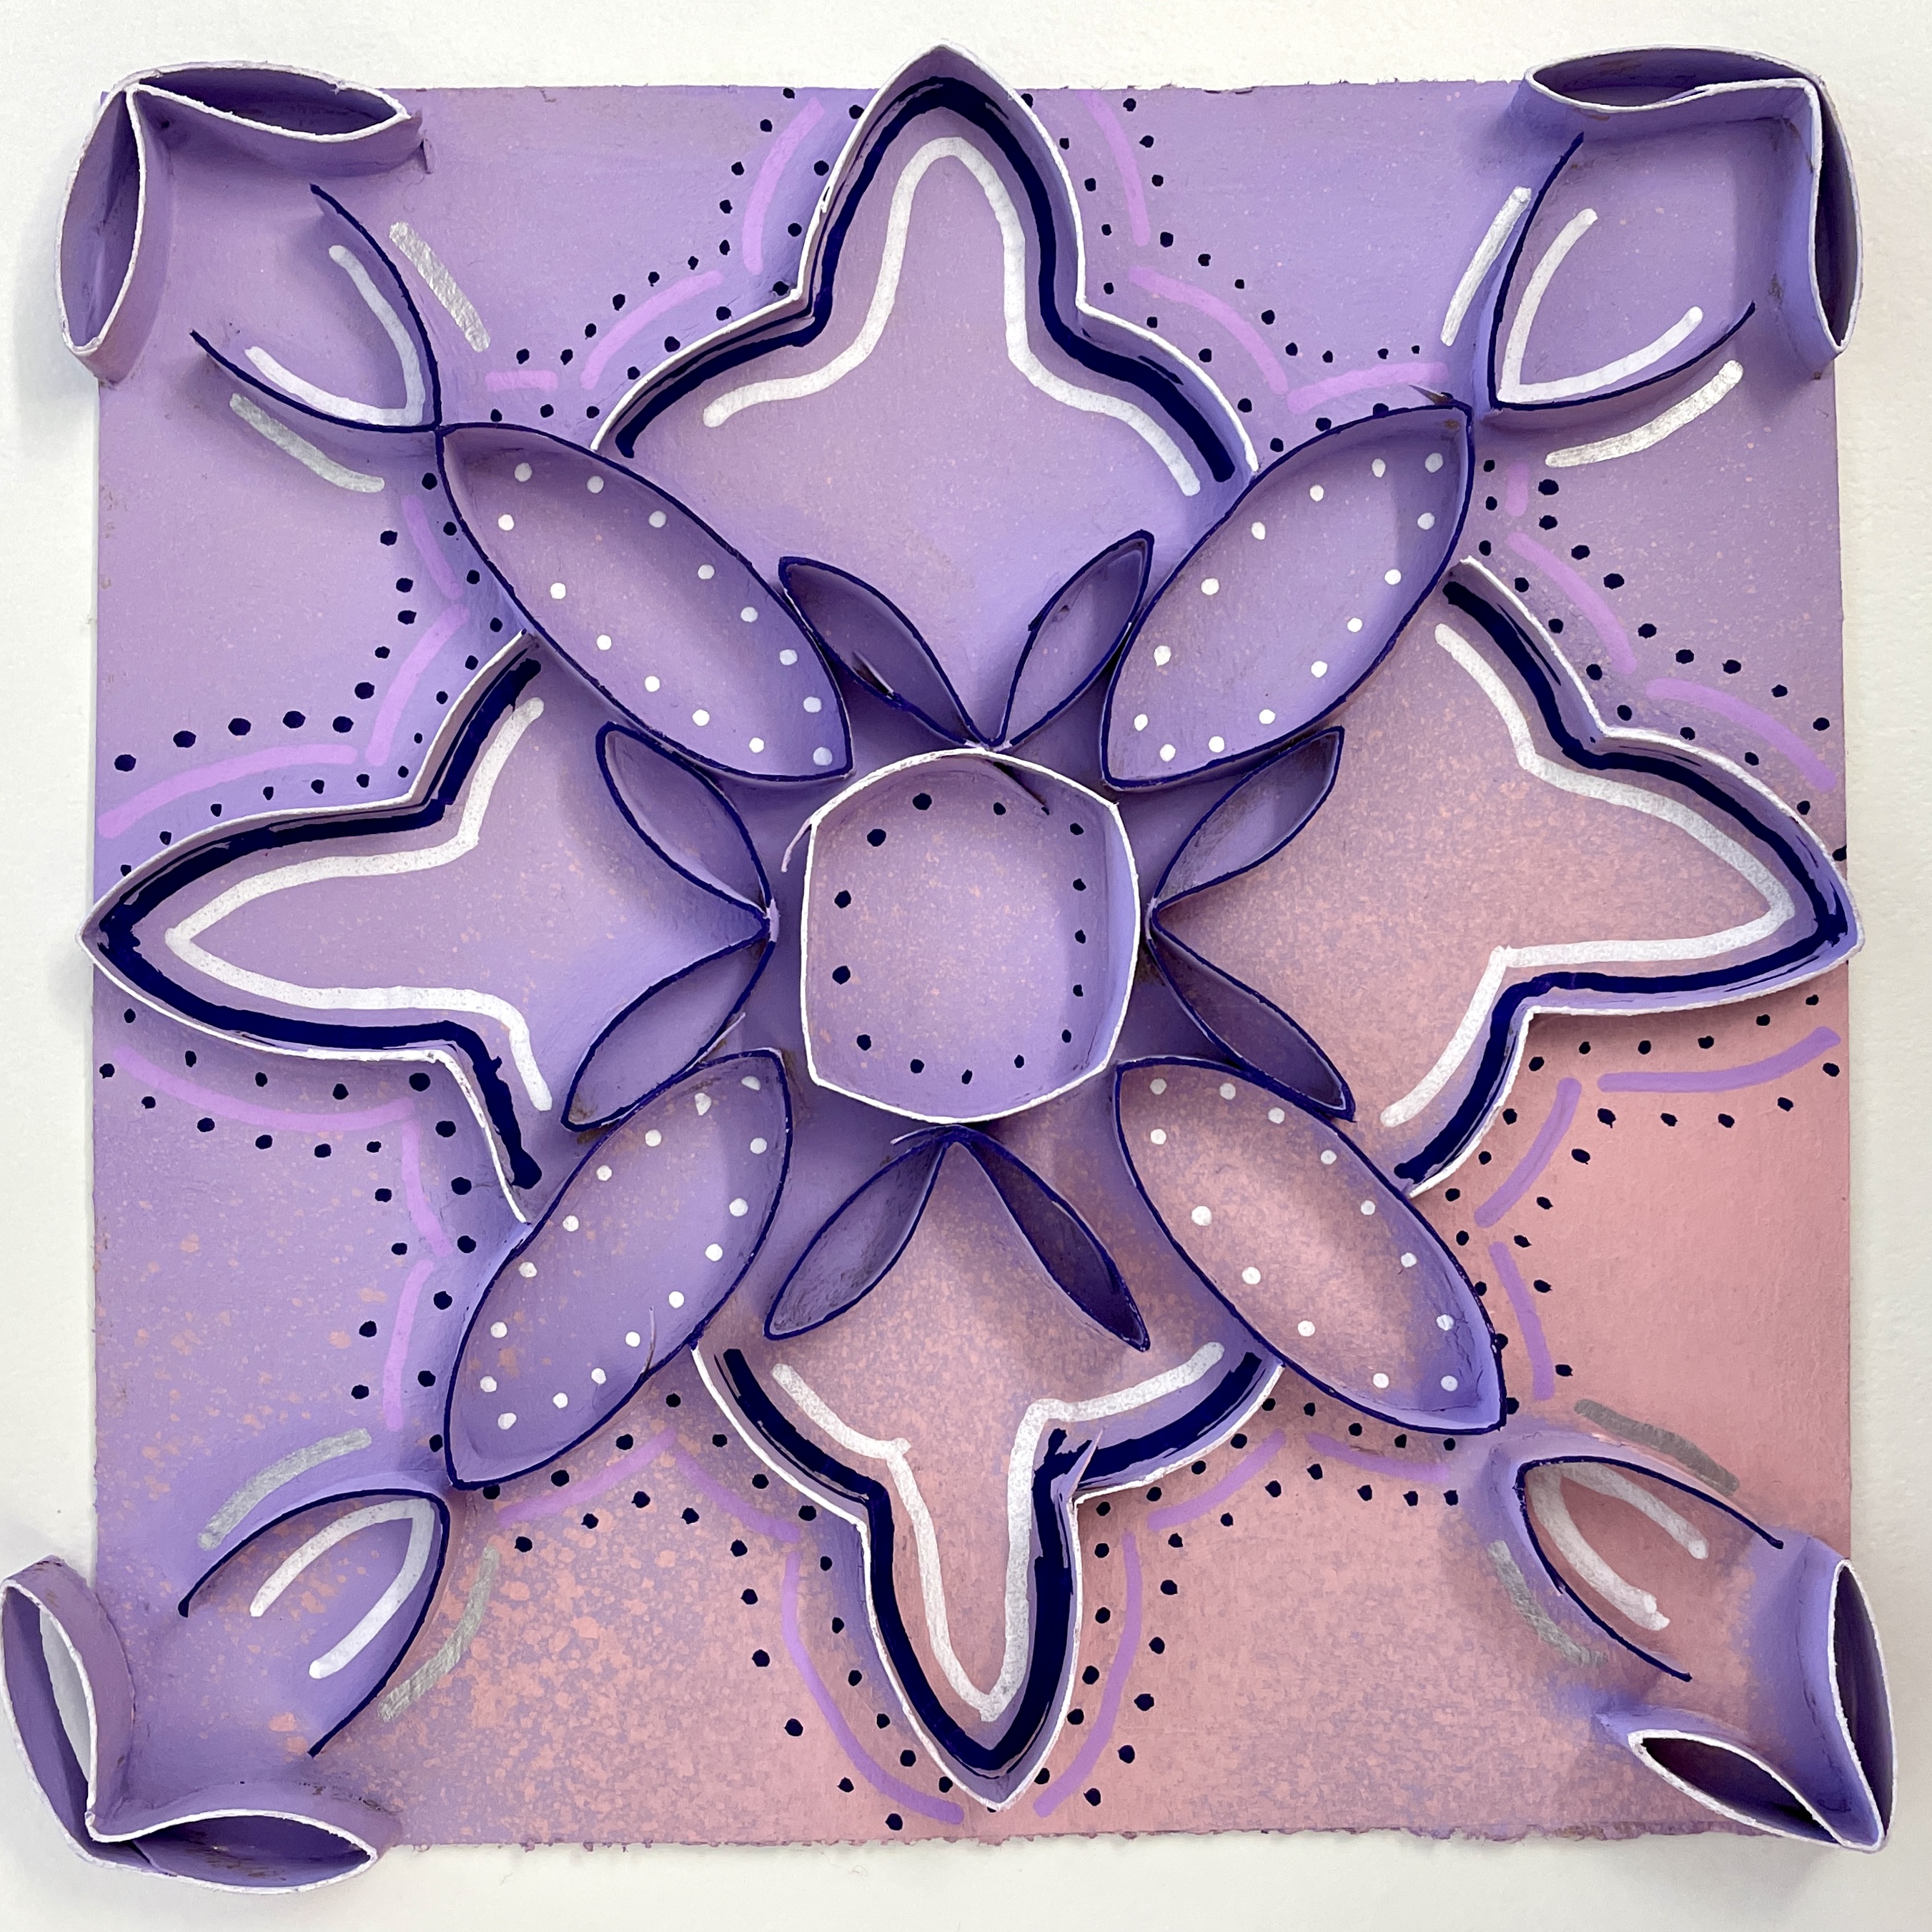
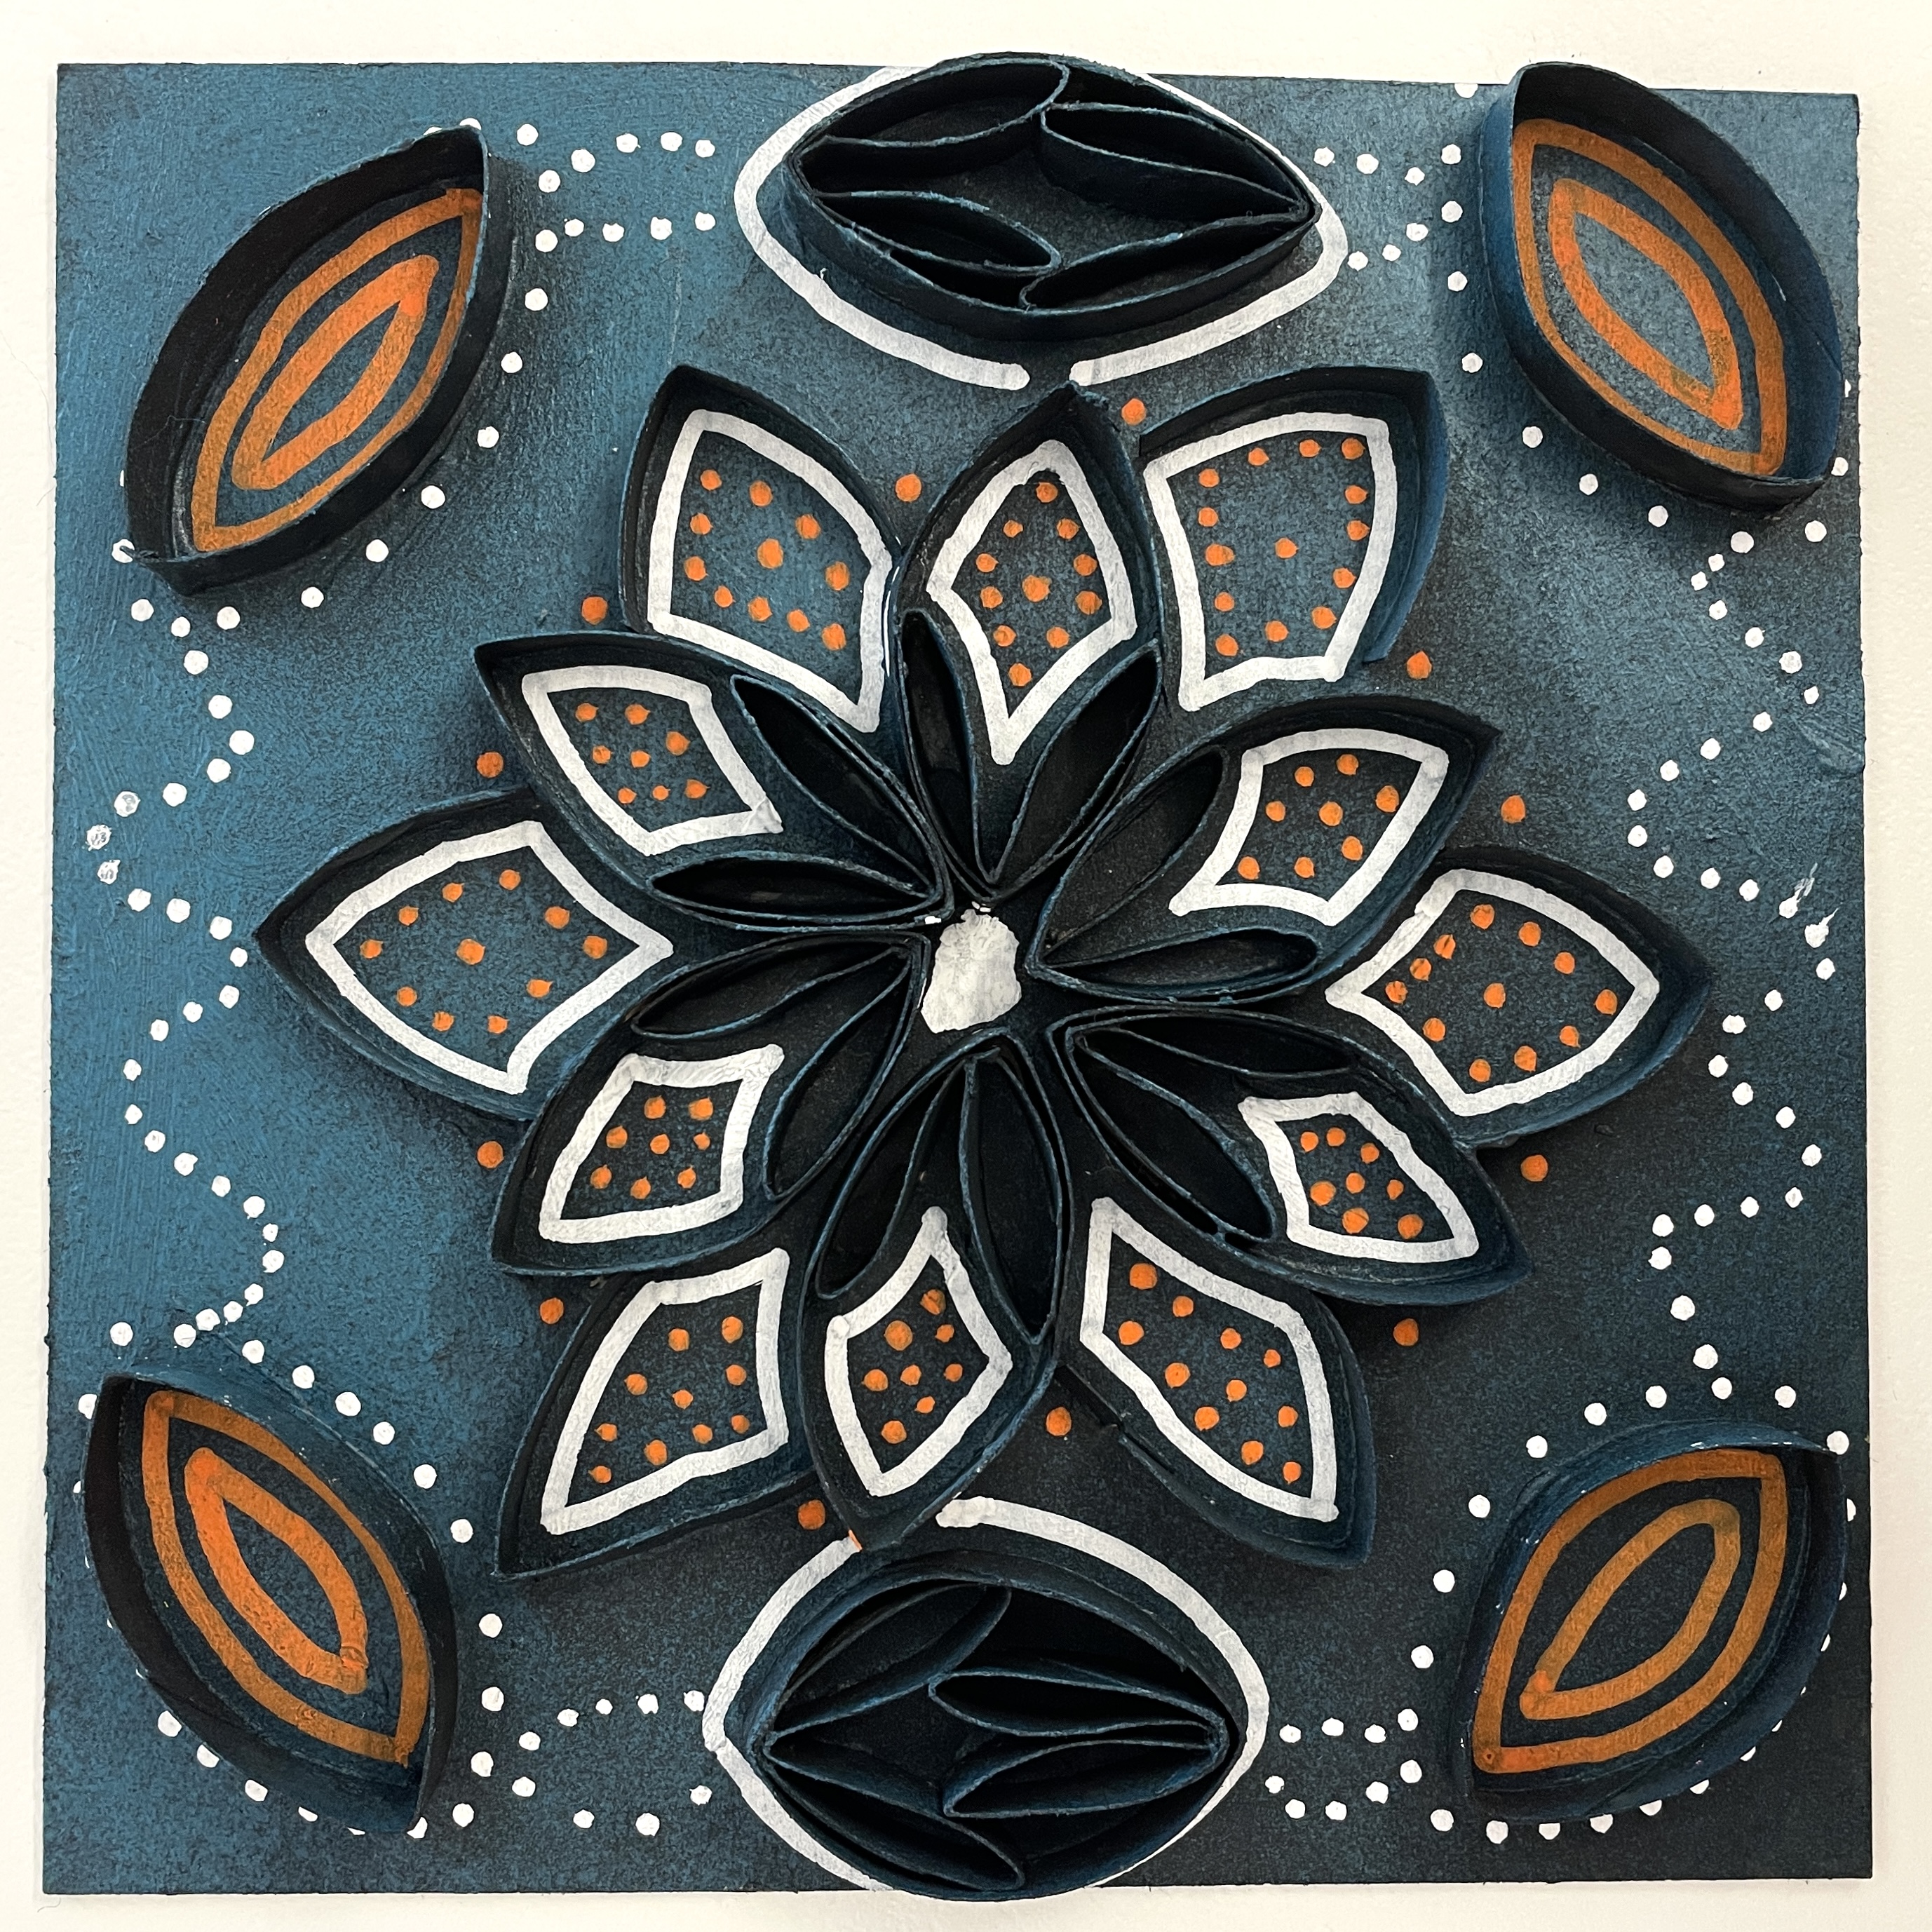
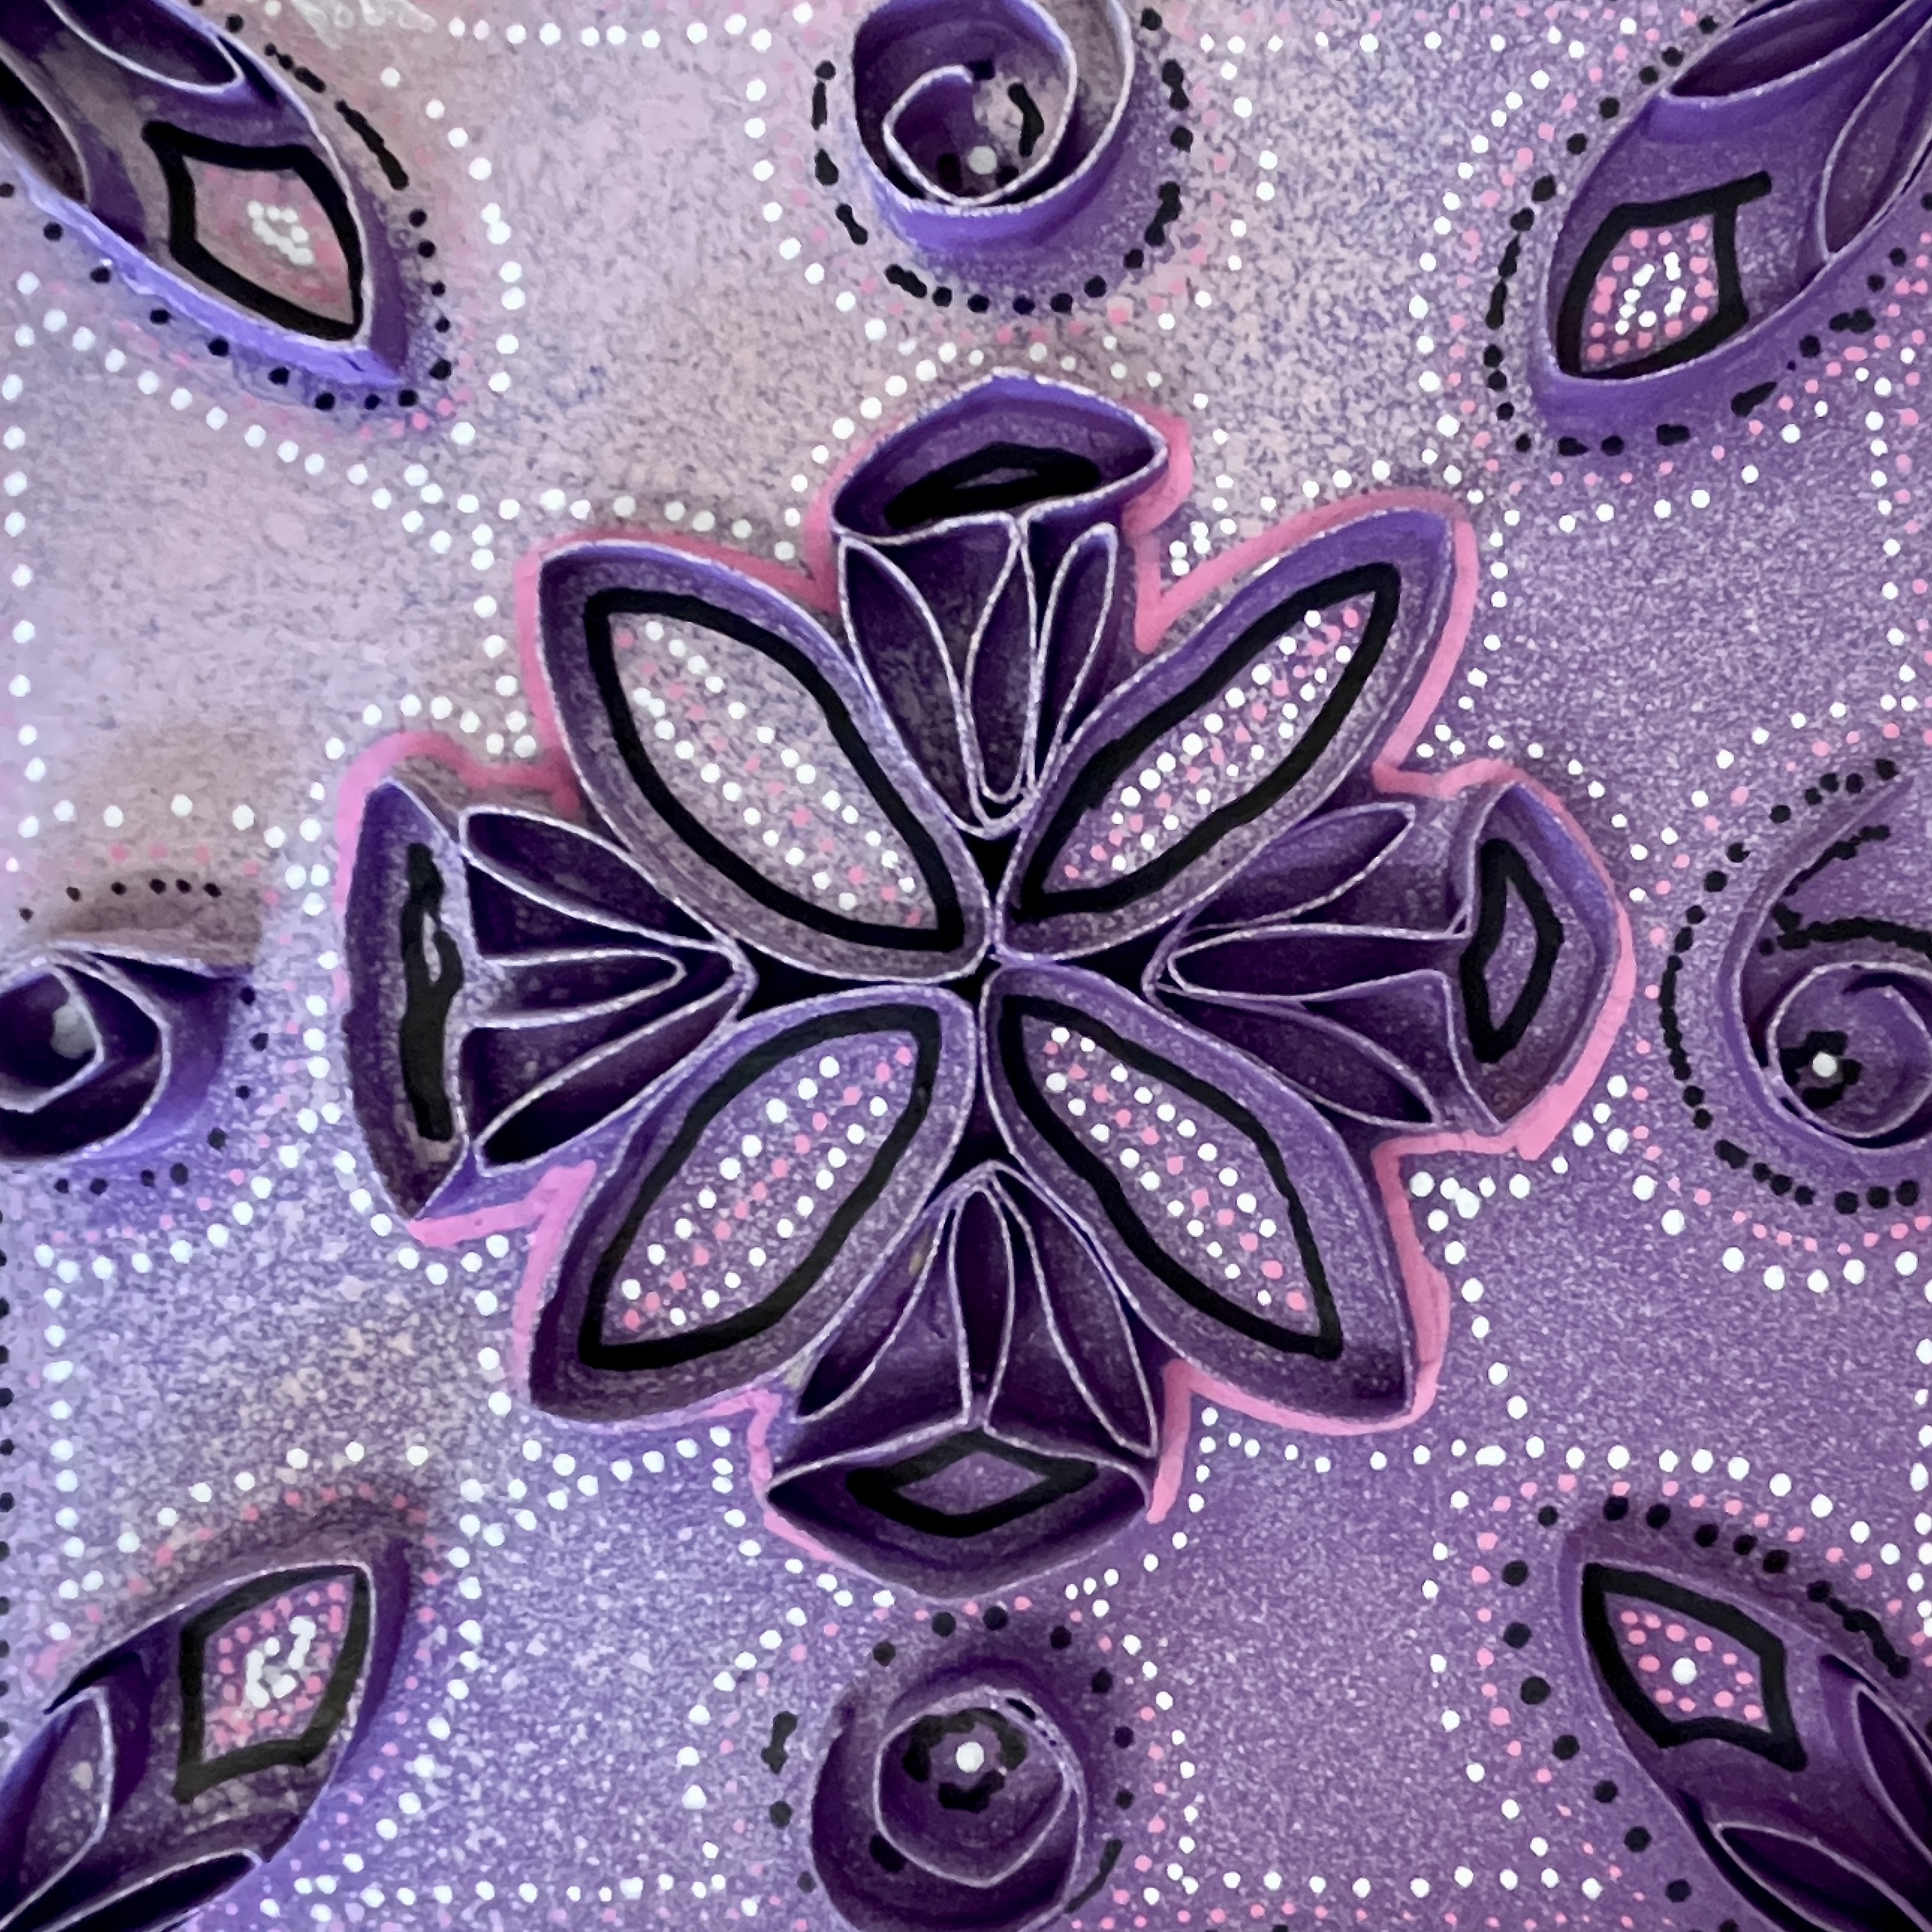
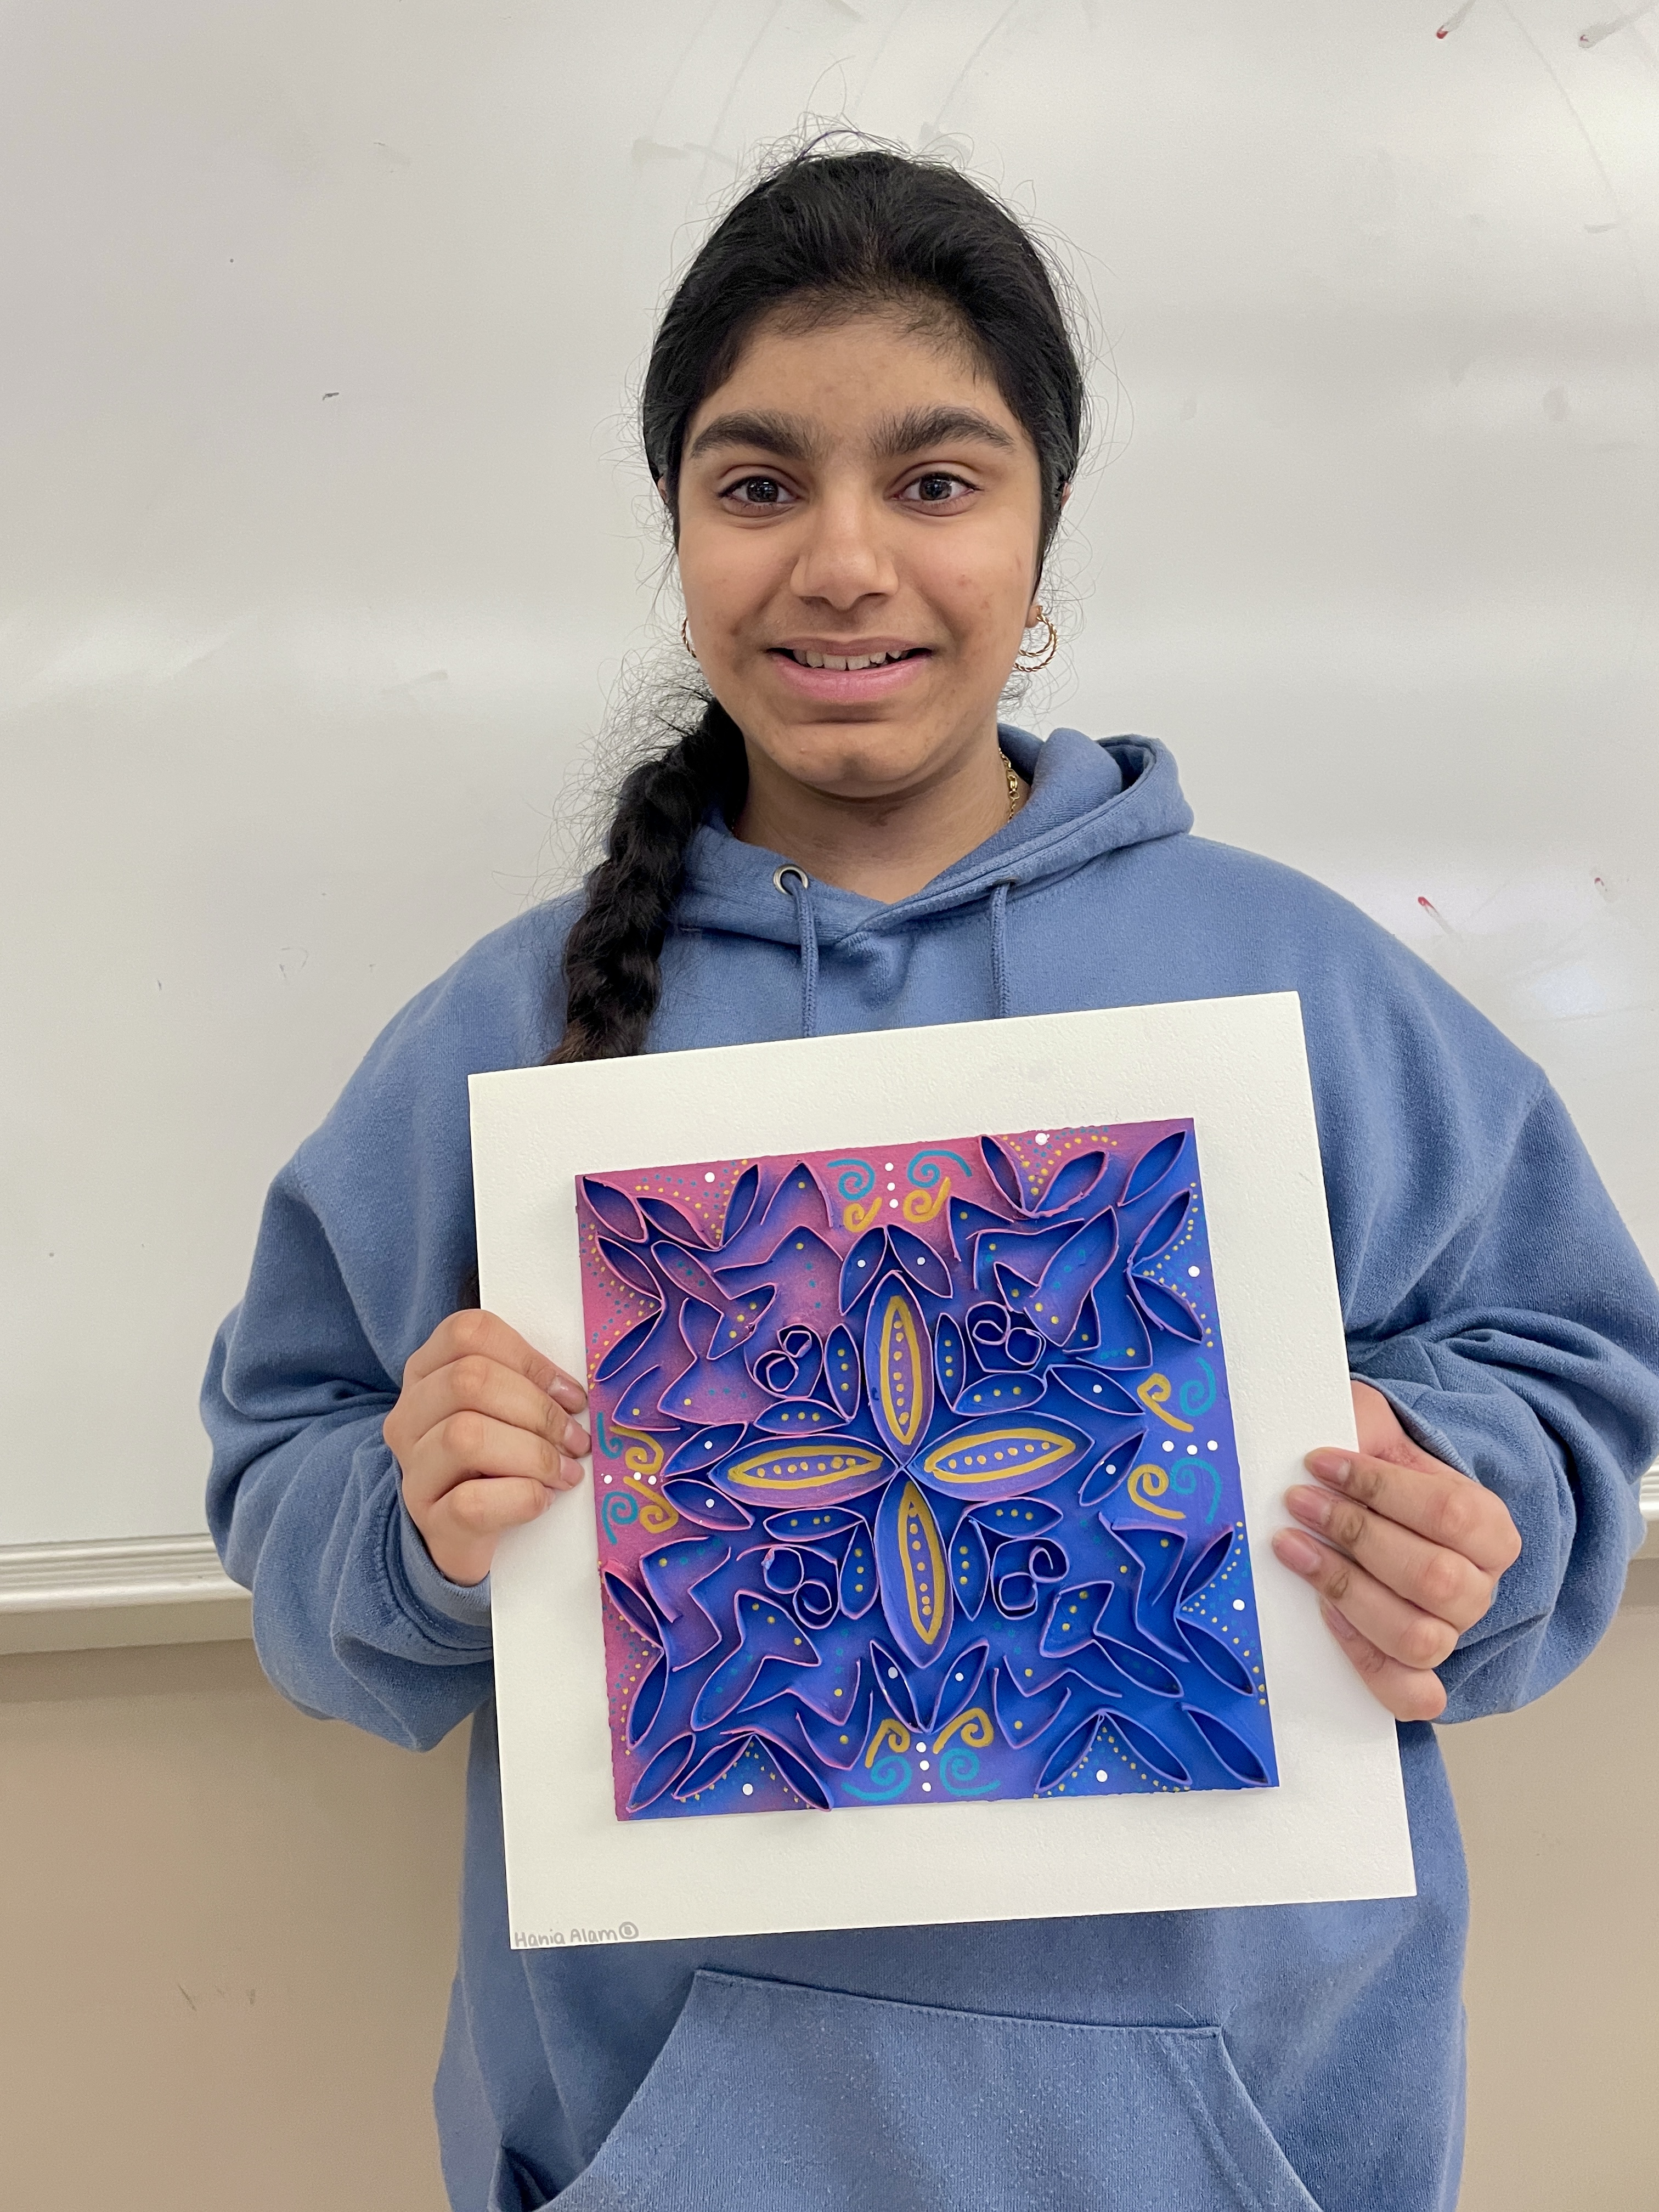
Trash becomes art! My 7th grade students made these beautiful low relief sculptures with paper towel and toilet paper cardboard tubes! After measuring and cutting the tubes into 1/2″ rings, students shaped the pieces by folding, cutting, curling and bending. They created arrangements on 8” squares of cardboard and fixed them in place with white glue. Final embellishments were done with acrylic paint, spray paint and Metallic pen. This lesson was based on THIS VIDEO TUTORIAL by fellow middle school art teacher, Bethany Thiele. (Find her awesome Youtube channel here!) Social Media has been a great way for me to connect with art teachers around the world, and it is fun to share and borrow ideas!
Here is AN INSTRUCTION PACKET I made which explains the steps we did to create this project.
Here is A SLIDESHOW with some fun ideas for shaping your cardboard tubes.
(The images in the above slideshow are screenshots from THIS VIDEO found on the youtube channel, “Colorful Craft Corner”)

A NOTE ON THE BASE COLORS: I first did this lesson during the 2020-2021 school year when we were operating under a hybrid schedule with limited in-person learning. The nine examples above (and the packet linked) show the process and student examples created during that time. The spray painting, (two colors from opposite directions,) was done on the bare cardboard, which somewhat absorbed into the porous surface and created muted base colors.
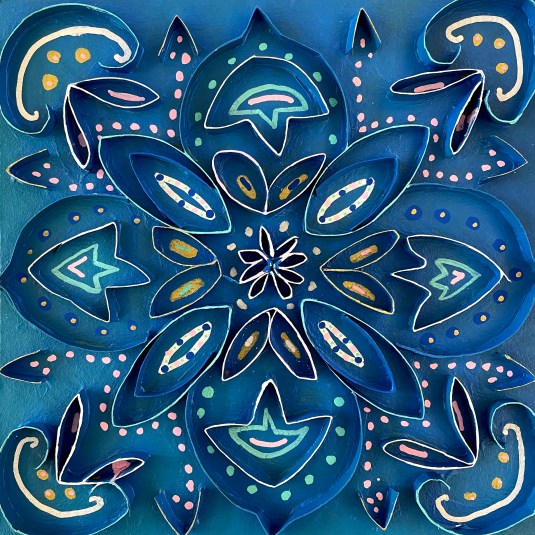
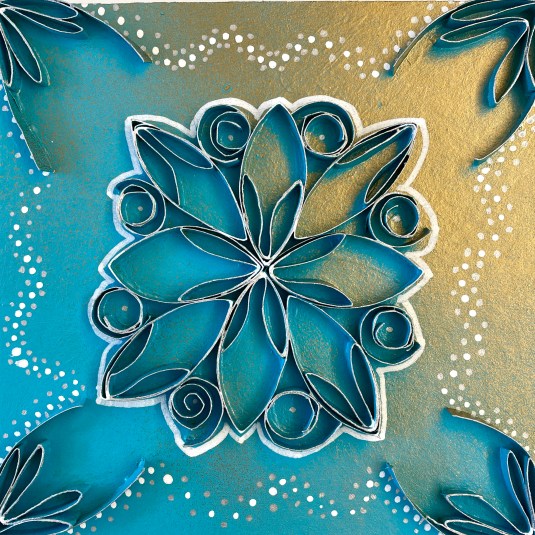
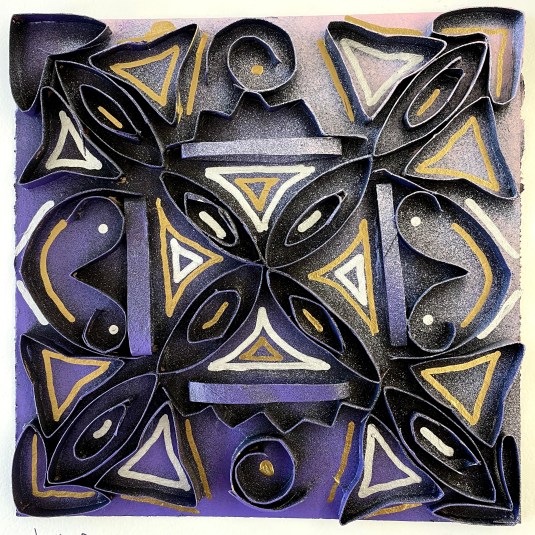
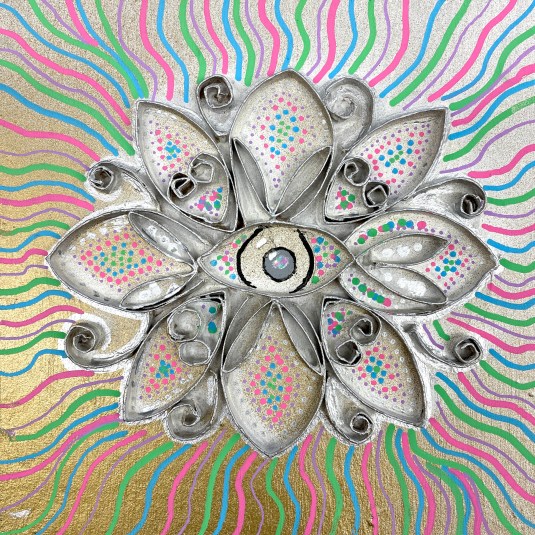
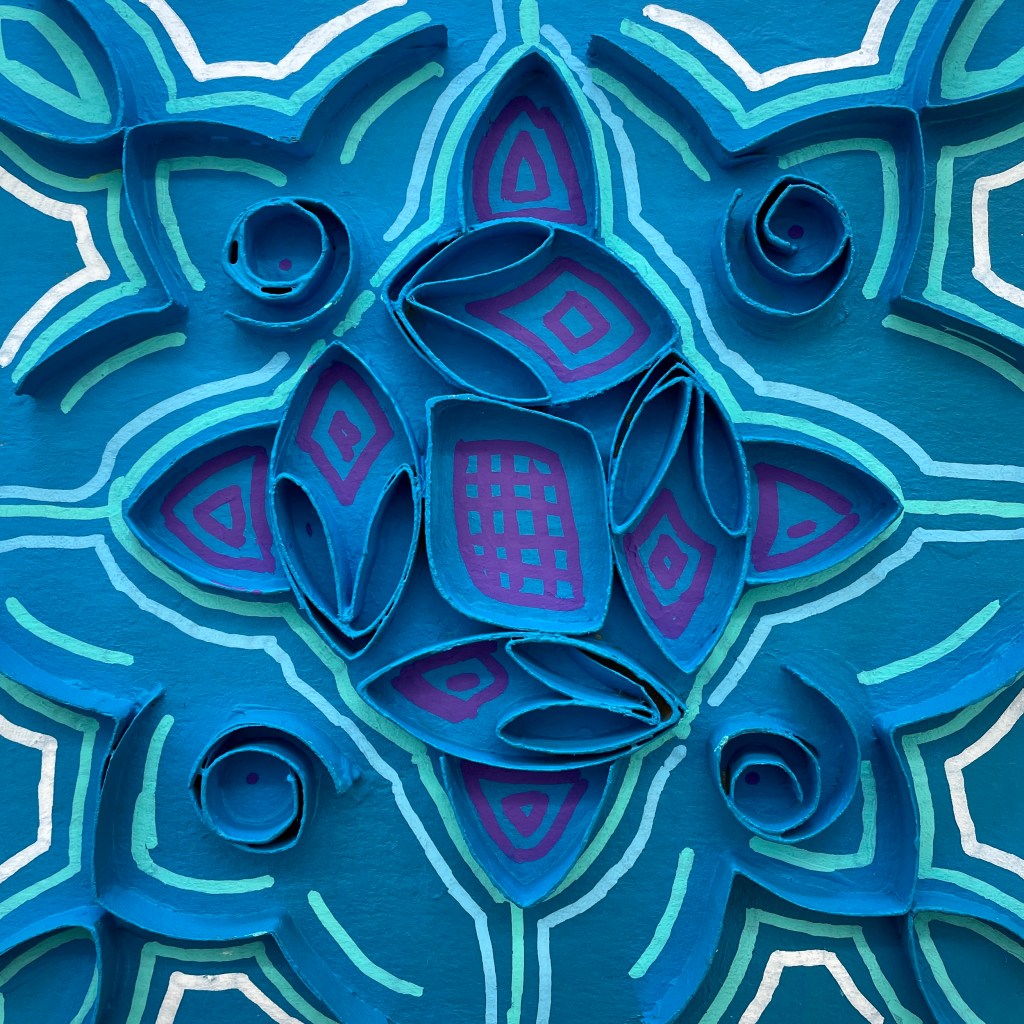
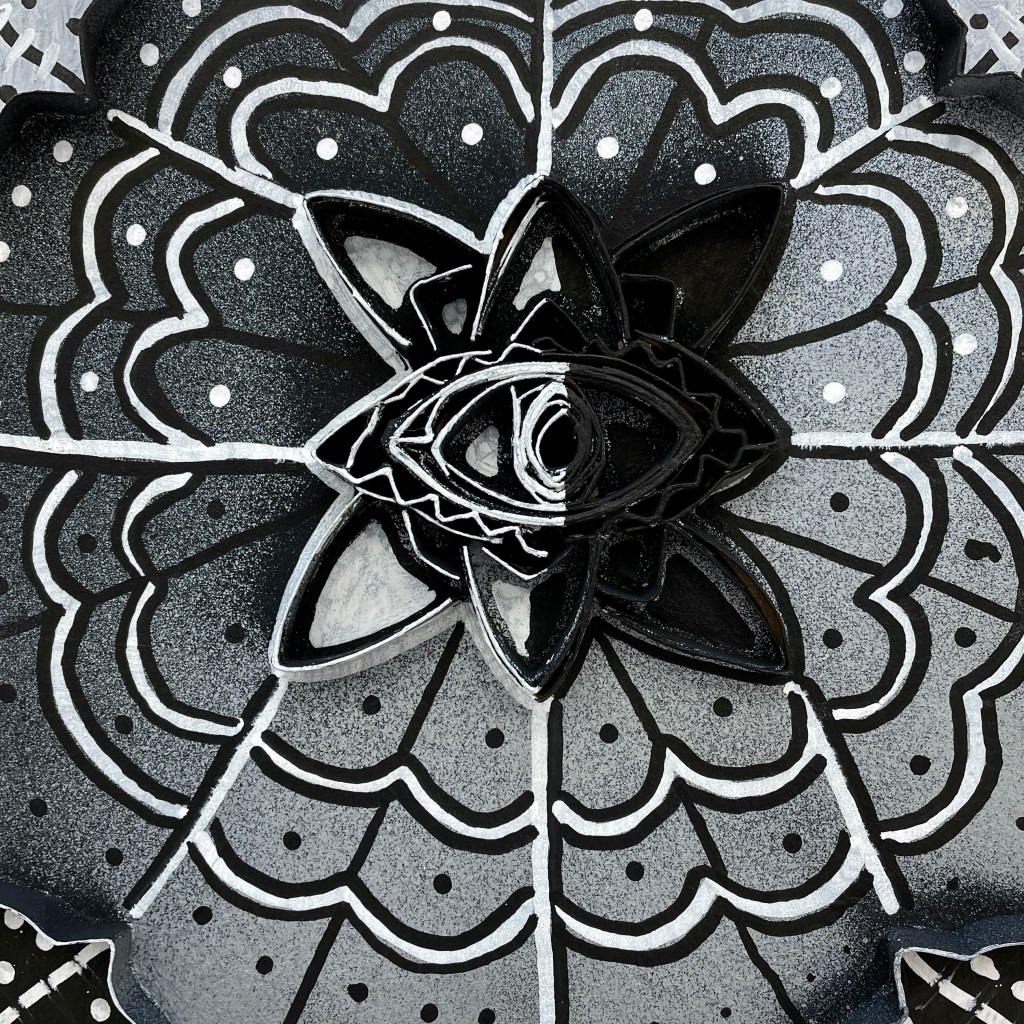
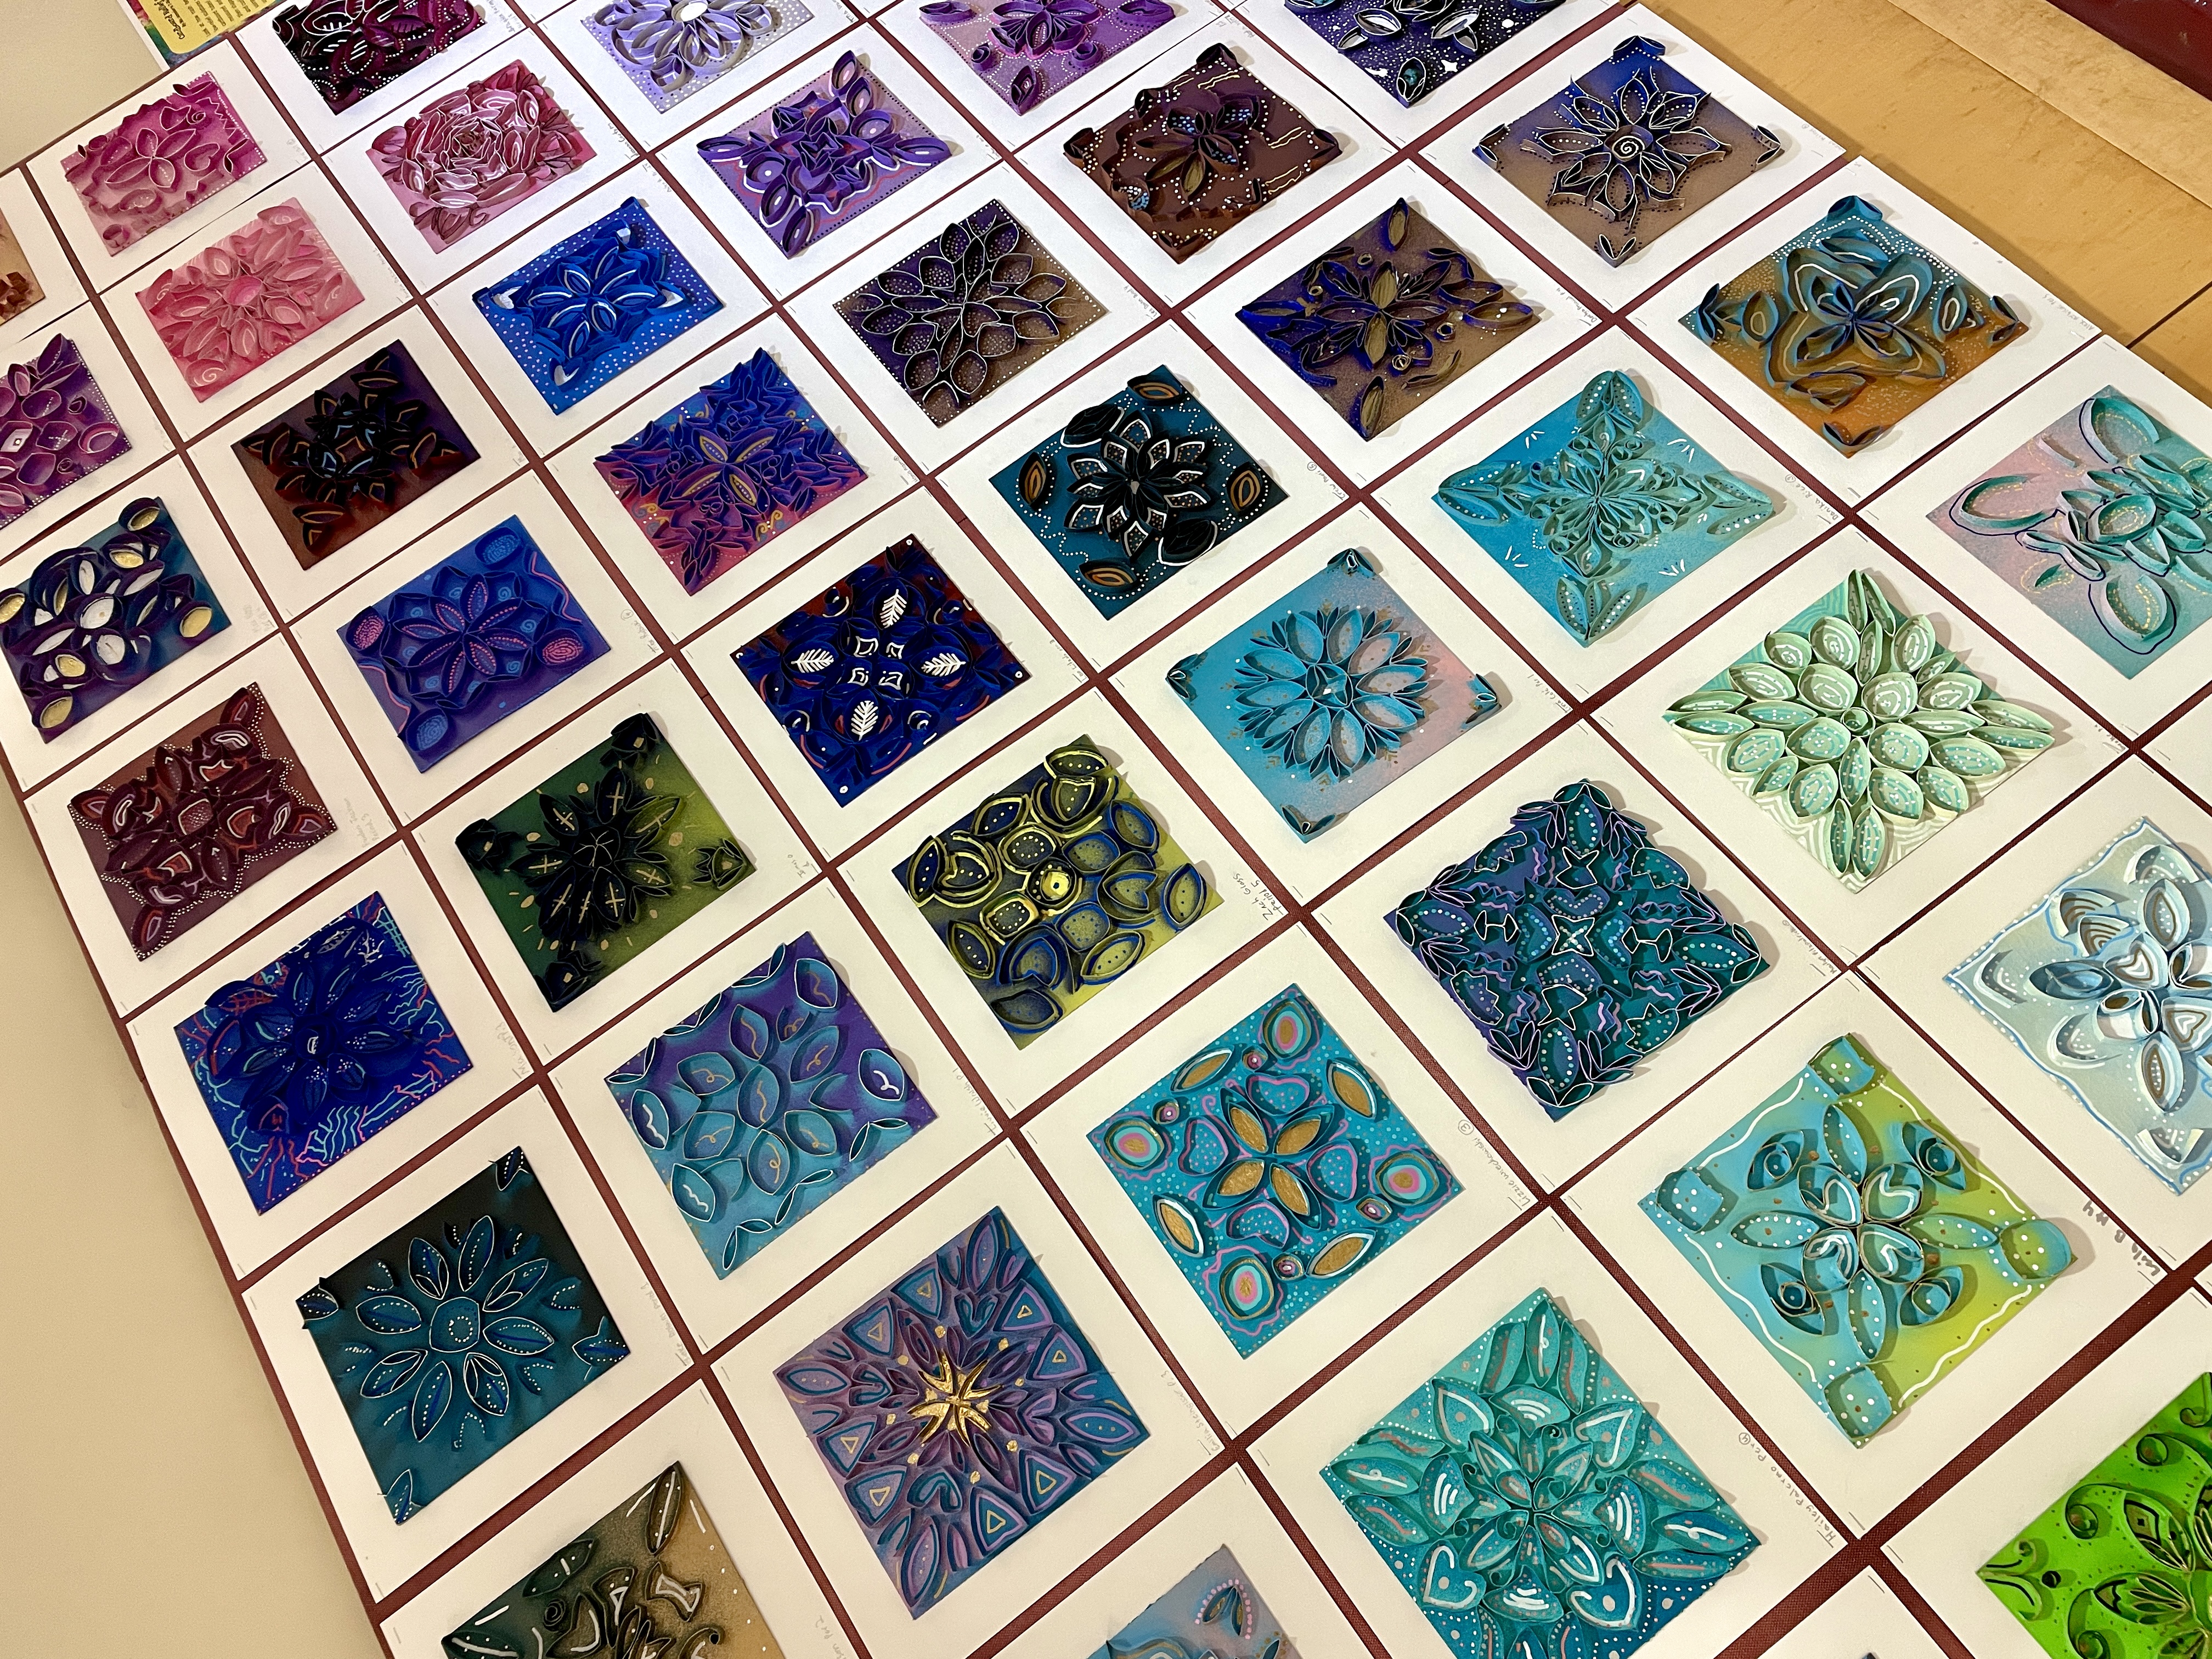
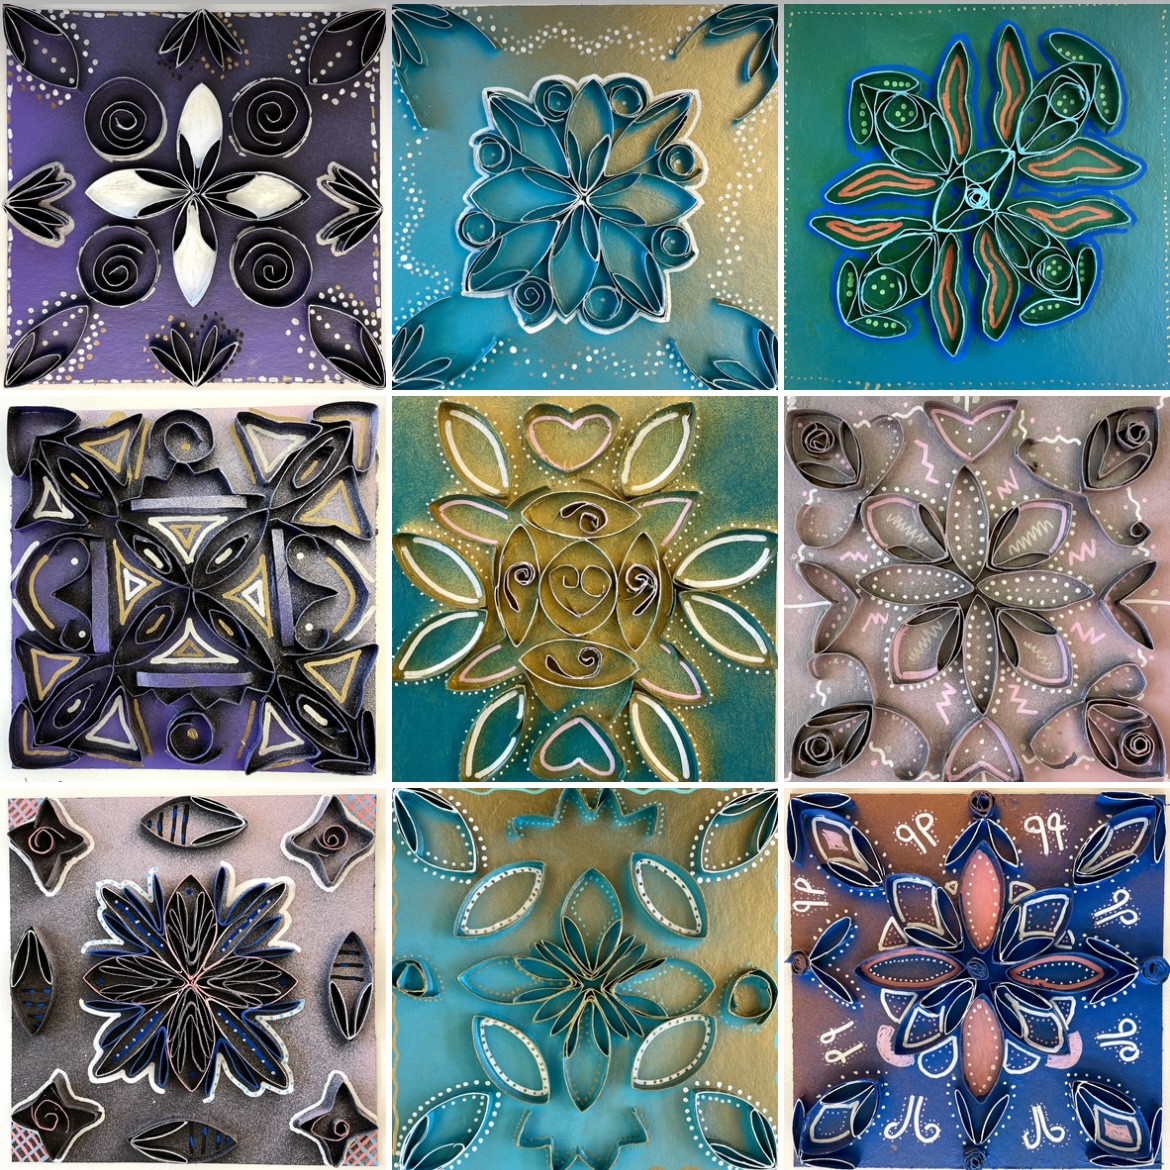
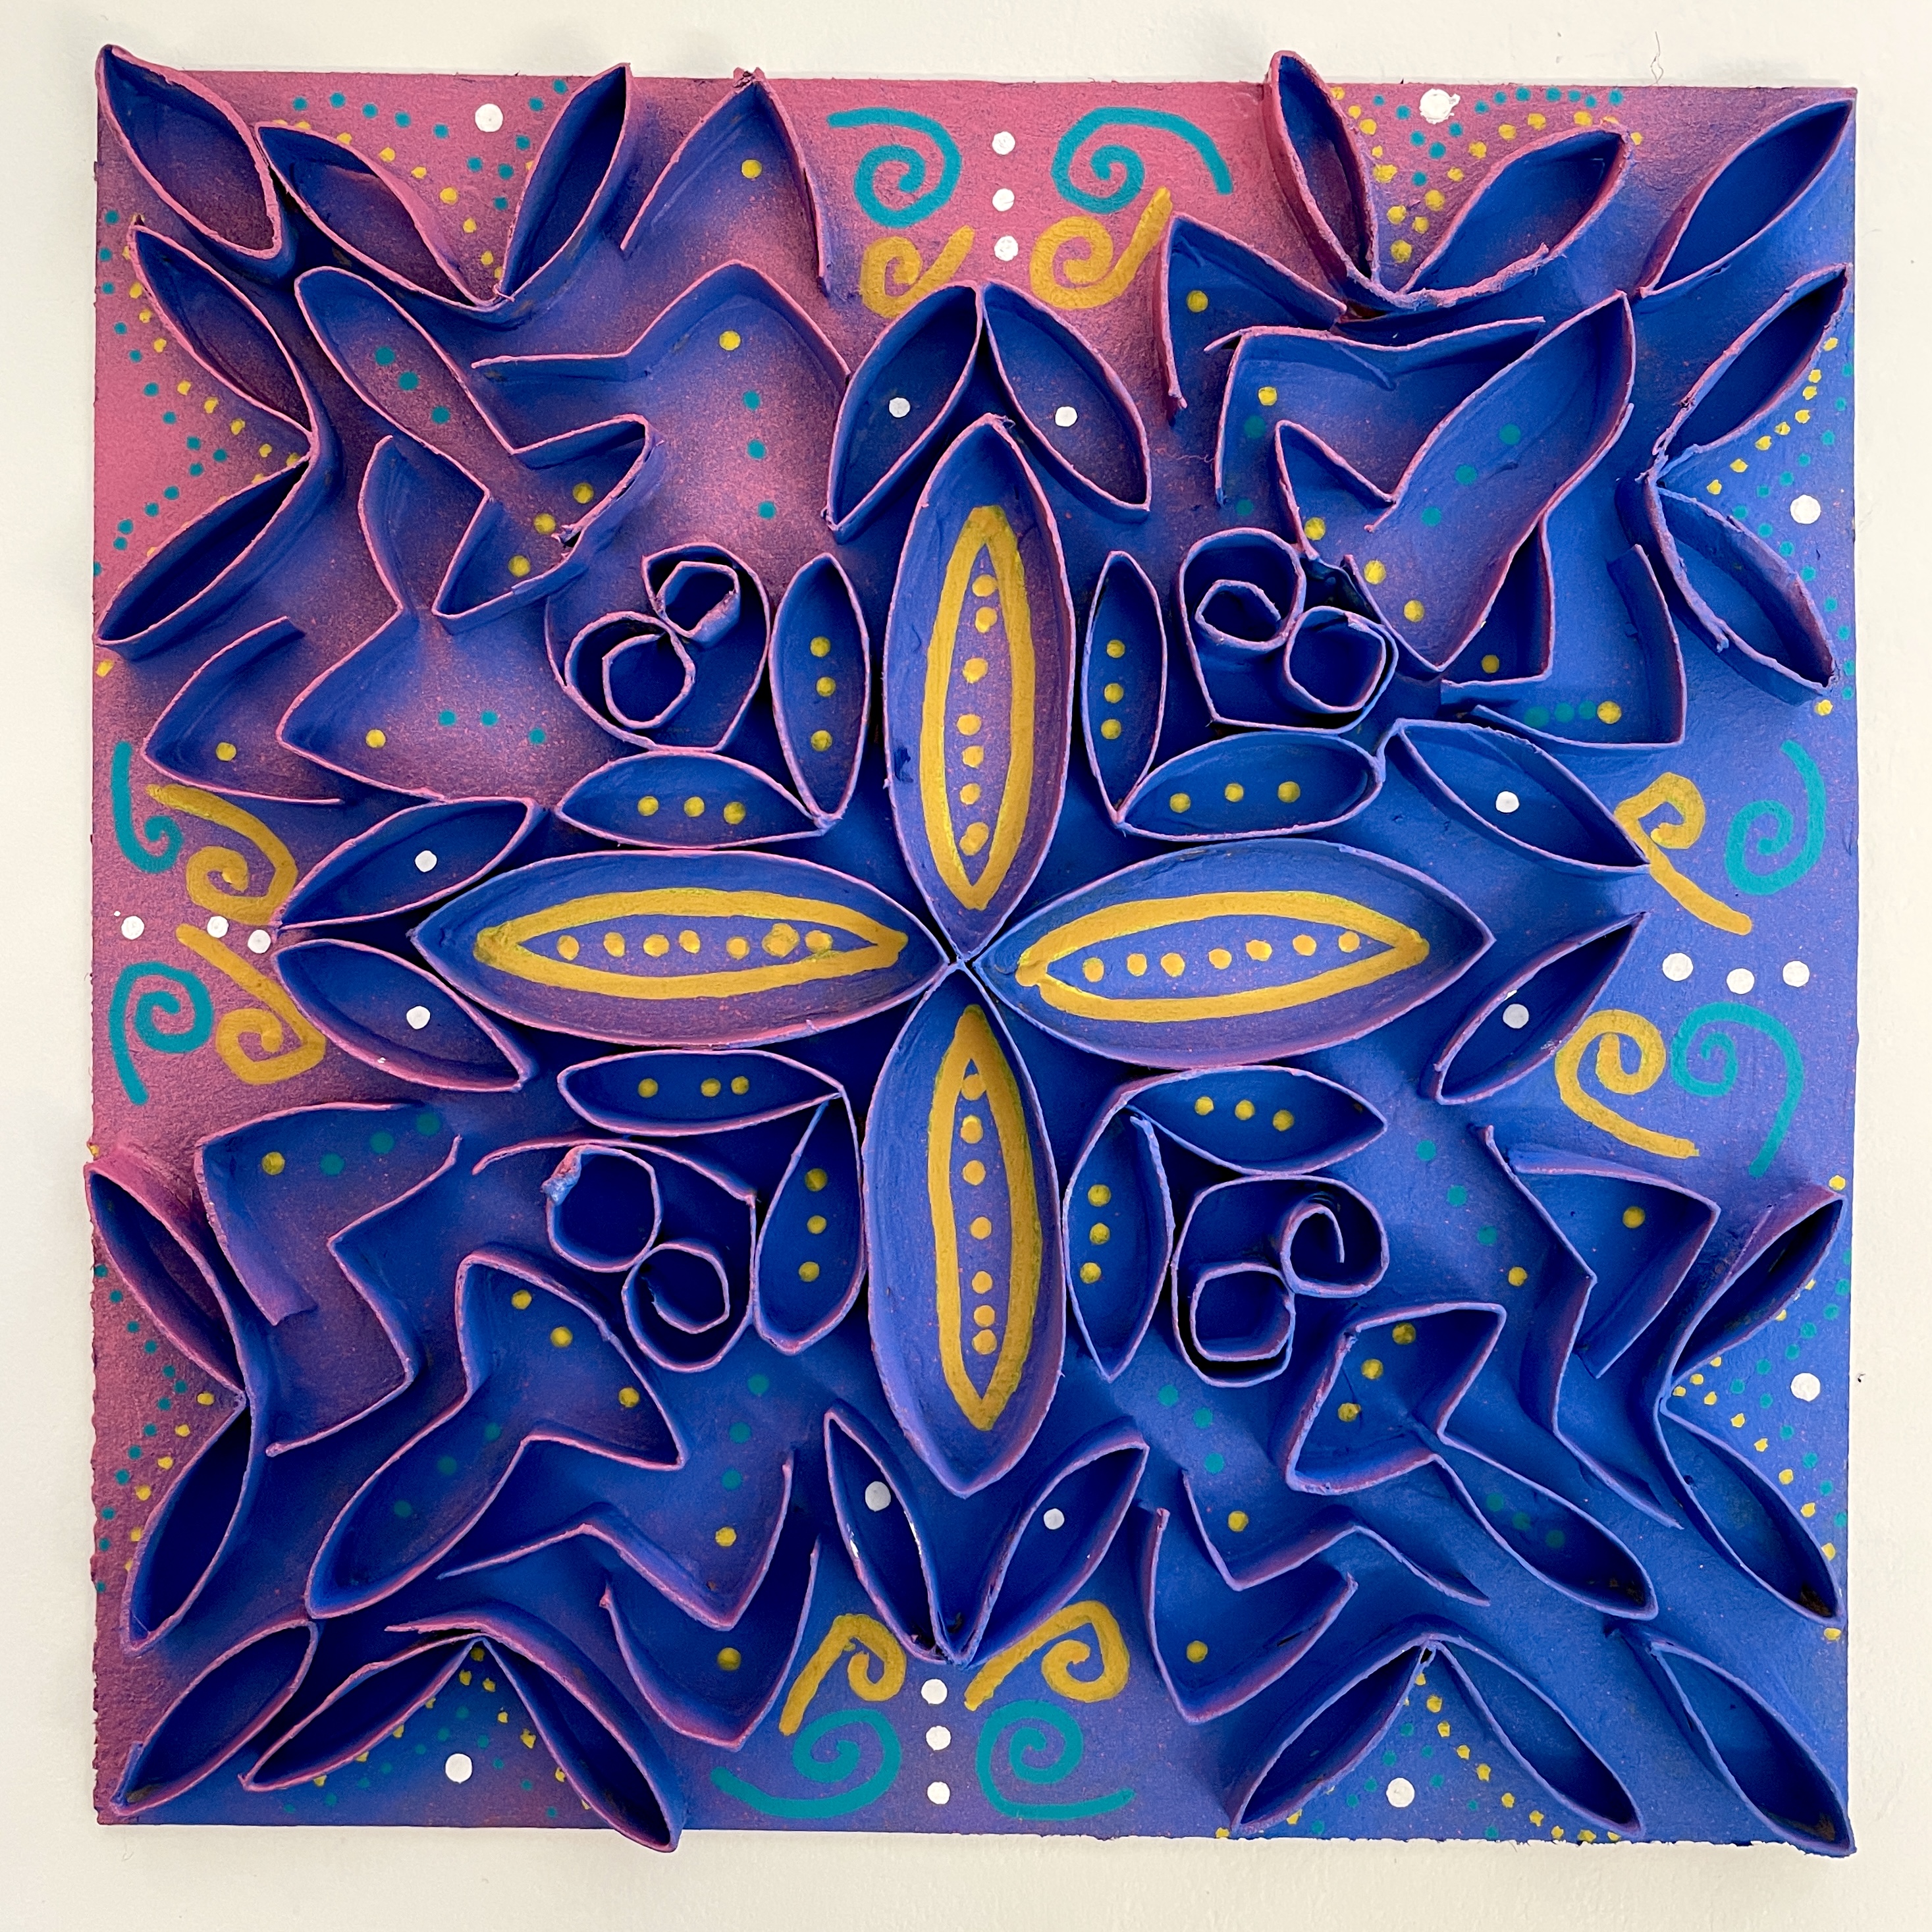
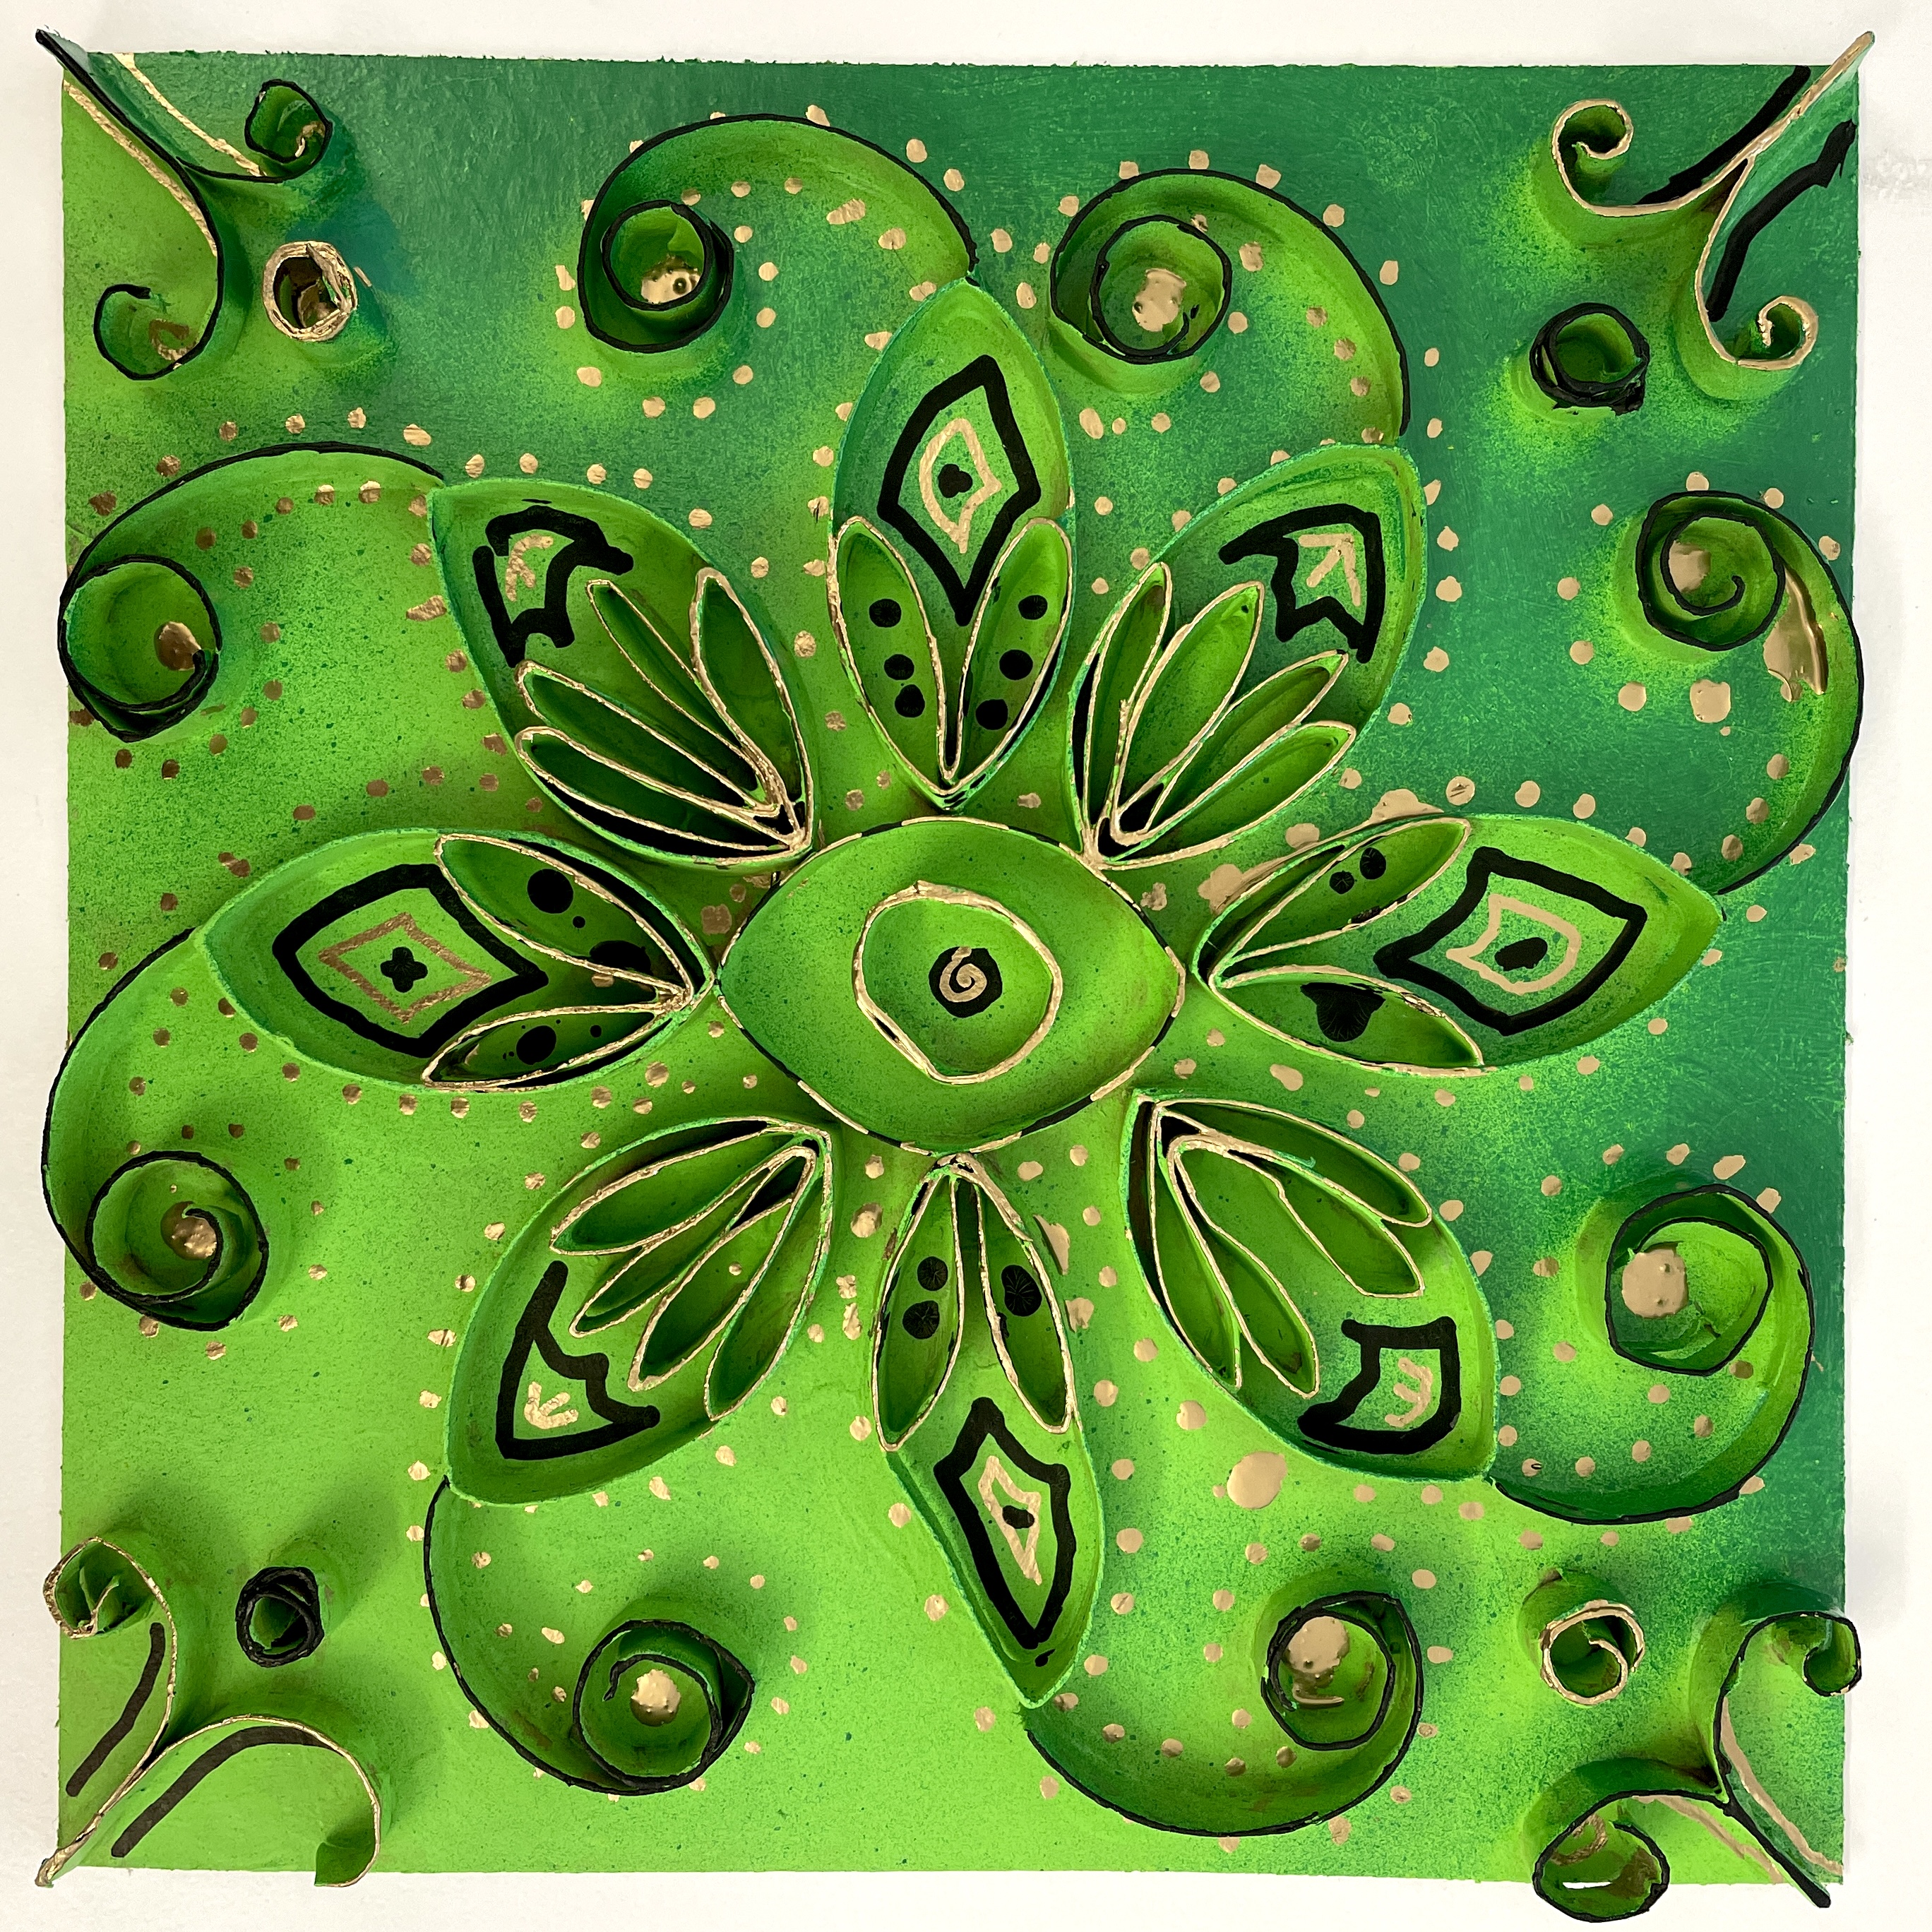
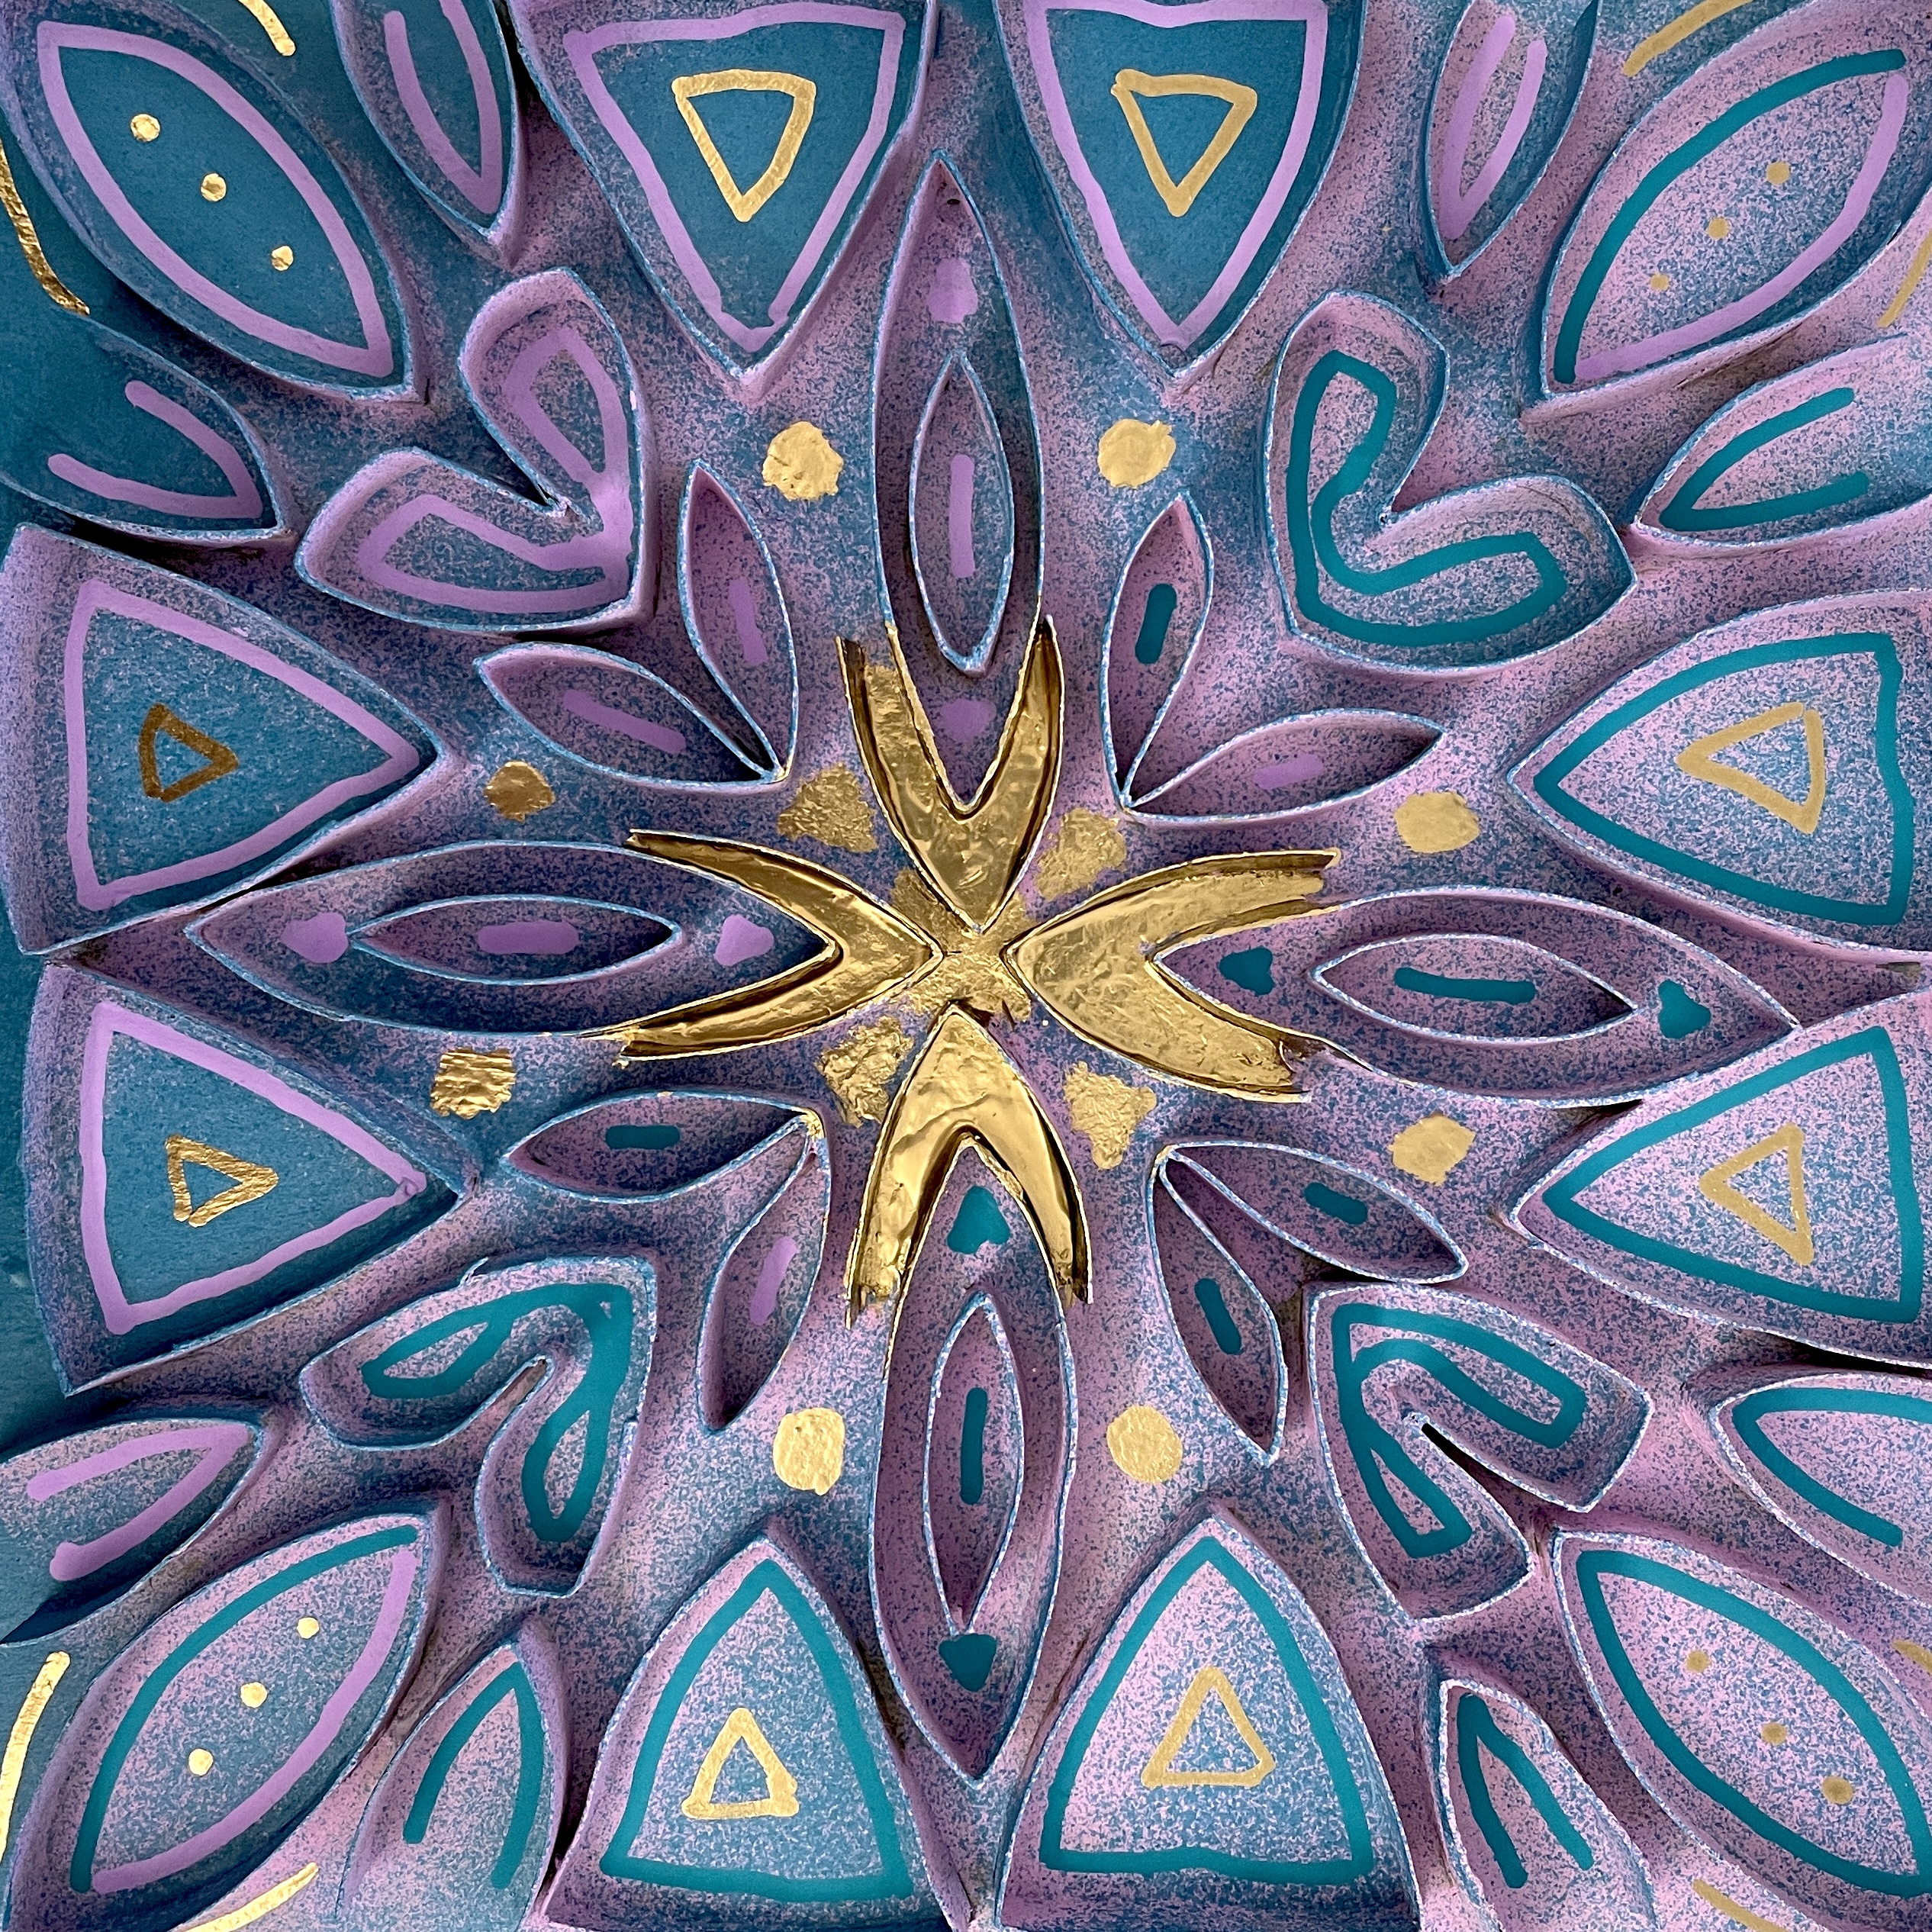
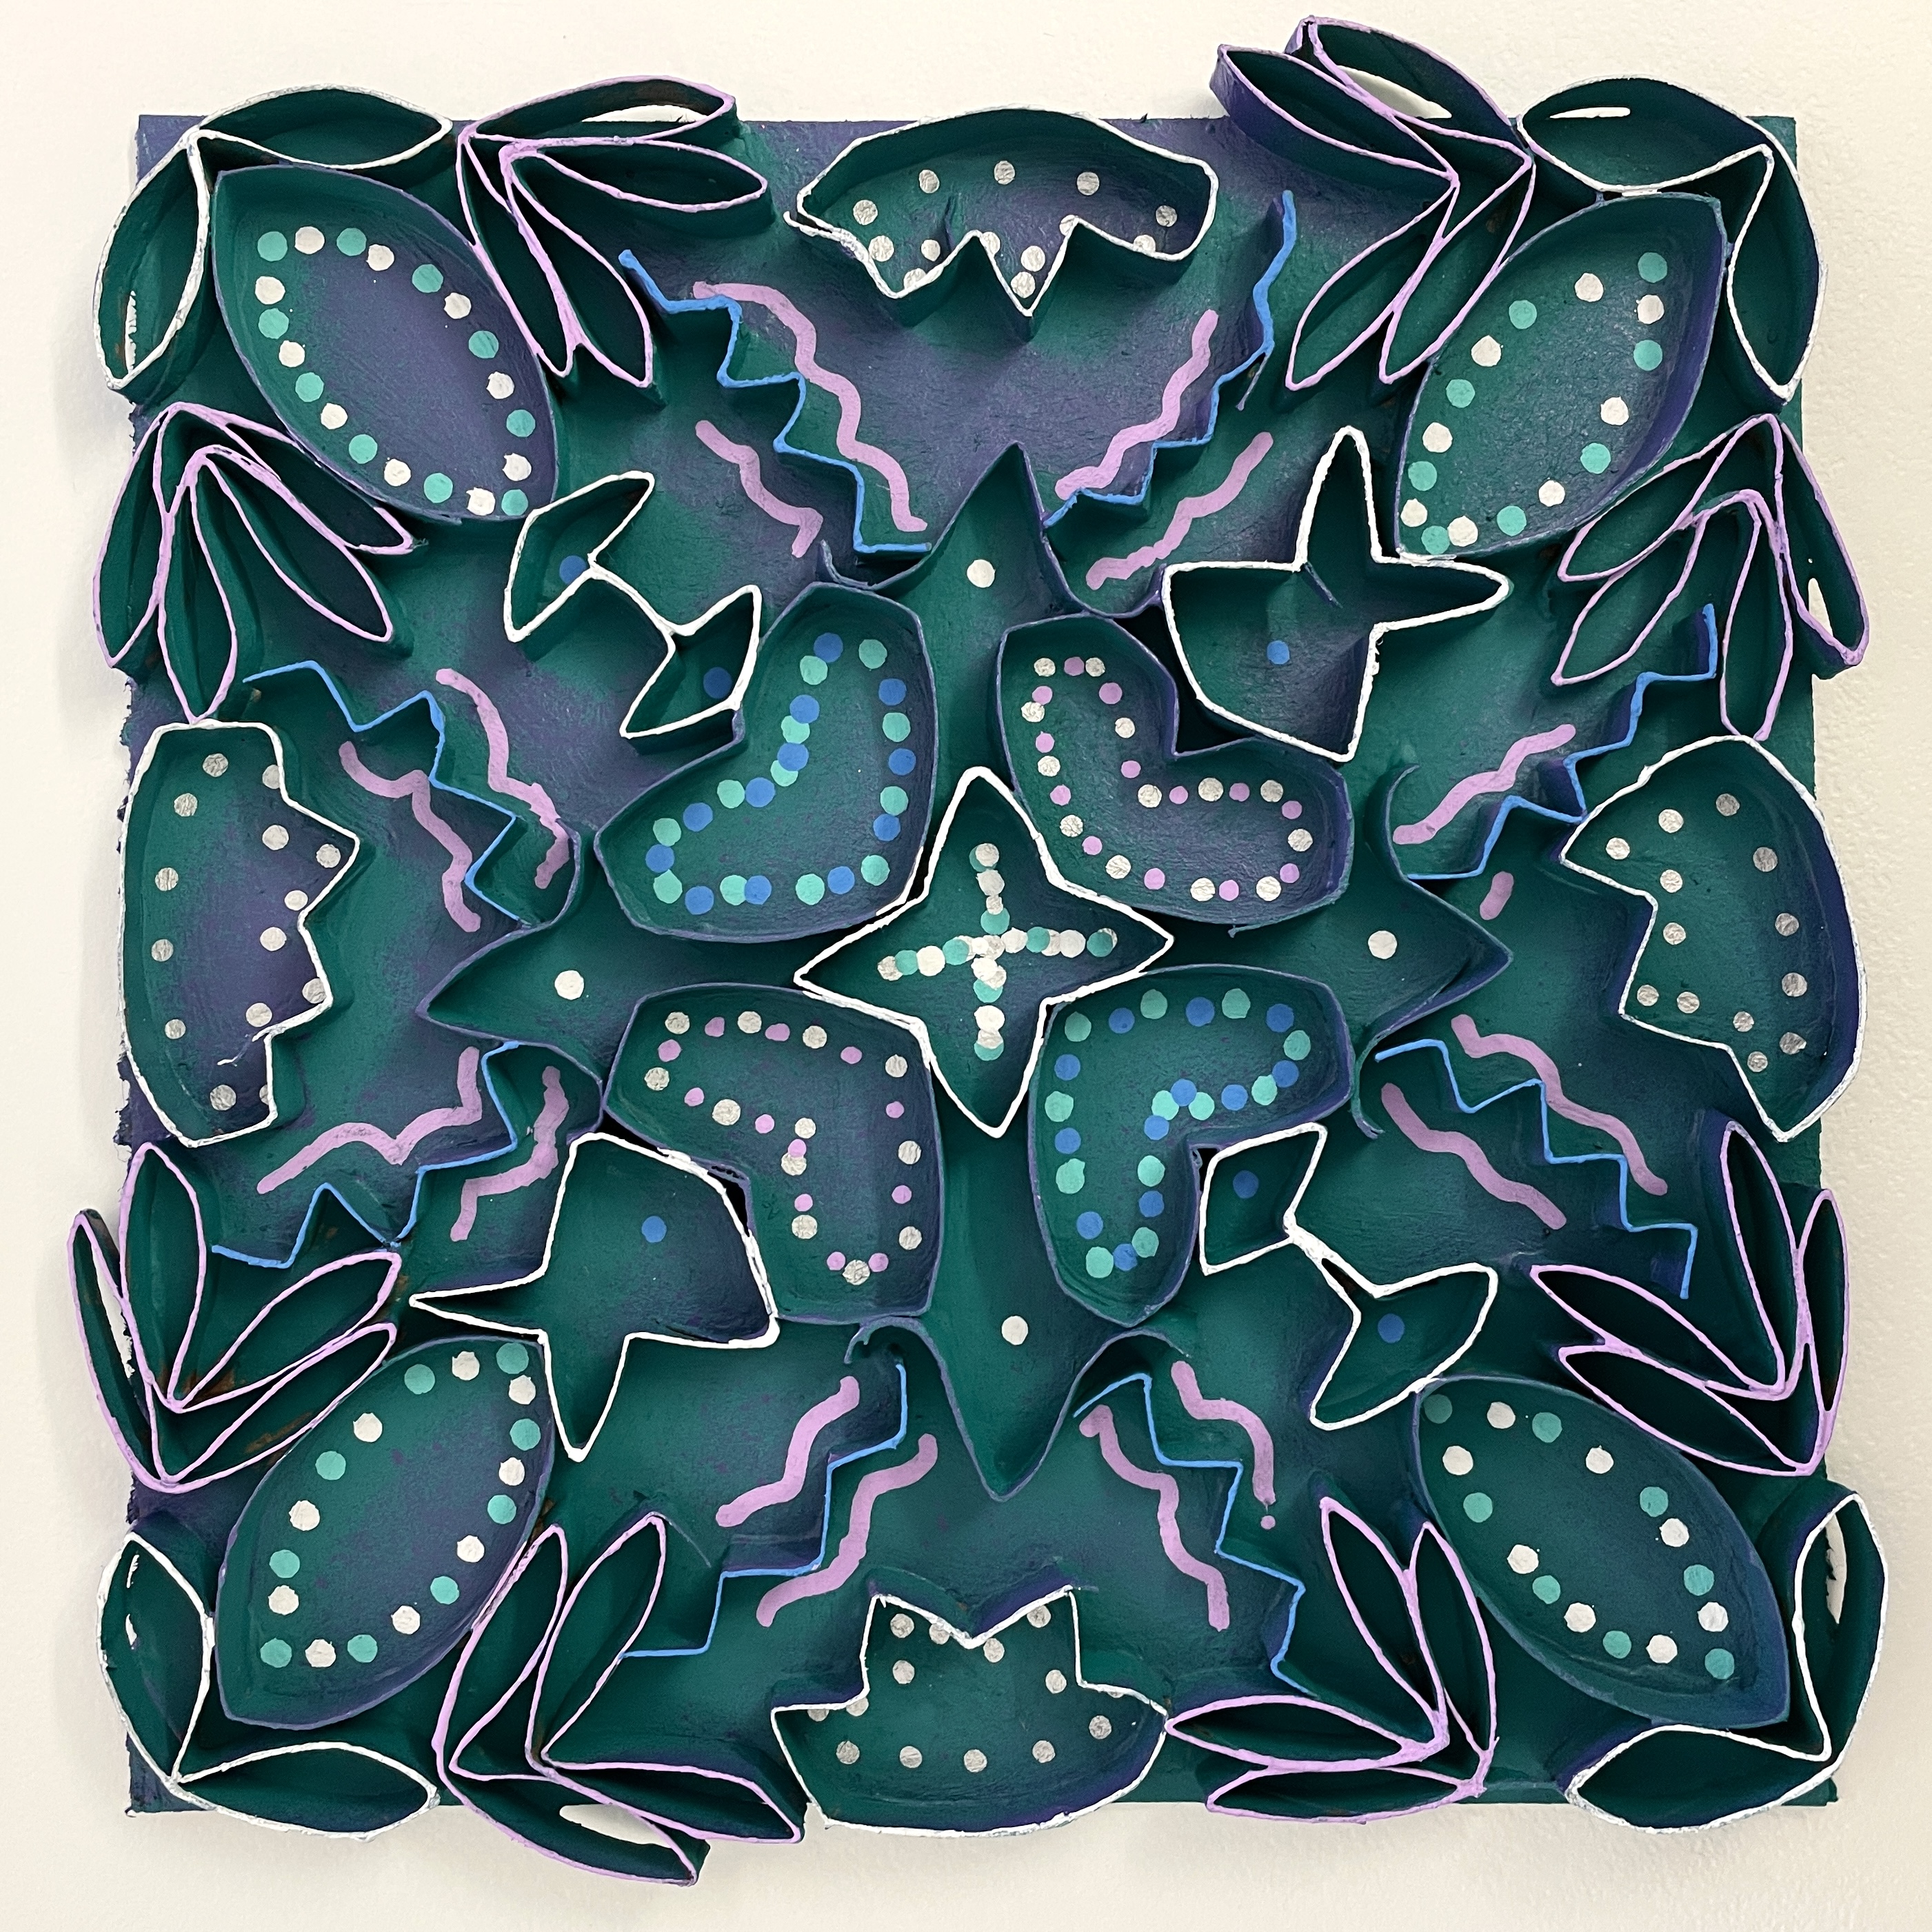
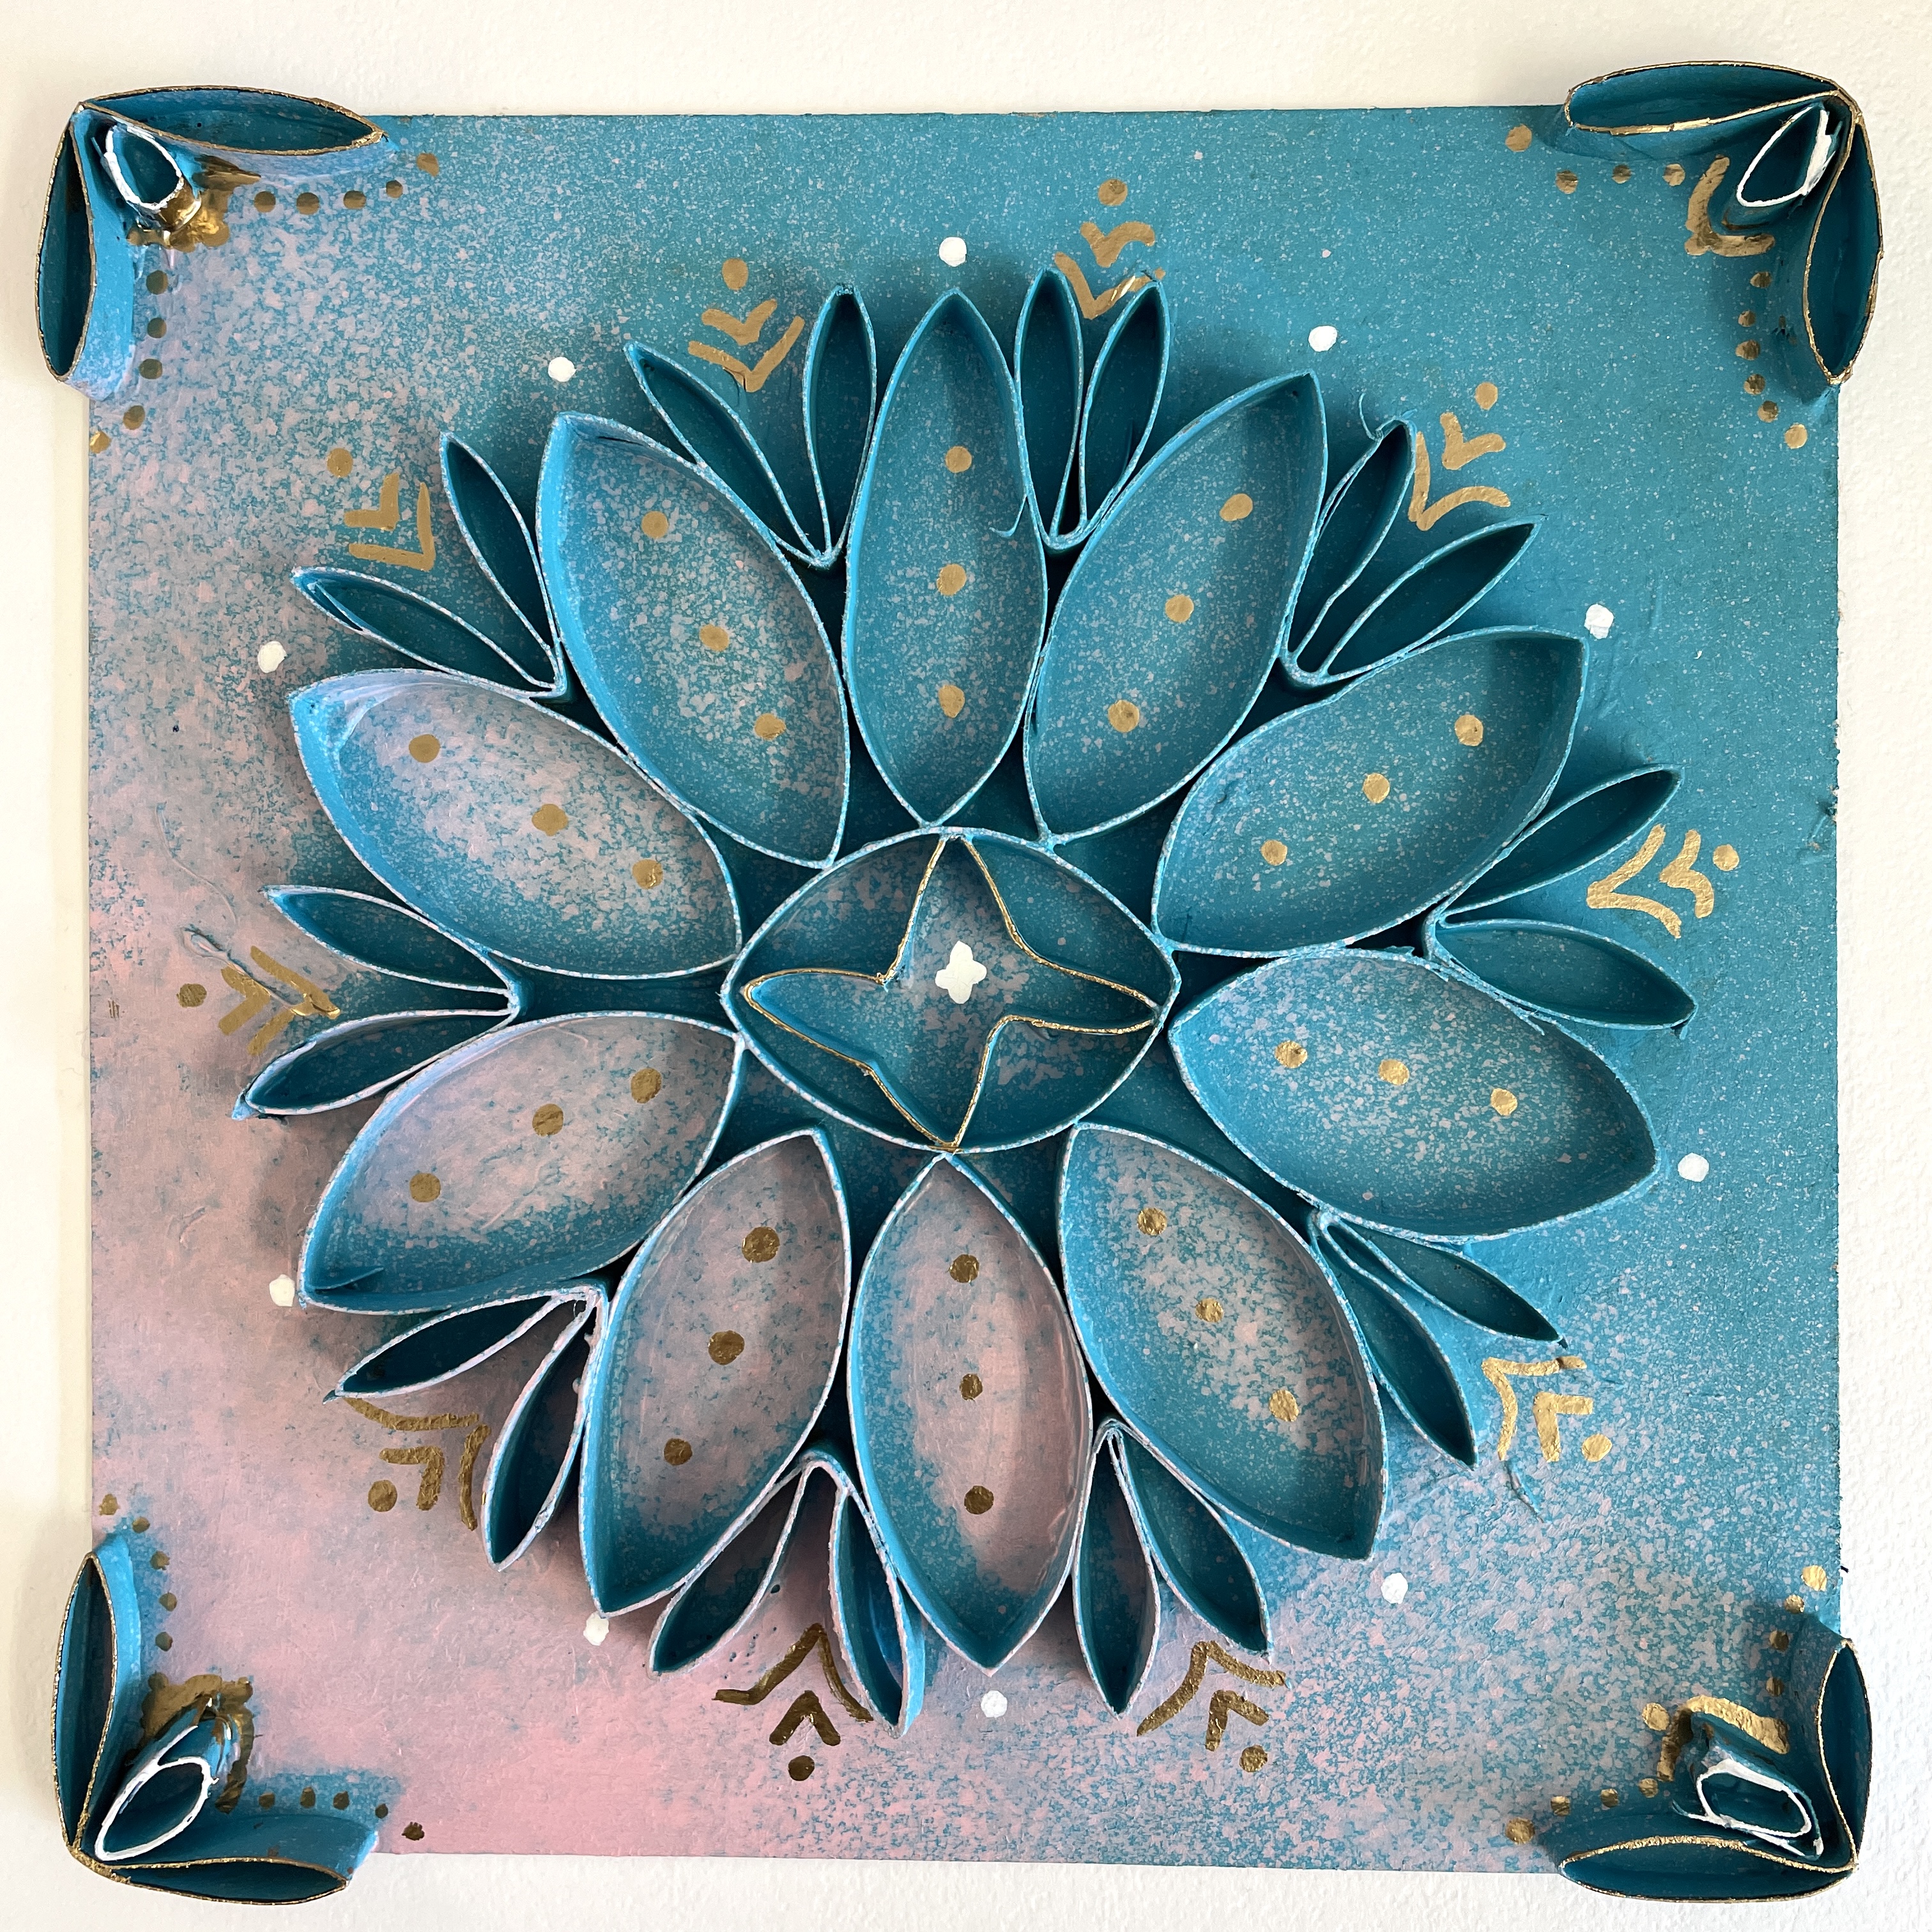
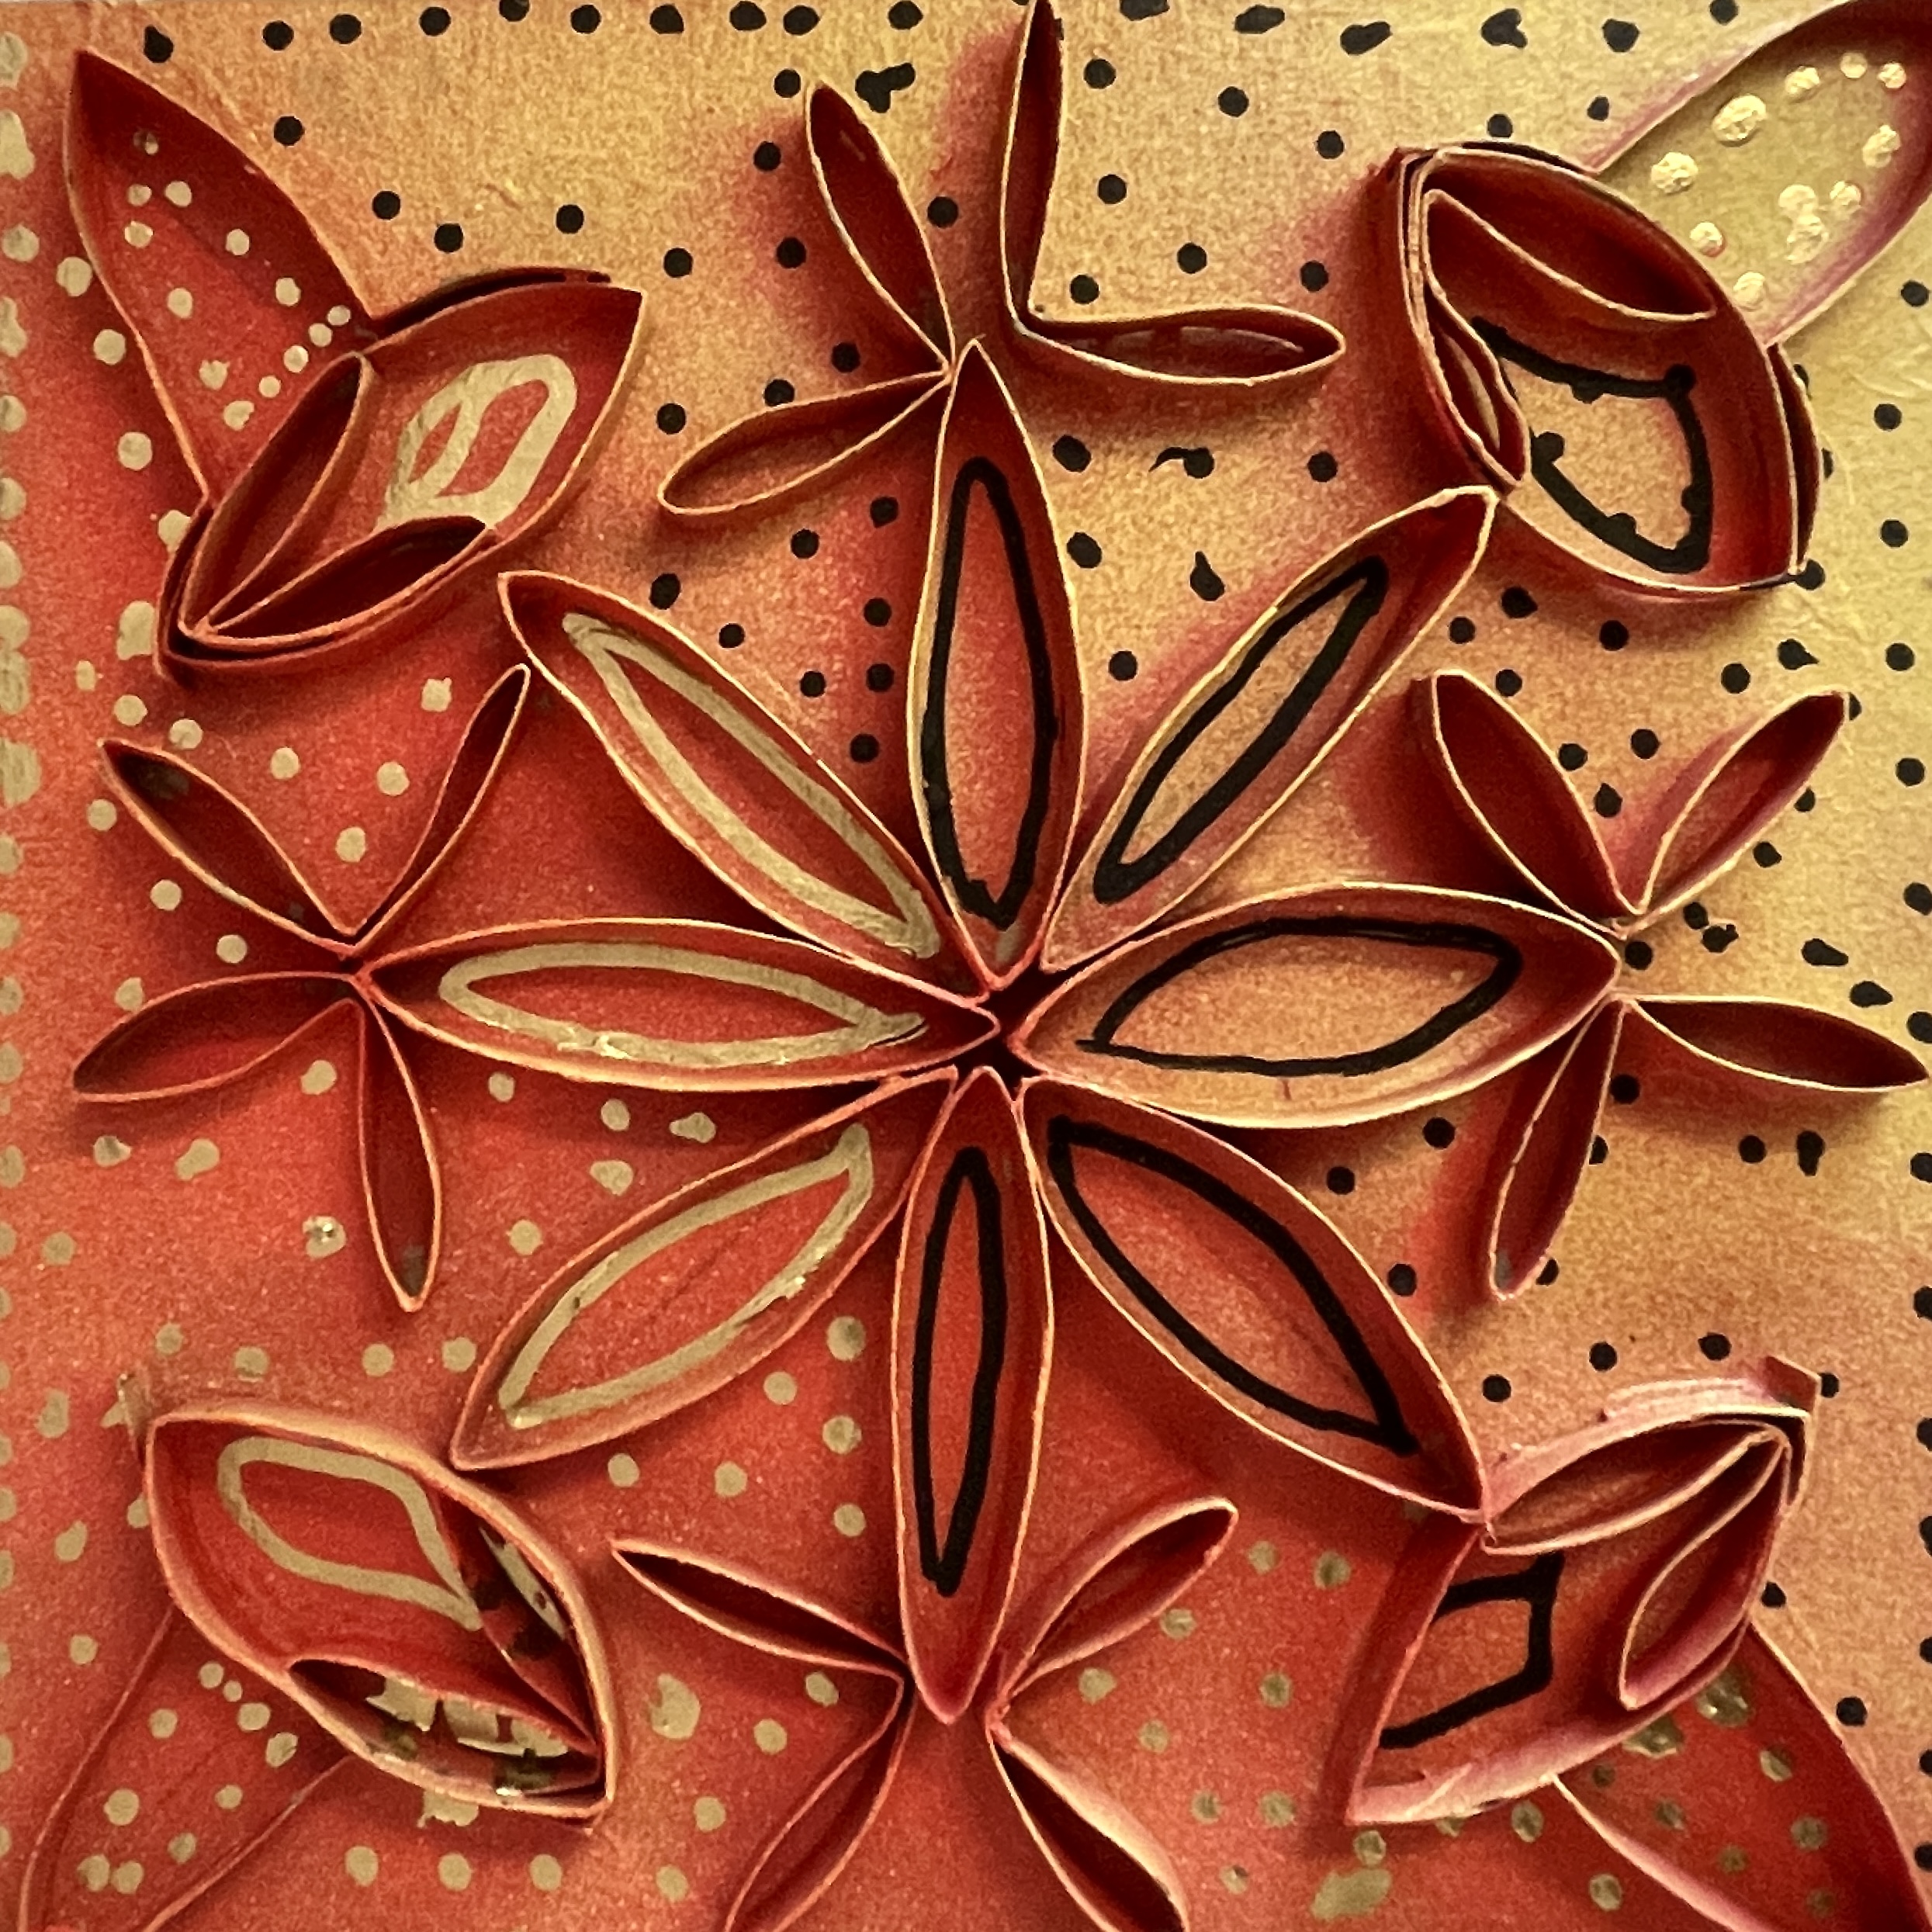
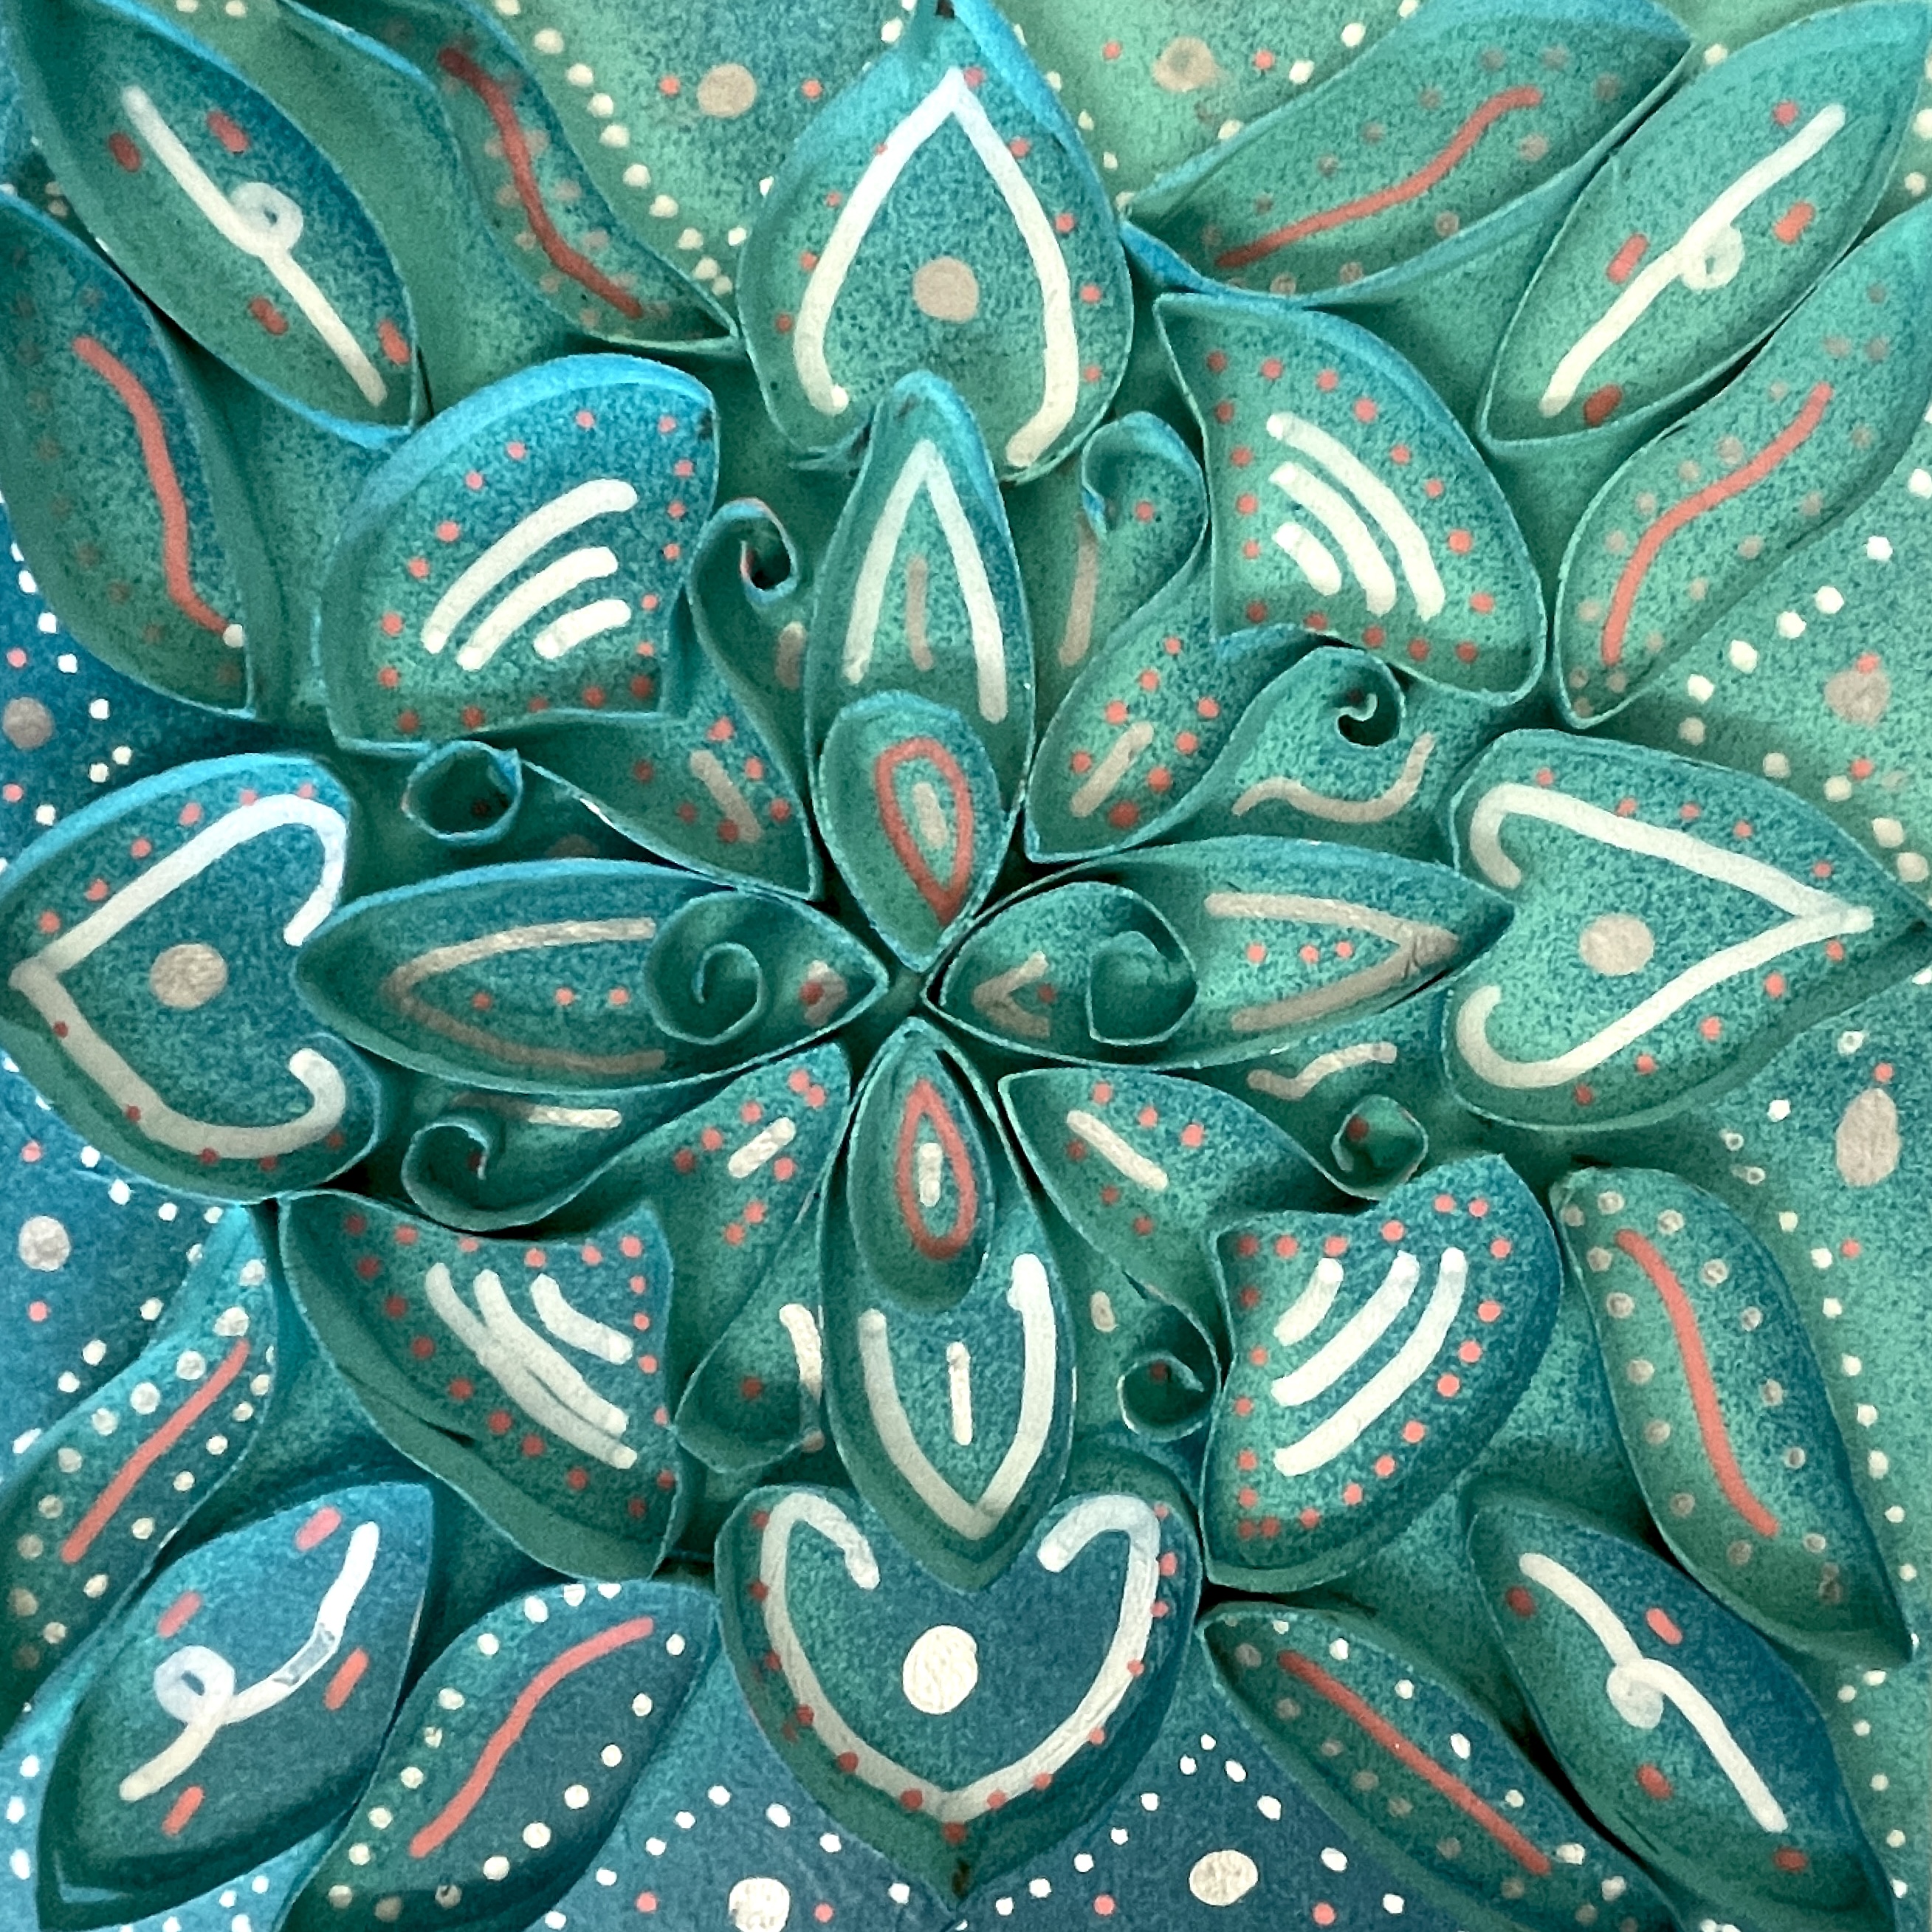
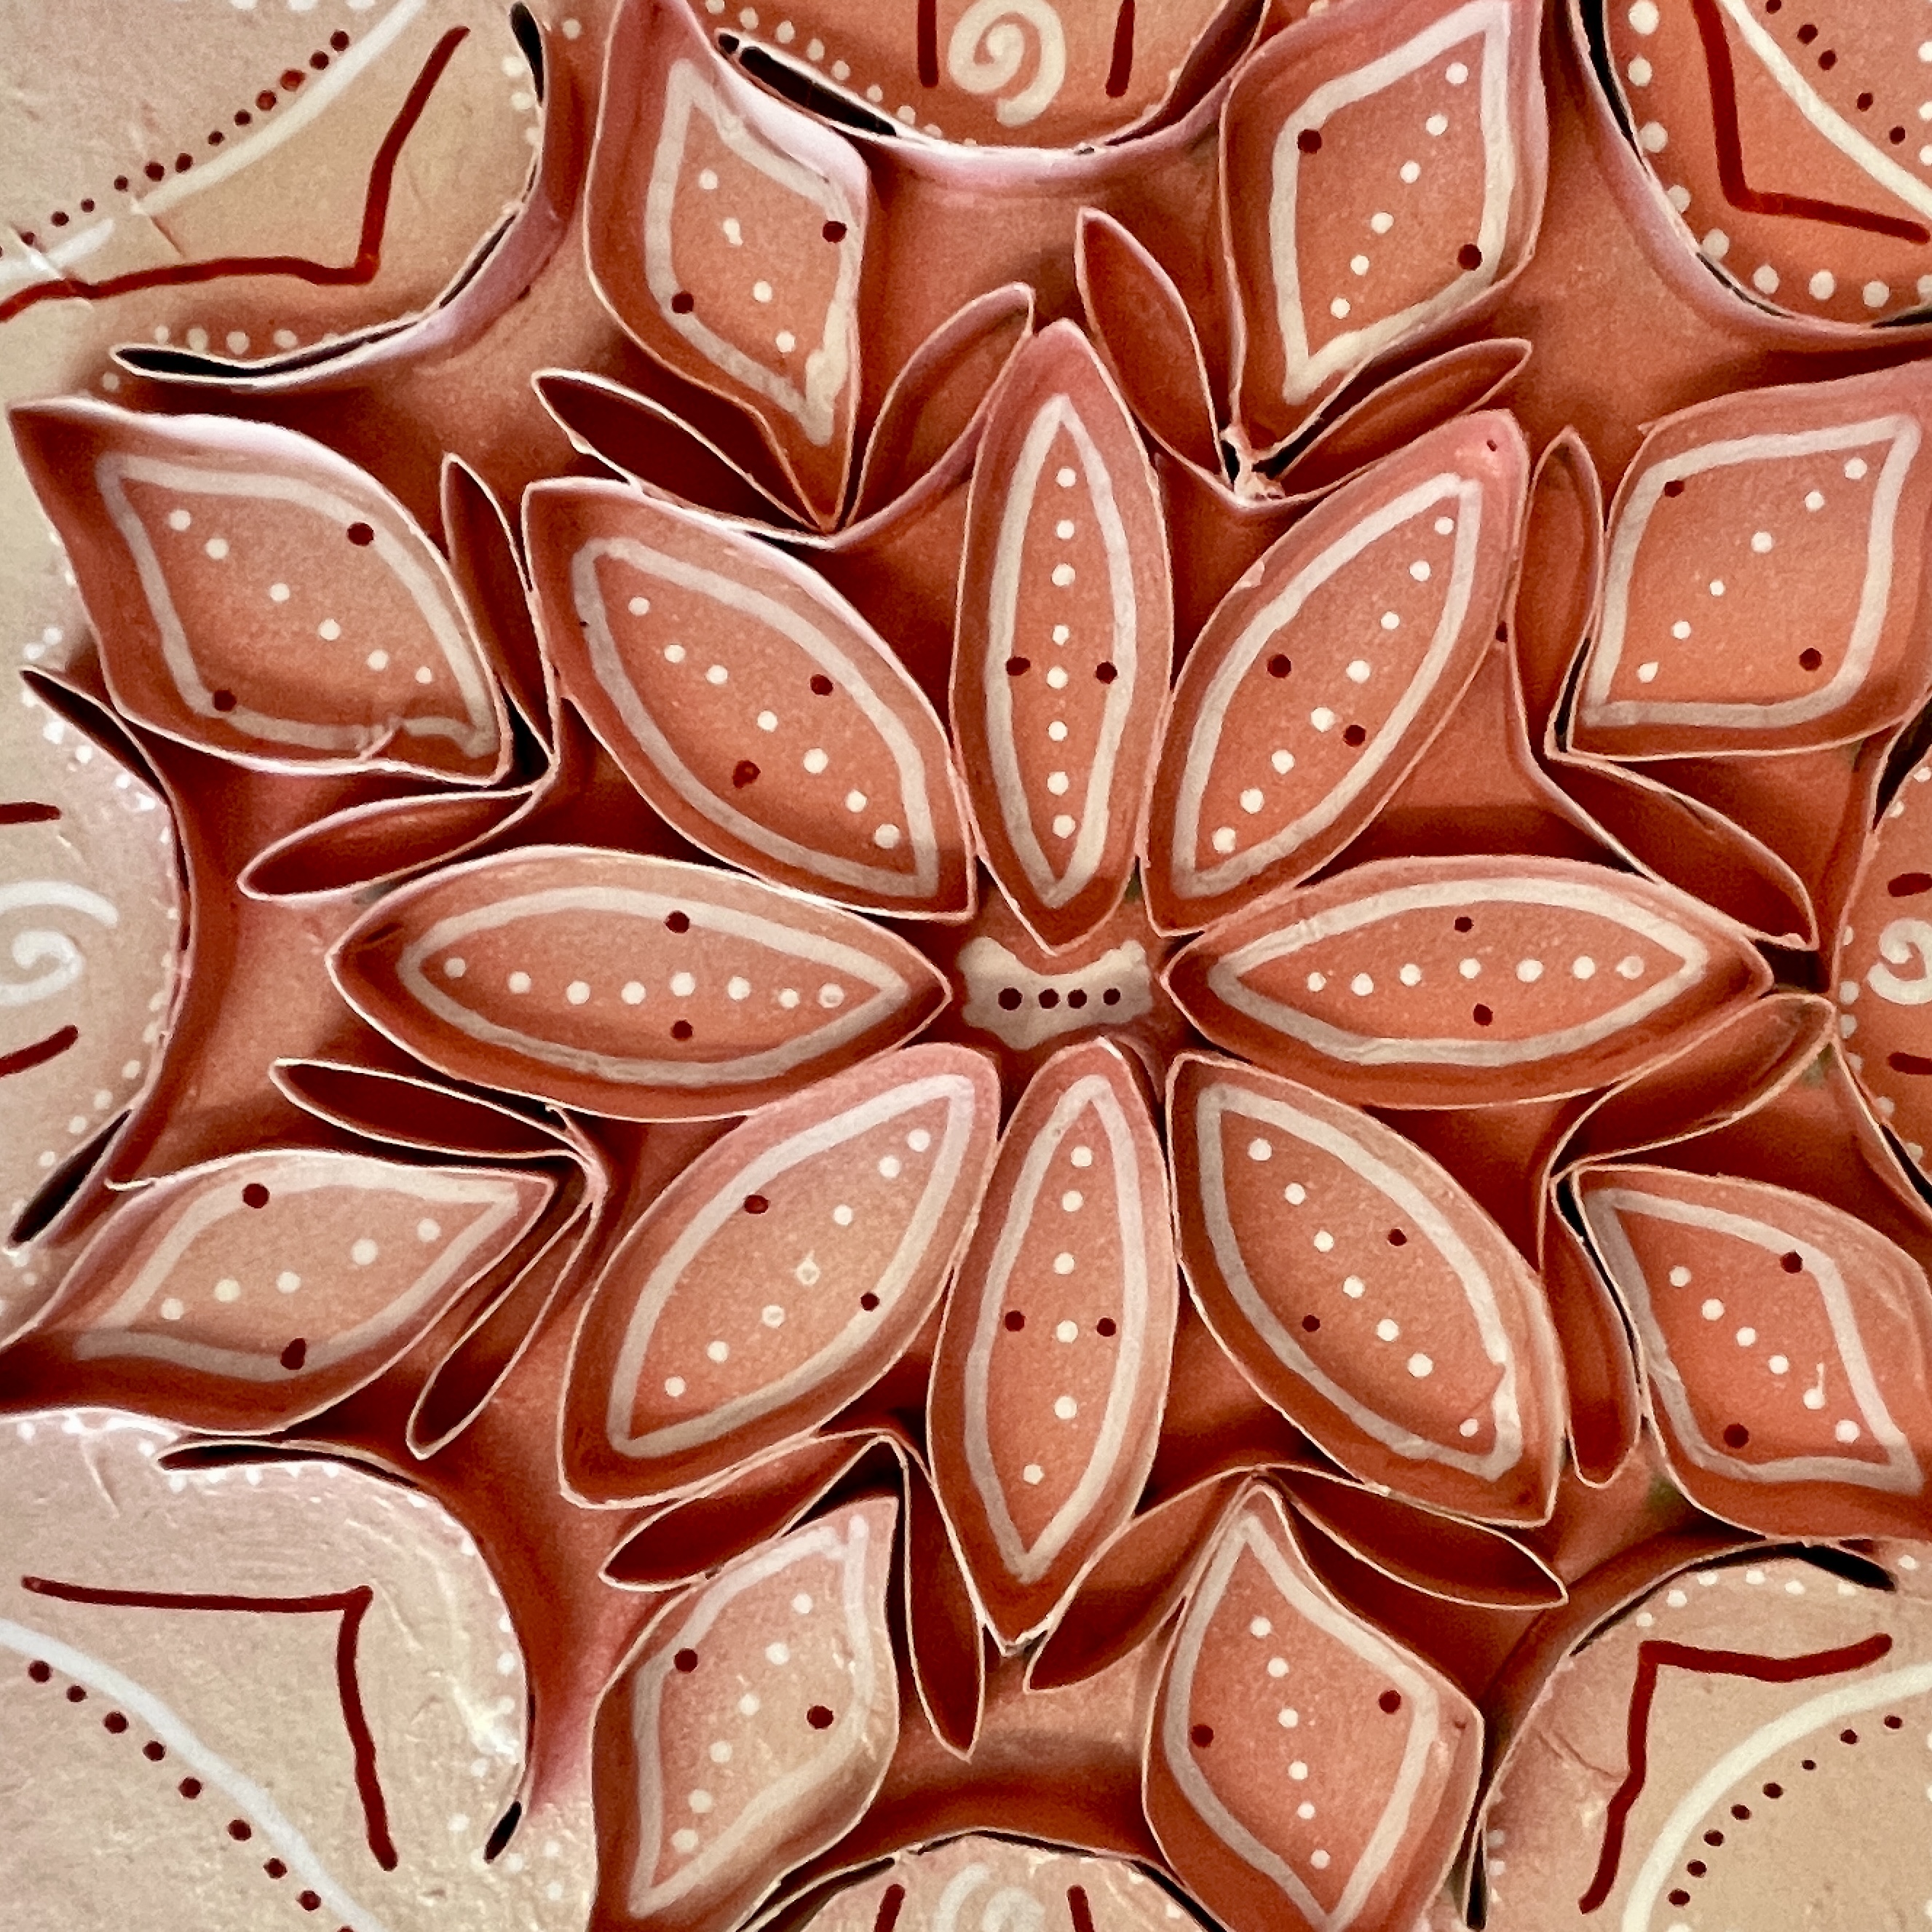
Now that we’ve been back fully in-person for a few years, I’ve amended my expectations for the students, not only challenging them to use more cardboard pieces with more complex shapes and alterations, but I required them to paint their finished sculptures with a single color of acrylic paint BEFORE we spray painted. Now, we only used a single color of spray paint over the solid base color, (sprayed at an angle from one corner,) and the colors remained brighter due to the non-porous surface of the acrylic paint base. I also invested in Uni POSCA brand paint pens, which come in a wide variety of colors and are totally amazing! This year’s results are more vibrant, colorful, and intricate. Minimal or more? You decide what works best for you!


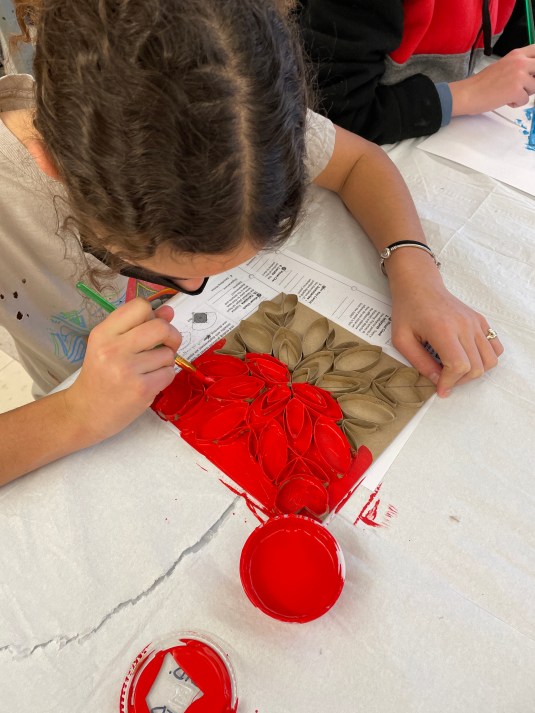

Above are some pictures of sculptures in progress!
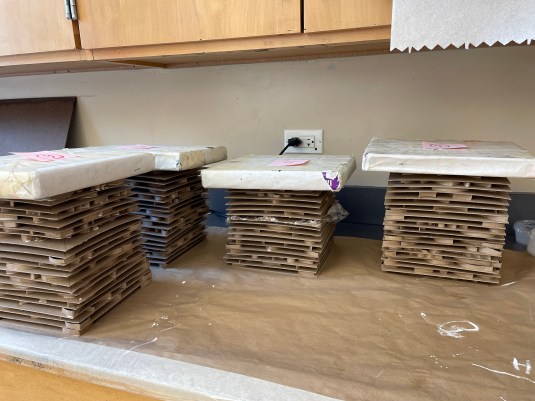
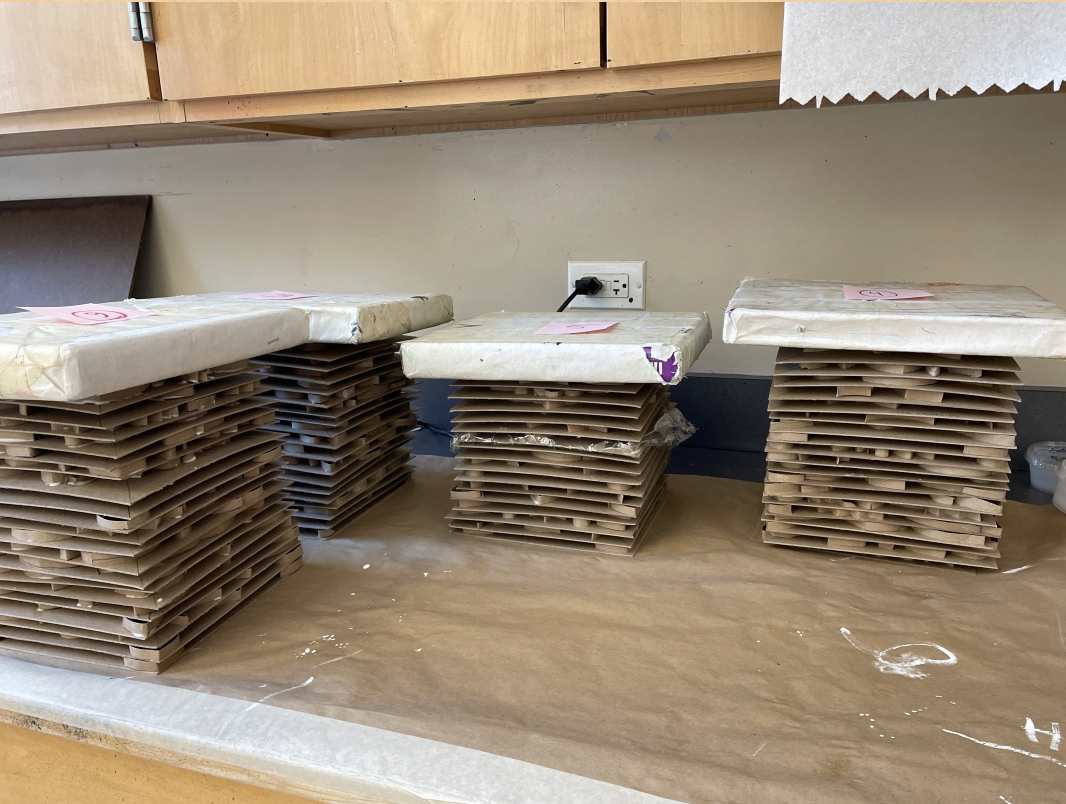
PRO TIP!!!! It’s really important the kids do a good job of marking and cutting the tubes. Having all the pieces the same height will ensure that you can stack them and press them while the glue is drying. I use an old text book on the top of each class pile. (see below!) Also, if the cardboard “bows” a little after you paint with the acrylic, you can mist the back with water and re-press over night and it will flatten out nicely!
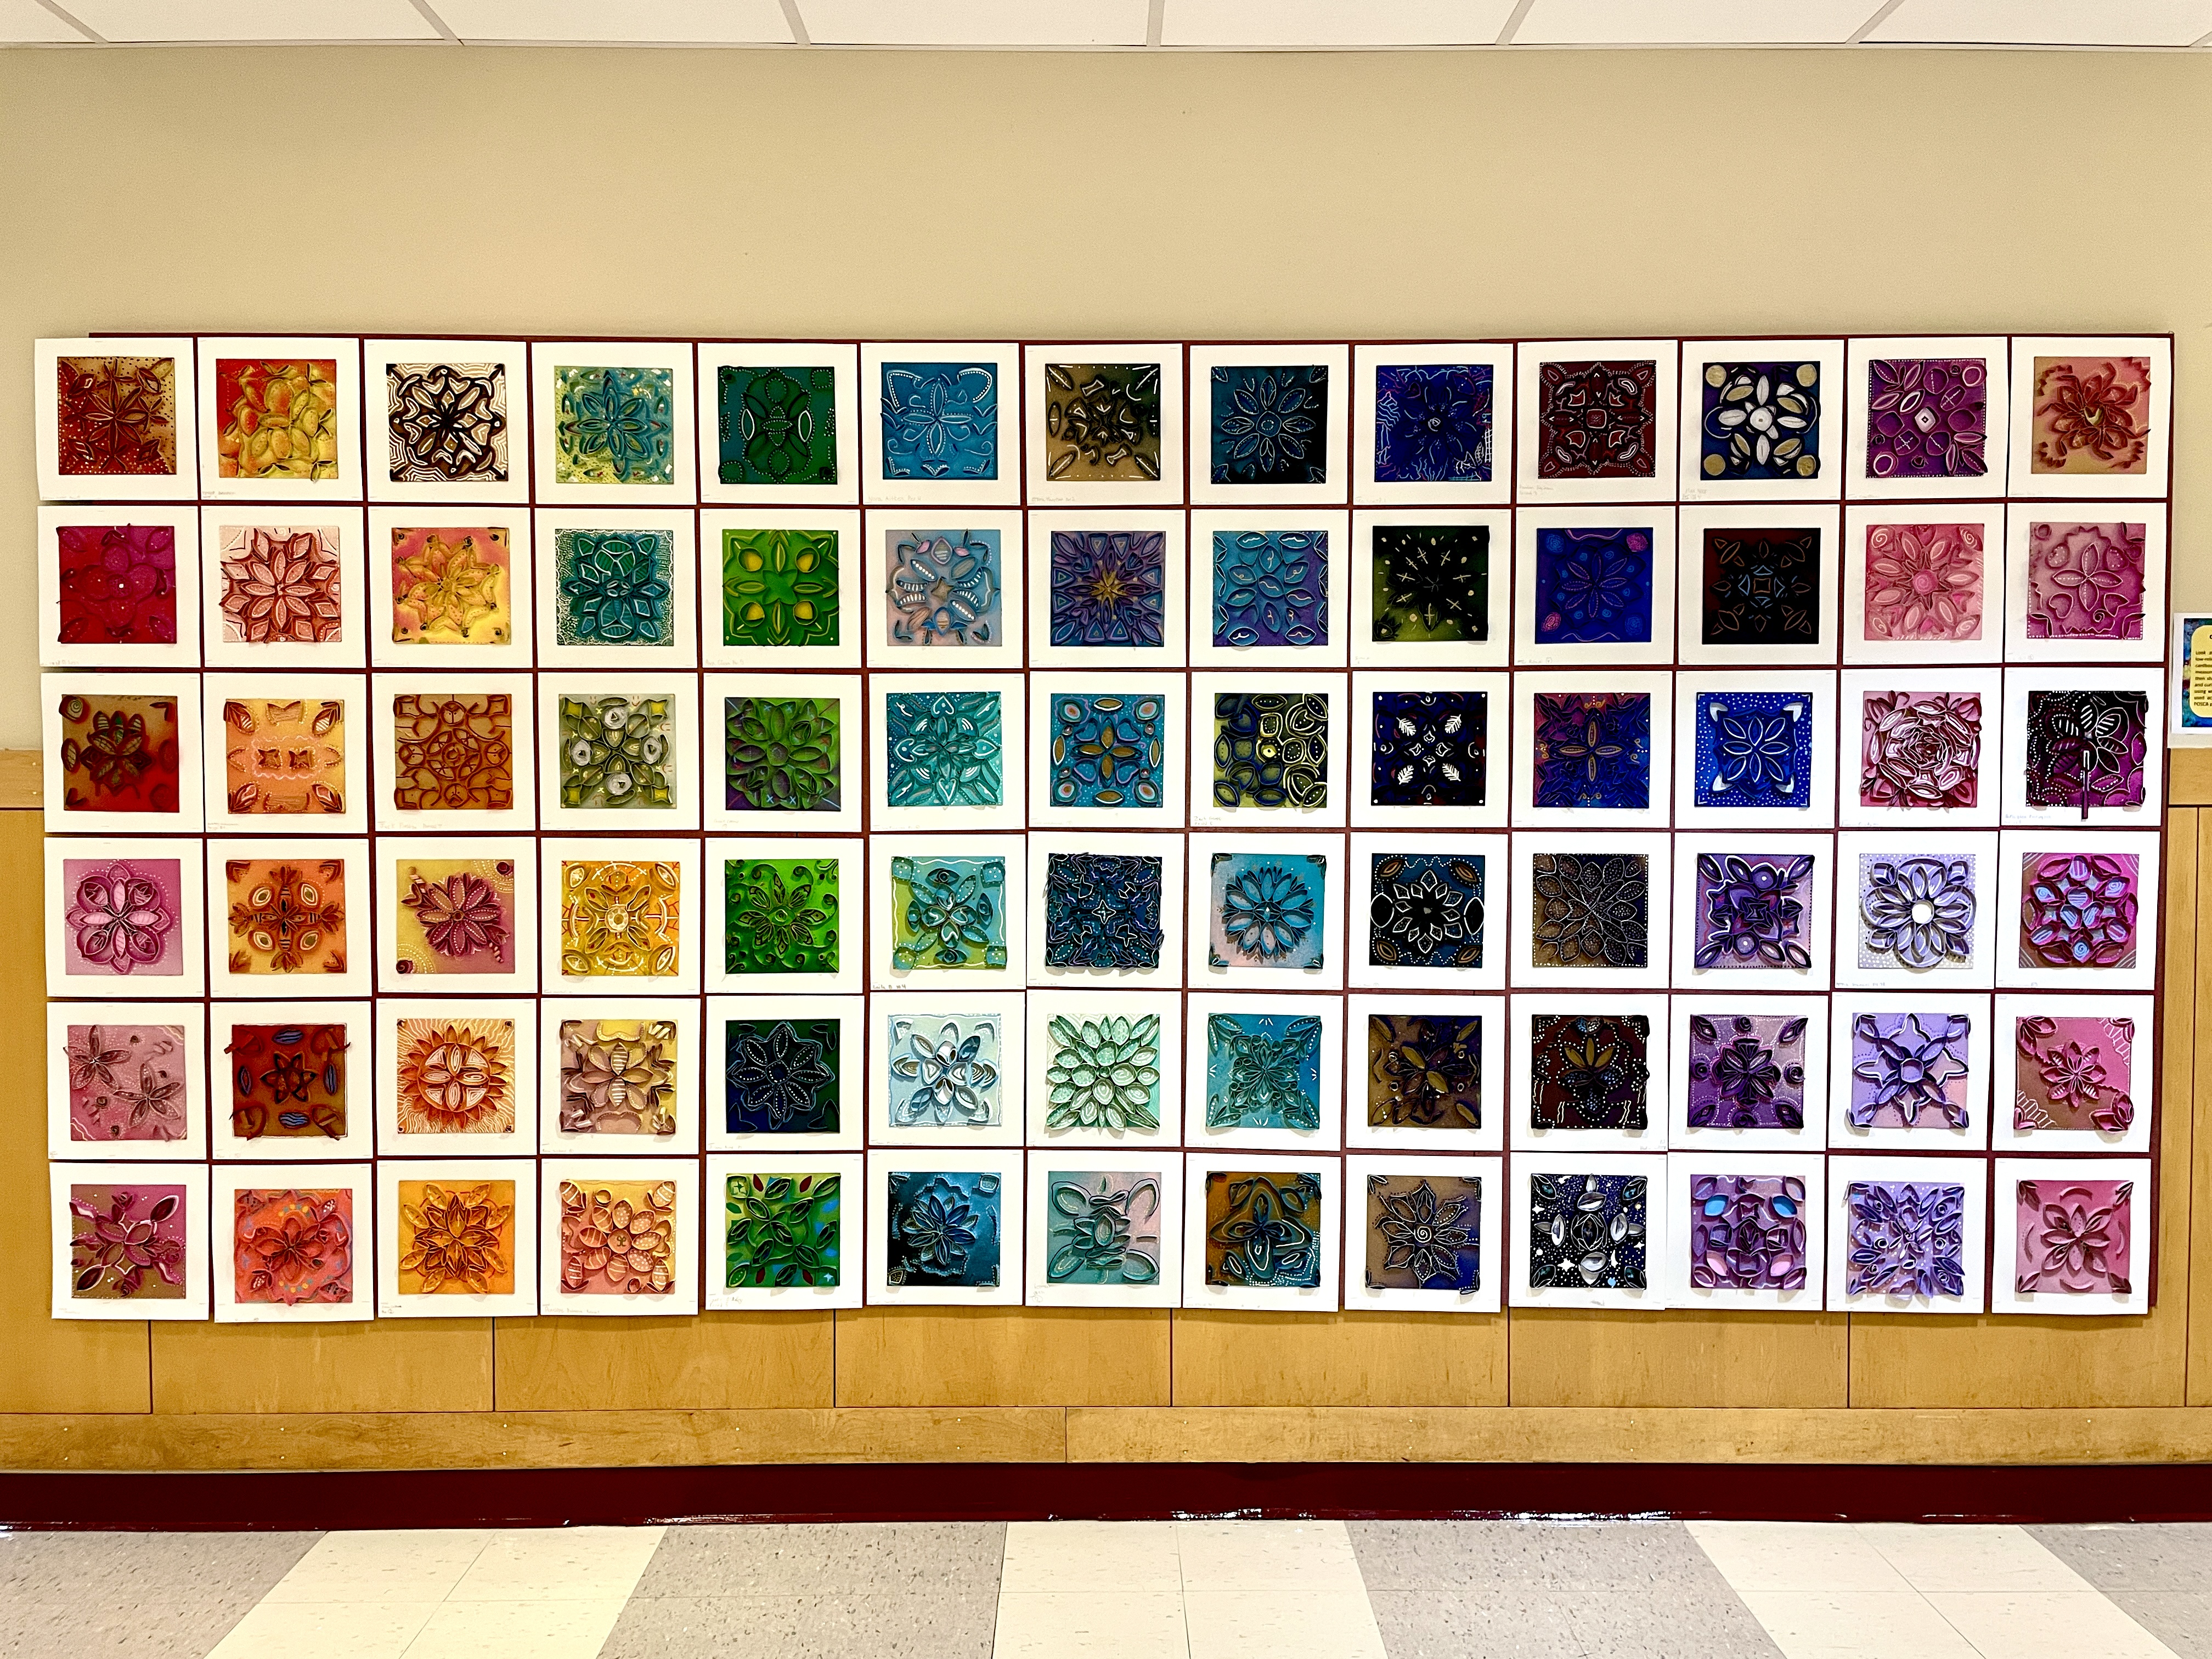
I just love the look of these pieces together, and our hall display looks amazing!


Jan 05, 2024 @ 23:38:35
Hi there! I love this project and would love to try with my 6th graders! I was wondering though, how many students did you do this with? And how much spray paint/markers did you need? I have 150 students and I’m worried about the cost of buying enough paint and markers. Thank you so much!
Jan 09, 2024 @ 22:07:34
Hi! I purchased 7 to 8 cans of spray paint and they have lasted me several years. Now that I have the kids paint a base color with acrylic, it takes very little spray paint to create a two color effect. The hardest thing is collecting enough tubes for over 100 kids, ha ha! Also, with the paint markers, you can get by with one or two sets and just have the kids take one at a time and return it before choosing a second color.
Mar 17, 2024 @ 03:14:17
Did you use hot glue or liquid glue to attach the tube pieces. Did the students have any trouble with the pieces staying attached?
Mar 18, 2024 @ 19:10:25
Elmers glue, then stack them and weight them with a heavy book to dry flat.
May 04, 2024 @ 06:14:56
Love this project! About how much dry time is required for the glue step and also the acrylic and spray paint step? Thank you!
May 04, 2024 @ 17:49:35
Each one requires overnight drying, but no more!
Oct 11, 2024 @ 01:23:00
Hi! What type of paper did you use for the base? I’m assuming it is something sturdy. Wondering if we can use cardboard too.
Oct 11, 2024 @ 17:03:21
I use economy mat board, and yes: It has to be sturdy! Chipboard or corrugated cardboard woud work well, or even fome core! Absolutely important to weight them when their drying. See pic in post!
Oct 24, 2024 @ 21:54:18
Love them! How did you handle the spray painting? Did you do outside or under a vent..?
Oct 24, 2024 @ 21:57:48
This is the one step I do myself. The kids choose the color, then I sort them by batch and bring them outside after school to give them a quick shot of color. Since they paint a base color first, the spray is minimal—just enough to create a two-tone effect.
Apr 16, 2026 @ 05:52:31
Hello. I am starting this with my students tomorrow. They will only have acrylic paints (no spray paint). Do you think they need to gesso first? Will the acrylic crack without it?
Apr 16, 2026 @ 17:04:04
No gesso required! I don’t use it. If your pieces curl a little, mist the back with water when they’re done, layer some scrap paper in between, (I use recycled copies) and press them under a heavy book over night.
Apr 17, 2026 @ 22:20:27
Thanks so much for the quick response! I appreciate you and your sharing of work so much!