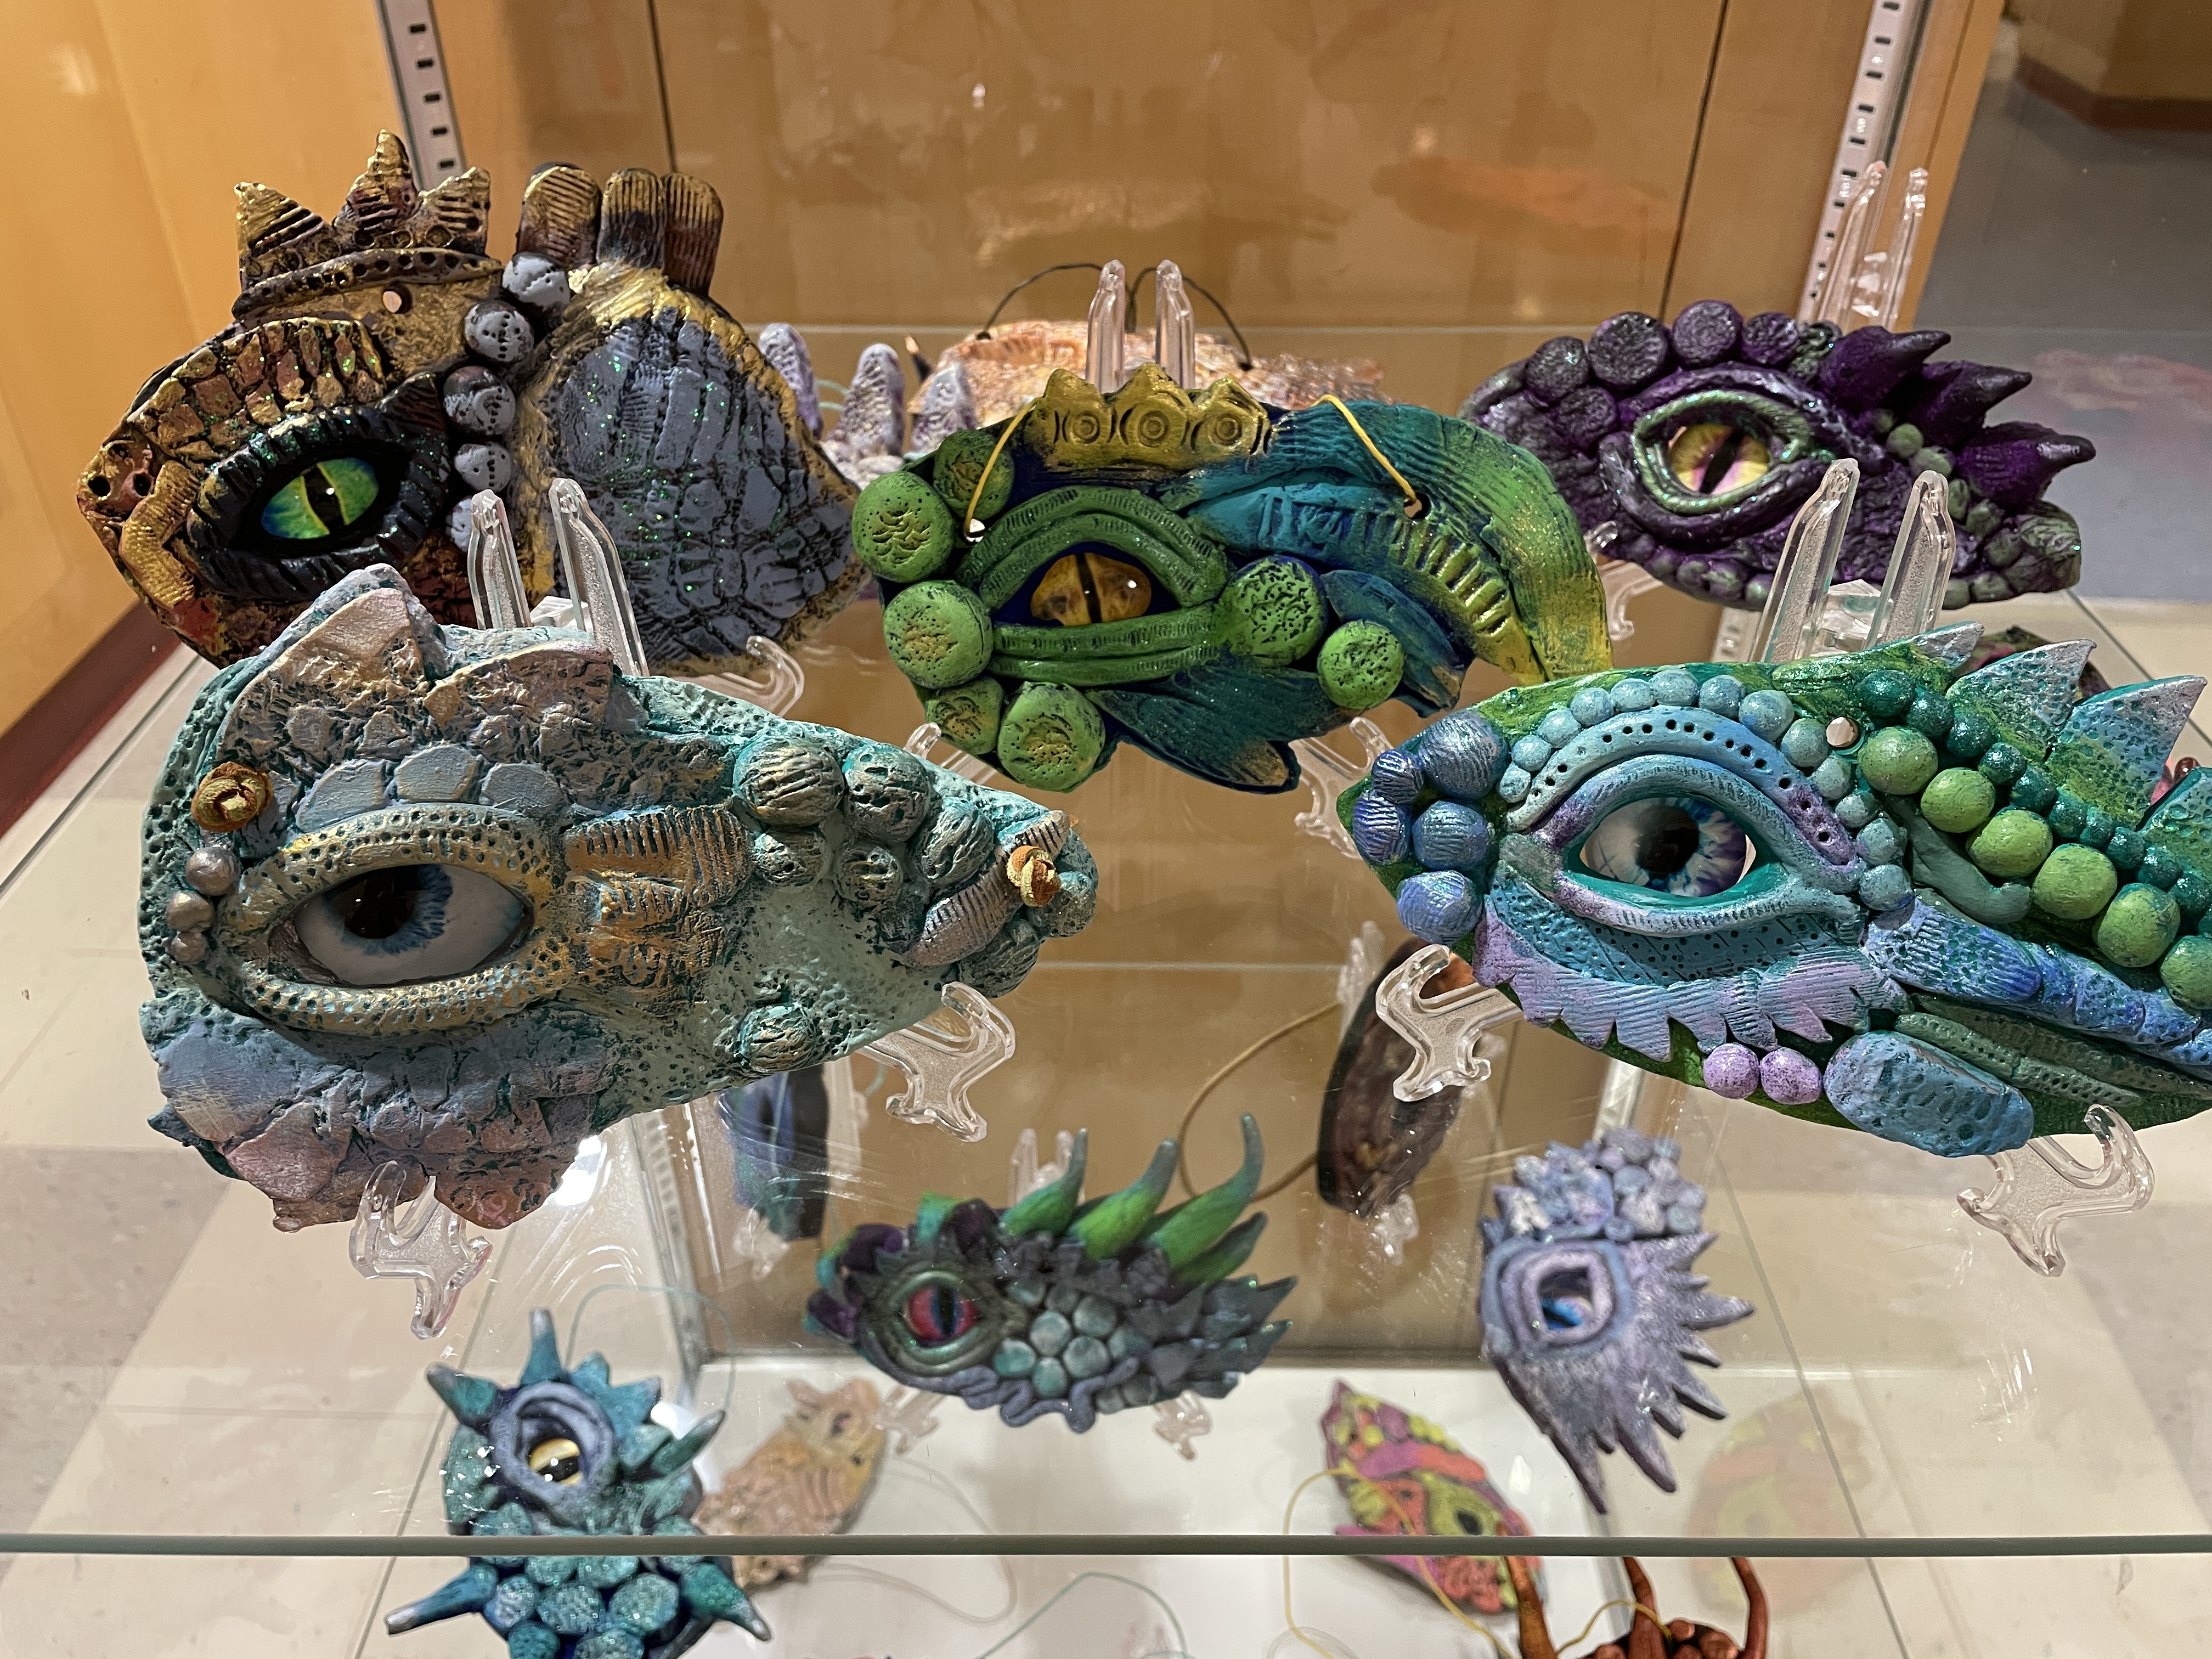
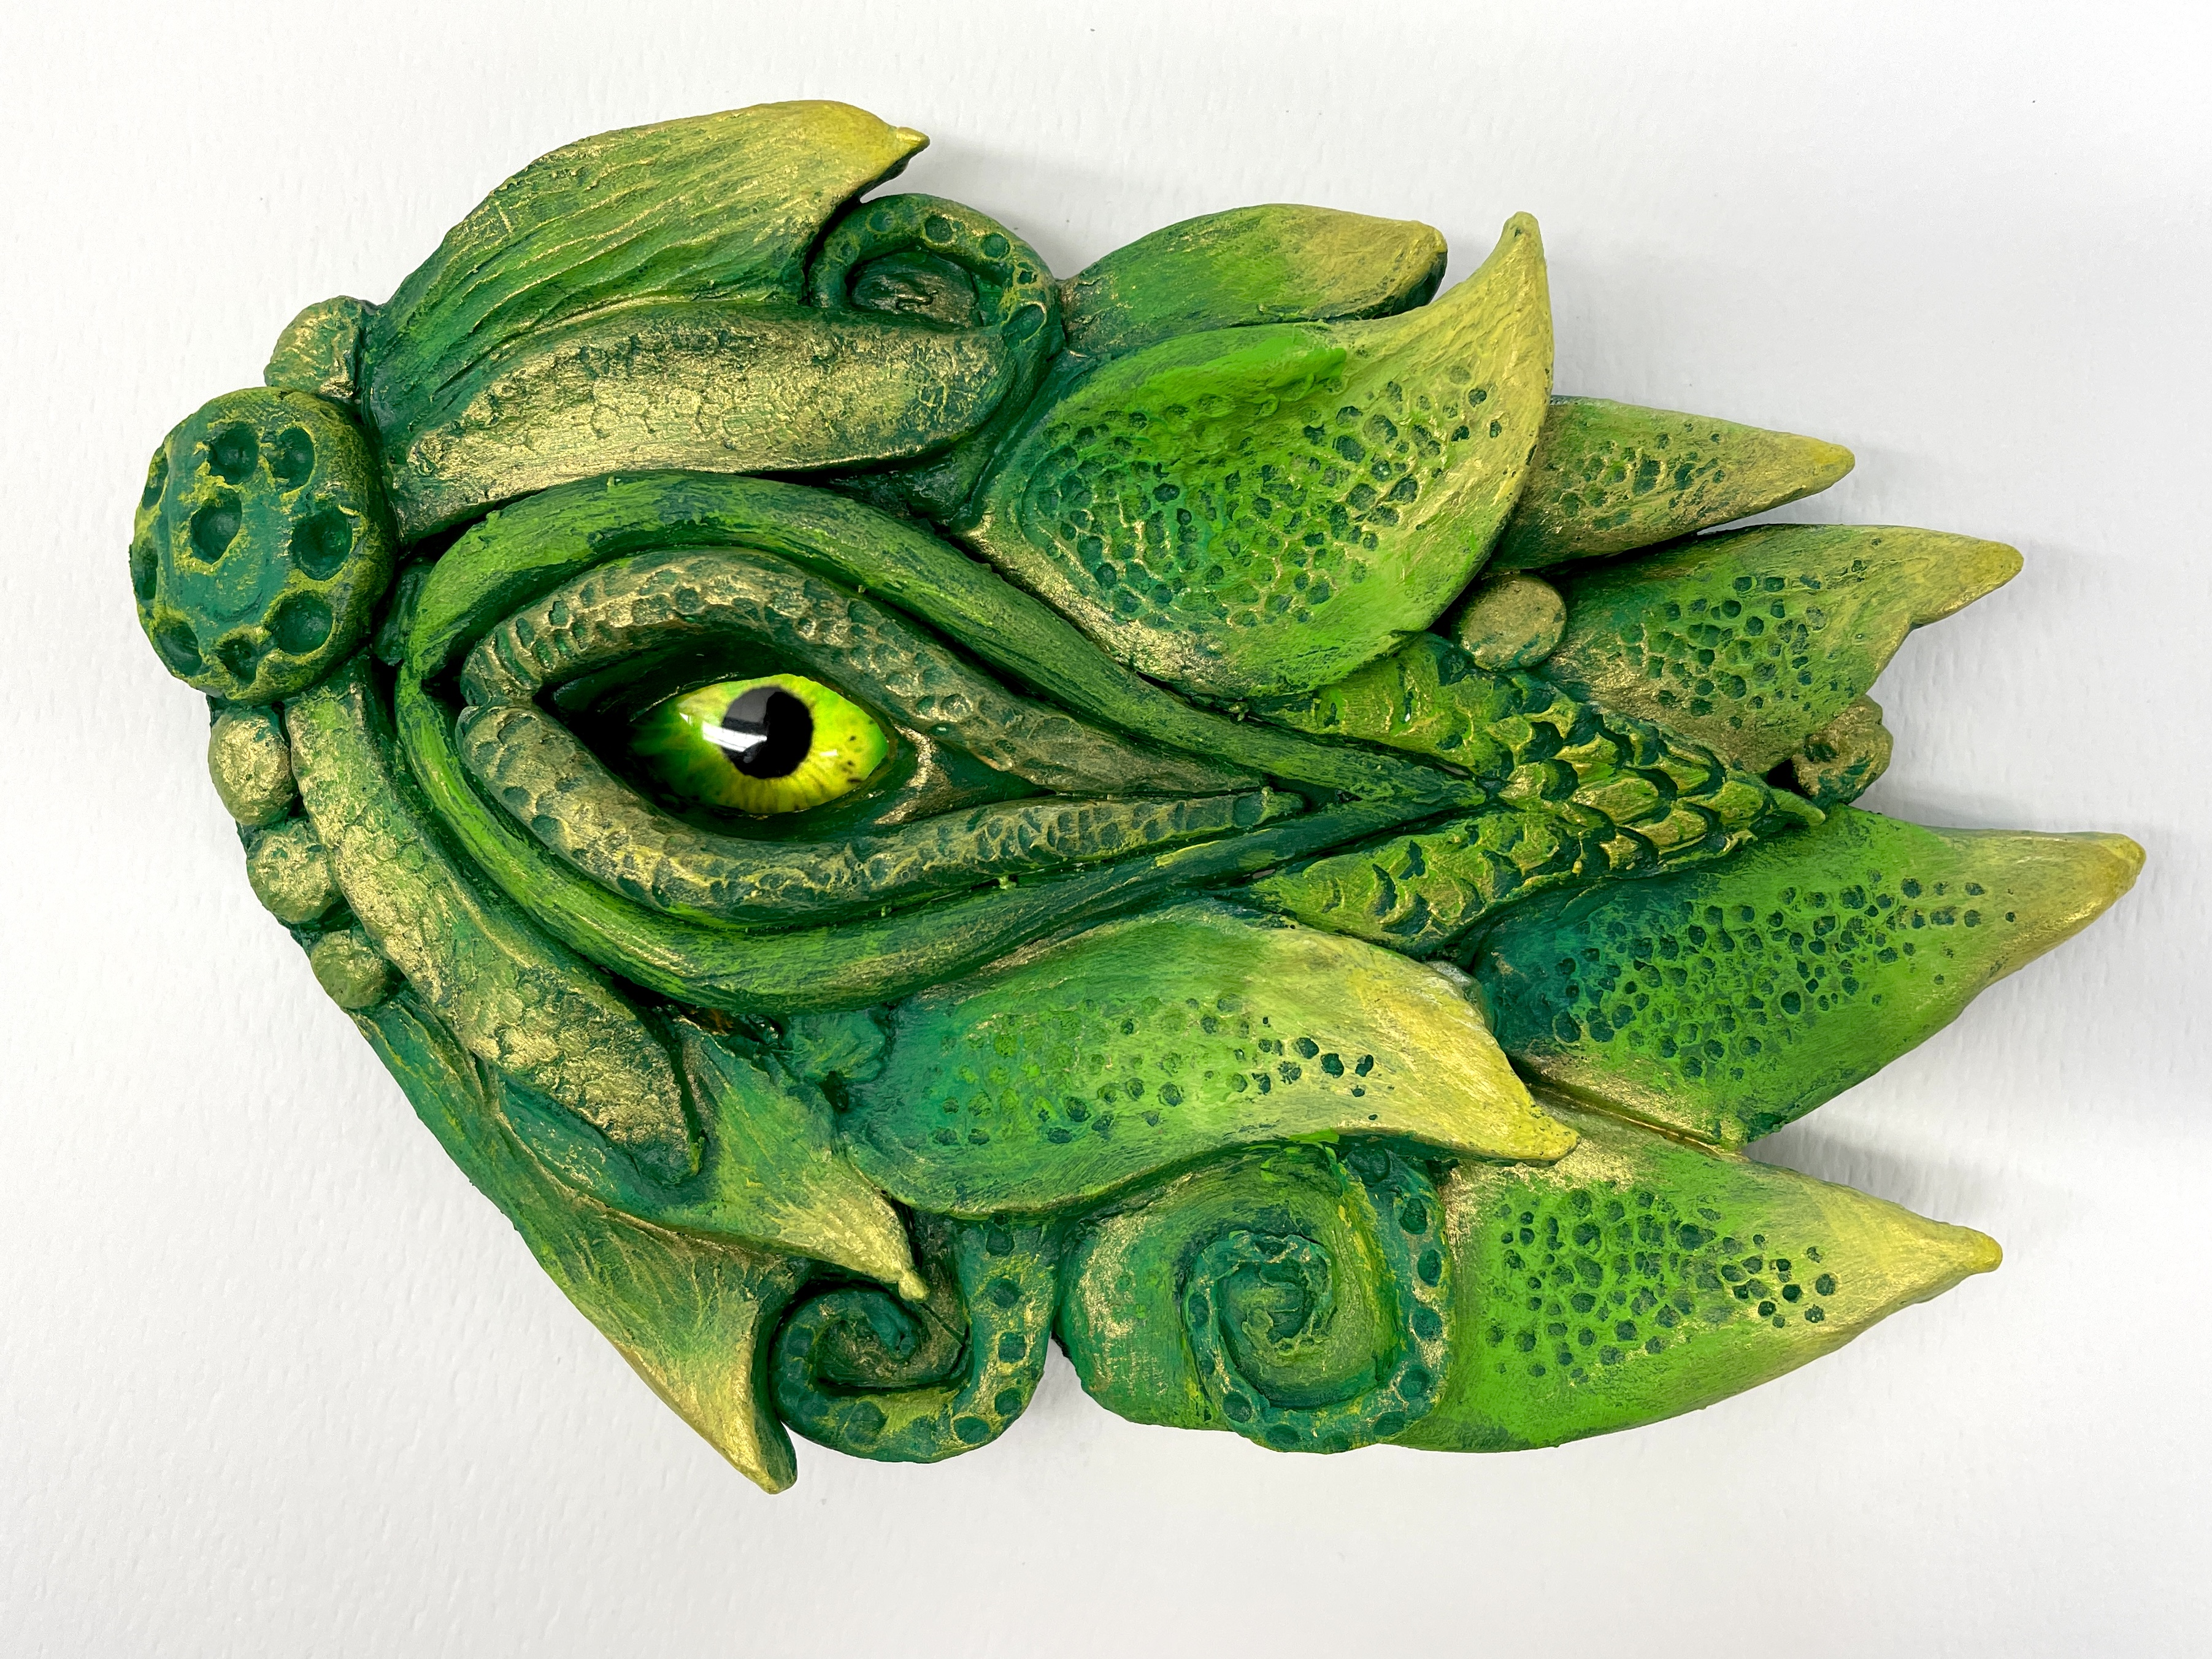
Dragon Eye Clay Sculptures


This year, Dragon Eye Sculptures have been the hot new lesson filling the feeds of the various art teacher social media groups I belong to! Many teachers have posted small examples made with polymer clay or air-drying clay, such as Crayola’s Model Magic, but I wanted to go a little bigger and try it using traditional earthenware! Earthenware clay presents its challenges: Drying time, shrinkage, needing a kiln, to name just a few. Fortunately, I am blessed to have a spacious art room, a kiln, and a decent budget, so I knew I could successfully incorporate this lesson into my curriculum.
I have created a DRAGON EYE GOOGLE SLIDE PRESENTATION documenting the steps of this project. If you want to try this with your students, the slideshow will give you a very detailed breakdown of how I conducted this lesson with my middle schoolers! In it, you will find photos, video tutorials, as well as the sculptural and painting goals I gave to my 7th grade students.
– – –
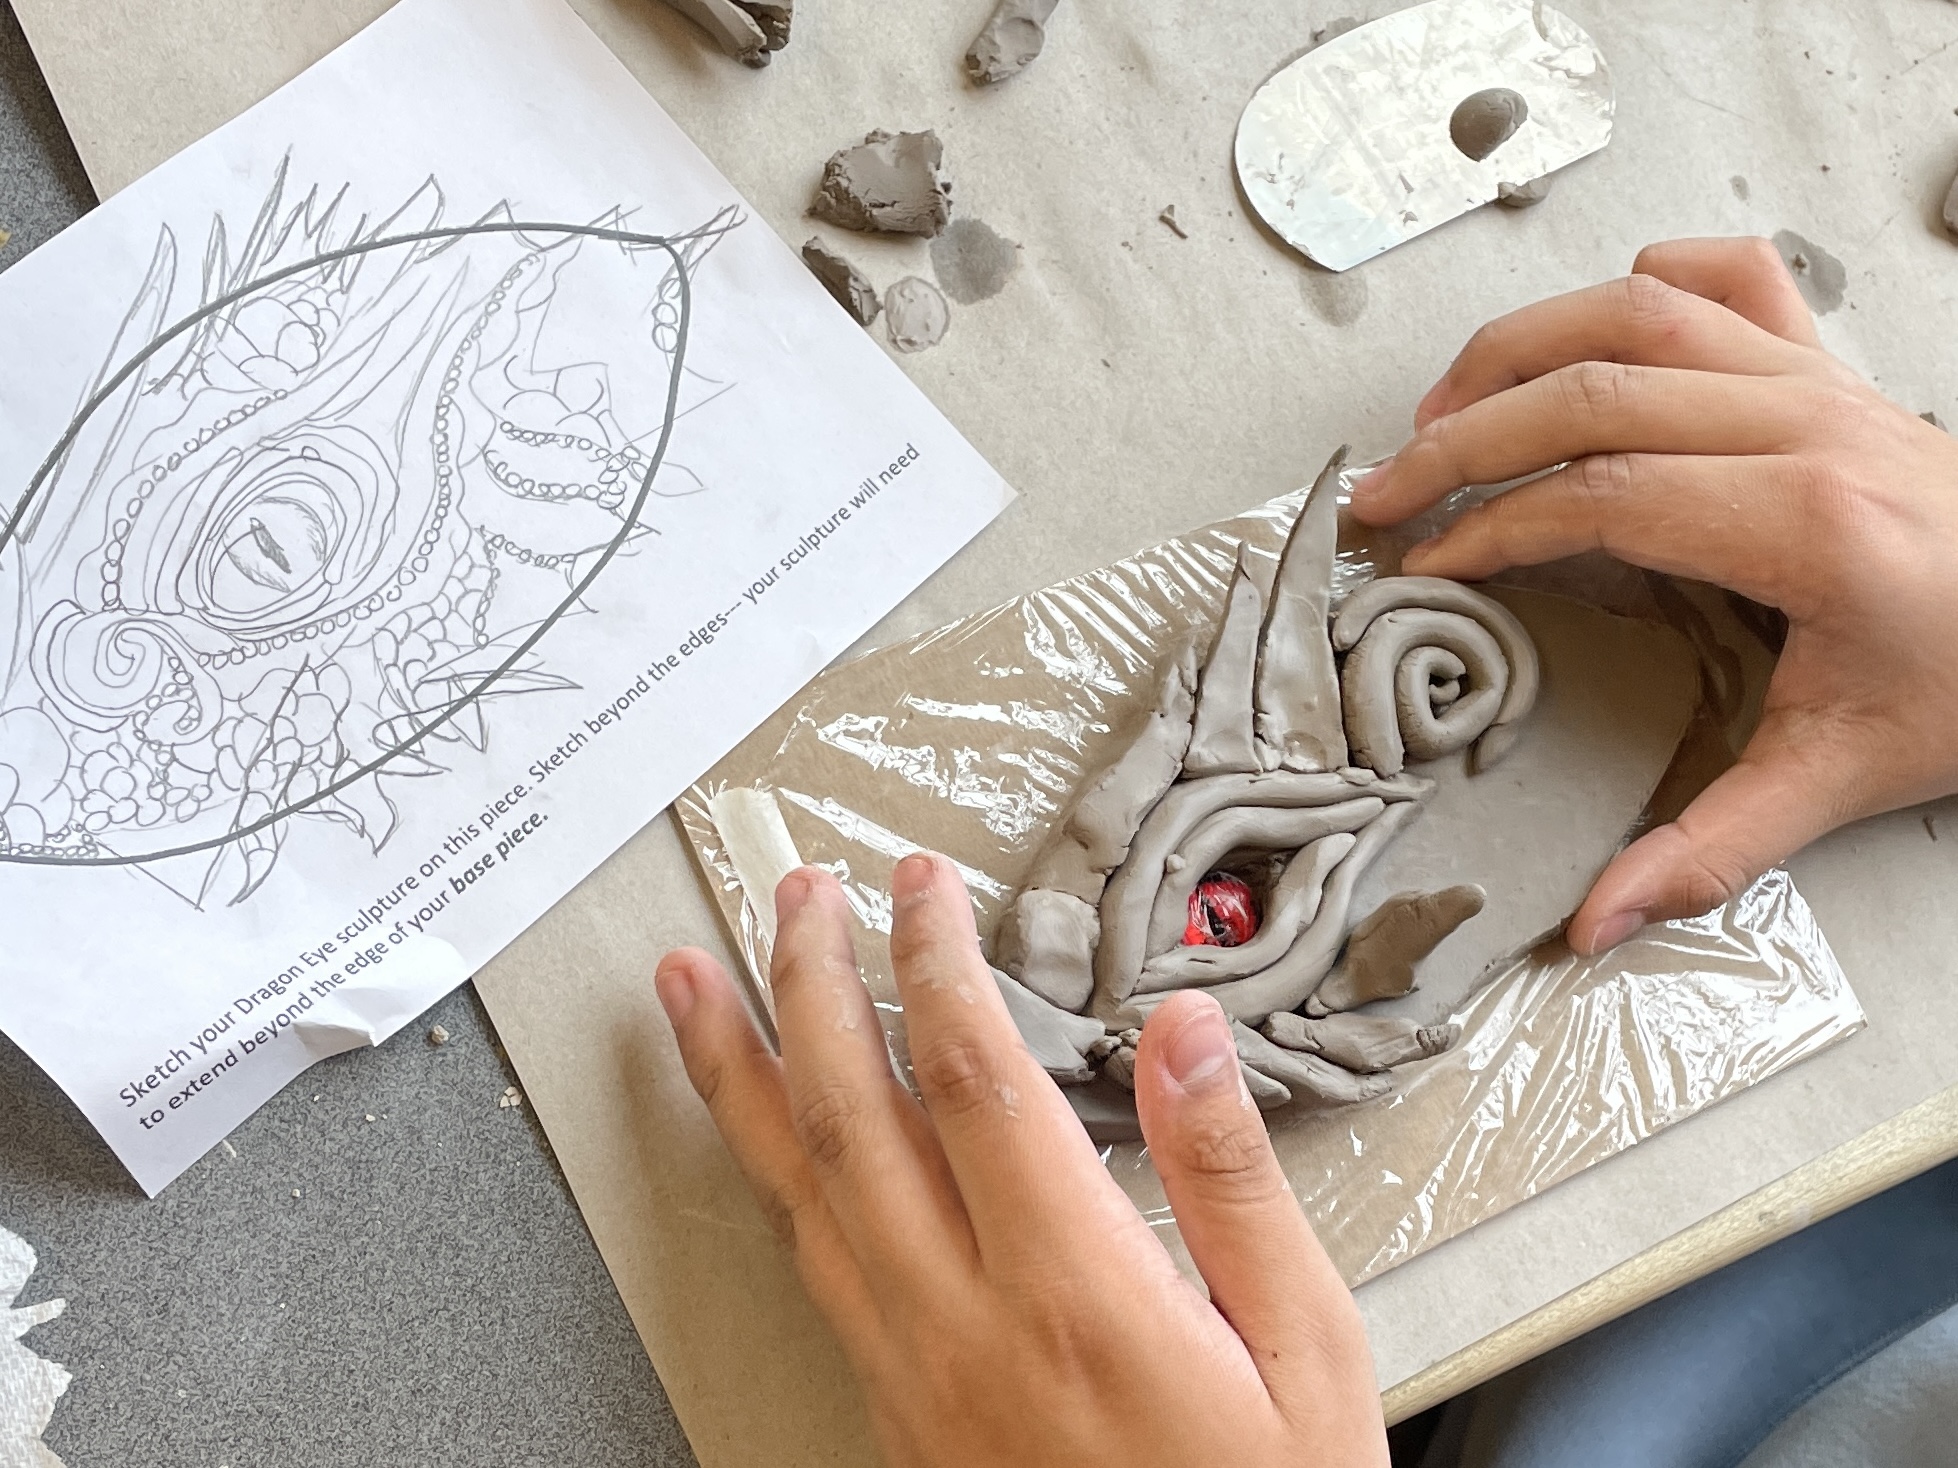
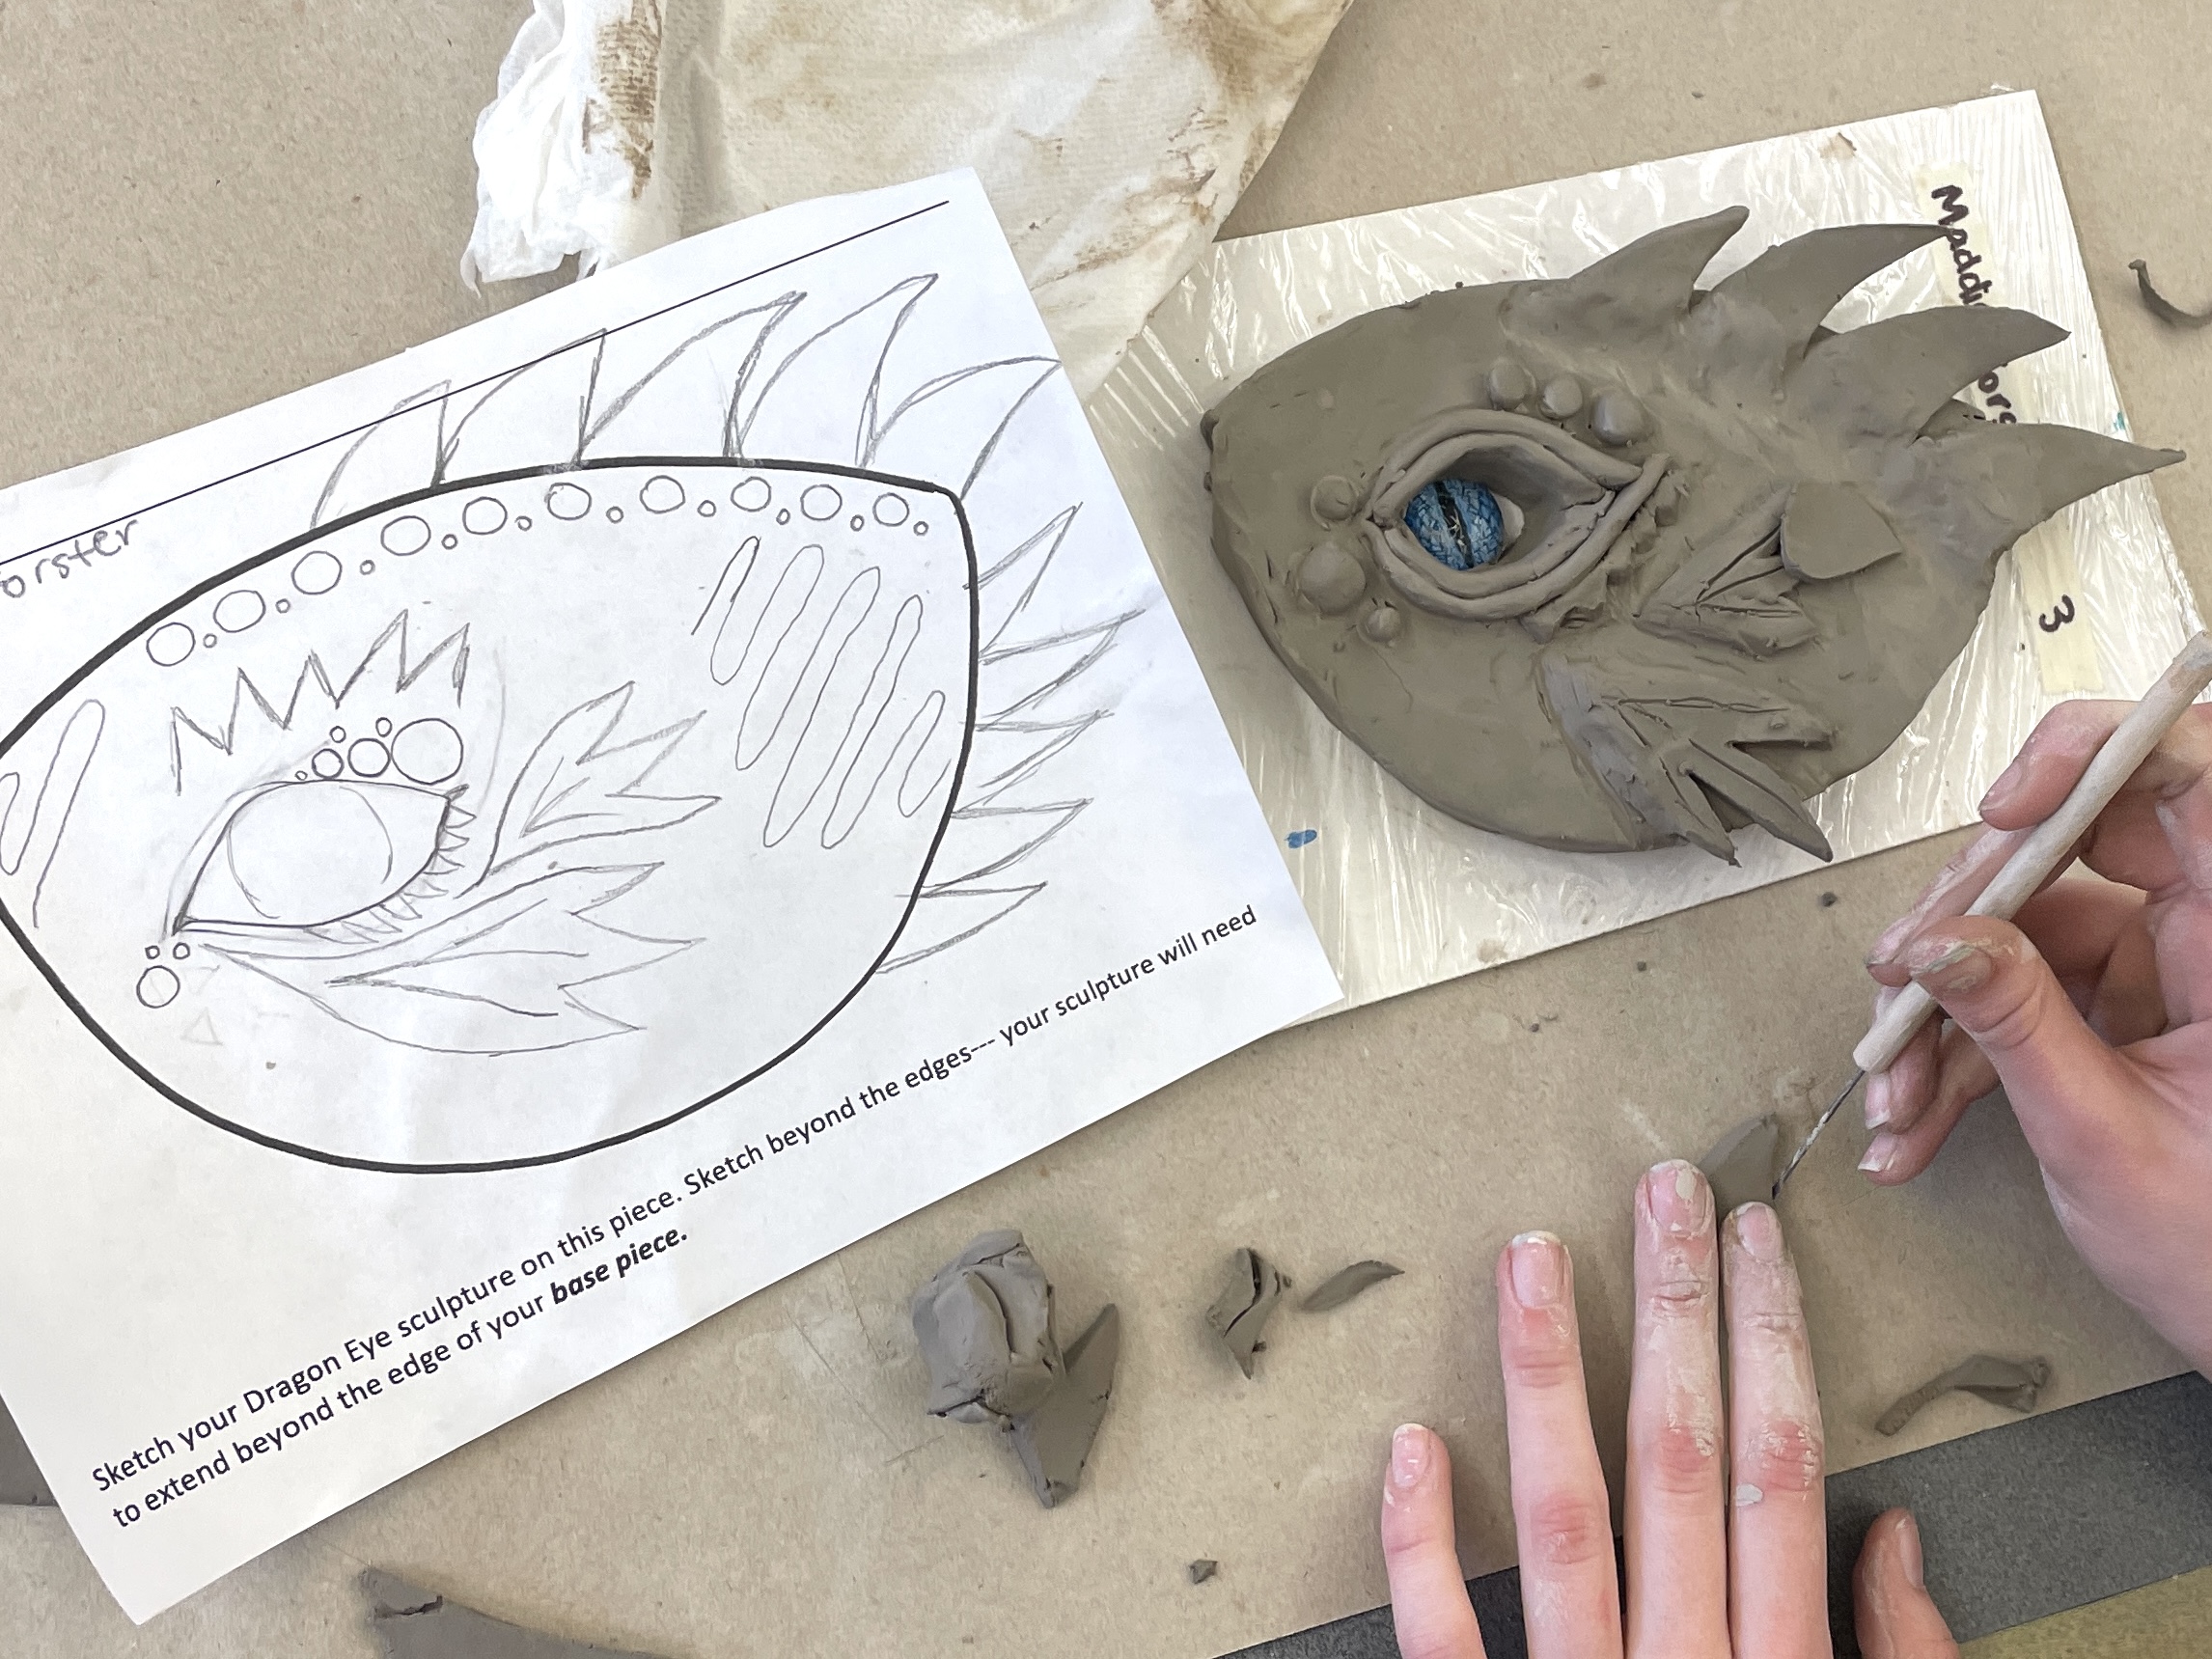
We started this lesson with a simple worksheet containing two identical shapes: One was cut out and used to trace upon a rolled clay slab to create our dragon eye base, the other was used to plan a sketch of their sculpture. I free-handed several base shape options for the kids, as you can see here:
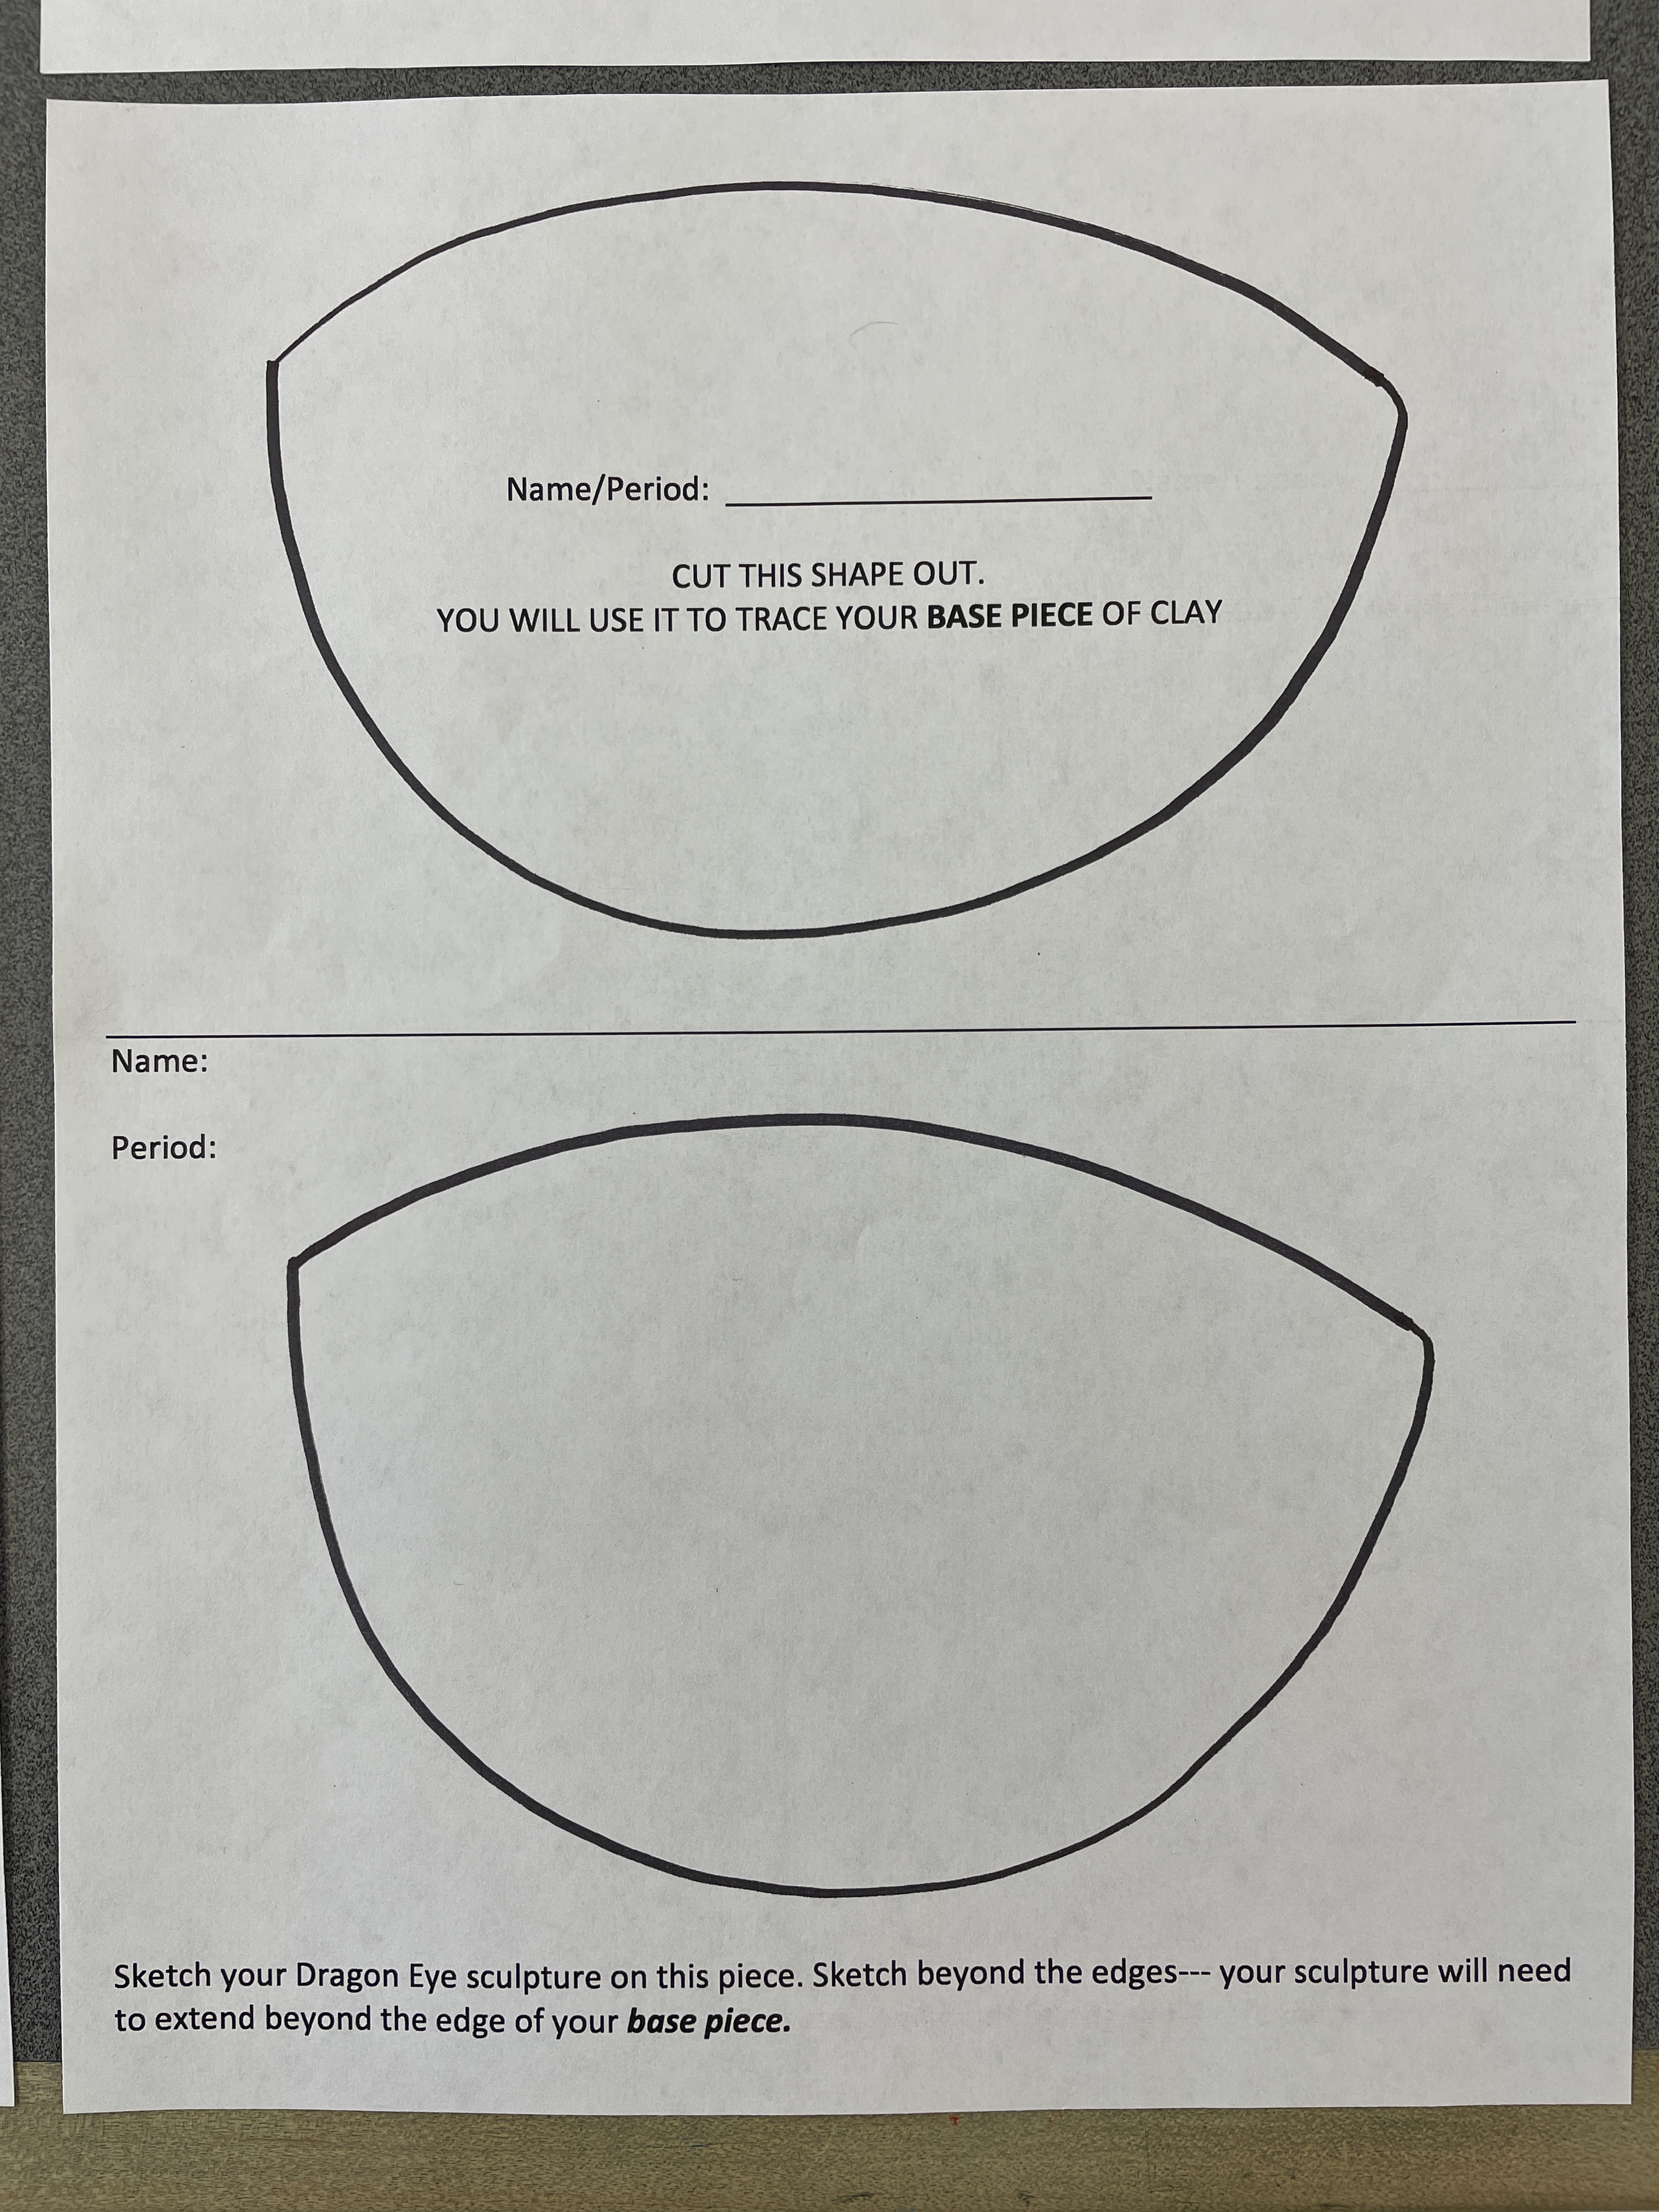
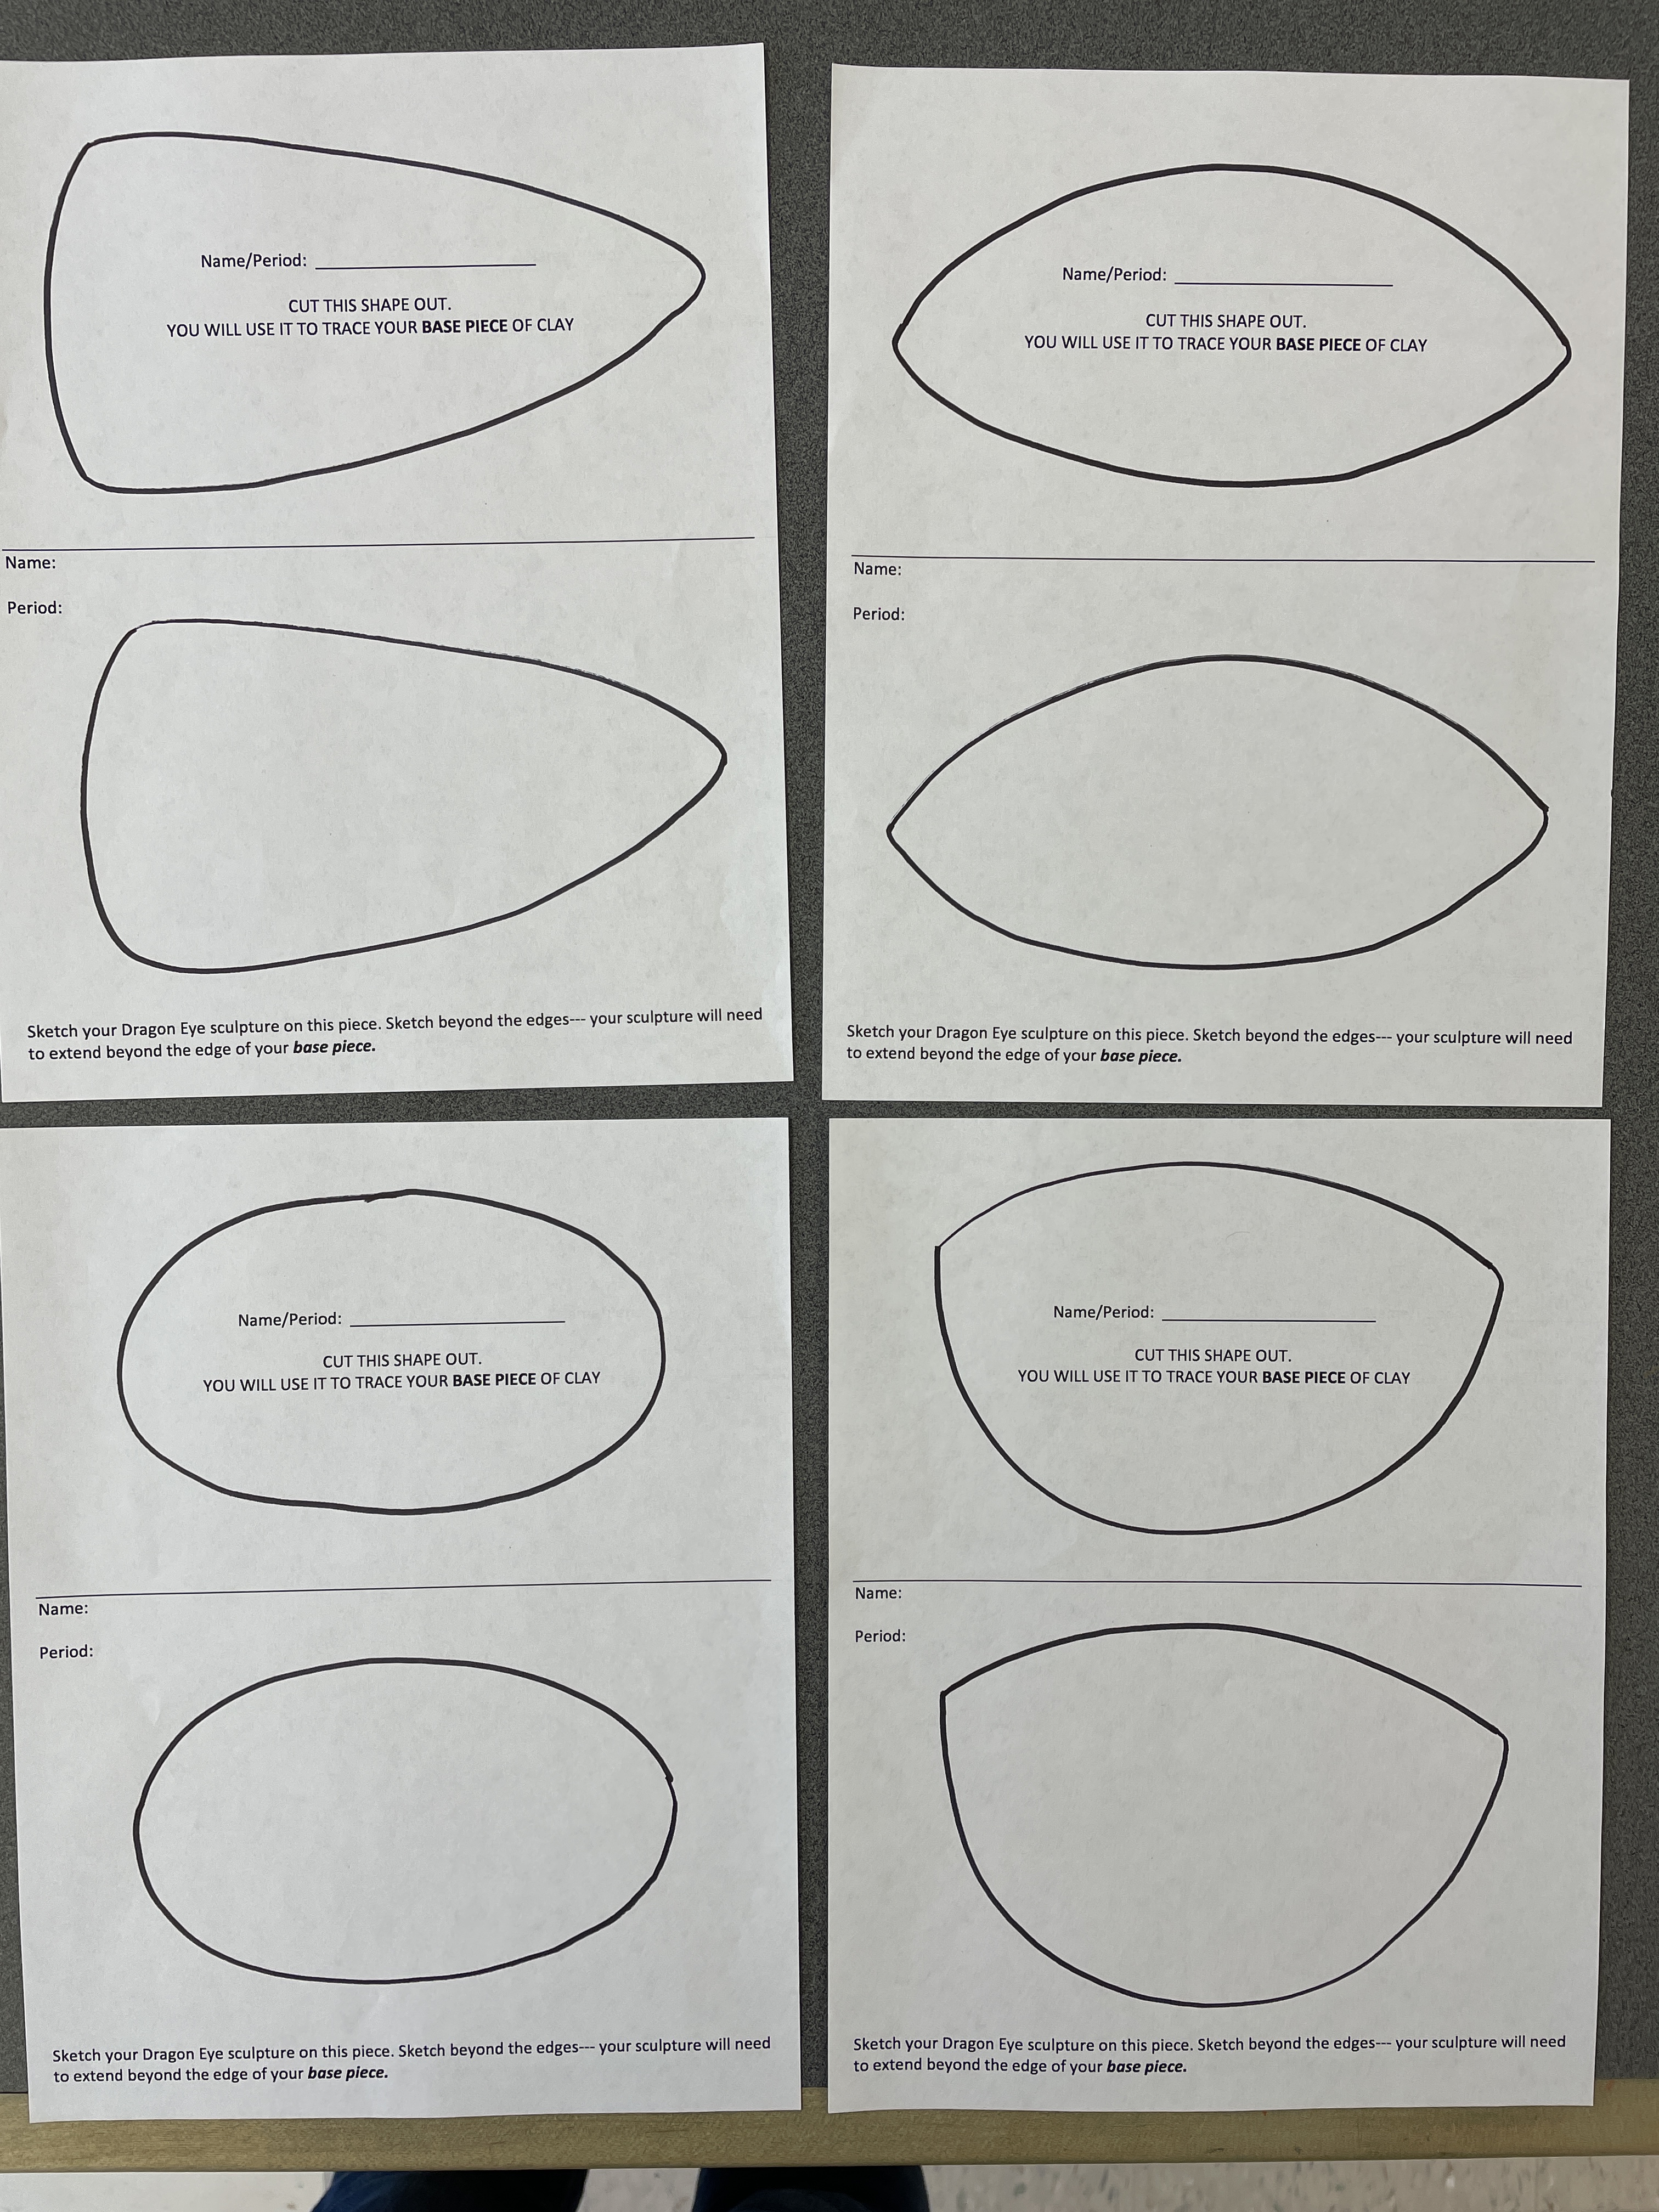
Special Thanks to “Middle School Teachers” Facebook Group Member Margot Lemieux who converted the pictures above into these usable, printable templates. (My originals were hand-drawn and photocopied— what can I say, I work old school!)
While the students were sketching, I called them over in small groups to select their eye. Amazon has a multitude of cheap options in various sizes, such as THESE, or EVEN THESE.
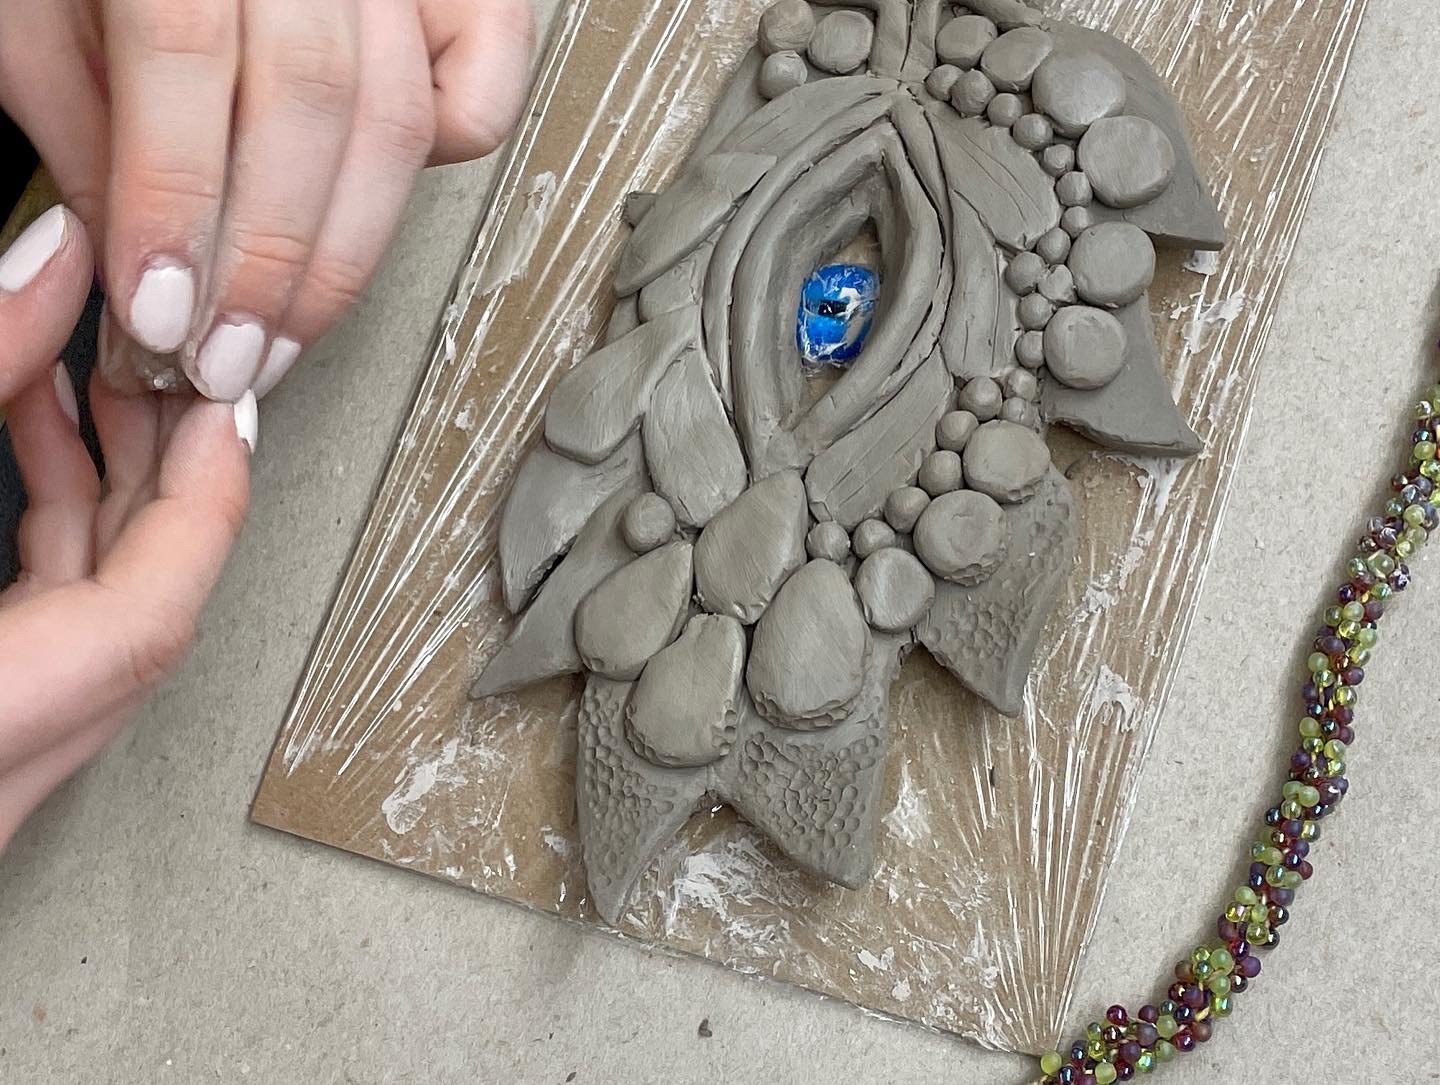
Very Important Tip: The eyes I purchased have paper images glued to the flat back of the glass cabochon, and if they get wet, the image will run. We wrapped our eyes in plastic wrap to protect them during the sculpting process.
– – –
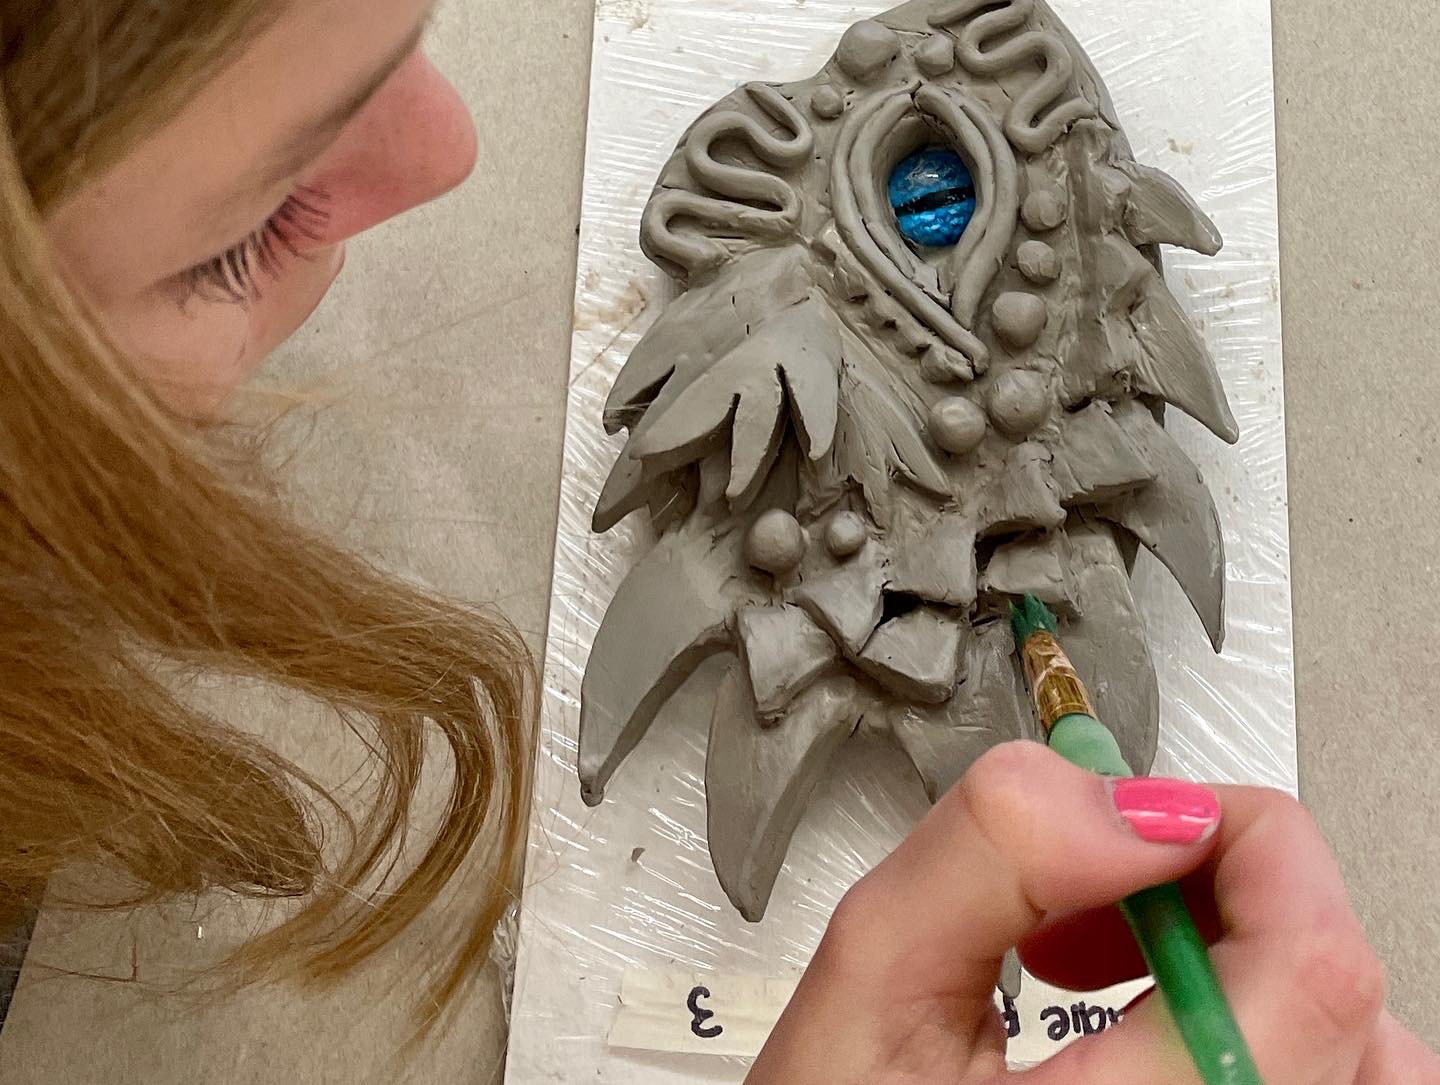
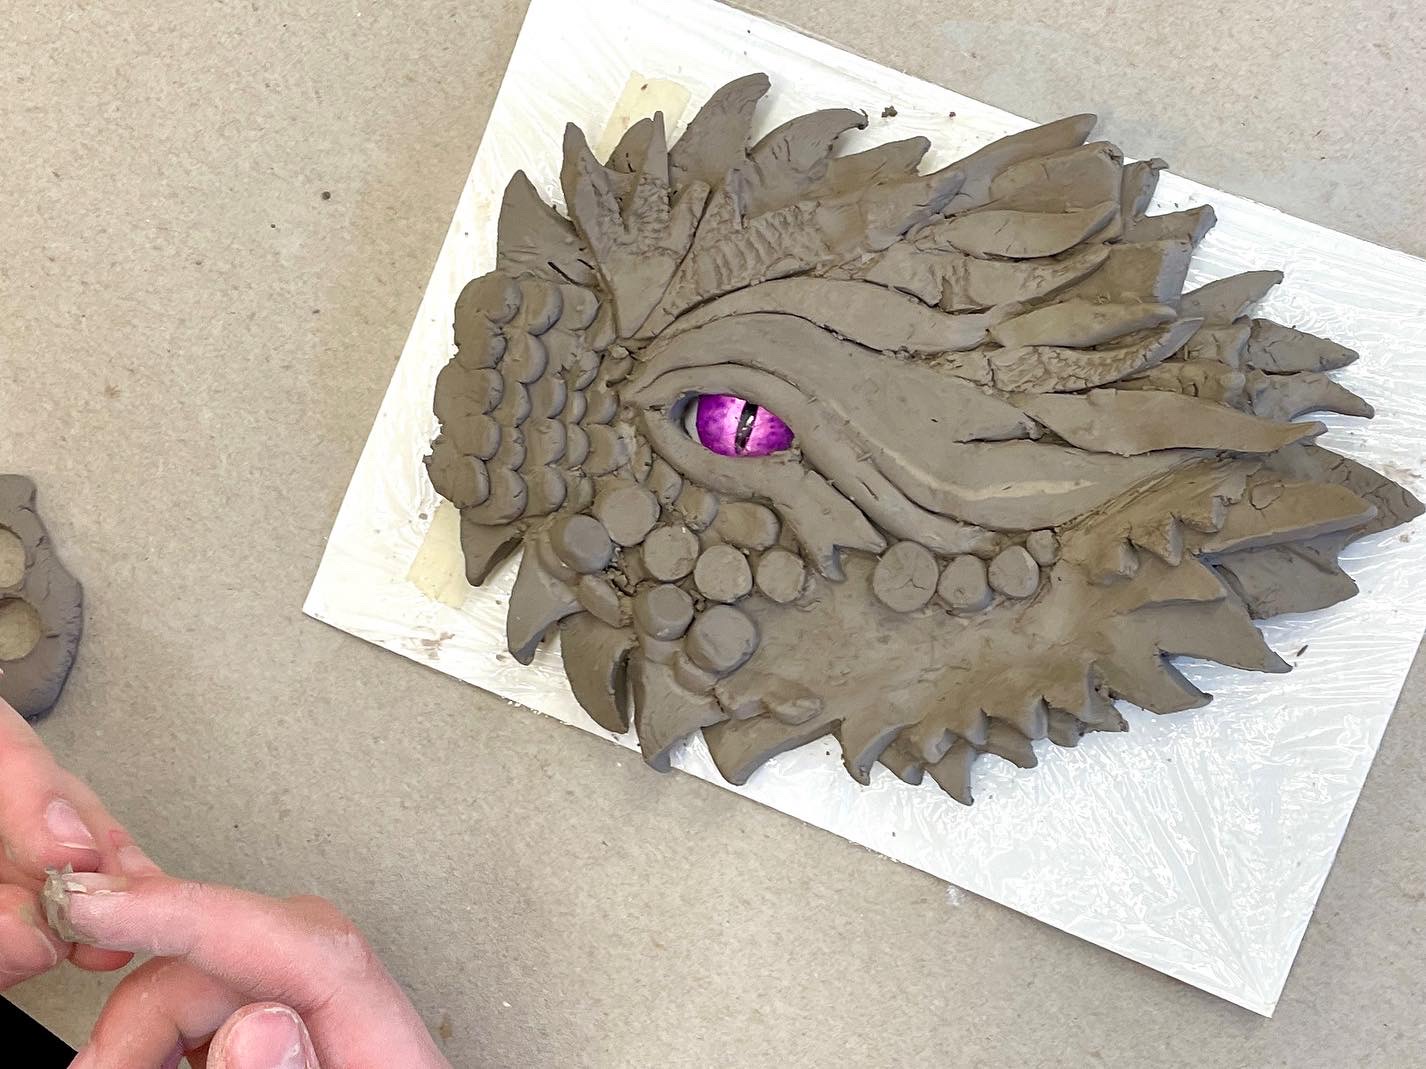
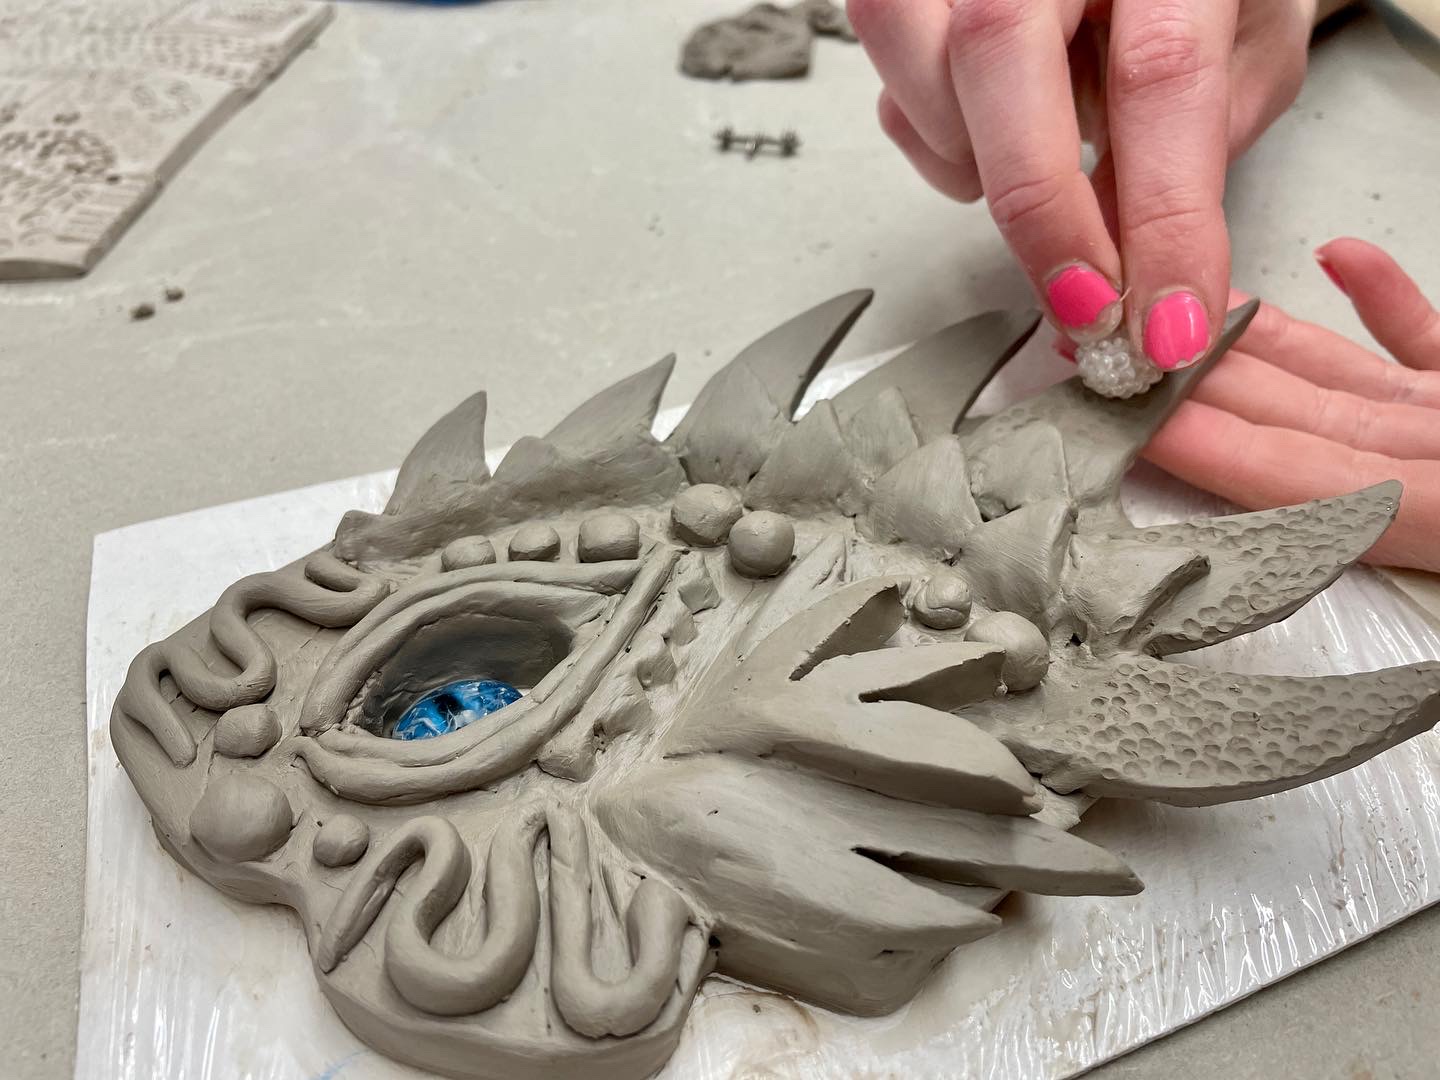
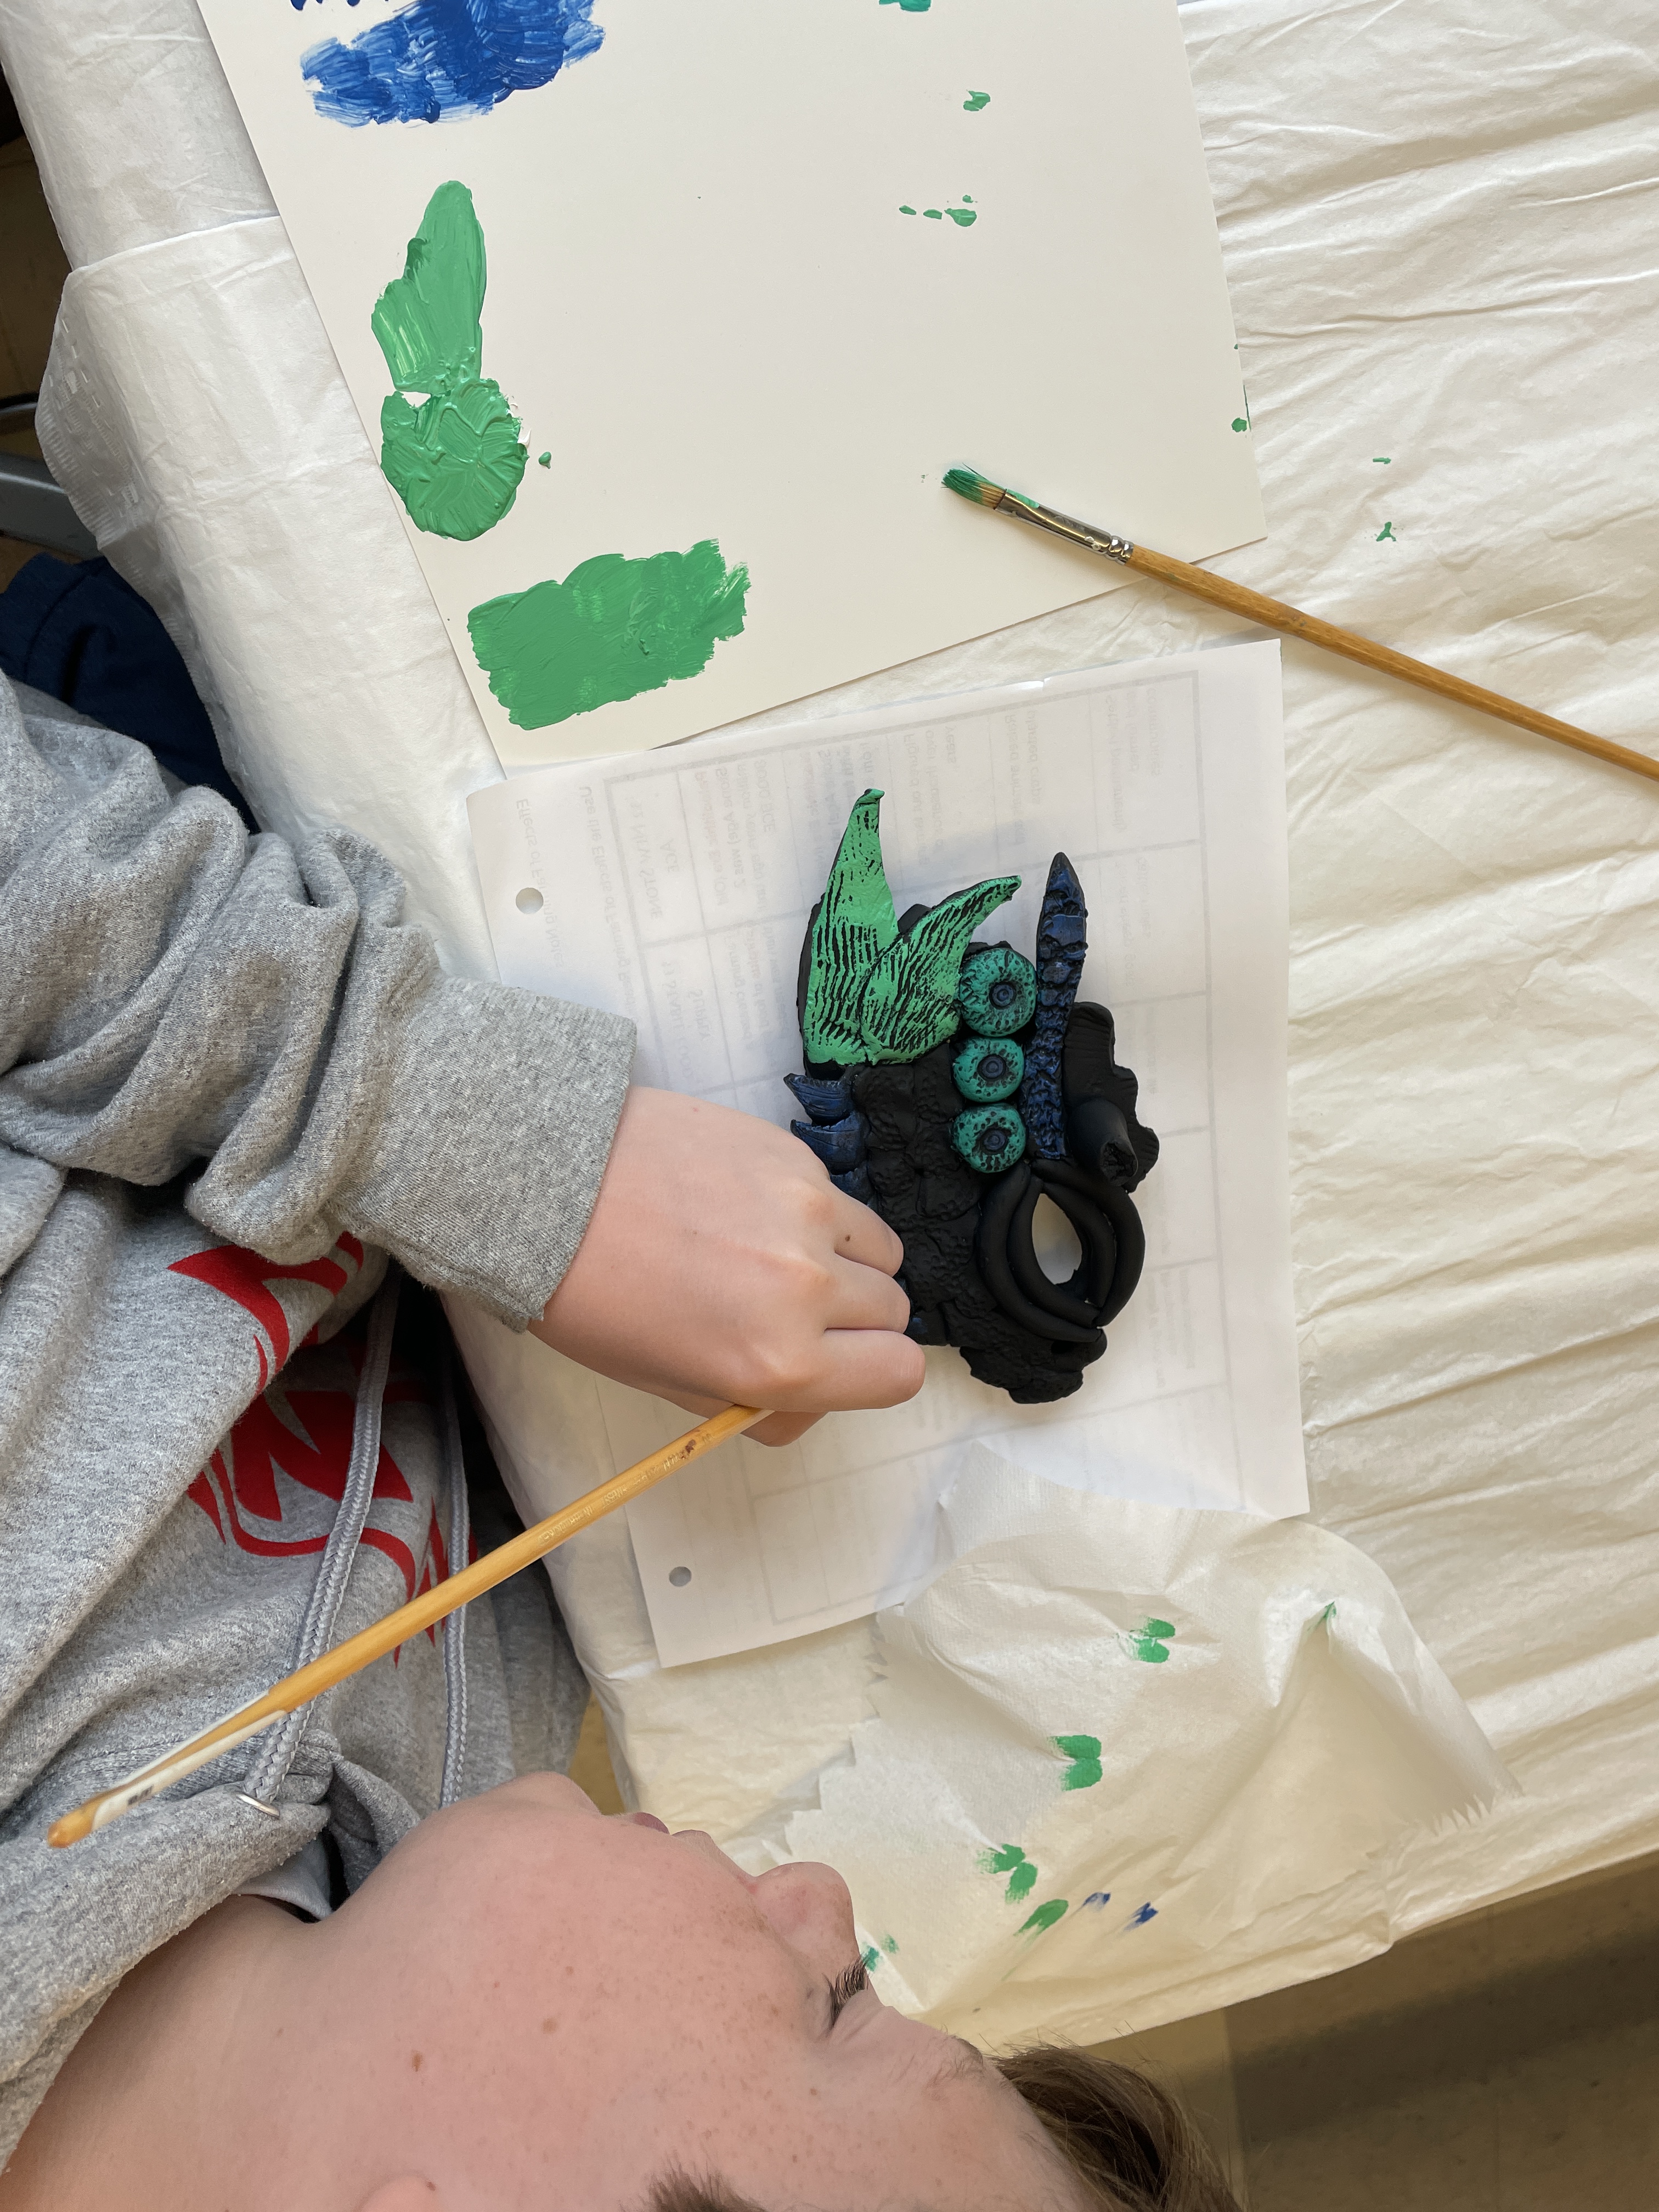
Most students needed about four class periods for the sculpting of their Dragon Eye. I provided each student with a small rigid board, (also wrapped in plastic,) as a work surface for their sculpture. The board made it easy to safely transport and store the in-progress sculptures.At the end of each class, we draped the work with damp paper towels and put them under airtight plastic overnight. The final day of sculpting was devoted to smoothing the surface and adding textures with a variety of clay tools and simple objects such as beads, bolts, shells, etc.
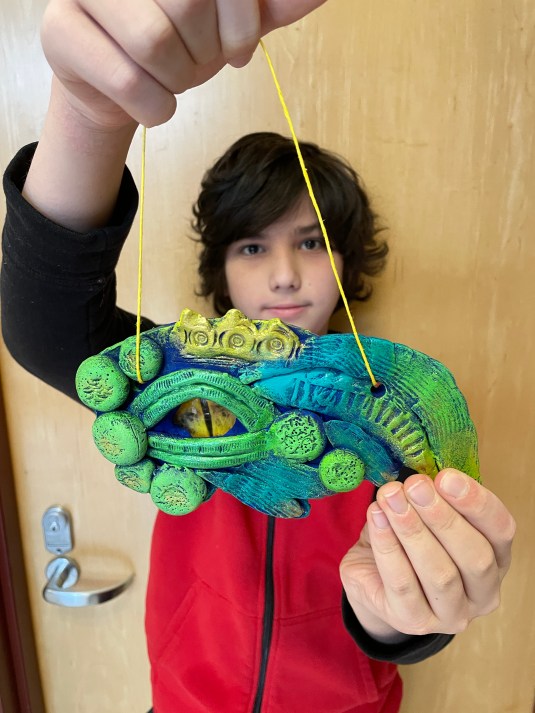
Here are some pictures of students in various stages of the sculpting process.
See the SLIDE SHOW for more details and instructions!


– – –
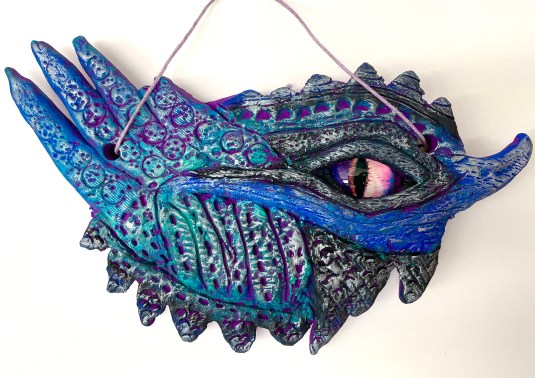
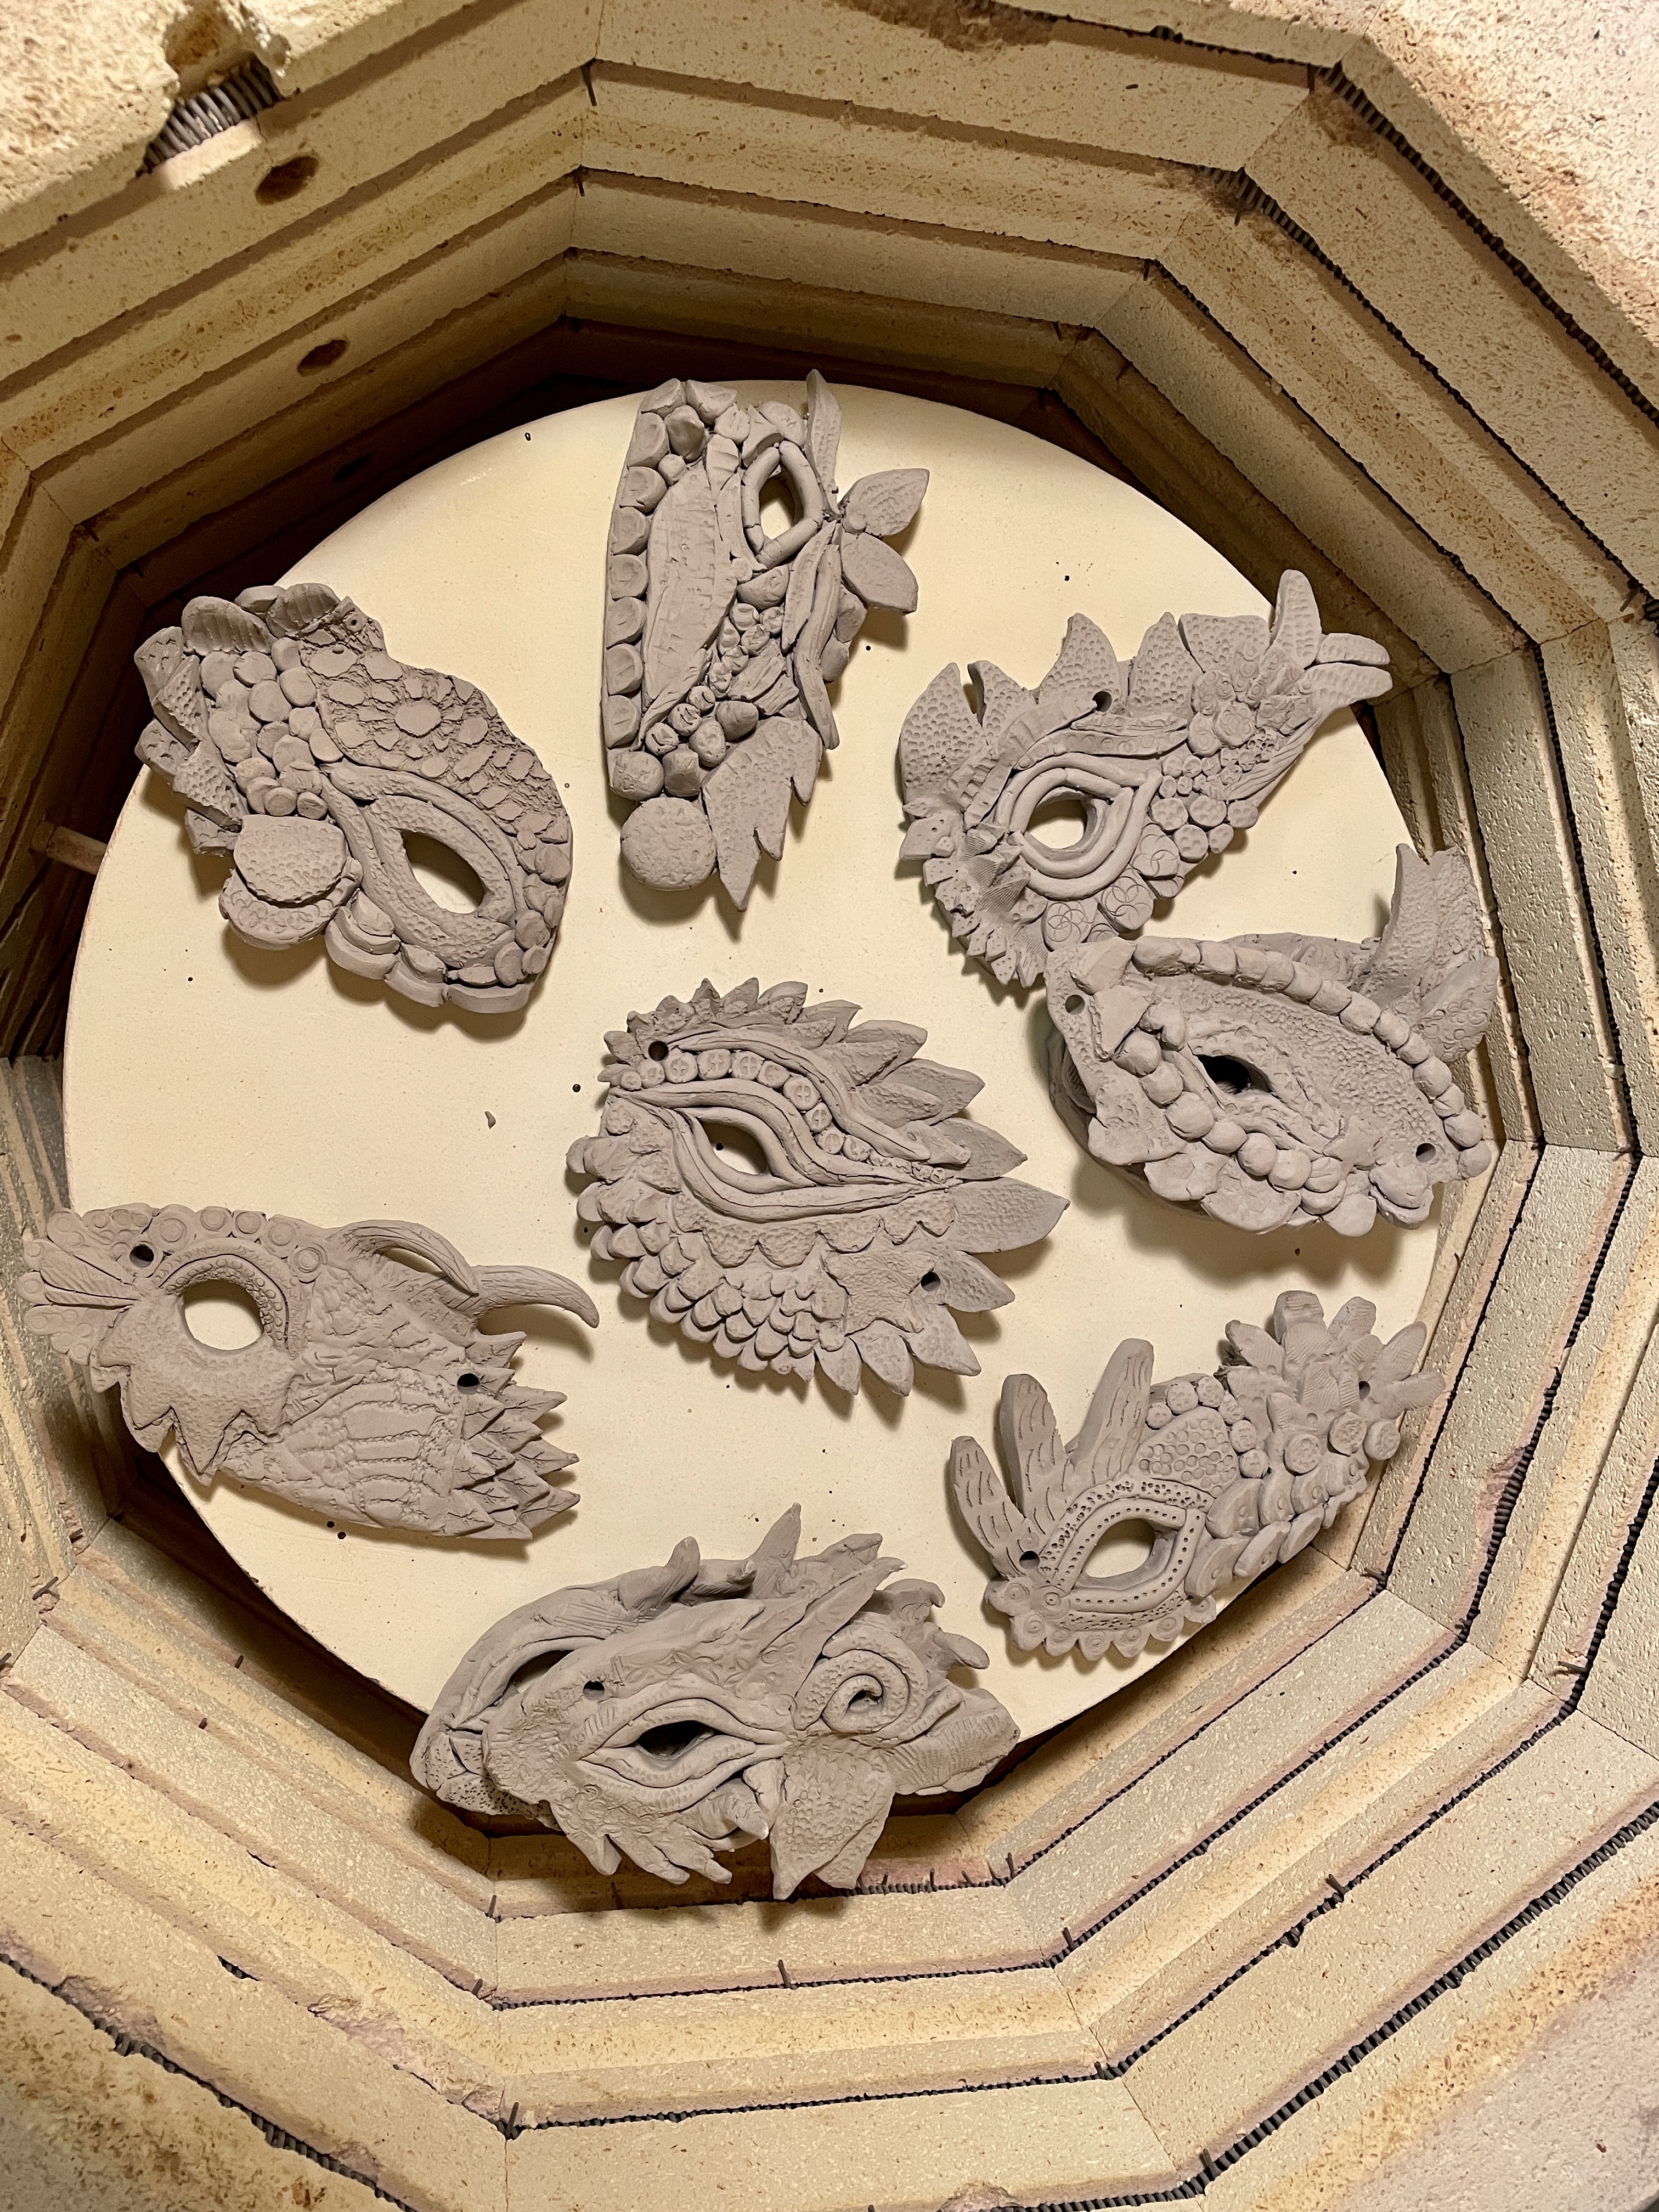
The issue of clay shrinkage and making sure the eye would still fit after the sculpture was dry was solved by following the suggestions made by fellow art teachers who had tried this lesson with their own students, (Thanks Spencer Holland, Magaurita Spear, and Linda Kelty!) When each student was finished sculpting, we removed, unwrapped, and set aside their chosen eye for safe-keeping. I then used a loop tool to enlarge the eye opening from the back of the sculpture. If student wanted hanging holes for the sculpture, we also added them during this final step.


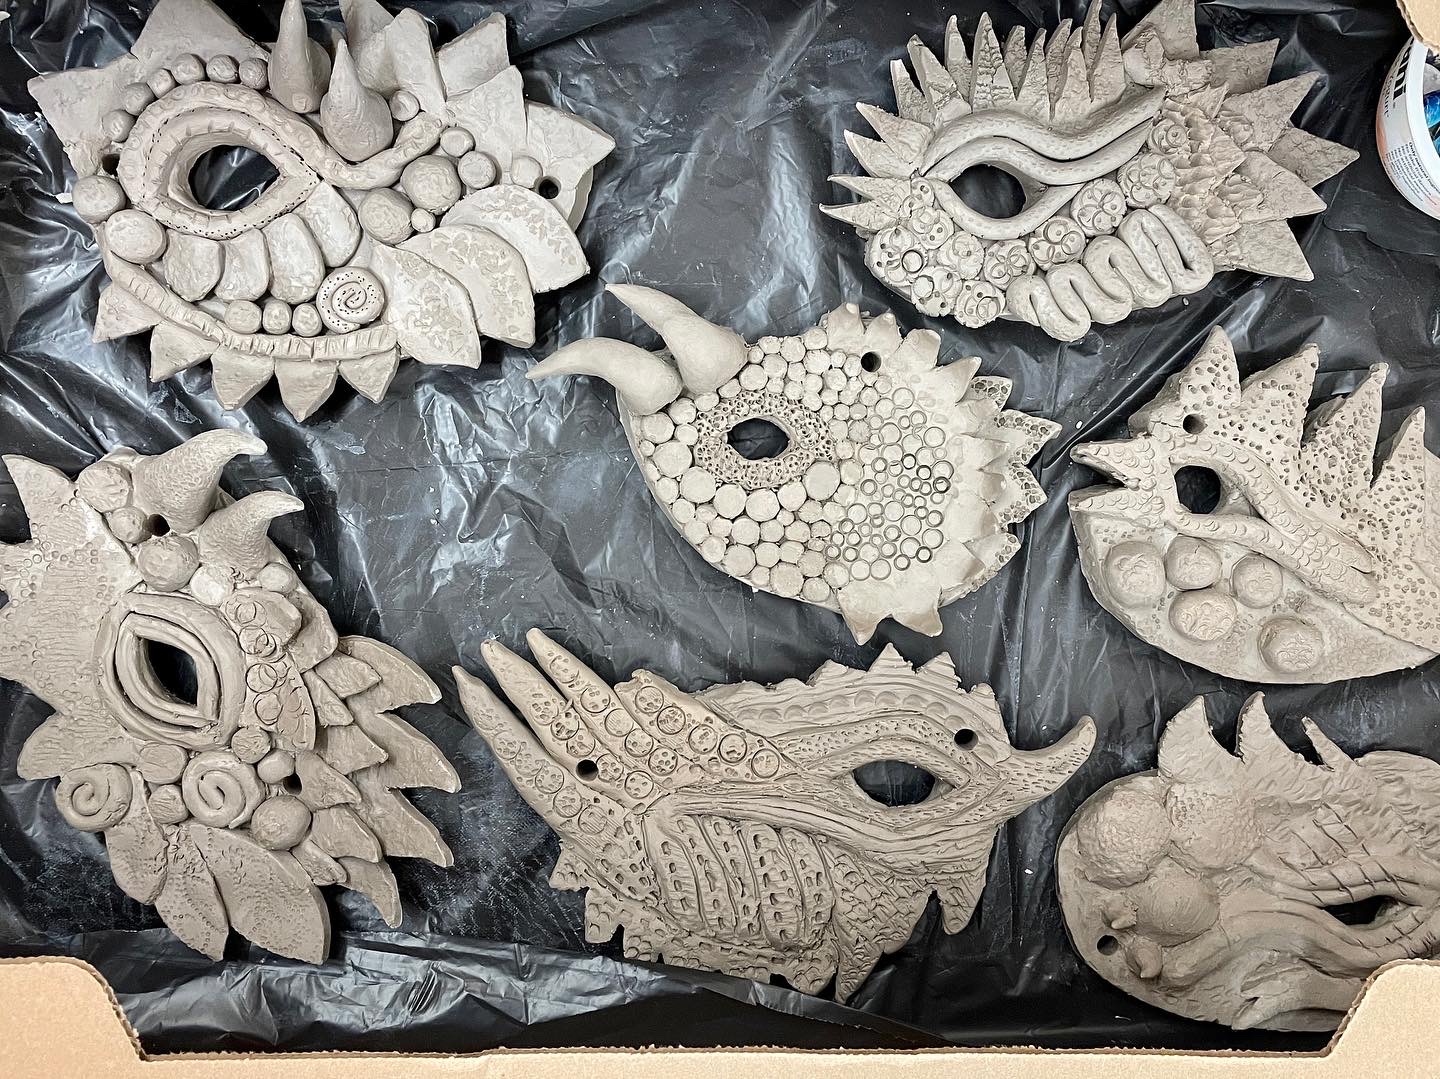
The now eye-less sculptures were allowed to dry slowly over a period of a week, then bisque fired in the kiln:
– – –
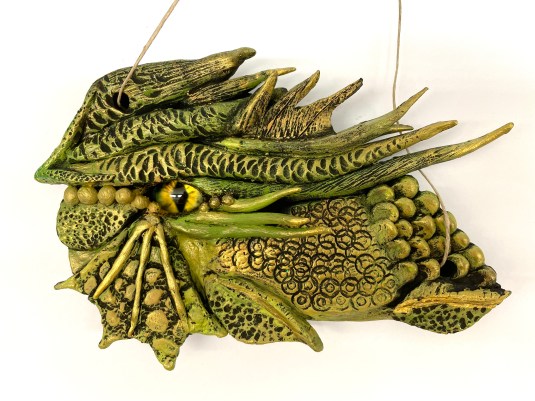
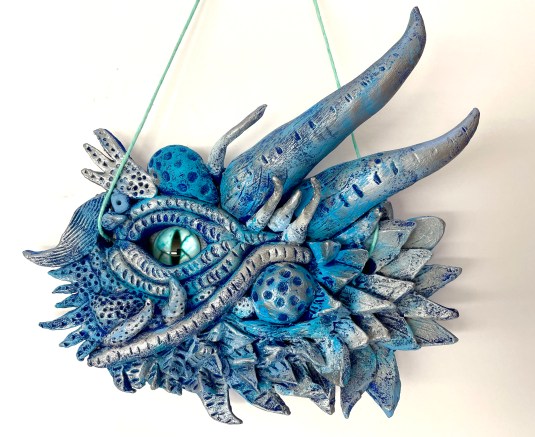
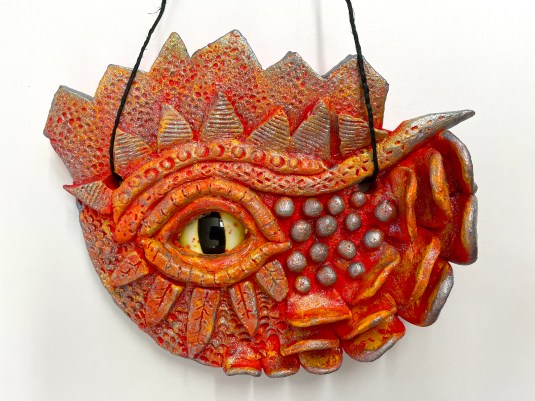
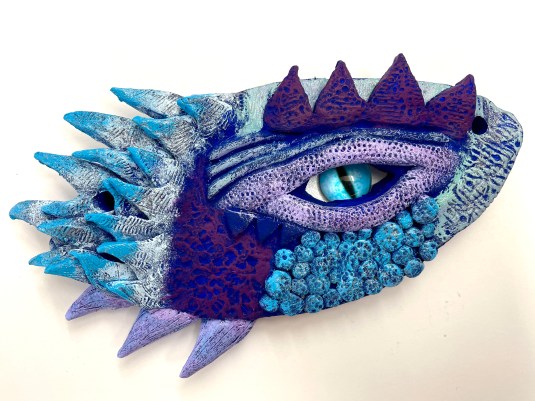
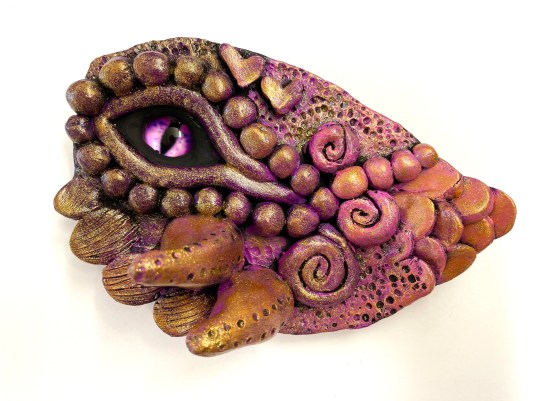
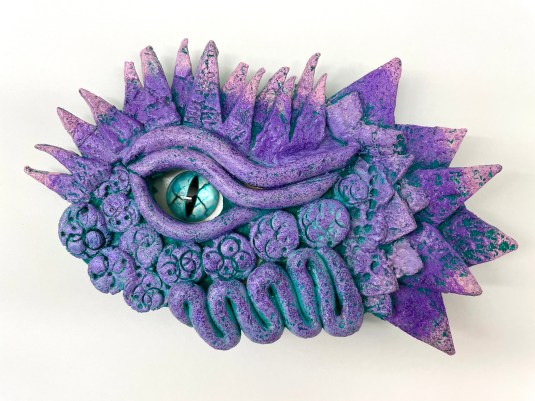
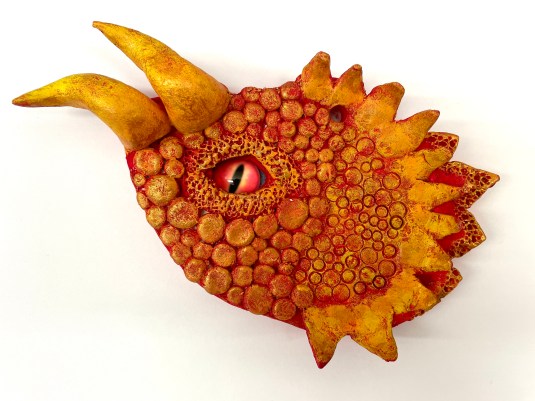
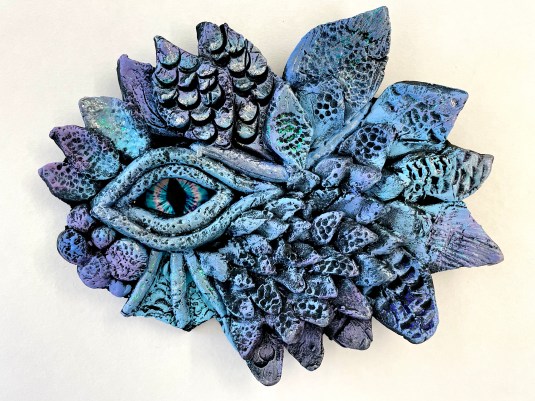
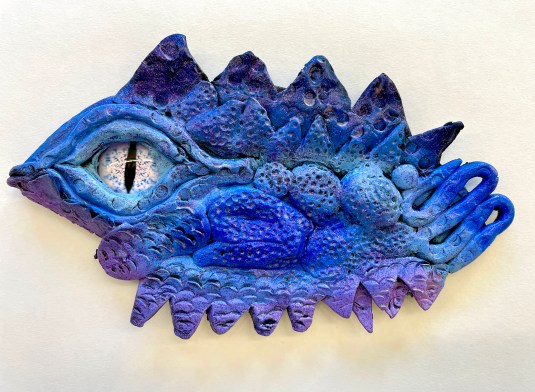
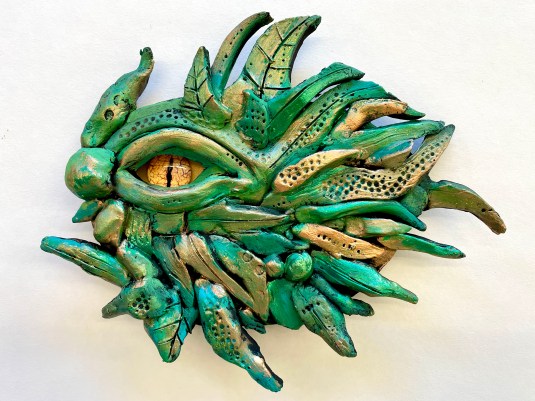
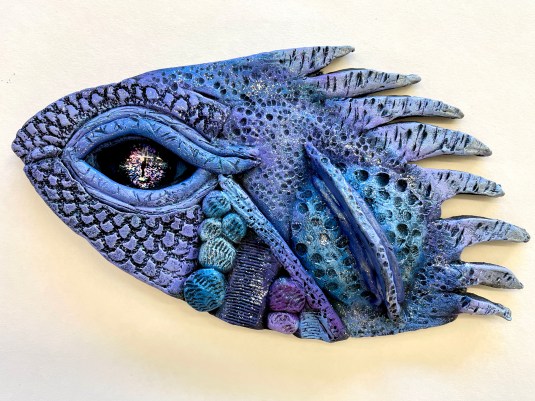
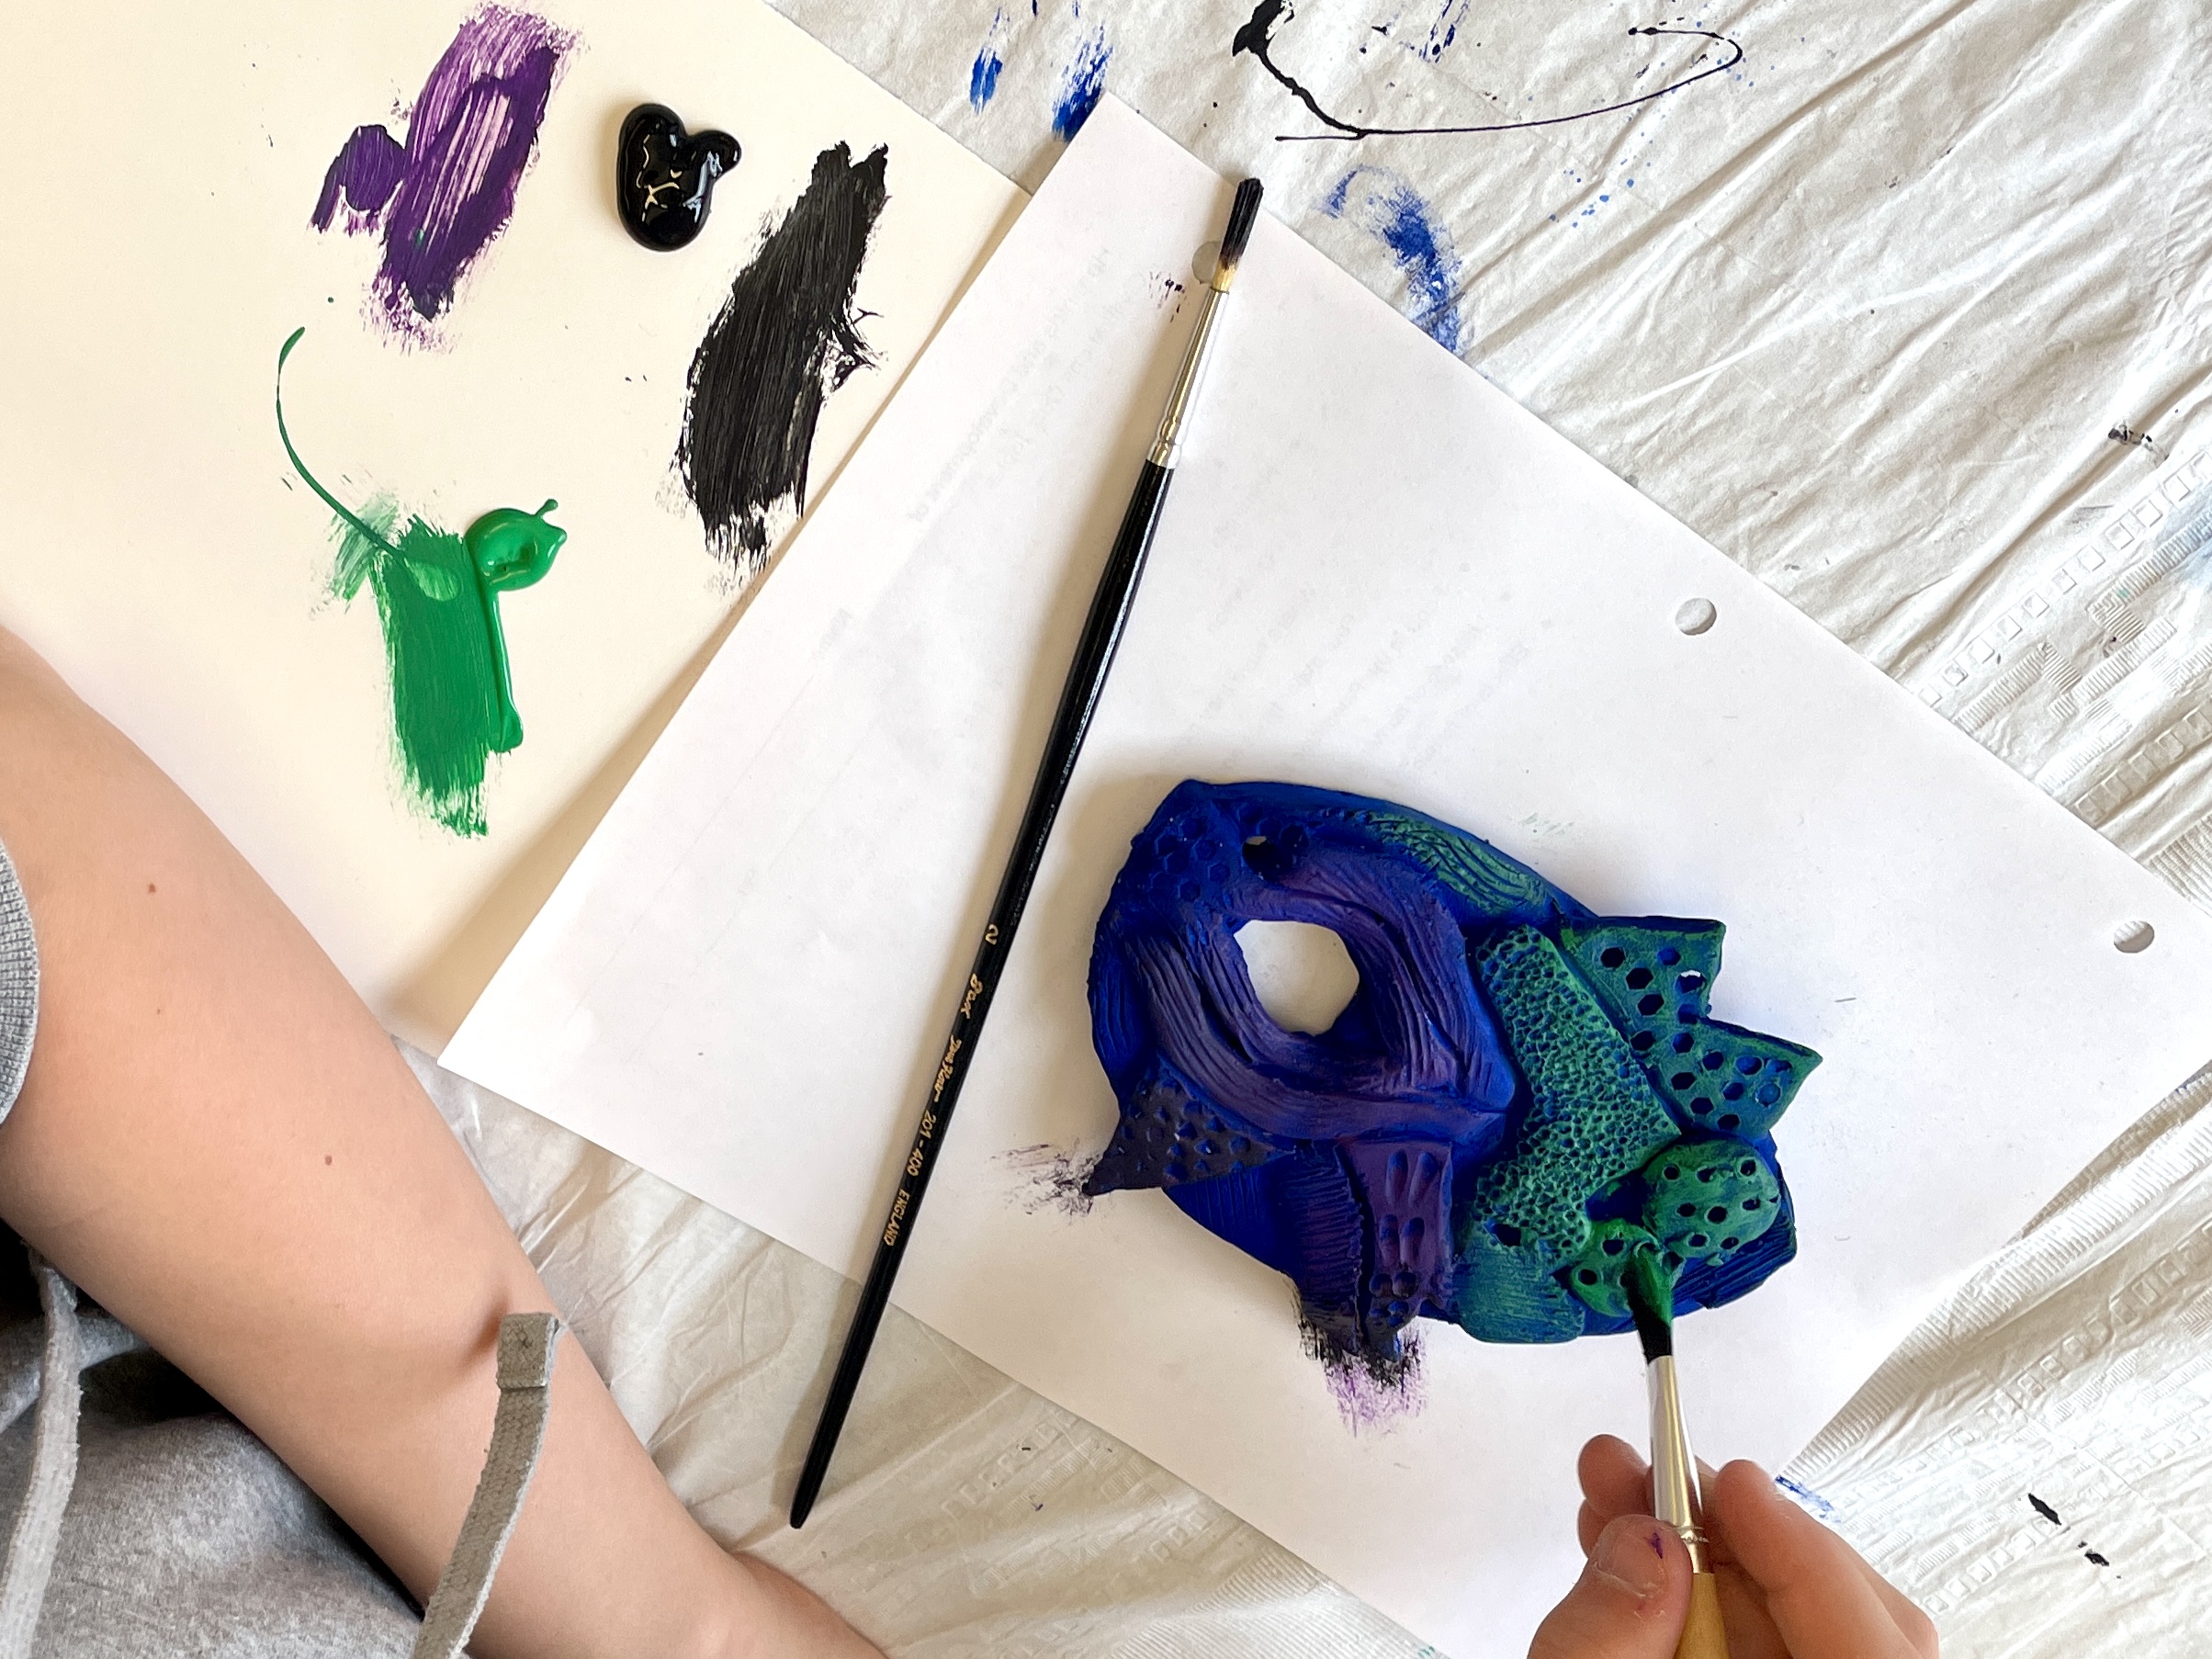
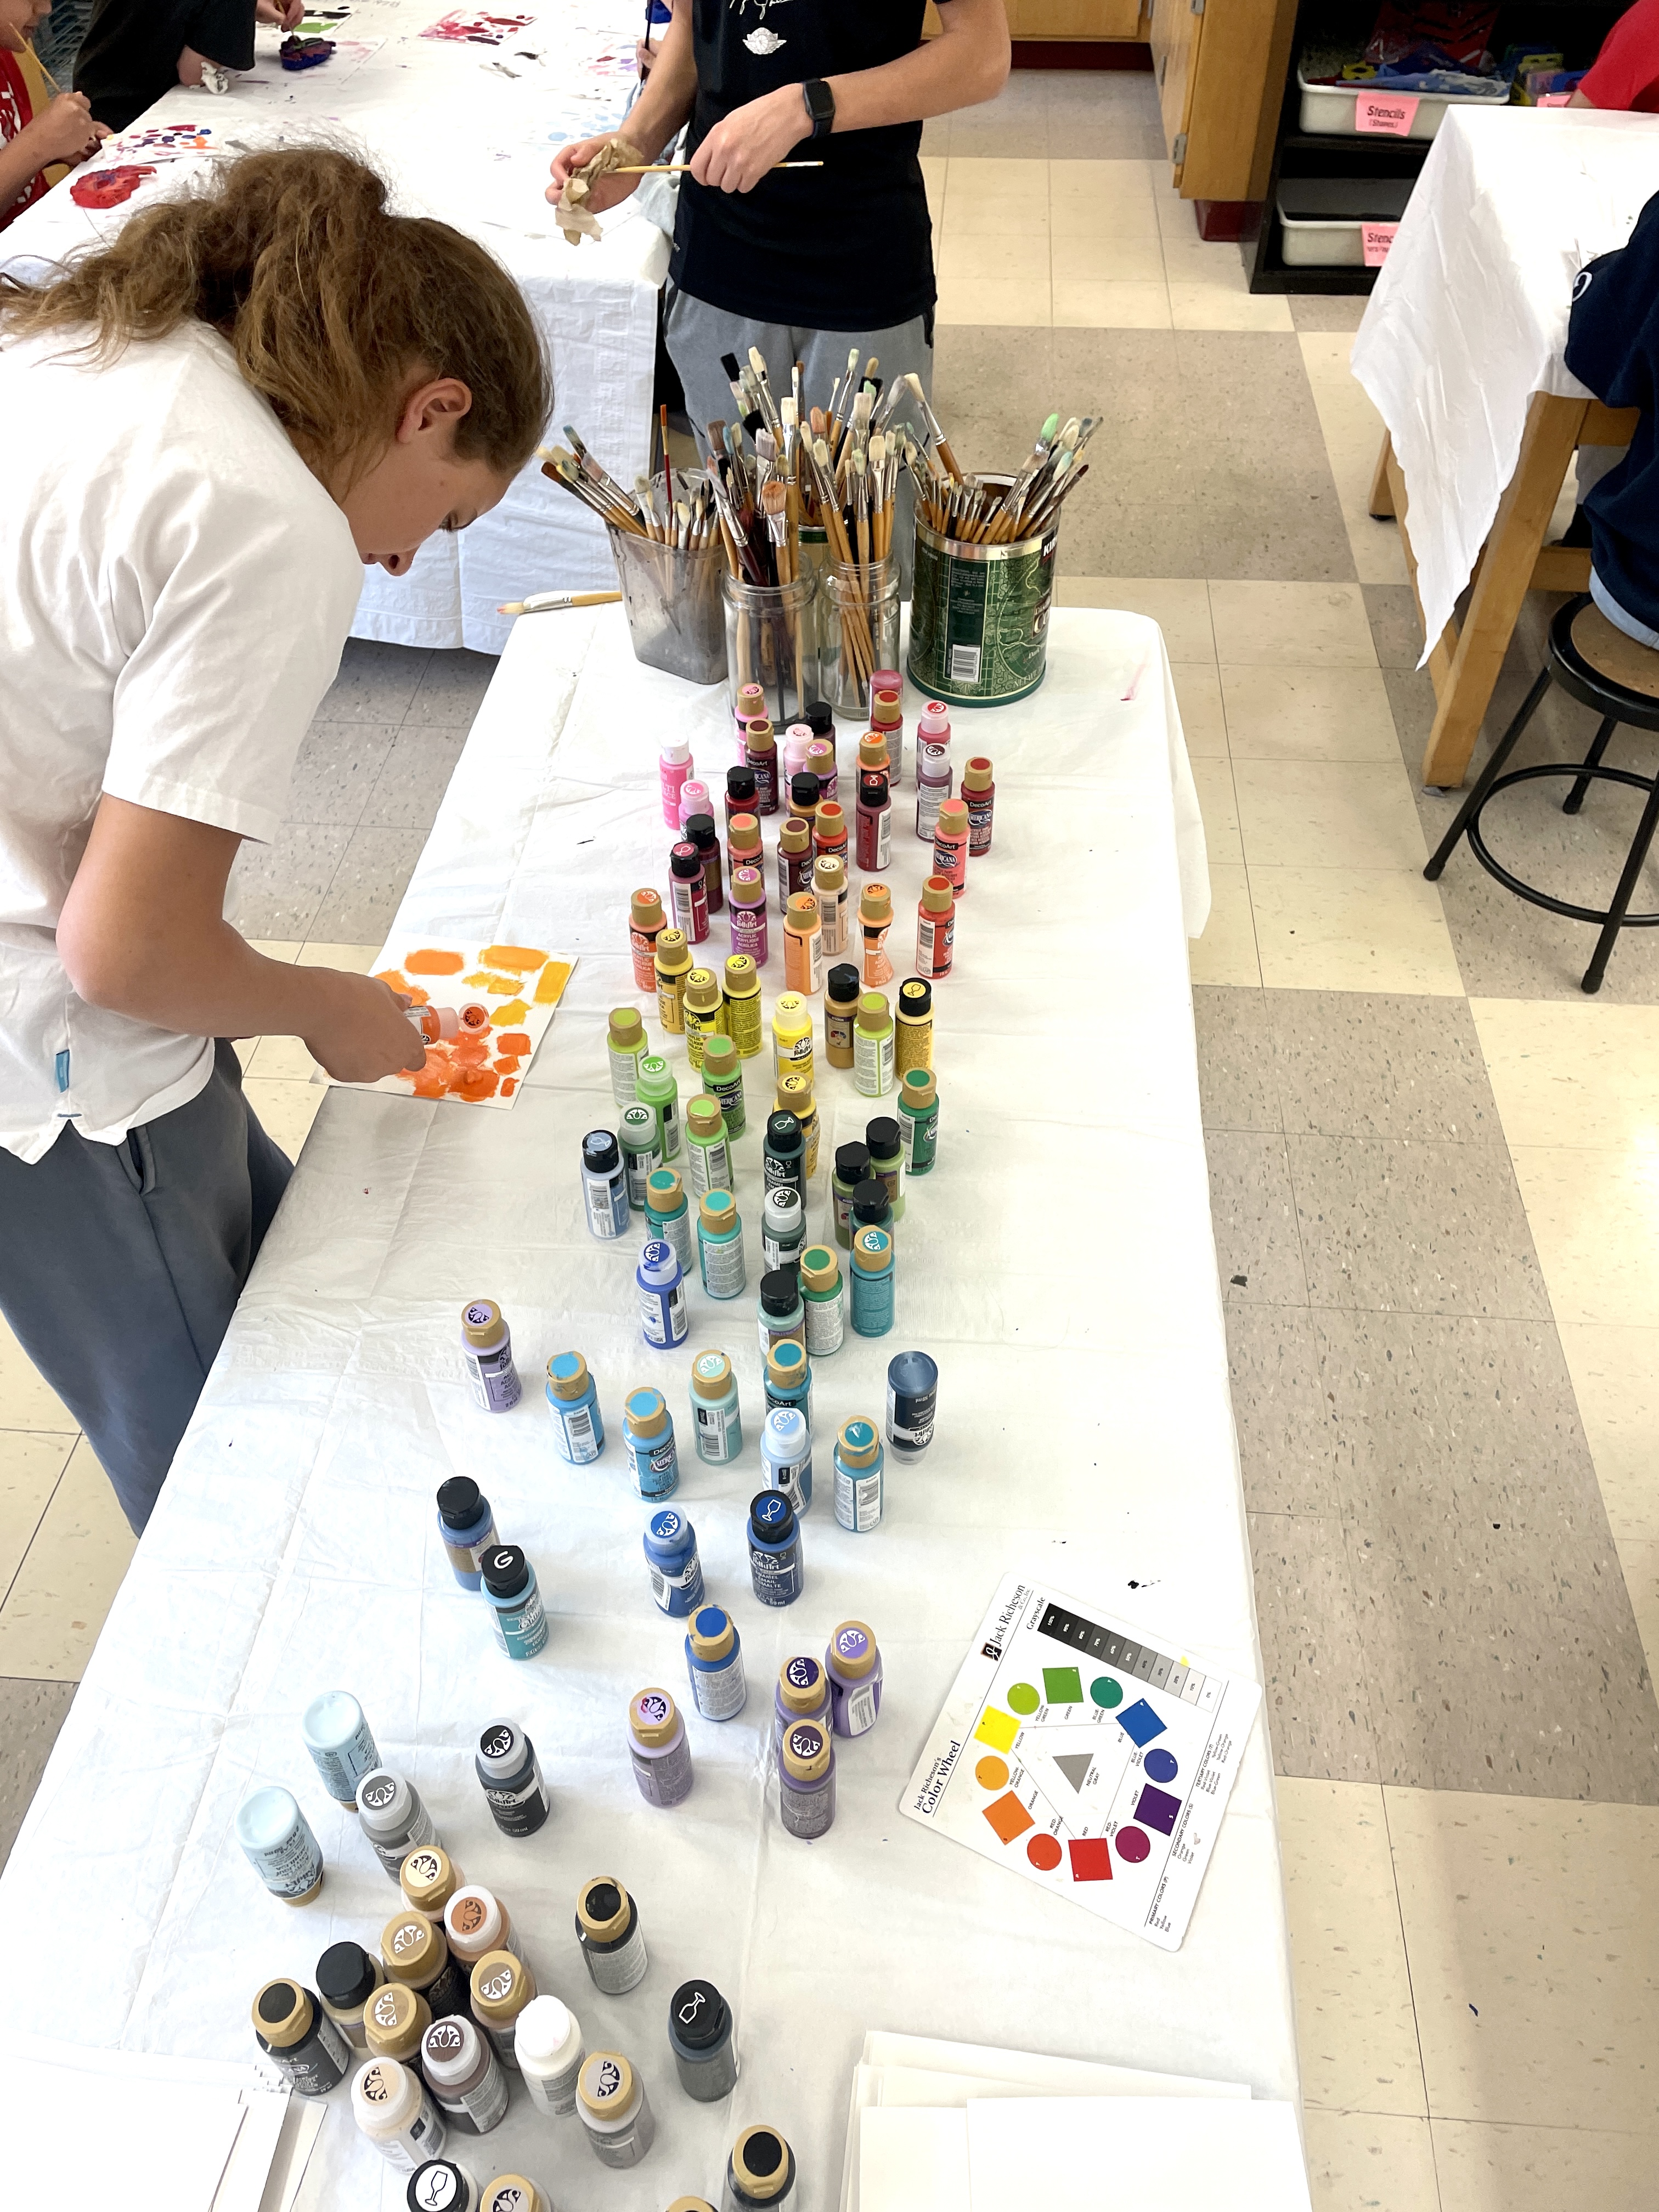
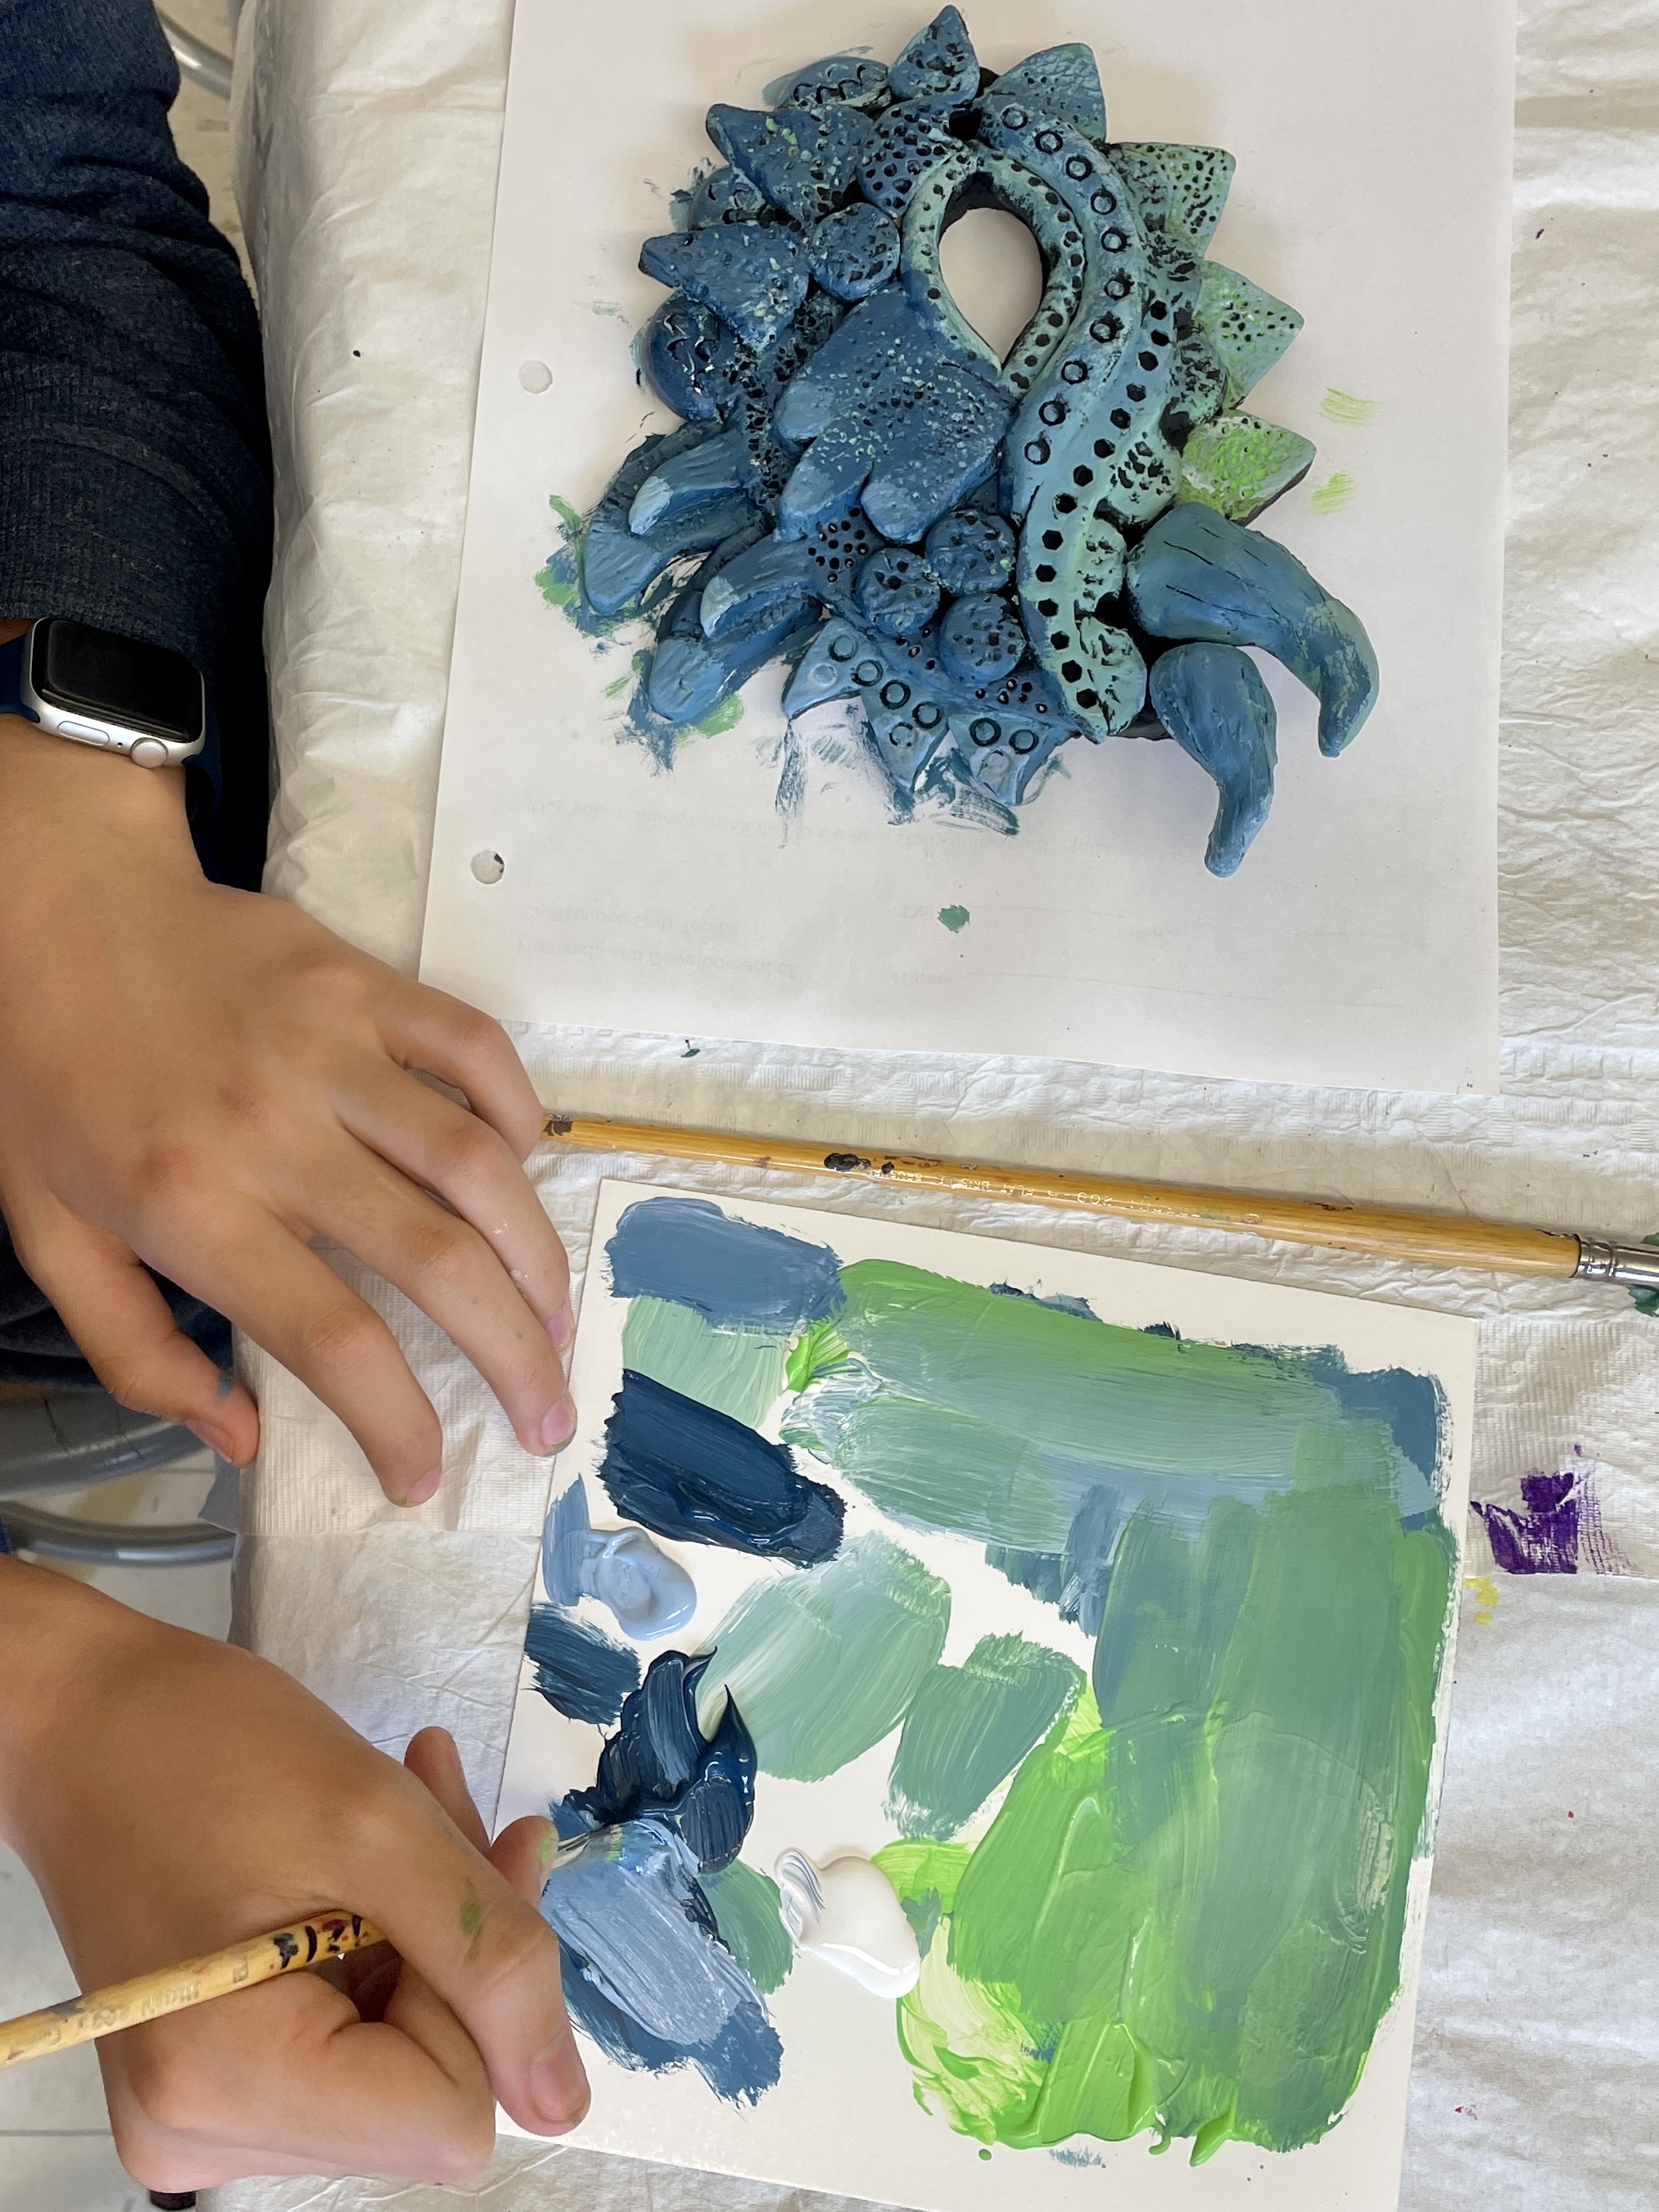
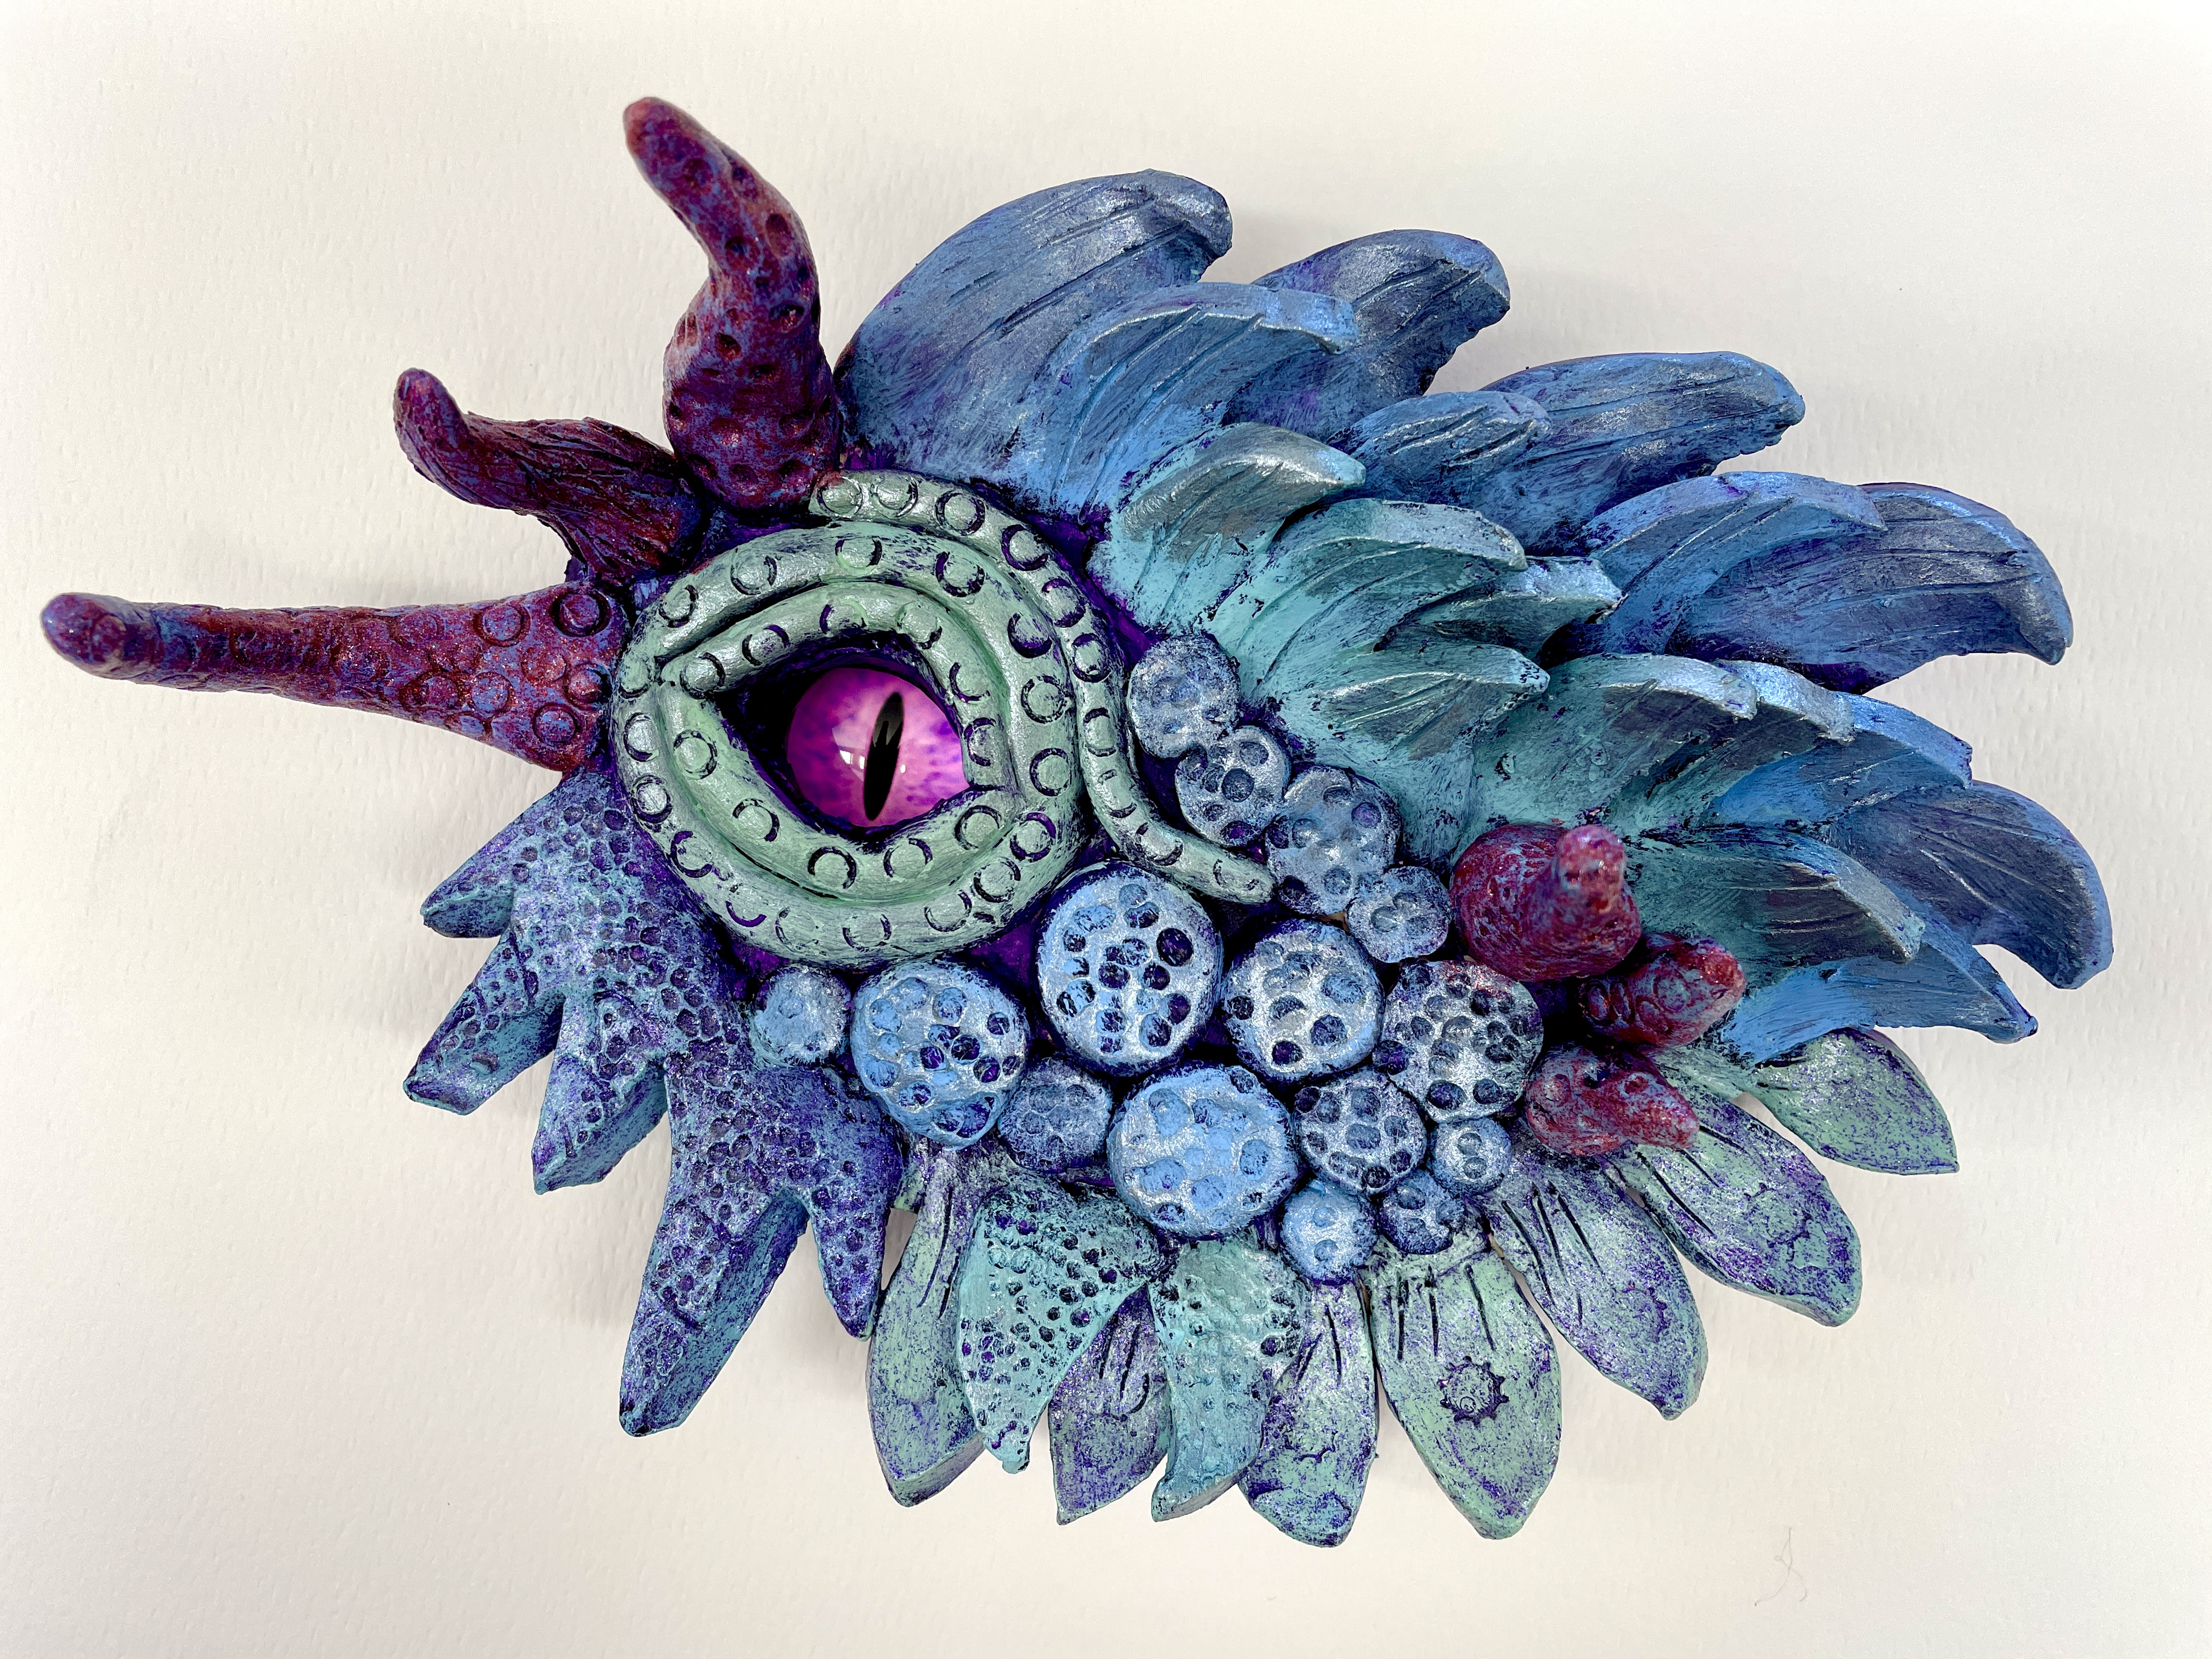
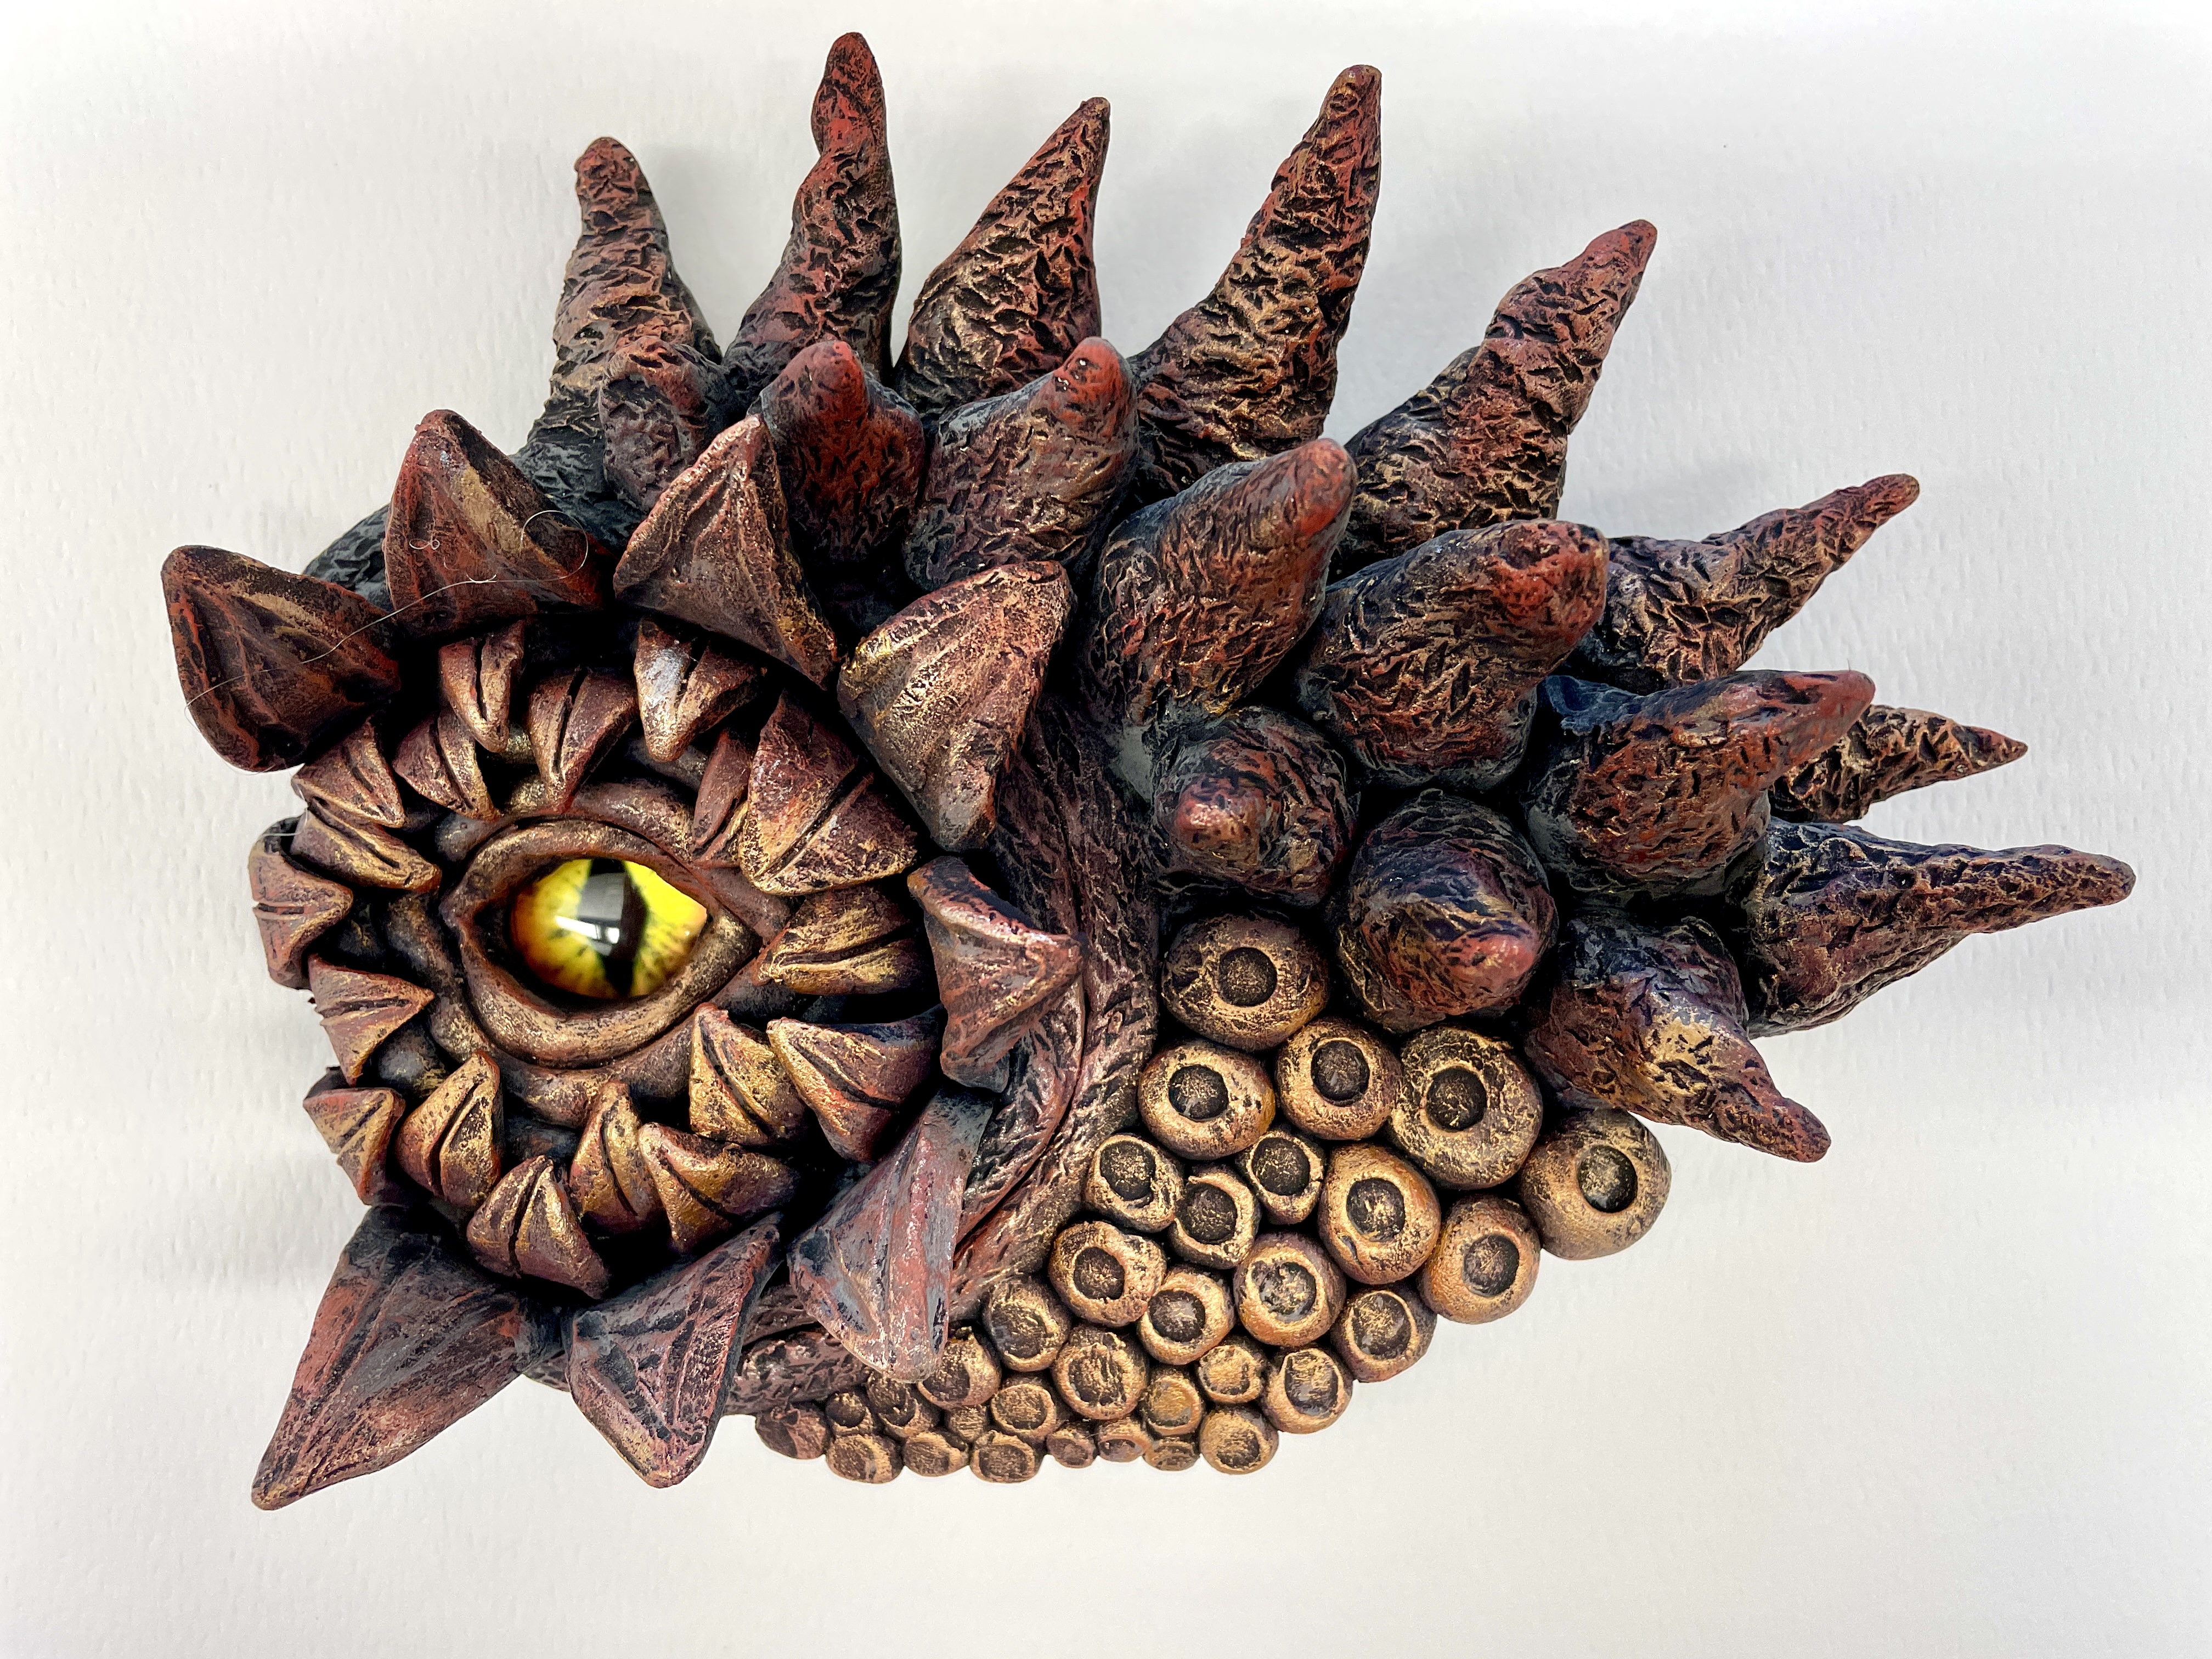
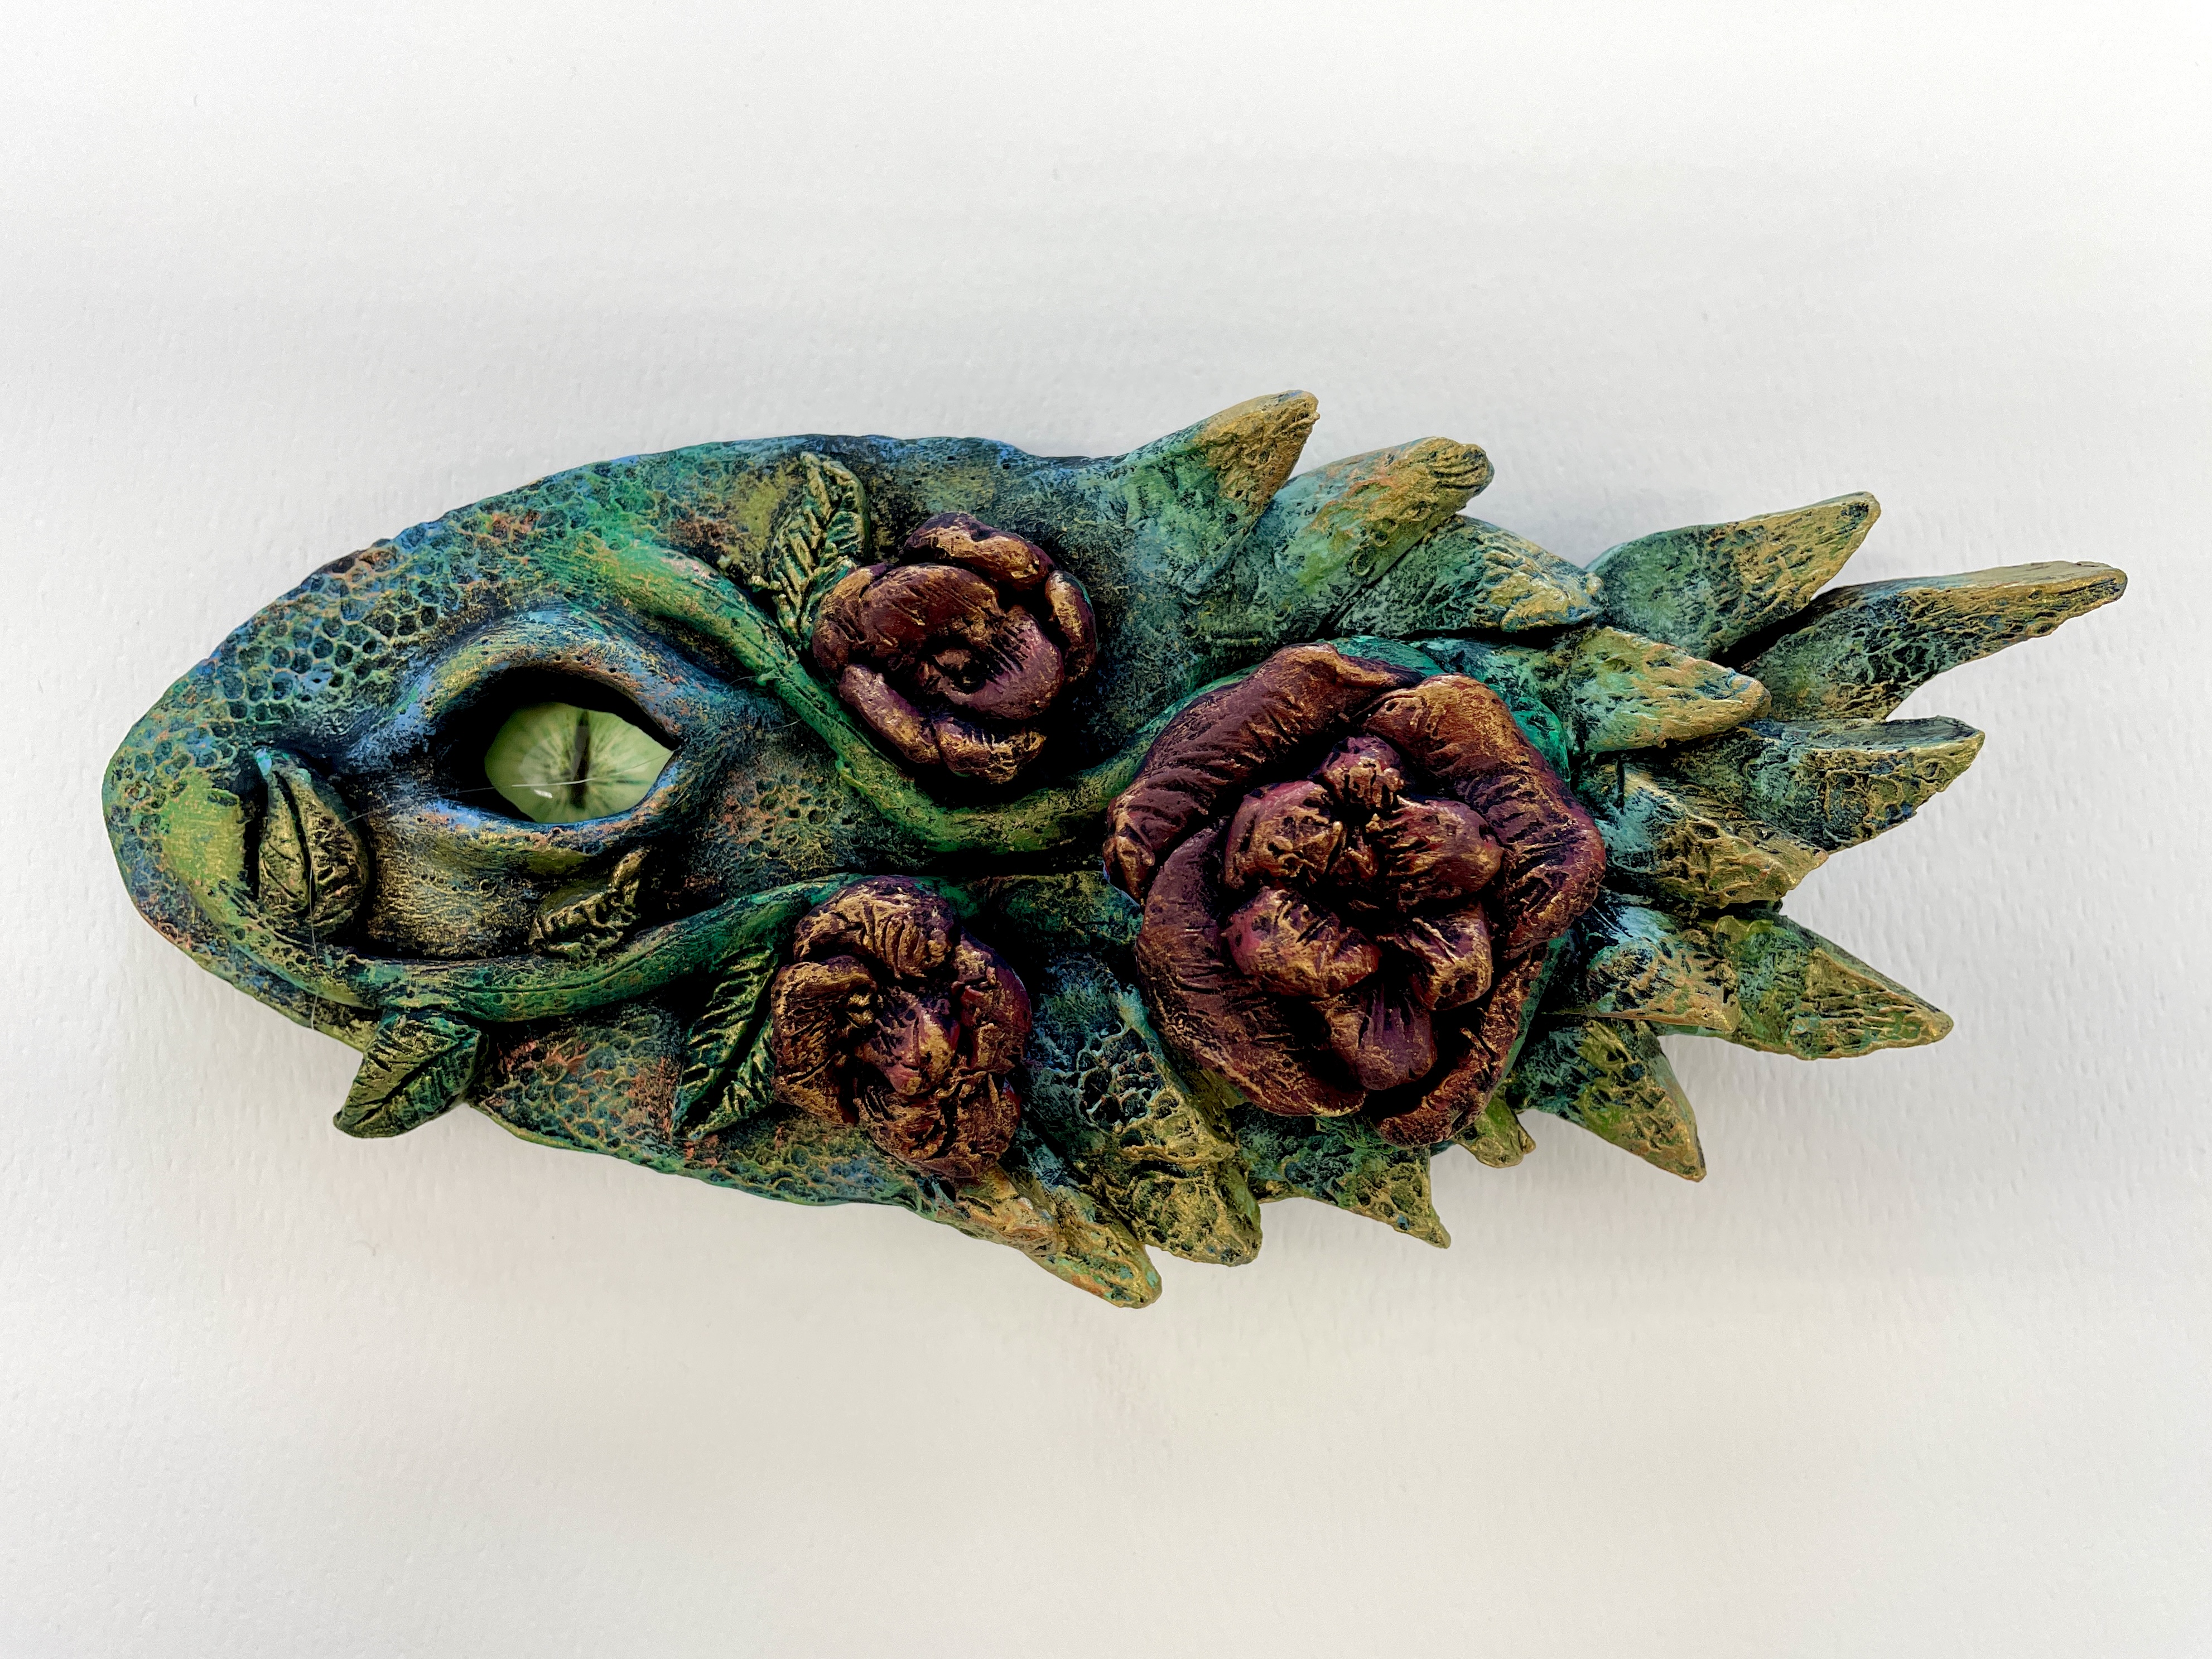
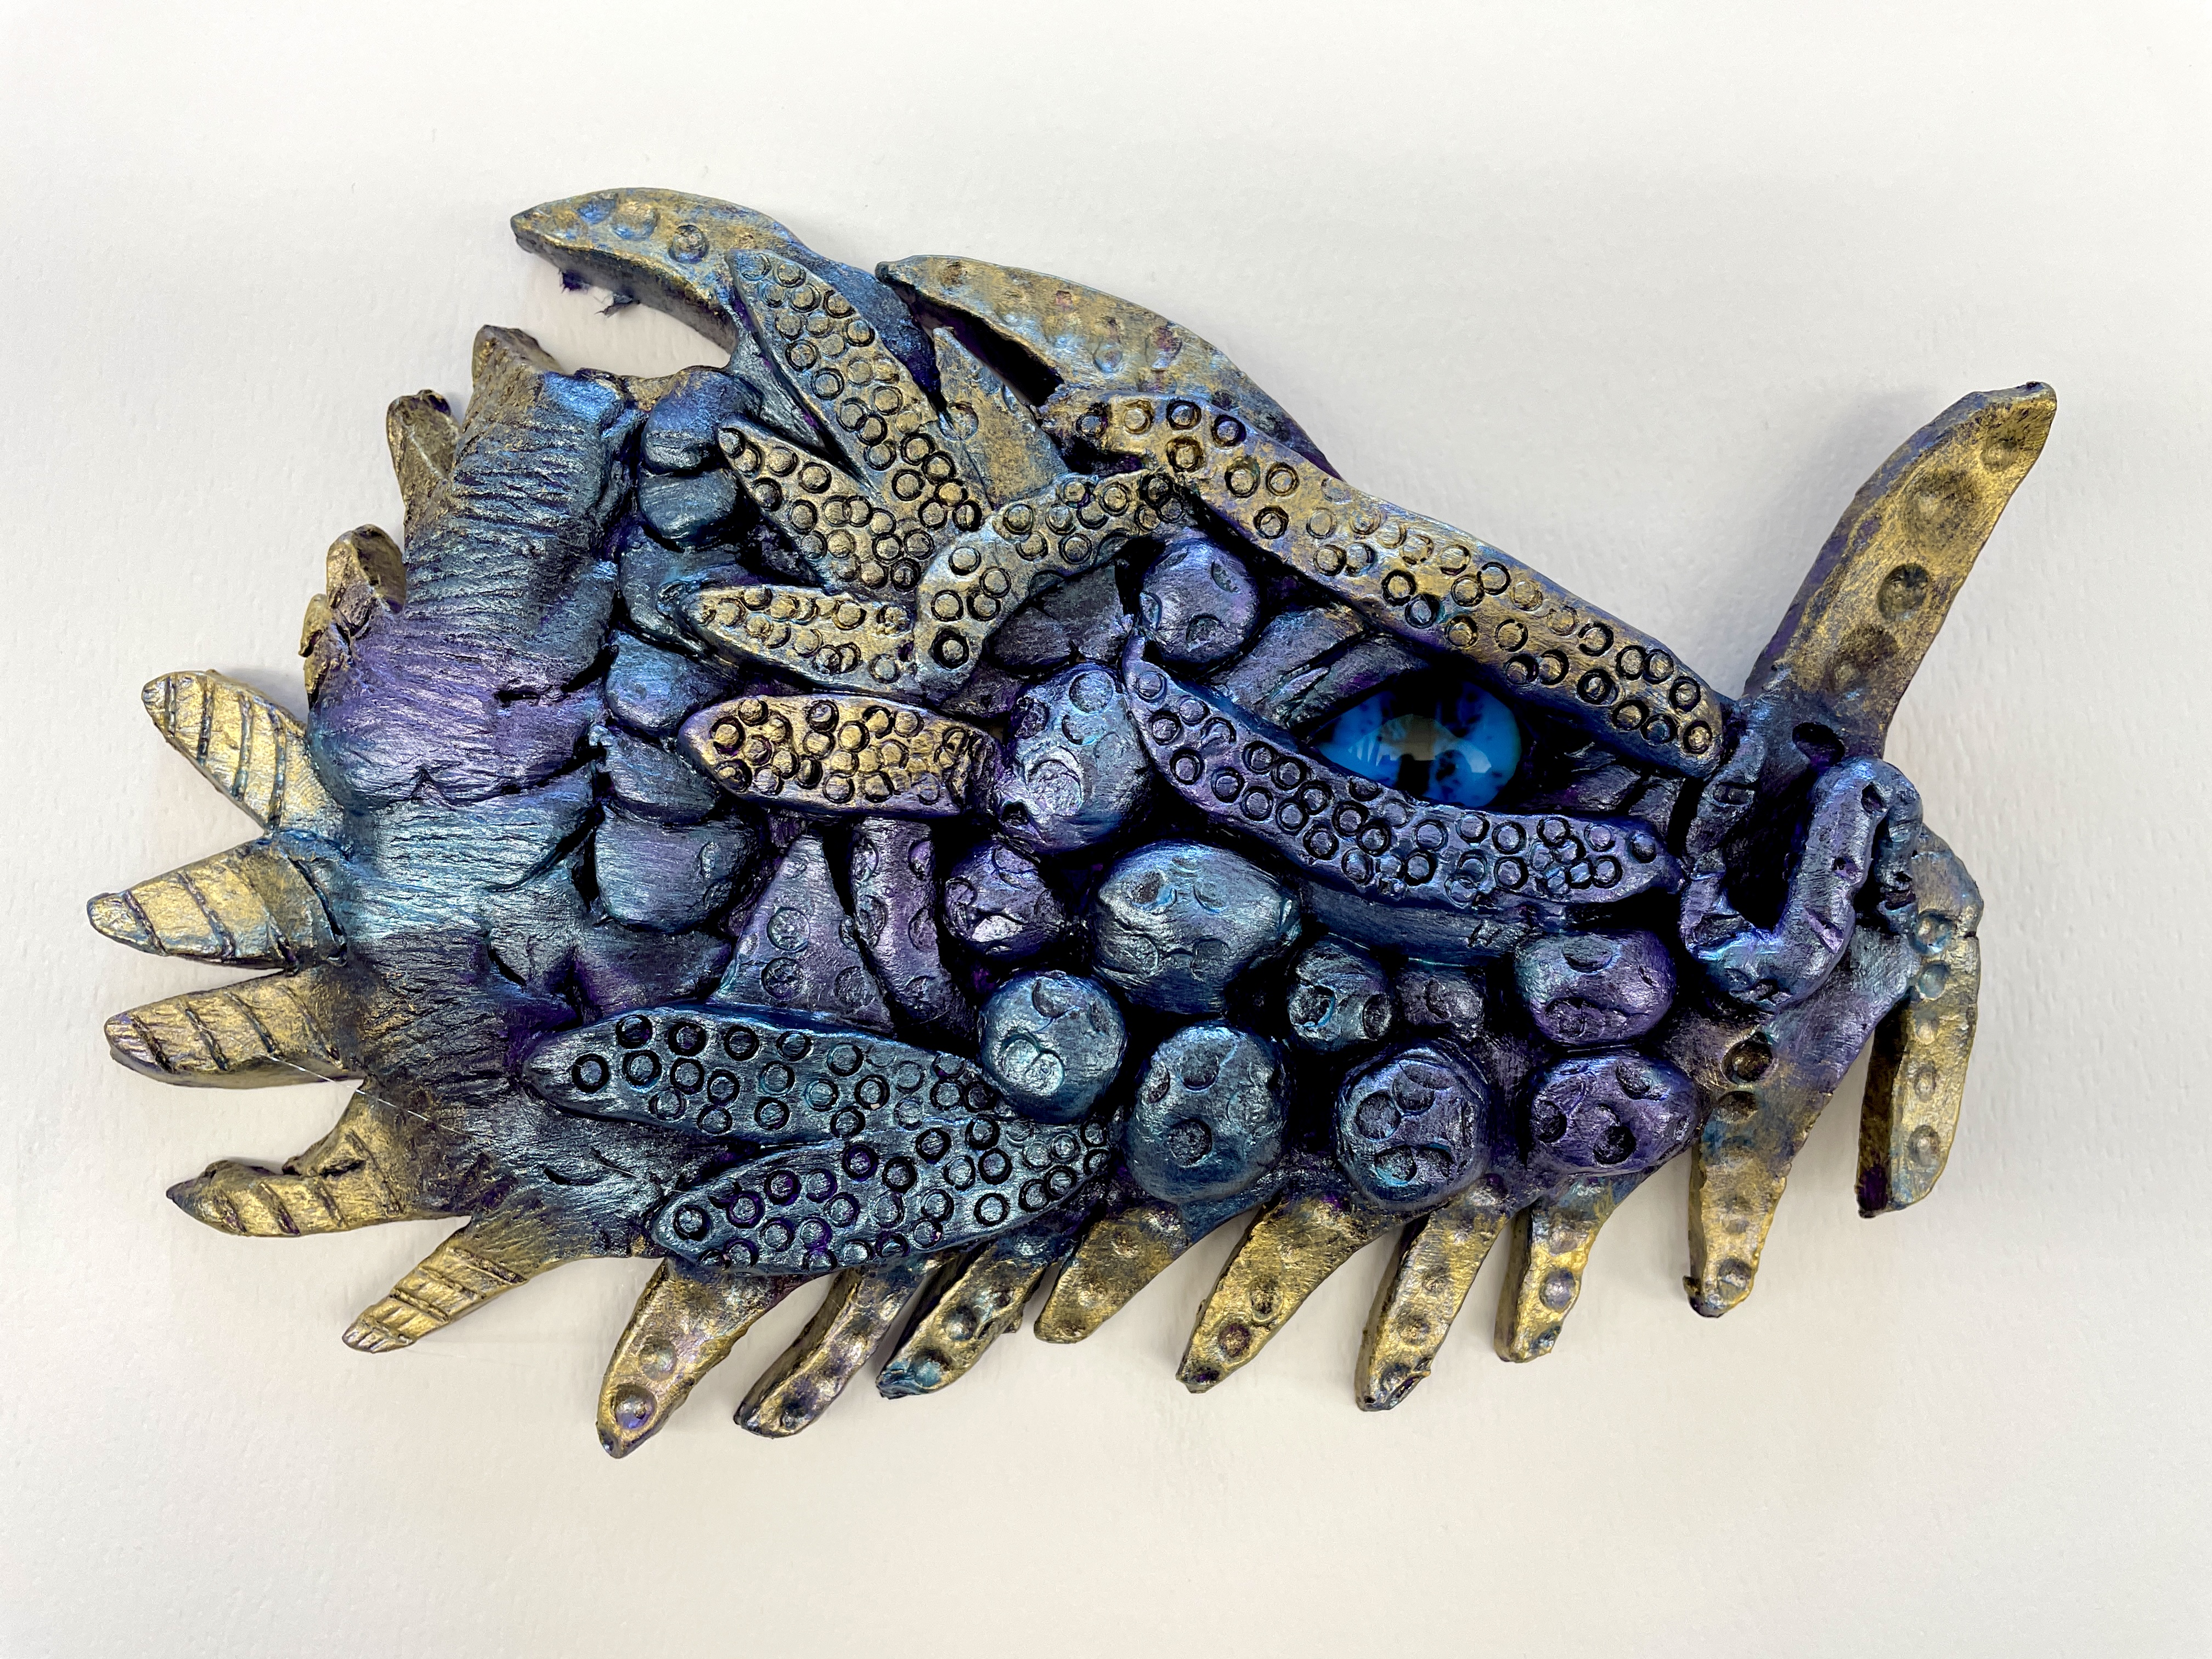
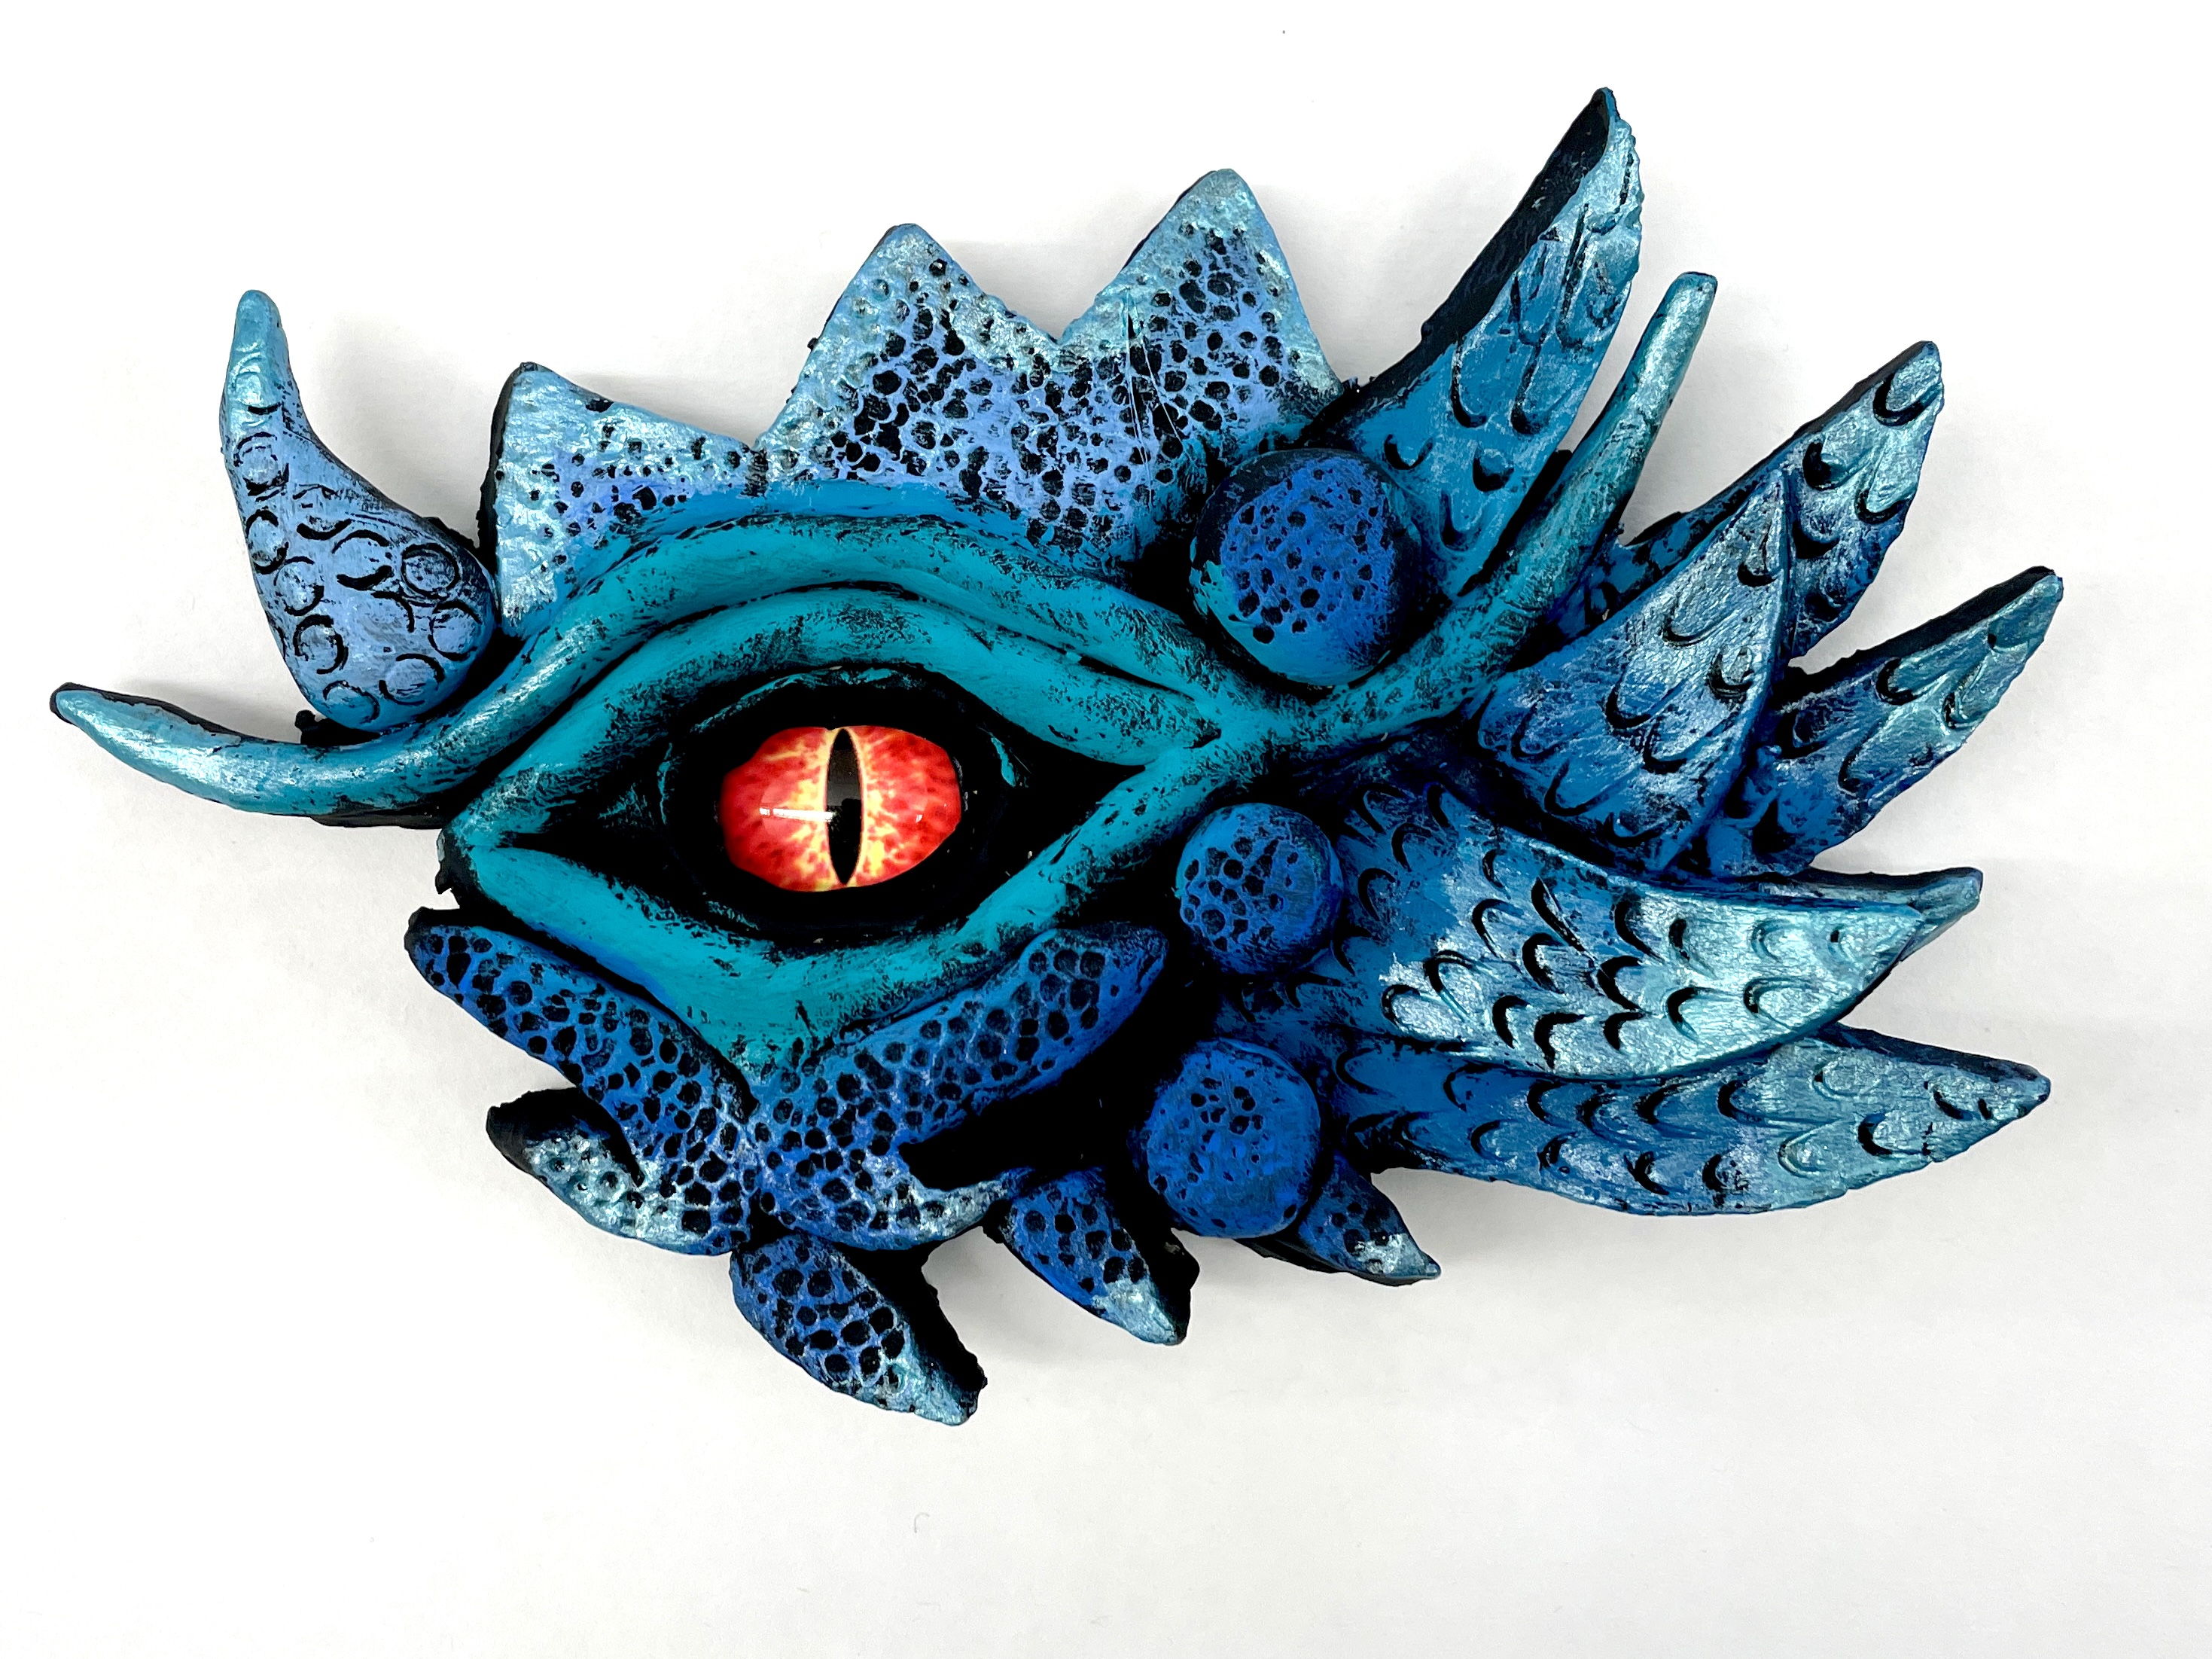
Now for Painting! (We used acrylics.) Each student chose a solid color as a base for their sculpture. I provided many options, but in hindsight, dark colors seem to work best for the dry brush technique we did next. I will probably limit them to black, purple, dark blue and dark green the next time I try this lesson.
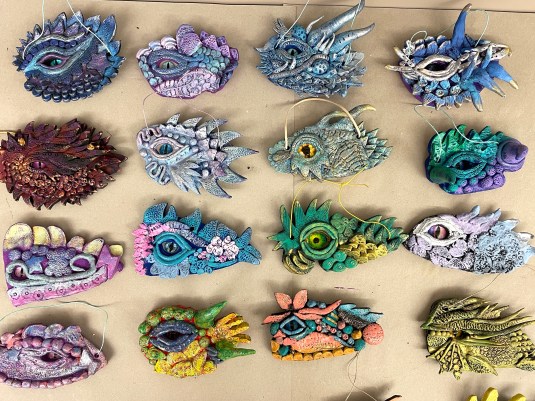
Dragon eyes with the base color applied:

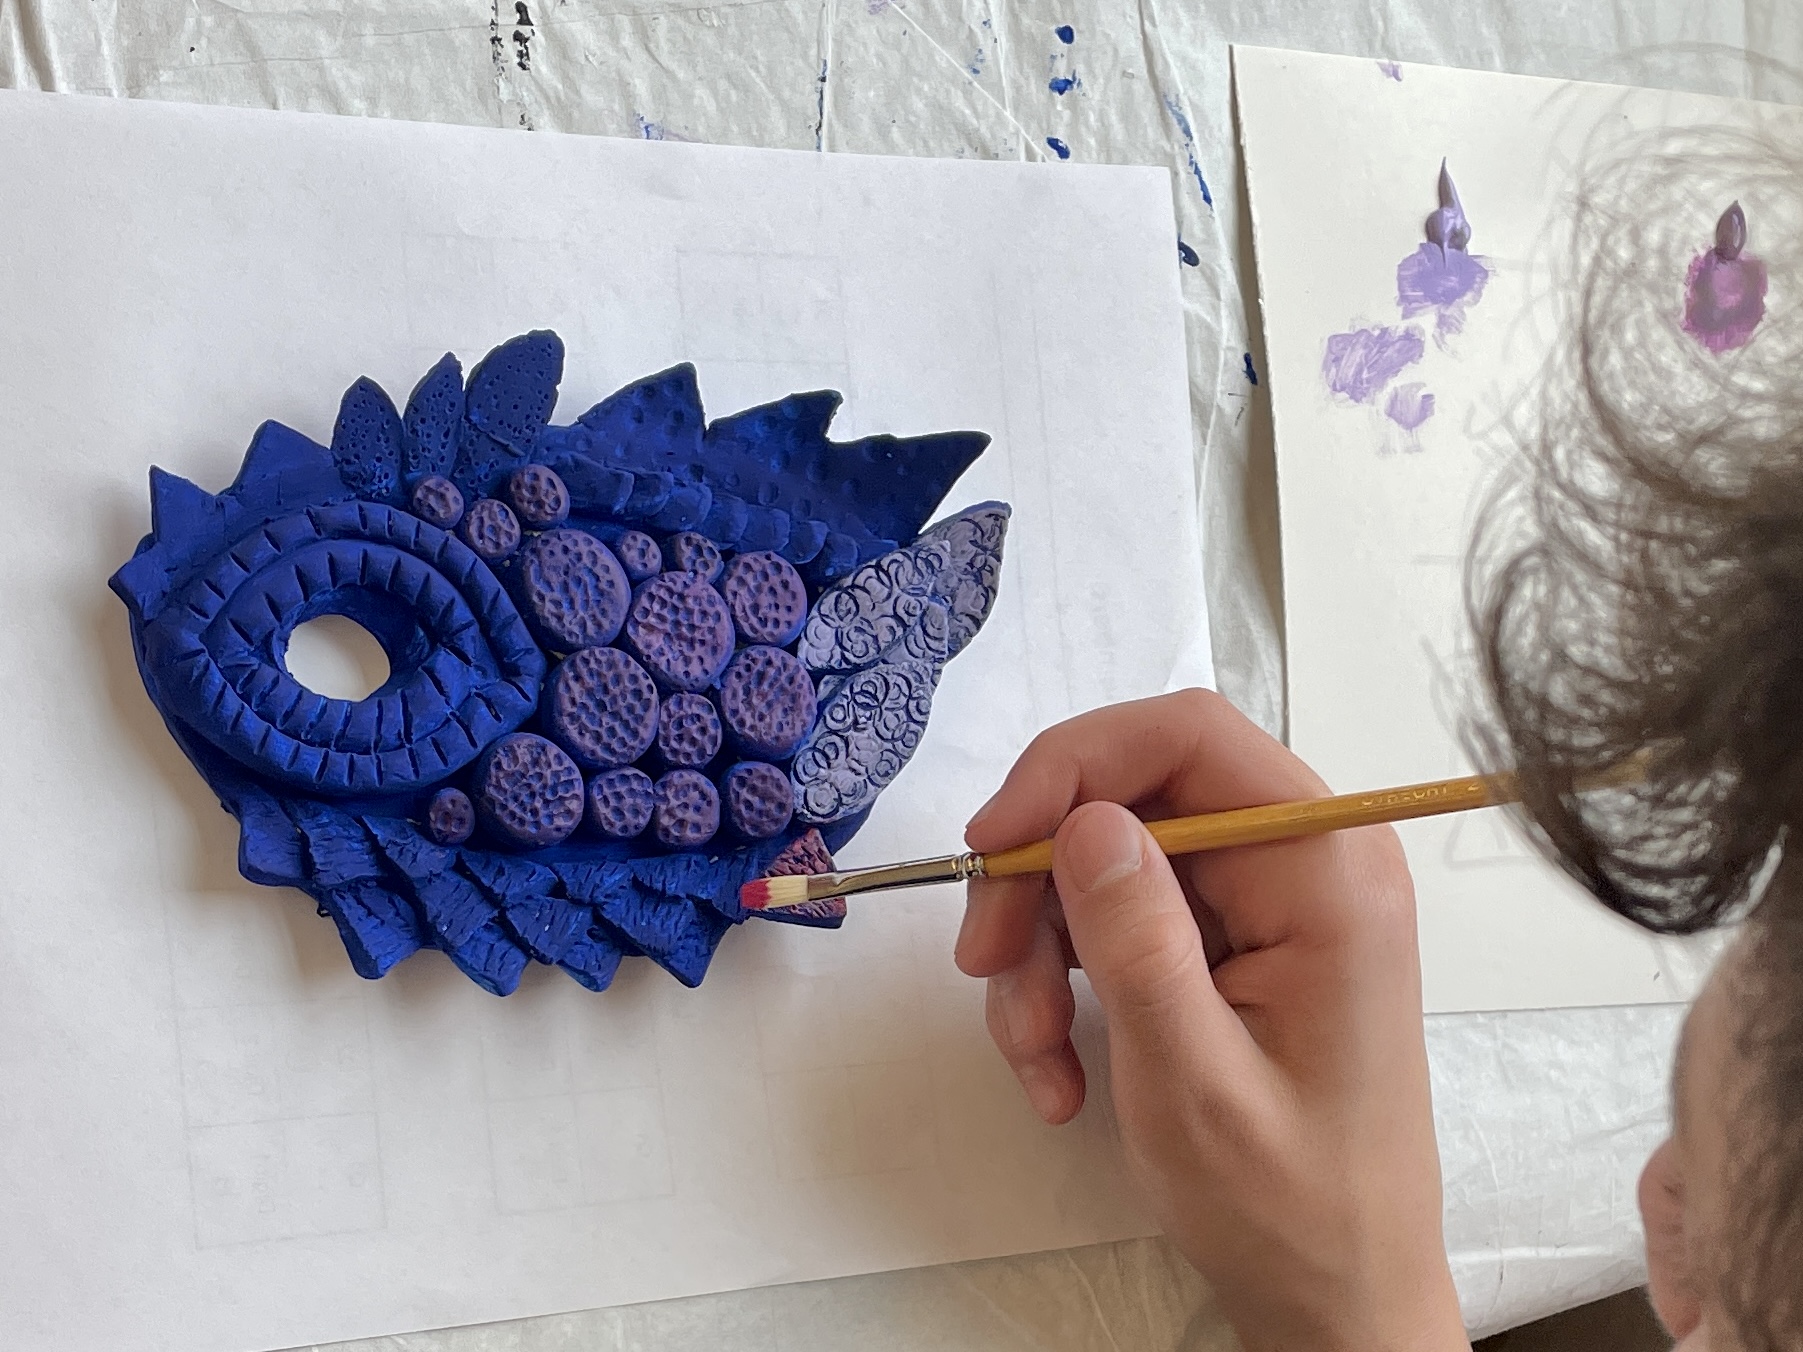
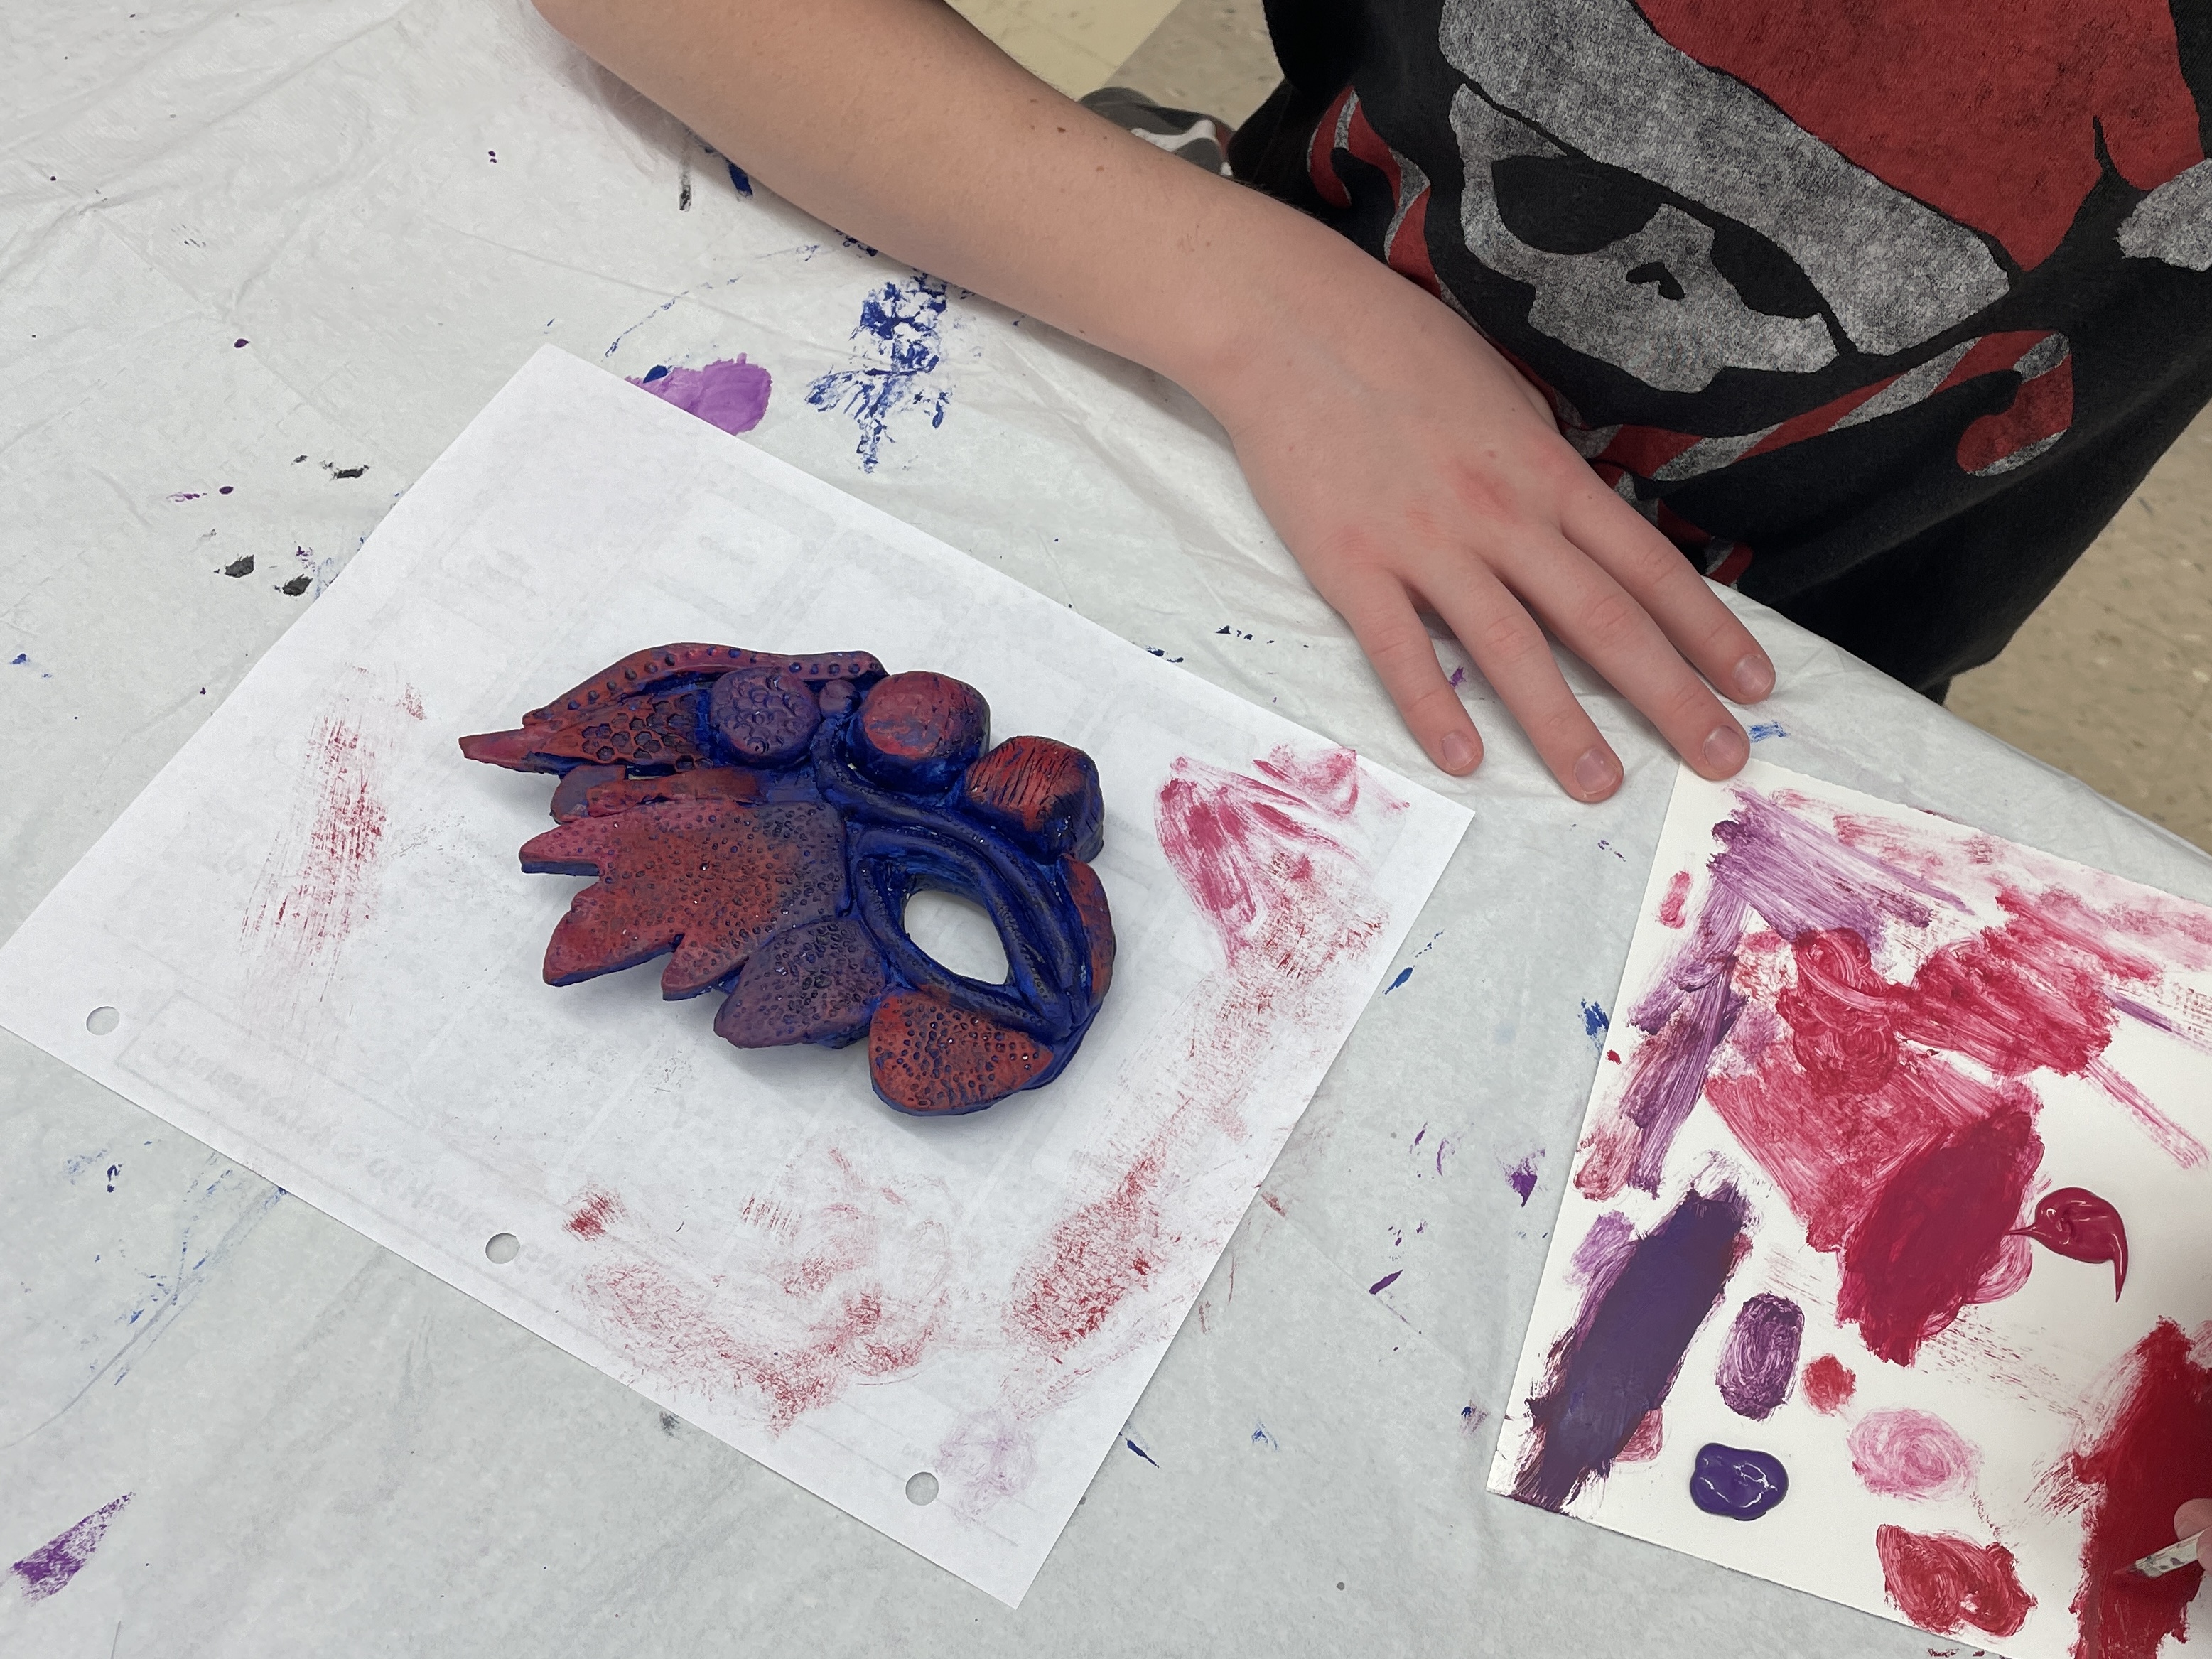
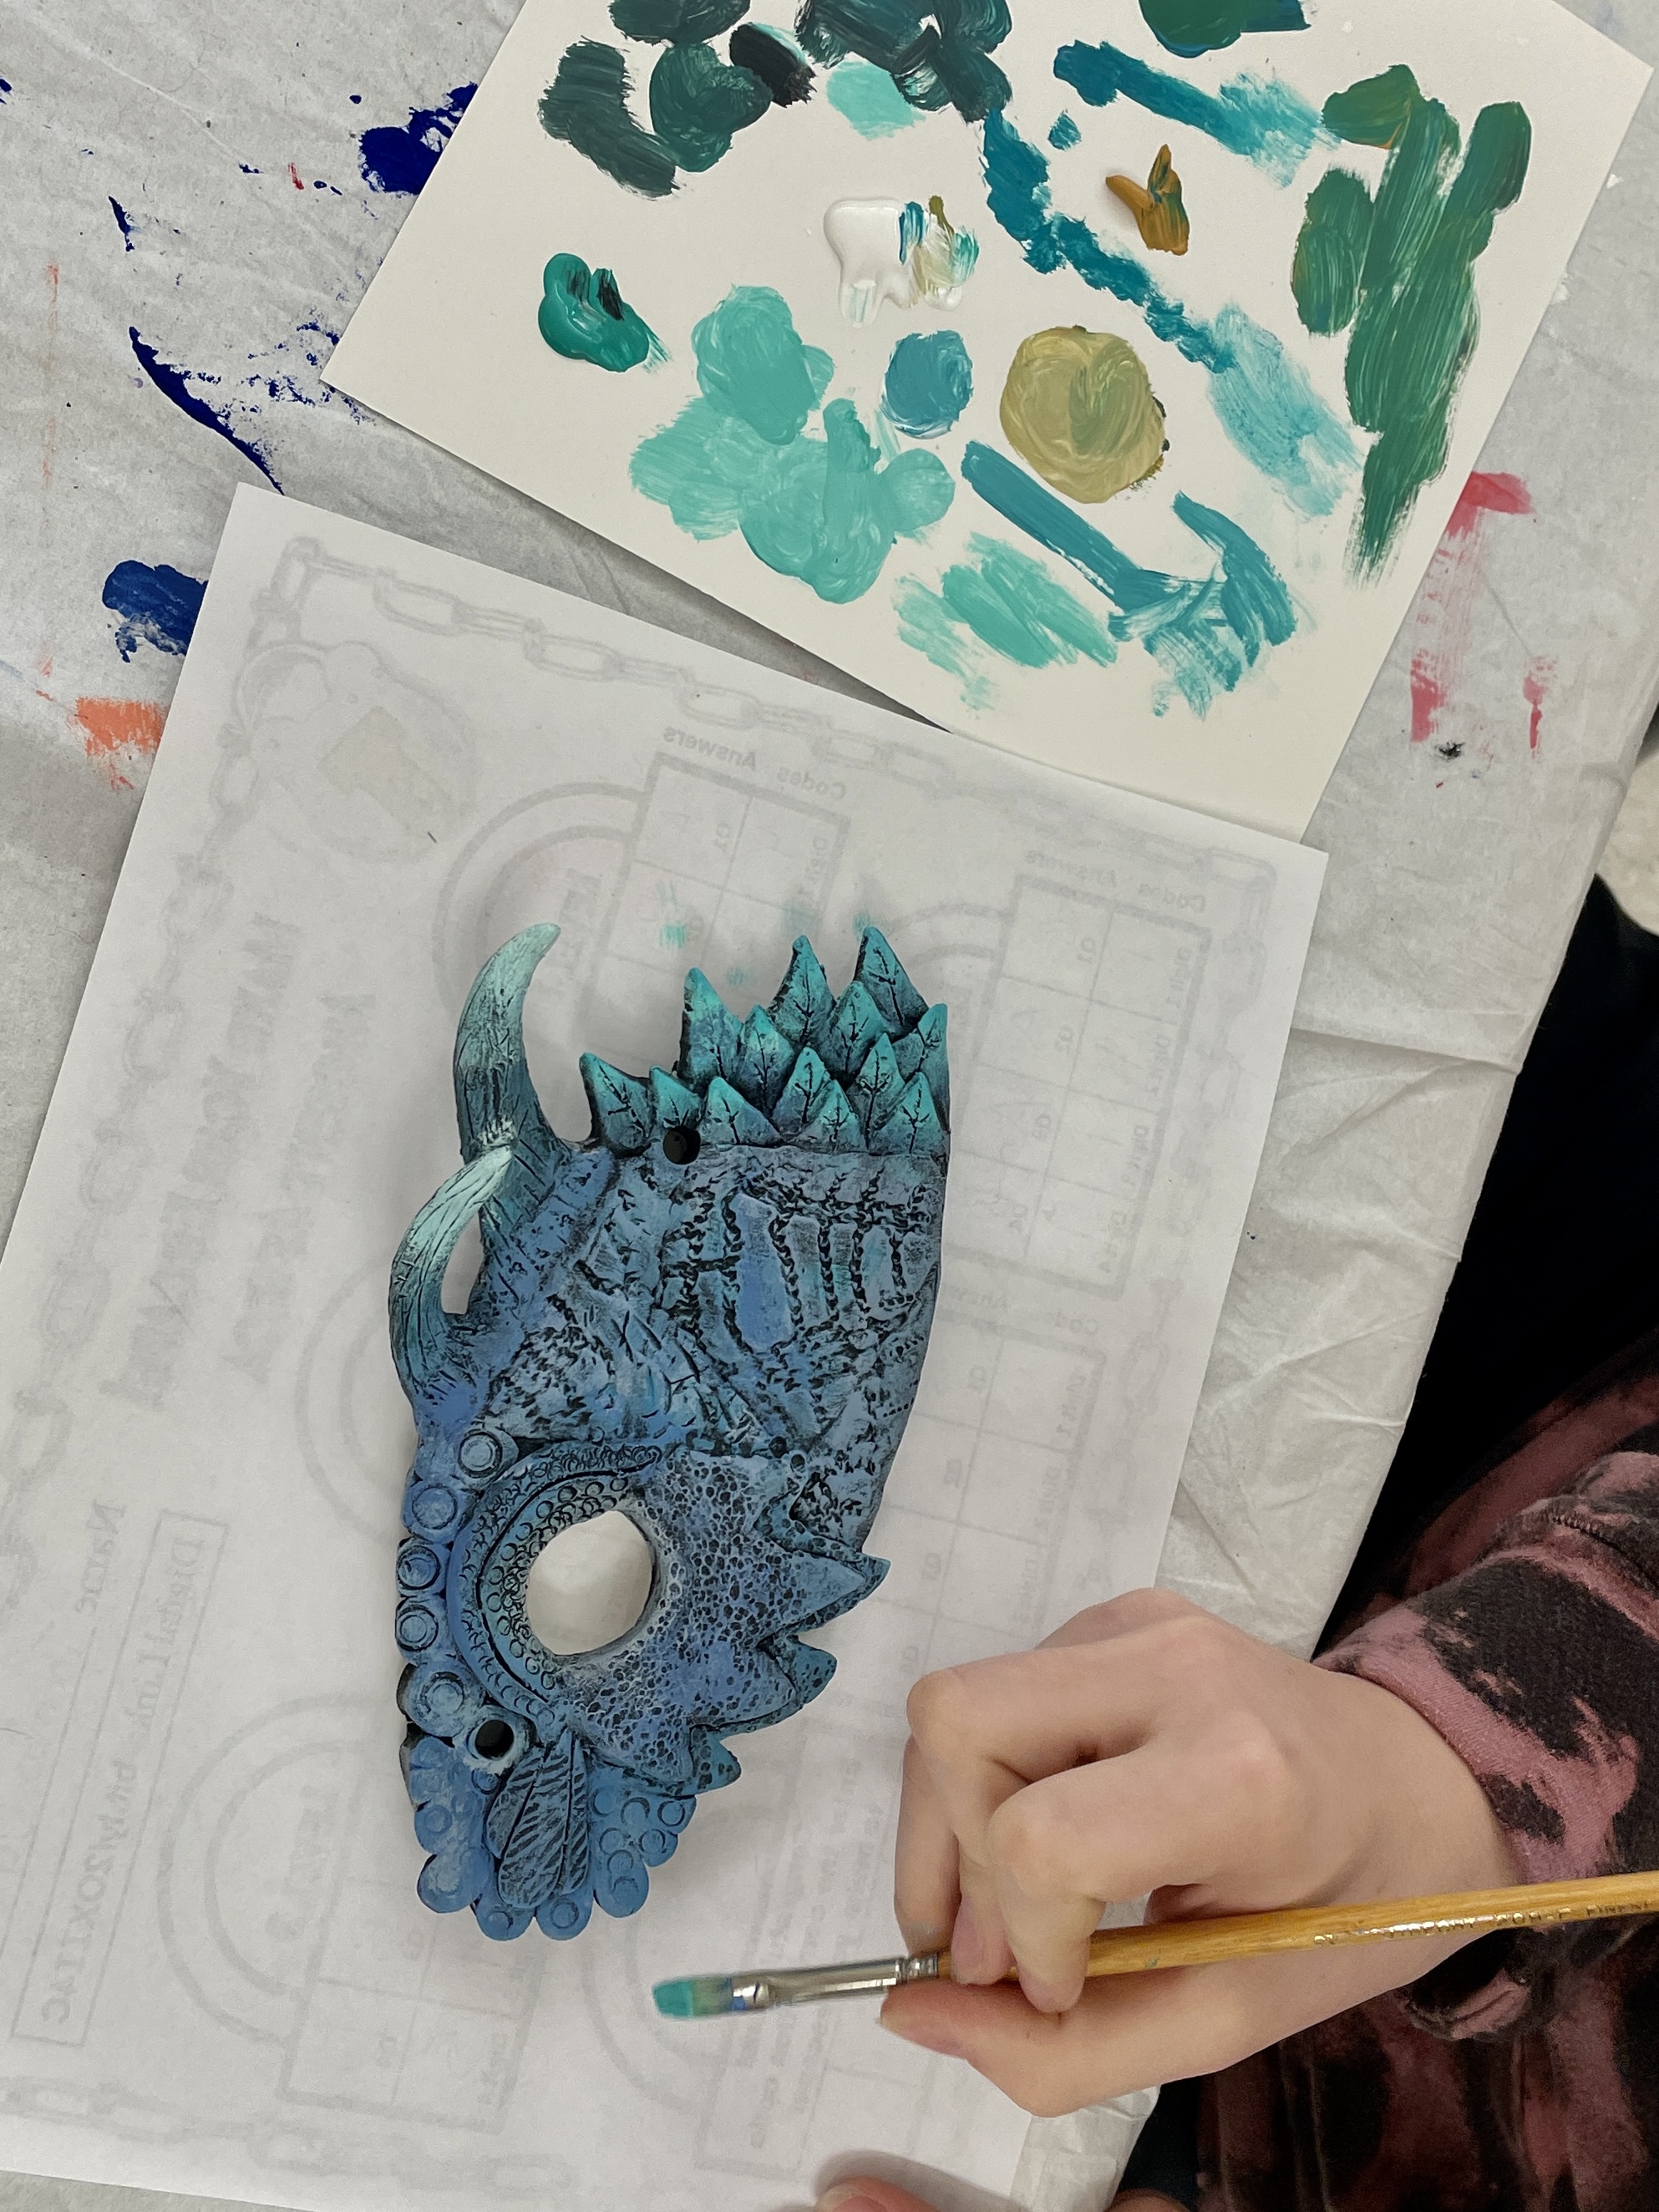
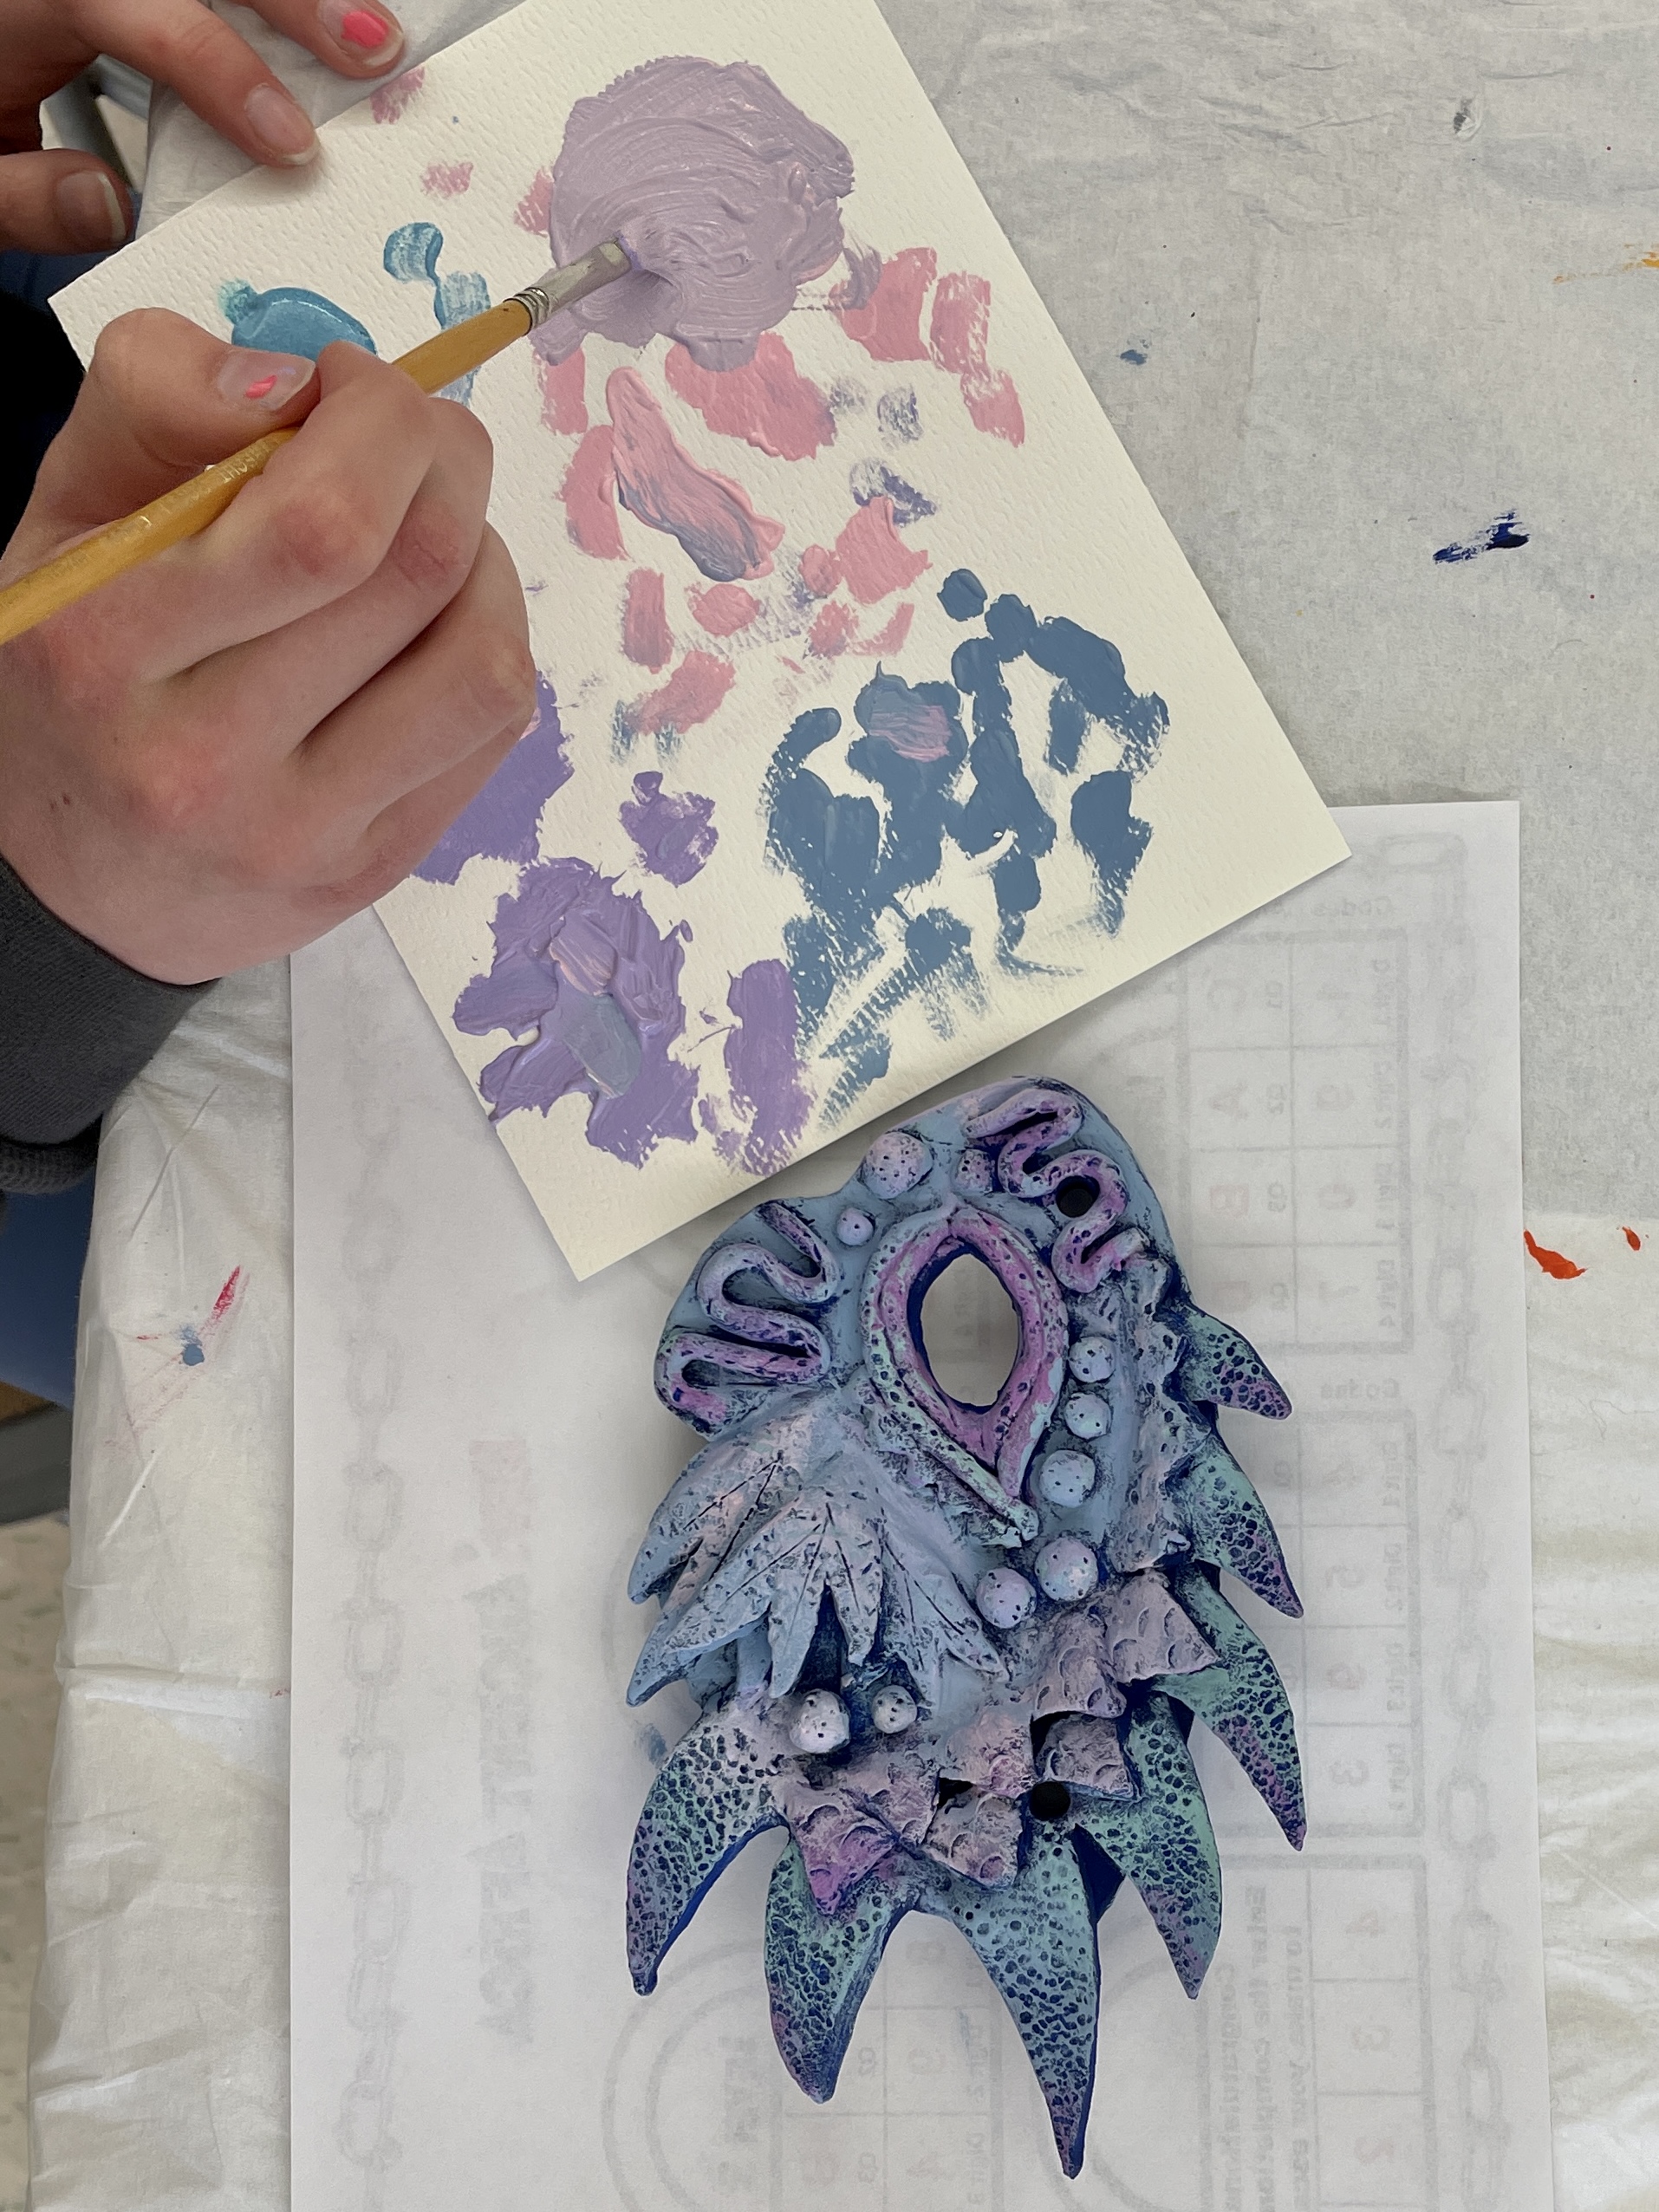
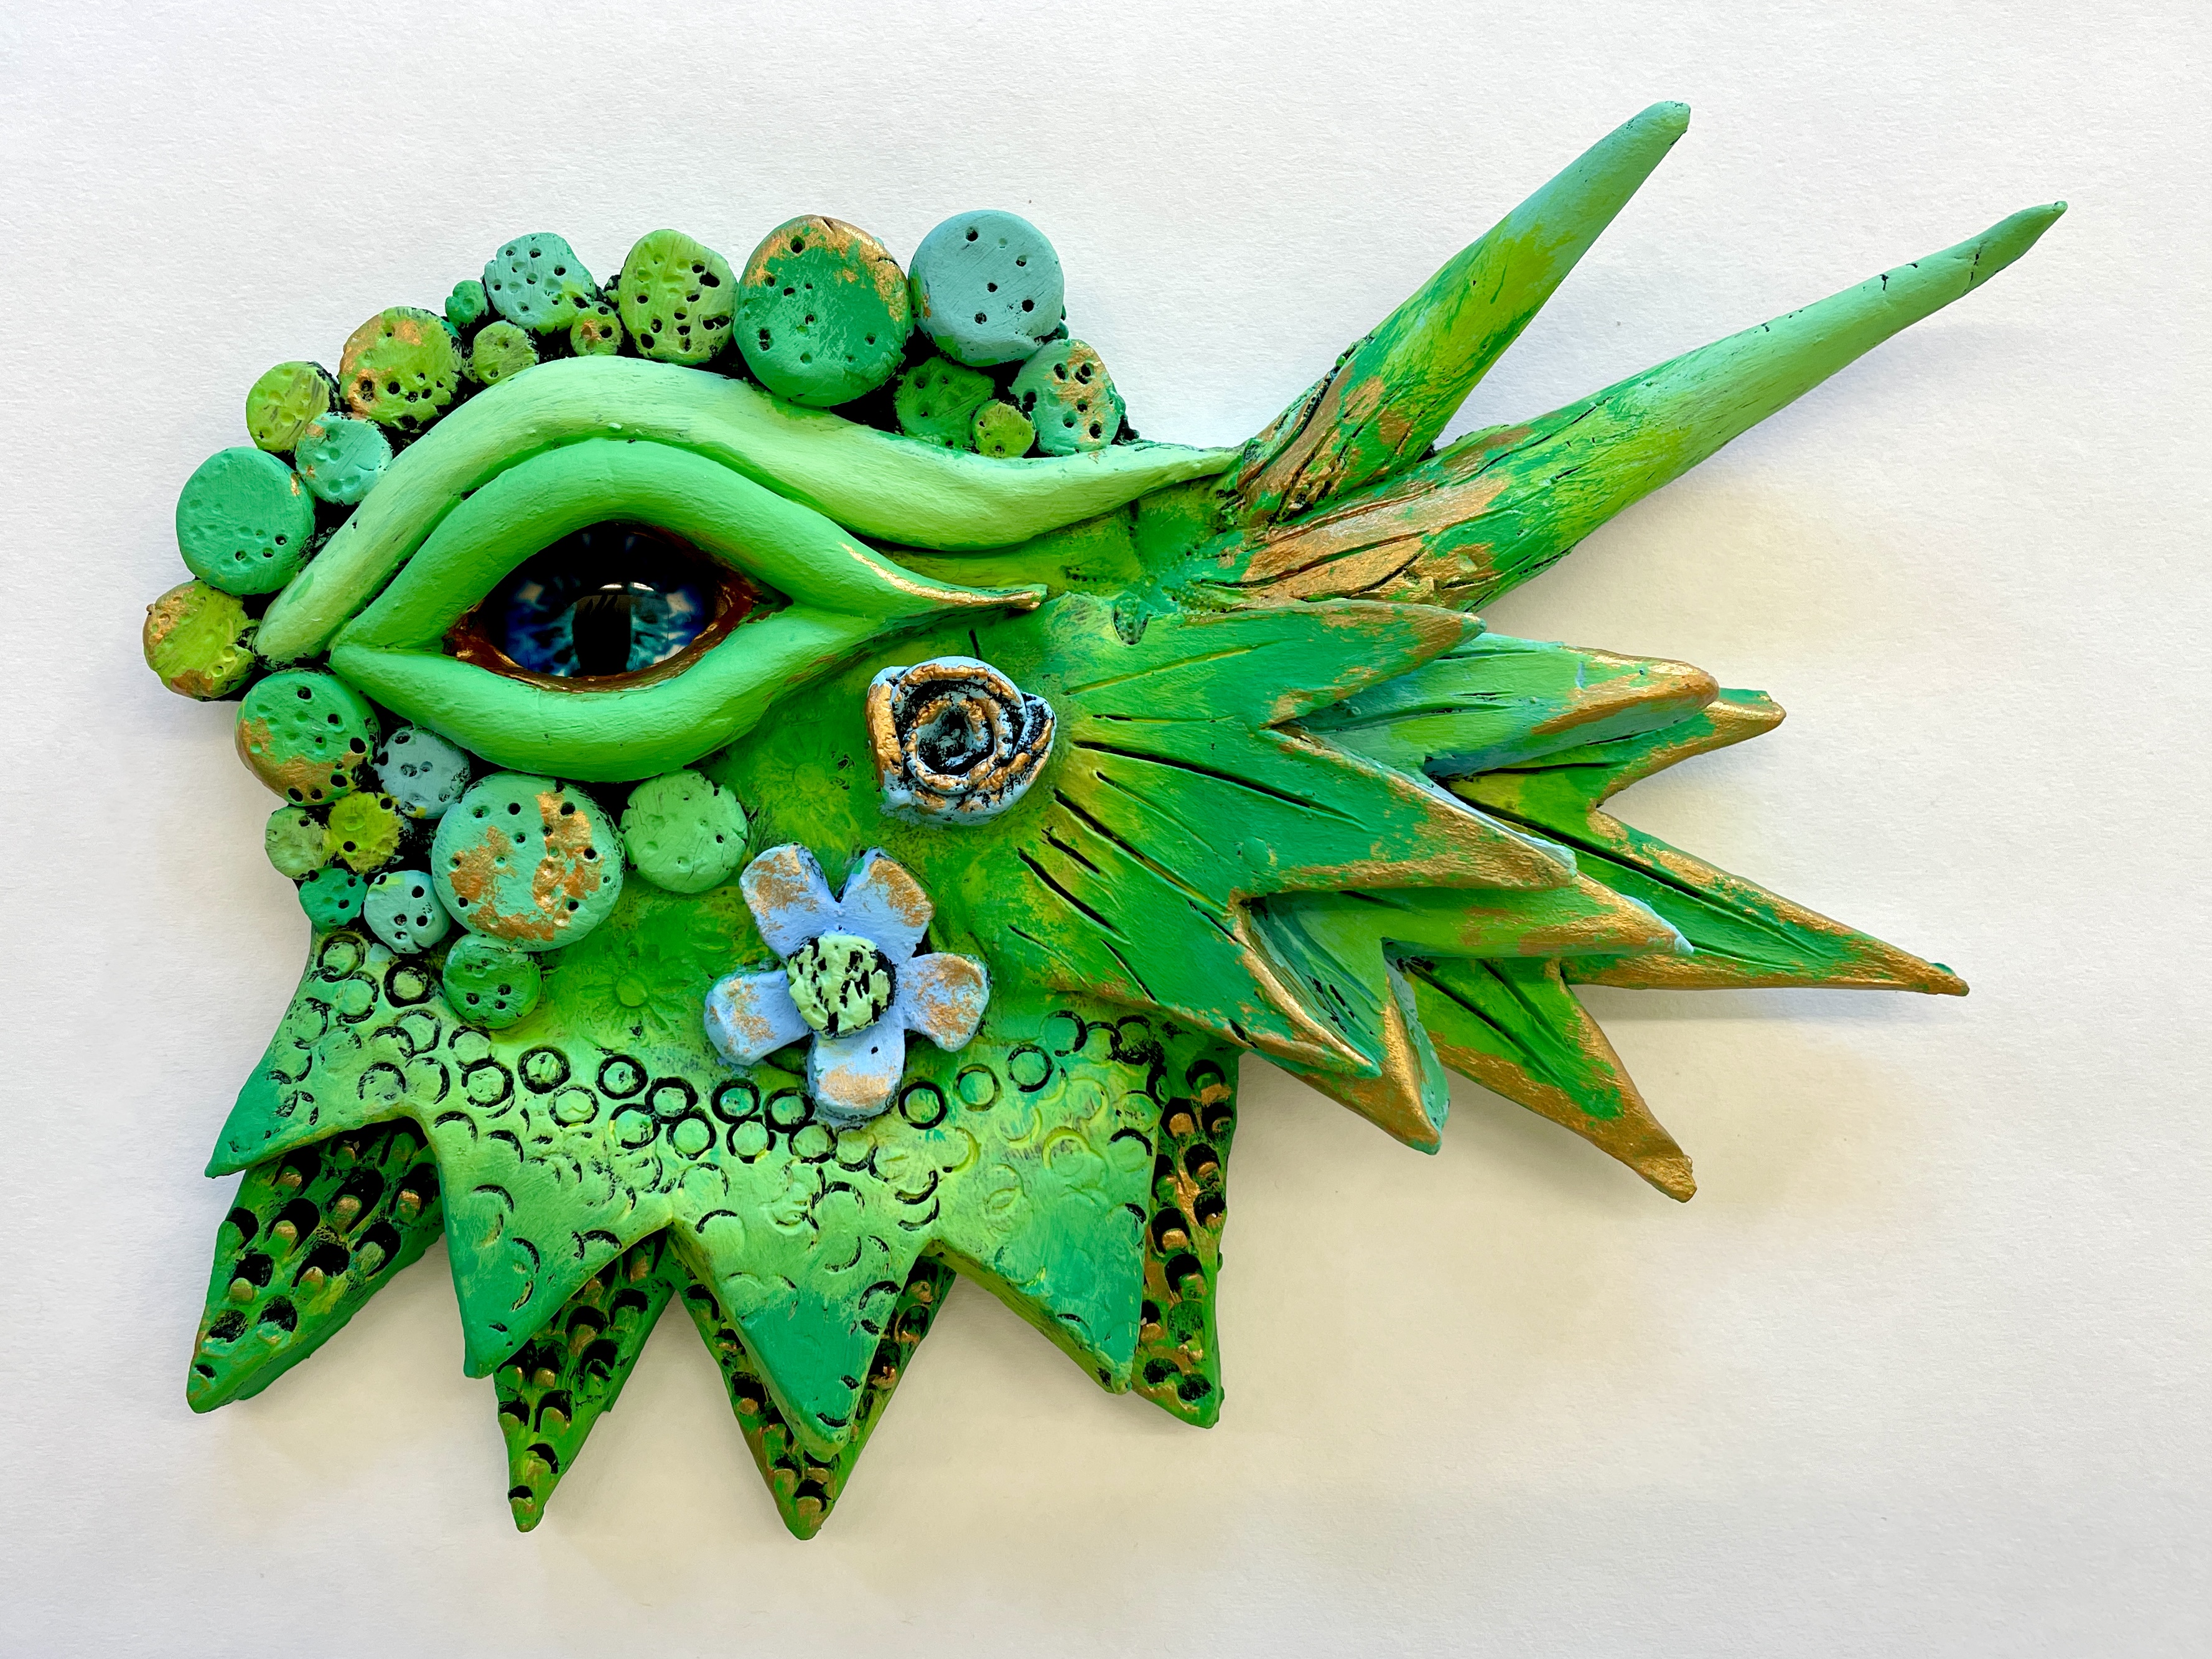
Over the base color, students had their choice of three or more additional colors to add, using a dry brush technique. There is a tutorial for this in the SLIDE SHOW. In hindsight, the most successful sculptures incorporated 3-4 analogous colors, and used these colors to unify the various sculptural elements of their Dragon Eye by blending. Students who selected colors from all over the color wheel tended to end up with a sculpture that looked too “fragmented”.
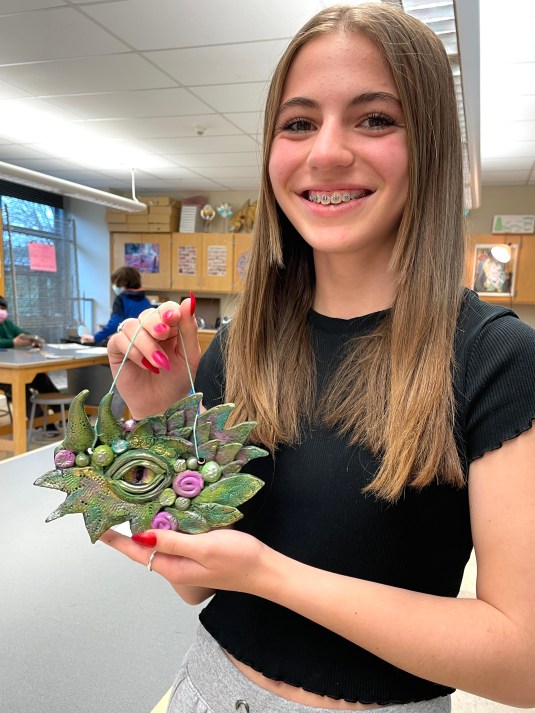
Here are some pictures of students in various stages of painting:


– – –
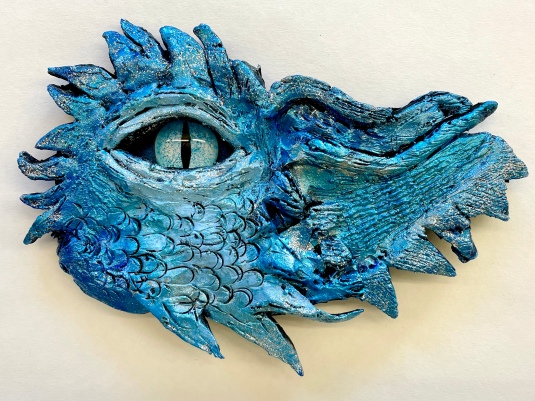
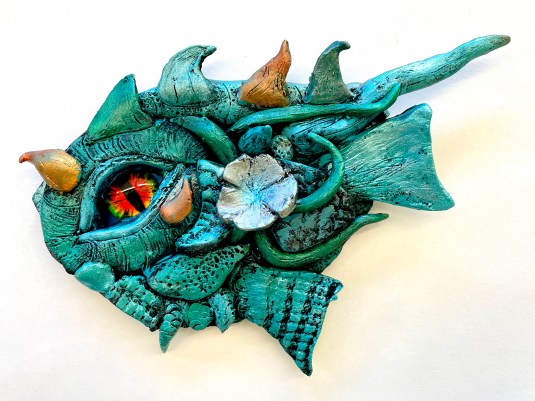
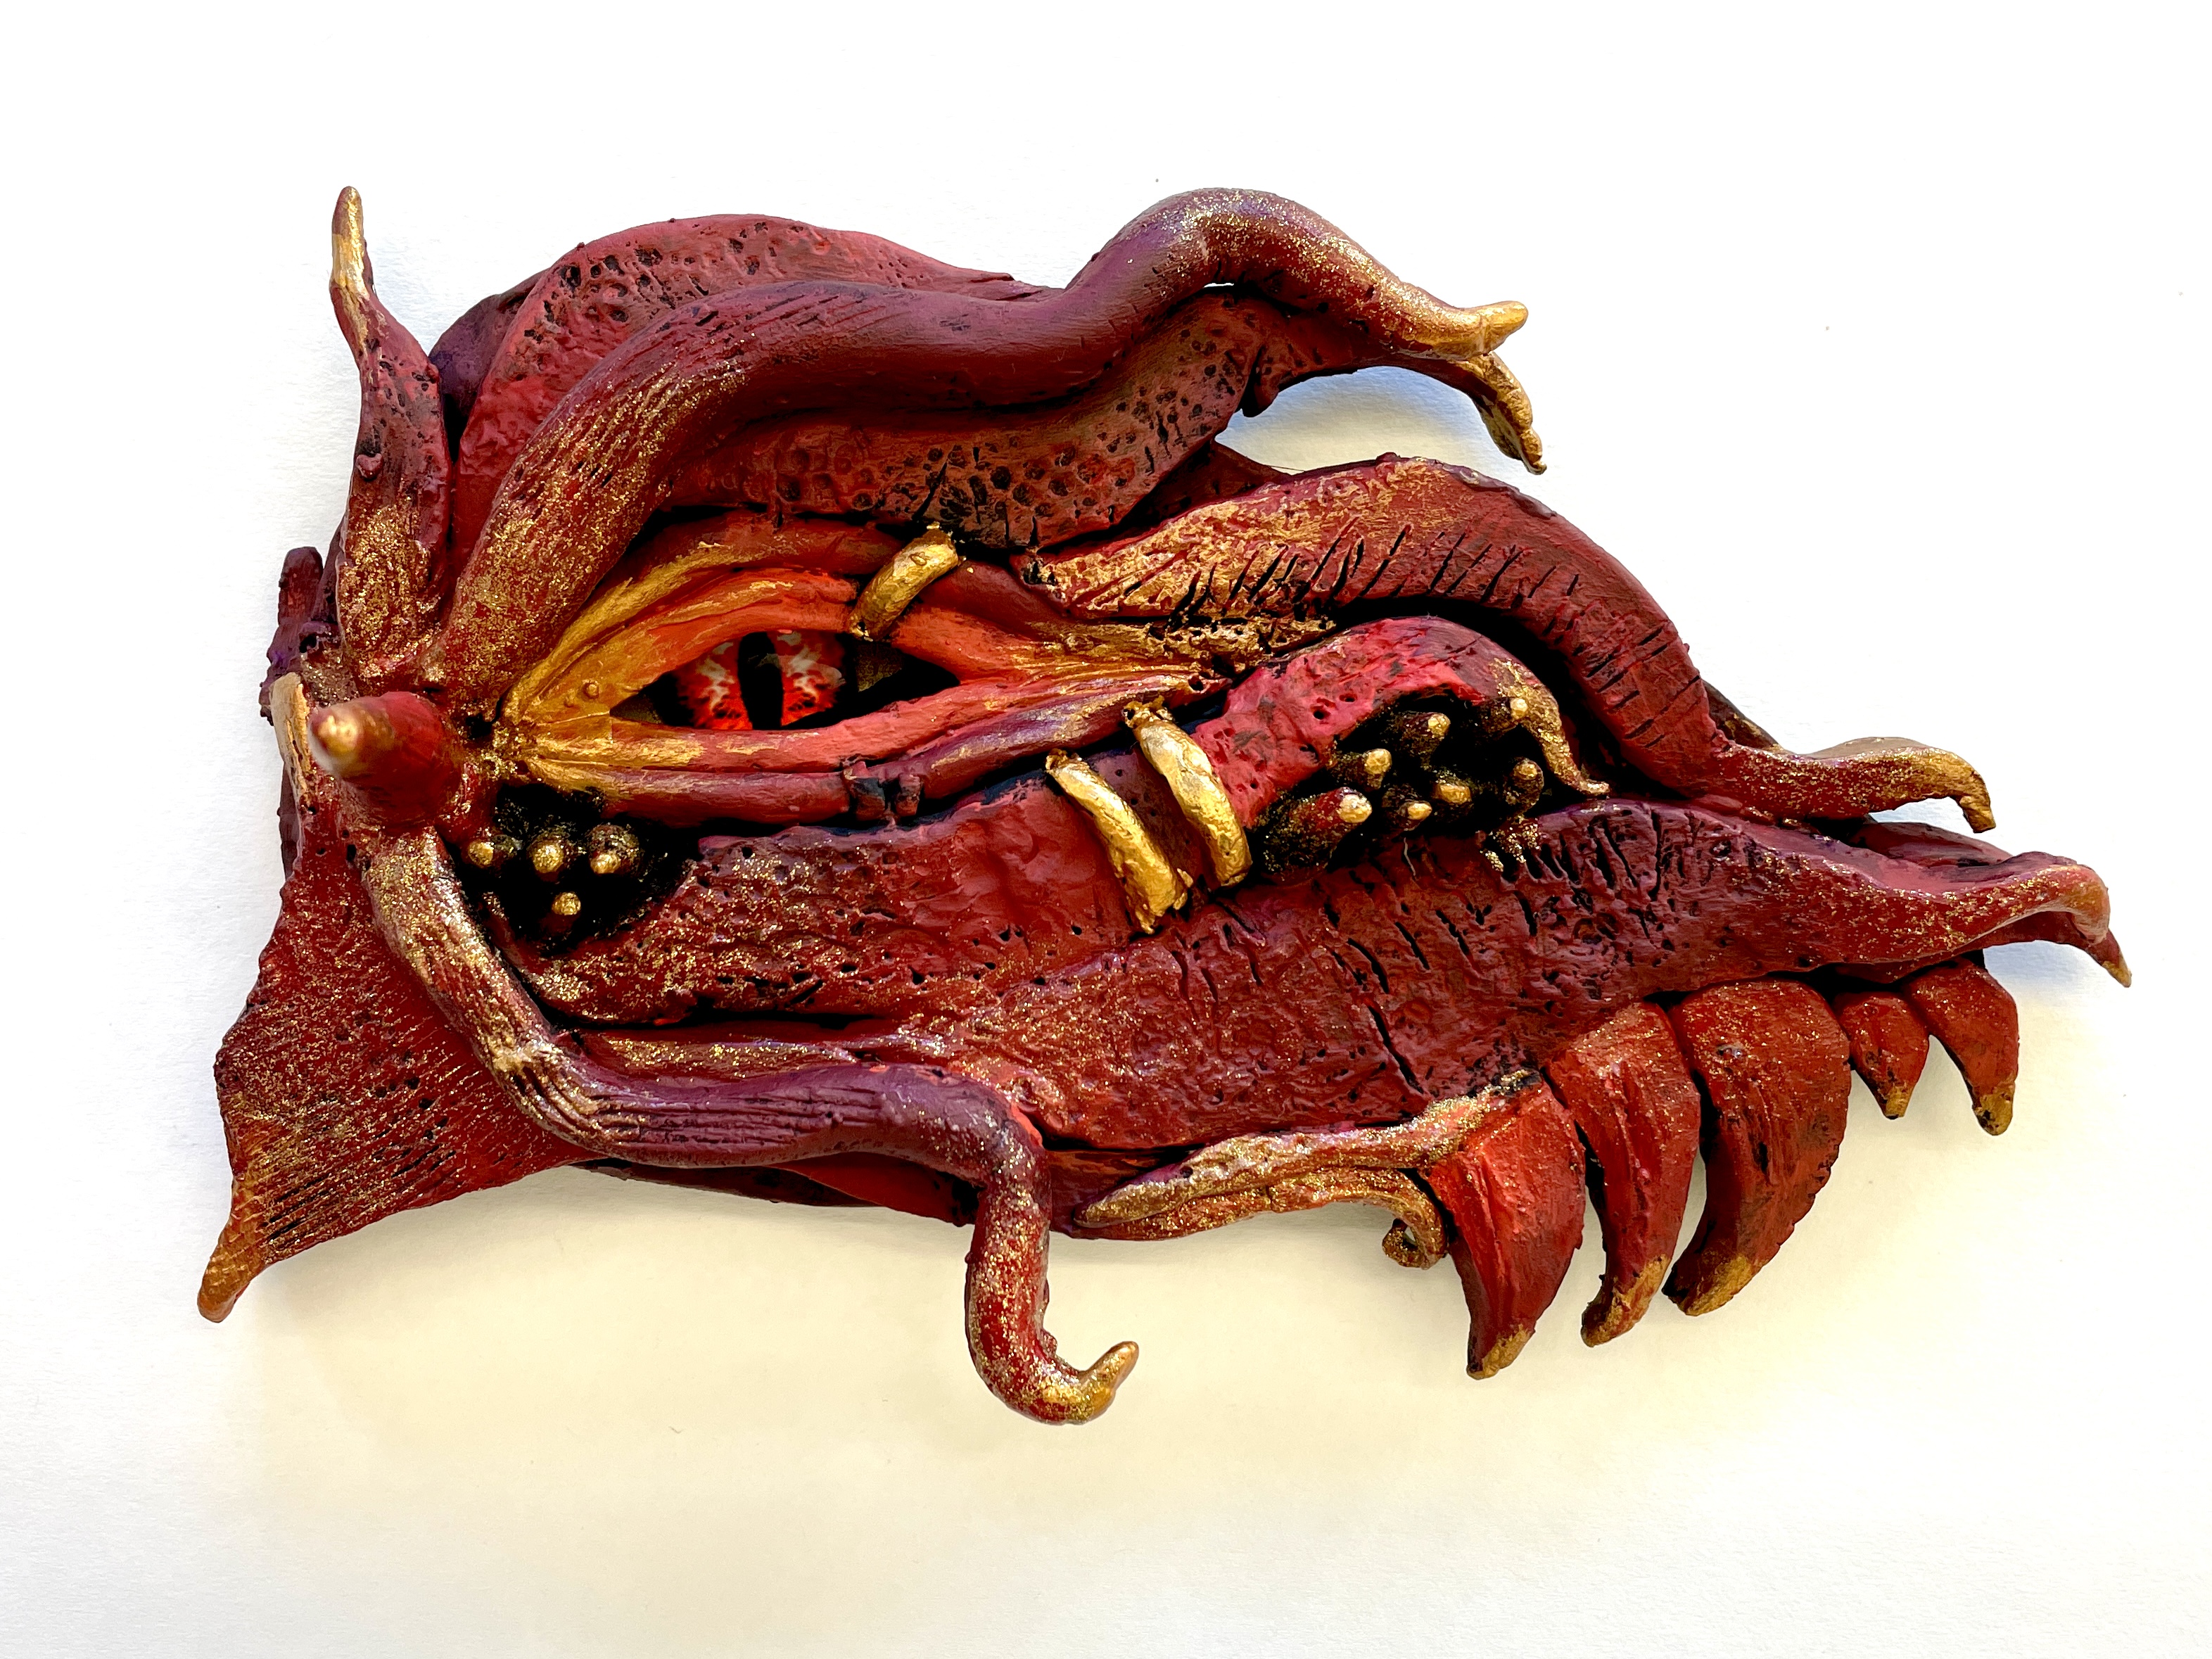
Last but not least, my kiddos had the option of dry-brushing some metallic paint and or adding glitter paint or glitter glue to their finished sculpture! This sparkle really added a magical element to the Dragon Eyes!

Above: A Student Dry-Brushing some silver paint on his completed Dragon Eye

When all the painting was complete, it was time add the glass eye back to their sculpture! We used hot glue for this, and if necessary, added a small piece of white or black cardstock to the back of the sculpture to fill any gaps that might be visible in the opening. Hanging cords were tied by students who opted to create holes. Another great way to display these eyes is to buy cheap plate stands, SUCH AS THESE.

Have fun trying this lesson with your students! It was a total hit with my 7th graders!


Mar 05, 2023 @ 23:27:51
Hello! Thank you so much for posting this project in such detail. It has been a project I have wanted to try for awhile, and while doing it with my 5th and 6th graders I have used your resources multiple times. The eyes are all ready to fire and I’m wondering if I should stick with acrylic or try underglaze? Do you think the most predictable and best results would be just to use acrylic like you did? You got great results. Would I bisque to 05 instead of 06 if I’m only firing once? Thanks for any guidance in advance!
Mar 06, 2023 @ 01:45:21
That’s great! I would stick with acrylic all the way. Bisque fire to 04, (05 and 06 are generally low fire glaze settings.) then, black base, and then your colors, dry brushed!
Apr 20, 2023 @ 00:50:25
Thank you SO much for sharing this lesson. I had seen these done with model magic, but I hadn’t had the time to think through the process with regular firing class. I teach a high school level sculpture class. I came across your lesson at the perfect time. The students’ pieces were terrific!
Apr 21, 2023 @ 21:56:53
You’re welcome! I hope you have success. 🙂
May 04, 2023 @ 12:12:47
Wow – these are amazing! Thank you for all the help in explaining the lesson! What size is are the dragon eyes?
May 04, 2023 @ 19:08:19
Small ones are 20 mm. A little too small, I think. I prefer the 25mm size which are about the size of a quarter!
May 19, 2023 @ 01:02:31
Thank you. A lovely lesson.
Sep 15, 2023 @ 09:01:20
Hi there,
These are amazing! I am about to try this project with my 8th graders. Do you have the eye paper templates available to download to help with size reference? I can’t wait to try this project! Also, my students made the fences and they were a HUGE hit with everyone in the building!
Sep 18, 2023 @ 15:30:12
Sorry, I don’t . But it’s easy to make your own shapes. The handouts pictured are 8.5 by 11.
Nov 17, 2023 @ 21:14:43
This looks so fun! I want to do these with my 8th graders, but I don’t have a kiln. Can I do this with air dry clay, would I need to modify anything?
Nov 17, 2023 @ 21:40:55
Bethany Thiele has a great tutorial on how to doit with air dry clay and waterbased markers! https://www.youtube.com/watch?v=384yGmw-vjE&t=14s
Dec 18, 2023 @ 06:23:33
Thankyou for sharing! I wonder if you can recommend which are the best size eyes’?
Dec 18, 2023 @ 21:57:00
I Like the 20mm to 25 mm size!
Dec 26, 2023 @ 19:33:52
Thank you for this! What kind of clay do you buy/where do you get it?
Dec 27, 2023 @ 18:57:46
Low fire white clay. We use portland pottery at my school, but I am sure School Specialty has a decent option.
Feb 08, 2024 @ 02:55:34
I’m getting ready to try this lesson with my 6th-8th graders. I only have 50 pounds of clay. About how much clay do you give each student?
Feb 08, 2024 @ 03:18:31
I tend to be overly generous. Those 50 pound boxes usually have two 25 lb bags, and that will generally serve one class…. So, I probably give them 1.5-2 lbs… They’ll have extras for add-ons after they roll the base shape. I also tend to have a lot of scarps, so you could be more conservative and get maybe 60 total from a 50 lb box.
Feb 08, 2024 @ 19:23:35
Thank you! I am trying to do a clay project with 150 students! Our eyes are either going to be really little, I’m paying out of pocket, or begging!!!! This budget thing stinks. I will post photos!
Feb 08, 2024 @ 03:19:28
I mean “scraps”. 🙂
Dec 10, 2024 @ 00:52:52
I’m curious what kind of glue you used to glue the eyes in place? Thank you.
Dec 10, 2024 @ 01:03:39
I’ve used hot glue, but now what I find works best is I use Sobo or another type of tacky white glue to secure the eye on to a piece of cardstock, (about 1.5″ square) and then to attach the cardstock to the back of the sculpture with the same glue. (This eliminates the visible glue blobs/strings that hot glue sometimes creates.)
Aug 20, 2025 @ 10:35:28
Hi there! This is going good so far with my year 1s, however for some reason my acrylic paint isnt painting over my base colour, any suggestions or thinking why? 😕 thank you
Aug 21, 2025 @ 08:08:53
Is it not covering, or not sticking at all? I am guessing its an issue of covergae. Acrylic paint is often transparent/translucent. I always use the small craft acrylics available at Michaels, which tend to be very creamy and opaque.