Cyanotype “Sun Prints”


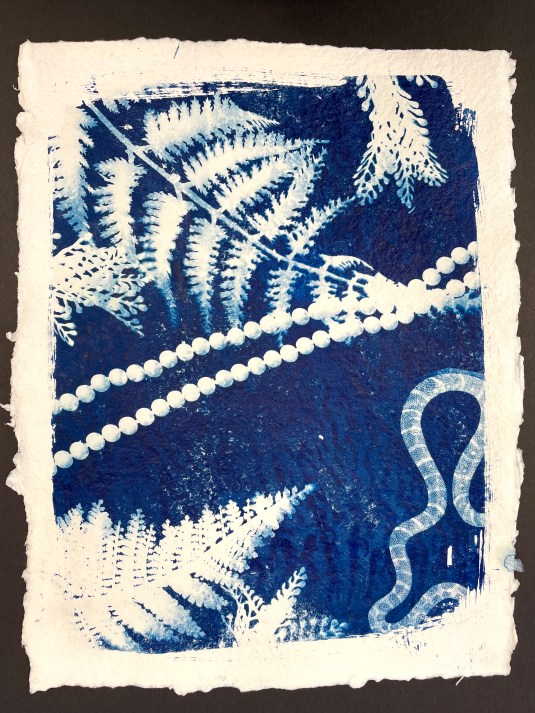


Cyanotypes, commonly known as “sun prints”, are a very fun and immediate form of basic photography. A brief description of the process: A piece of paper is treated with a photo sensitive solution of iron salts and allowed to dry. (The solution will appear as a lime green color when brushed on.) Then, working in dim light, objects are placed over the dried paper. When exposed to sunlight for 3 to 5 minutes, the magic happens! Any parts of the prepared paper that are covered will turn white, while parts of the paper that are exposed will turn blue. (Note that while the photo sensitive solution will darken in the sunlight, you won’t really see the effects until you rinse the paper in water. This halts the exposure from continuing and acts as a “stop bath”.)
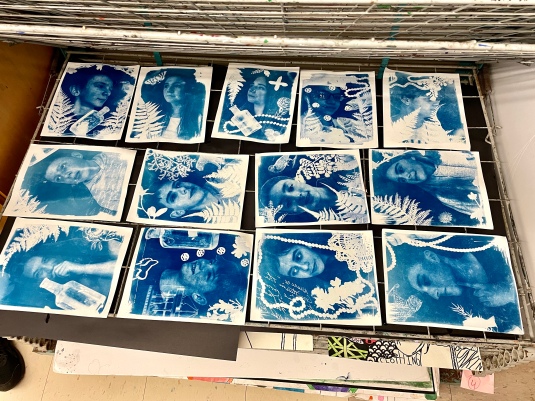
My students created a variety of cyanotypes using objects, transparencies, and negatives of photographs that were printed on transparency film. We prepared our arrangements in the classroom on masonite drawing boards in dim light, covered them with black paper, and carried them outside. When everyone was assembled with their covered boards, I set a timer for 3 minutes and we lifted off the black paper. After the exposure time, students re-covered their boards and transported everything back to the classroom for disassembling and rinsing. The Cyanotypes you see here were done with the Jacquard Brand Sensitizer Set which come pre-measured and is very simple and easy to use.
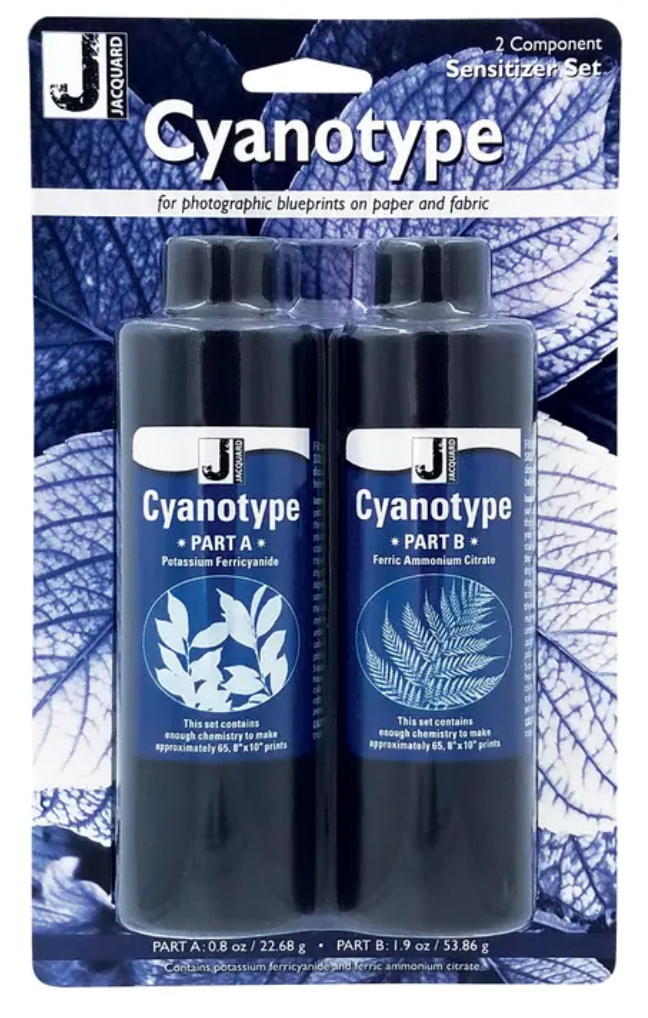
Here’s a VIDEO that features the Jacquard Cyanotype Sensitizer set we used. Very brief and it explains the process succinctly!
Here’s my INSTRUCTION PACKET which contains the history on the process and lots of photos and samples. Many of your questions can be answered here, so check it out, then read my “Tips for Success” below!
TIPS for Success:
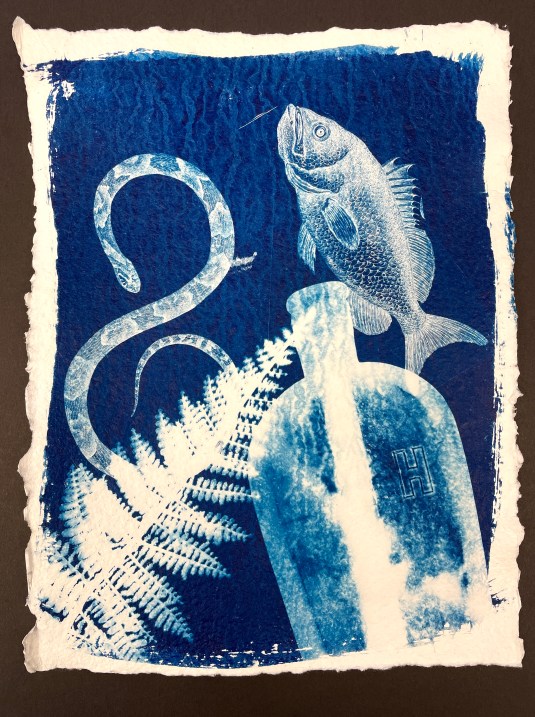
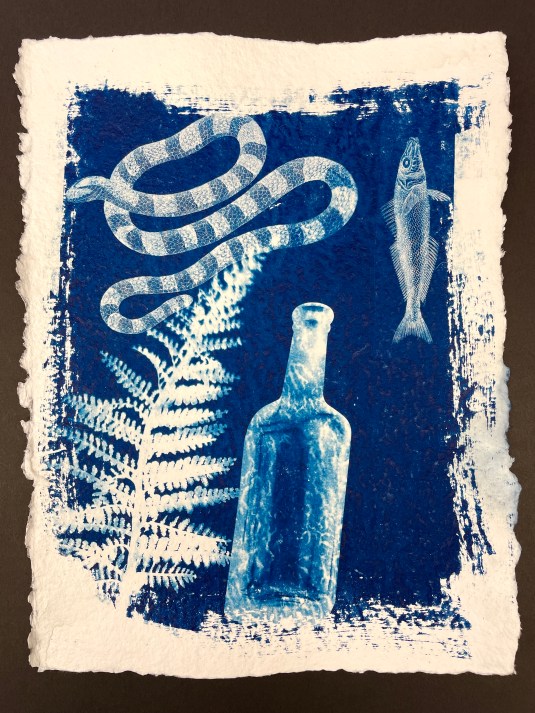
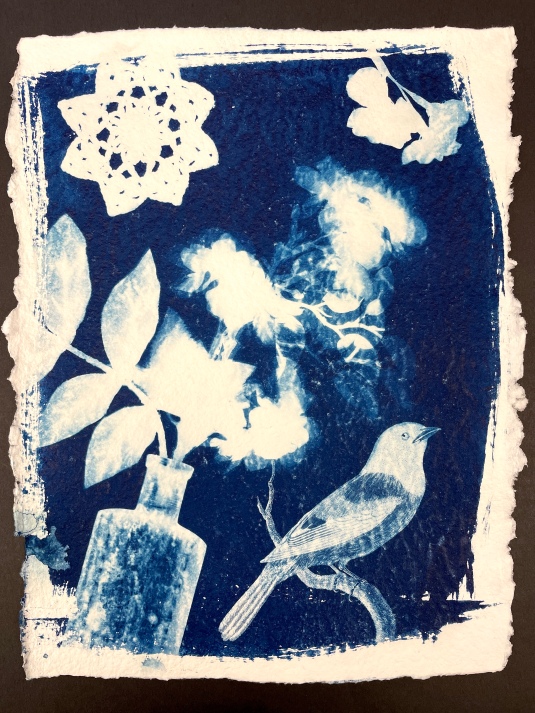
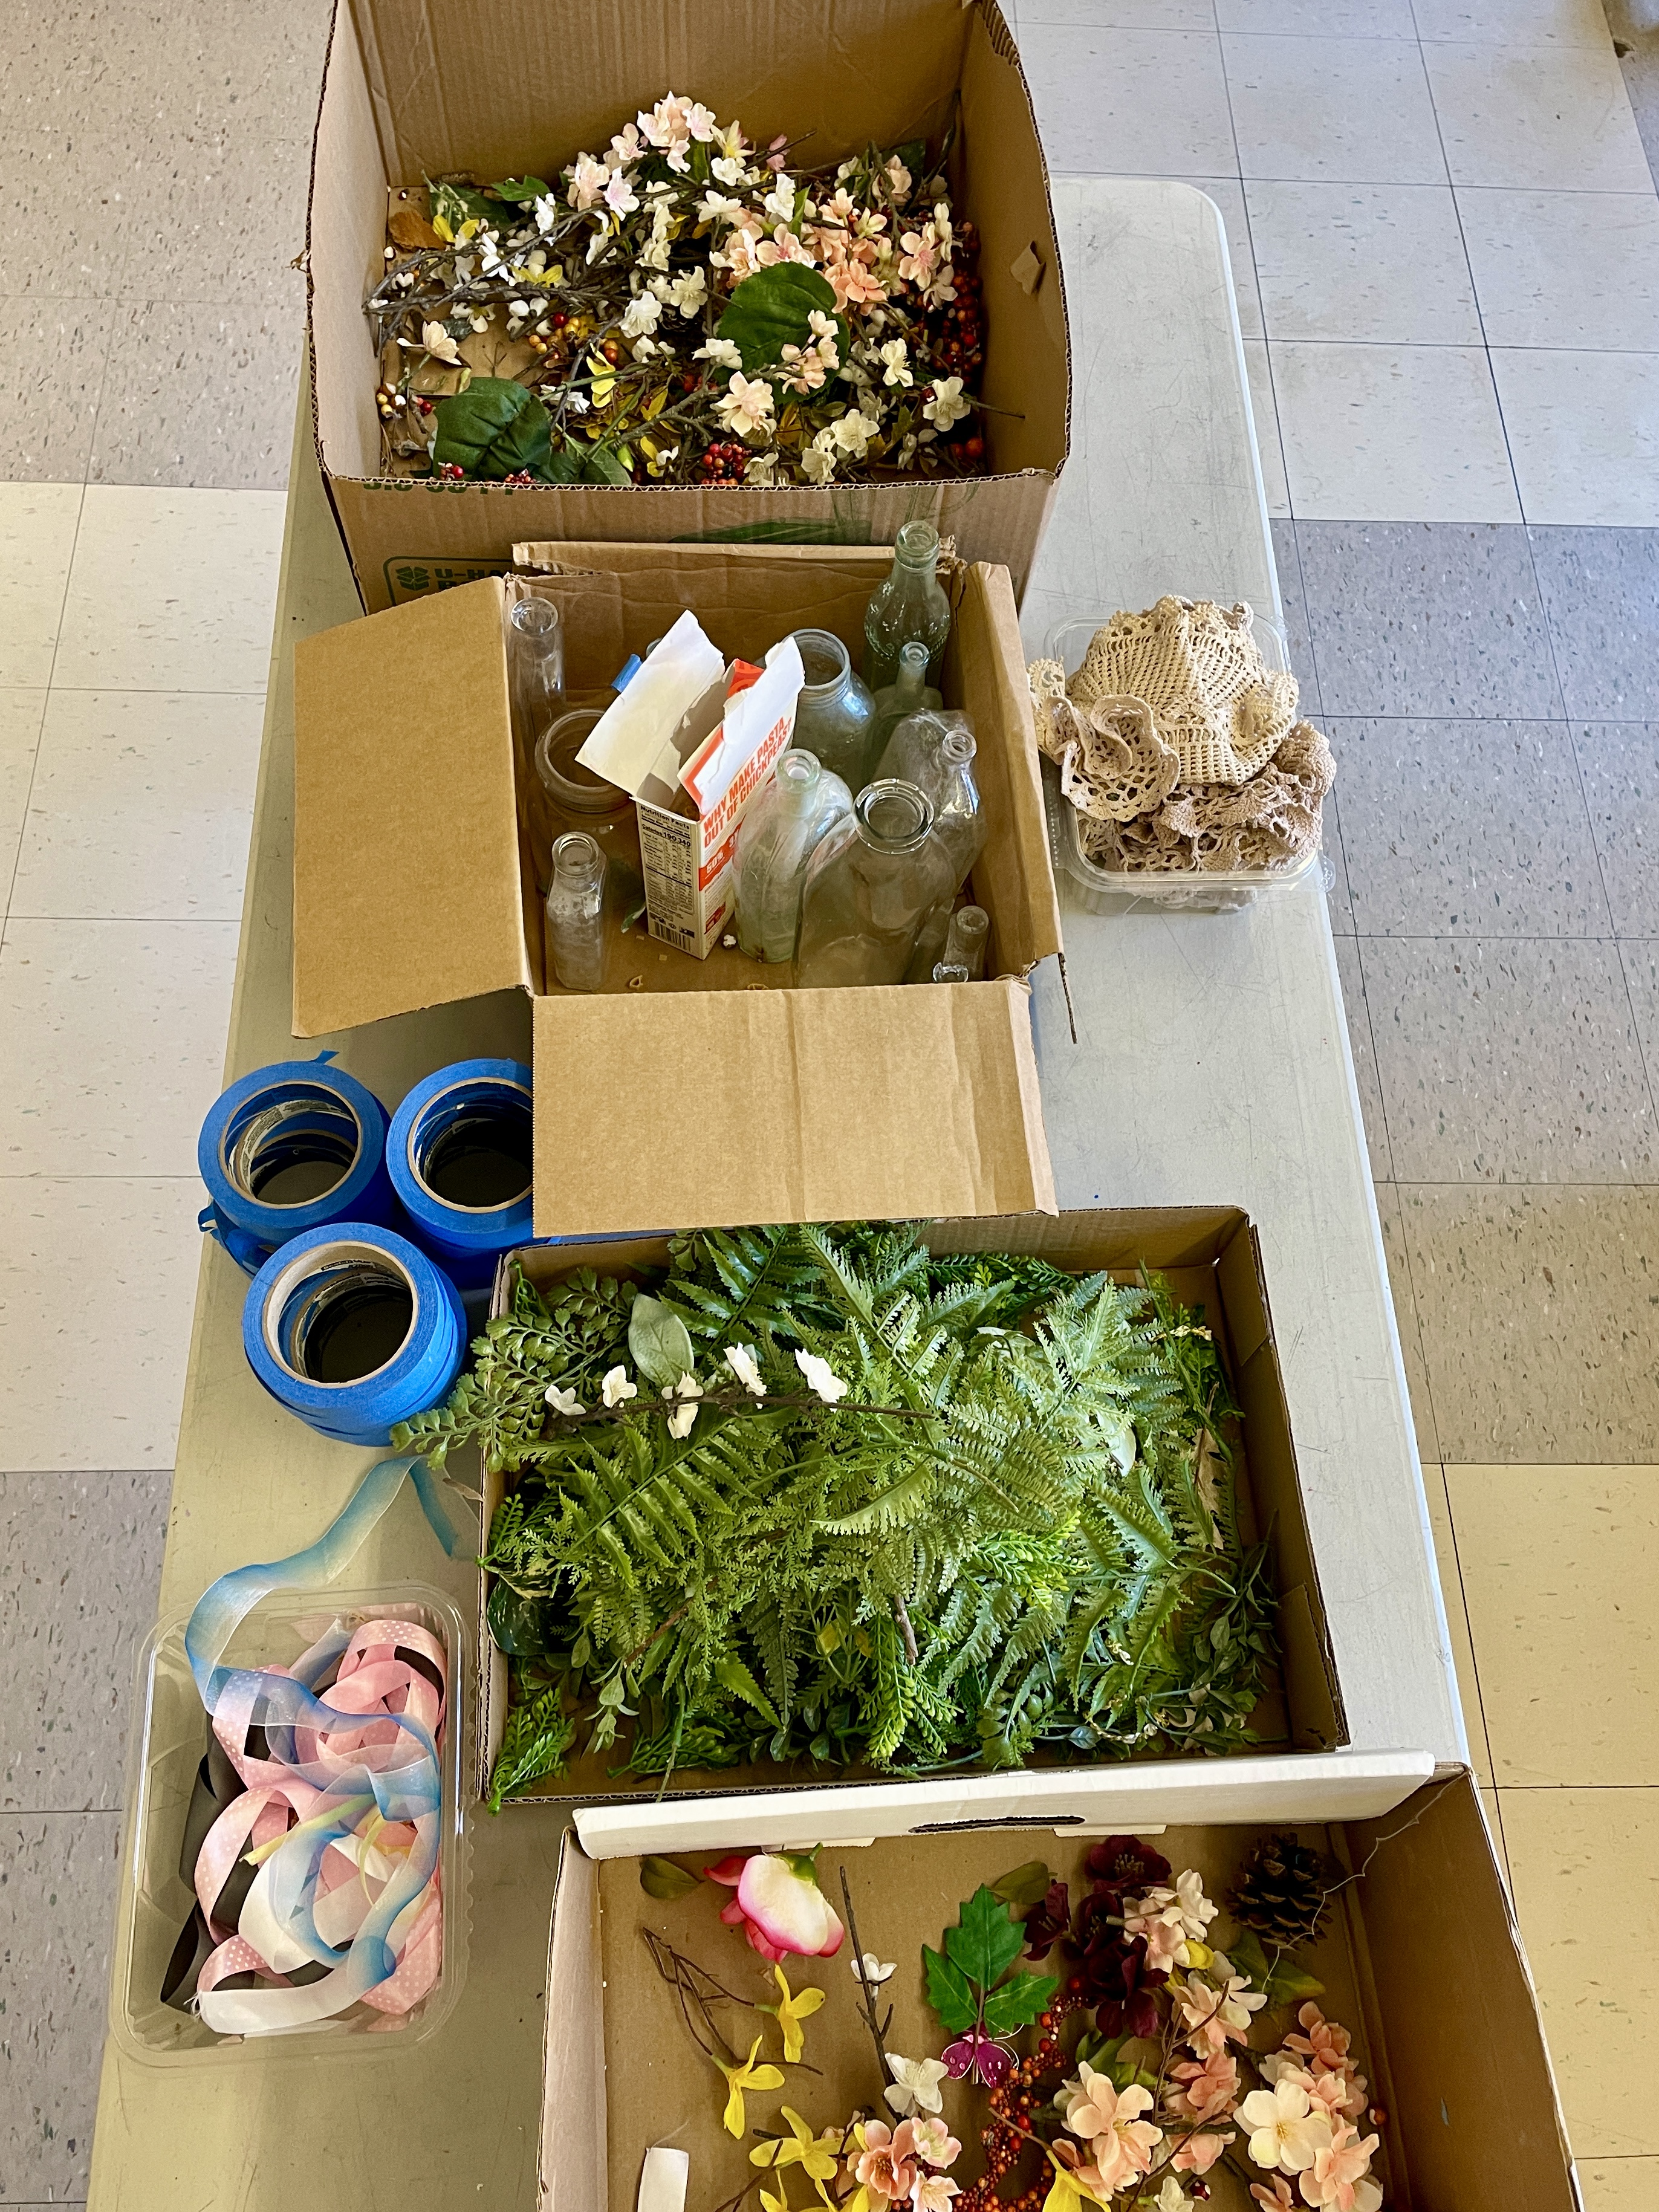
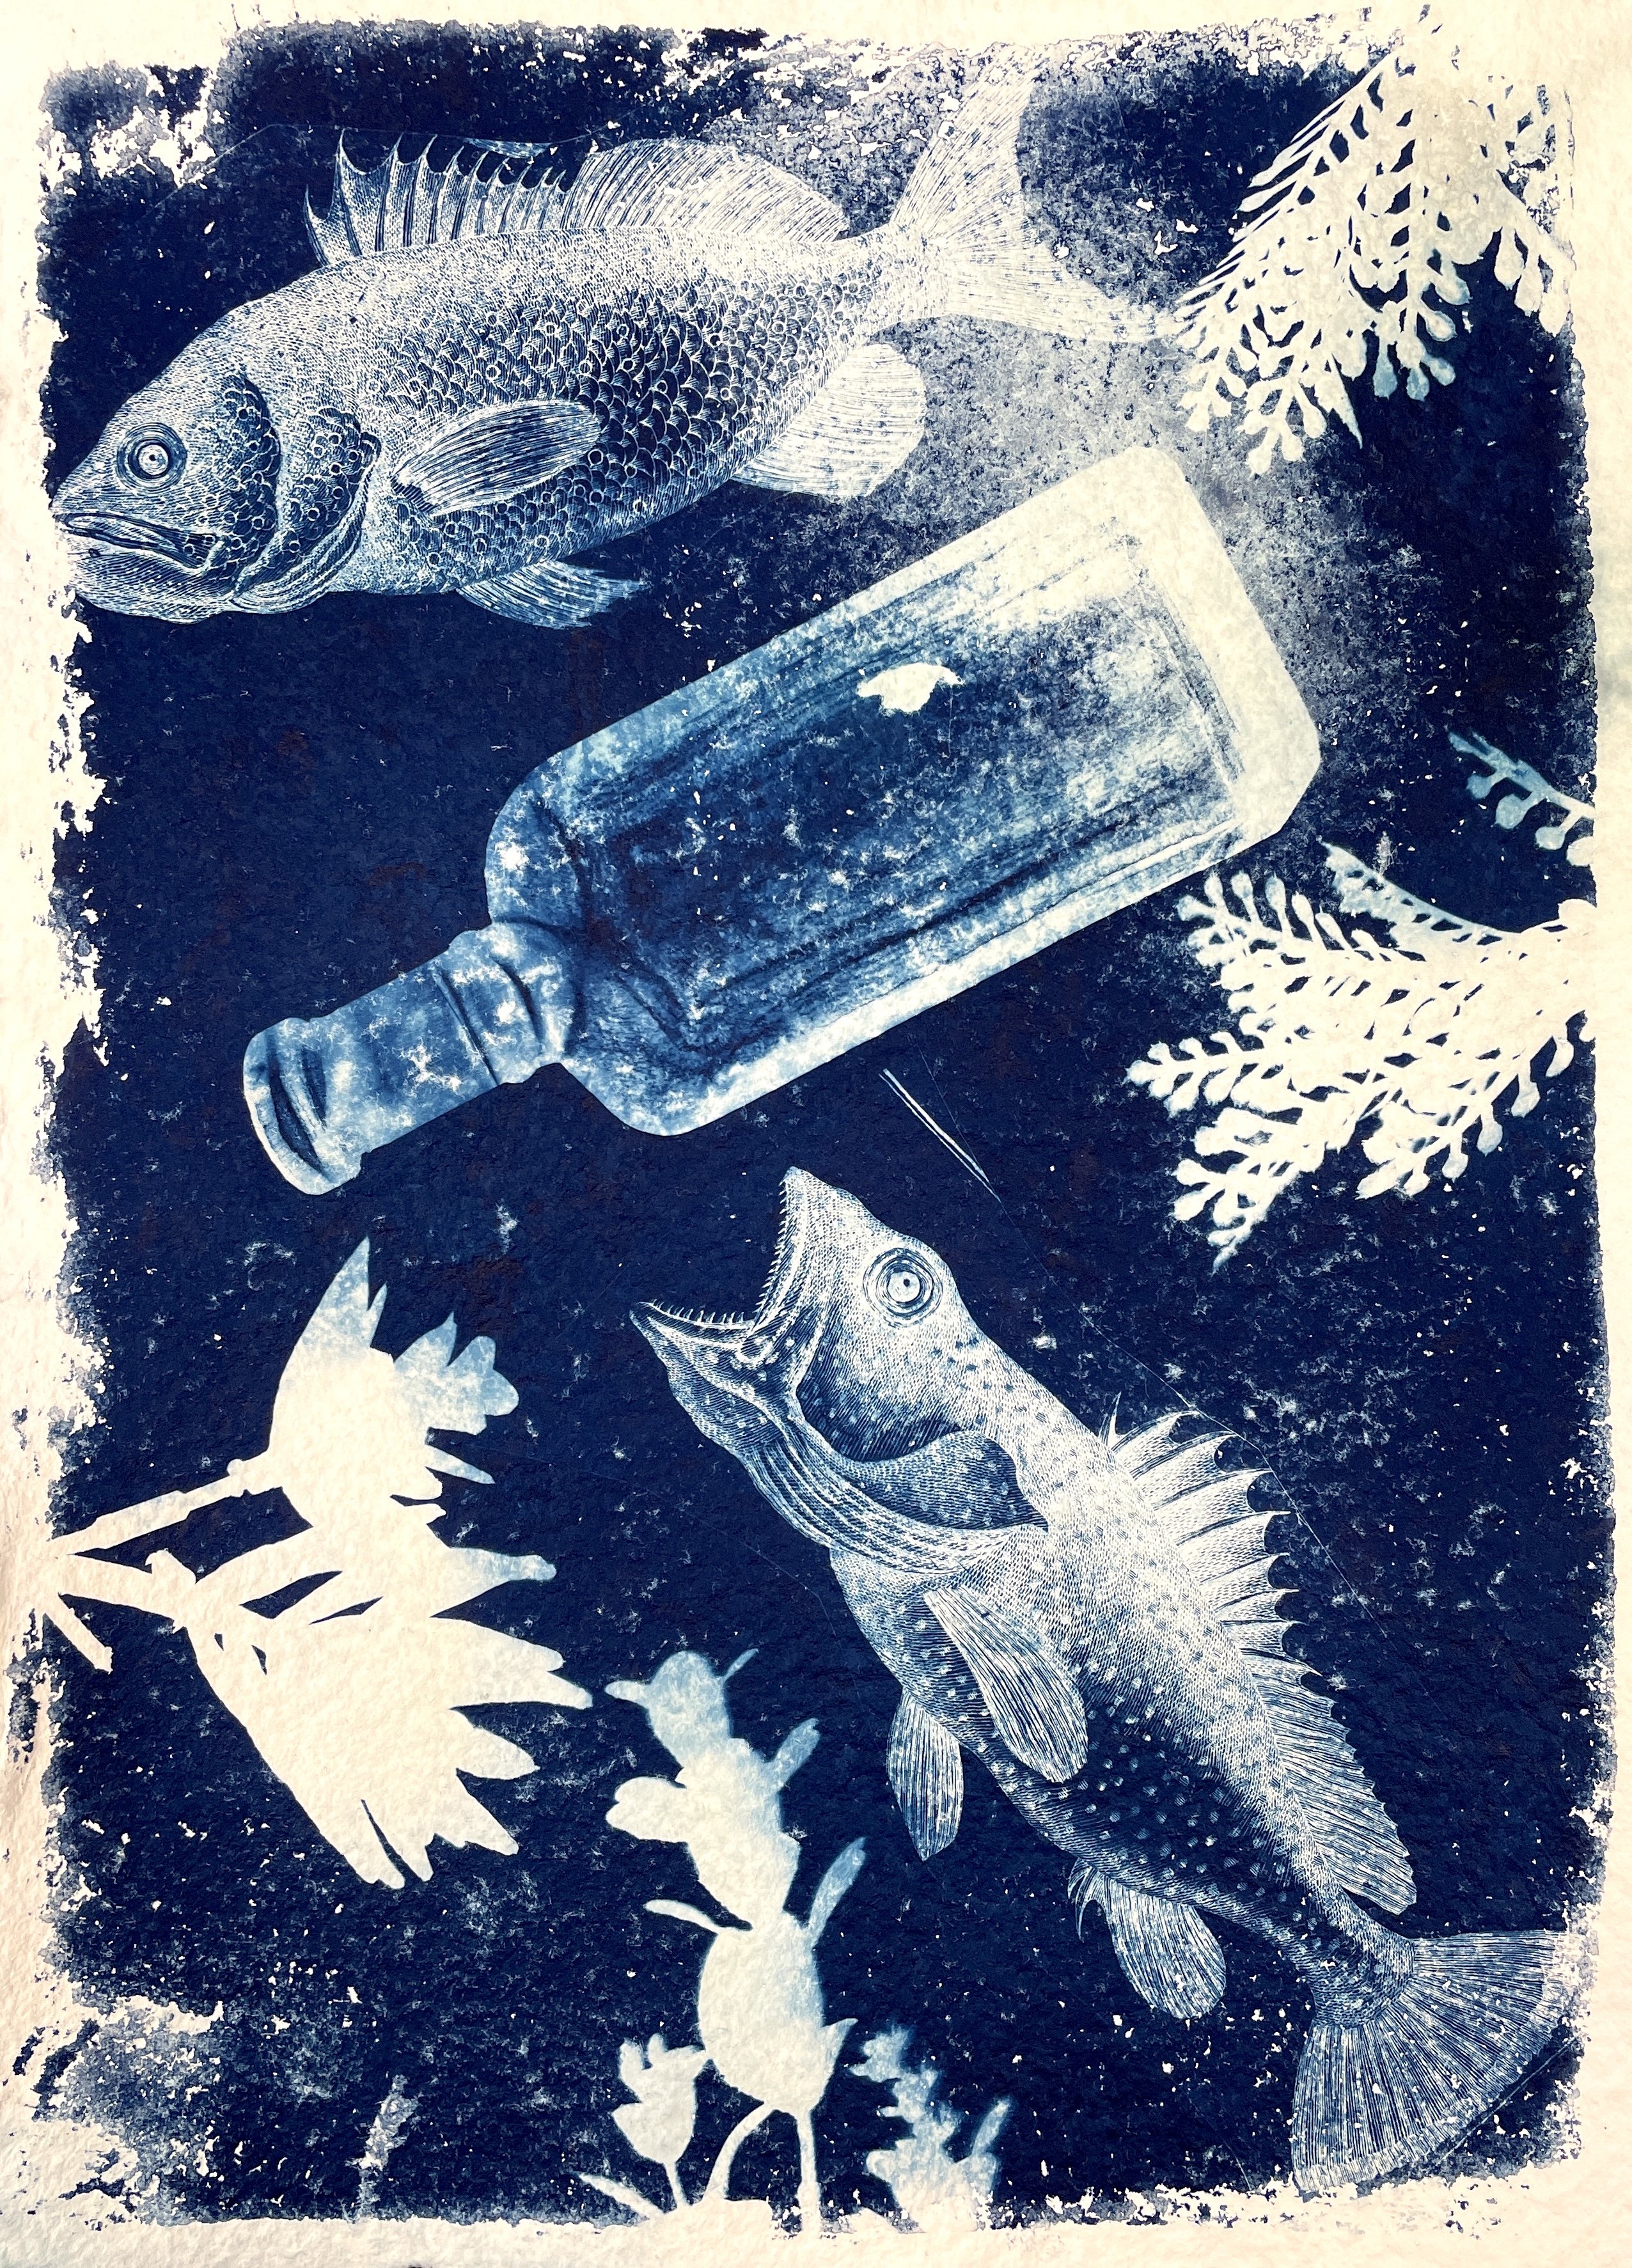
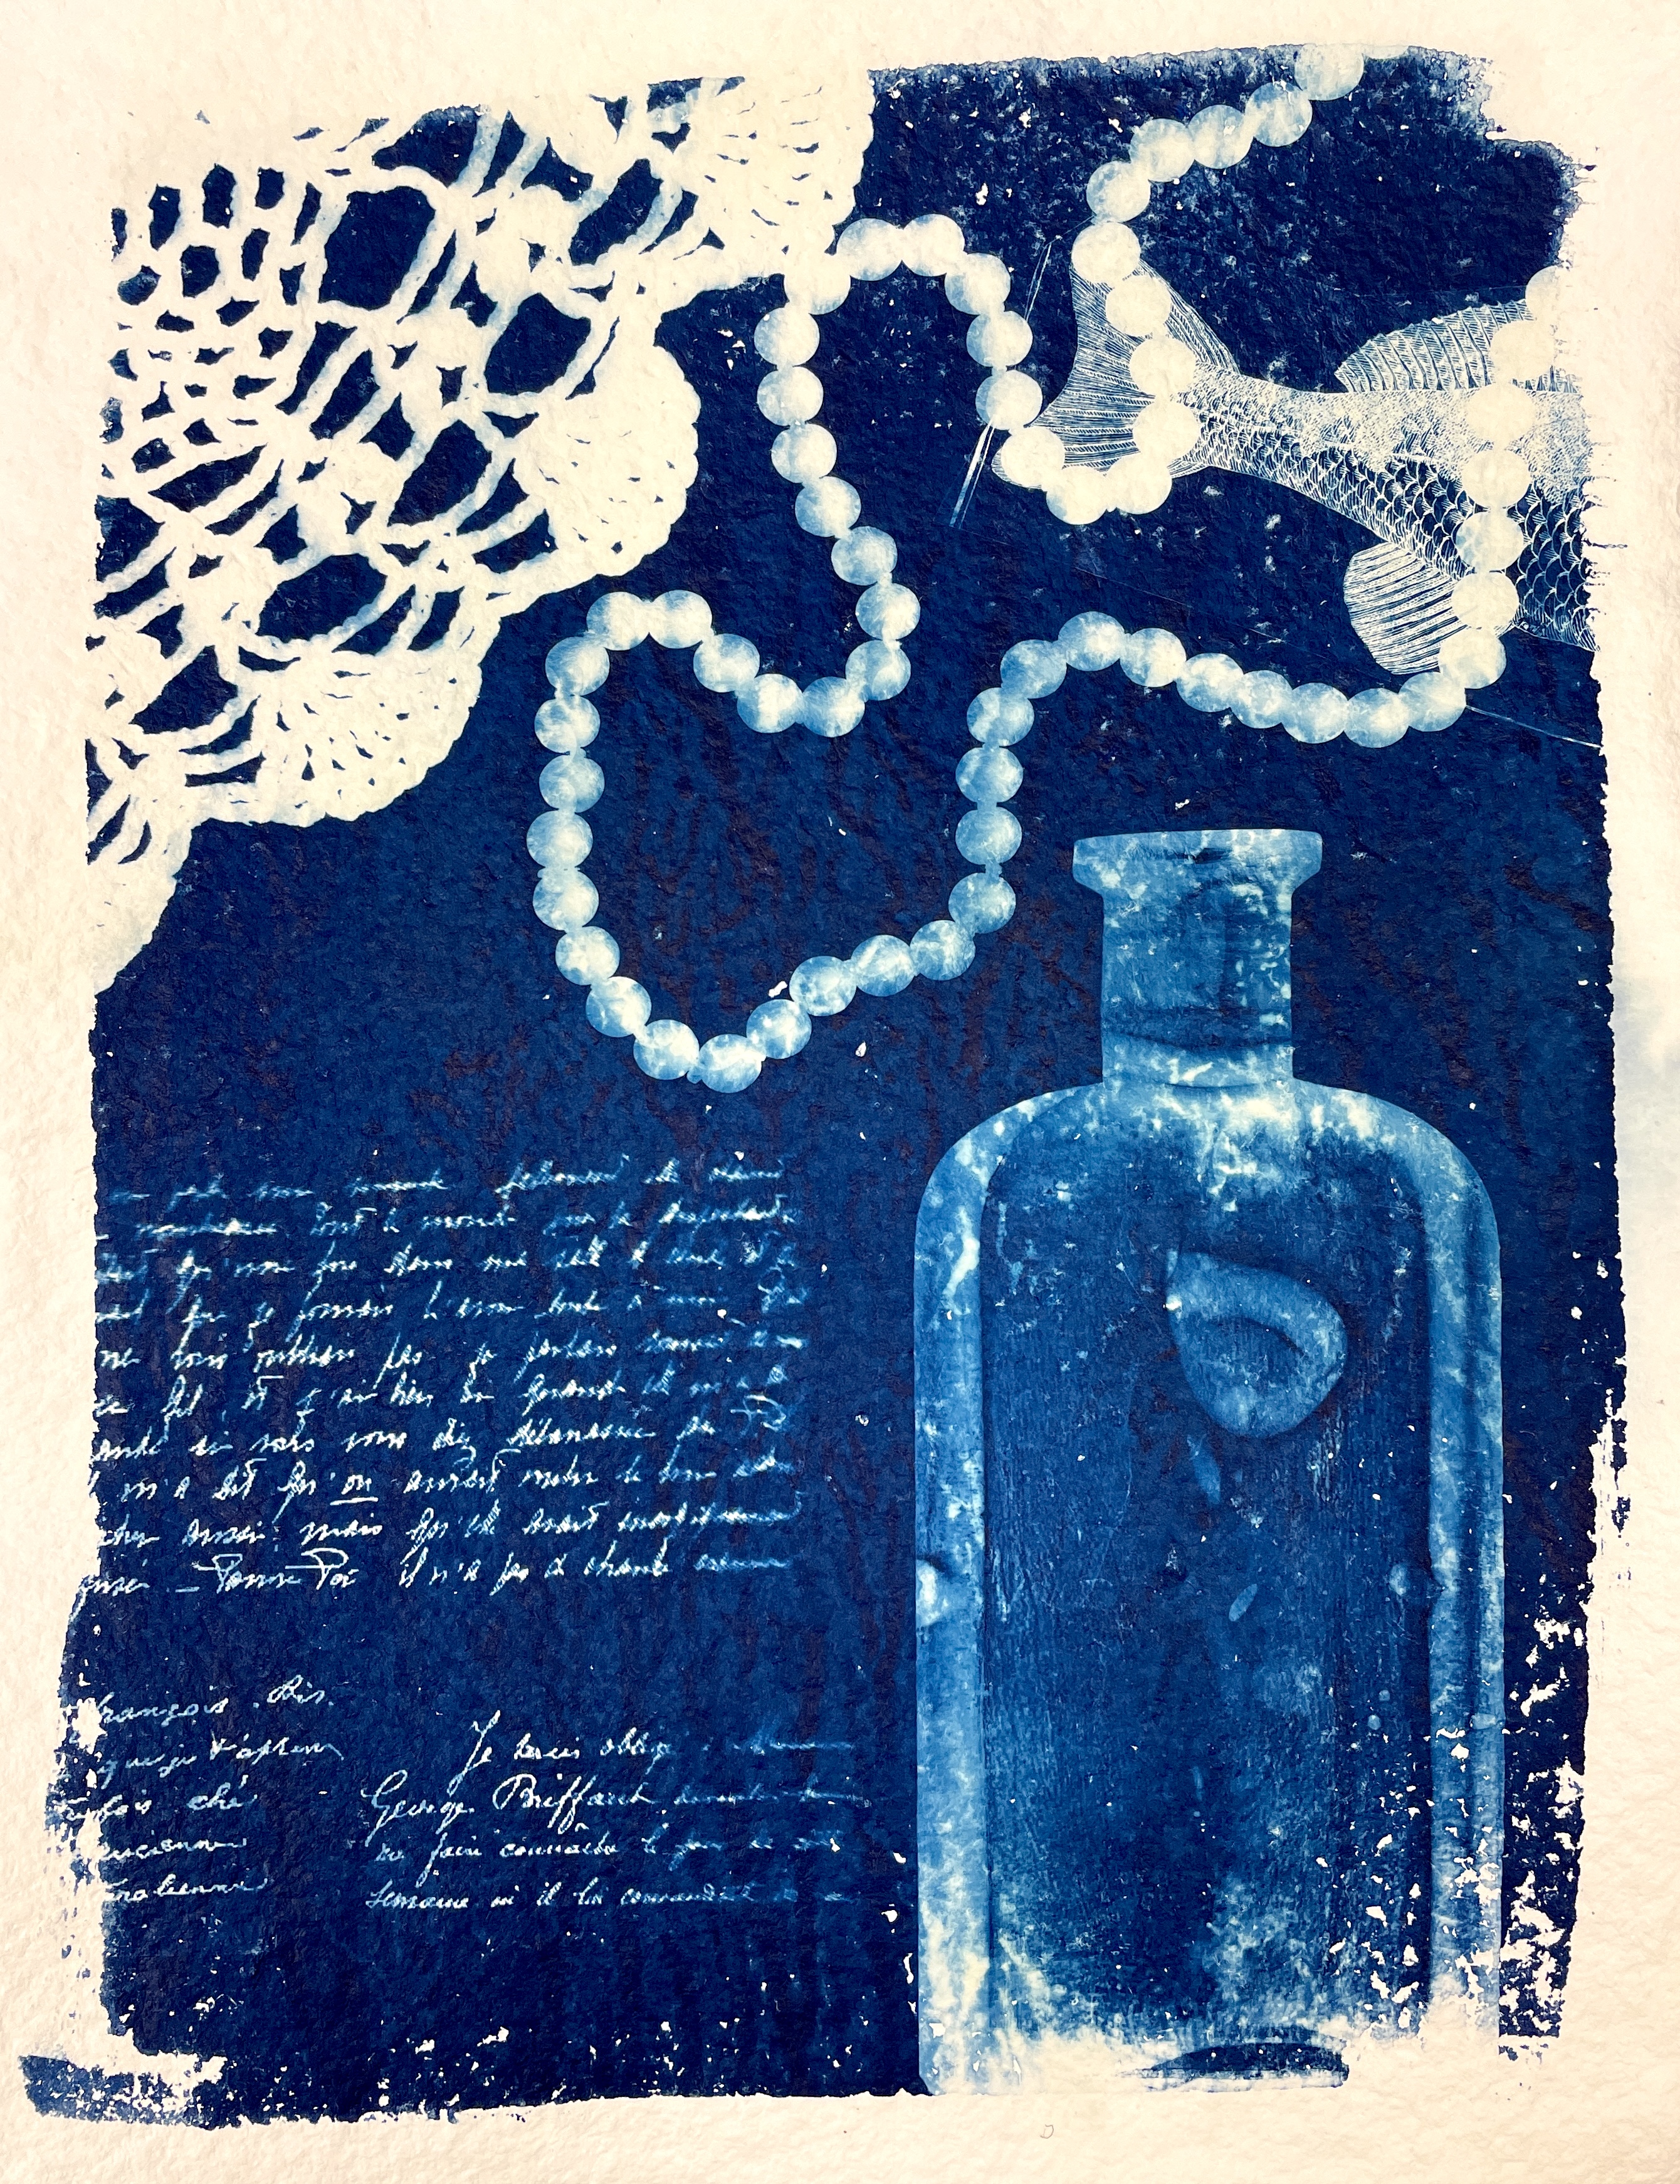
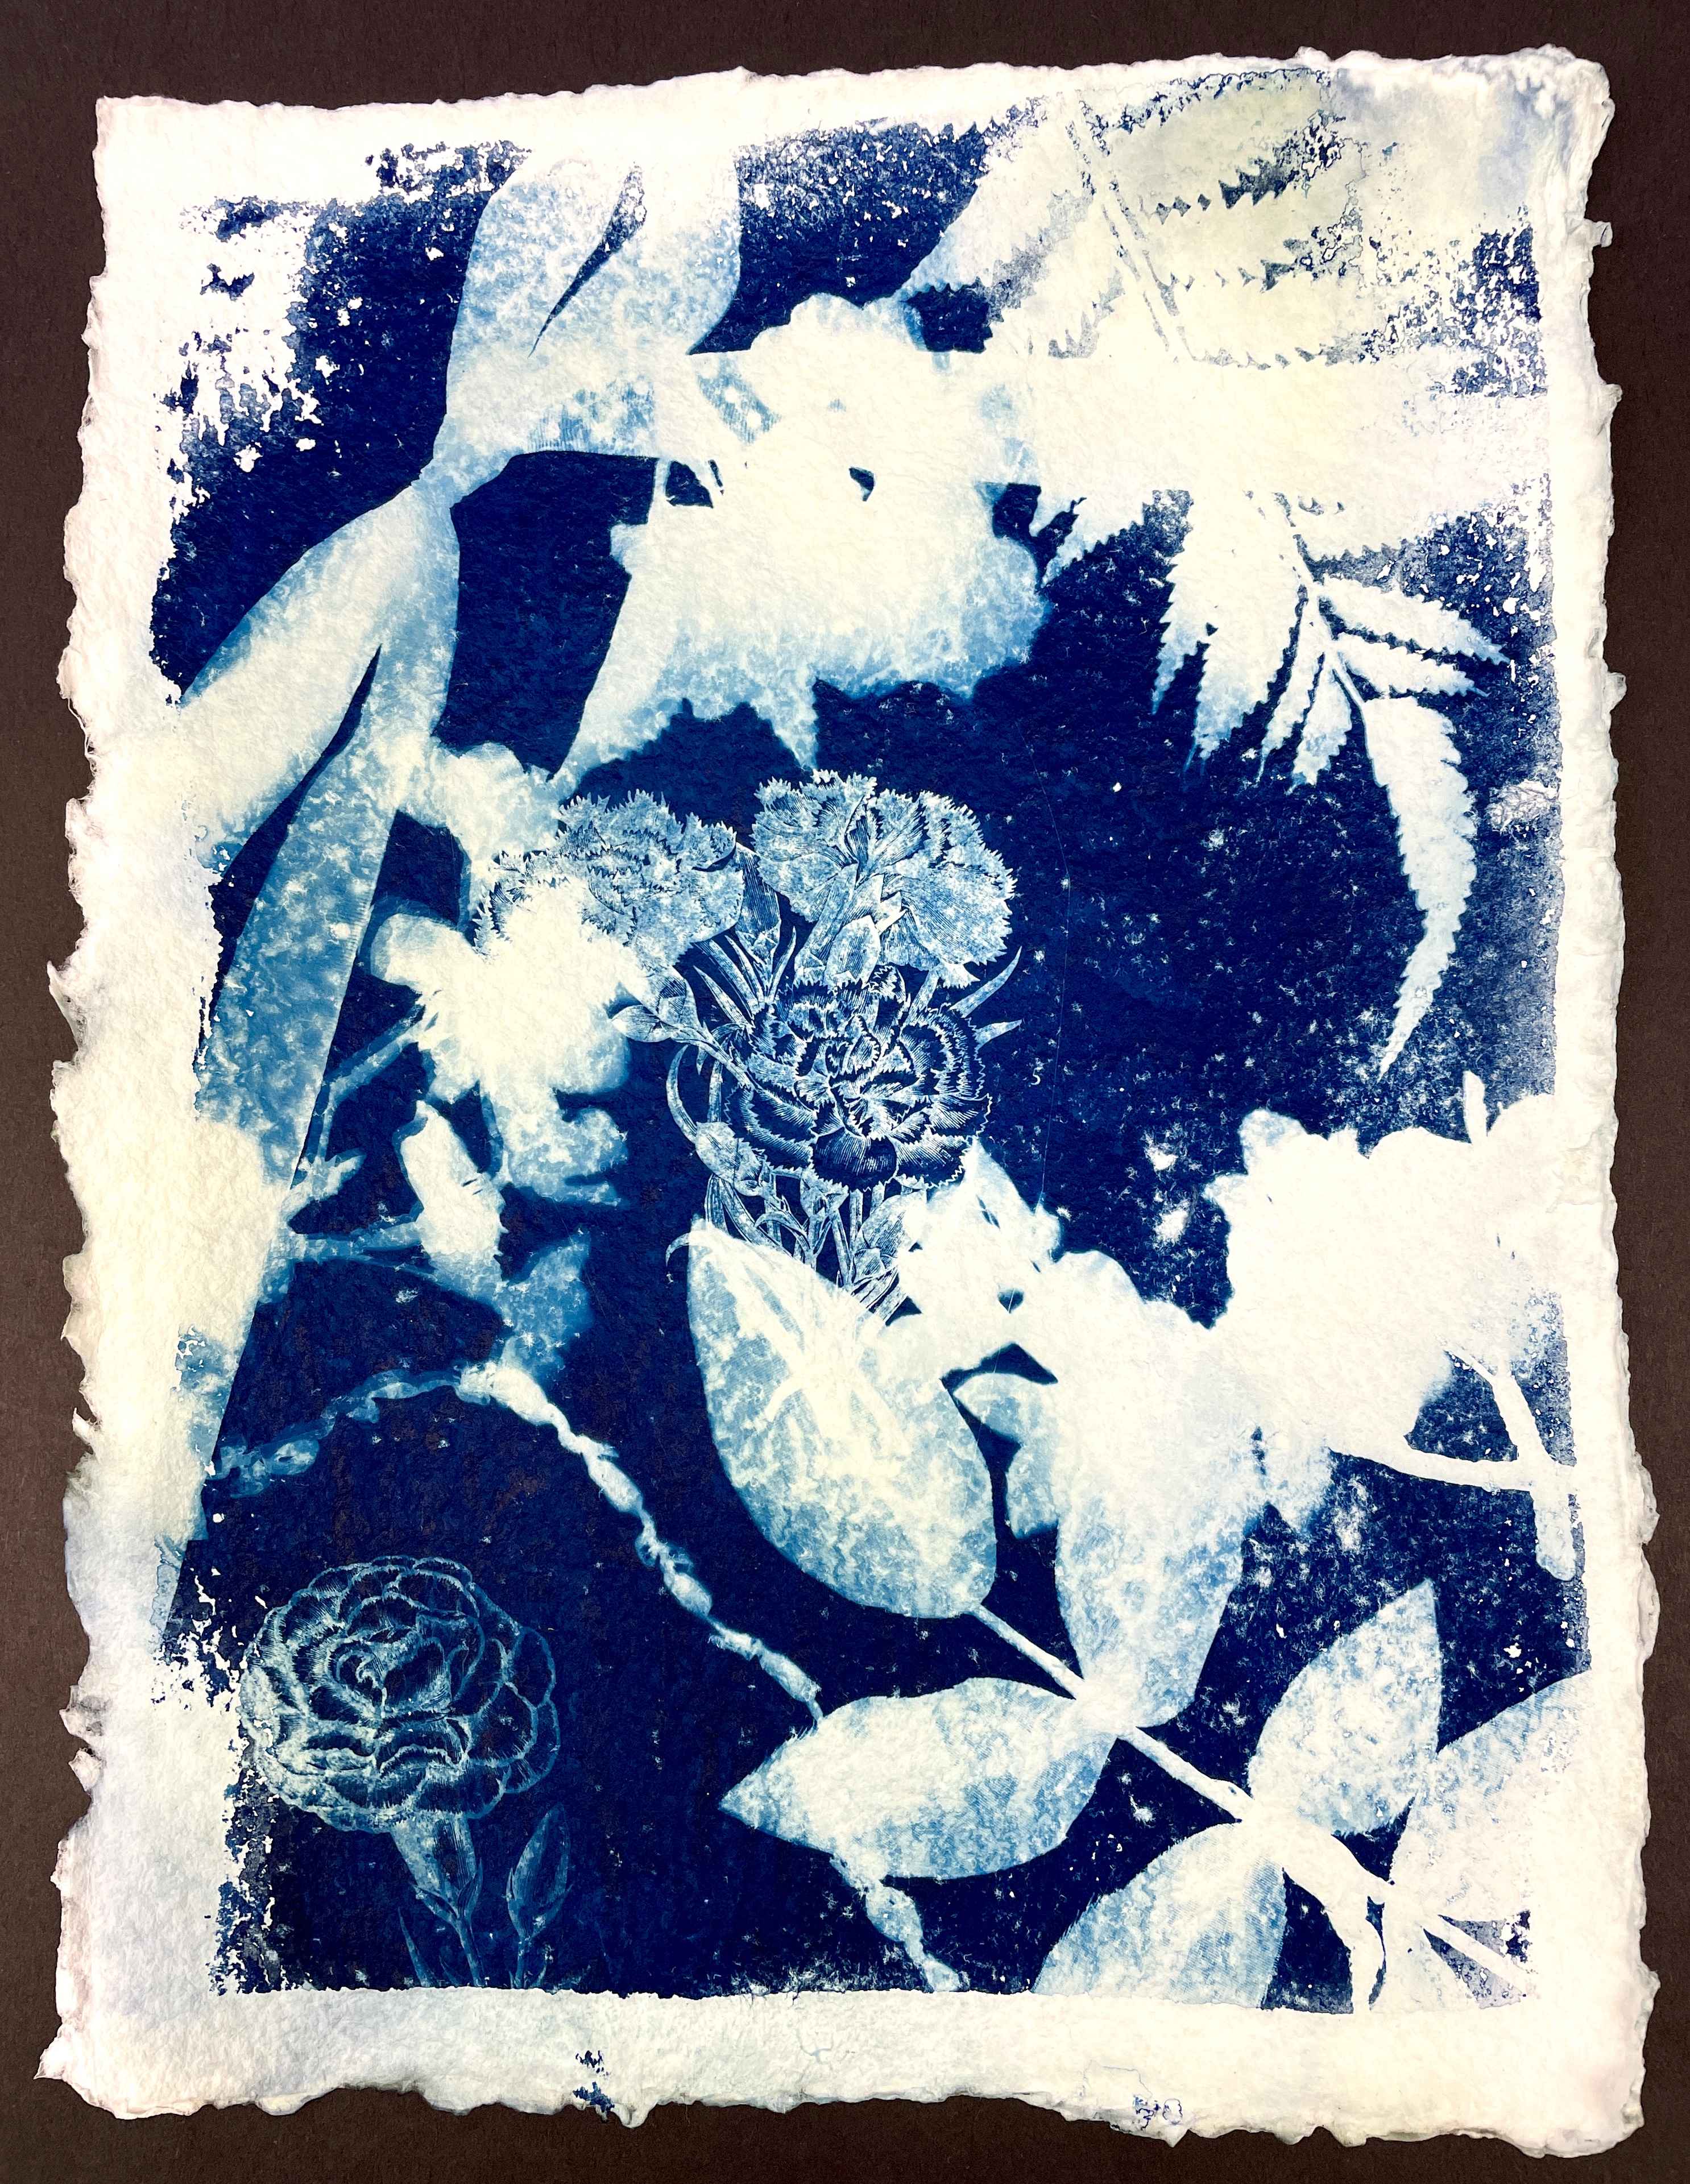
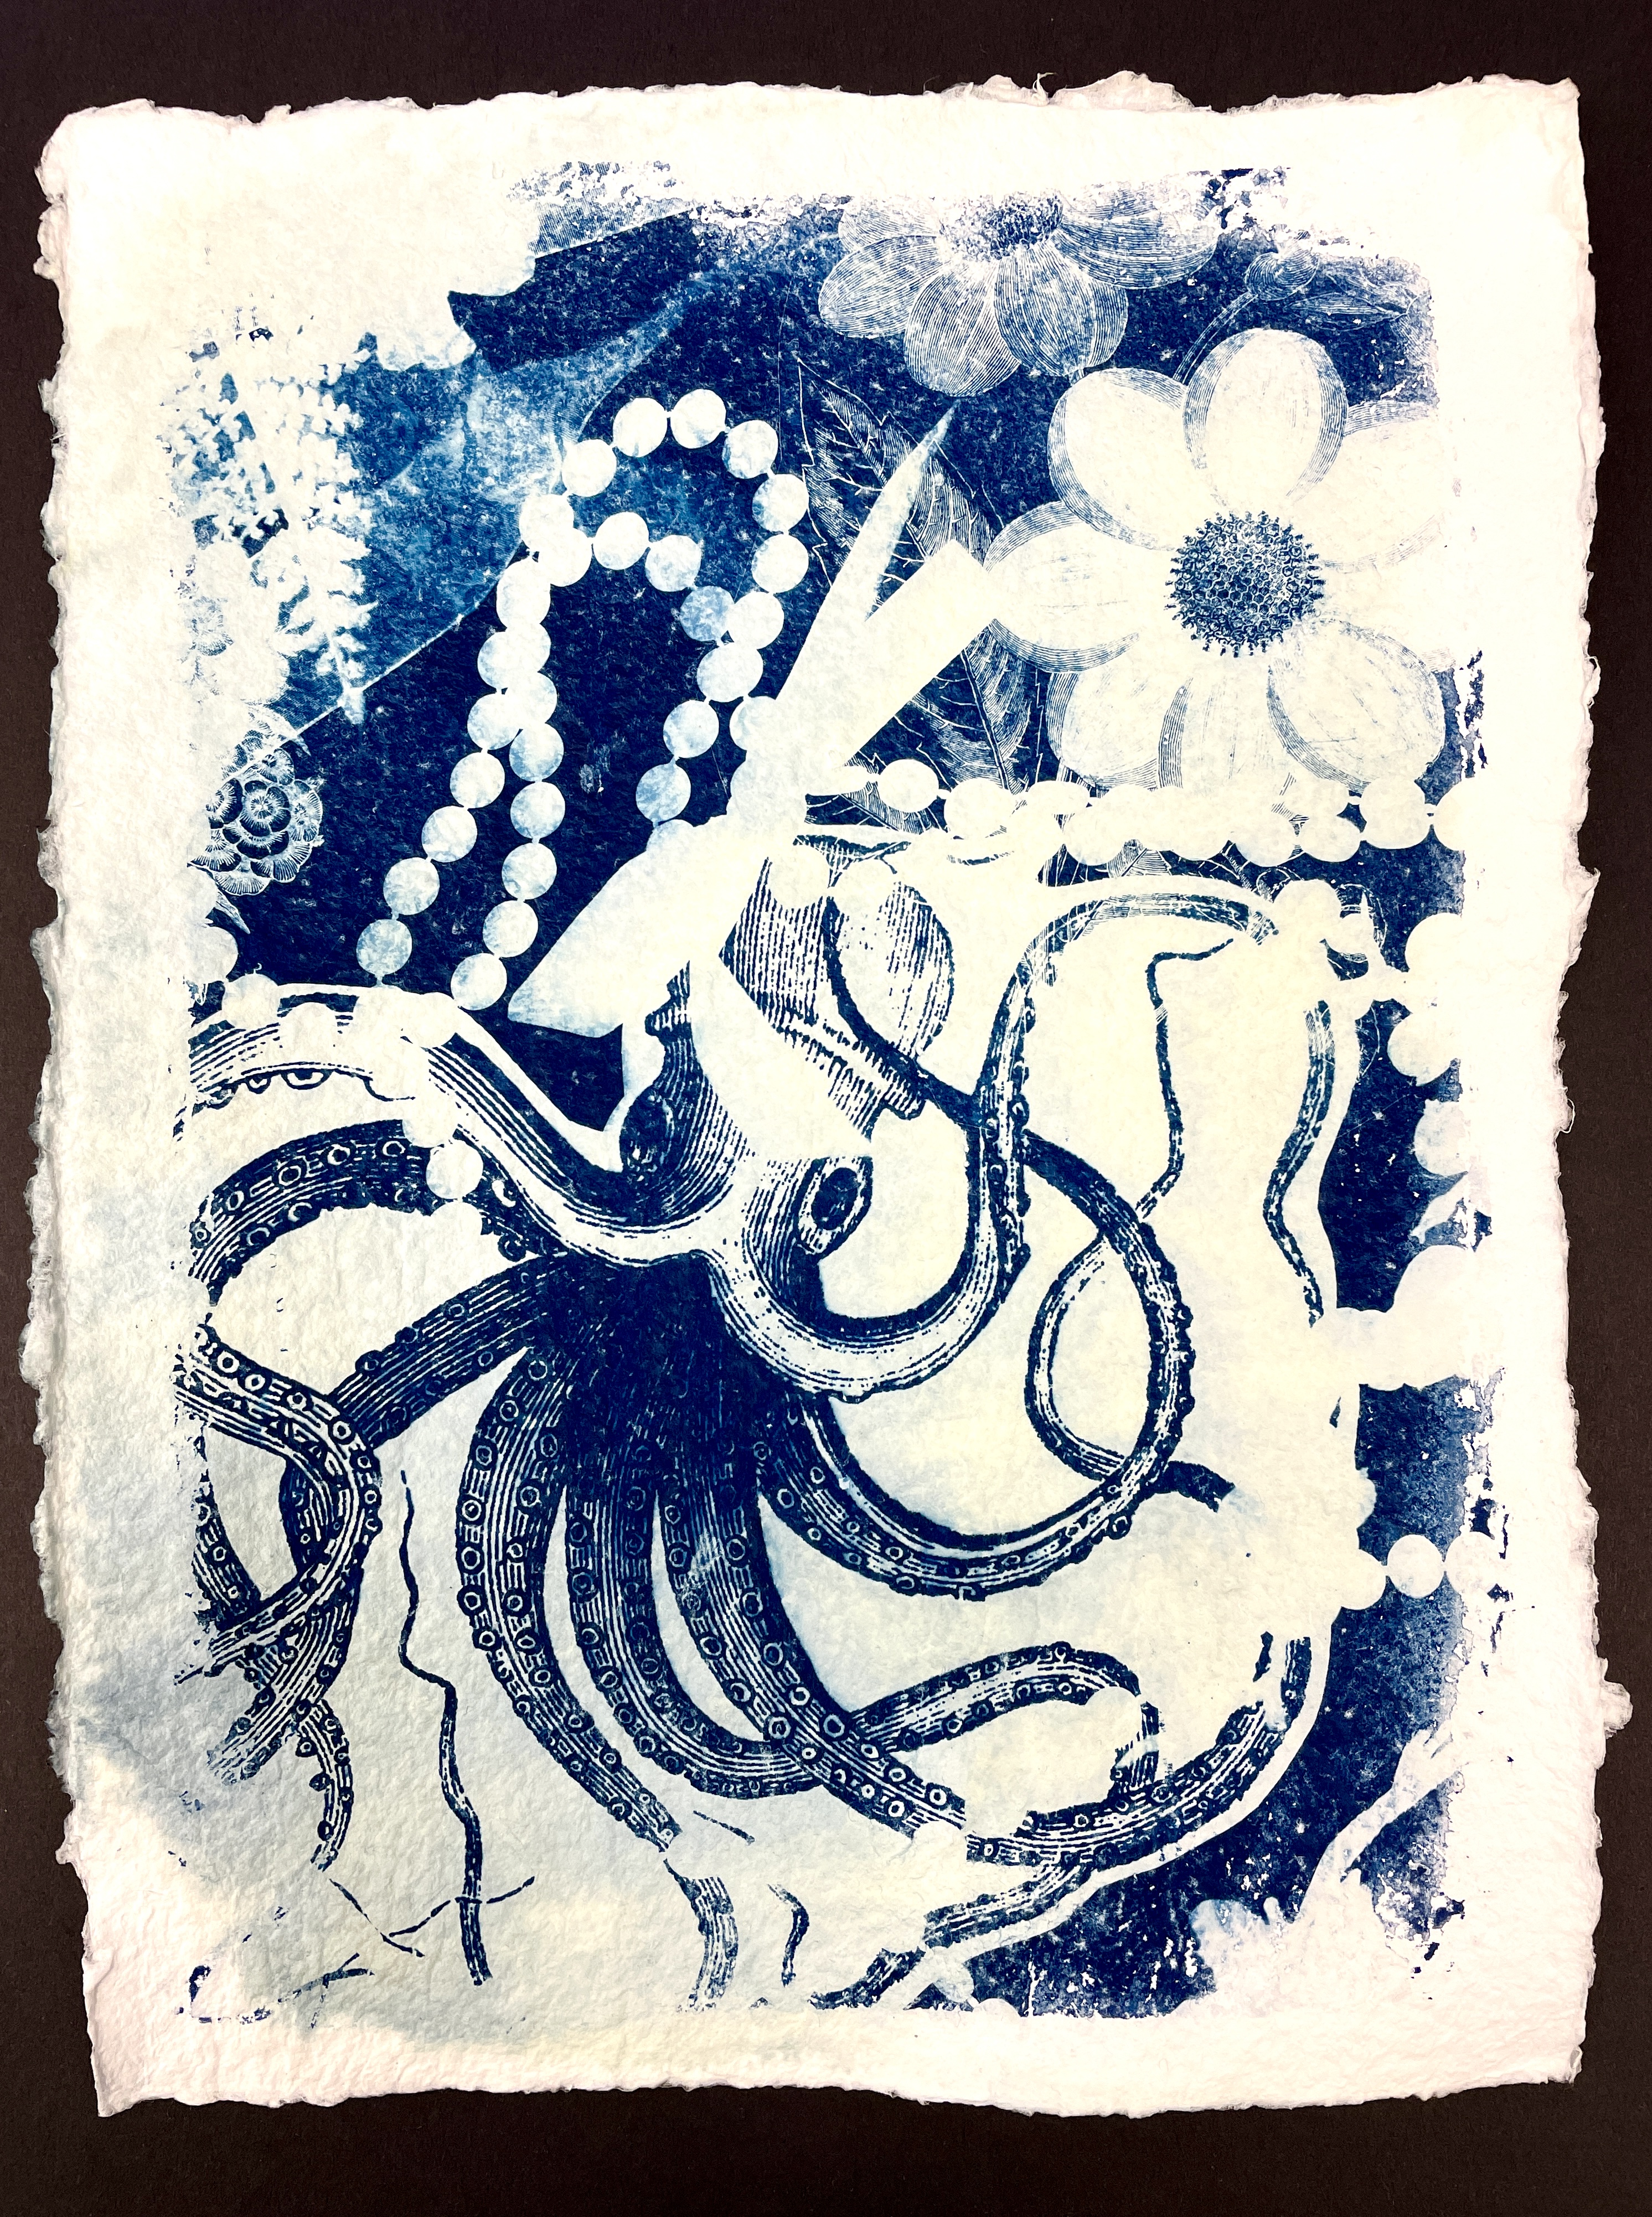
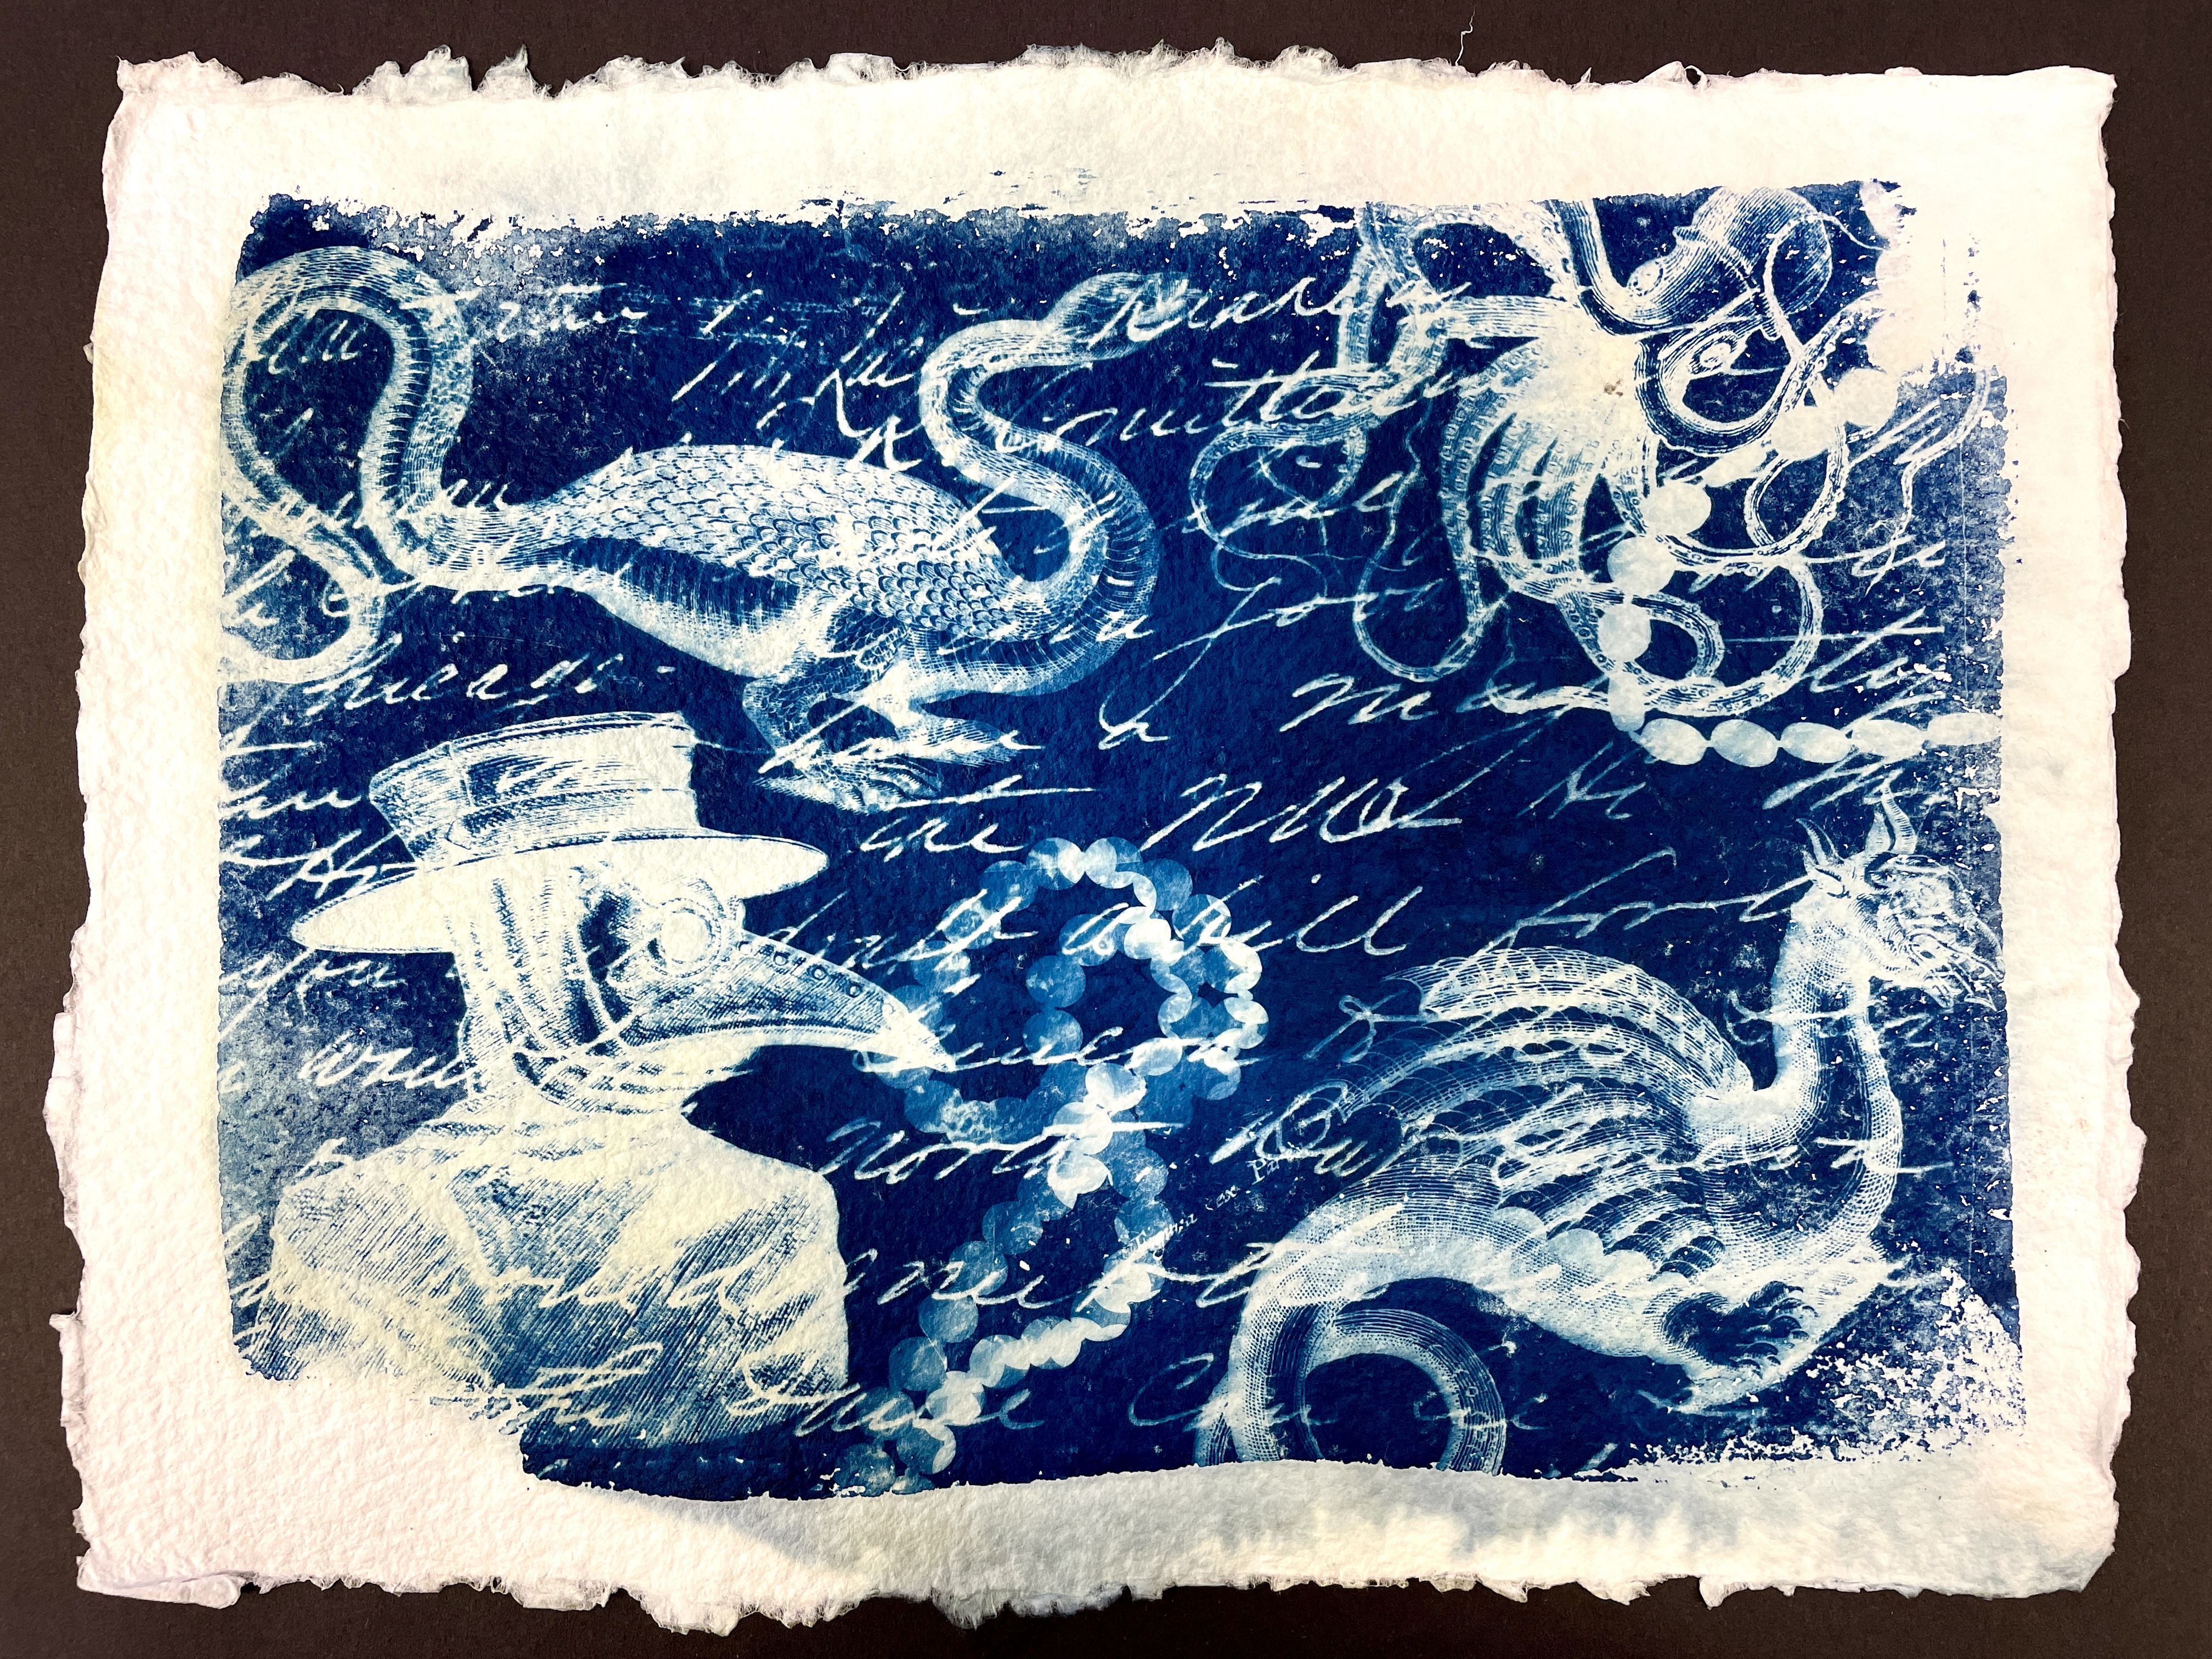
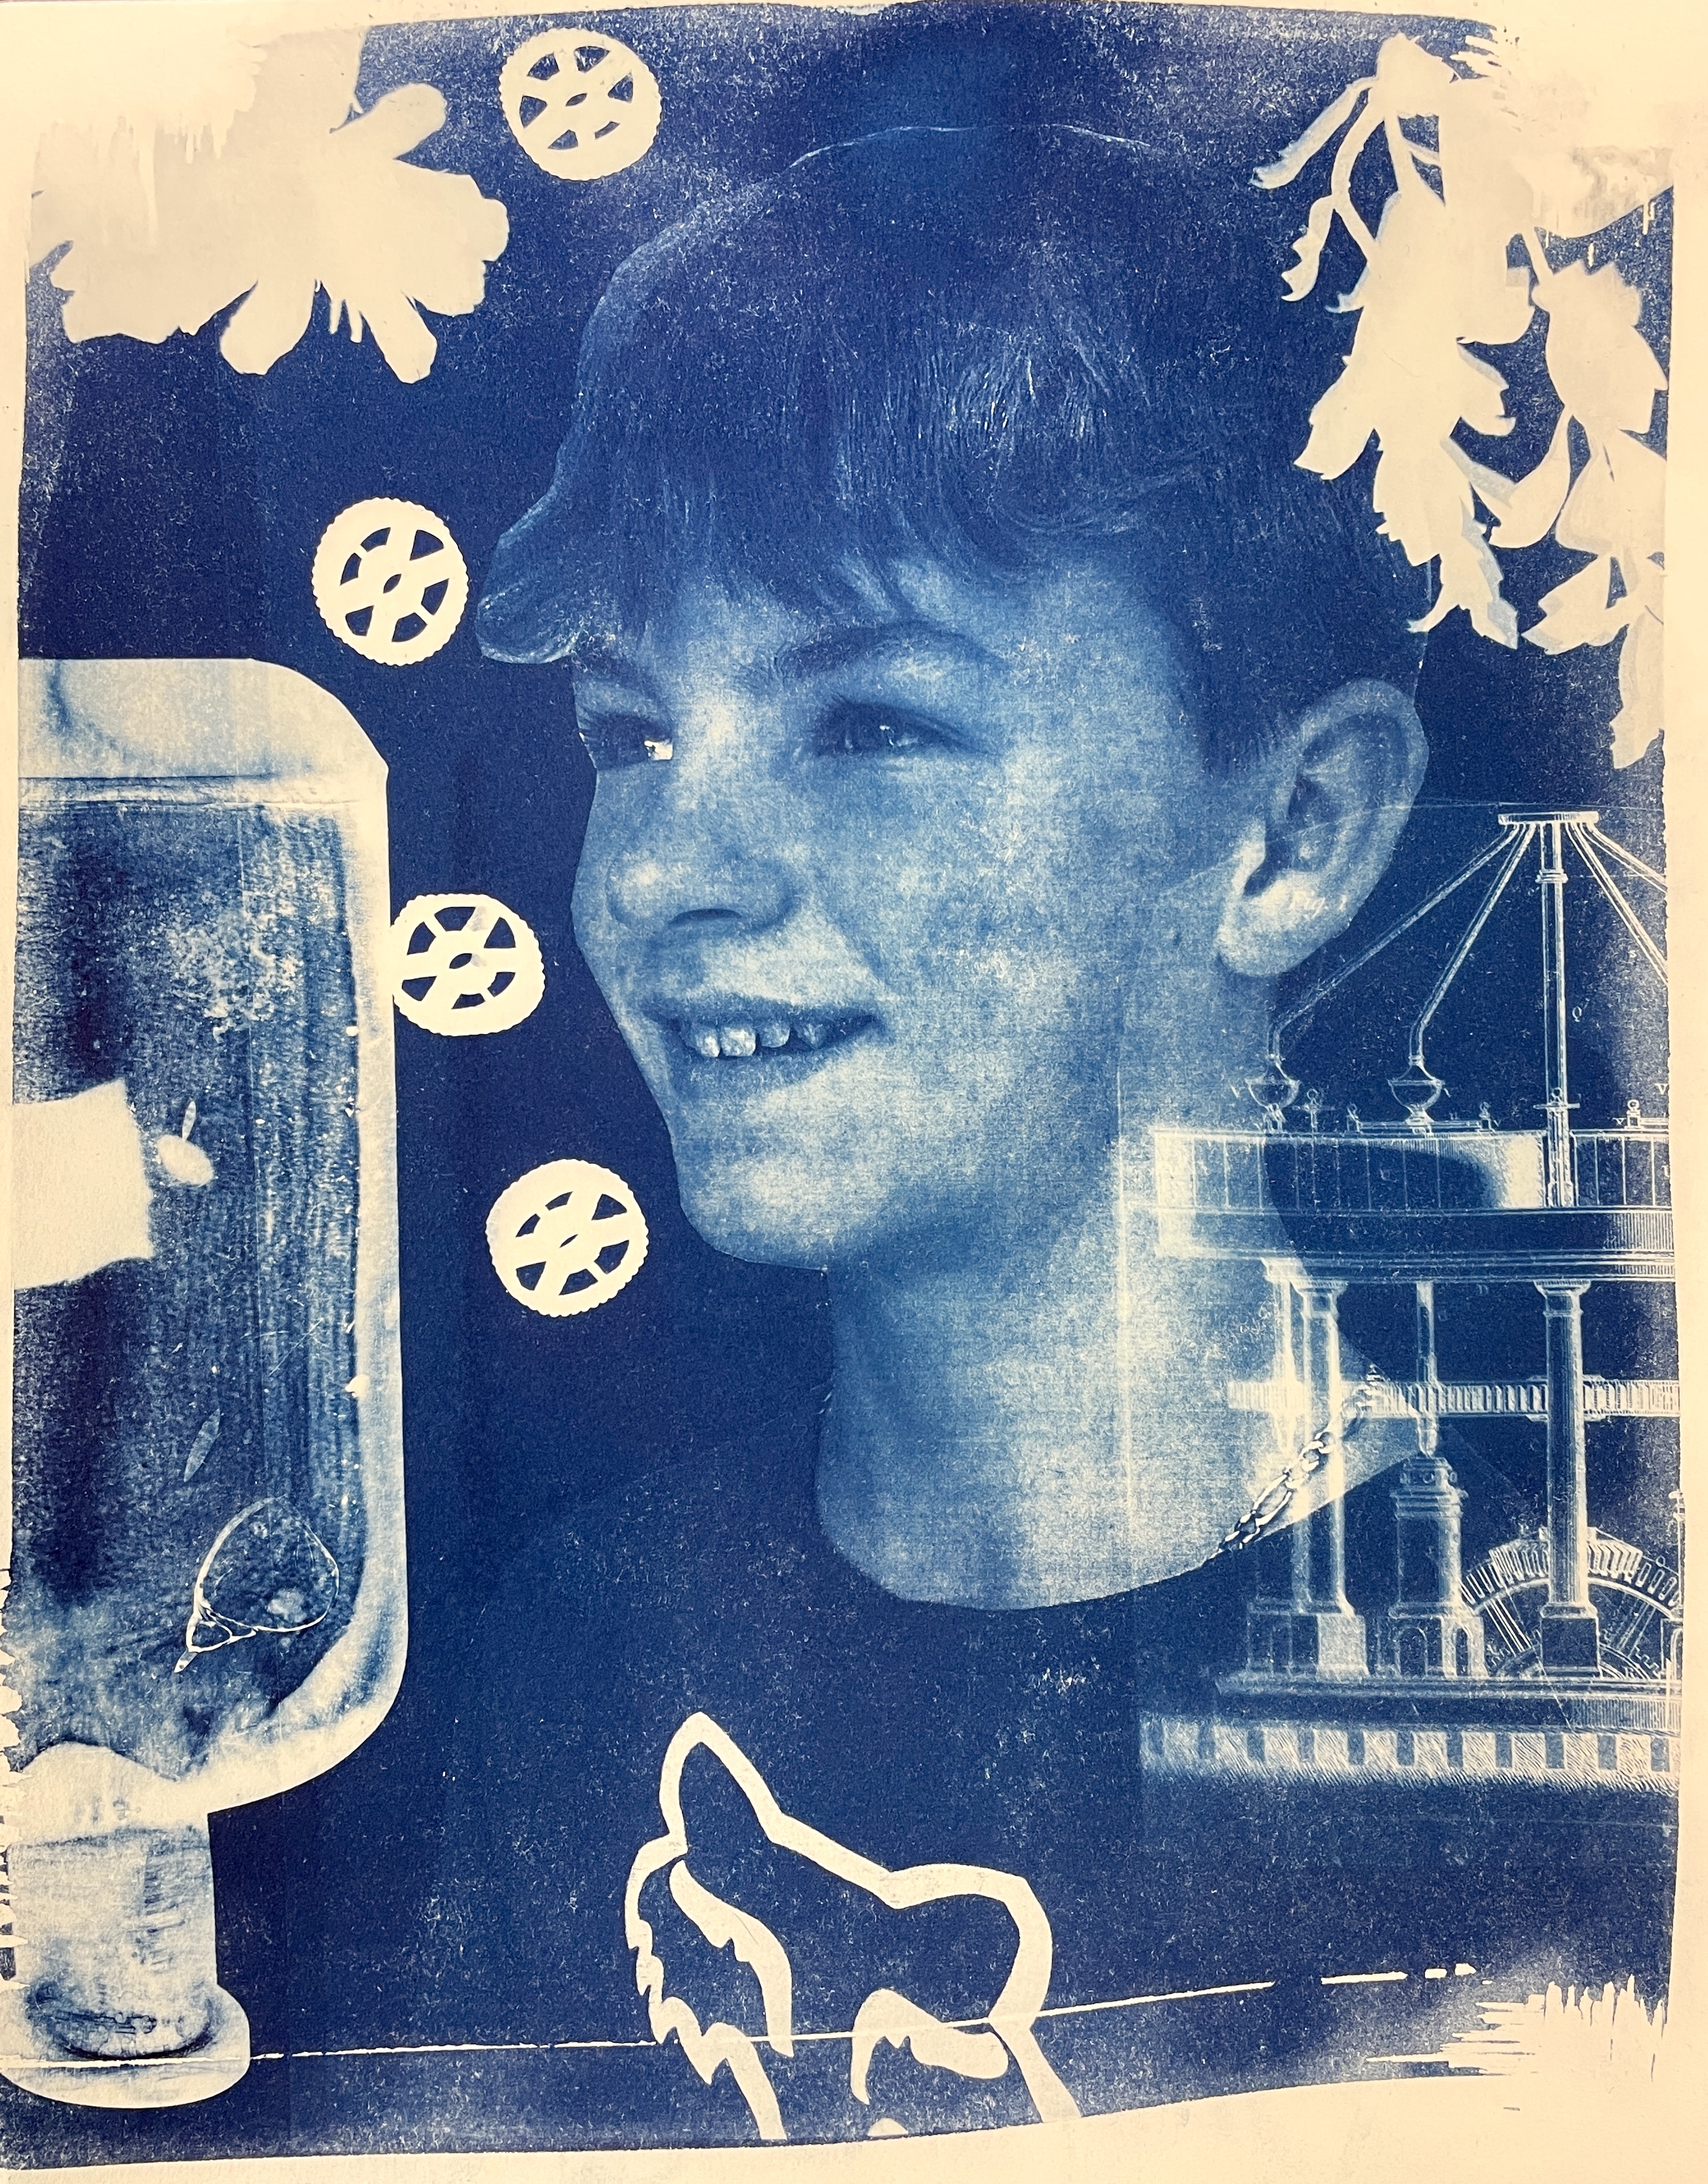
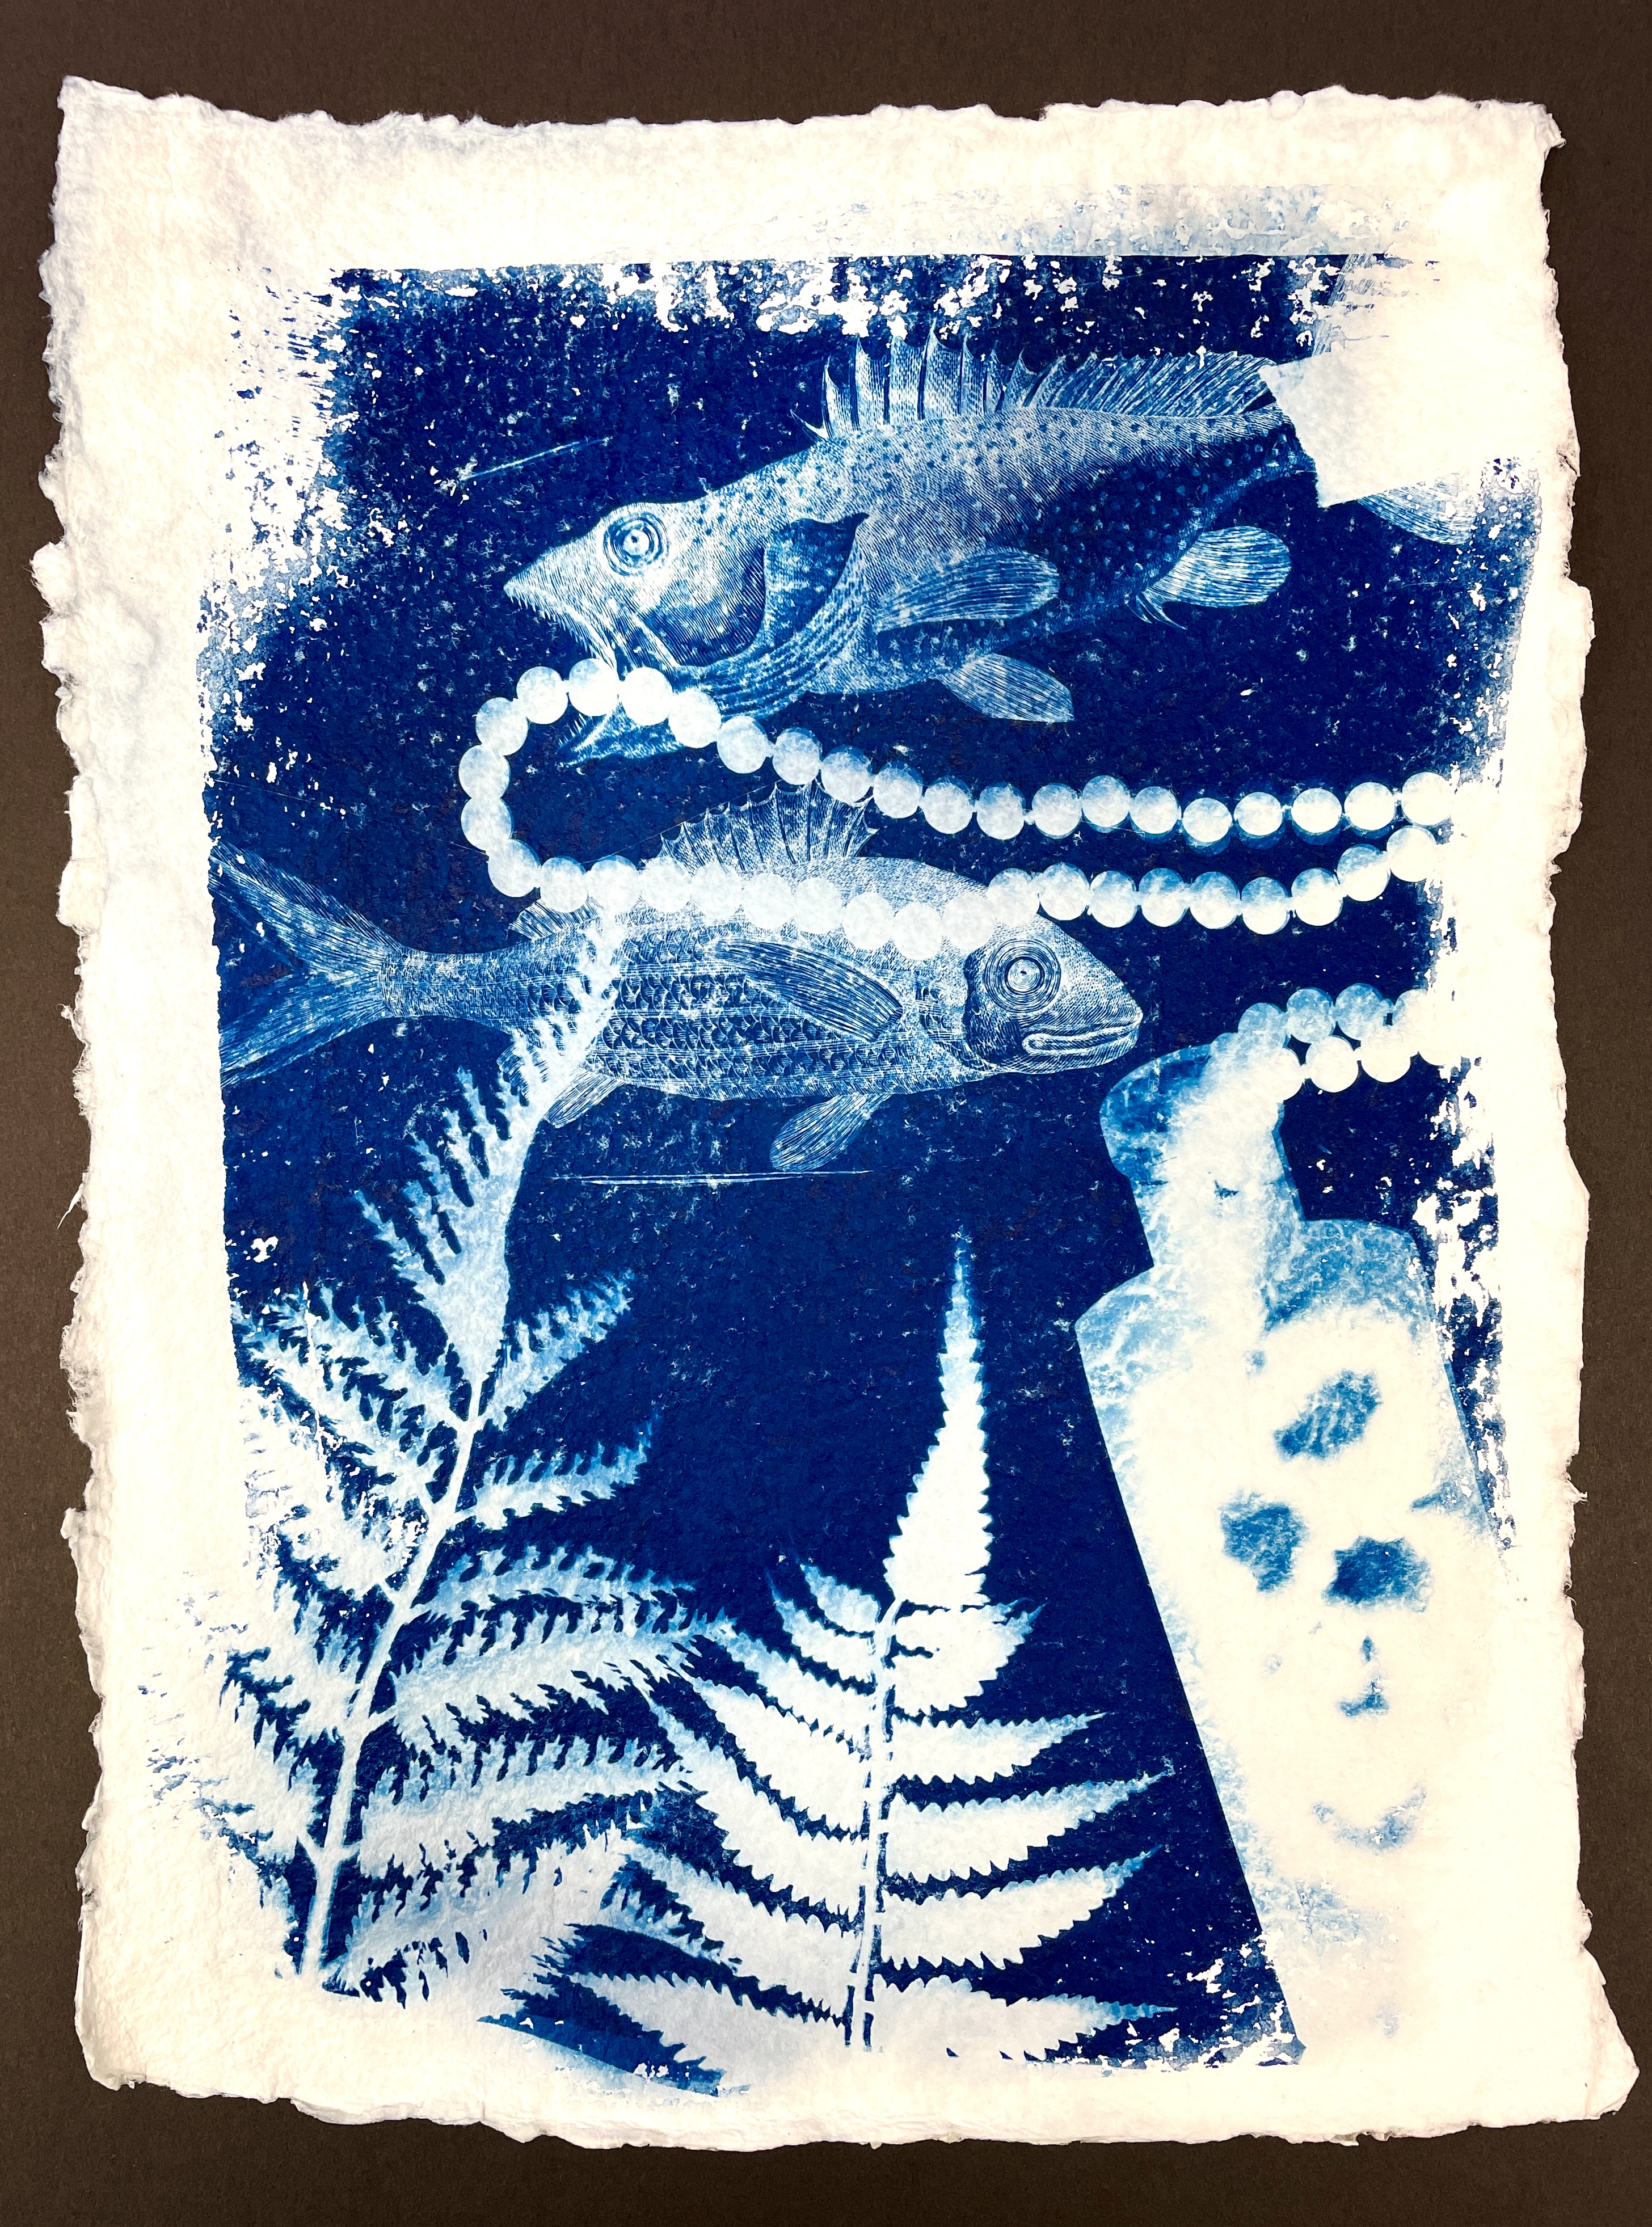
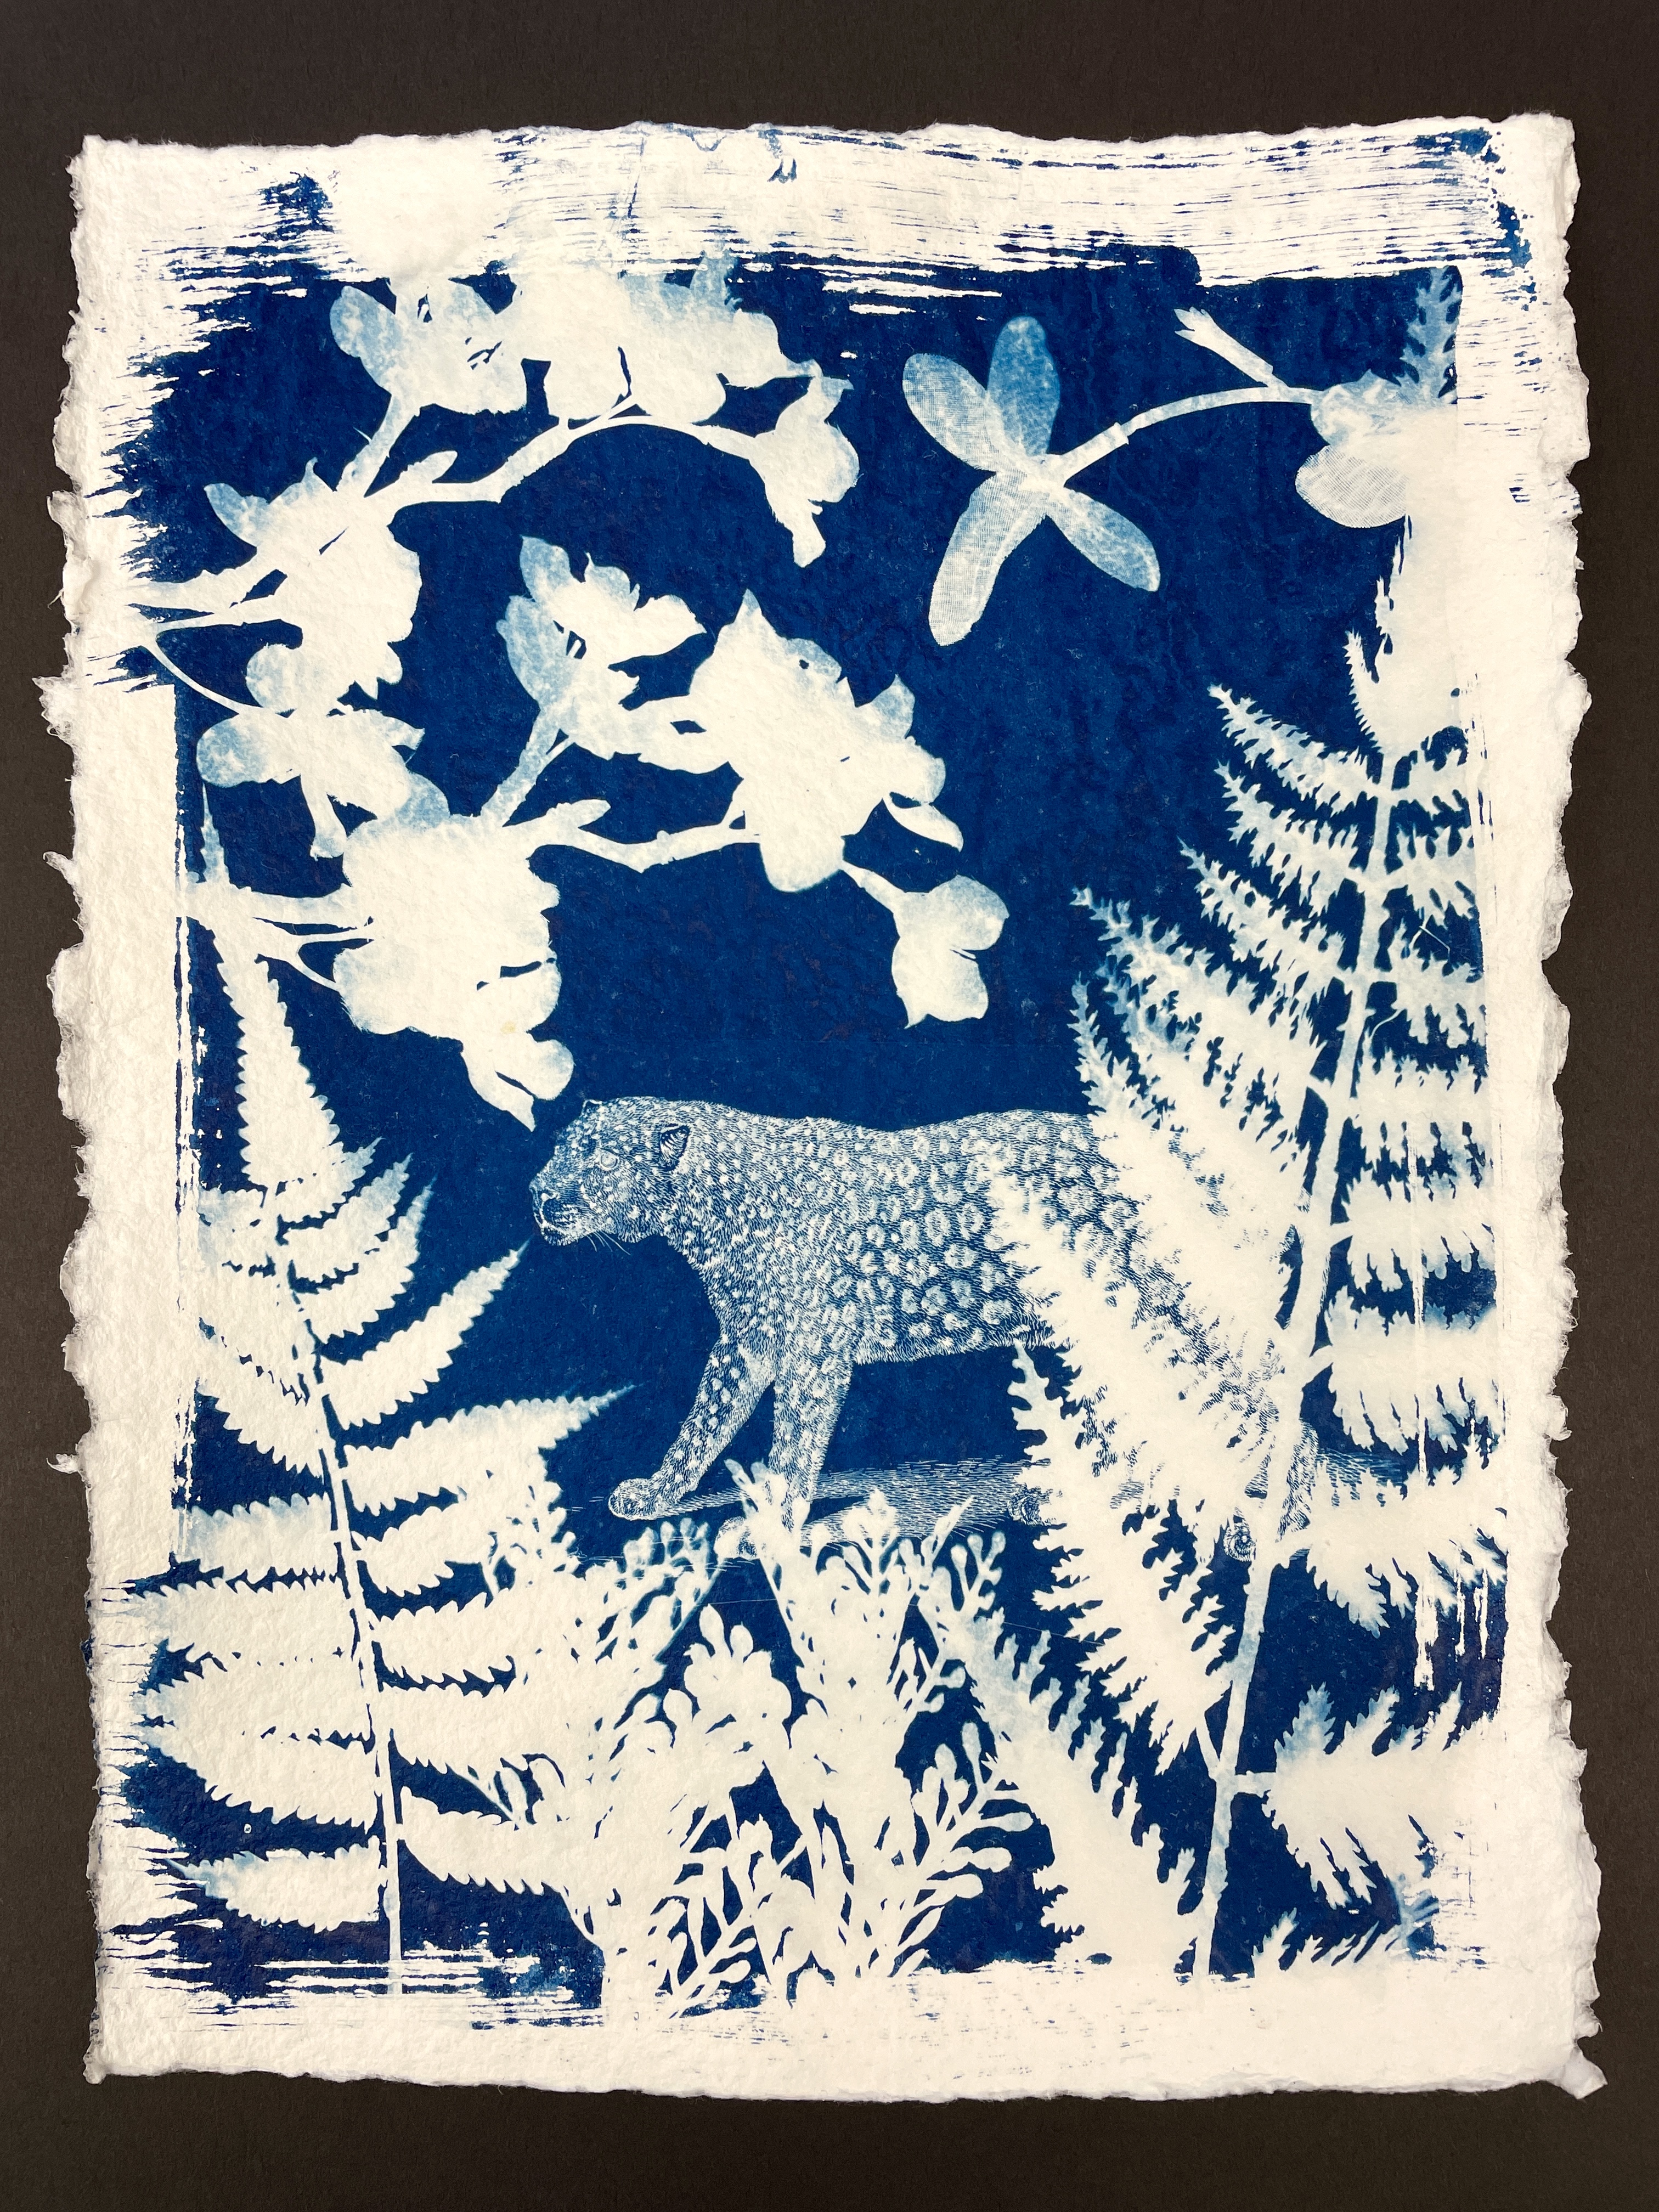
TIP #1: You will need a large number of objects for making cyanotypes, since everyone is working simultaneously and objects cannot be shared. While botanical elements are traditional and look great, the logistics of having real plant materials and keeping them fresh can be challenging. I invested in a few fake fern garlands— bought at my local craft supply store, as well as other silk flowers and leaves. Ribbons, doilies, glass bottles, strings of beads and shaped pastas also work great! To keep it simple, you can also use regular classroom objects like scissors, tools, compasses, etc.
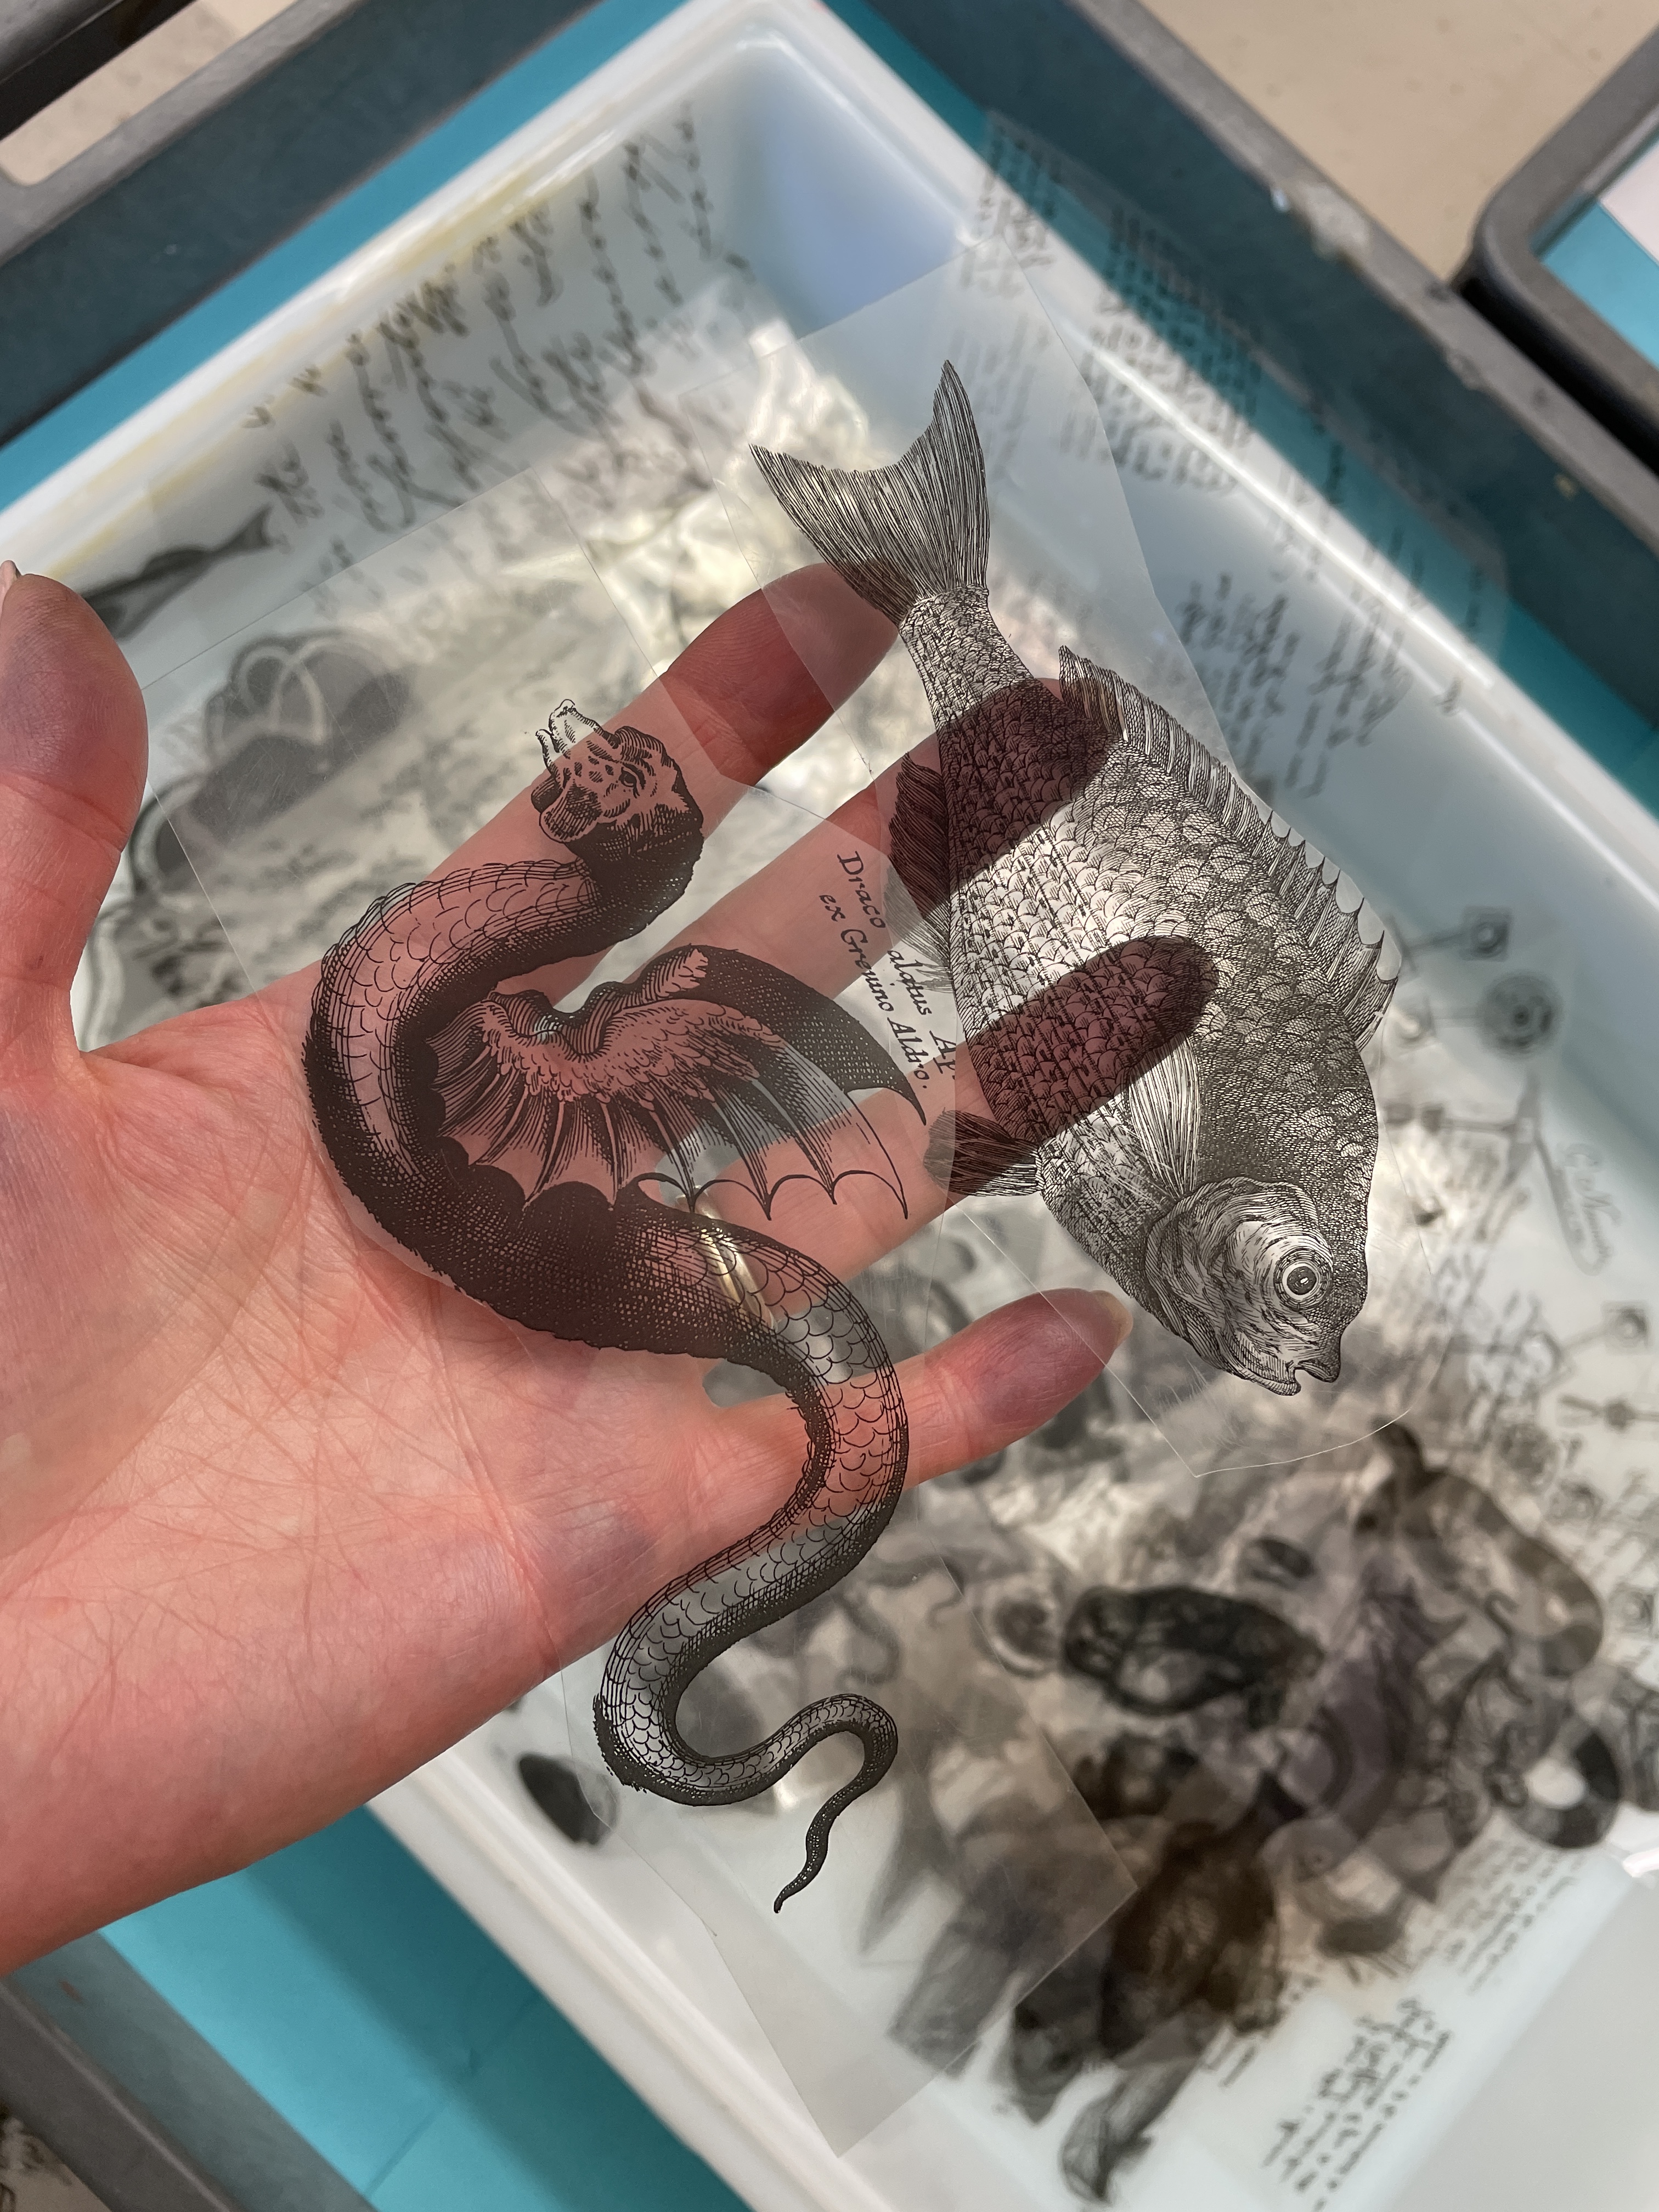
TIP #2: Something that yields really cool results are transparencies. I have several books of vintage engravings of animals and plants and I made a whole bin of images on overhead transparency film using my school’s copier. These transparencies created super detailed images on our finished Cyanotypes and worked wonderfully when combined with actual objects.

TIP #3: The wind is not your friend! We had some sunny but windy days during which arrangements blew all over the place and chaos ensued! Therefore, working on a Masonite board and taping everything you can down is very helpful. In the instruction packet link above, you’ll see some in-process examples. It’s important not to apply the tape over the photosensitive solution, but if an item extends off the edge of the paper you can tape it to the board for security.


TIP #4: Prep the paper with the photosensitive solution ahead of time. The chemicals are relatively inexpensive and a little goes a long way! I batch-prepared a lot of paper after school, with the blinds down in my room. I further protected them by placing them in the drying rack (with dark paper over the shelves in which they were drying) overnight. Then, store the dried, prepared papers in a black folder or drawer you will have a good supply ready to go for your students. I enjoyed the look of kind of a rough edge and therefore used a foam brush when applying the photosensitive solution, intentionally leaving the edges a little uneven.

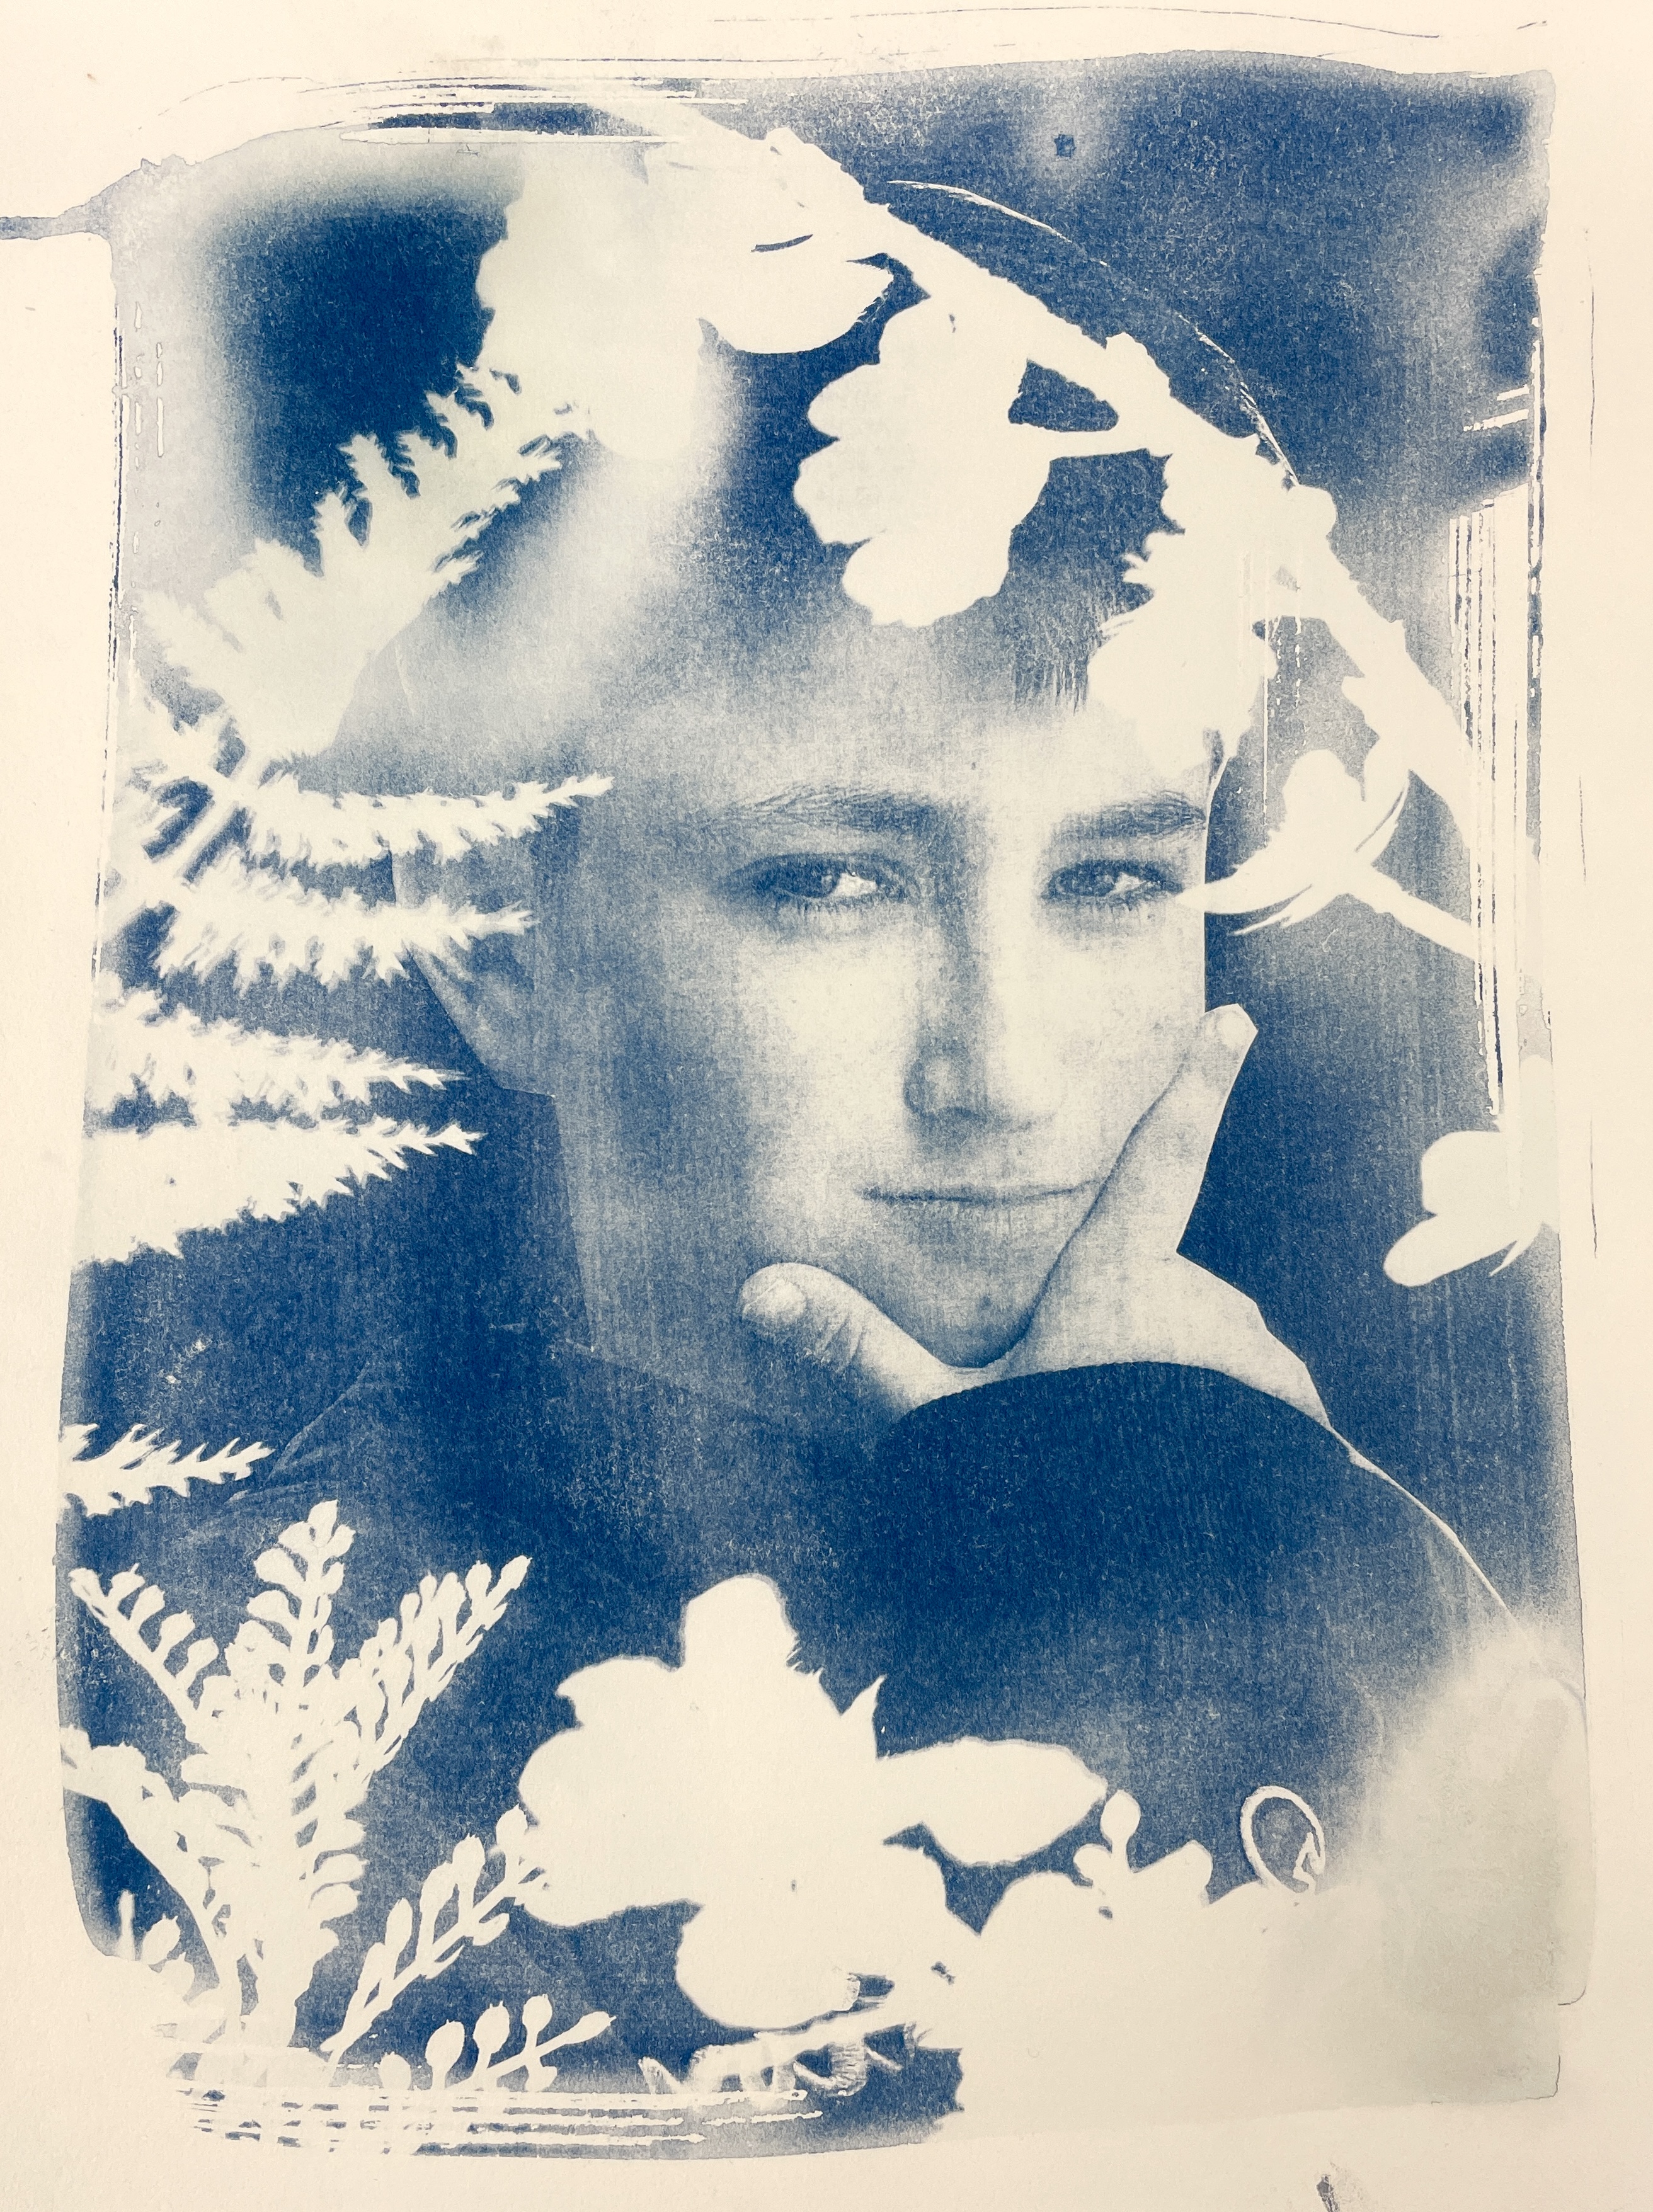
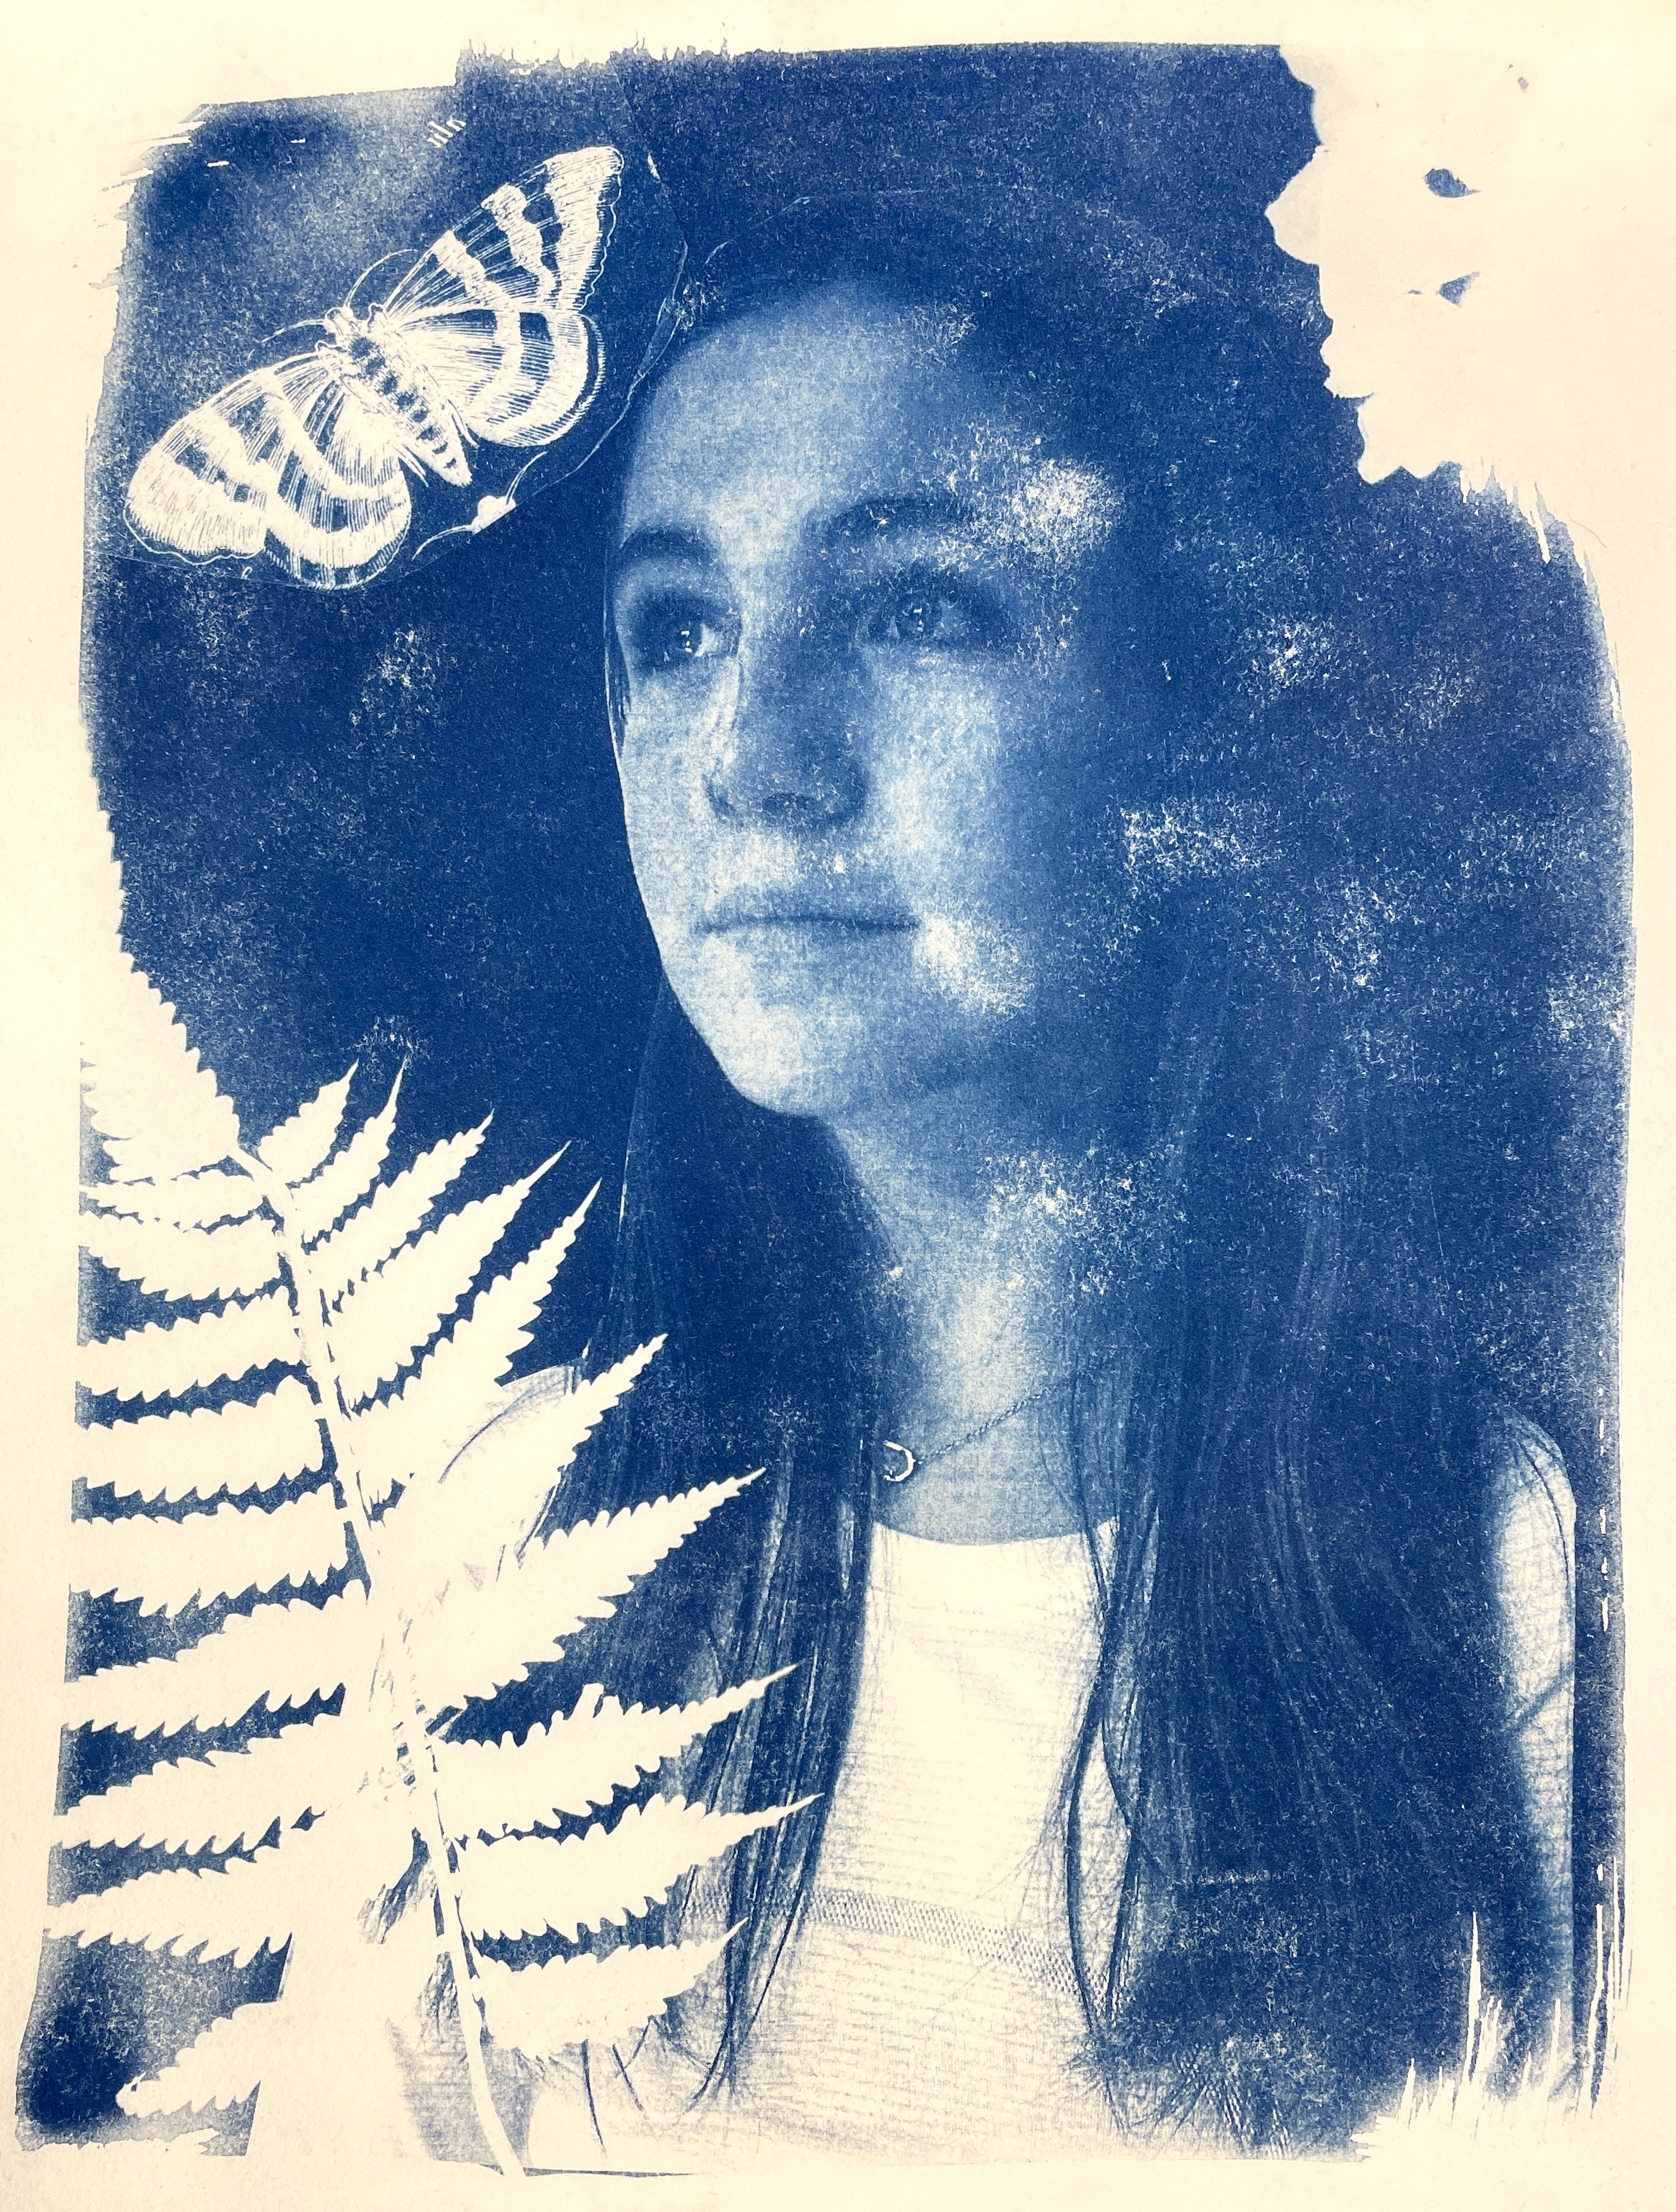
TIP #5: You need good quality watercolor paper that can stand up to 3 to 5 minutes of aggressive rinsing. It takes a while to fully rinse away all the chemicals and cheap drawing paper will fall apart. The self-portrait cyanotypes you see here worked best on a smooth paper: we used Arnhem printing paper. (It’s kind of expensive but each kid only did one.) I also like the look of Shizen watercolor paper which did not work great with a self-portraits but did work wonderfully with objects and transparencies. I recommend testing a variety of papers to see what works best for you!
TIP #6: Speaking of self-portraits, If you want to create them, you’ll need to make a negative. The reasoning is explained in my INSTRUCTION PACKET, but here’s my basic order of operations:
- I take photos of every student. We had just completed a self-portrait lesson so my kids already had an 8” by 10” photo printed out. They used scissors to cut away all the negative space.
- Using one of our school copiers, I adjusted the color settings to create a positive/negative image. Basically, the machine switches the values in the image, much like a film negative. I printed these onto overhead transparency film. (This lovely material is sort of going the way of the Dodo now that most schools use smart projectors, and I was able to scavenge some from colleagues who didn’t need it anymore.)
- When creating a Cyanotype self-portrait, lay the negative transparency on the prepared paper first, then arrange and tape your other objects, transparencies, etc. and expose as usual: about 3 minutes for bright sunlight.

TIP #7: You really need a sunny day. I tried some samples on bright, overcast days and it just didn’t work. Be flexible, watch the weather forecast and have an alternate activity planned!
There is so much potential with this fun, spontaneous process. Your imagination is the limit! If you try it with your students, let me know how it goes!


Sep 29, 2024 @ 05:51:00
Hi,
thank you! This was exactly the instructions I was looking for with this lesson. Did you have to use an ink jet printer for the transparencies?
Sep 29, 2024 @ 18:34:42
I use my school’s copier!
Oct 01, 2024 @ 22:58:04
I wanted to share a great free site for this project. Jacquardcyanotype.com
My students found it so easy to use and not blocked on their Chromebooks. They can adjust contrast and brightness and then check what it would look like as a cyanotype. They downloaded and emailed the finished image and I just had to print. Woohoo
Dec 18, 2024 @ 20:29:35
Wow, that’s really cool!
Aug 12, 2025 @ 05:10:59
Love this. I have two questions. 1. When you say that you arranged the items on the prepared paper in a dim room- just wondering how dim ? I have windows in my room. I have blinds I can lower or is just keeping the lights off enough? Any guidance you might have would be helpful.
2. Once the papers and supplies are prepped, this is a pretty quick project isn’t it?
Aug 16, 2025 @ 17:43:24
Some ambient light is OK. I have room darkening shades, but close your blinds all the way. If you have some flattened boxes to help with light blockage, put them in your window, too. Cover when not actively arranging. On a sunny day, yes, the process is quick: 4 minutes in the sun, cover, return to class and rinse!
Aug 24, 2025 @ 03:02:51
These turned out amazing!!!
What kind of copier did you use? I’ve tried making transparencies with a laser printer and the blacks were not nearly opaque enough, but it looks like you didn’t have this problem. Is your copier an inkjet?
Aug 24, 2025 @ 05:04:03
I also use a laser copier. Try tweaking your photos “in camera”, (on your phone) to increase the contrast. More contrast in the photo will transfer to the negative transparency and yield better results. It’s always a bit trial and error, regardless!
Sep 08, 2025 @ 21:34:37
This is wonderful! Thank you for sharing.
IF YOU DON’T HAVE A PRINTER OPTION FOR INVERTING…
I wanted to share an additional tip. If you do not have access to a print to invert the colors, try pinetools.com. It is a website with free online tools for many things but I use ALL their photo editing tools such as remove background, posterized image converter, greyscale and many more.
It has a “bulk invert color images” option (Pinetools also does single invert colors) Have the students take a picture using a black background. We have tons of black butcher paper at our school. Then you would upload the image(s) to pinetools. You can easily save the image(s) and print to transparencies.
I would do this as the teacher using my phone and invert the images in bulk for quicker results but the students can do it on their own also depending on their online access.
Sep 08, 2025 @ 22:03:08
Wow, I don’t know about this resource. I will check it out! Thanks!
Jan 27, 2026 @ 04:44:29
help! I’m trying to get the process down before trying with the students and when I wash out the chemicals the paper just falls apart. I am doing the portraits with just a small group of 16 students. What paper do you recommend?
Jan 27, 2026 @ 06:55:34
You need a high quality paper than can hold up to moisture. I use Arches watercolor paper or a cotton rag printing paper such as Arnheim. Copy paper, drawing paper, or construction paper would not work. Student grade watercolor paper could work, See “tip # 5” above for links to the paper I have found success with.
Jan 27, 2026 @ 08:41:37
Thank you!