Neurographic Art…Embellished!


Neurographic Art has been a hit the past couple of years in middle school art rooms across the country! This mindful, intentional mark-making drawing method provides students with lots of freedom, choice, and the success of knowing that you can’t really do it wrong. A simple online search will yield dozens of video tutorials on the technique. During the remote and hybrid-learning periods of the COVID Pandemic, many art teachers found this to be an engaging lesson that could be completed successfully with simple materials at home or in modified classroom settings… Most importantly, IT’S FUN!
When starting this lesson with my students, I show them THIS VIDEO by Middle School Art Teacher, Bethany Thiele. She has so many wonderful tutorials, and this one is to the point, engaging, and easy to follow.
We also looked through THIS GOOGLE SLIDESHOW which my co-worker and I created. It affirms some of the key points from the video and incorporates a variety of Neurographic Art examples pulled from the internet.
Full disclosure: I began this lesson solely with the intent of using it as a background element for our Reverse Painting Acetate Self Portraits, but… these pieces ended up being so amazing on their own, I changed course mid-way through! More on that later…
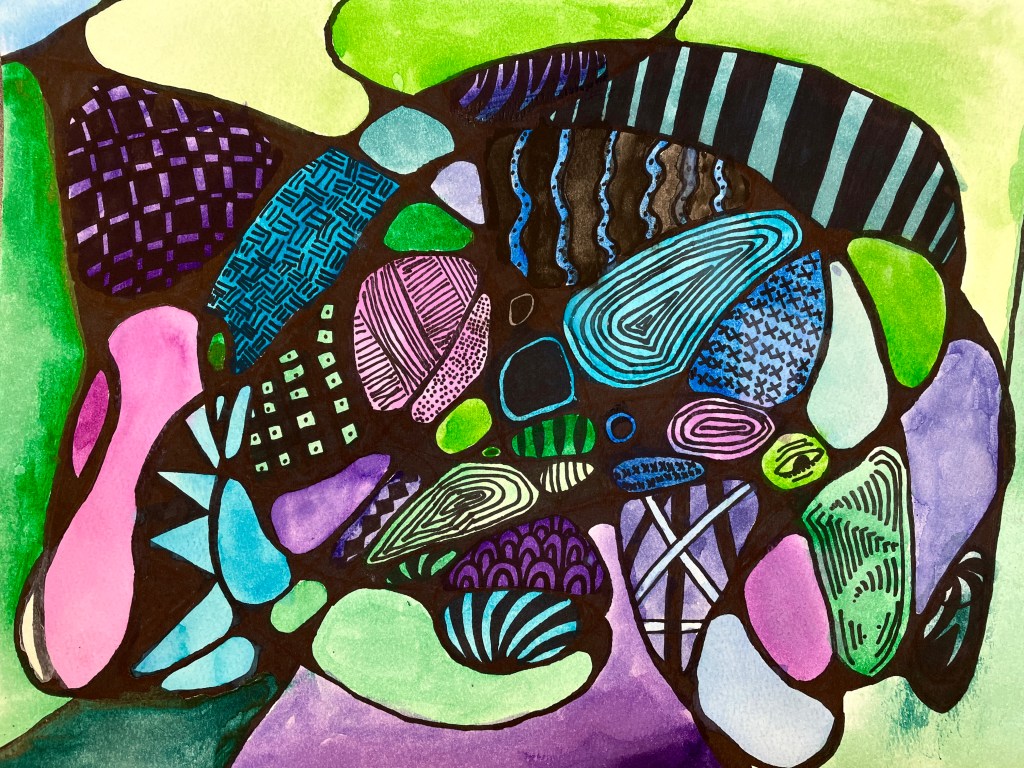
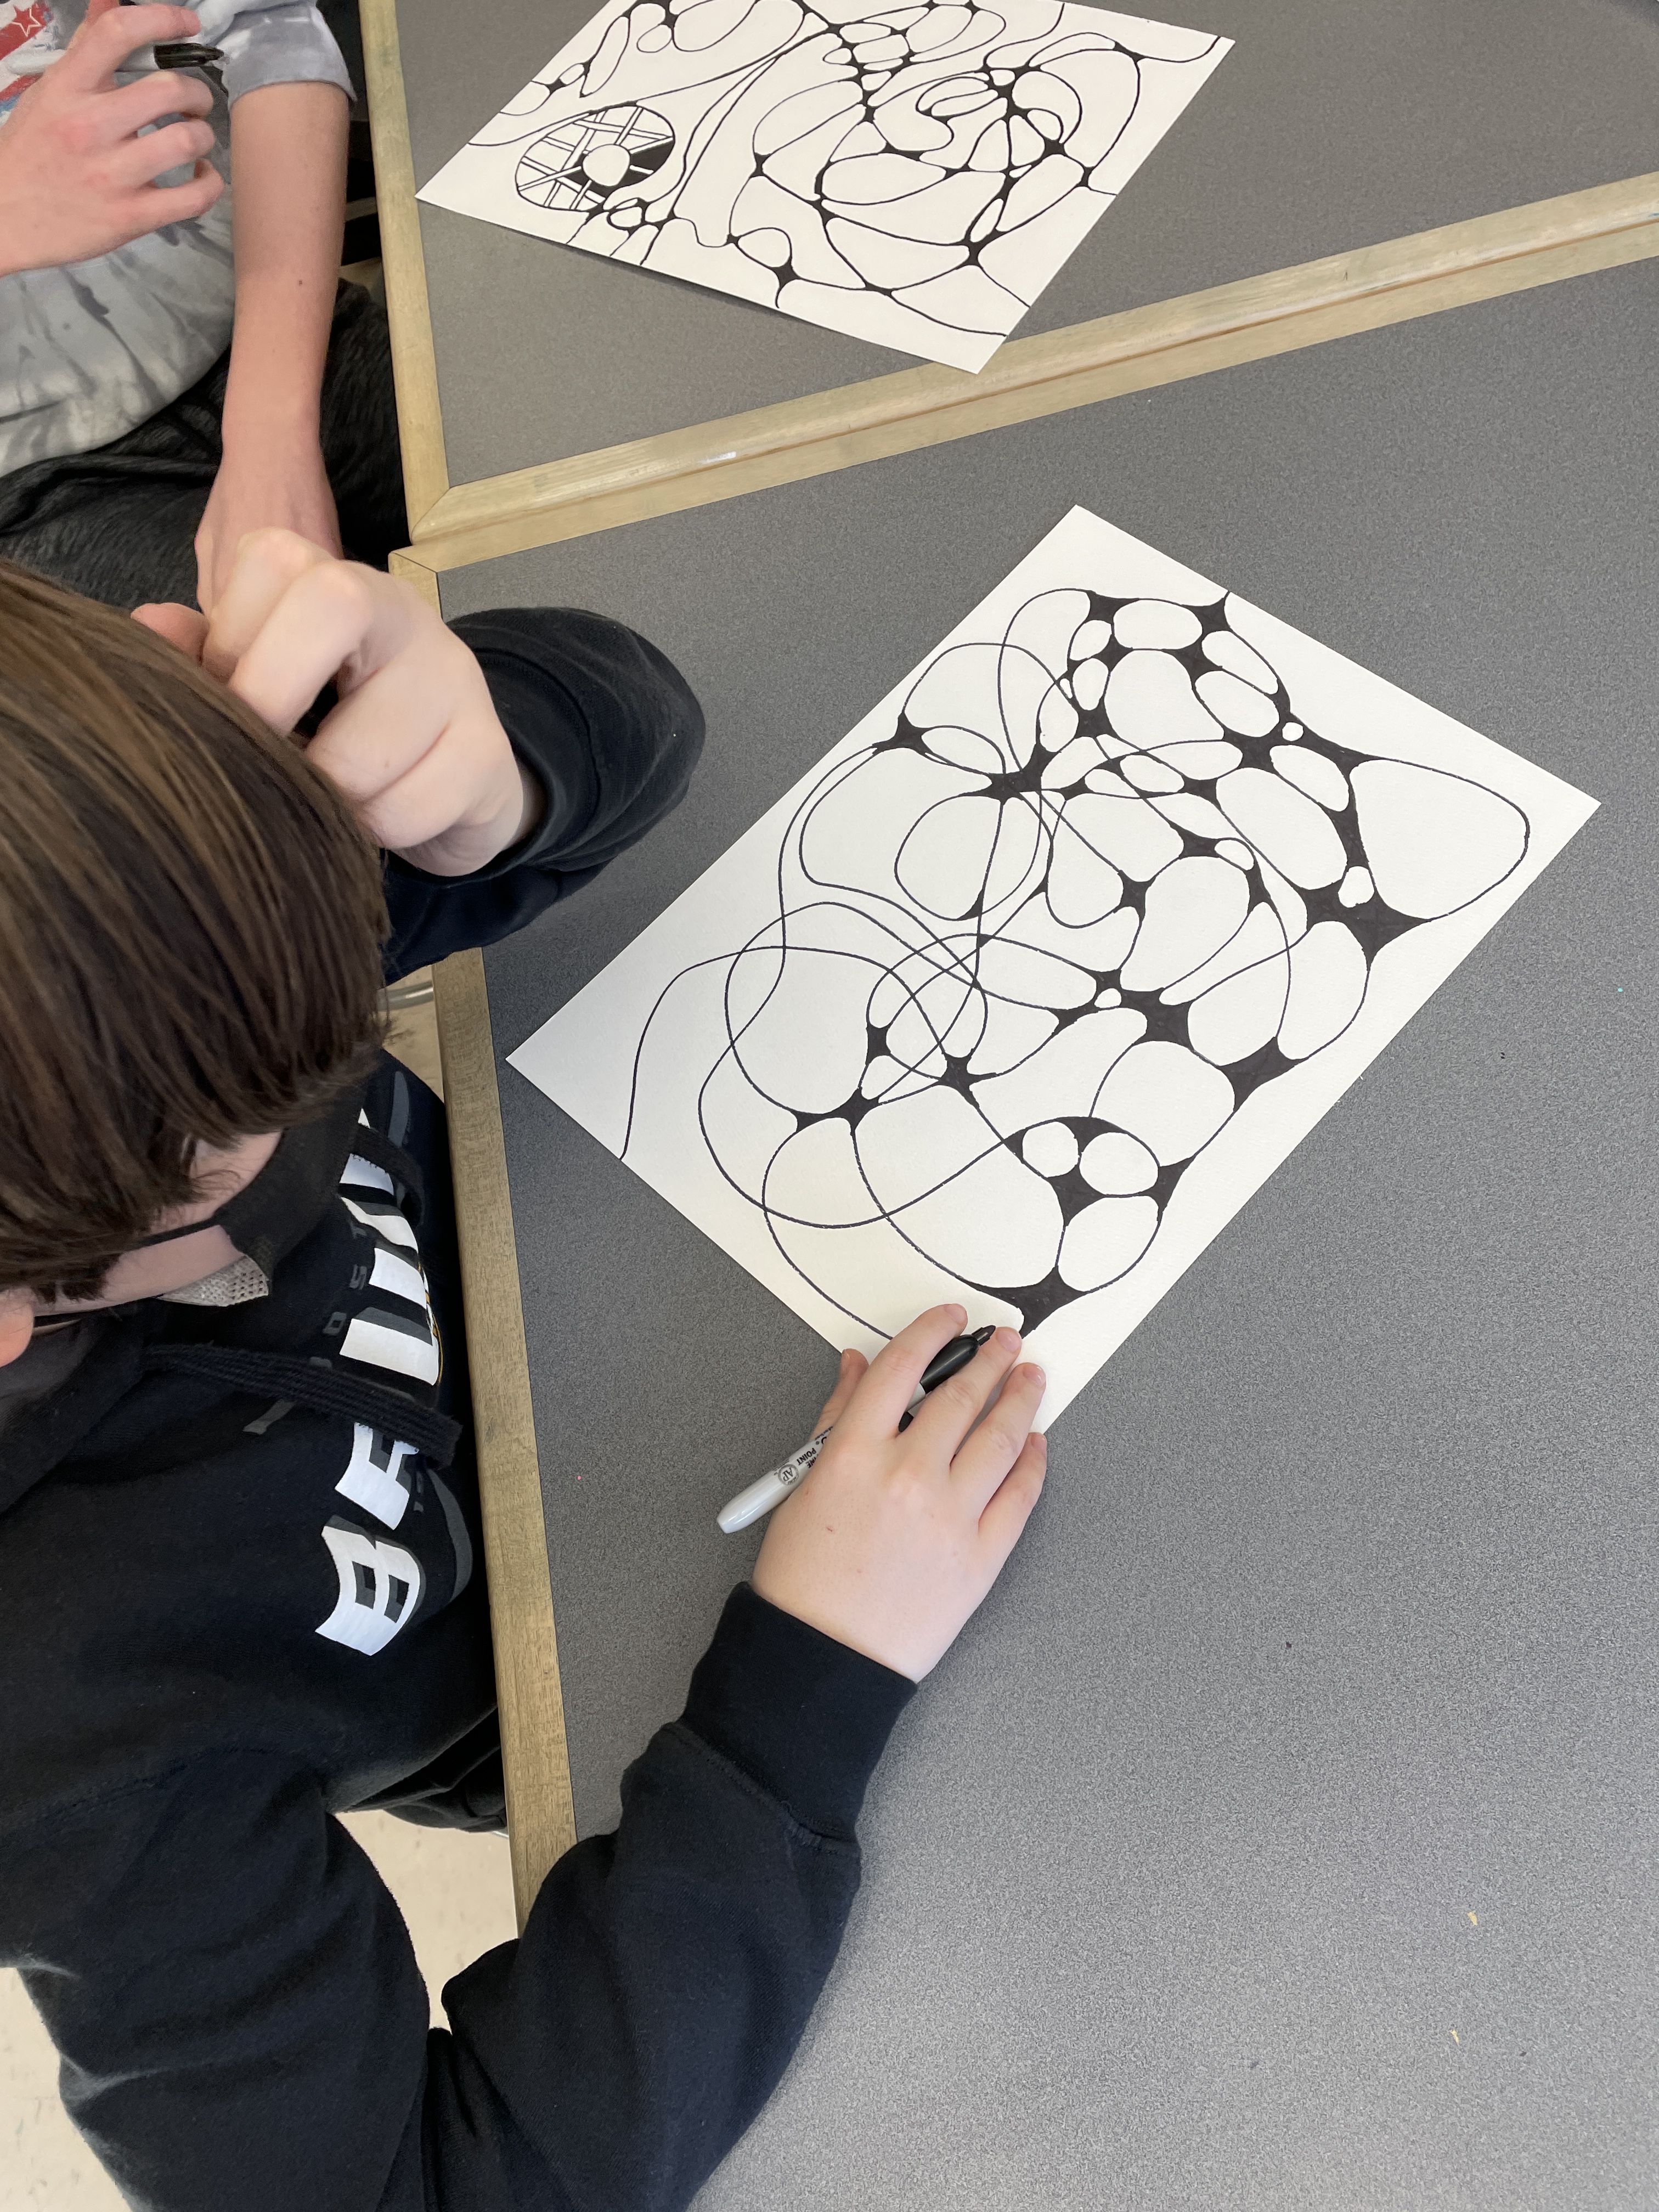
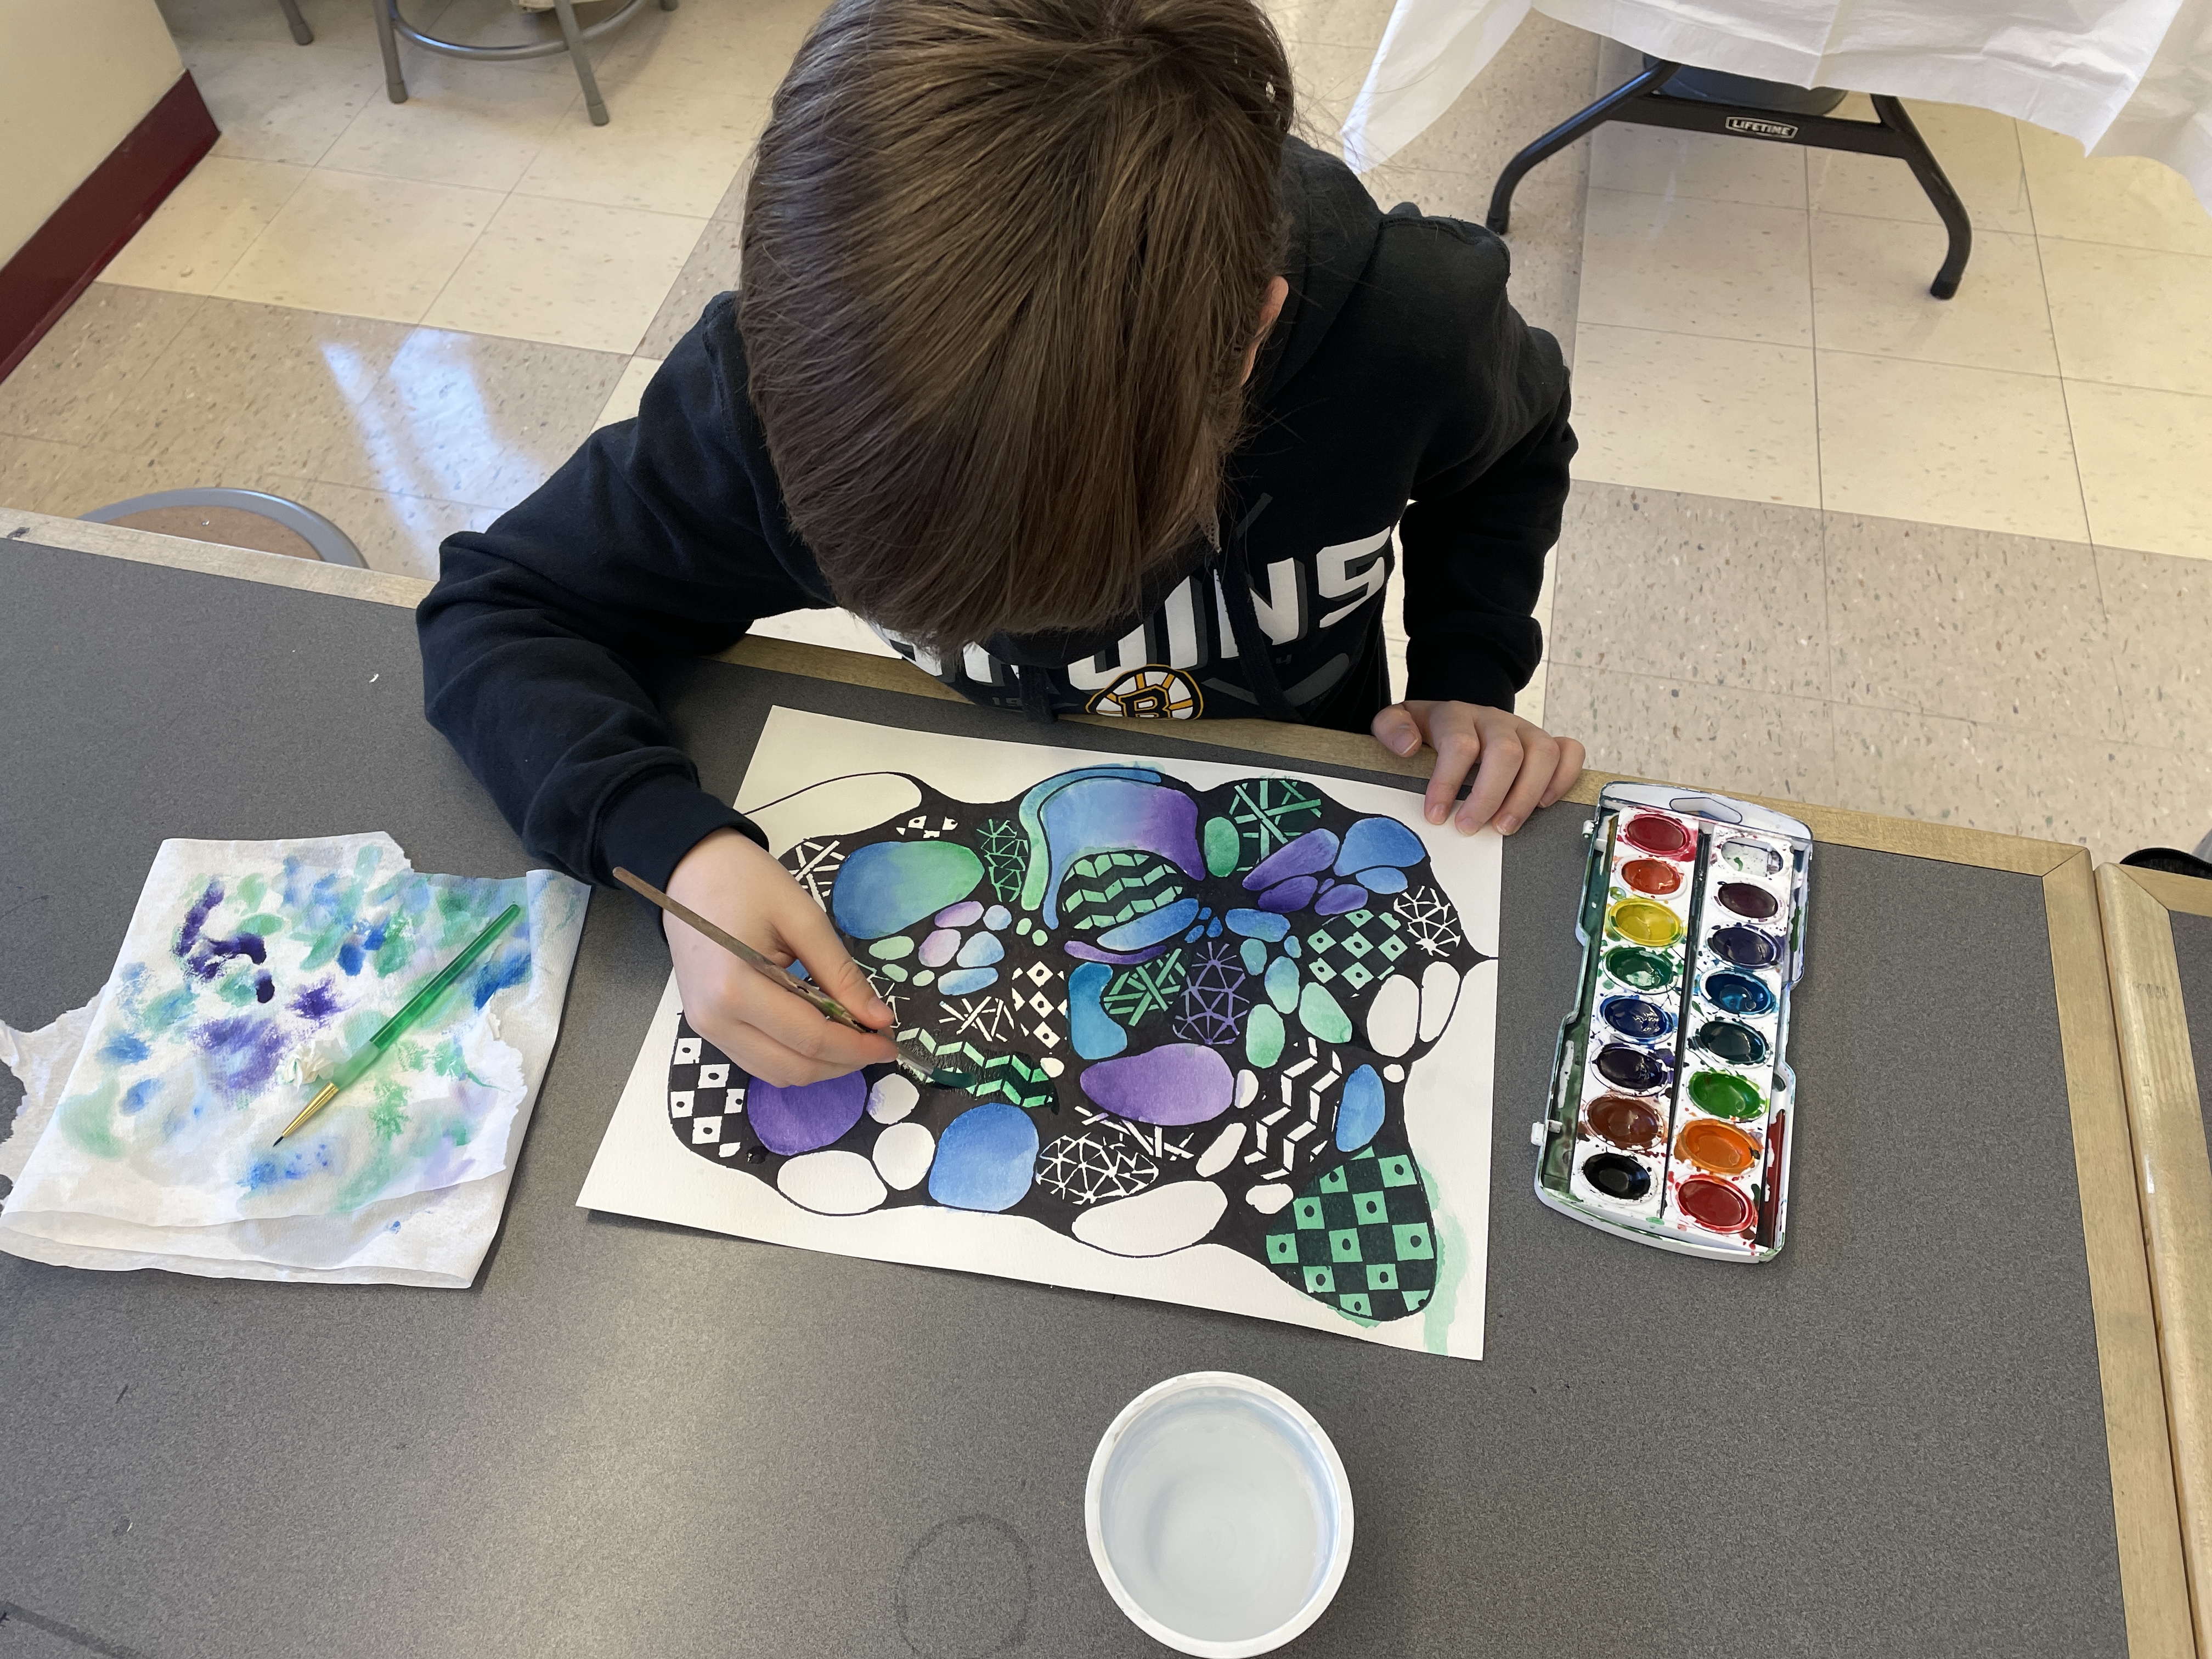
To begin, students used a Sharpie and a free, gestural arm motion to draw a continuous, looping line across an 11” by 15” piece of watercolor paper for a slow count of five. After that, they could add more lines to balance the space, crisscrossing other lines freely, or can continue with their original line until they felt they had filled the space in a balanced way. Any line segments that end in the middle of the paper are extended to the edge.
Next, any lines that intersect are “rounded” out so that the remaining white paper consists of only organic forms and no straight corners or lines. Lines may also be thickened during this step to contribute to the organic forms that are developing. This step can take a whole class period or two, and is reminiscent of how Elmer’s glue might look if dribbled on a piece of paper, “blobbing” together where it crosses over itself.
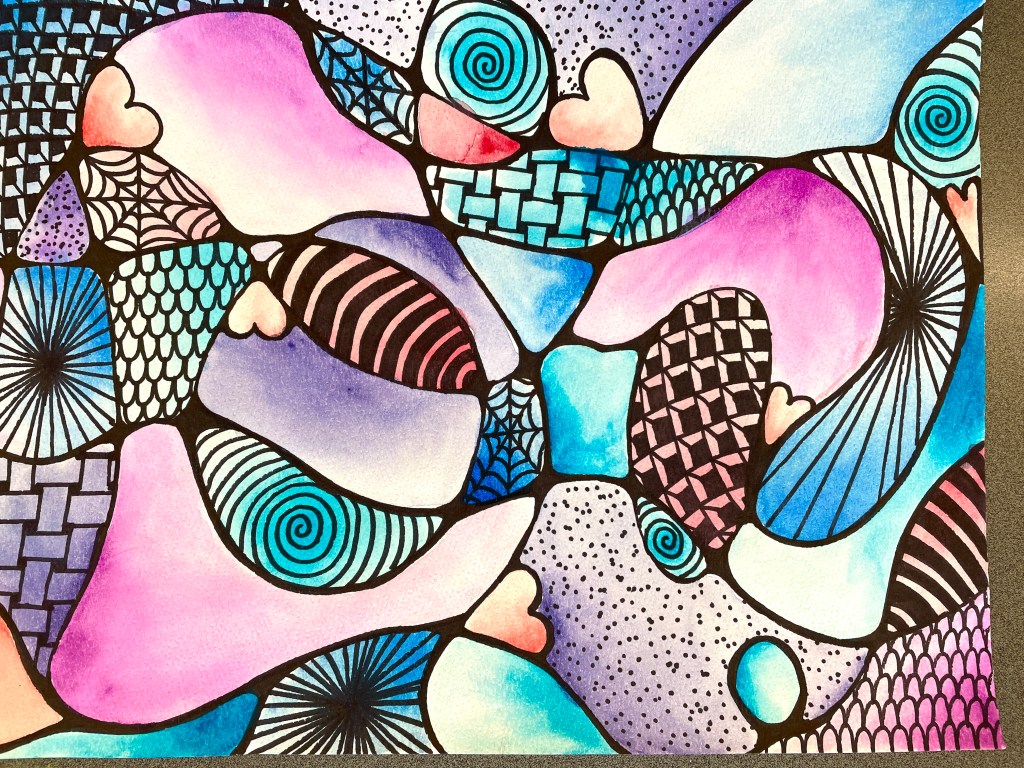
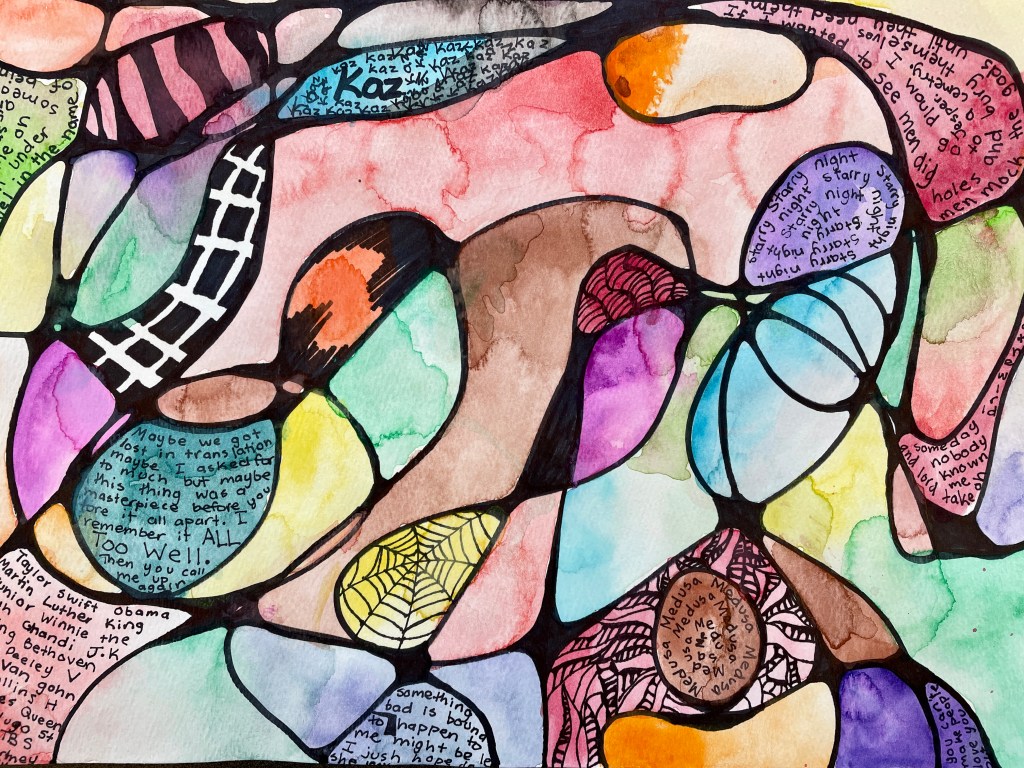
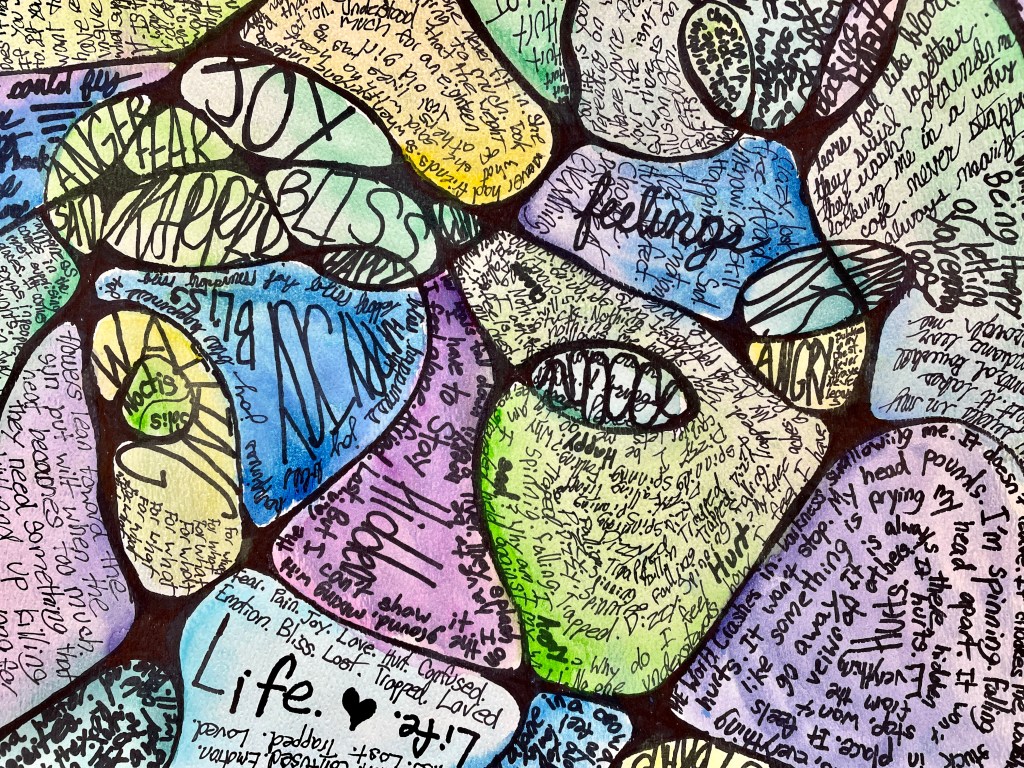
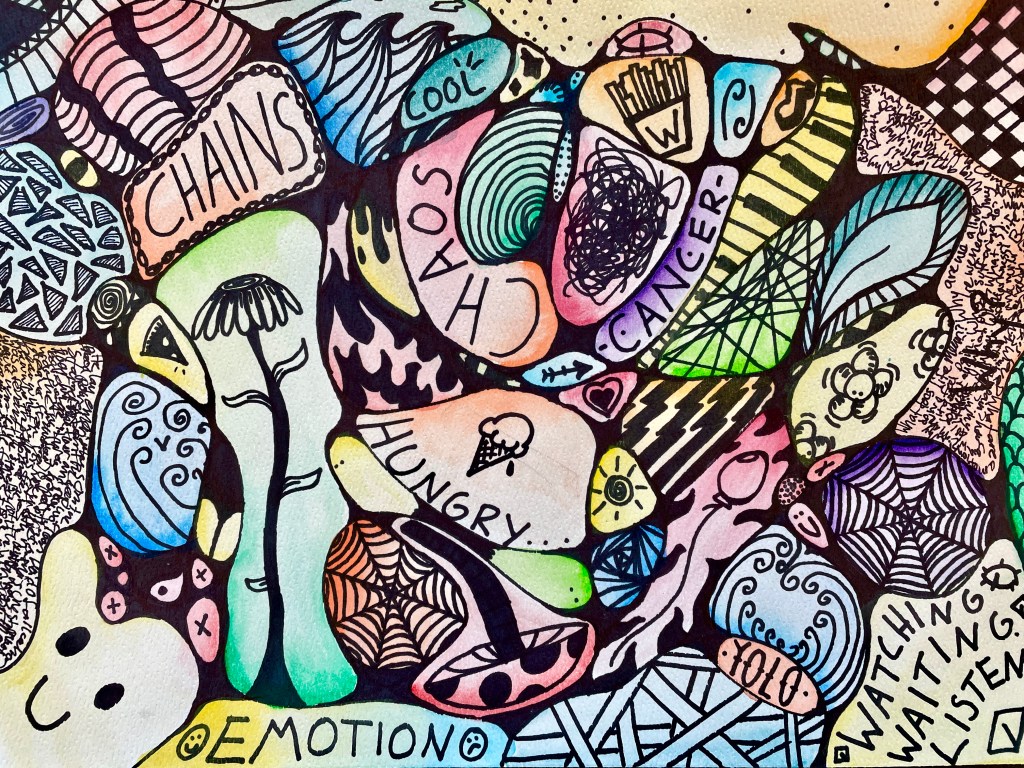
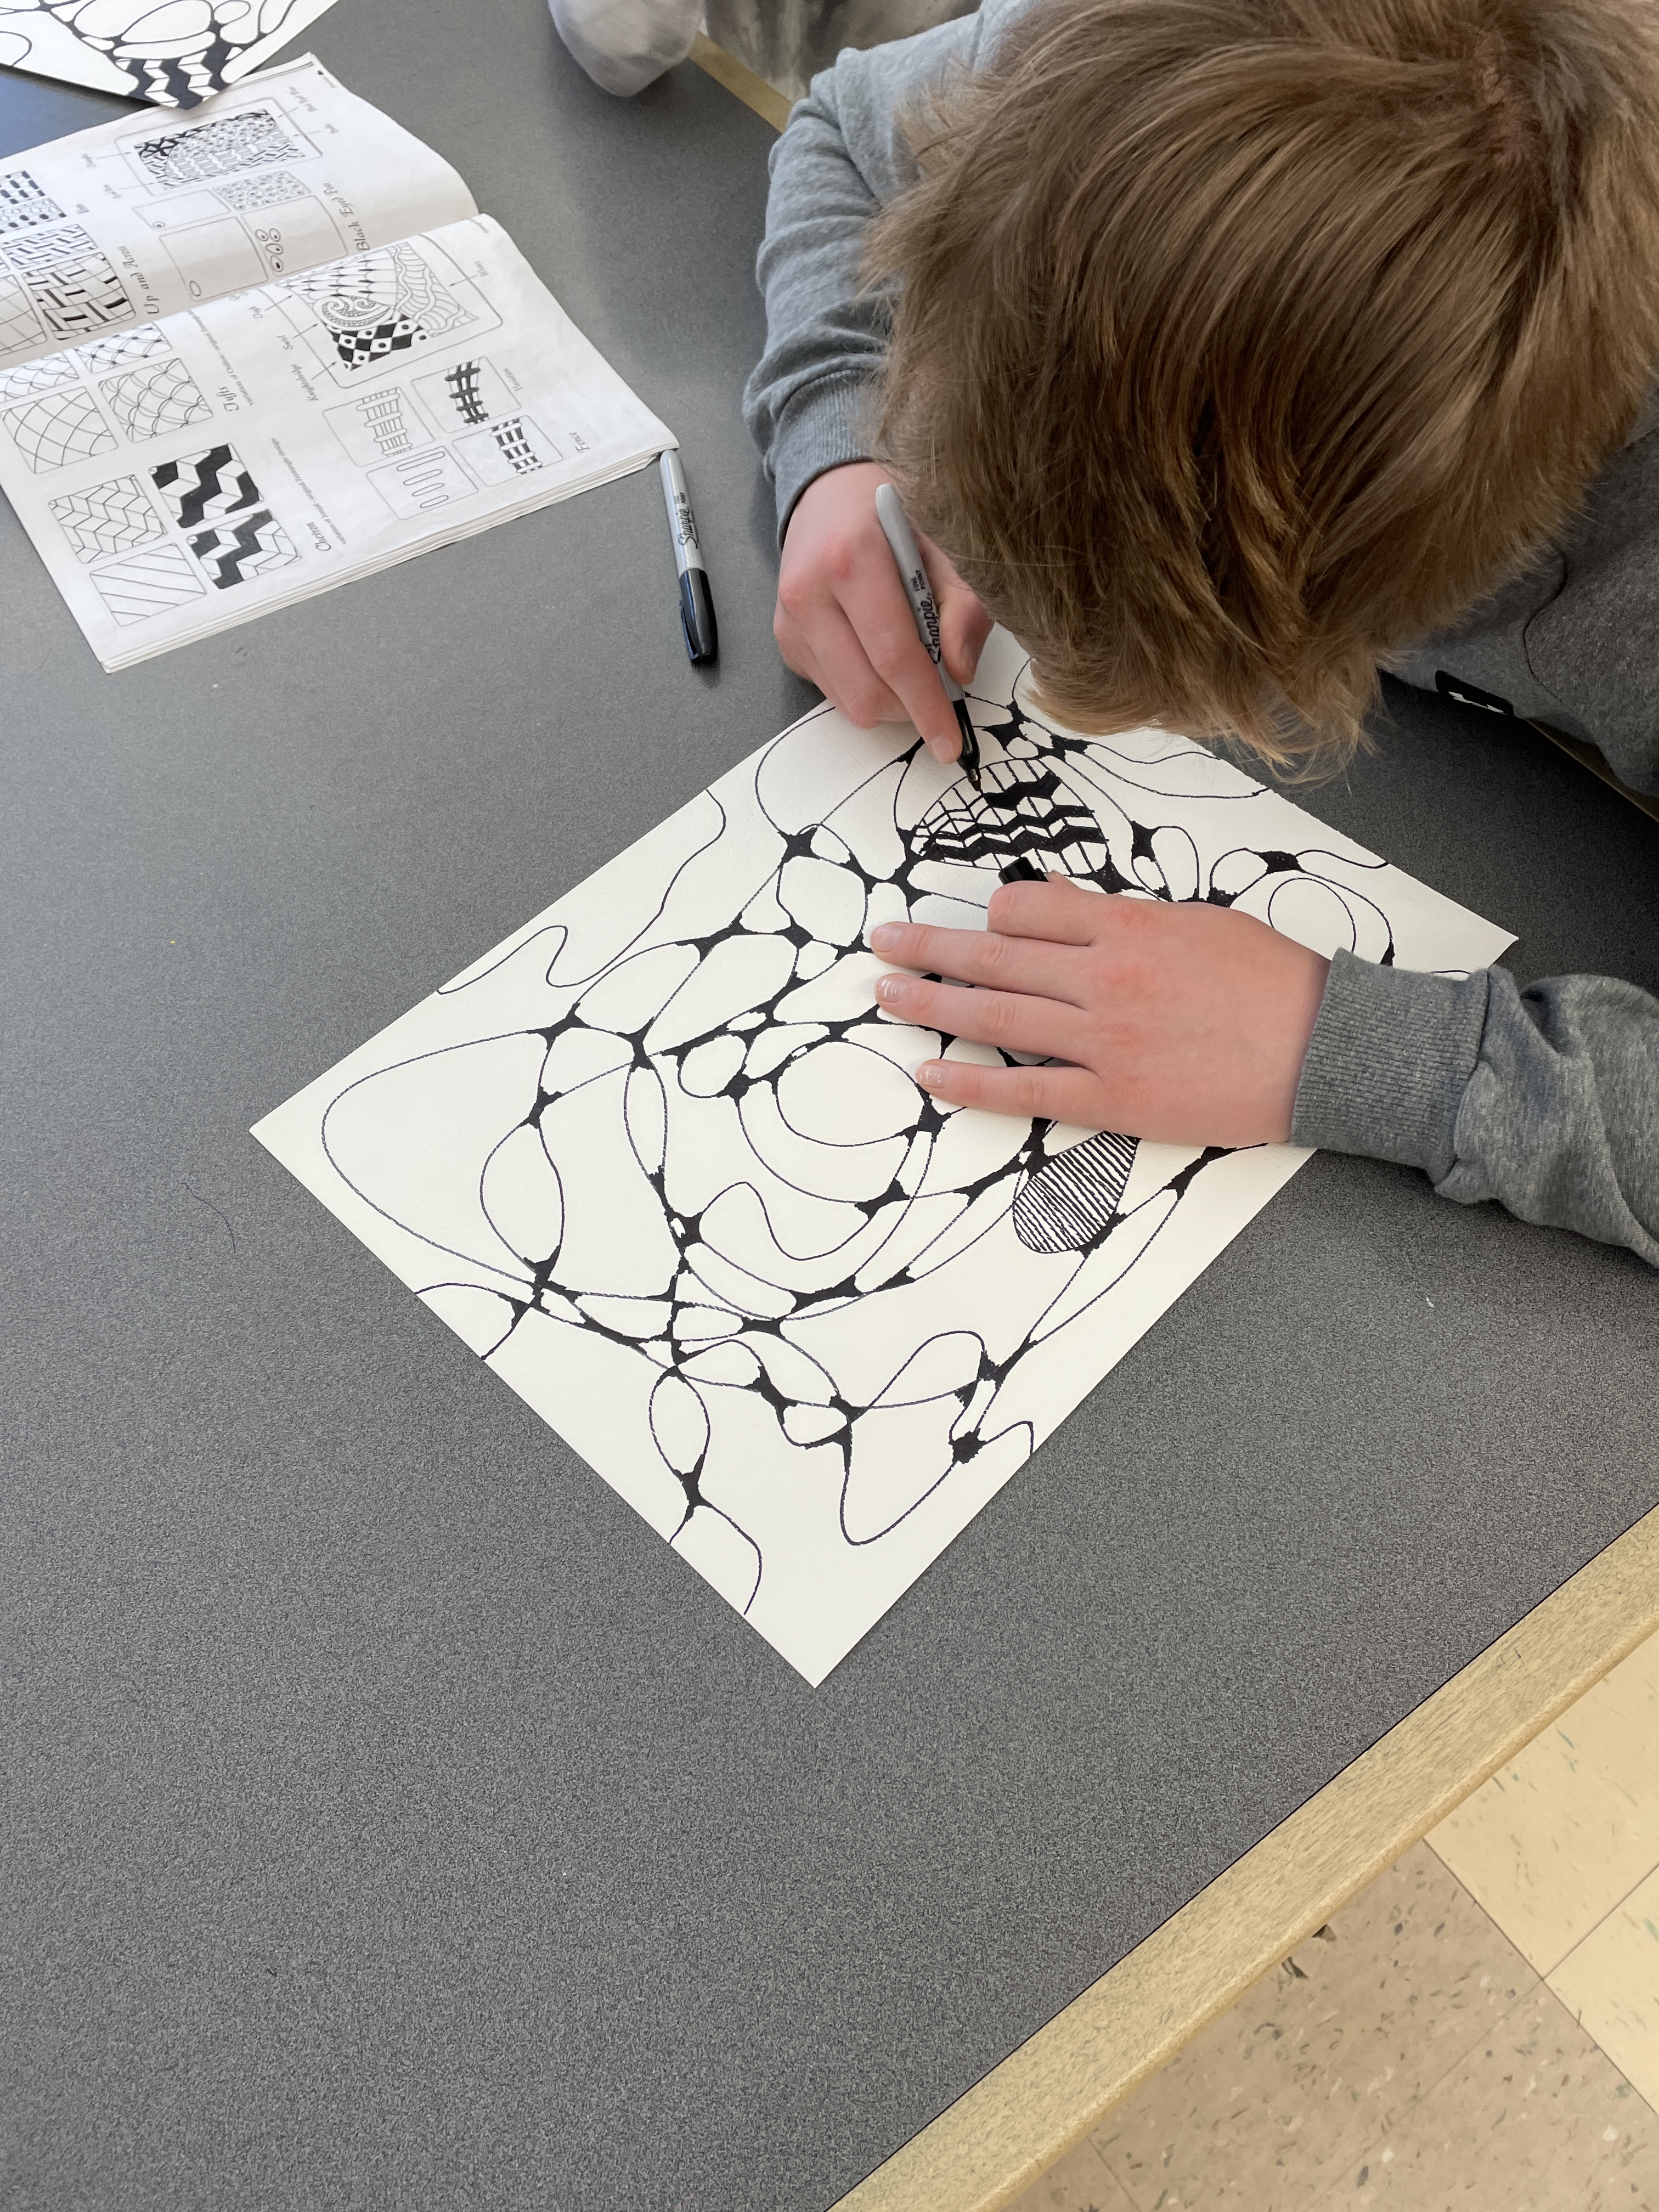
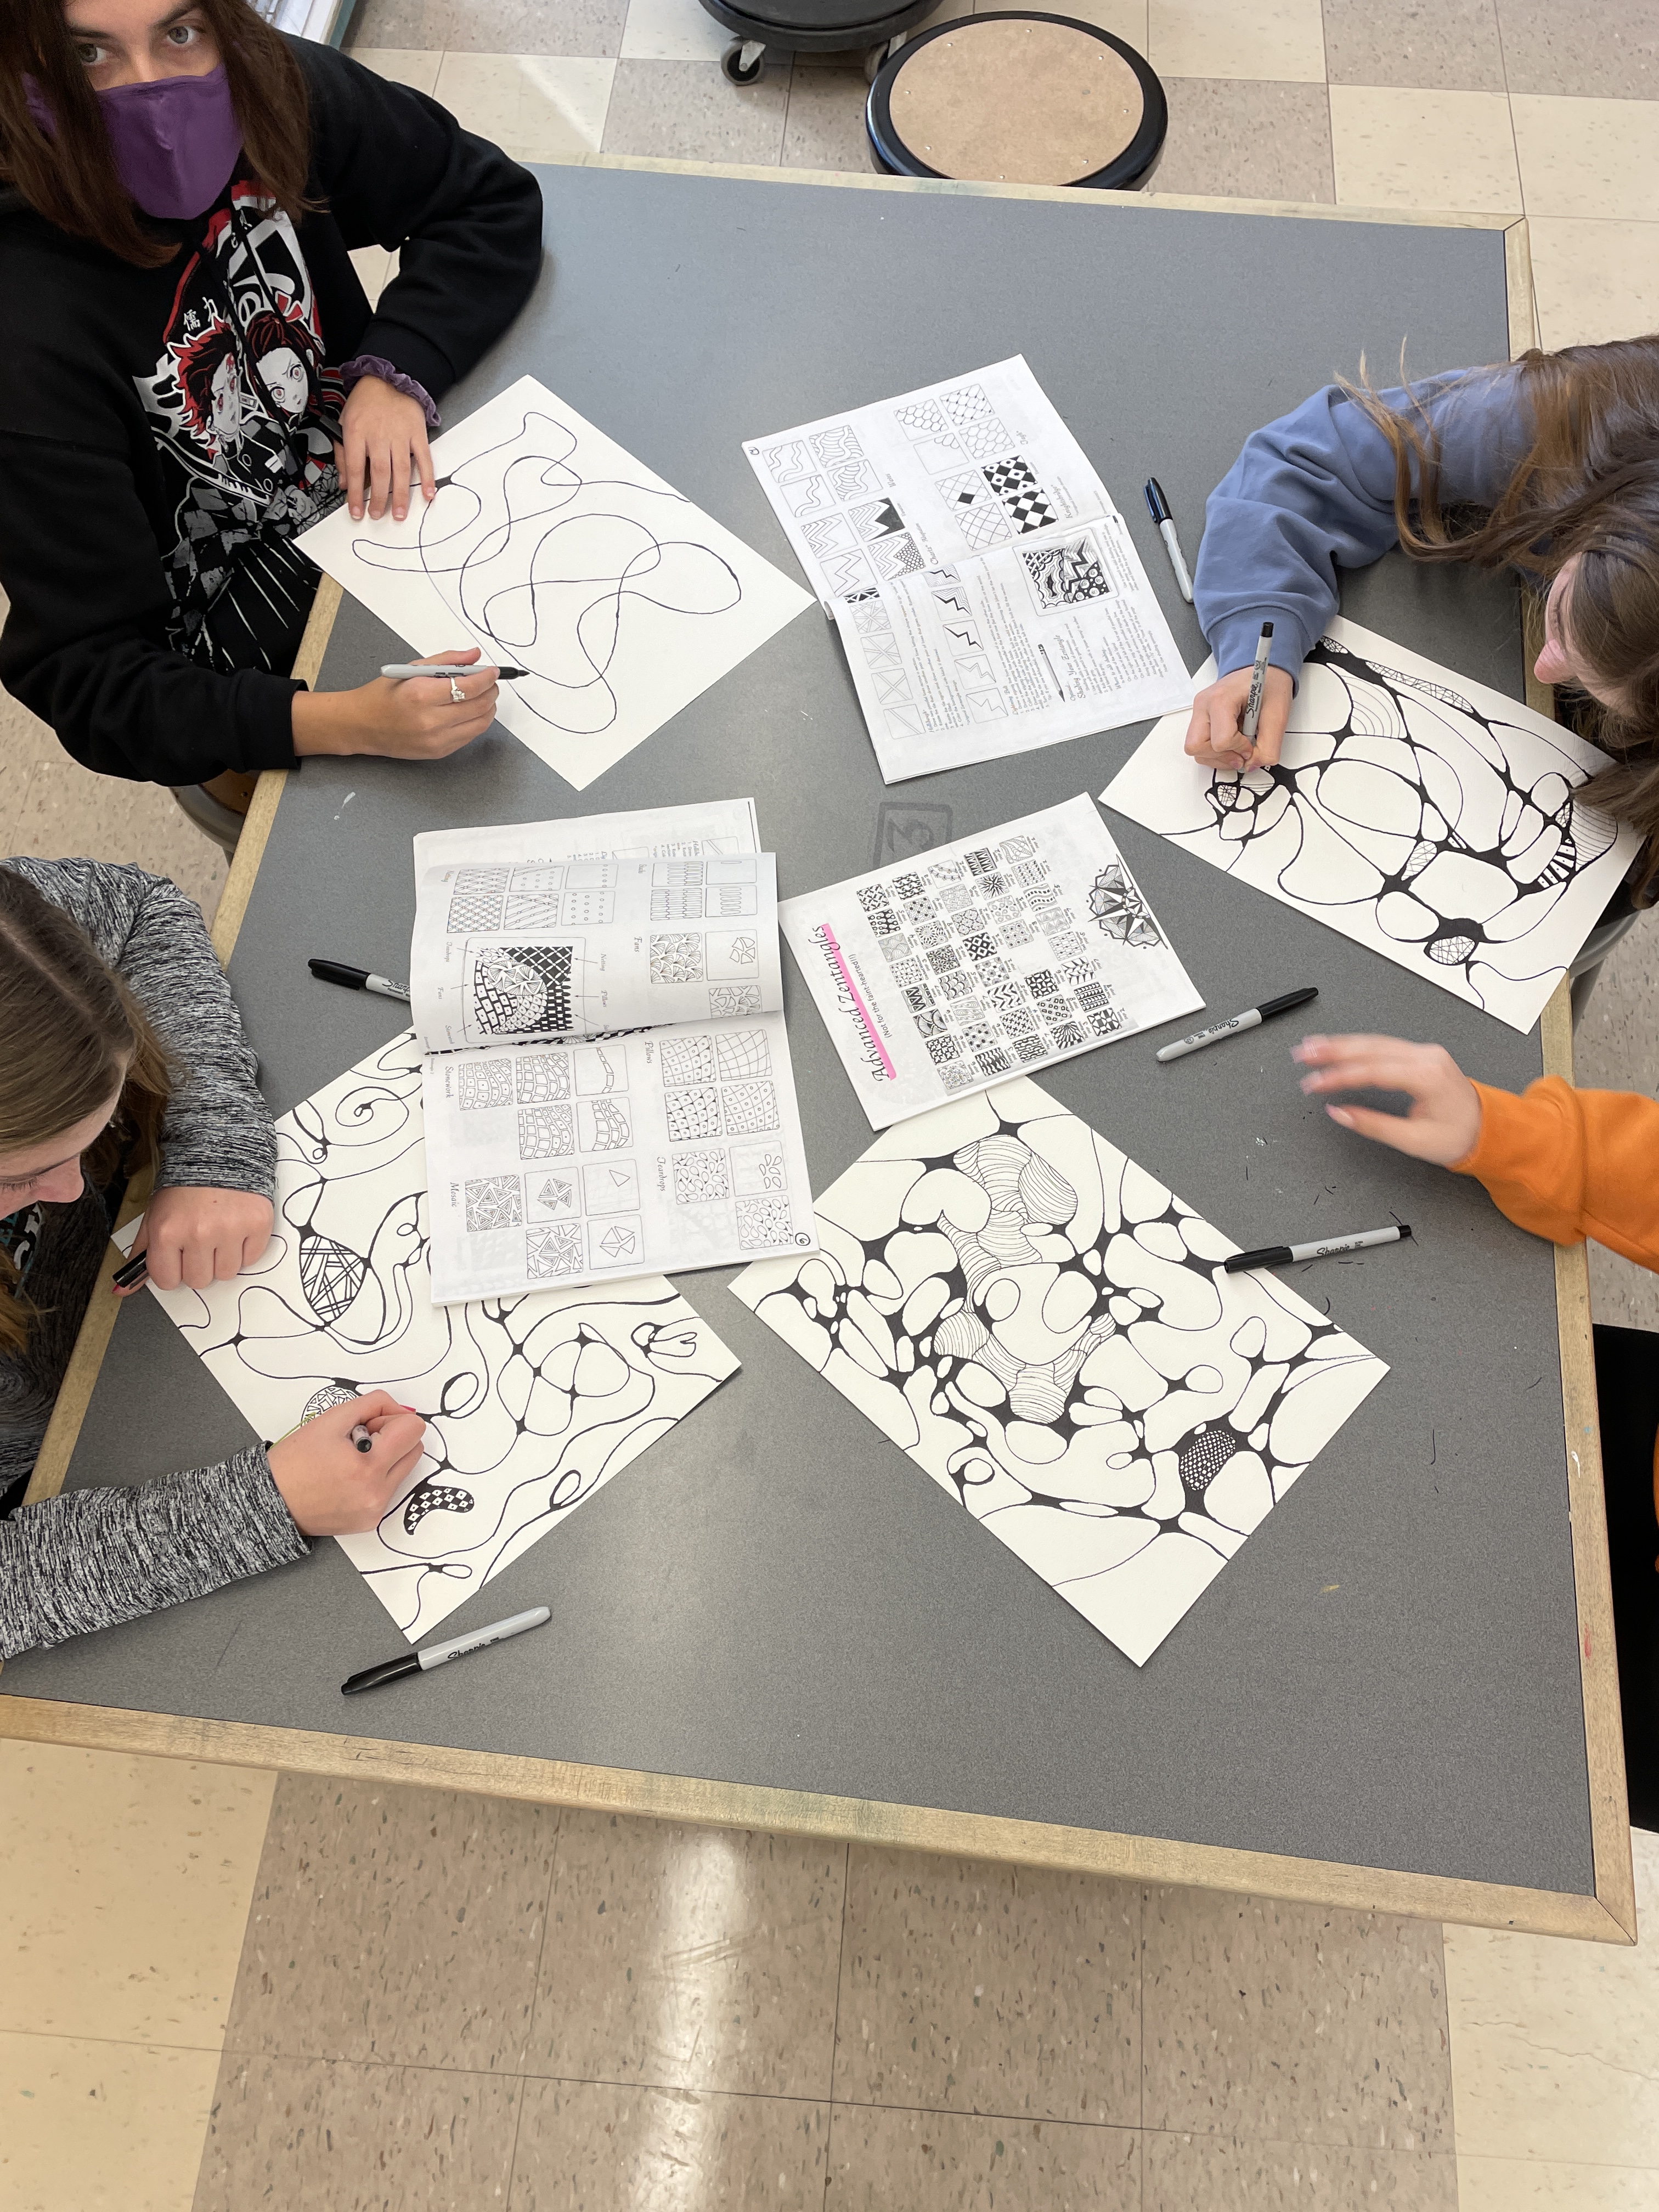
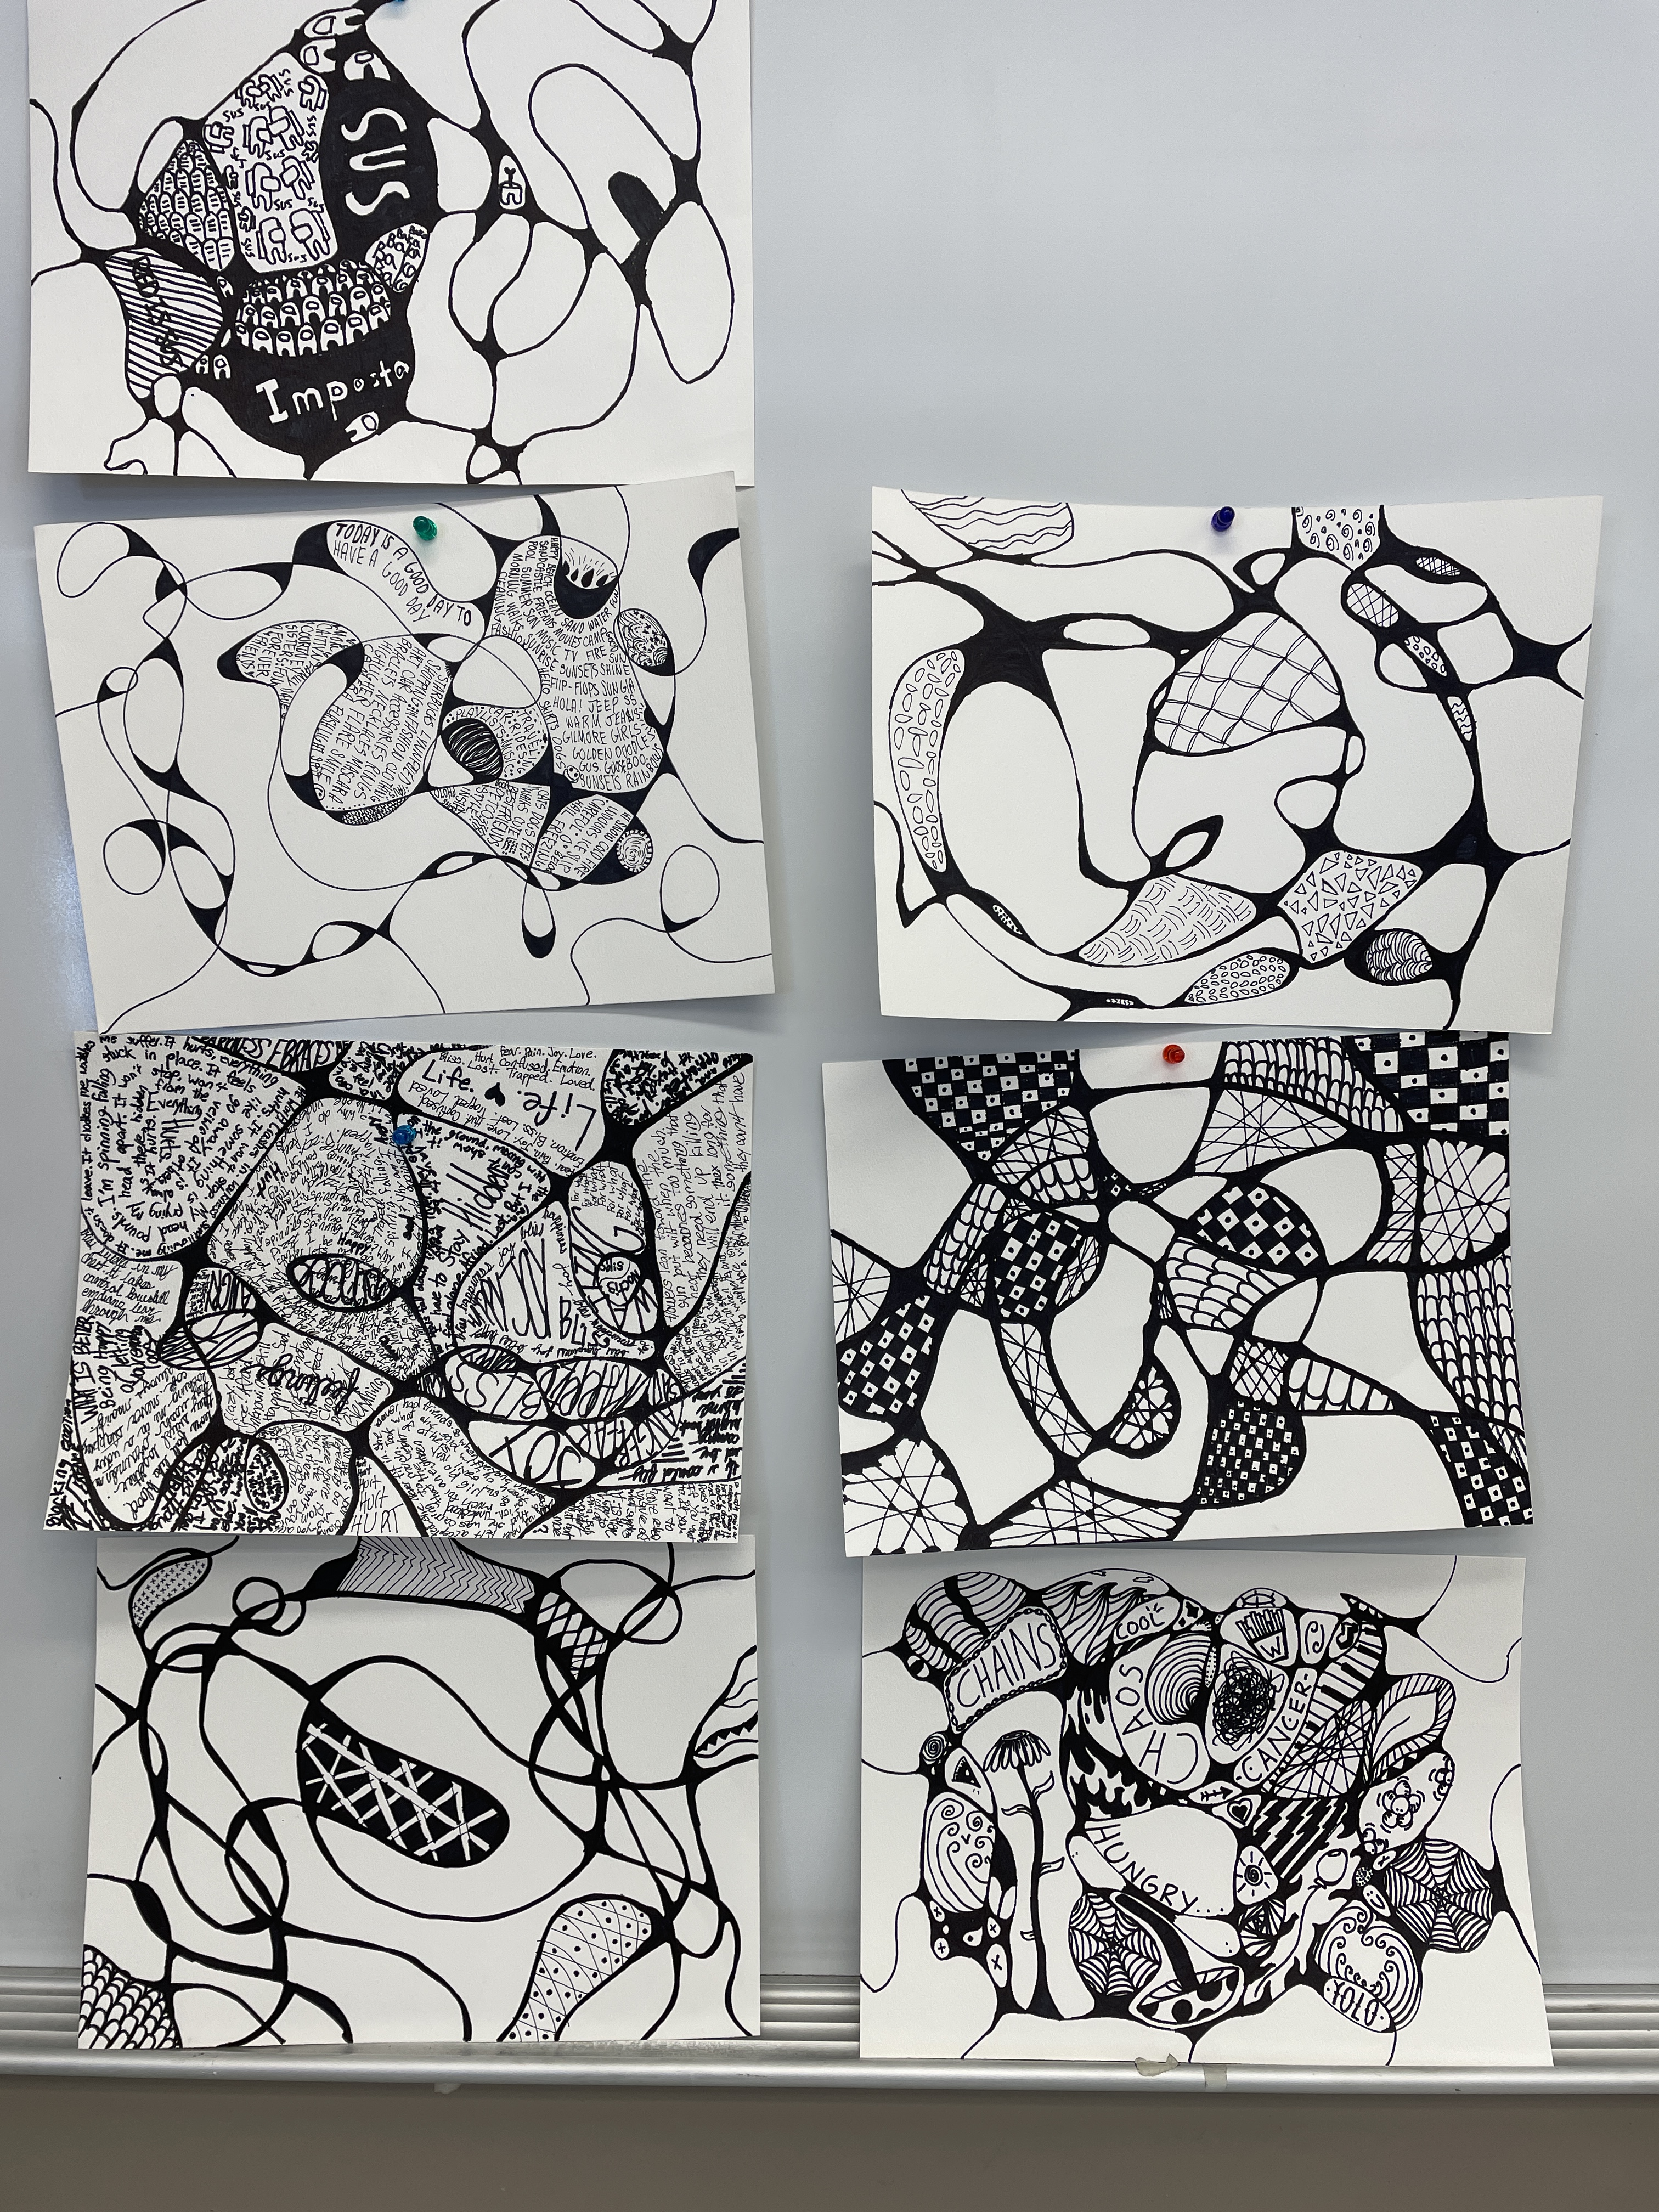
When students finish this “rounding” step, we moved on to filling some of the white spaces with patterns, doodles, or free-form text and writing. Students used Sharpie for this, mixing and matching these options freely. They were required to fill at least 1/3 of their white space, and consider how to balance empty and filled spaces in a pleasing way. TIP: Providing Zentangle packets and other doodle and design sheets for inspiration during this step will yield the best results!
Here is the instruction sheet I had hanging during these “Sharpie Days”

and I needed some “next steps” ready for quick workers, LOL!)
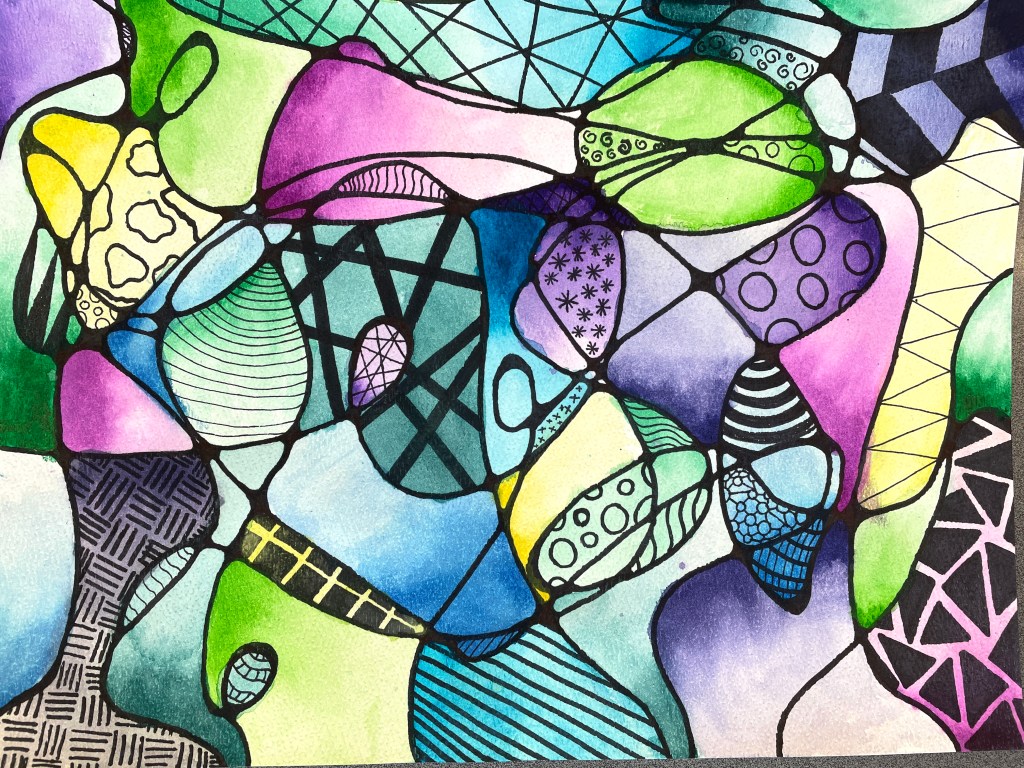
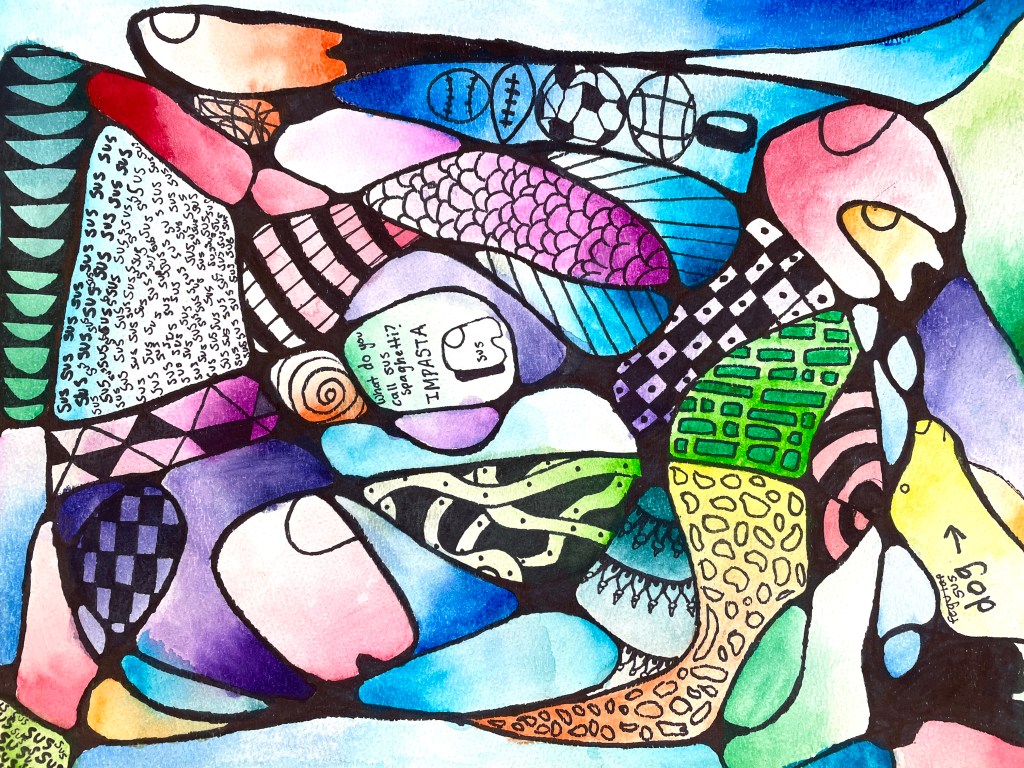
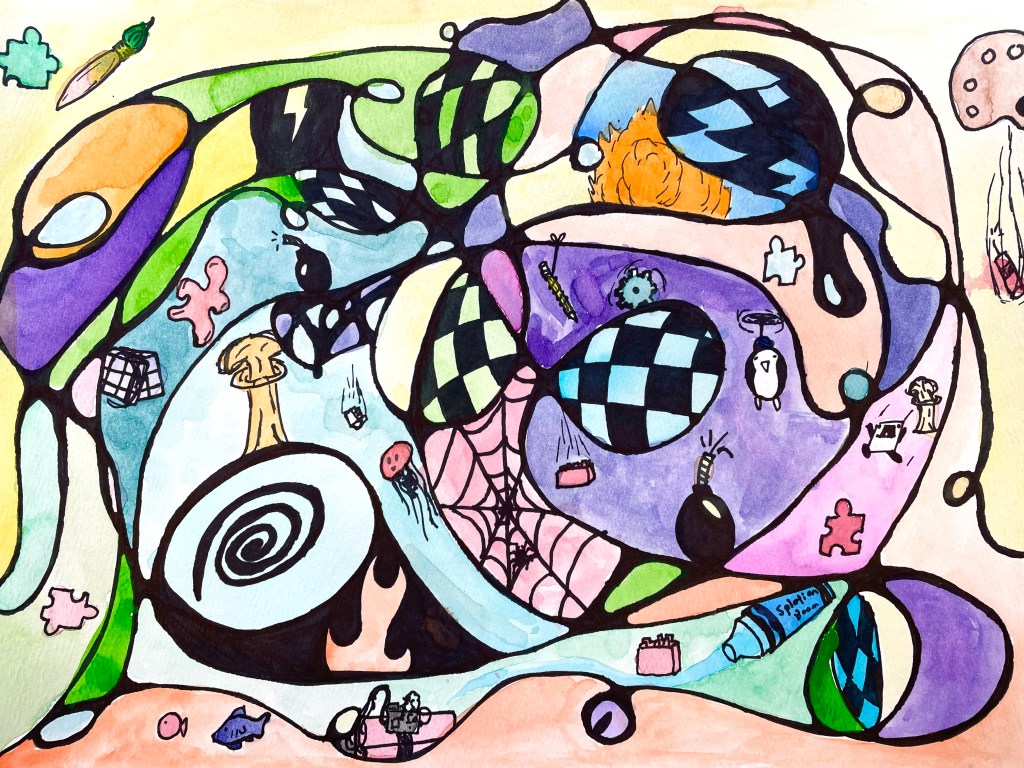
Here are some student works in various stages of the Sharpie line or pattern work:
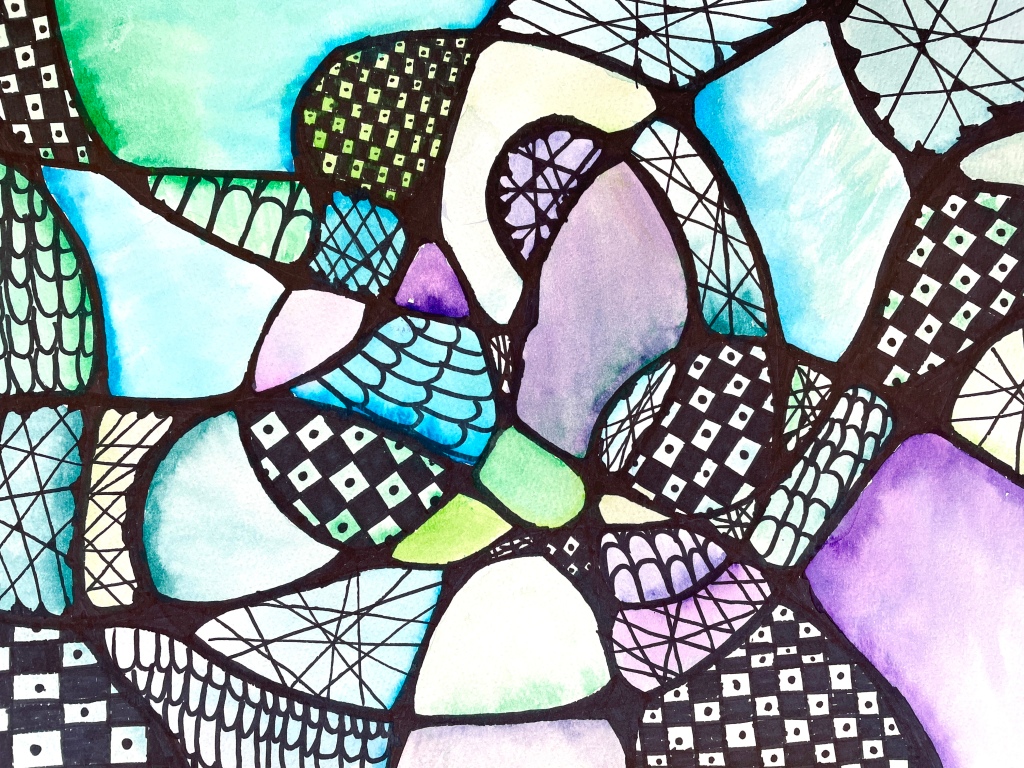
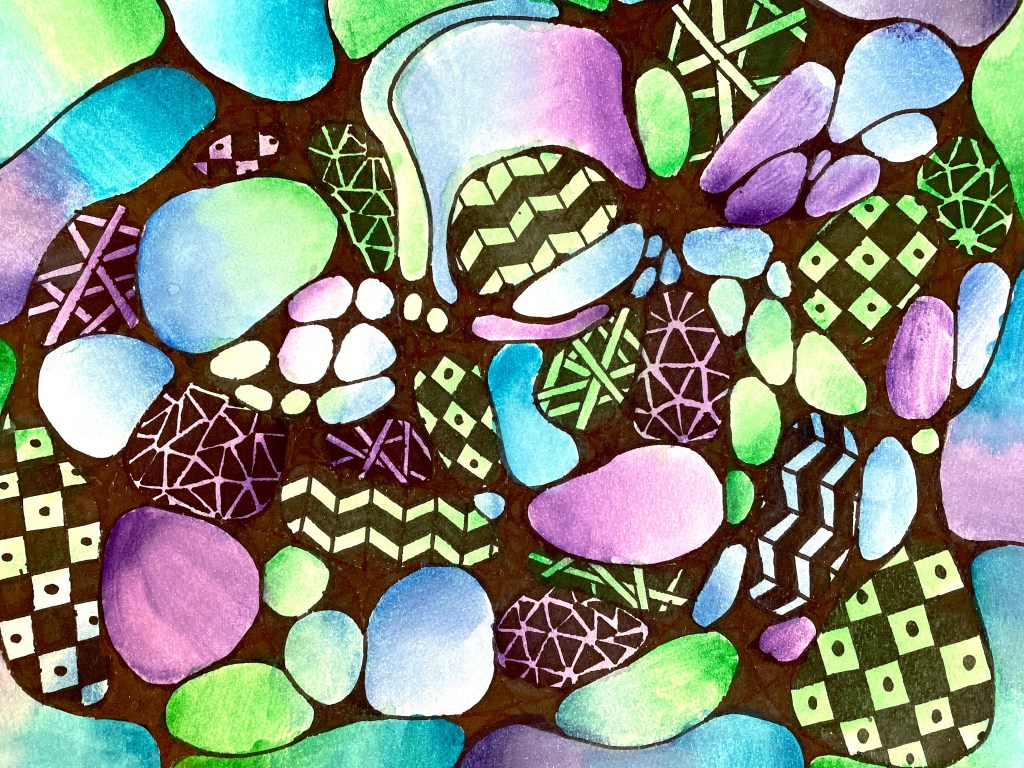
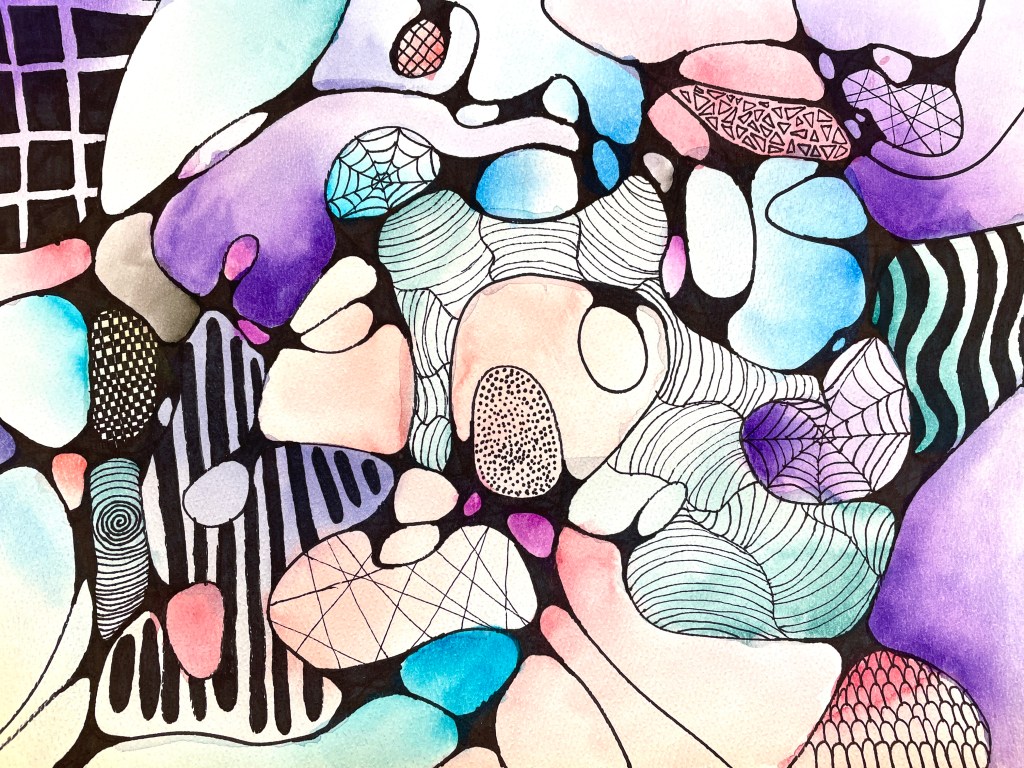
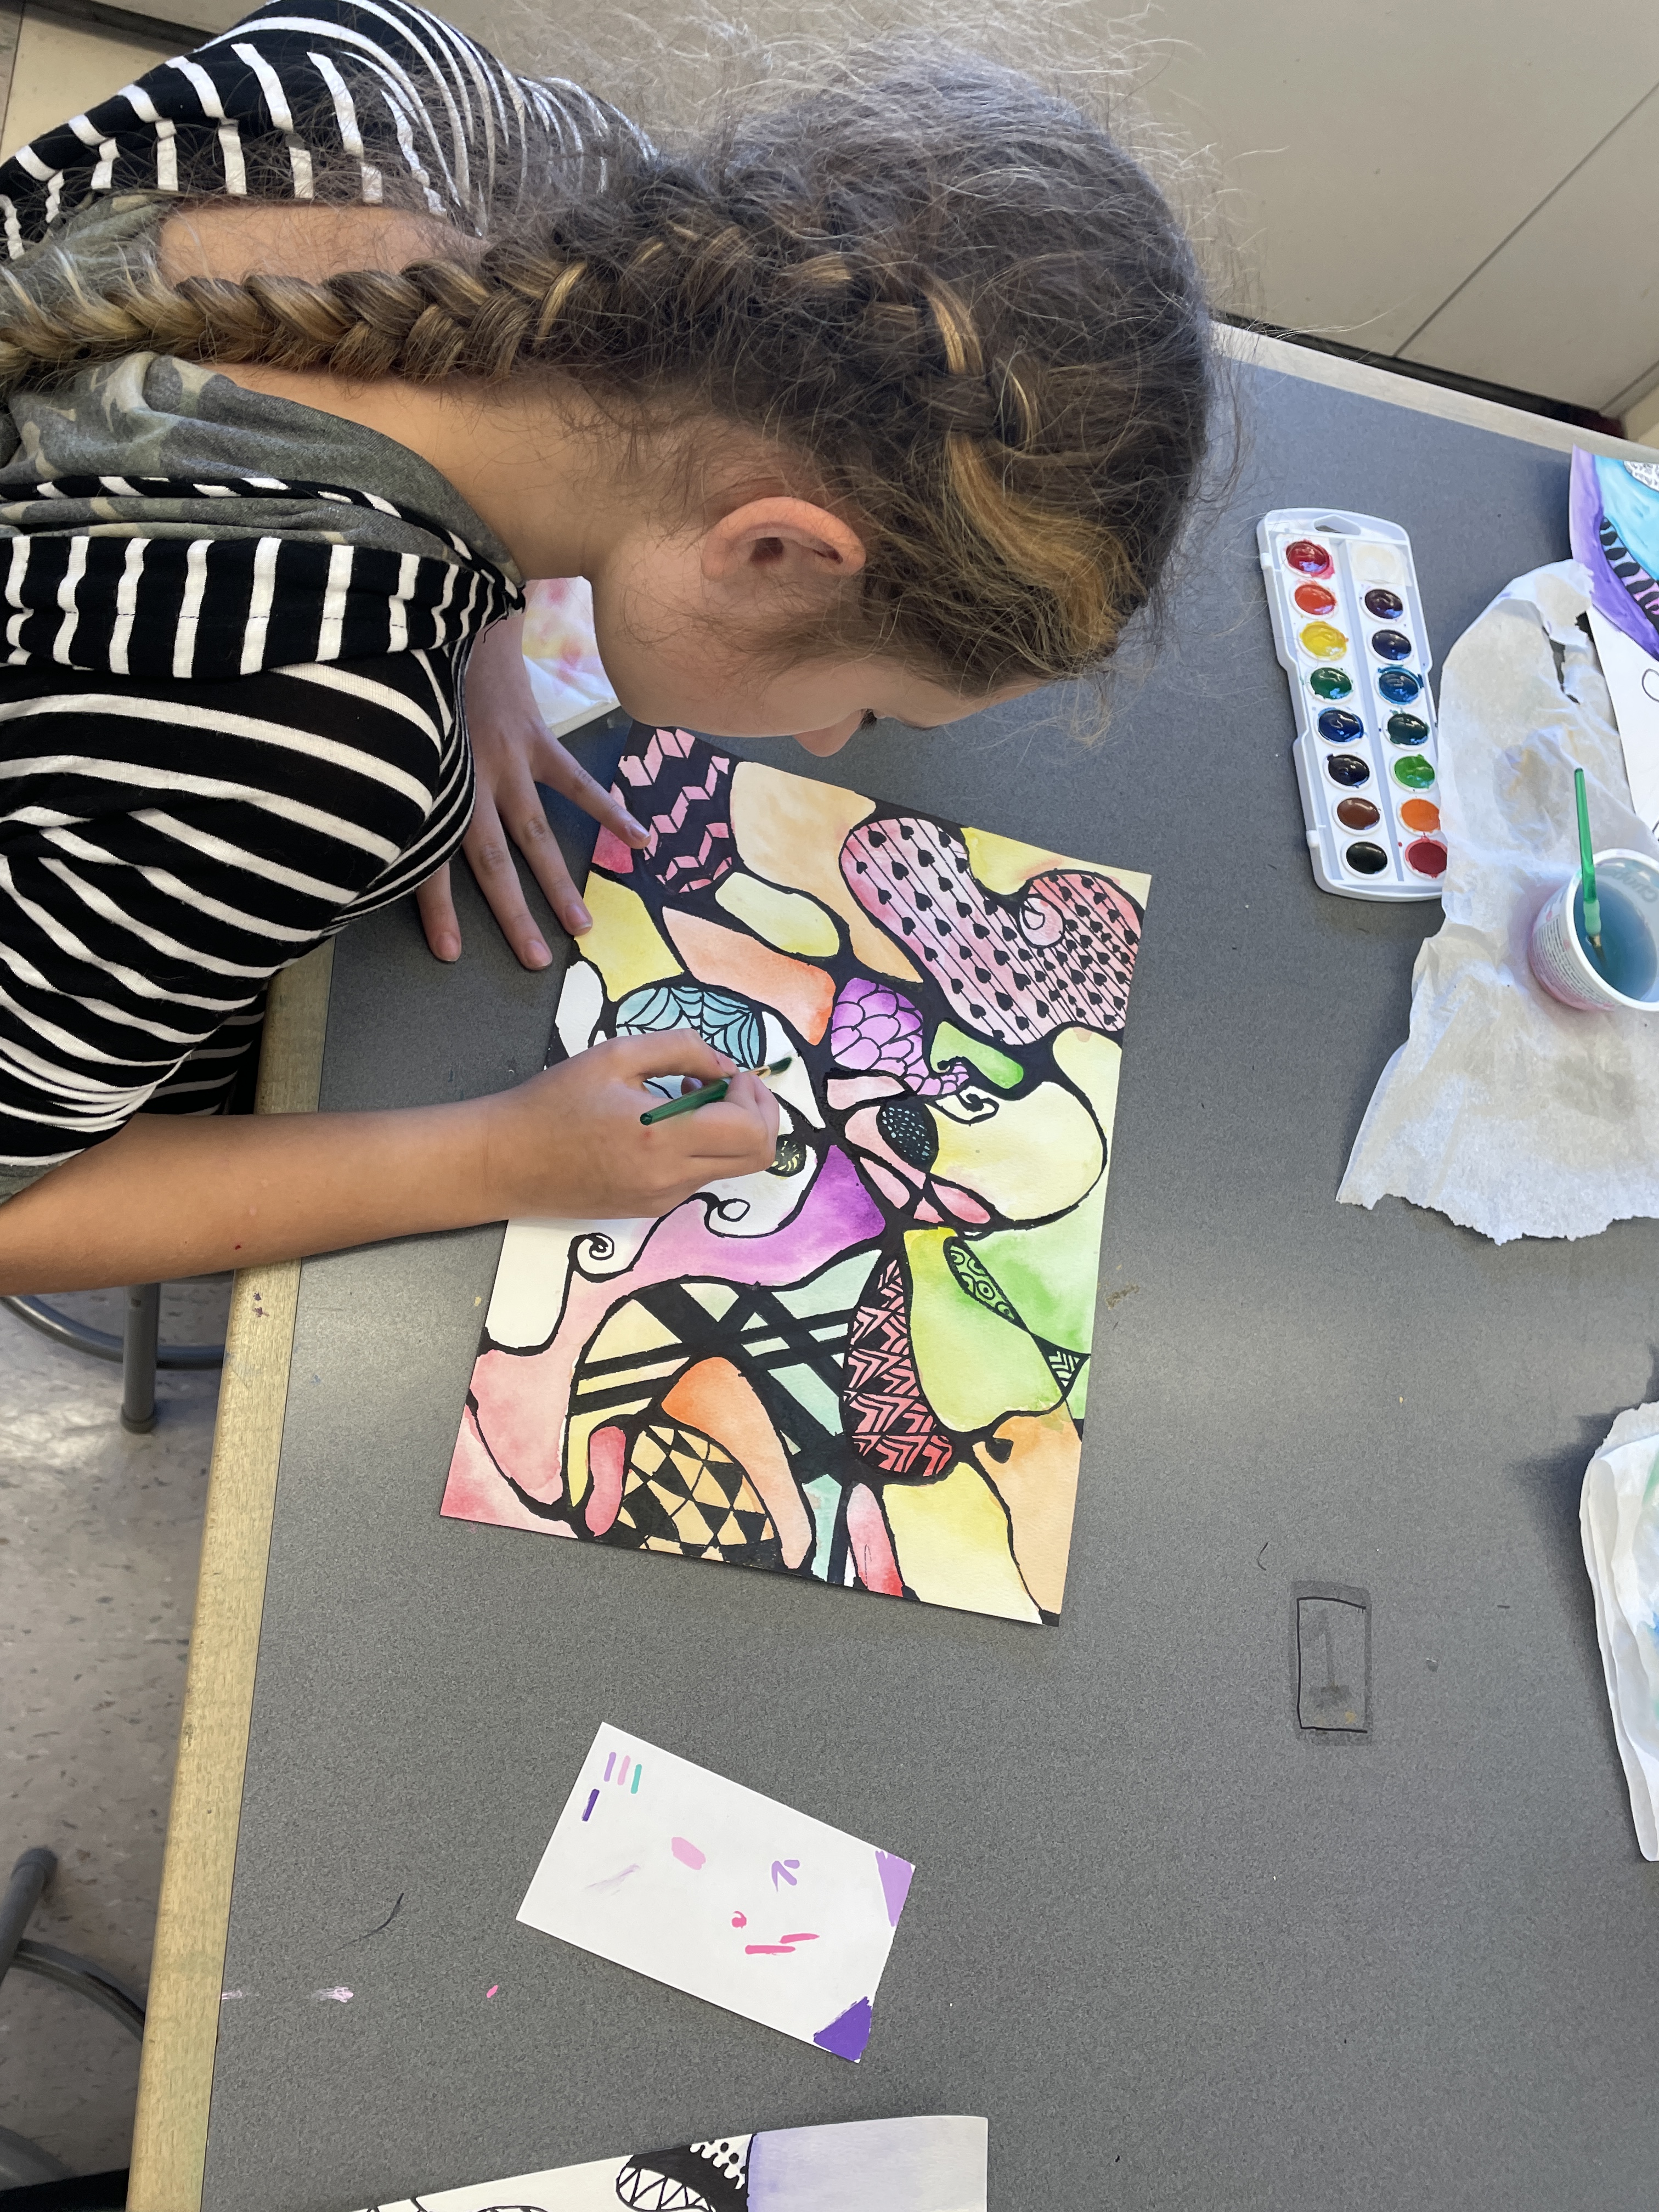
Finally, we used watercolors to create soft, blending value transitions on the drawing.
I created THIS VIDEO TUTORIAL to help students be successful with this technique.

Not only were these pieces stunning as stand-alone works of art, but we also used them as a background for our Reverse Painting Acetate Self Portraits. As mentioned above, I couldn’t bear trimming and covering up the students’ lovely Neurographic designs, not to mention that the bold black line elements and bright colors made it tricky to fully appreciate the partially see-through portraits. My solution? I made photocopies of the Neurographic art and we used these copies as the background for the portraits. Our school’s color copiers have some pretty advanced color options, so students could choose a full color or grey scale copy, as well as a monochromatic, single hue option! This transformed the Neurographic Artworks into something entirely new and gave us some awesome variety for the background our Self Portraits!
The photos below shows a student working on her Neurographic Art and her completed self portrait with a maroon color copy of her finished Neurographic Art as the background.


CLICK HERE to learn more about this Reverse Painting Acetate Self Portrait Lesson!
– – –
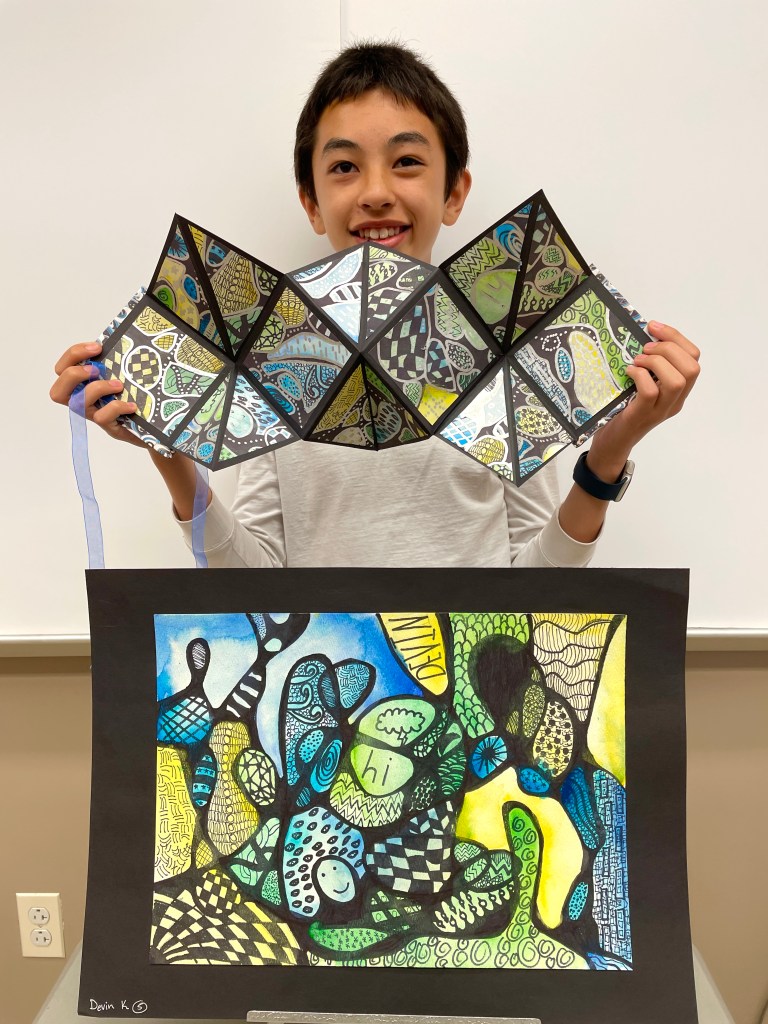
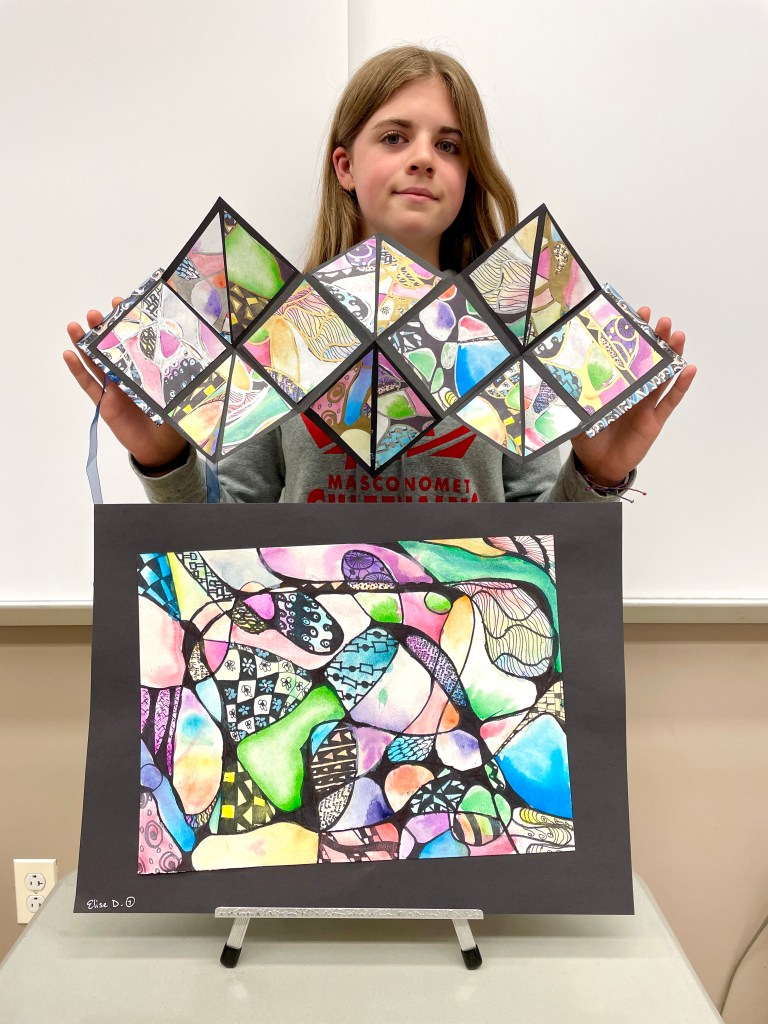
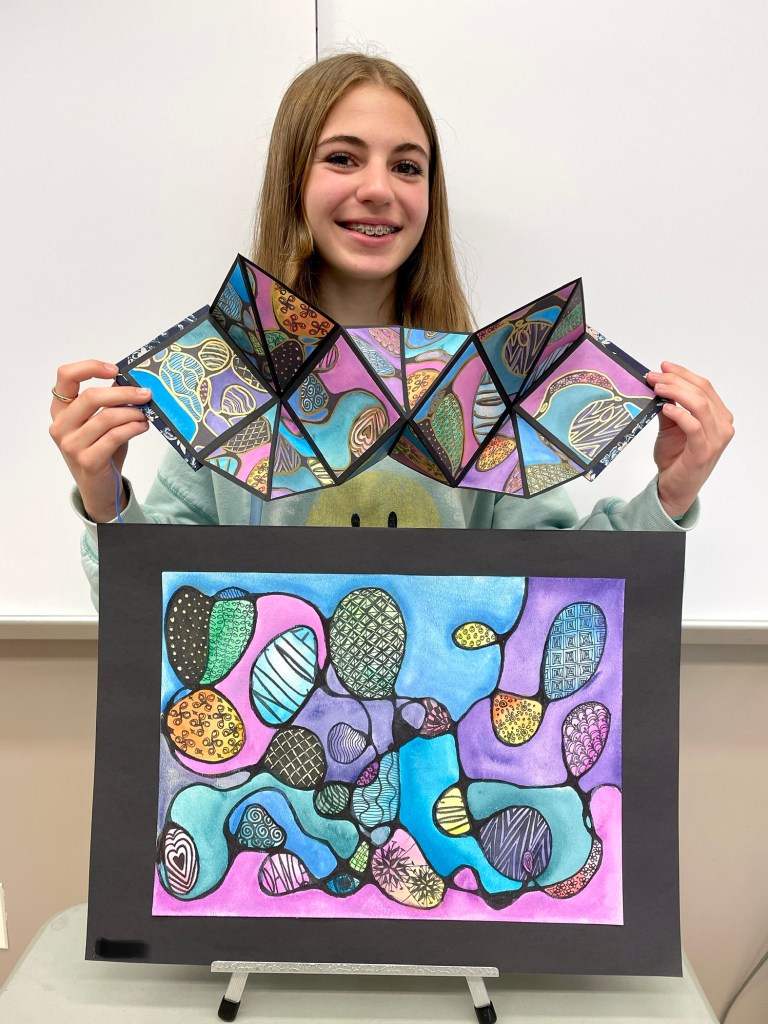
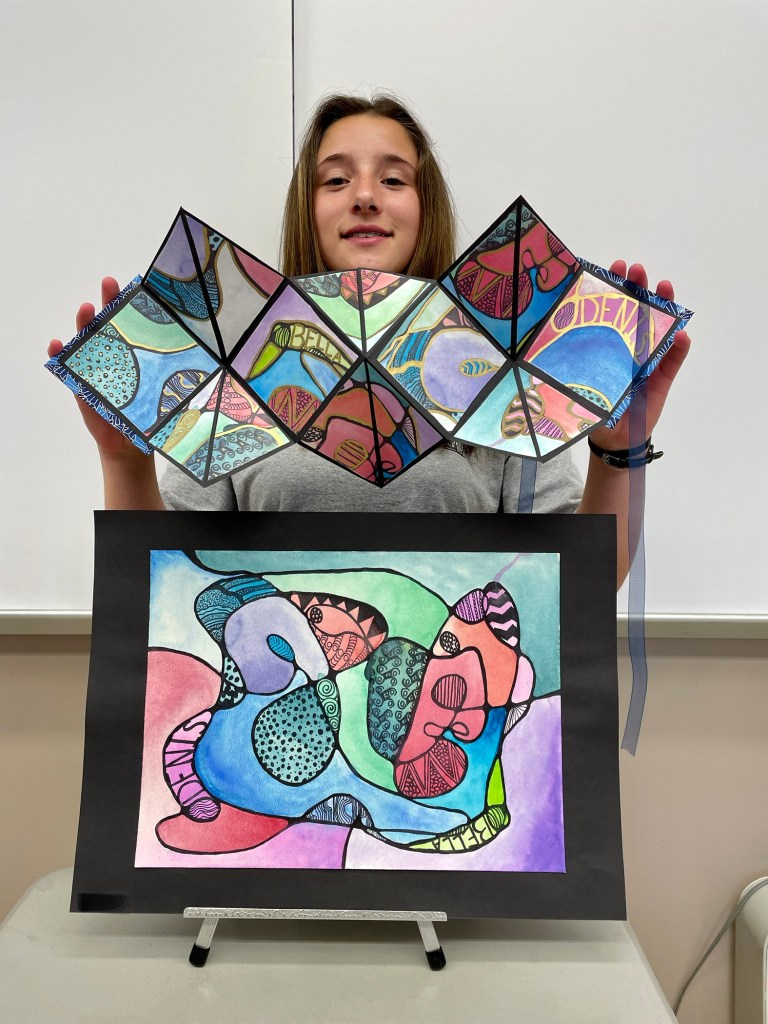
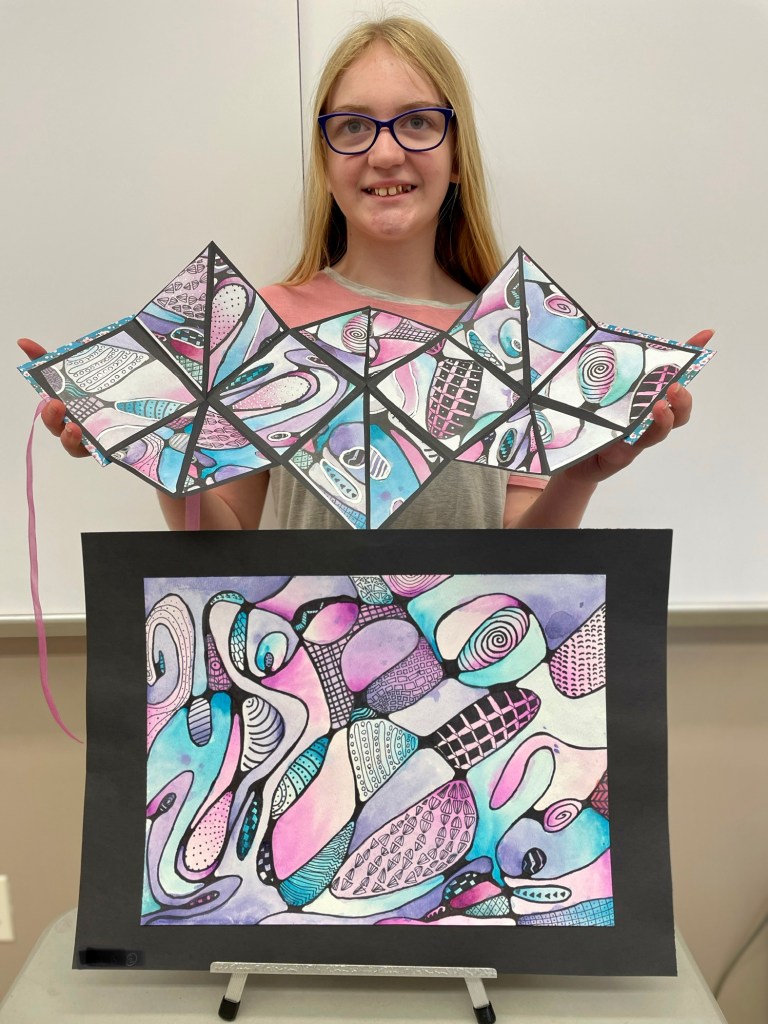
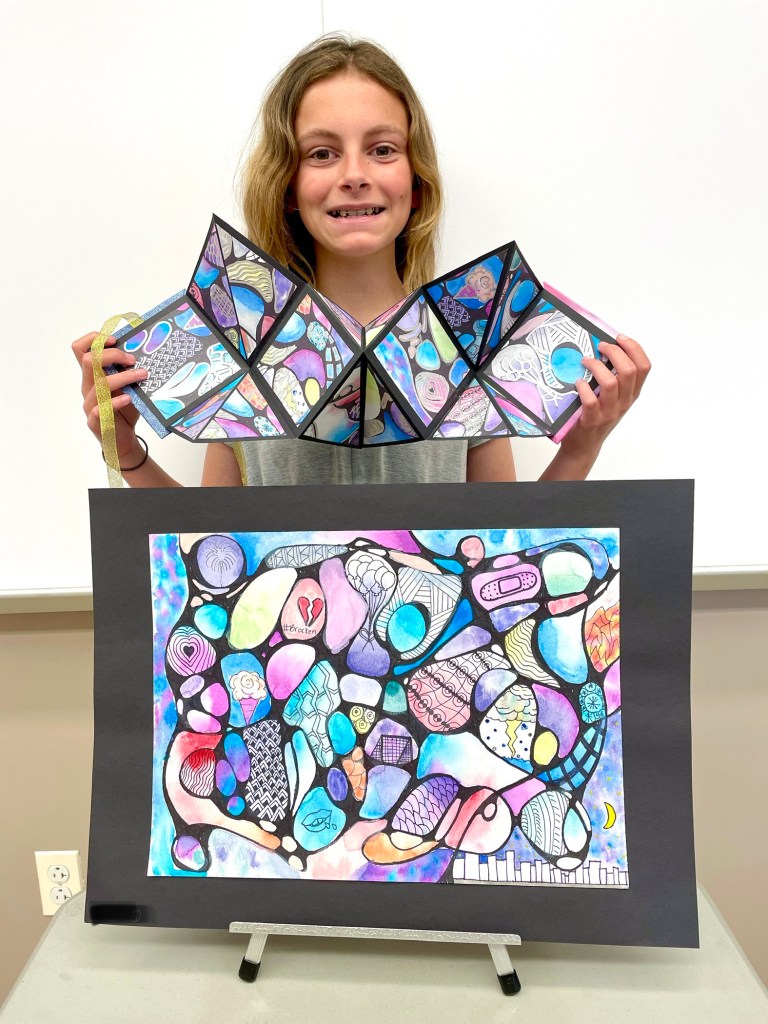
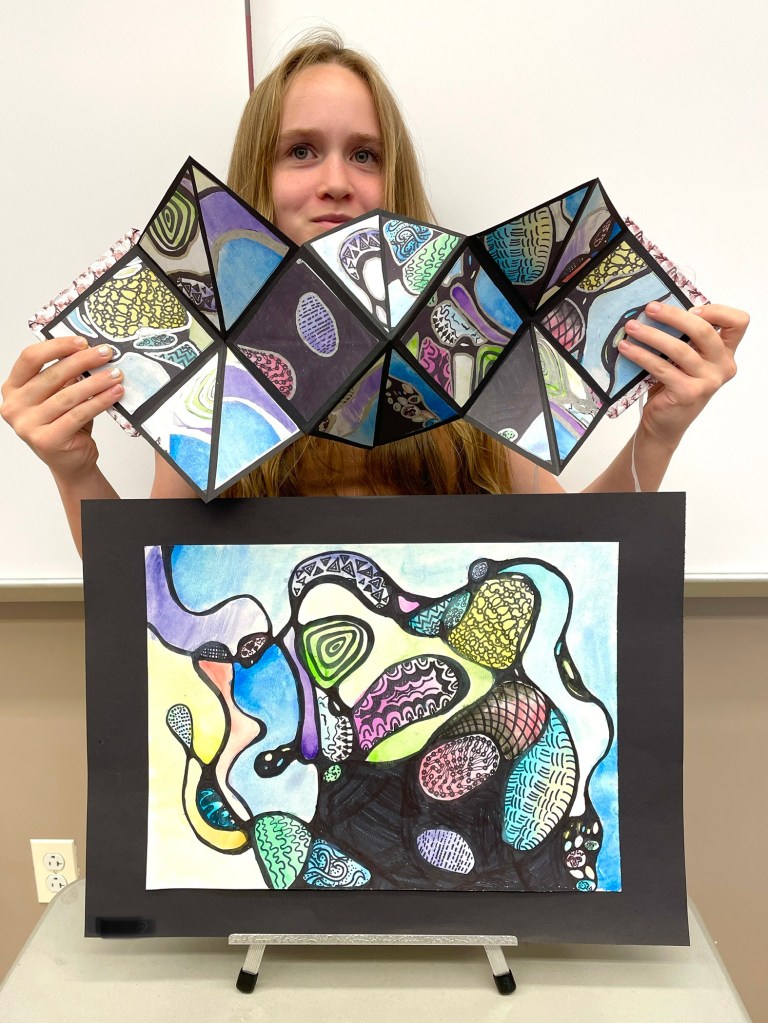
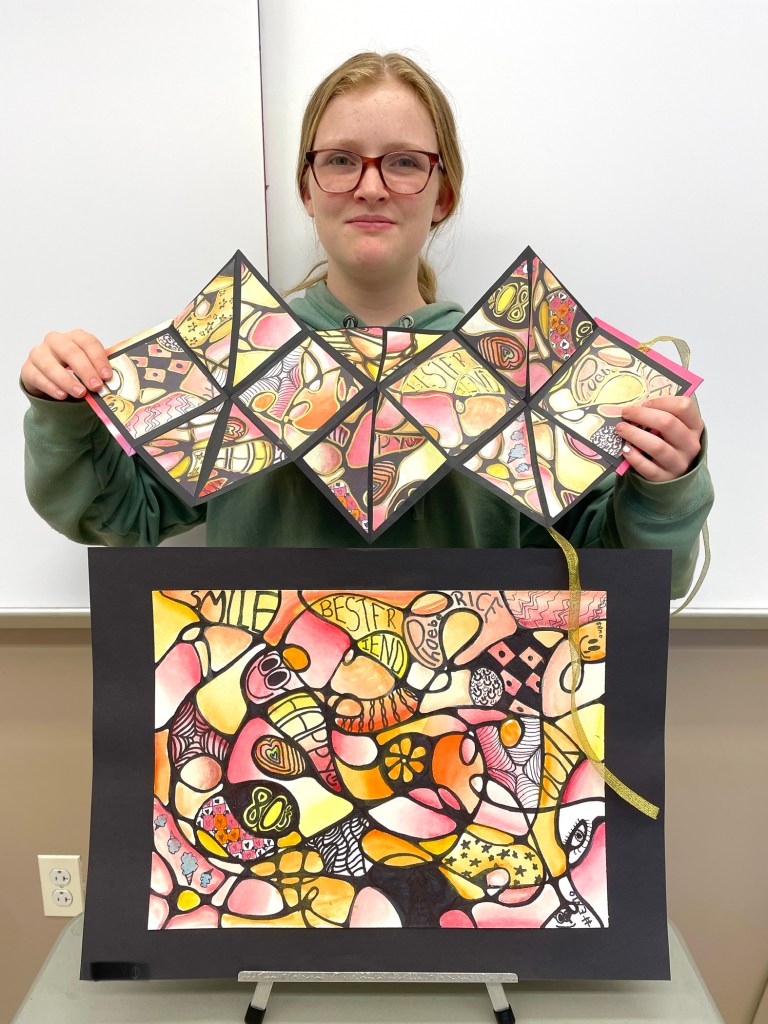
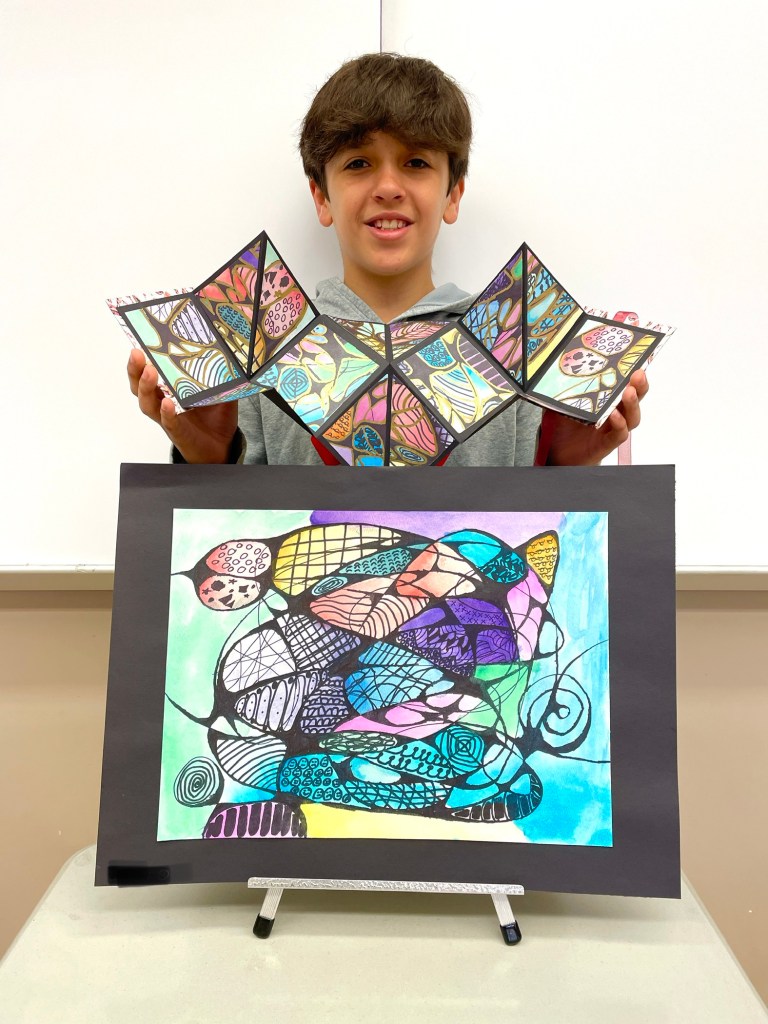
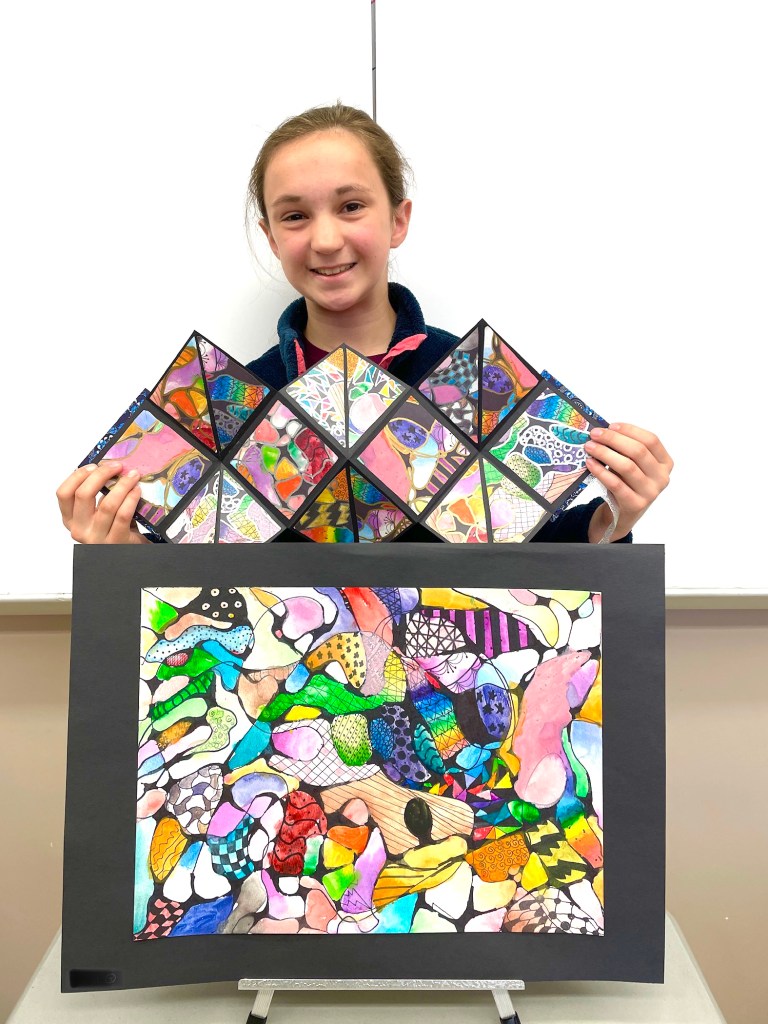
Want to know MORE FUN things you can do with your Neurographic Art? Make Explosion Books! Once again, I had my students create a stand-alone piece of Neurographic art with patterns and watercolor. Each student then received two full-sized color photocopies of their completed art. We selectively cropped interesting areas from the copies, embellished them with metallic pen, and used these images in the Explosion Books. CLICK HERE to learn about making Explosion Books!


May 01, 2023 @ 00:01:06
When using watercolor around the sharpie, did it bleed at all ?
May 01, 2023 @ 02:00:17
Sharpie, or any permananent pen, will not bleed when wet!
Dec 08, 2023 @ 08:55:07
These are amazing. We’ve done the art, and now are about to make the explosion books. How big was your ‘explosion book’ paper in relation to the art. I’ve used the same size paper, but it seems too little!! Should I double it? Thanks so much for sharing.
Dec 08, 2023 @ 17:32:39
I’m not sure what you mean, can you elaborate? 🙂
Dec 08, 2023 @ 18:29:26
We made the art with sharpie and water colour. I am planning on colour photocopying these. I took a black piece of paper the same size and folded the explosion booklet, as a trial. But the explosion booklet is a lot smaller than the original art. I know the children will cut out triangles and squares to go in the explosion book so their whole art piece won’t be used, but should the explosion book start with a bigger piece of paper than the original artwork?? Hope that makes sense!!!!!!
Mar 17, 2024 @ 22:21:11
Thank you for the idea !
I used it in art lessons but also in German lessons, to remind the students what they’ve learned so far.
https://linksharing.samsungcloud.com/vfXV19LACuvD
Mar 18, 2024 @ 19:09:25
Great work, there are so many uses for this fabulous project!
May 24, 2024 @ 13:47:34
your students are so very talented!! Where did you learn the Neurographic Art style?
May 24, 2024 @ 16:38:49
A lot of fellow art teachers in my online facebook groups were doing it. I link one tutorial video that I found really helpful in my post!
Aug 19, 2024 @ 01:36:57
SHARPIES WITH SMEAR……… ❤