Clay Owls
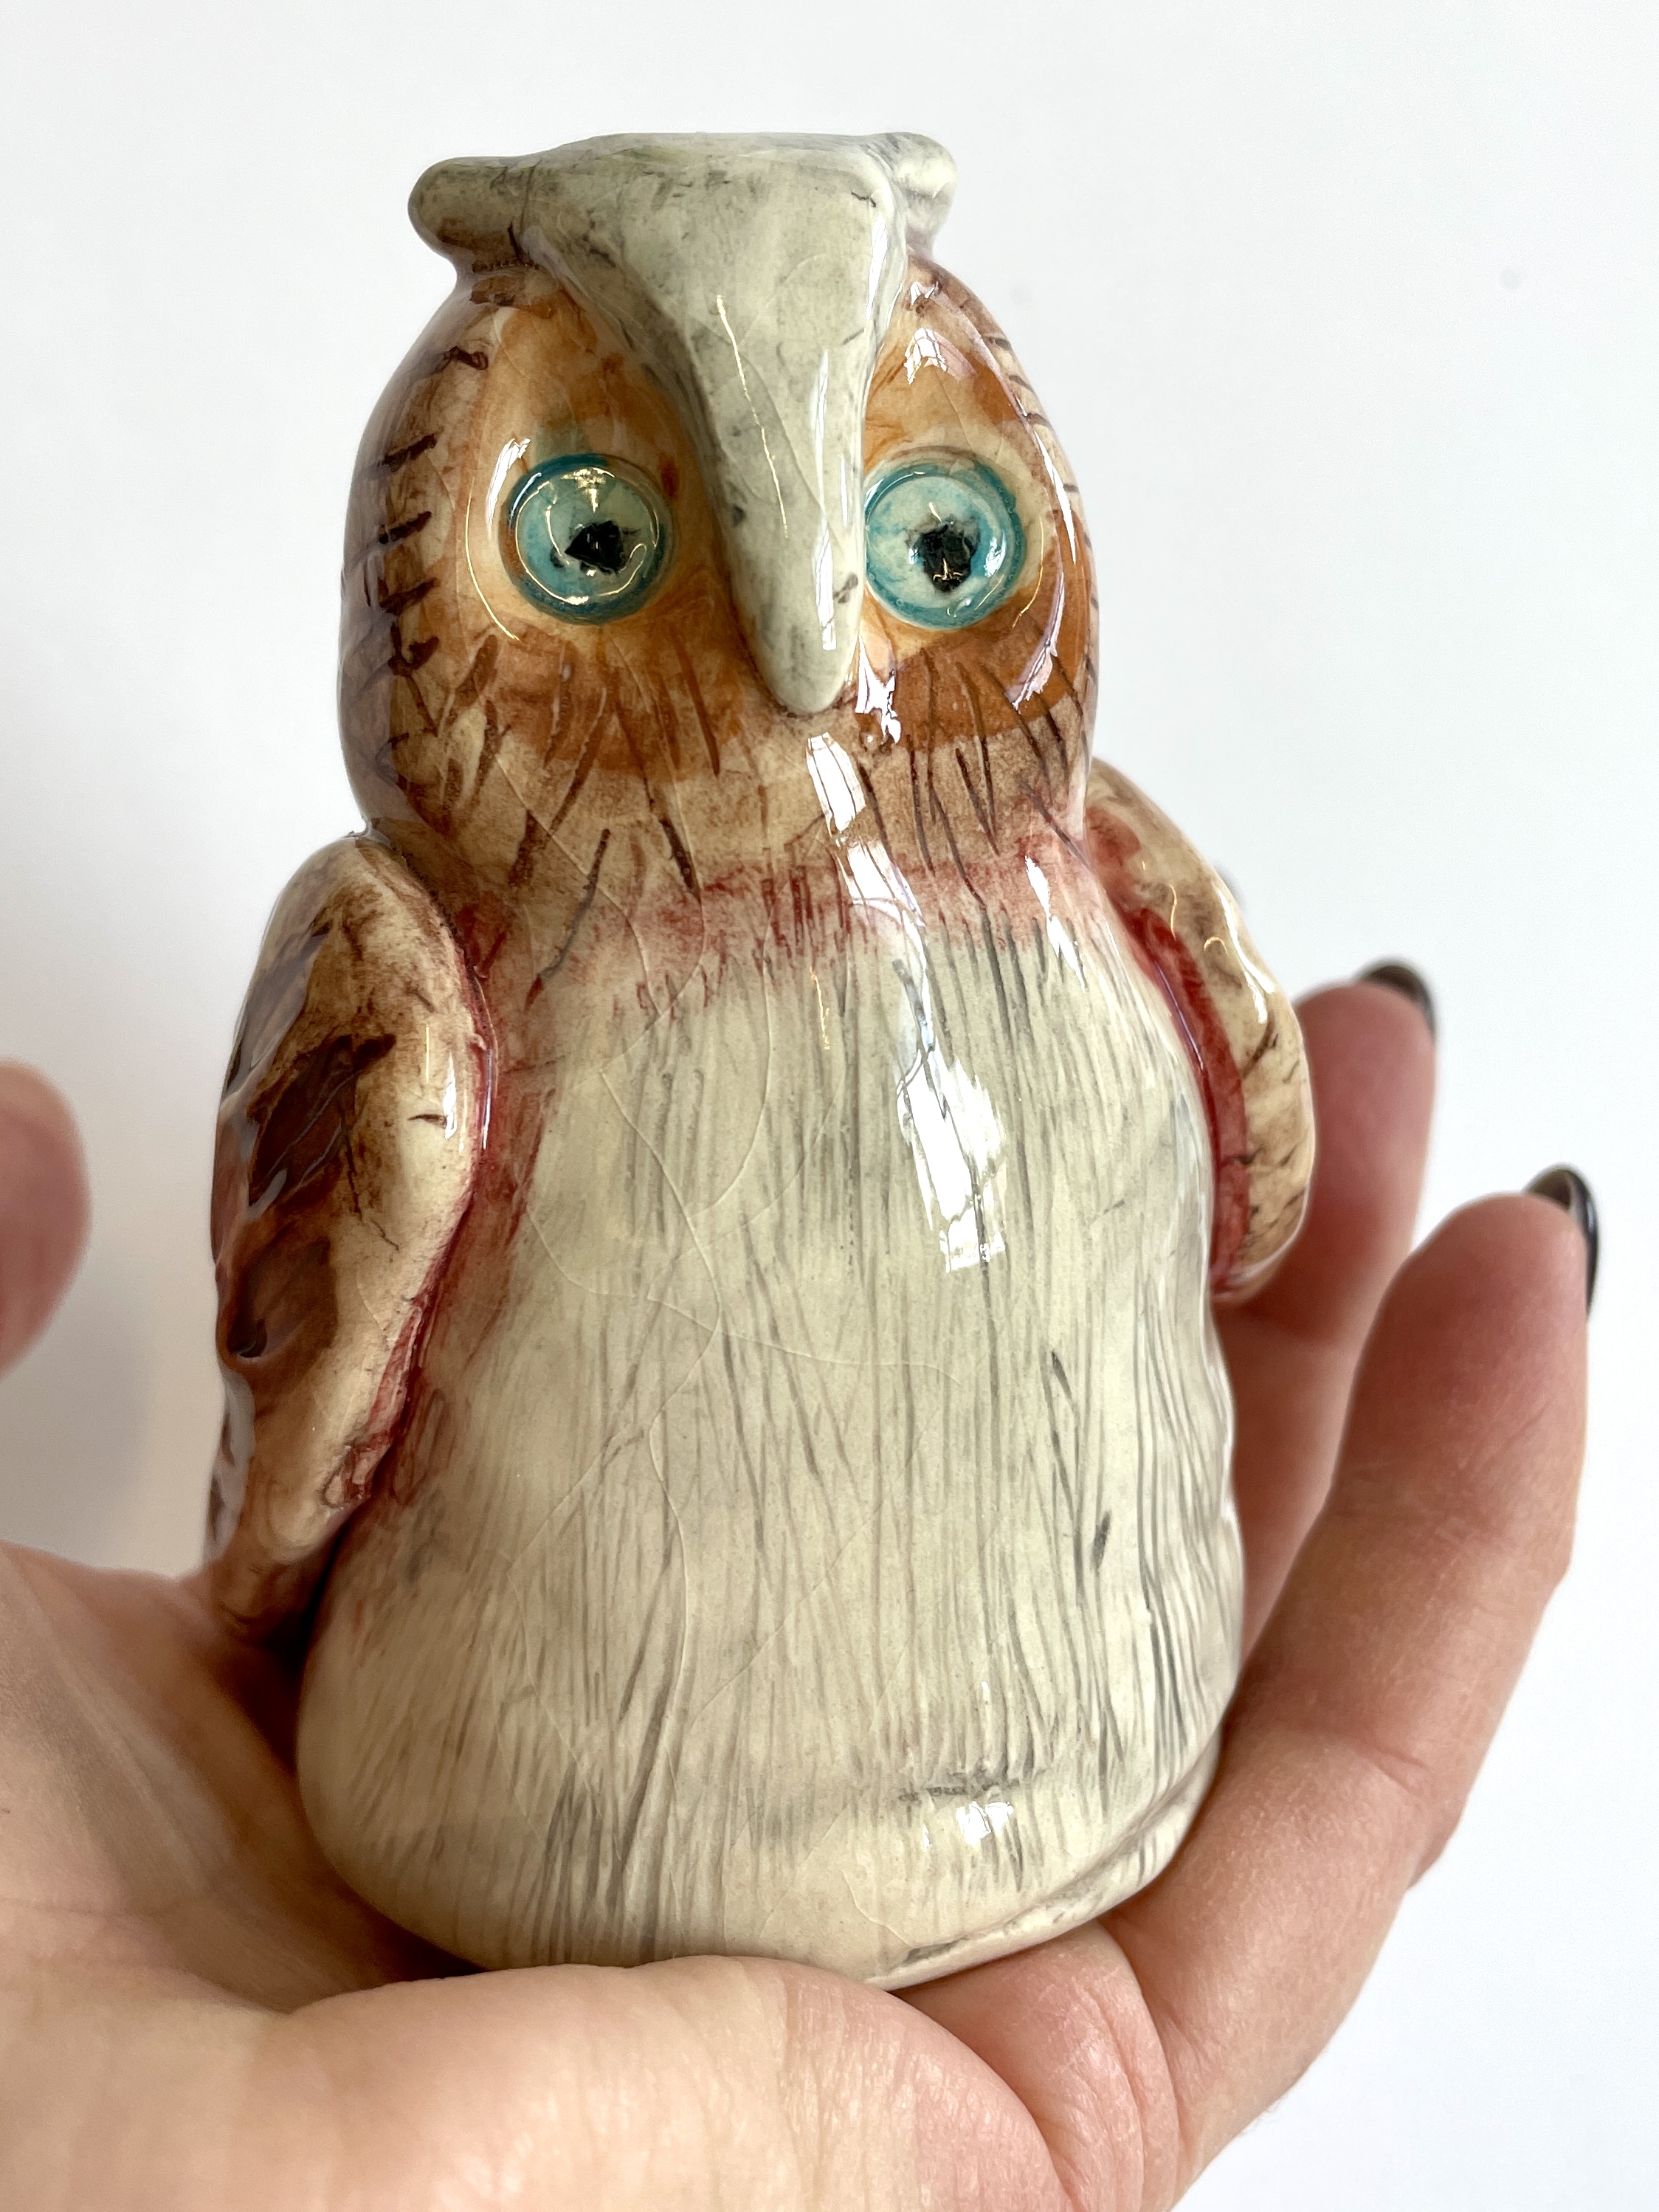
I have a few awesome clay projects in my lesson rotation, but recently have been itching to try something new. Owls are adorable and I thought why not try sculpting them from clay? My seventh graders loved making these, (and I learned some valuable tips and tricks this first go-round!). Here’s a breakdown of how we made these adorable little owls, and I’ll mention changes I plan on making next time at the end!
First of all, I looked for inspiration and instructions online and found a couple of videos which I modified for my own use. To give credit where credit is due, here are the links to the two videos I found helpful and used to base my instruction from: Thank you to Emma at the Bainbridge Island Museum of Art and Marlene at Lake Country Fine Arts School and Gallery.
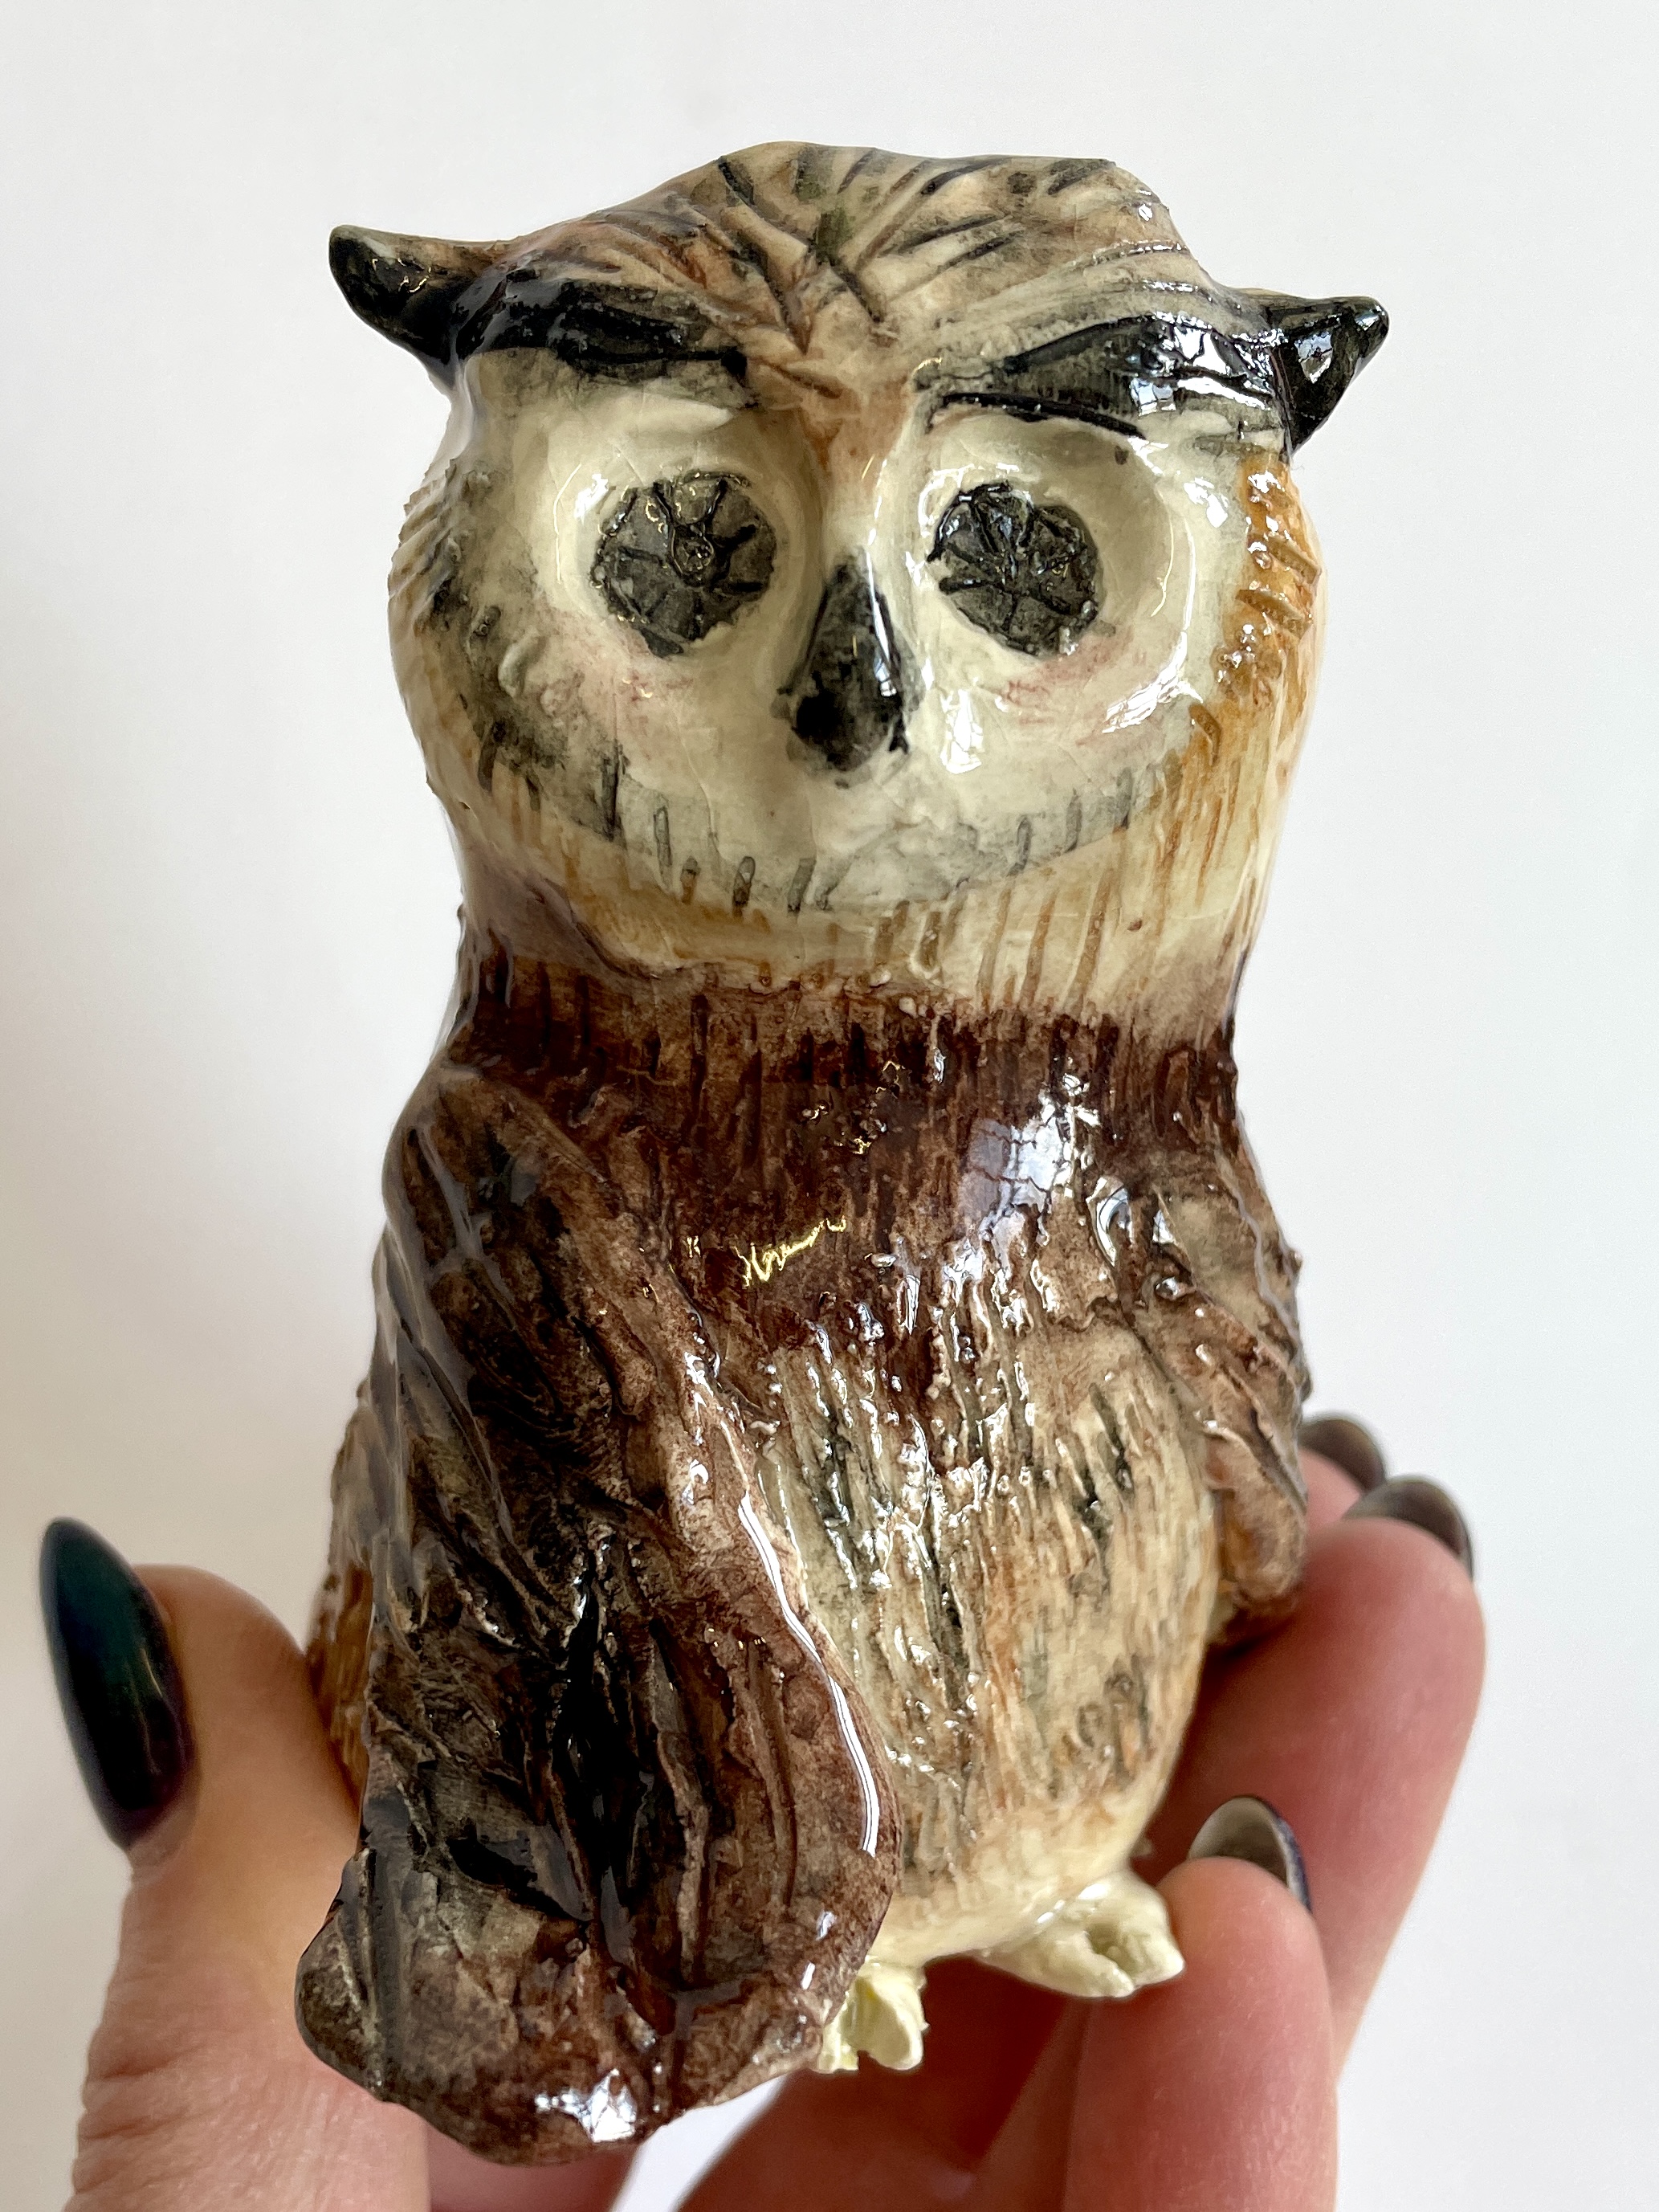
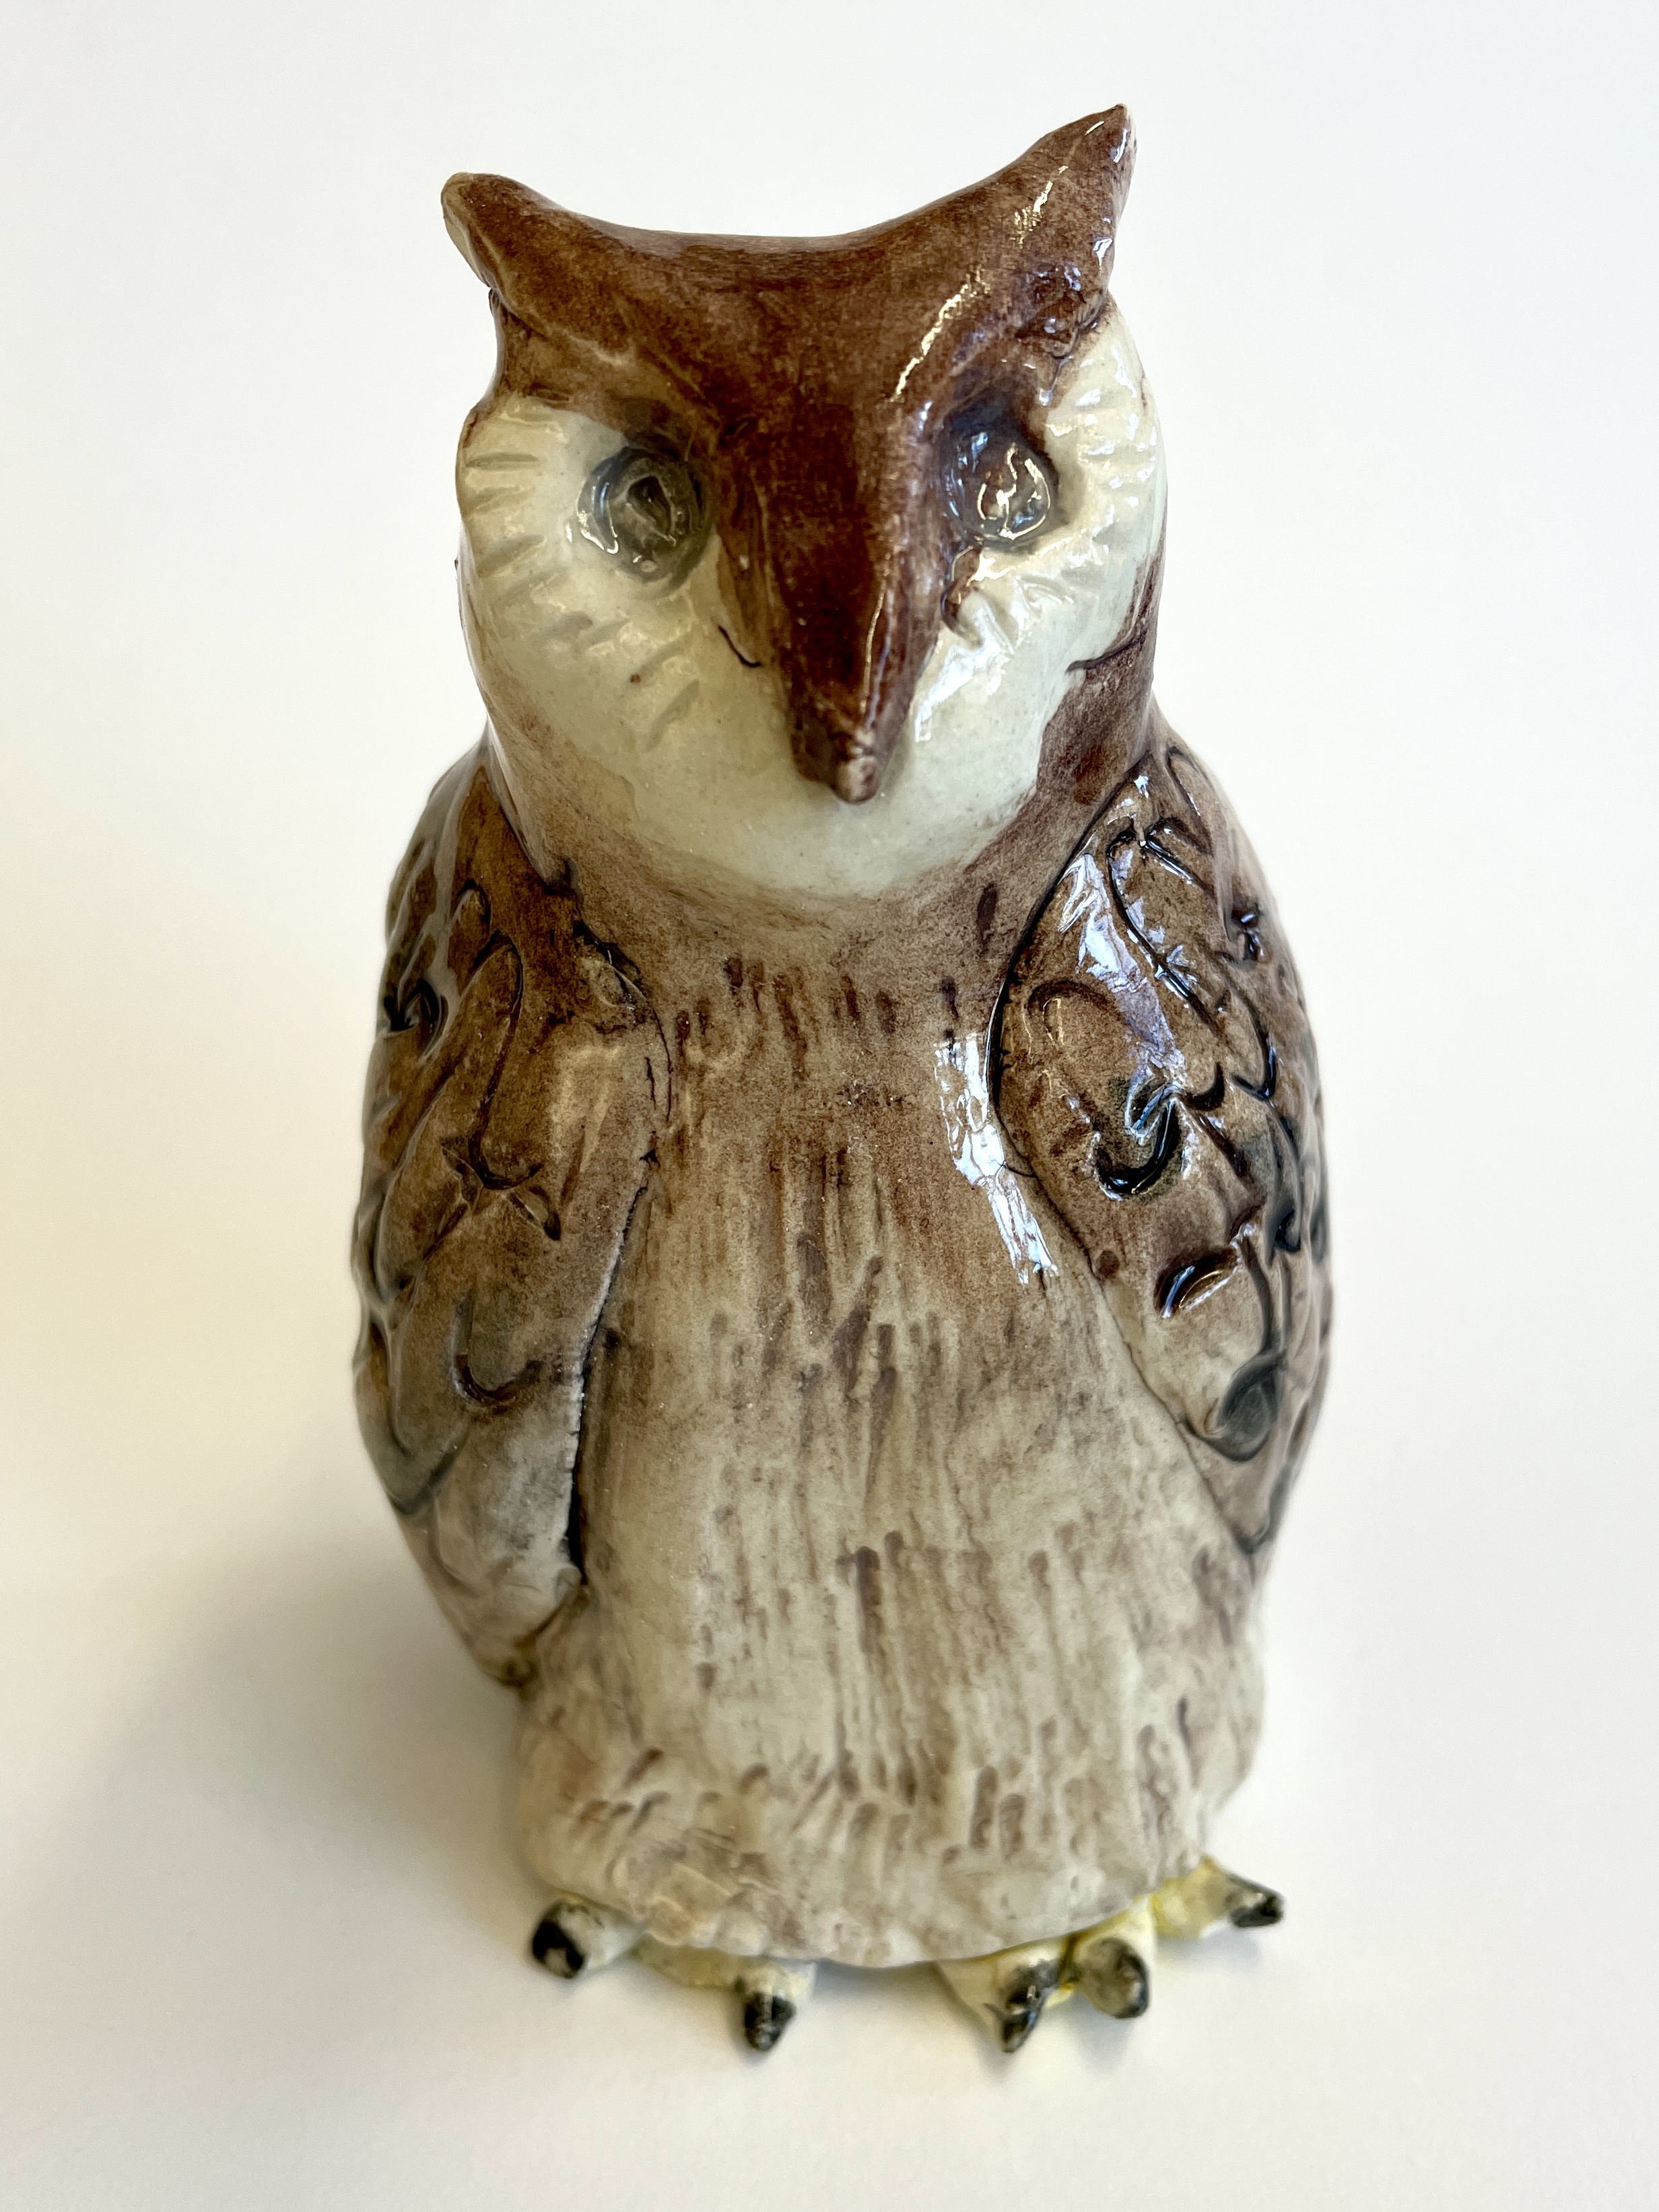
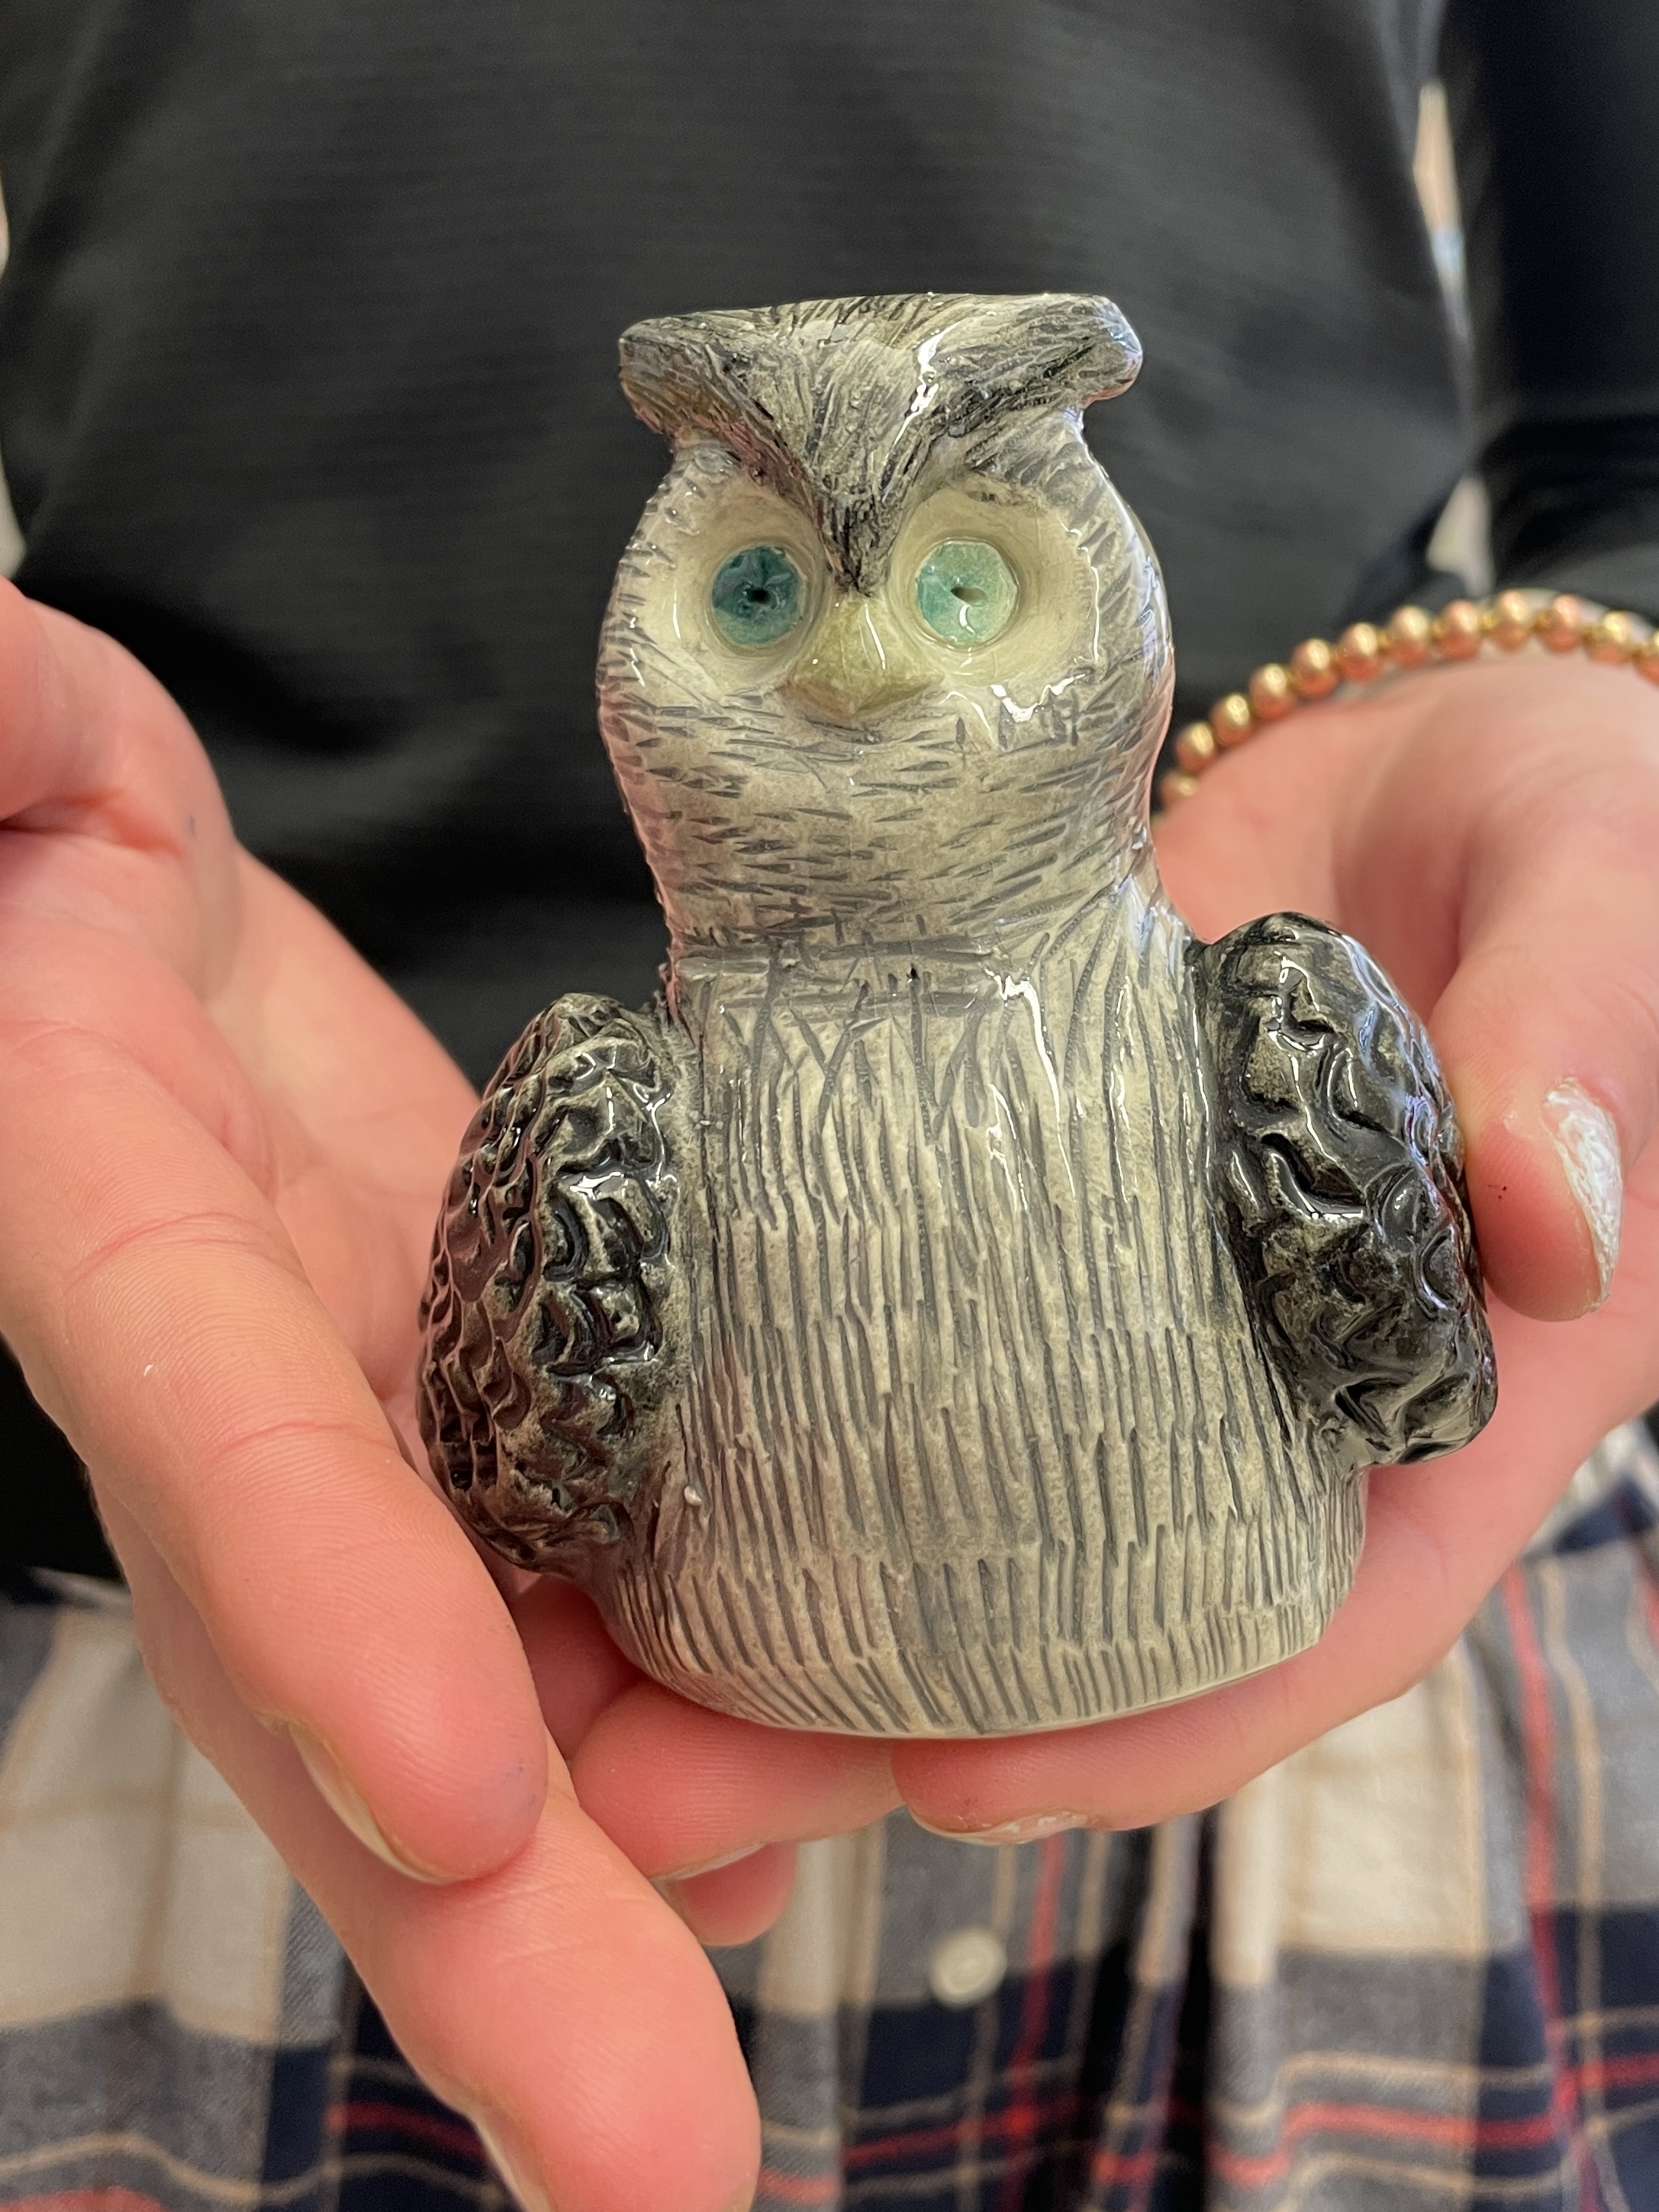
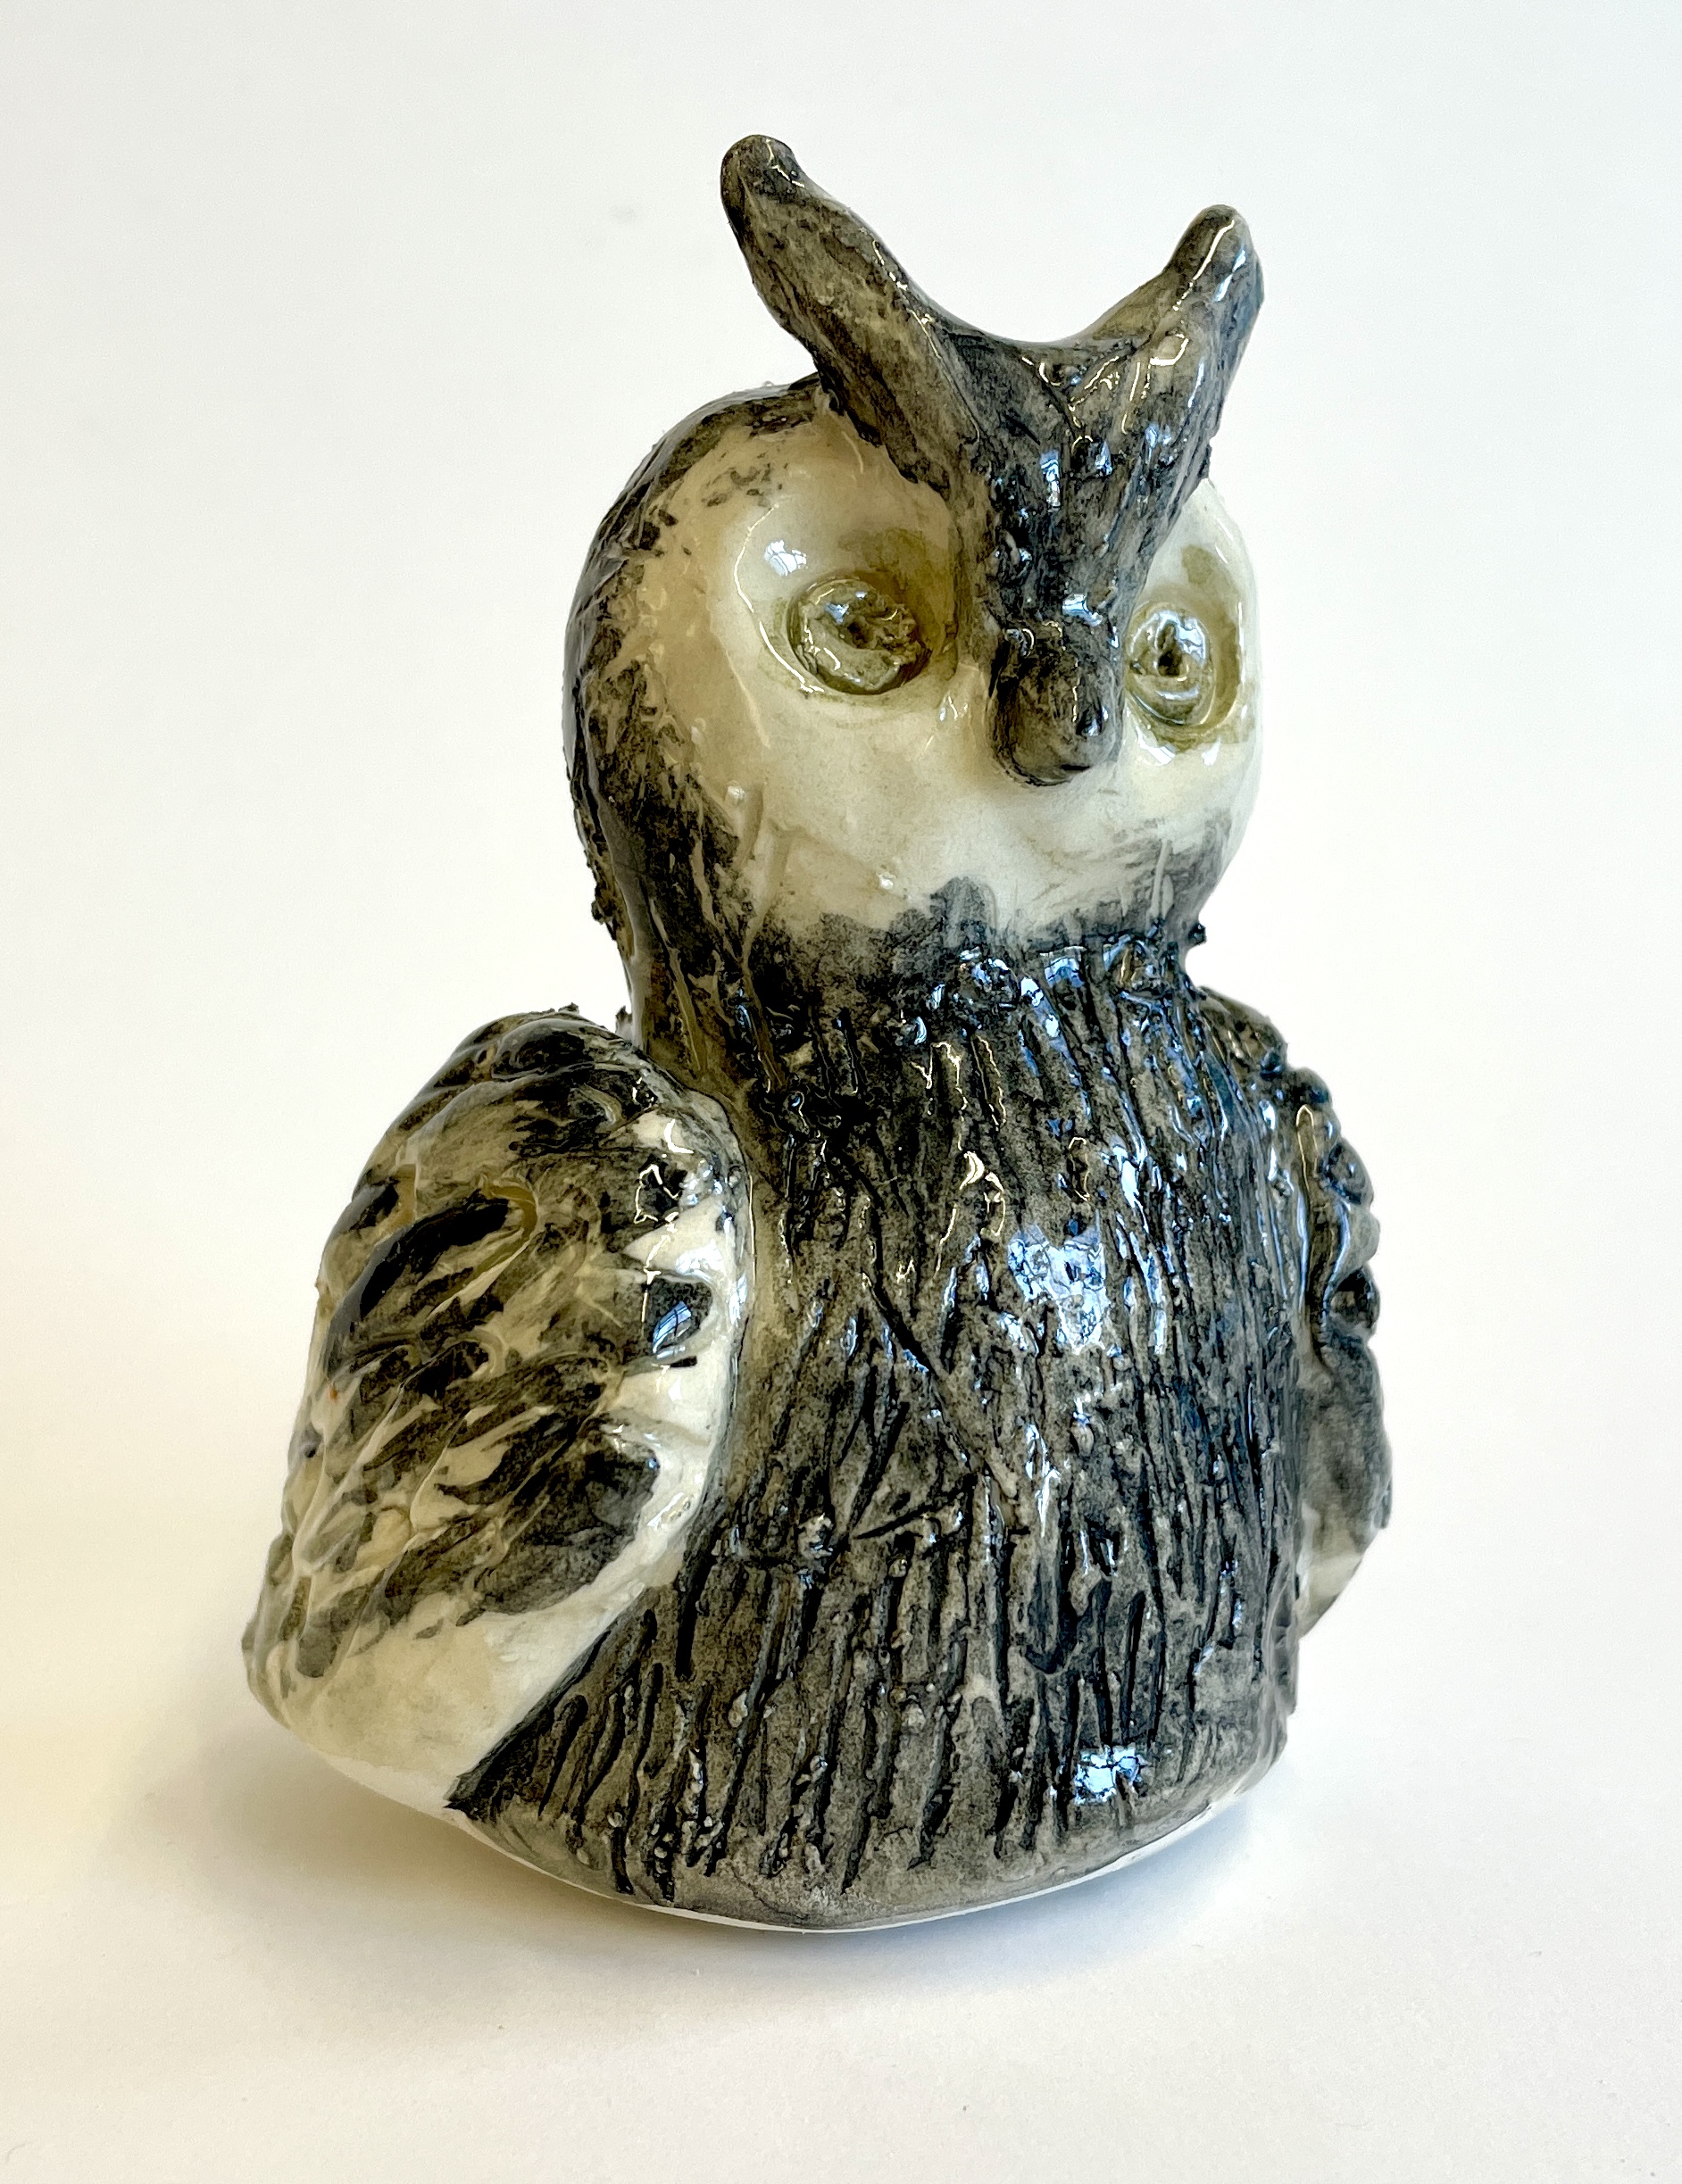
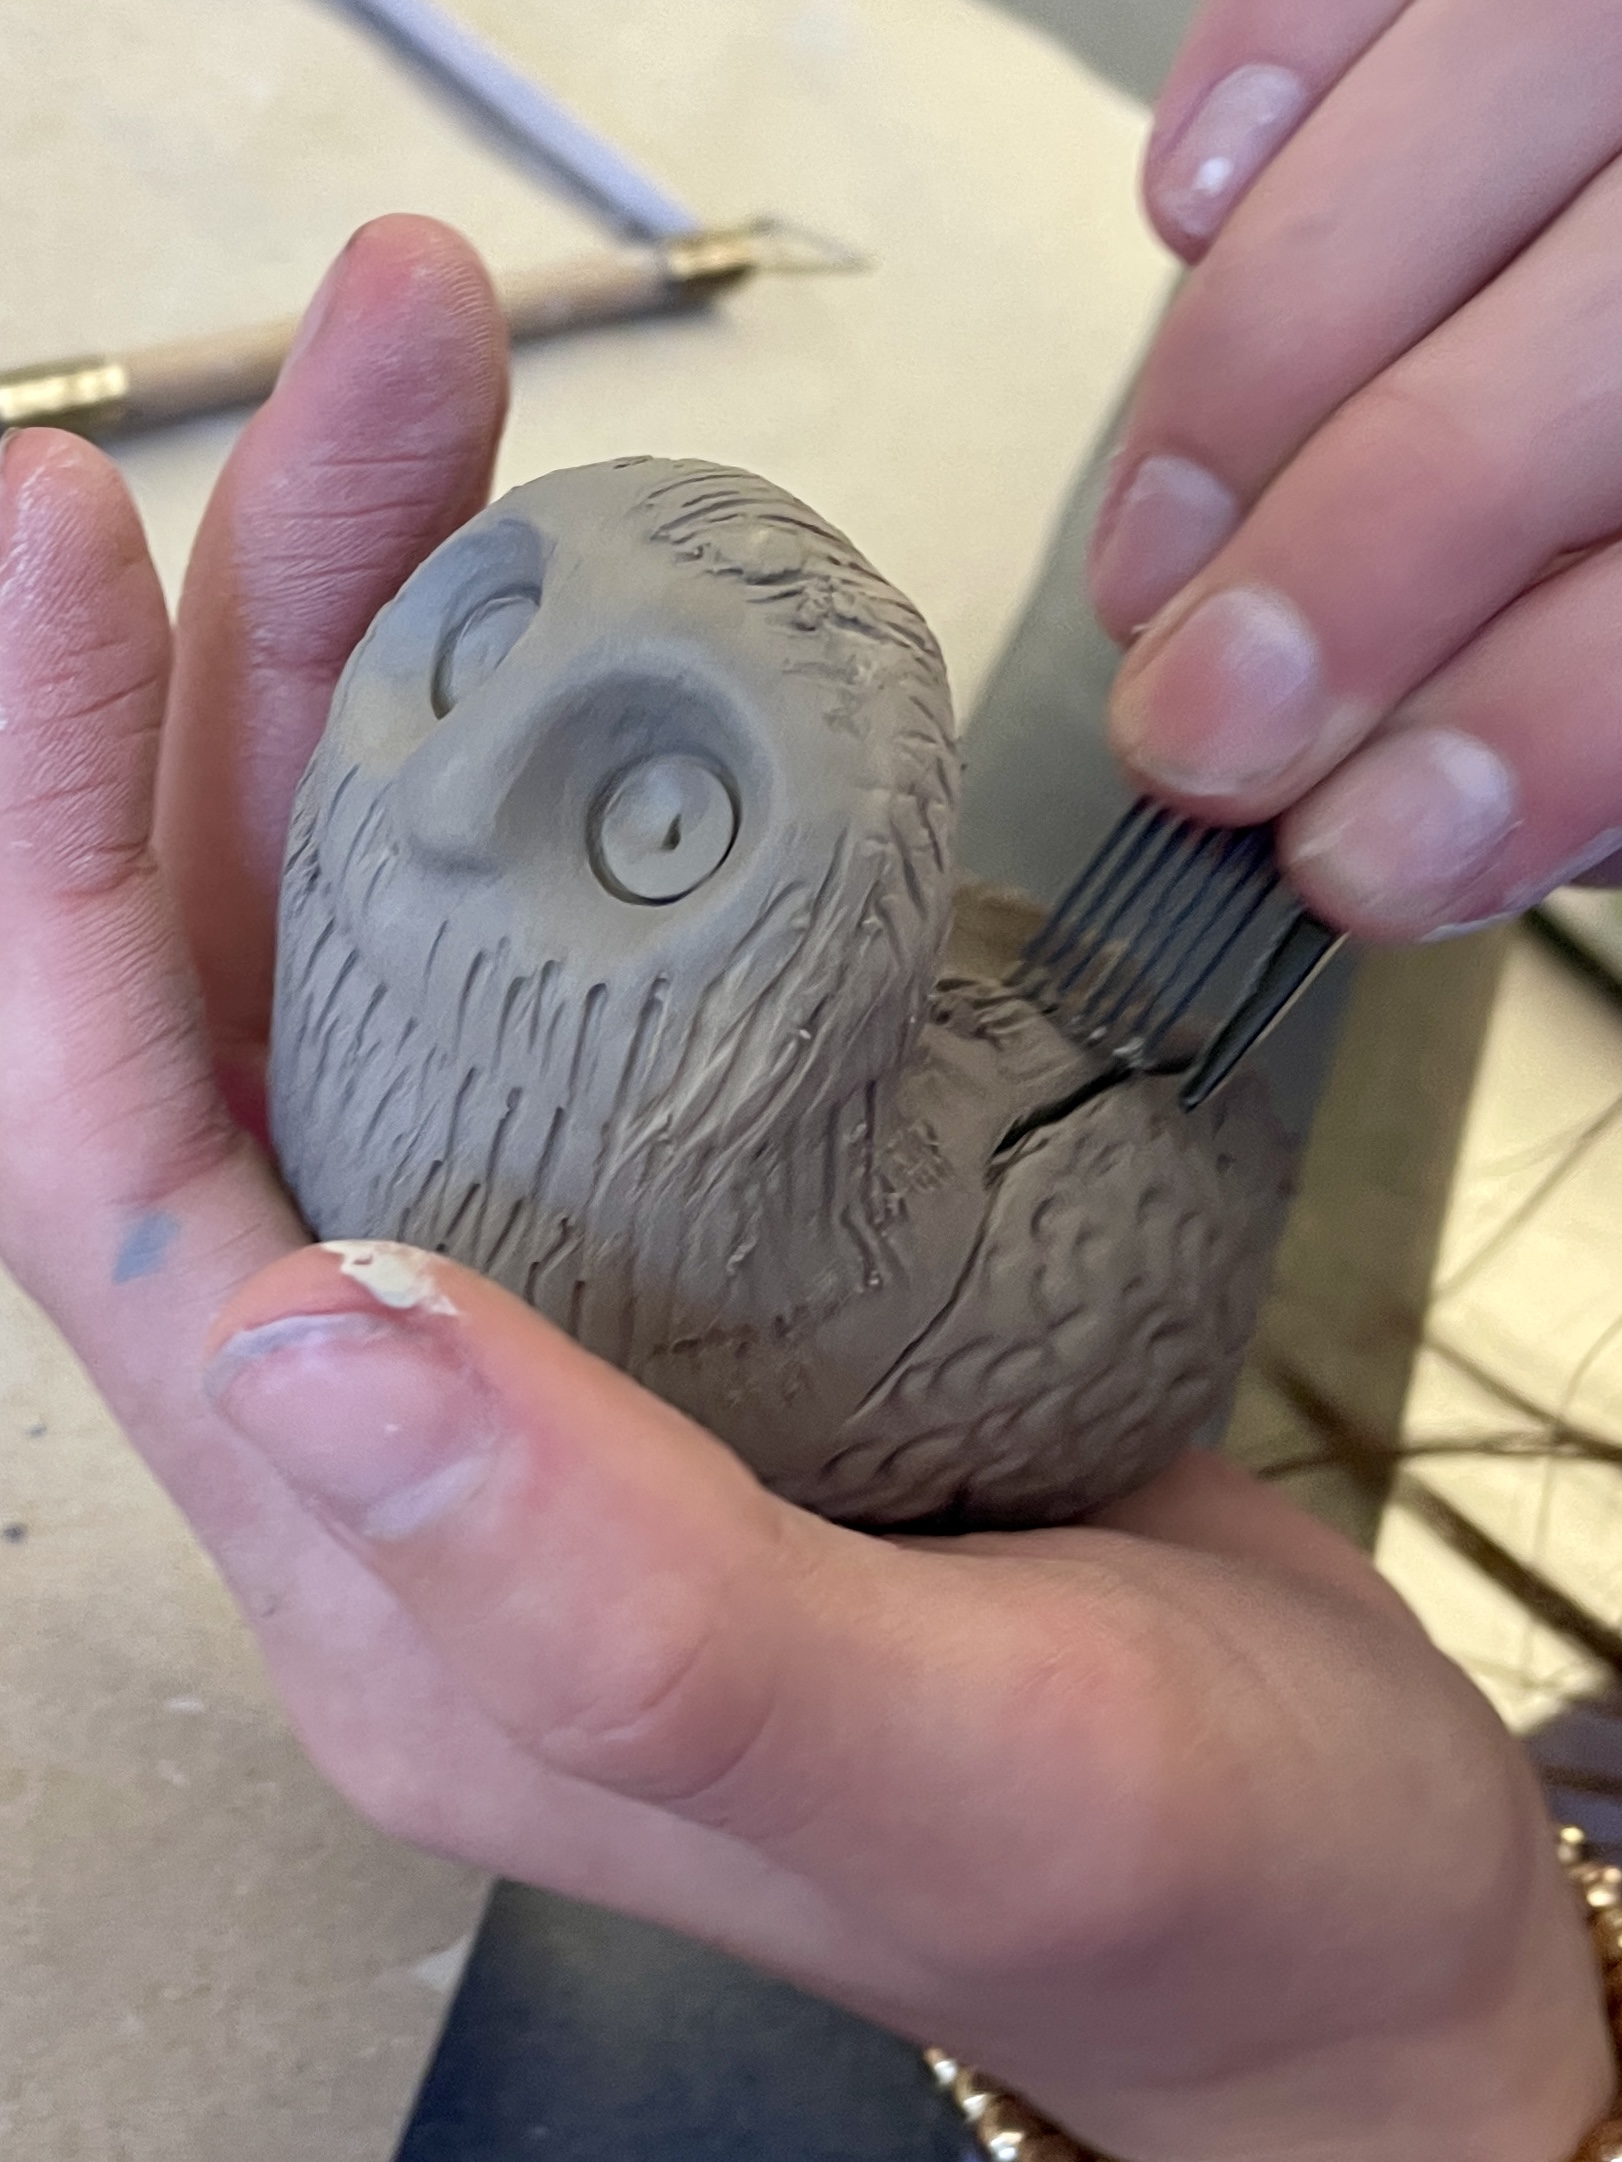
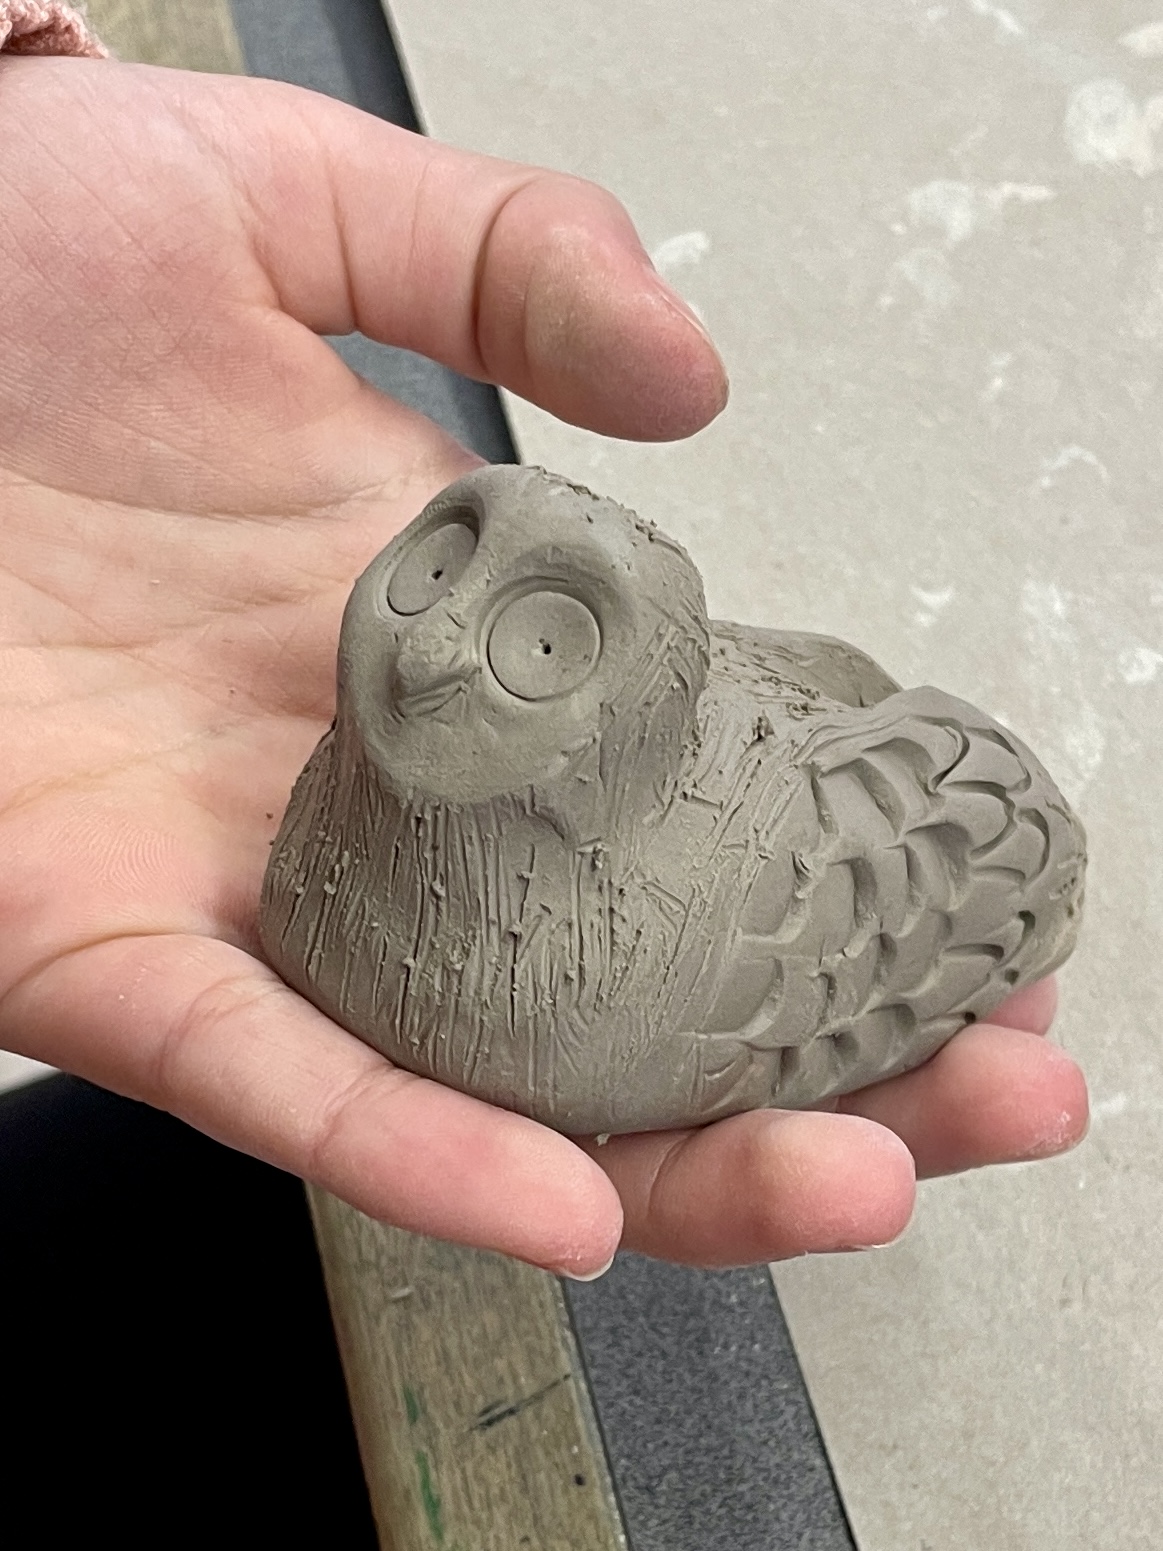
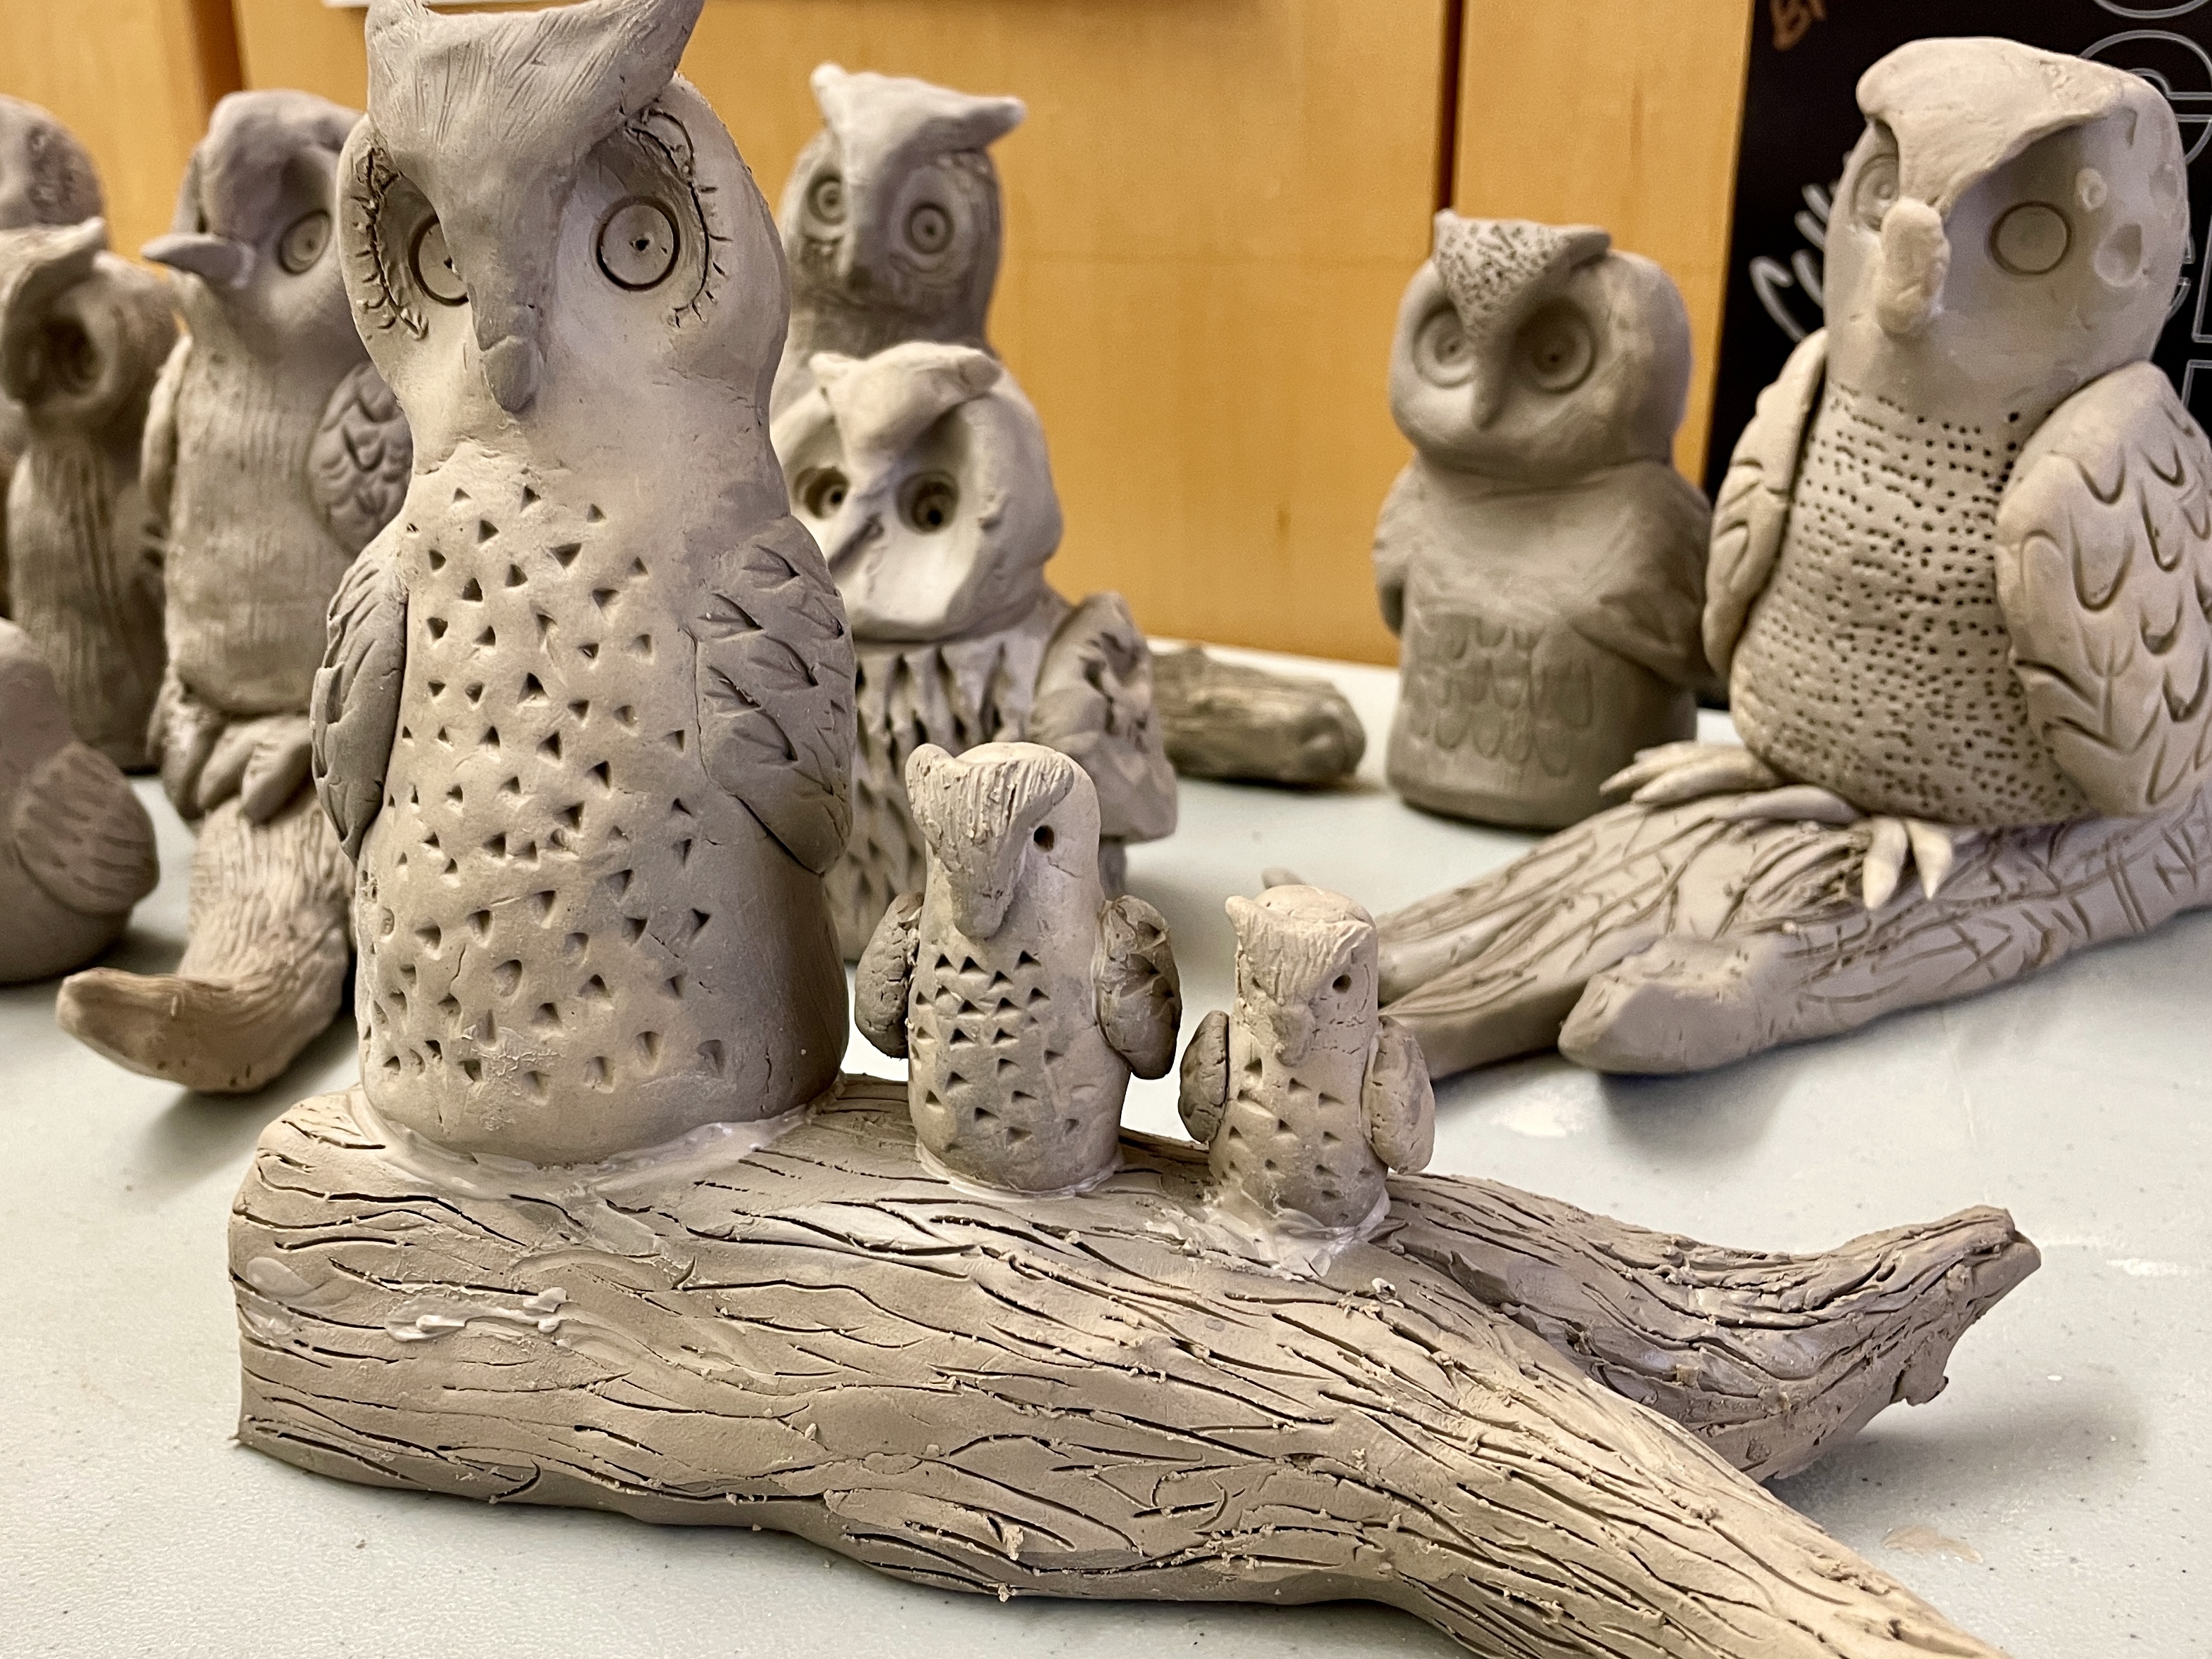
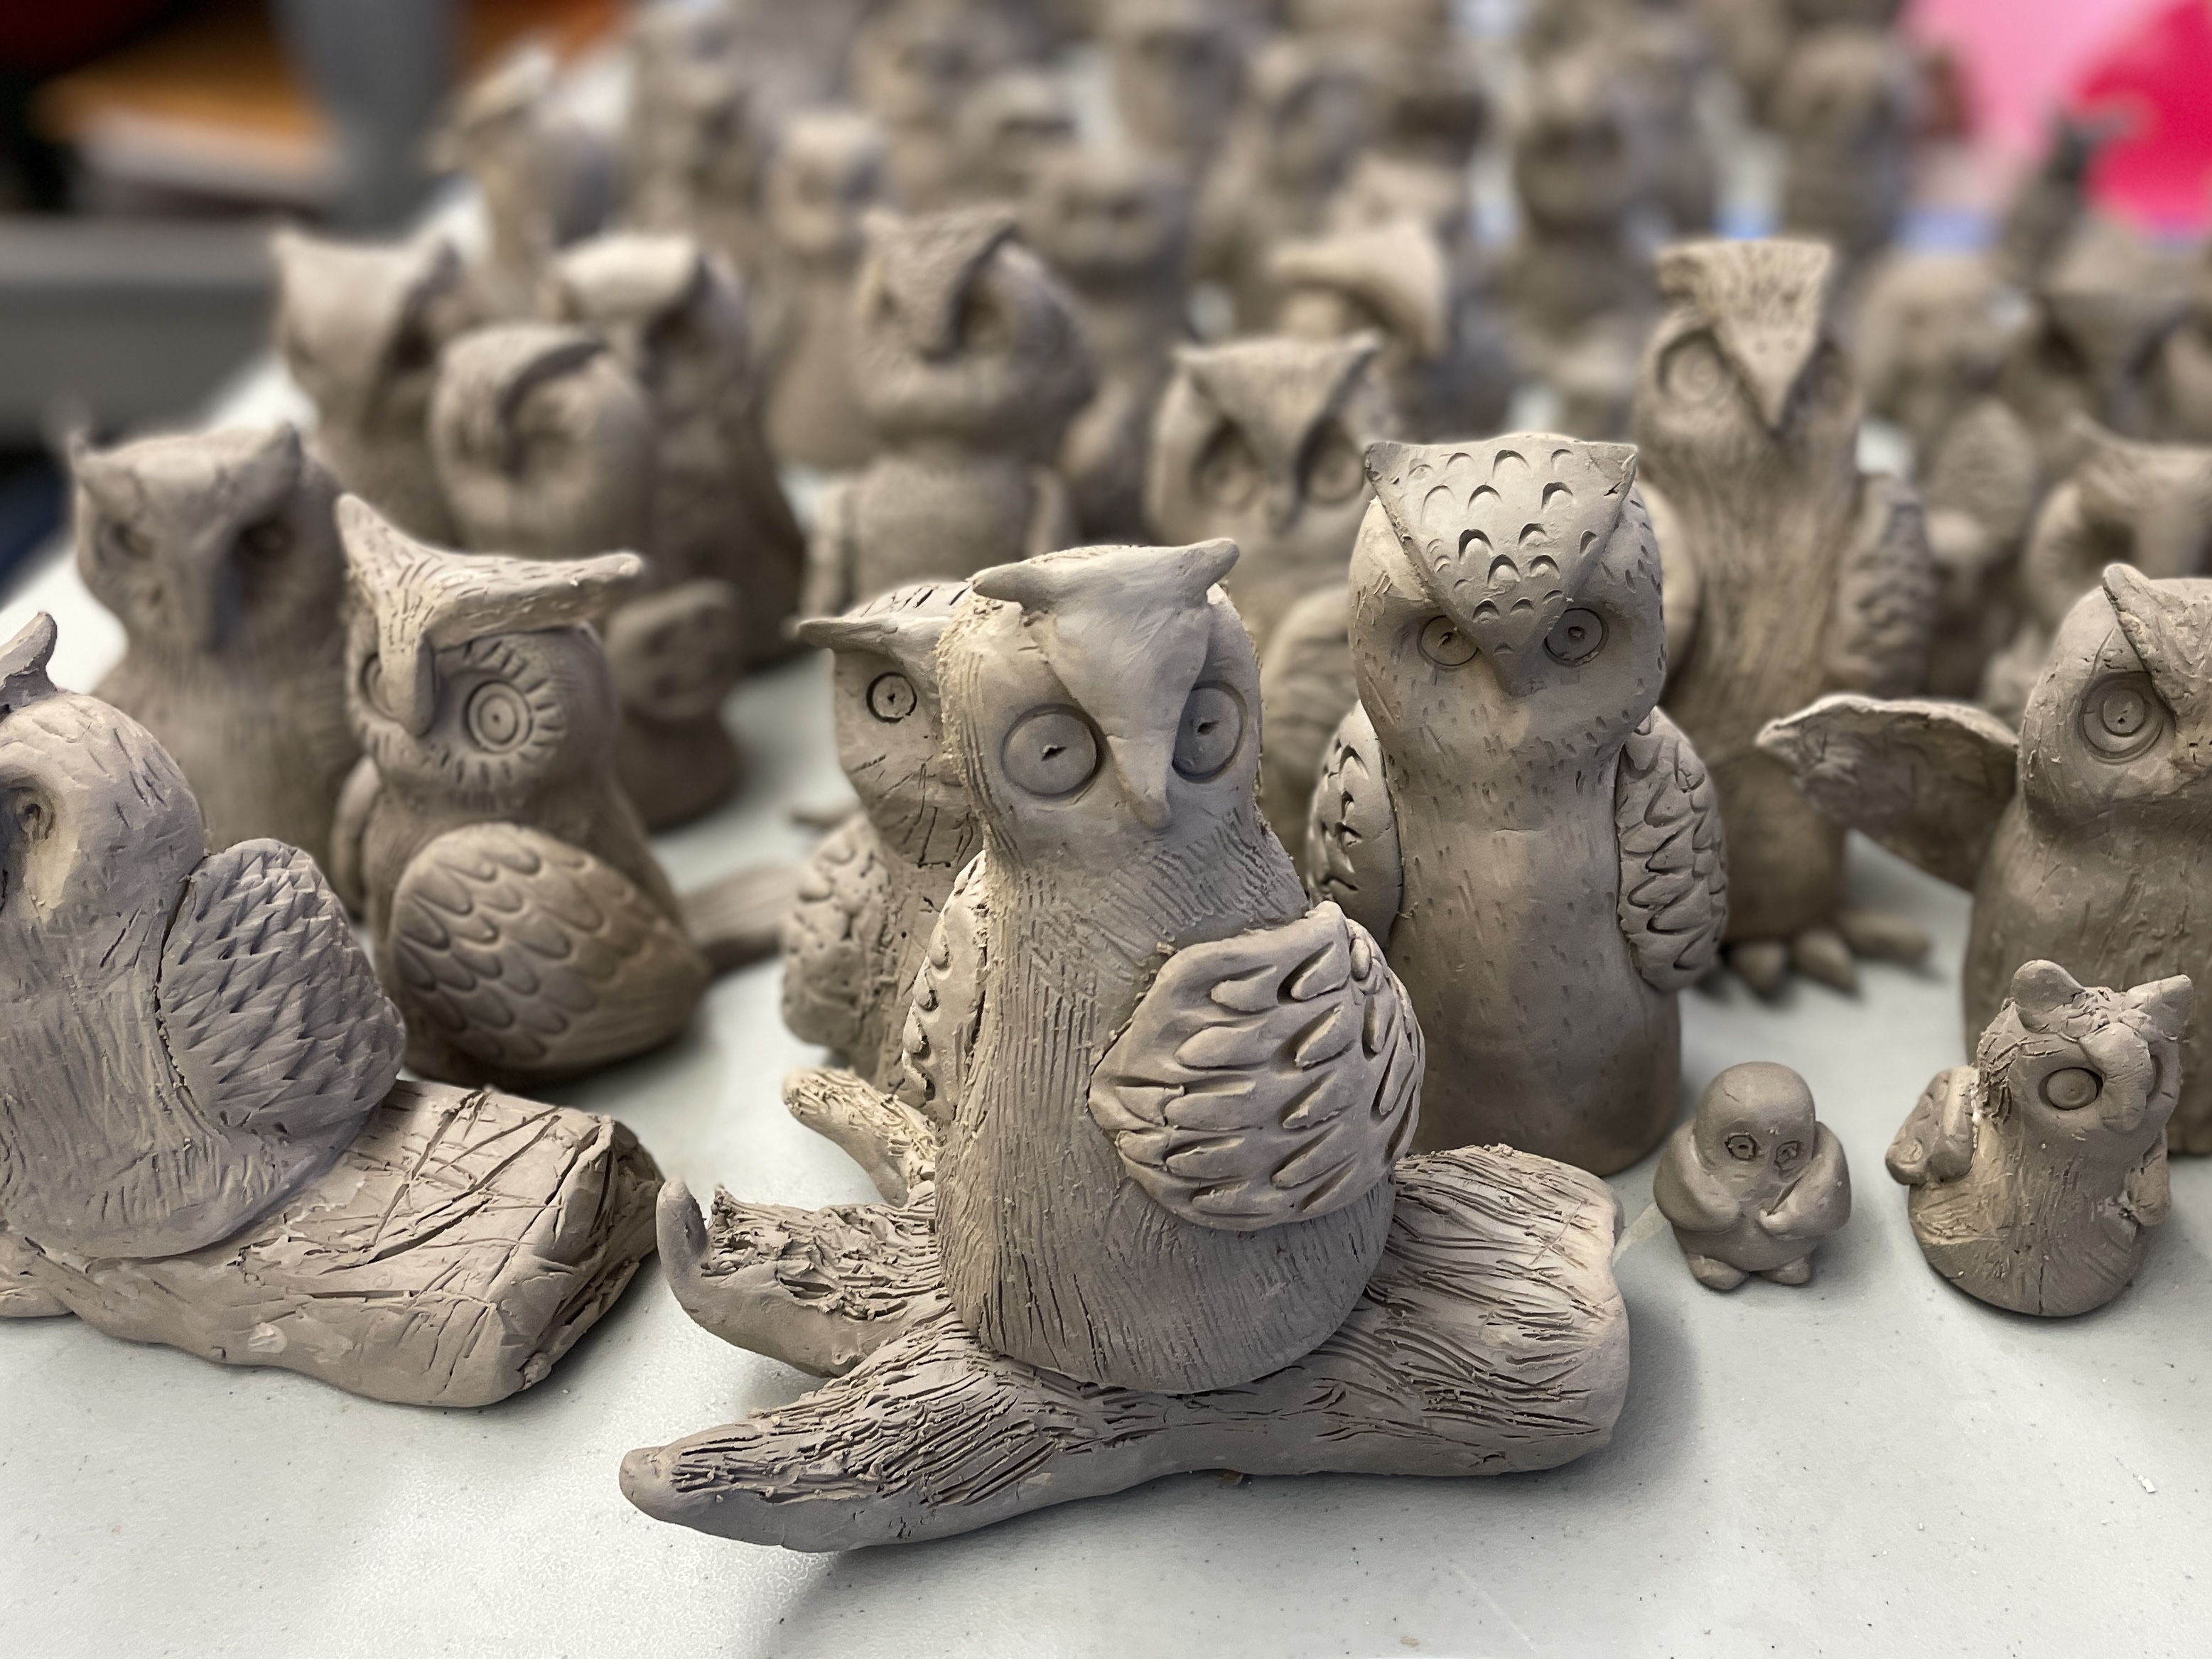
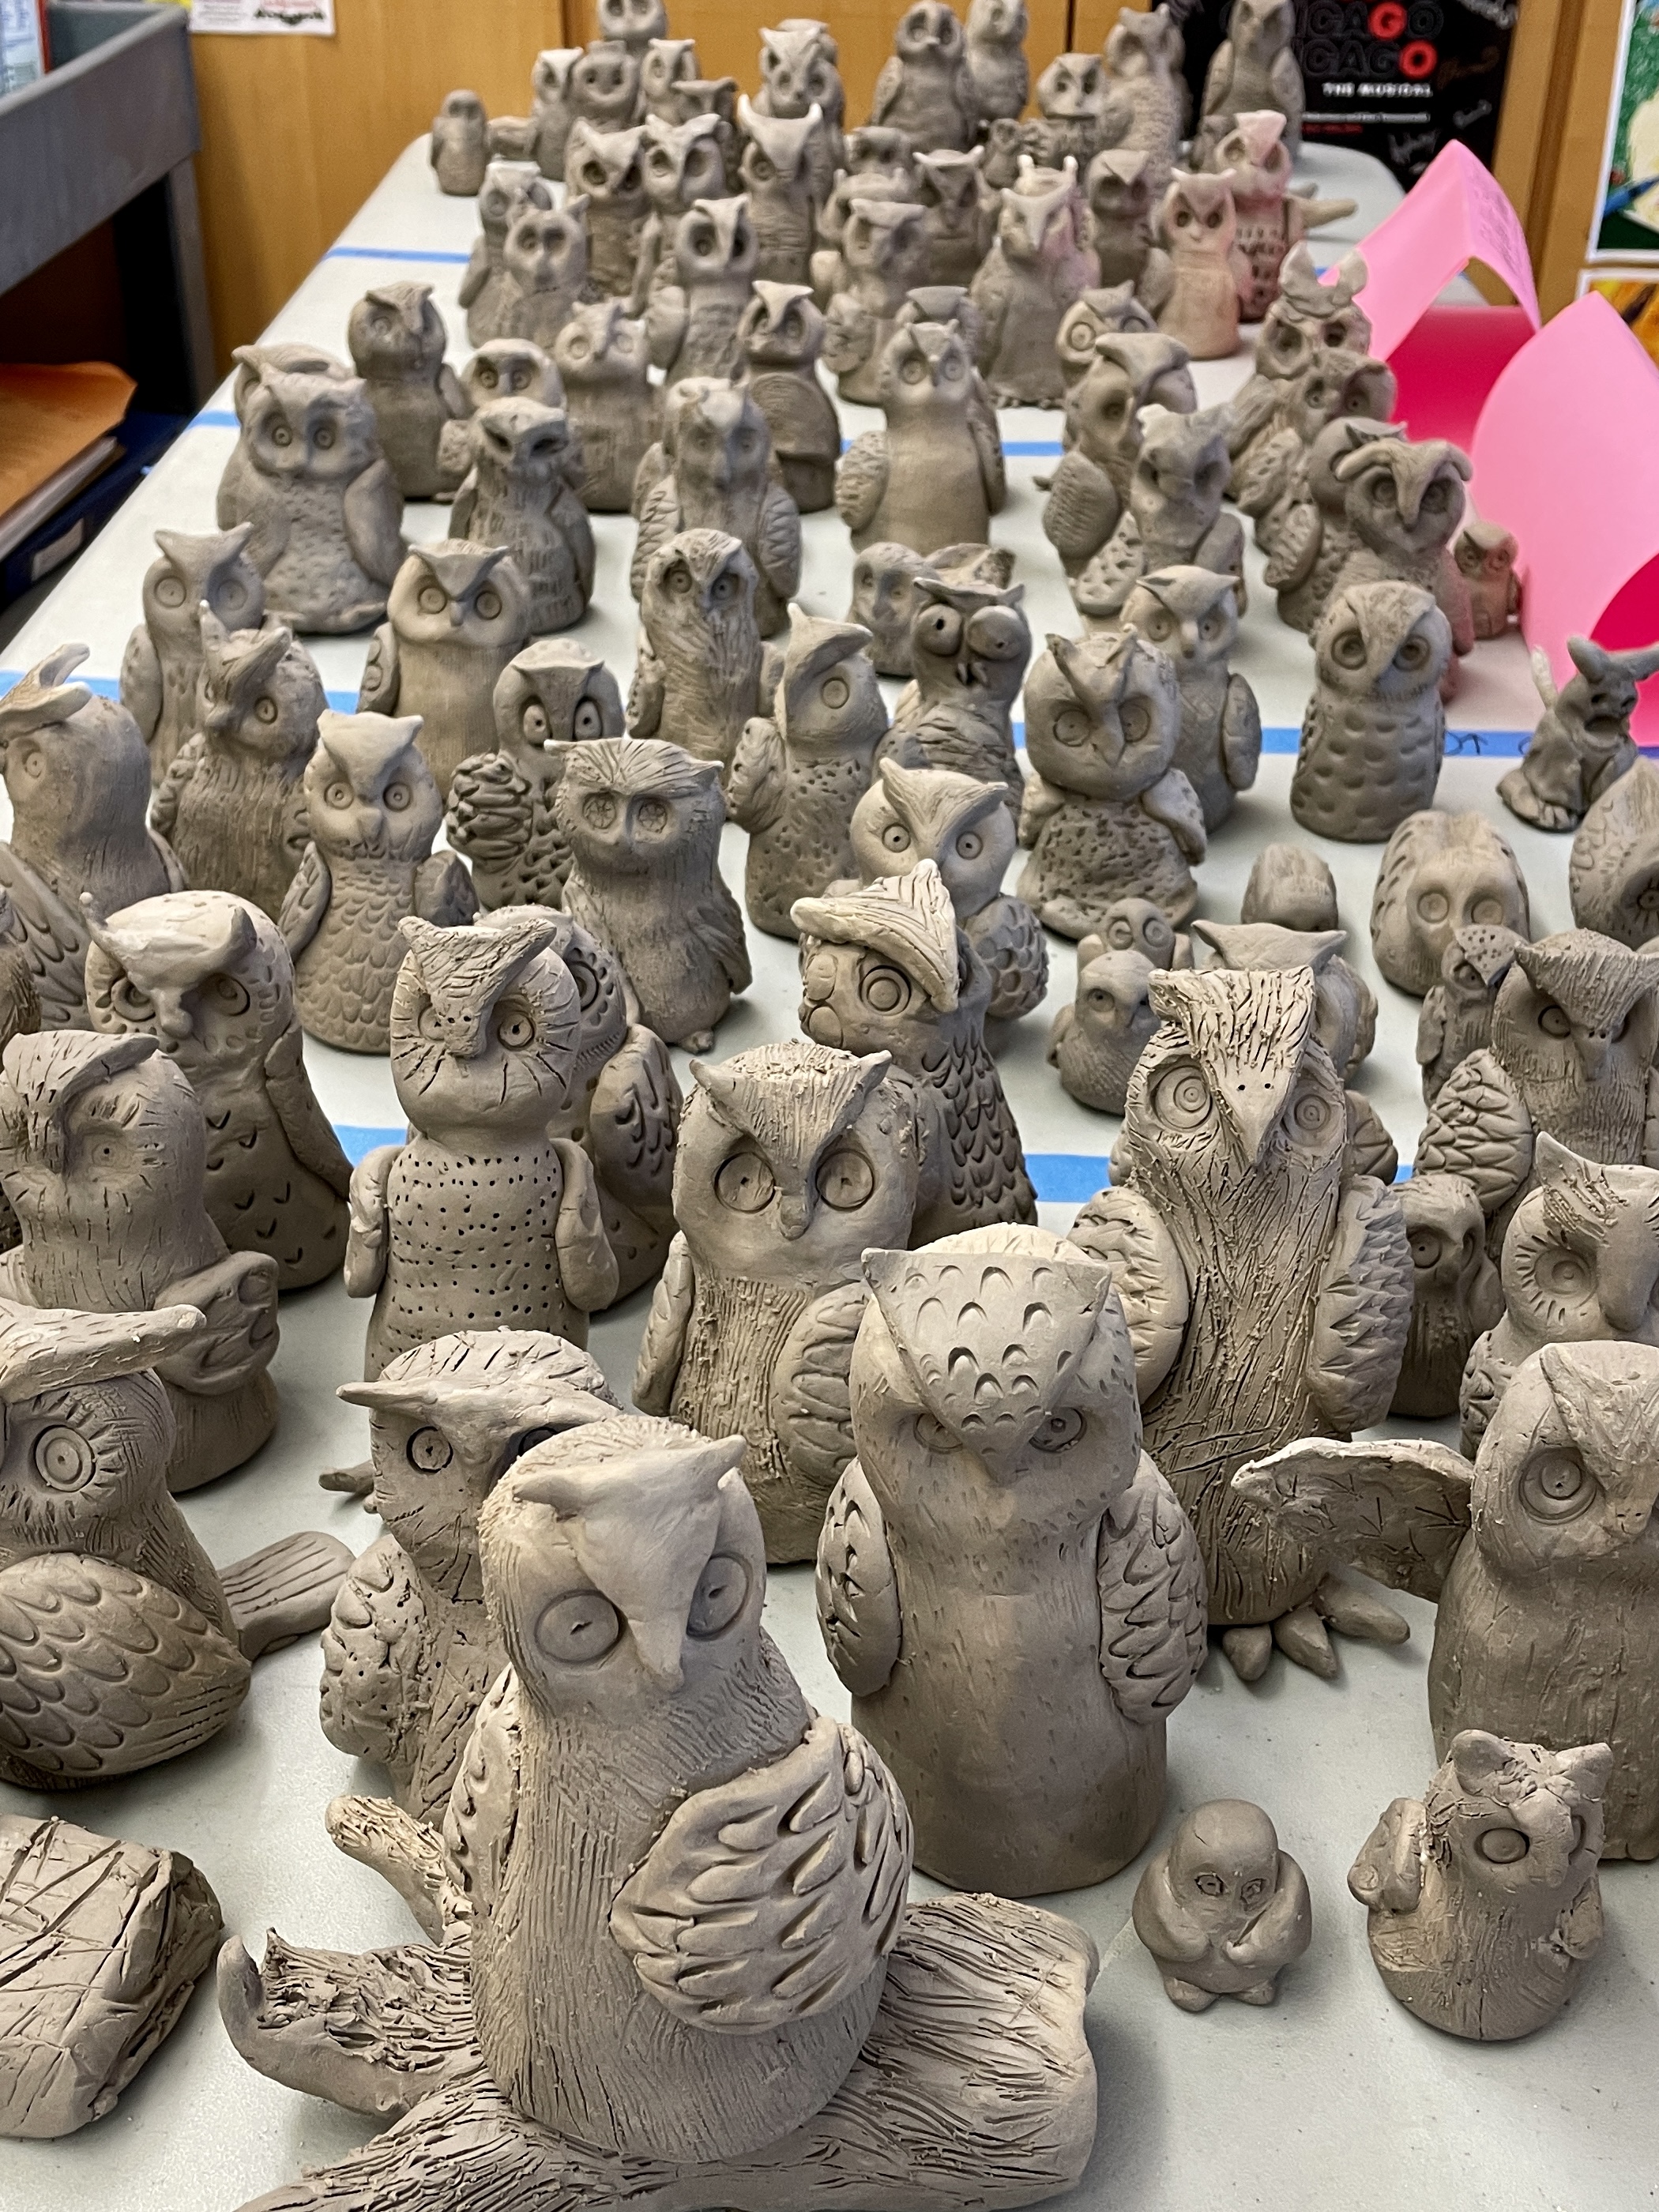
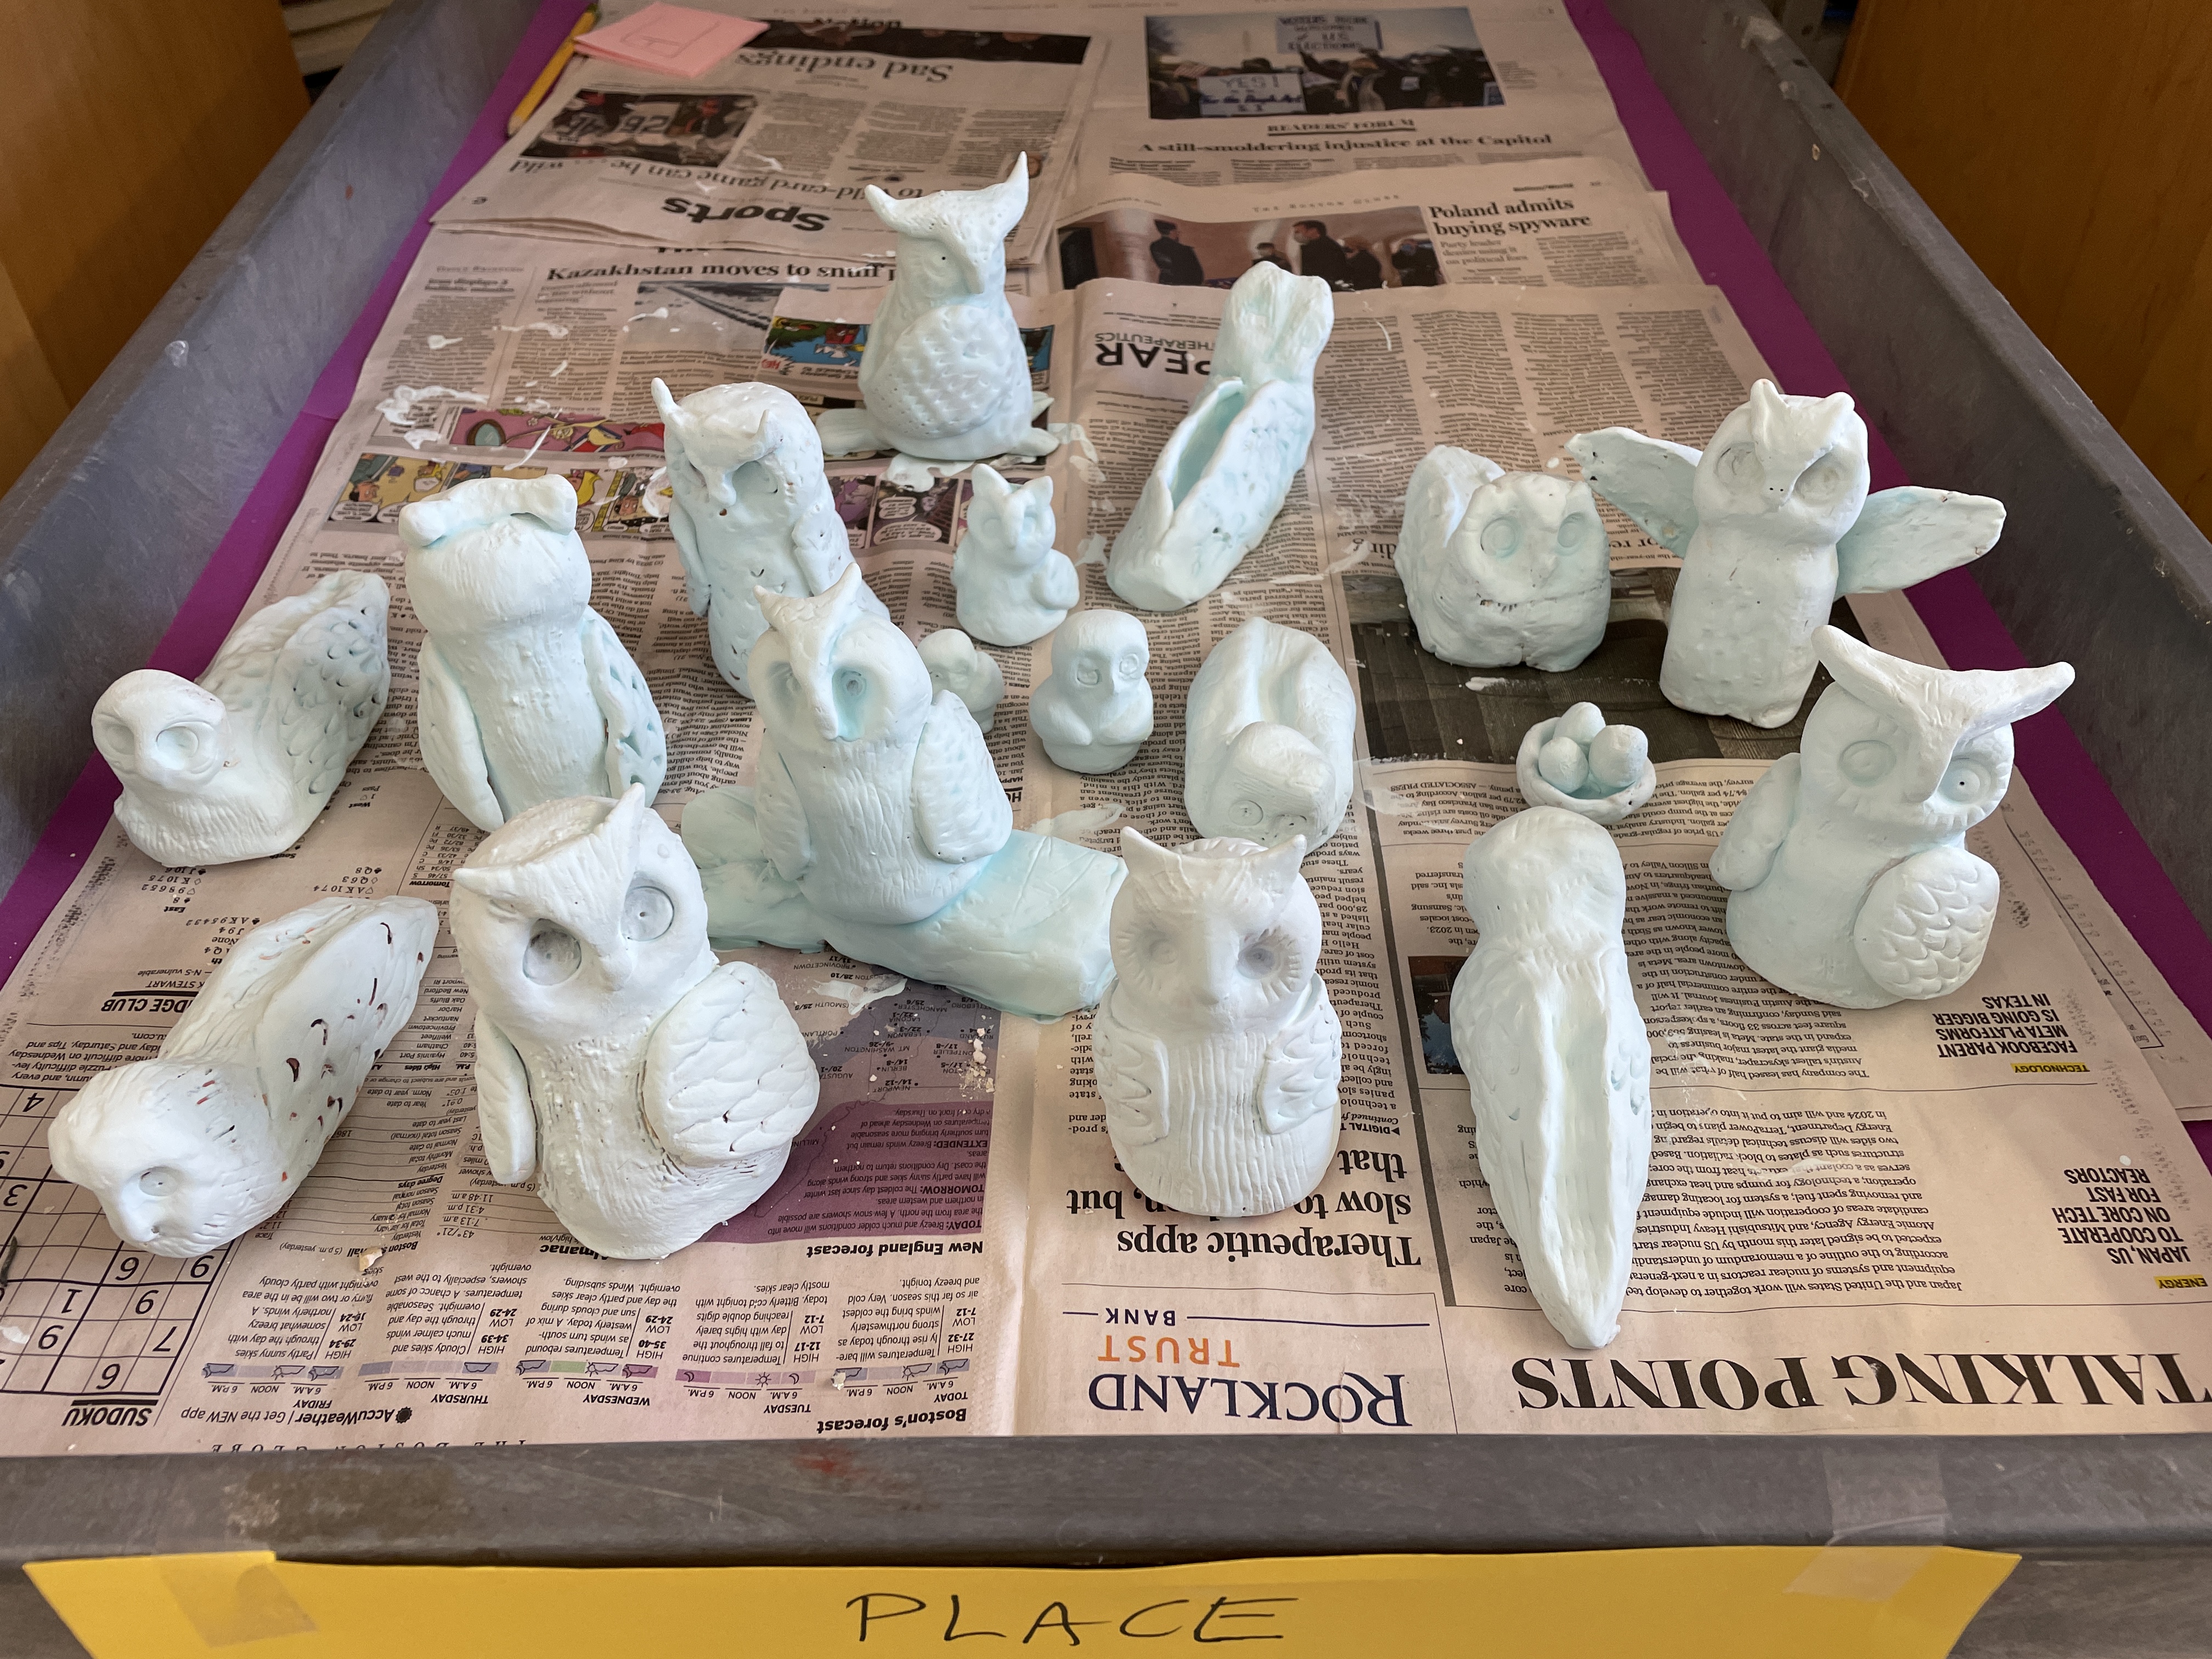
Before we handled the clay in my 7th grade classes, we discussed the difference between subtractive and additive sculpture. Subtractive sculpture would be an example of a carved wooden bowl, or a marble figure sculpture. Basically, you have a fixed amount of material such as a block of stone or wood and you carve away to reveal the desired form. Additive sculpture allows you to combine, connect or layer material to create a three dimensional form from the base outward. We tried to replicate these principles with our owl sculptures. Each student sculpted two owls. First we made a subtractive sculpture owl using a single piece of clay which we pulled, formed, and carved to create the desired form. (While not truly subtractive, it was simple and quick.) For our second (additive sculpture) owl, students started with a lump of clay to form a basic head and body shape, then used additional clay to create and attach wings, horns, feet, tails, and a beak using the “Score and Slip” method of joining clay. Both owls received textures with various tools and objects and then were allowed to dry slowly before being bisque fired.


— — —
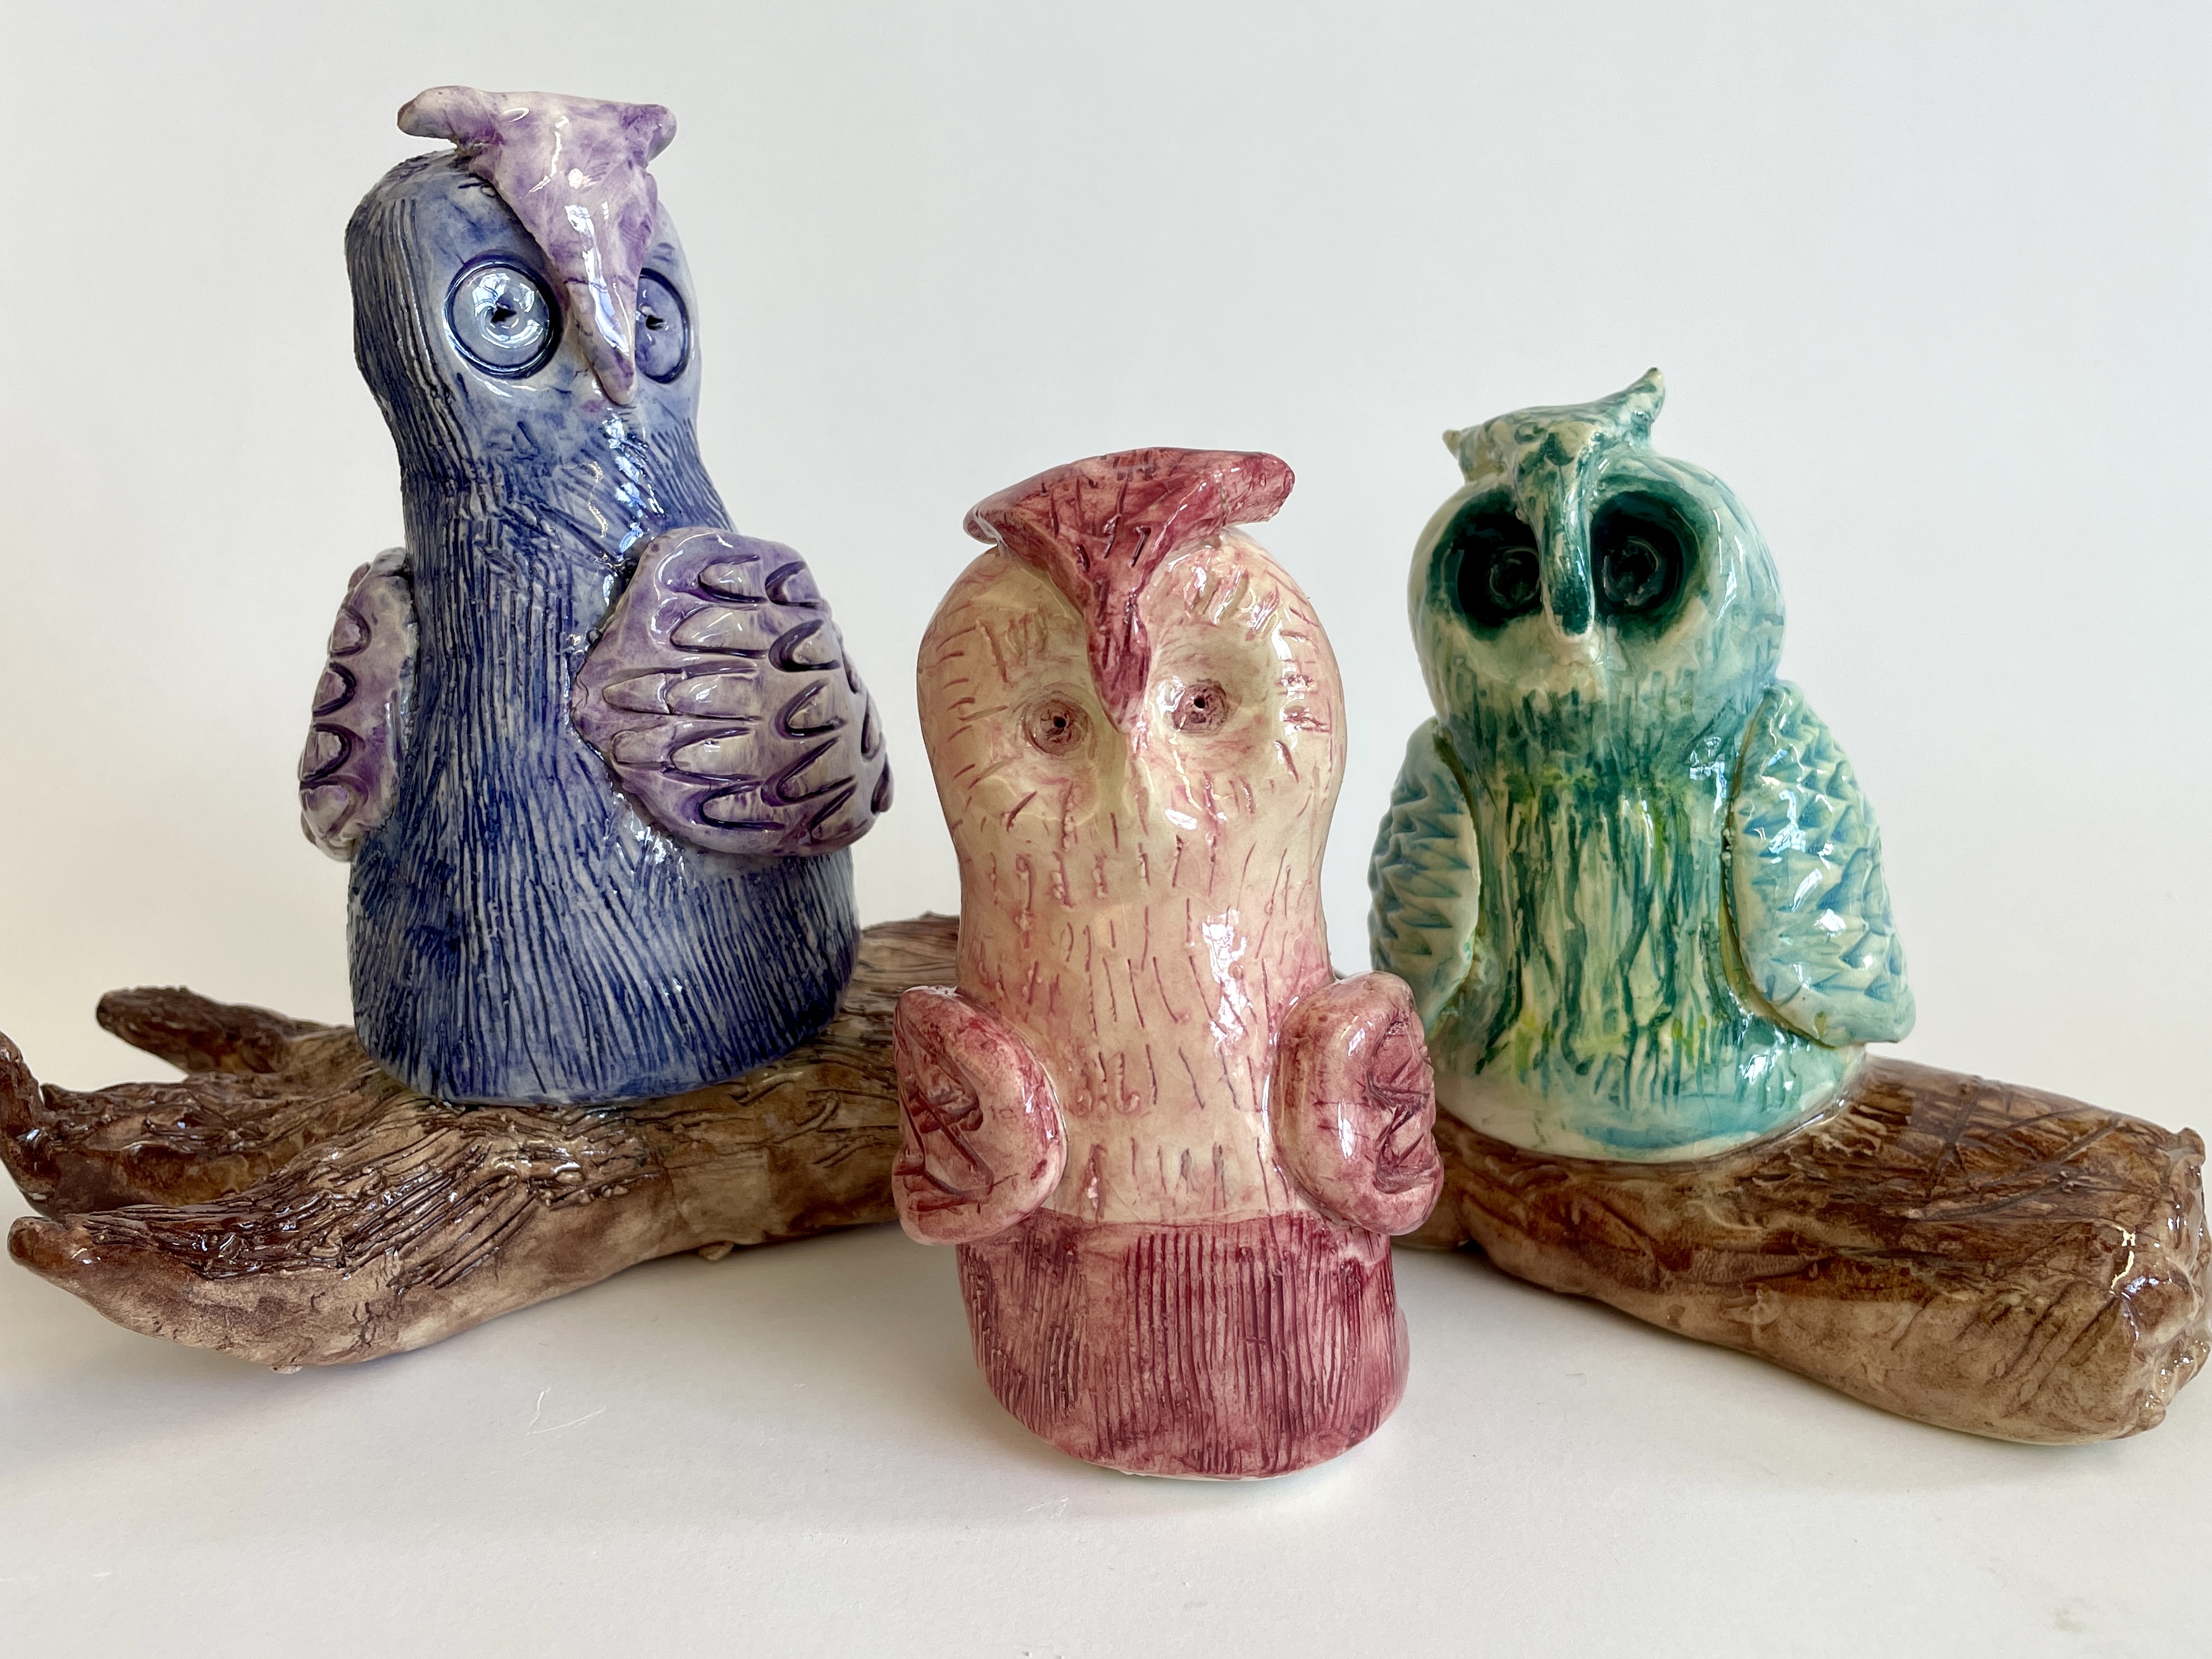
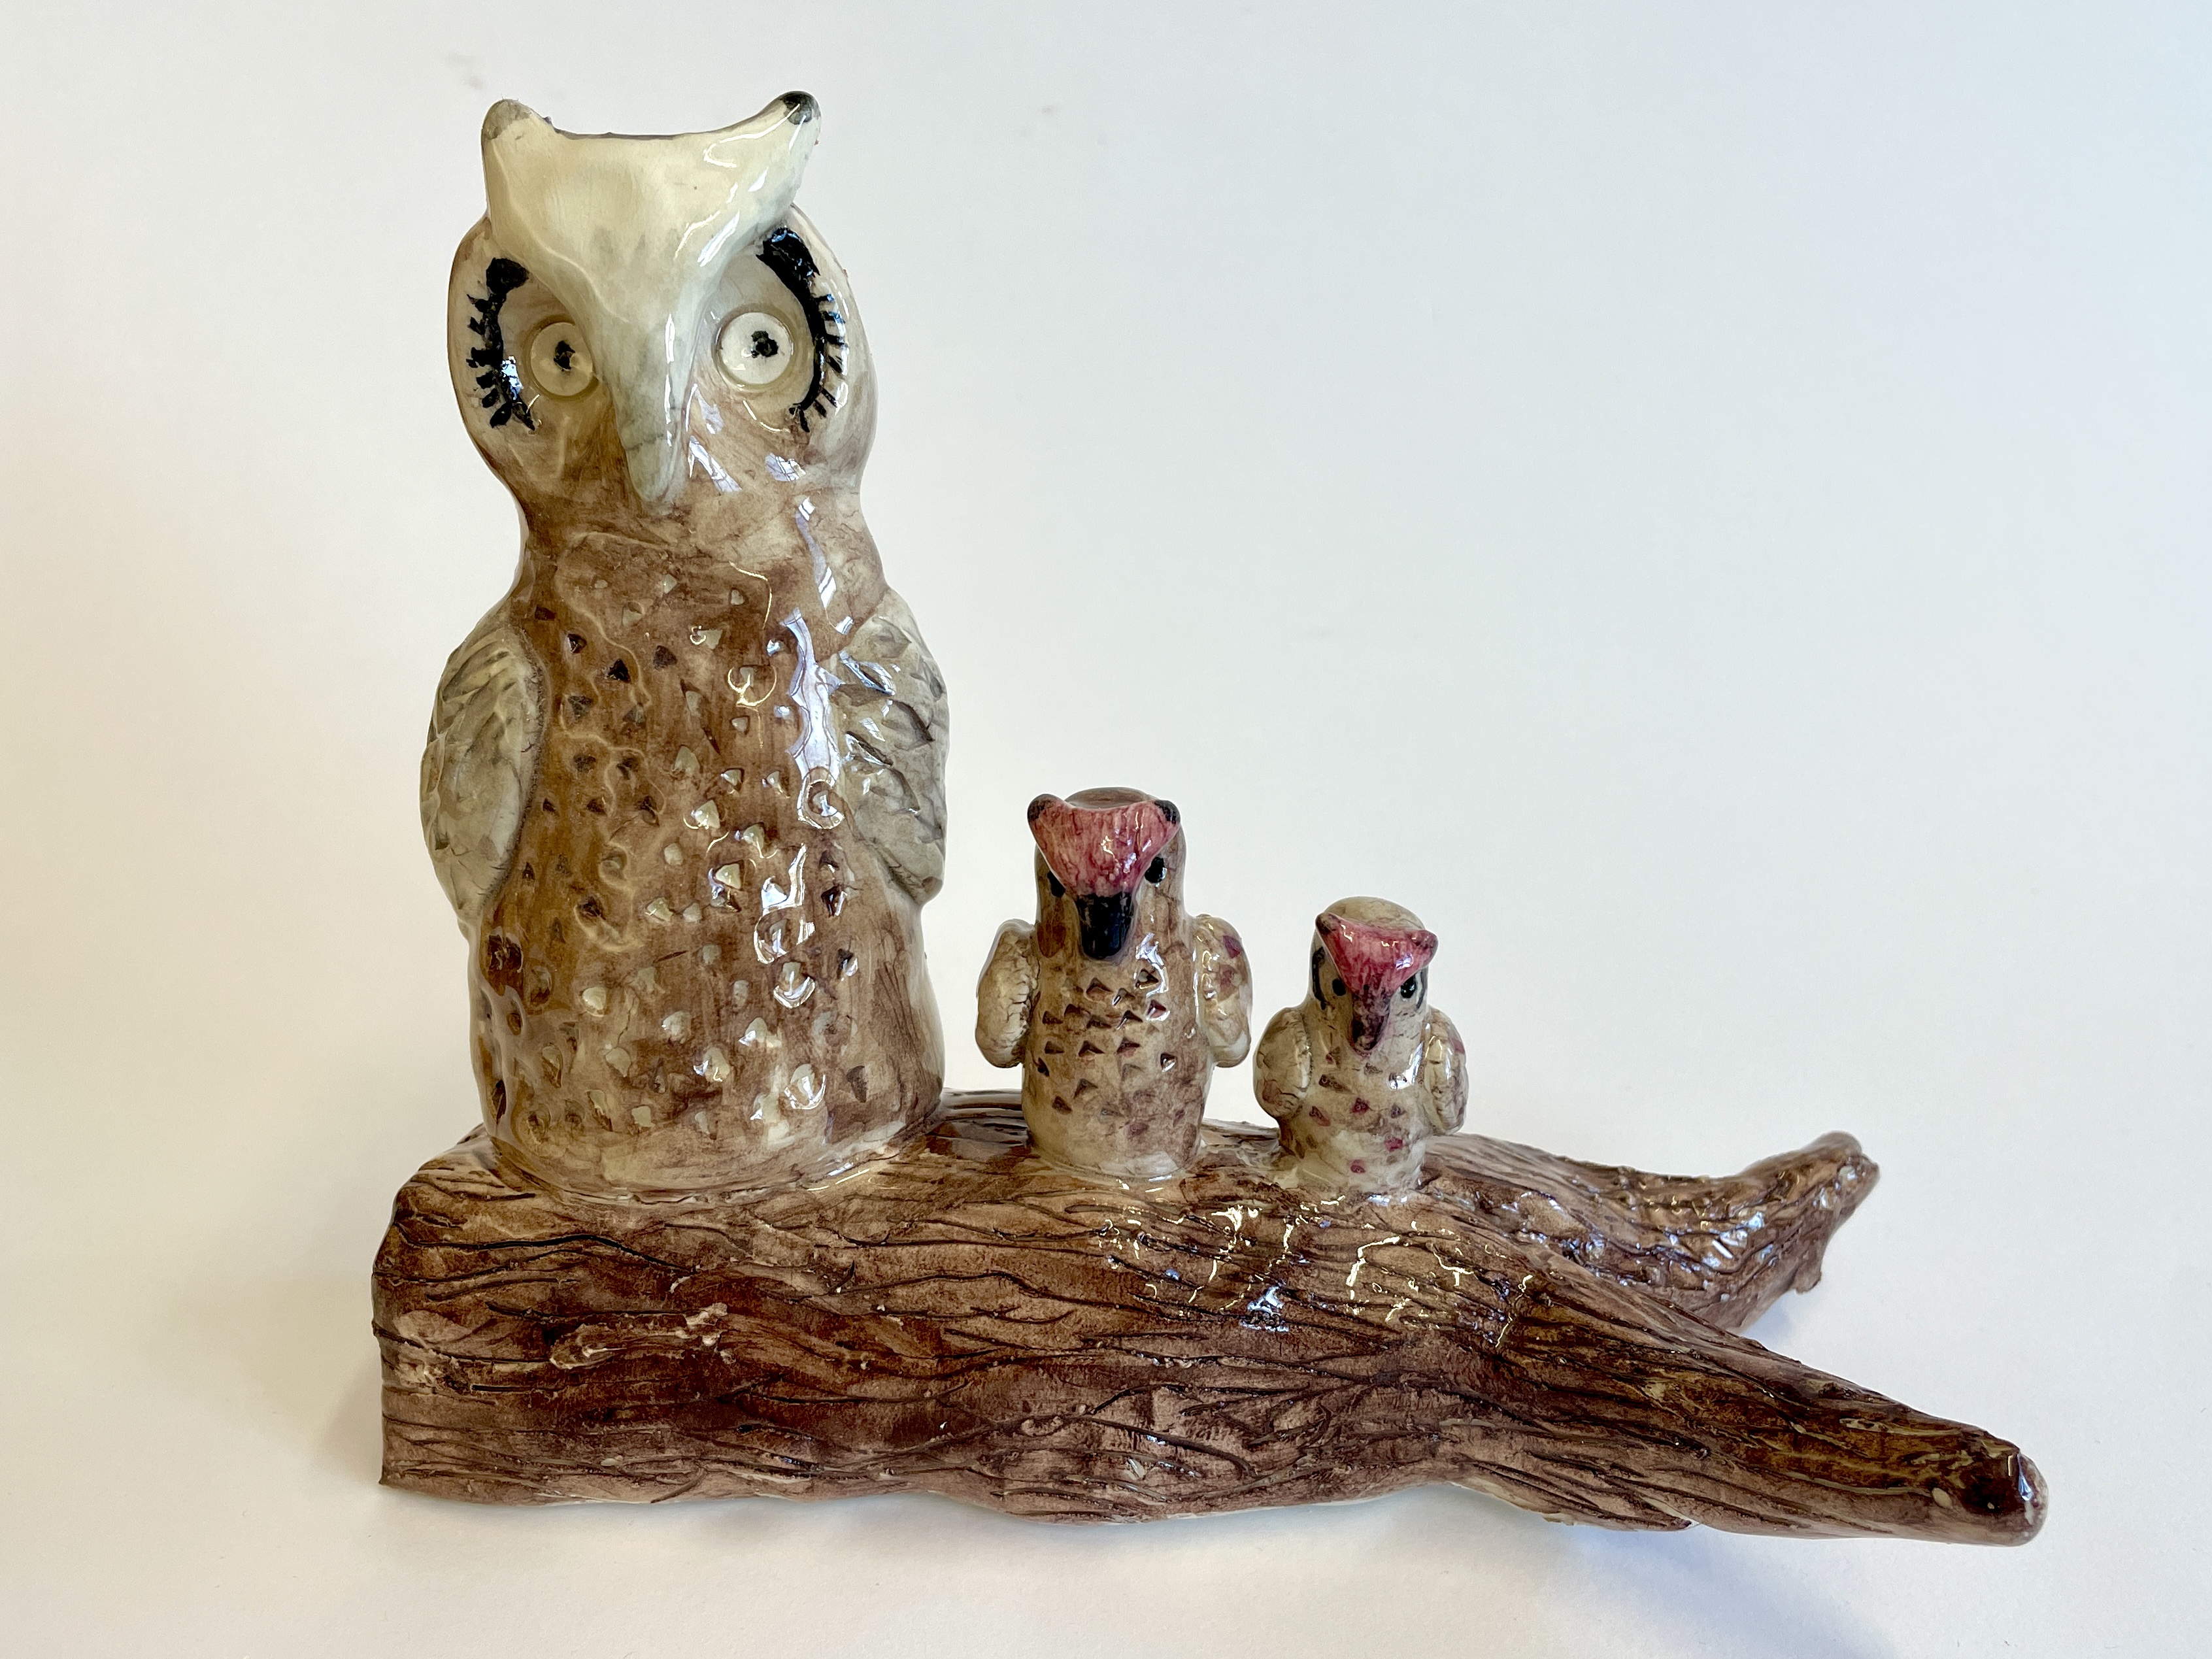
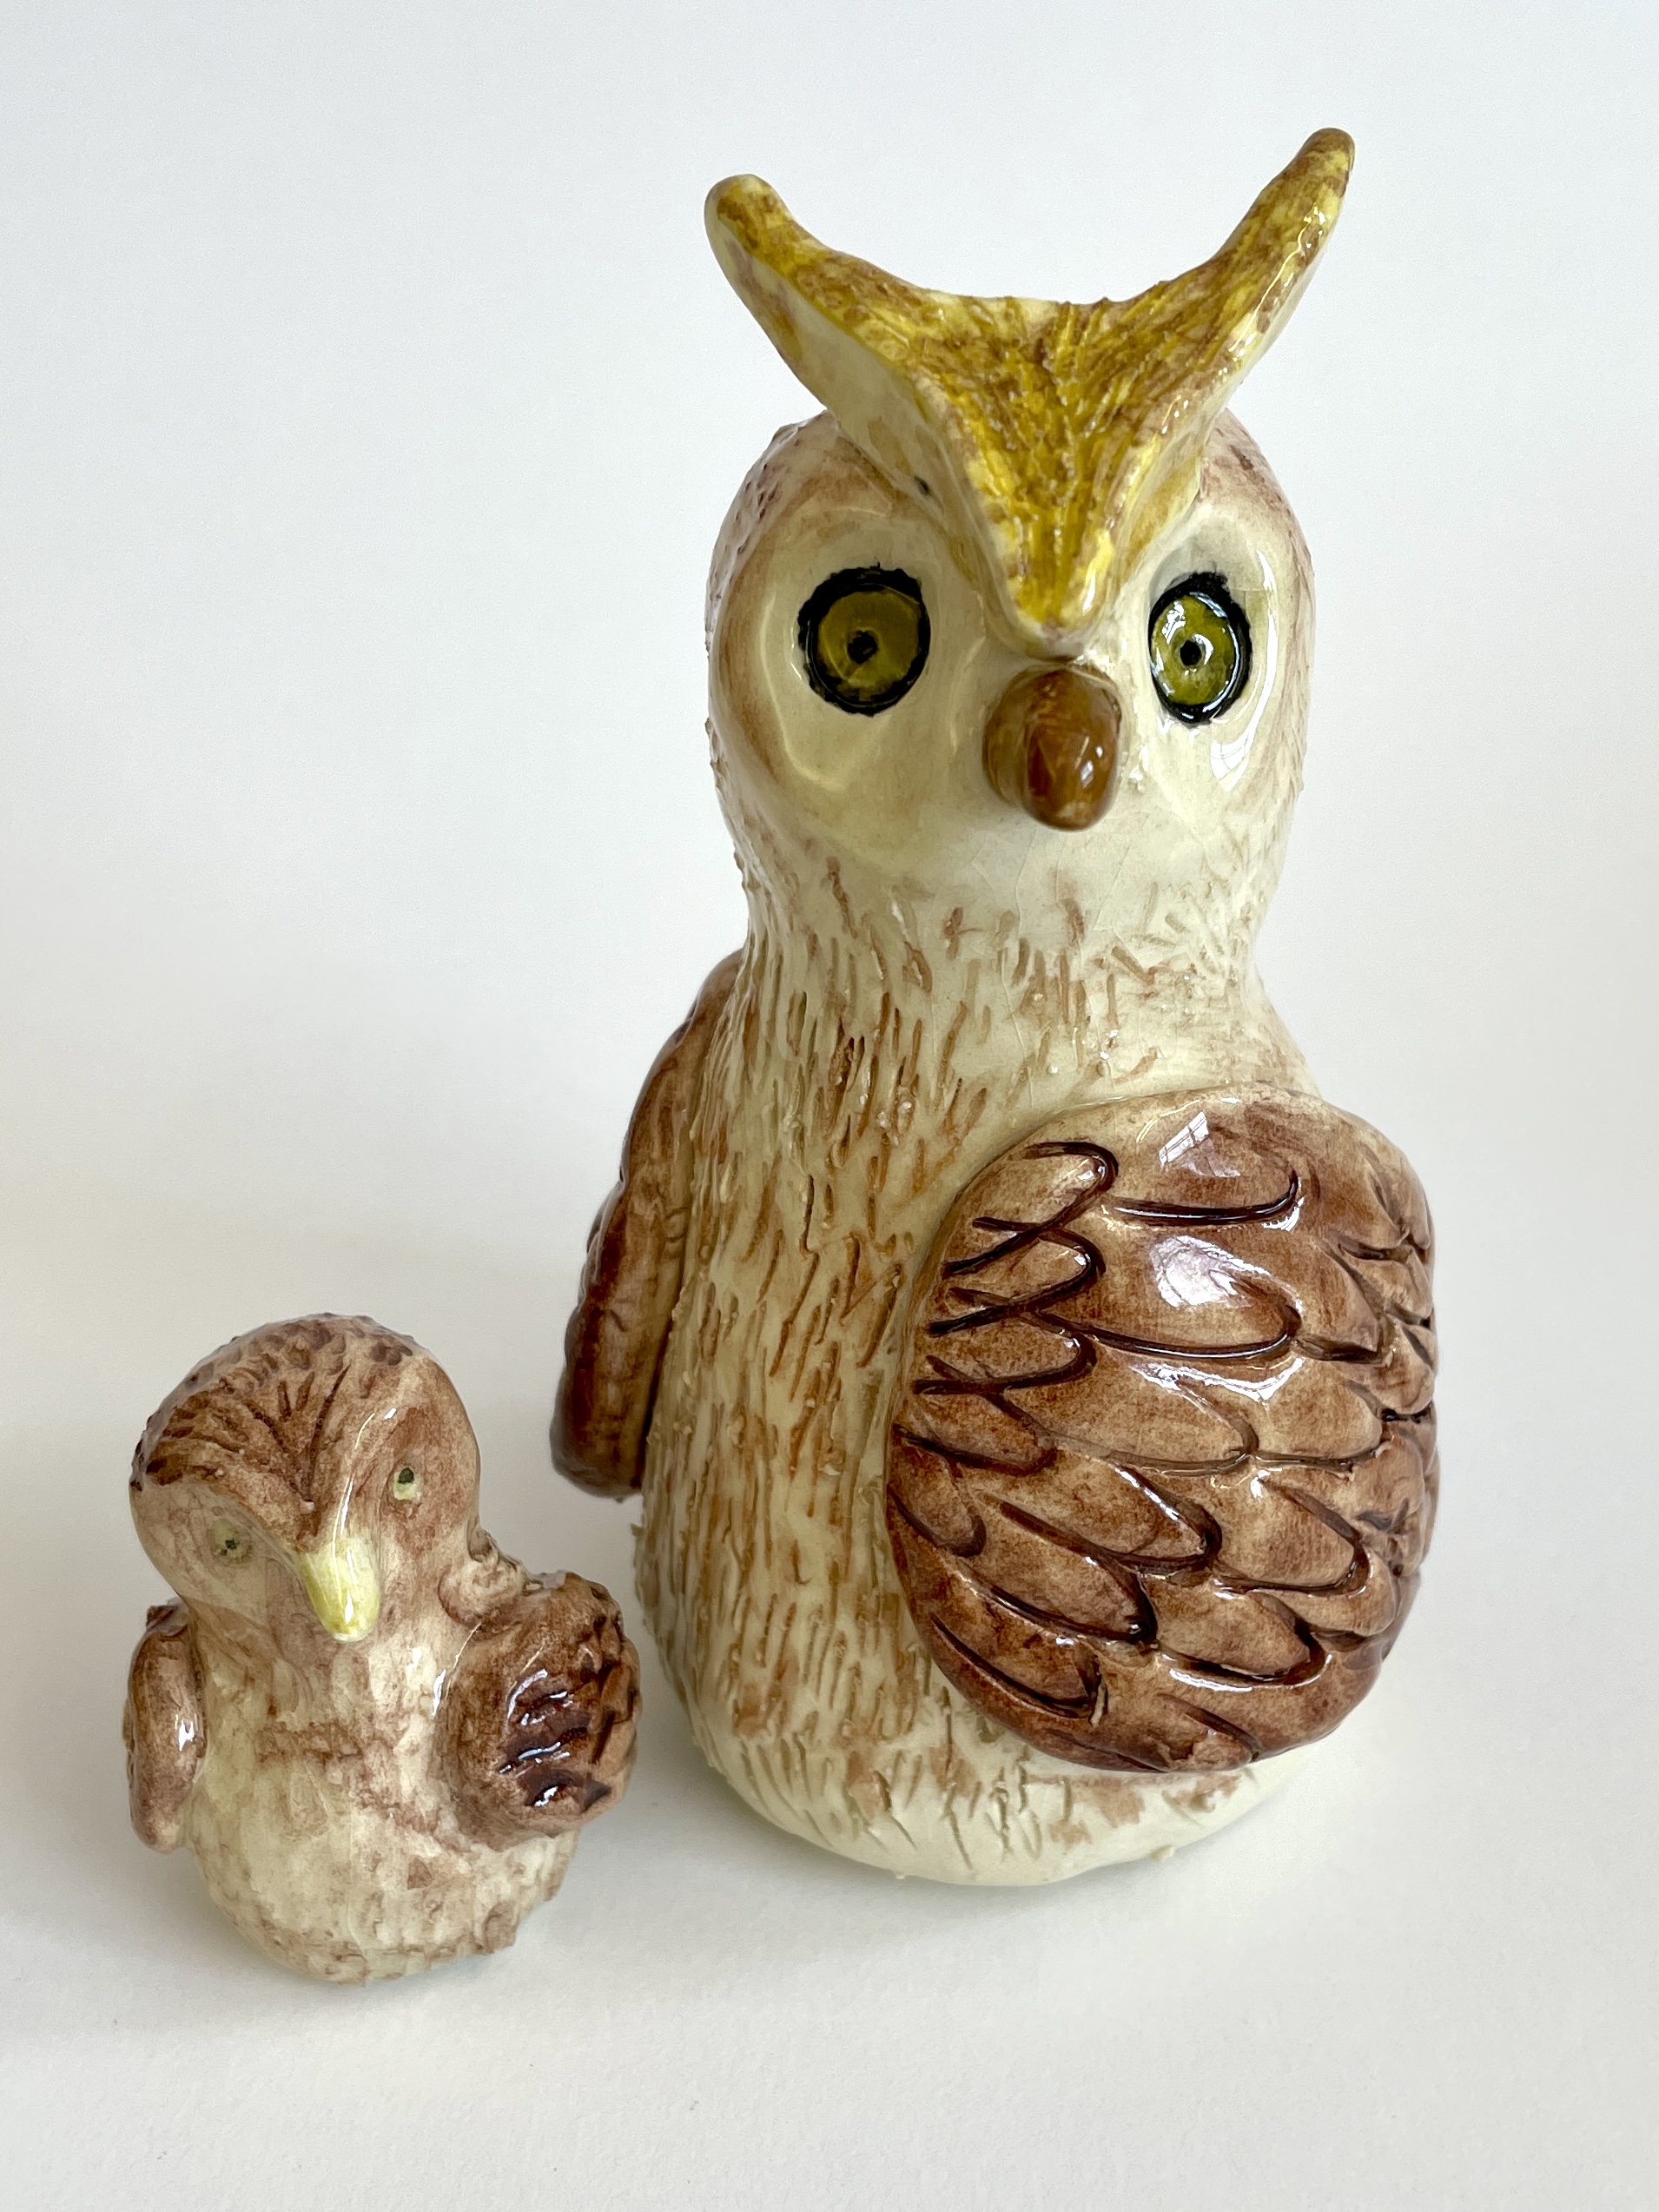
Students who had time to spare were challenged with making baby owls, or a branch for their owl to perch on. Of course, we scored and slipped our owls to the branch.
— — —
Storage Solutions: Clay needs to stay moist between class sessions, and it took my classes one week to make both owls. I have collected these sturdy cardboard produce boxes over the years from my local supermarket. I line them with plastic and use them to house our “in progress” owls overnight. I drape the sculptures with damp paper towels, and slide the whole box into a garbage bag and keep things airtight. Each box fits an entire class worth of owls!

— — —
— — —

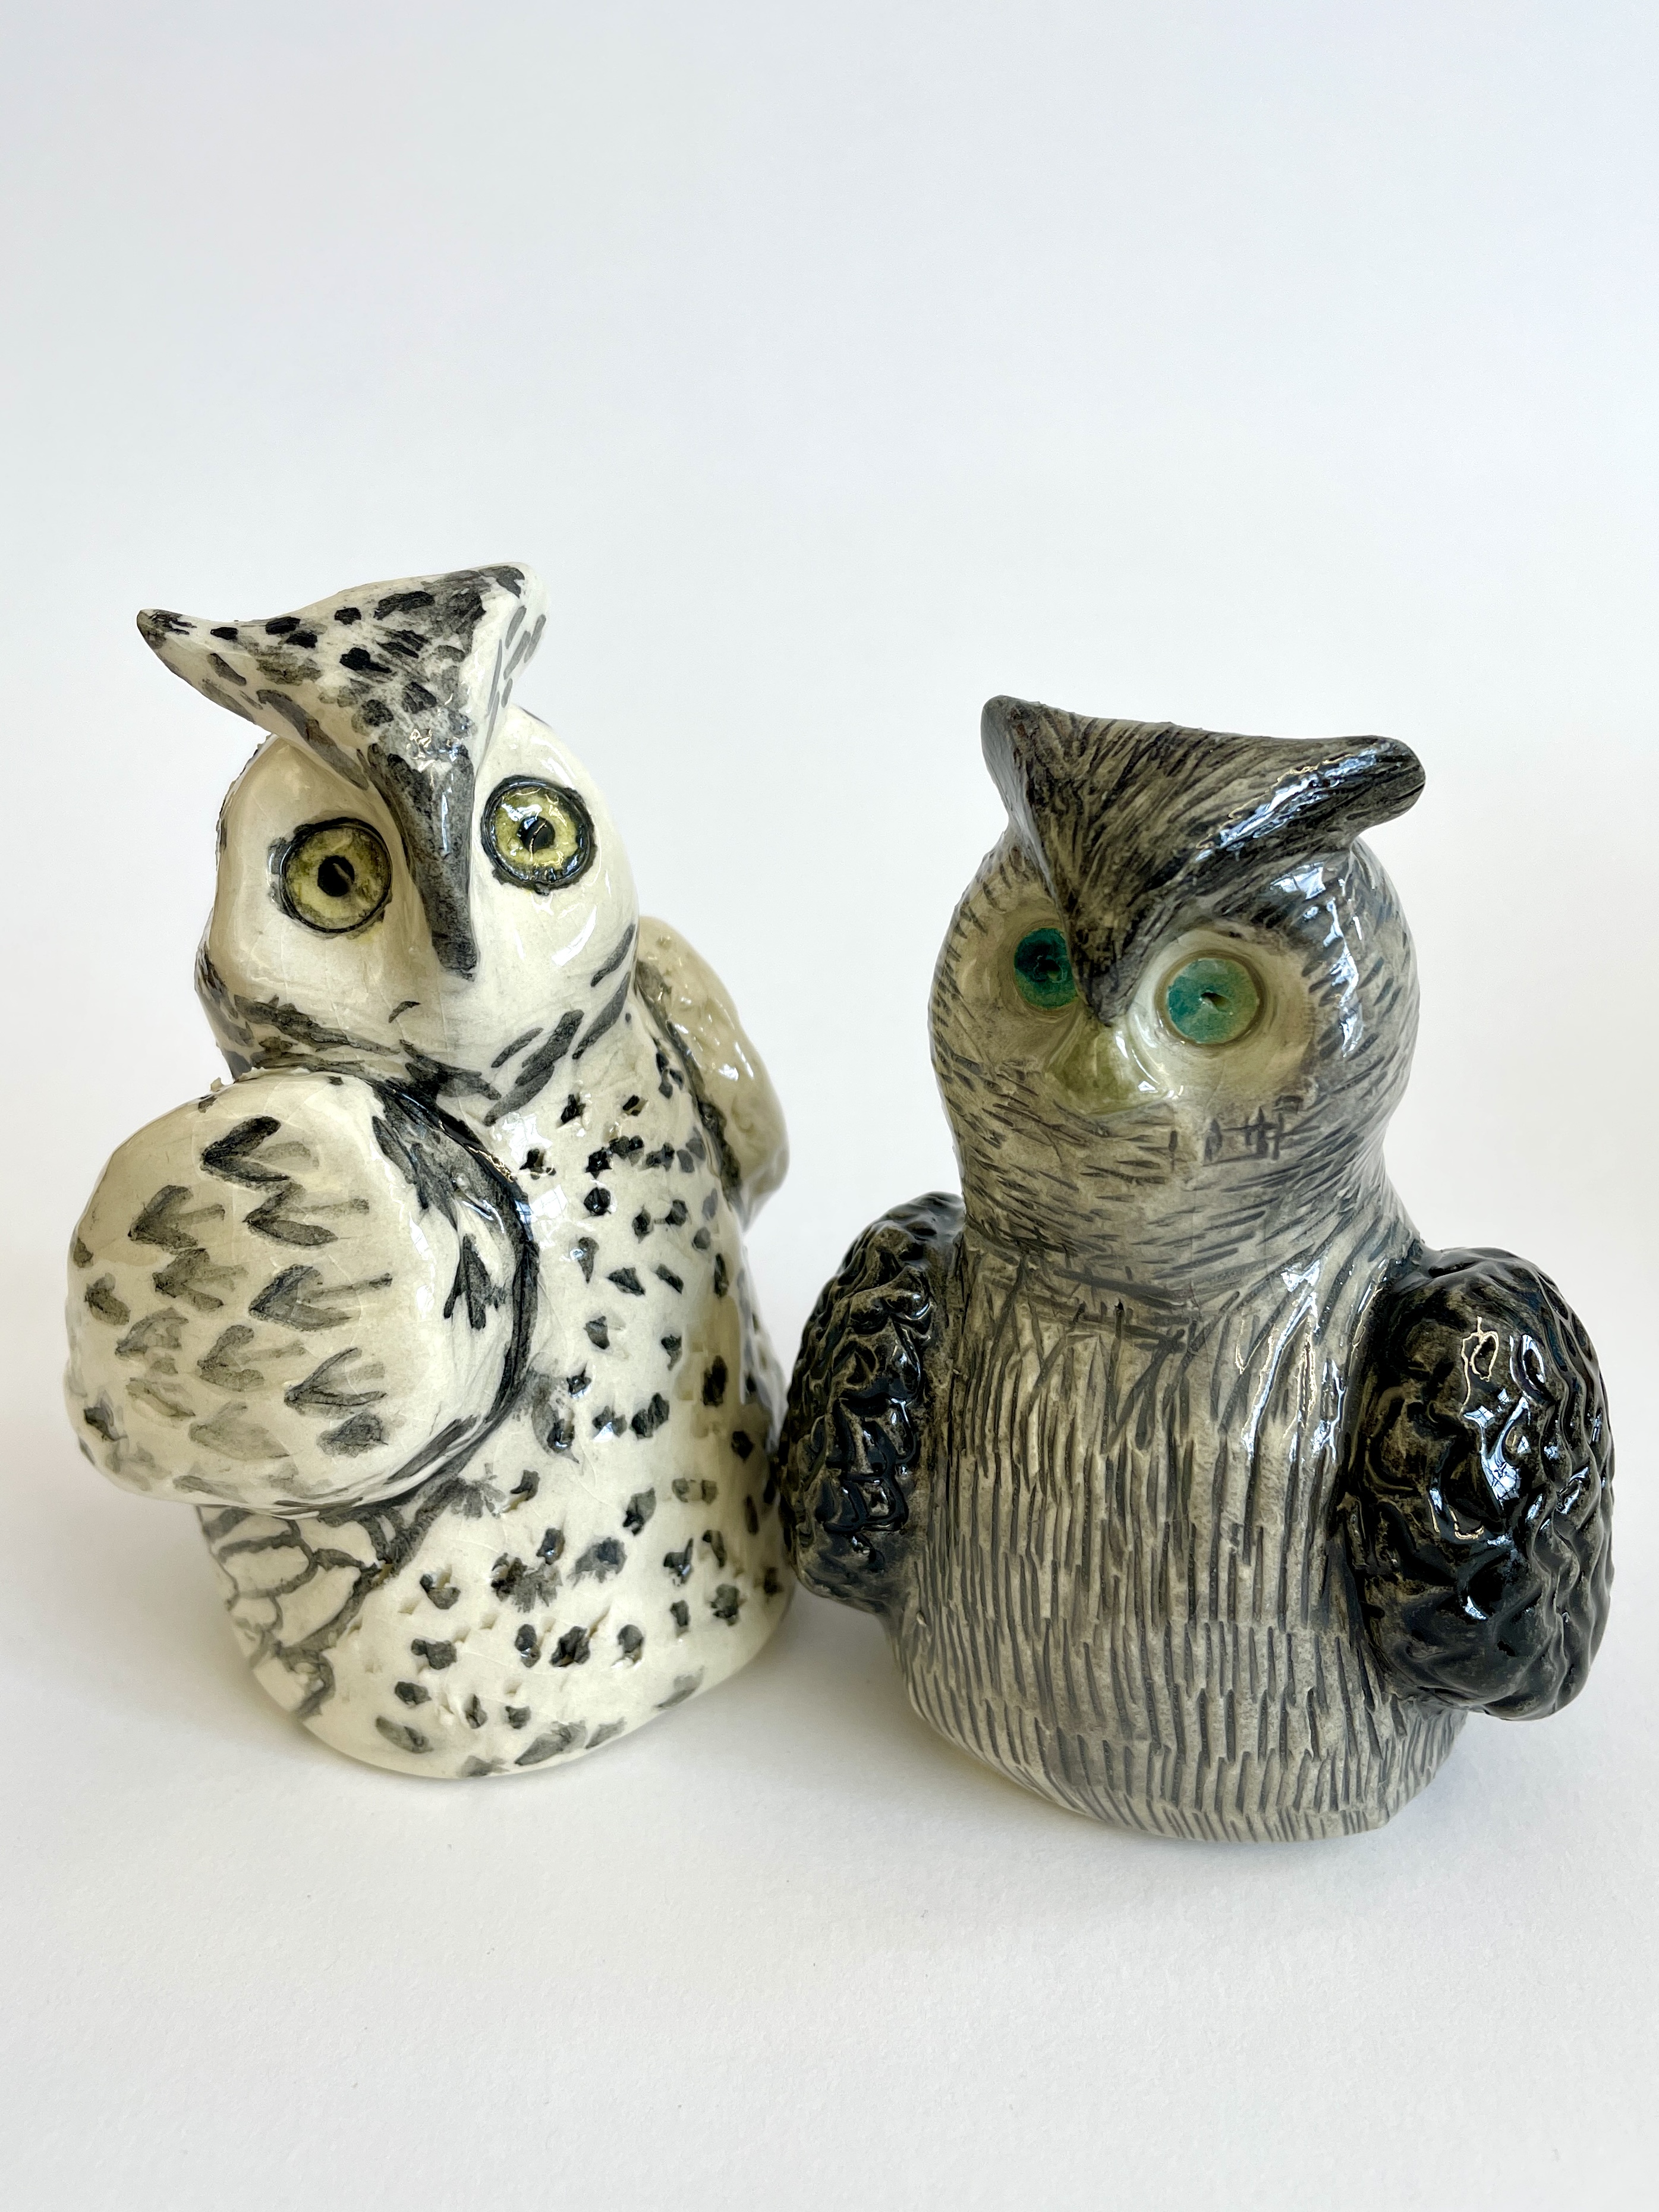
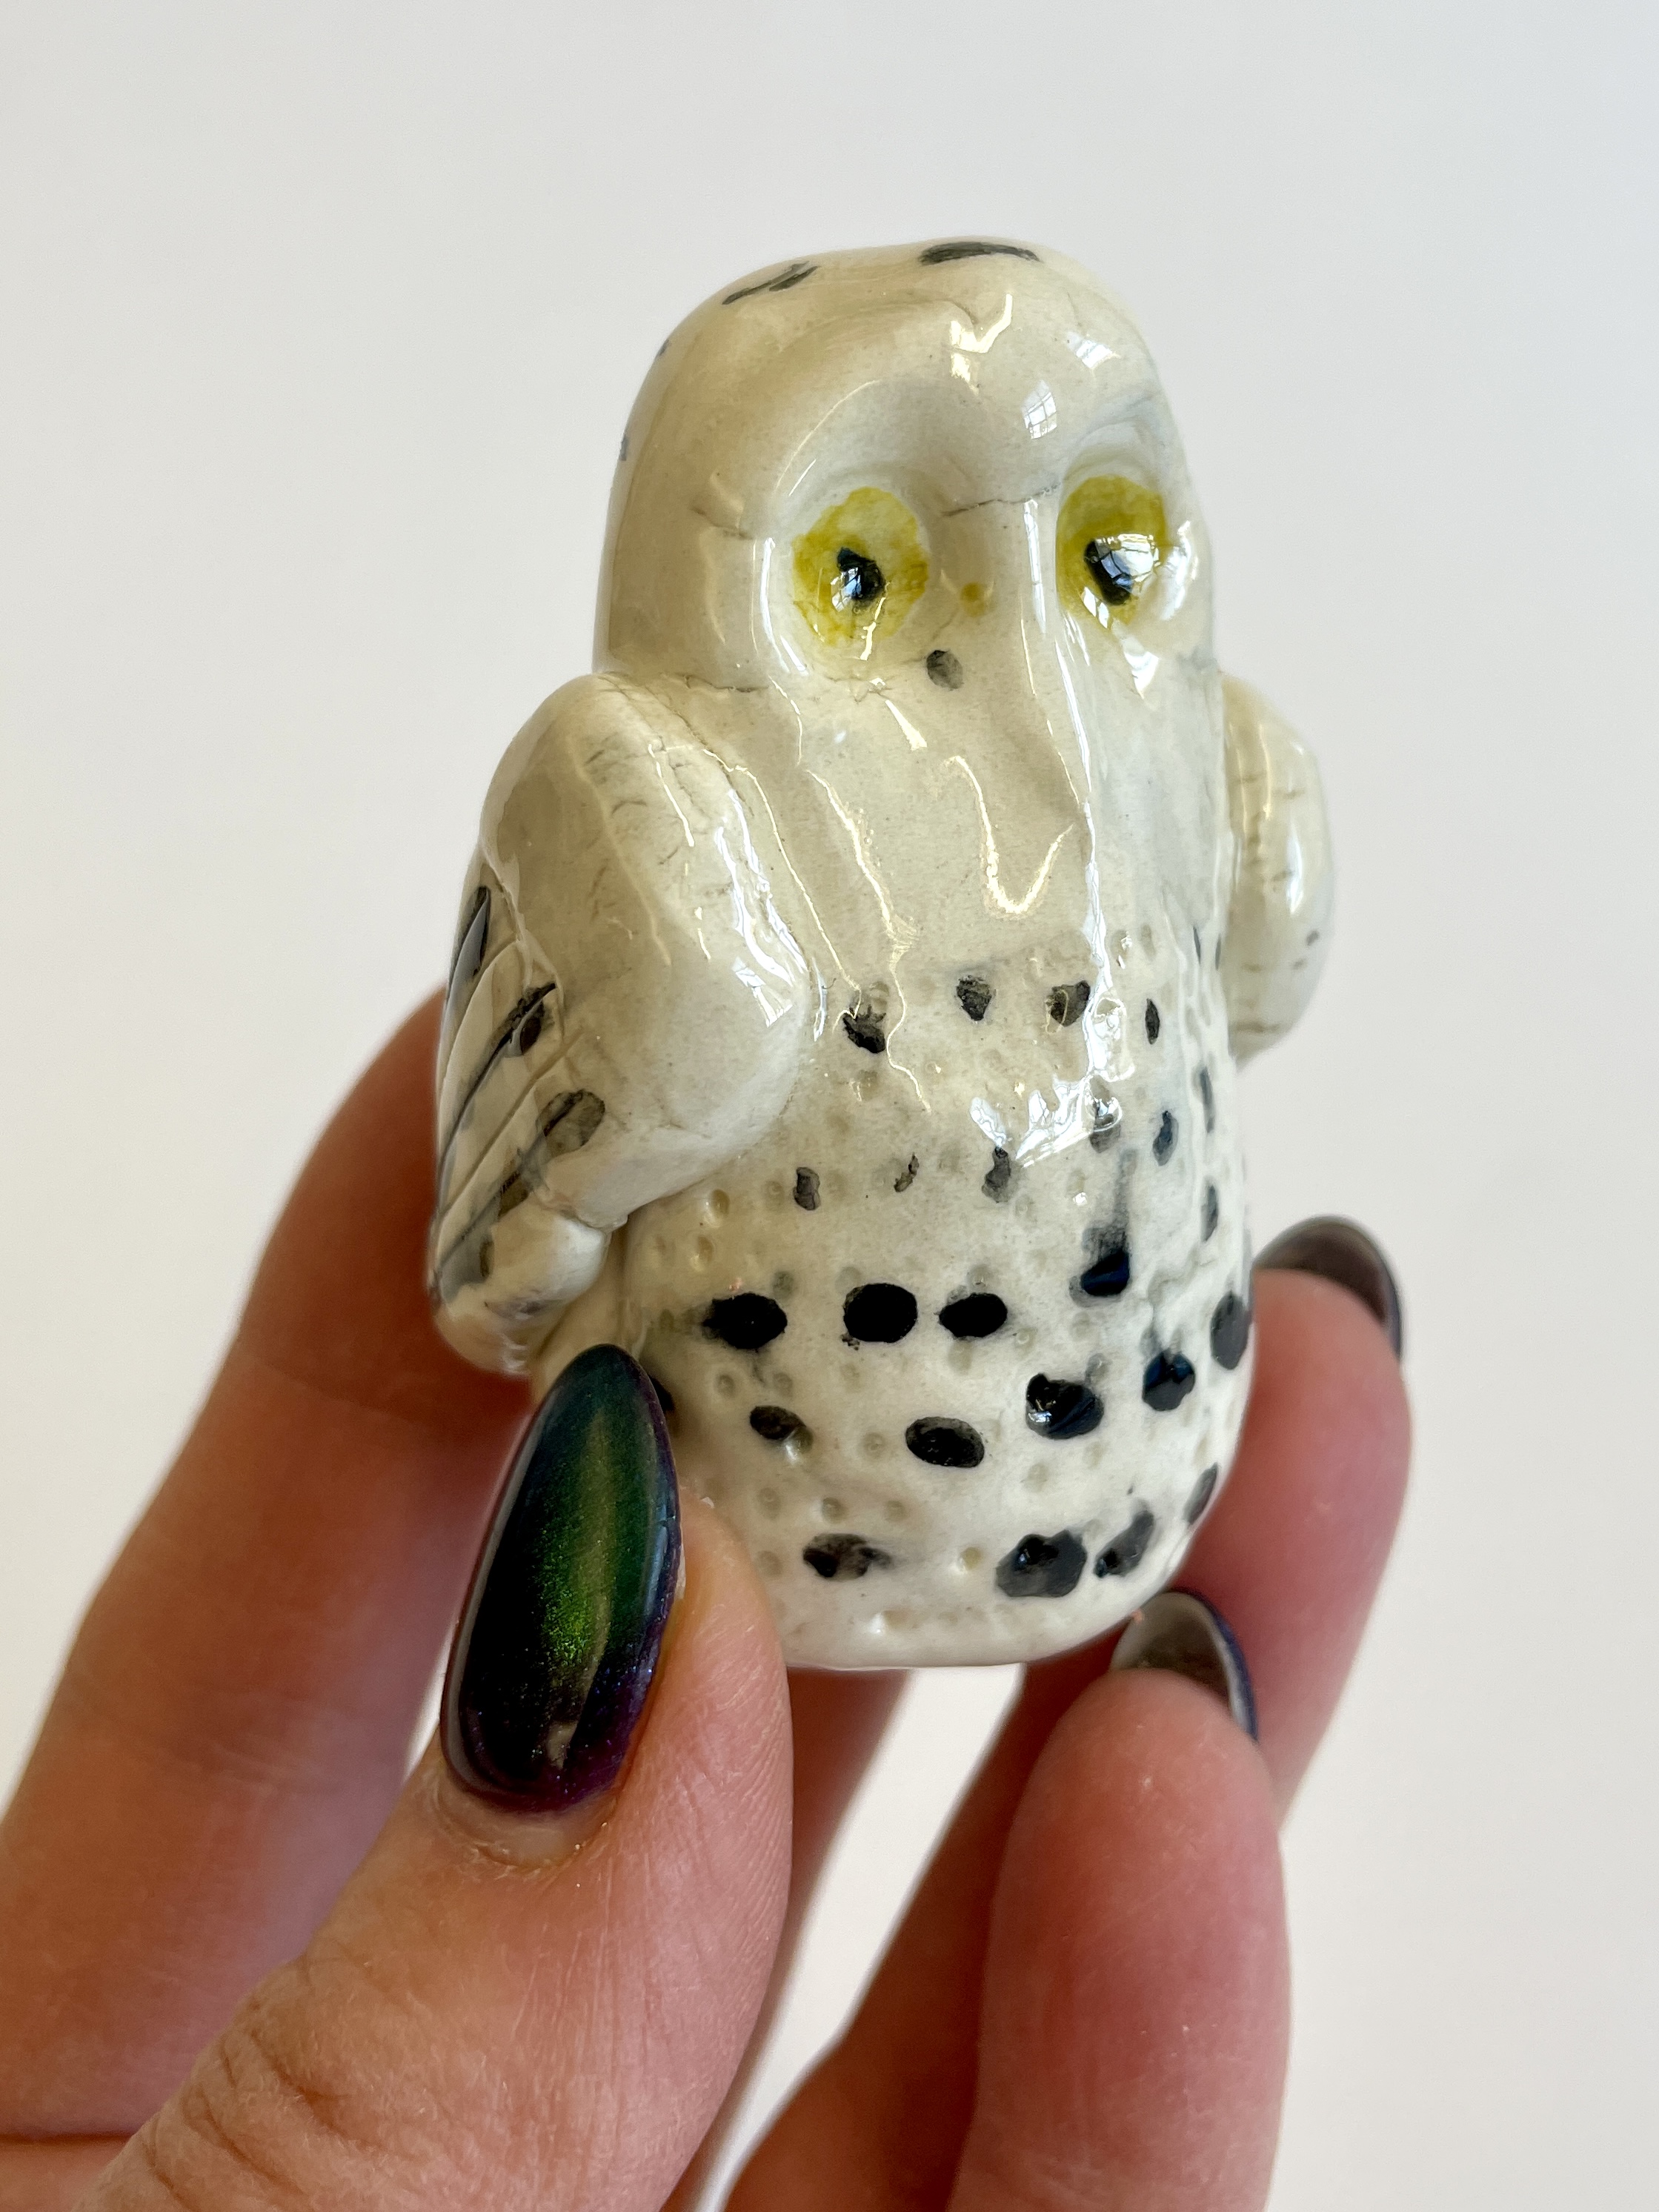
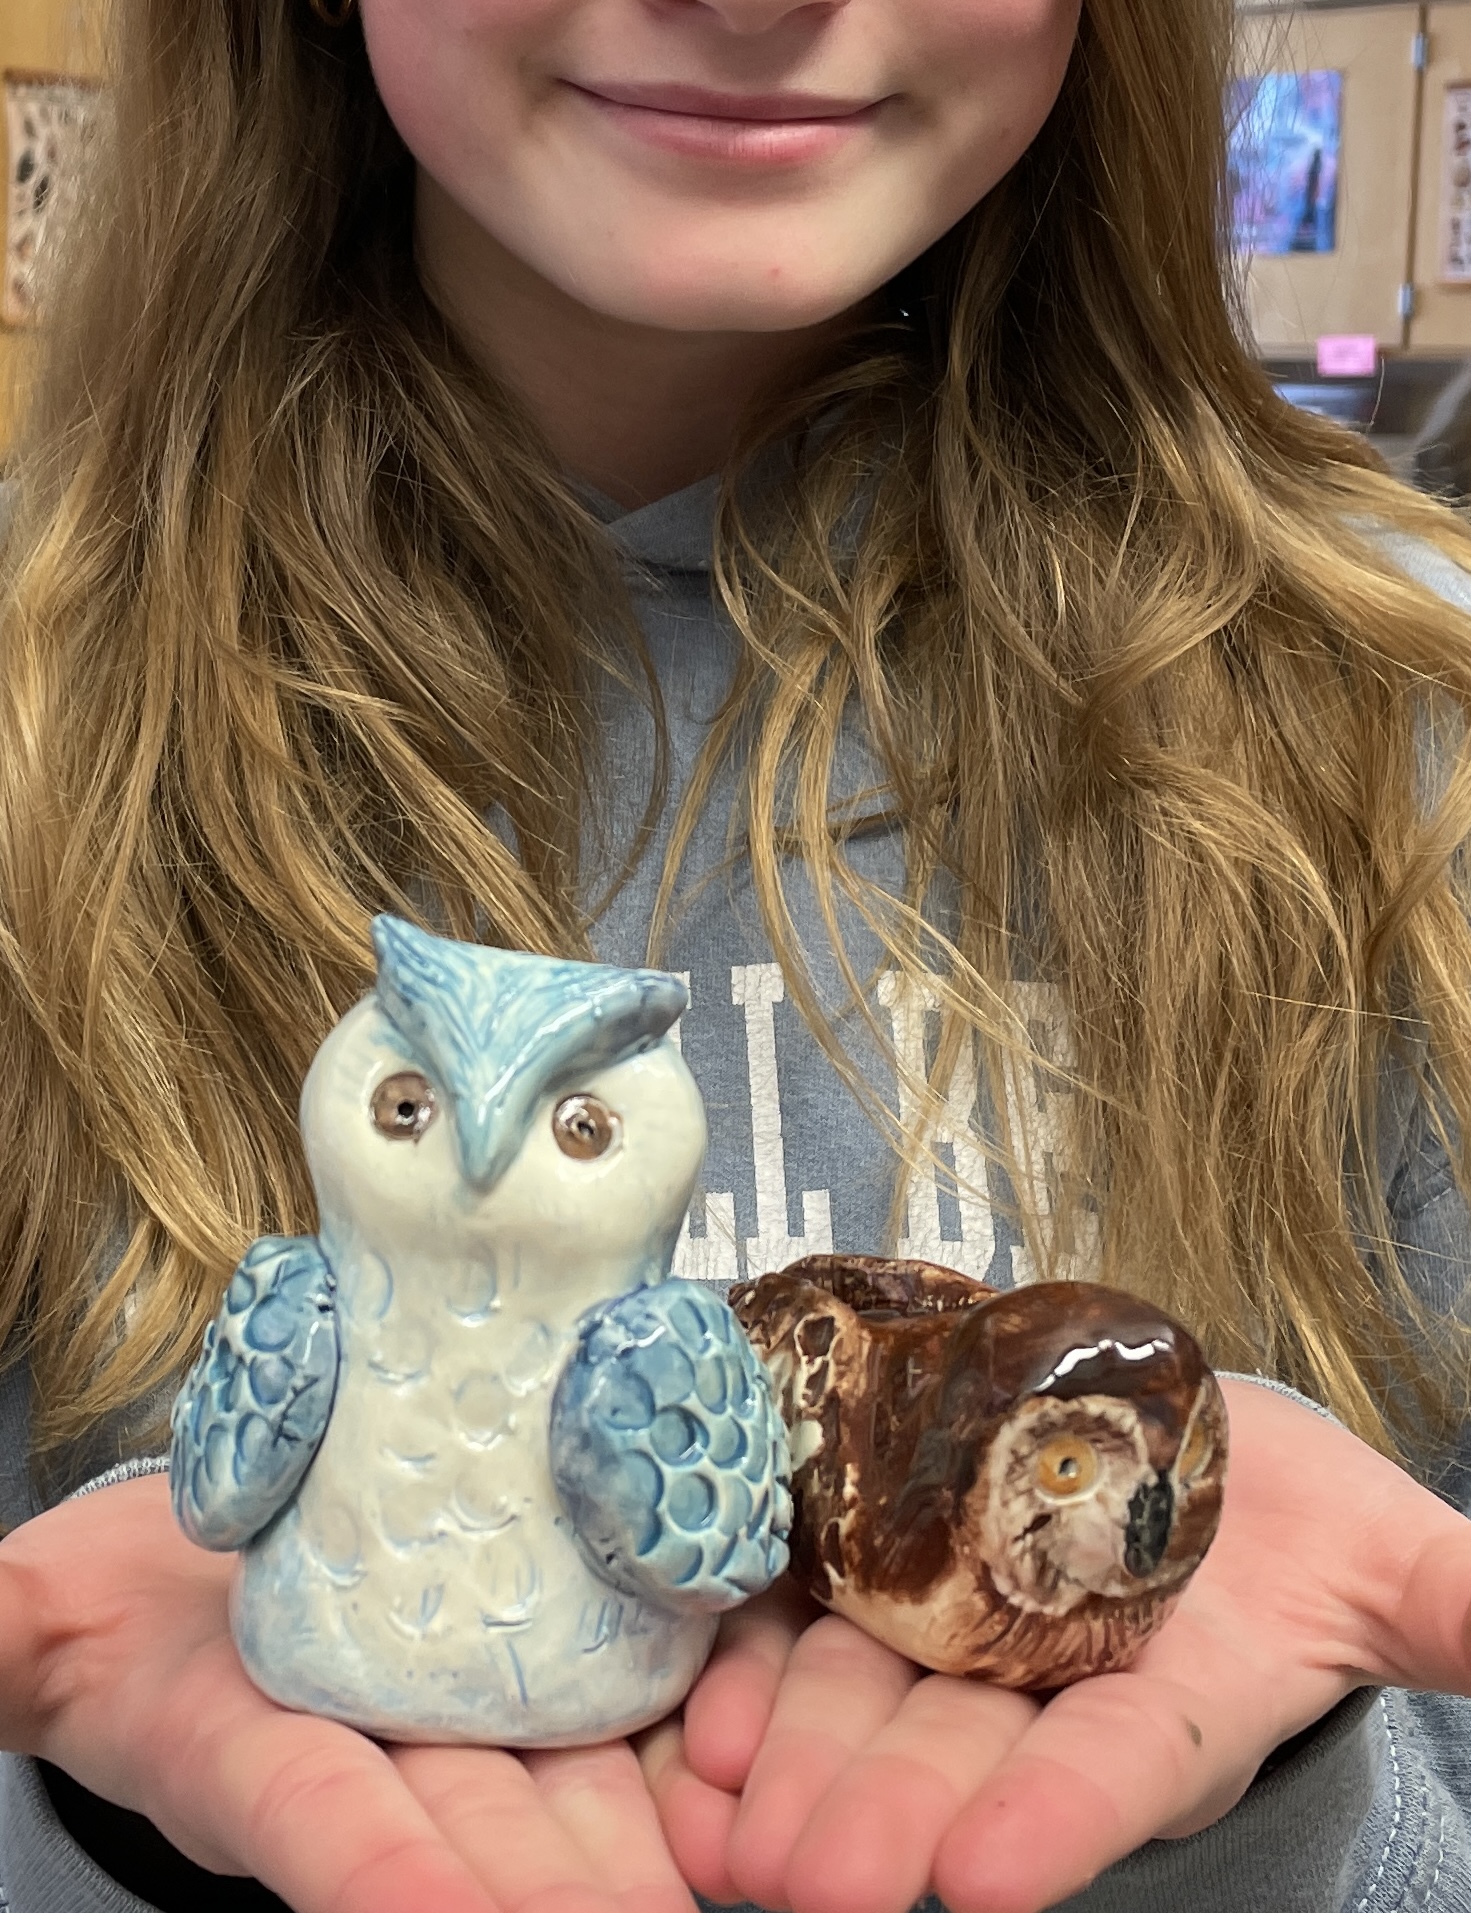
Once the owls had been fired once, (bisque fired), we used semi moist underglazes to add color. I required that one of the owls be painted realistically, using the specific color and feather patterns of an owl on this provided reference sheet. I did allow the students to paint their second owl more fancifully if they desired!

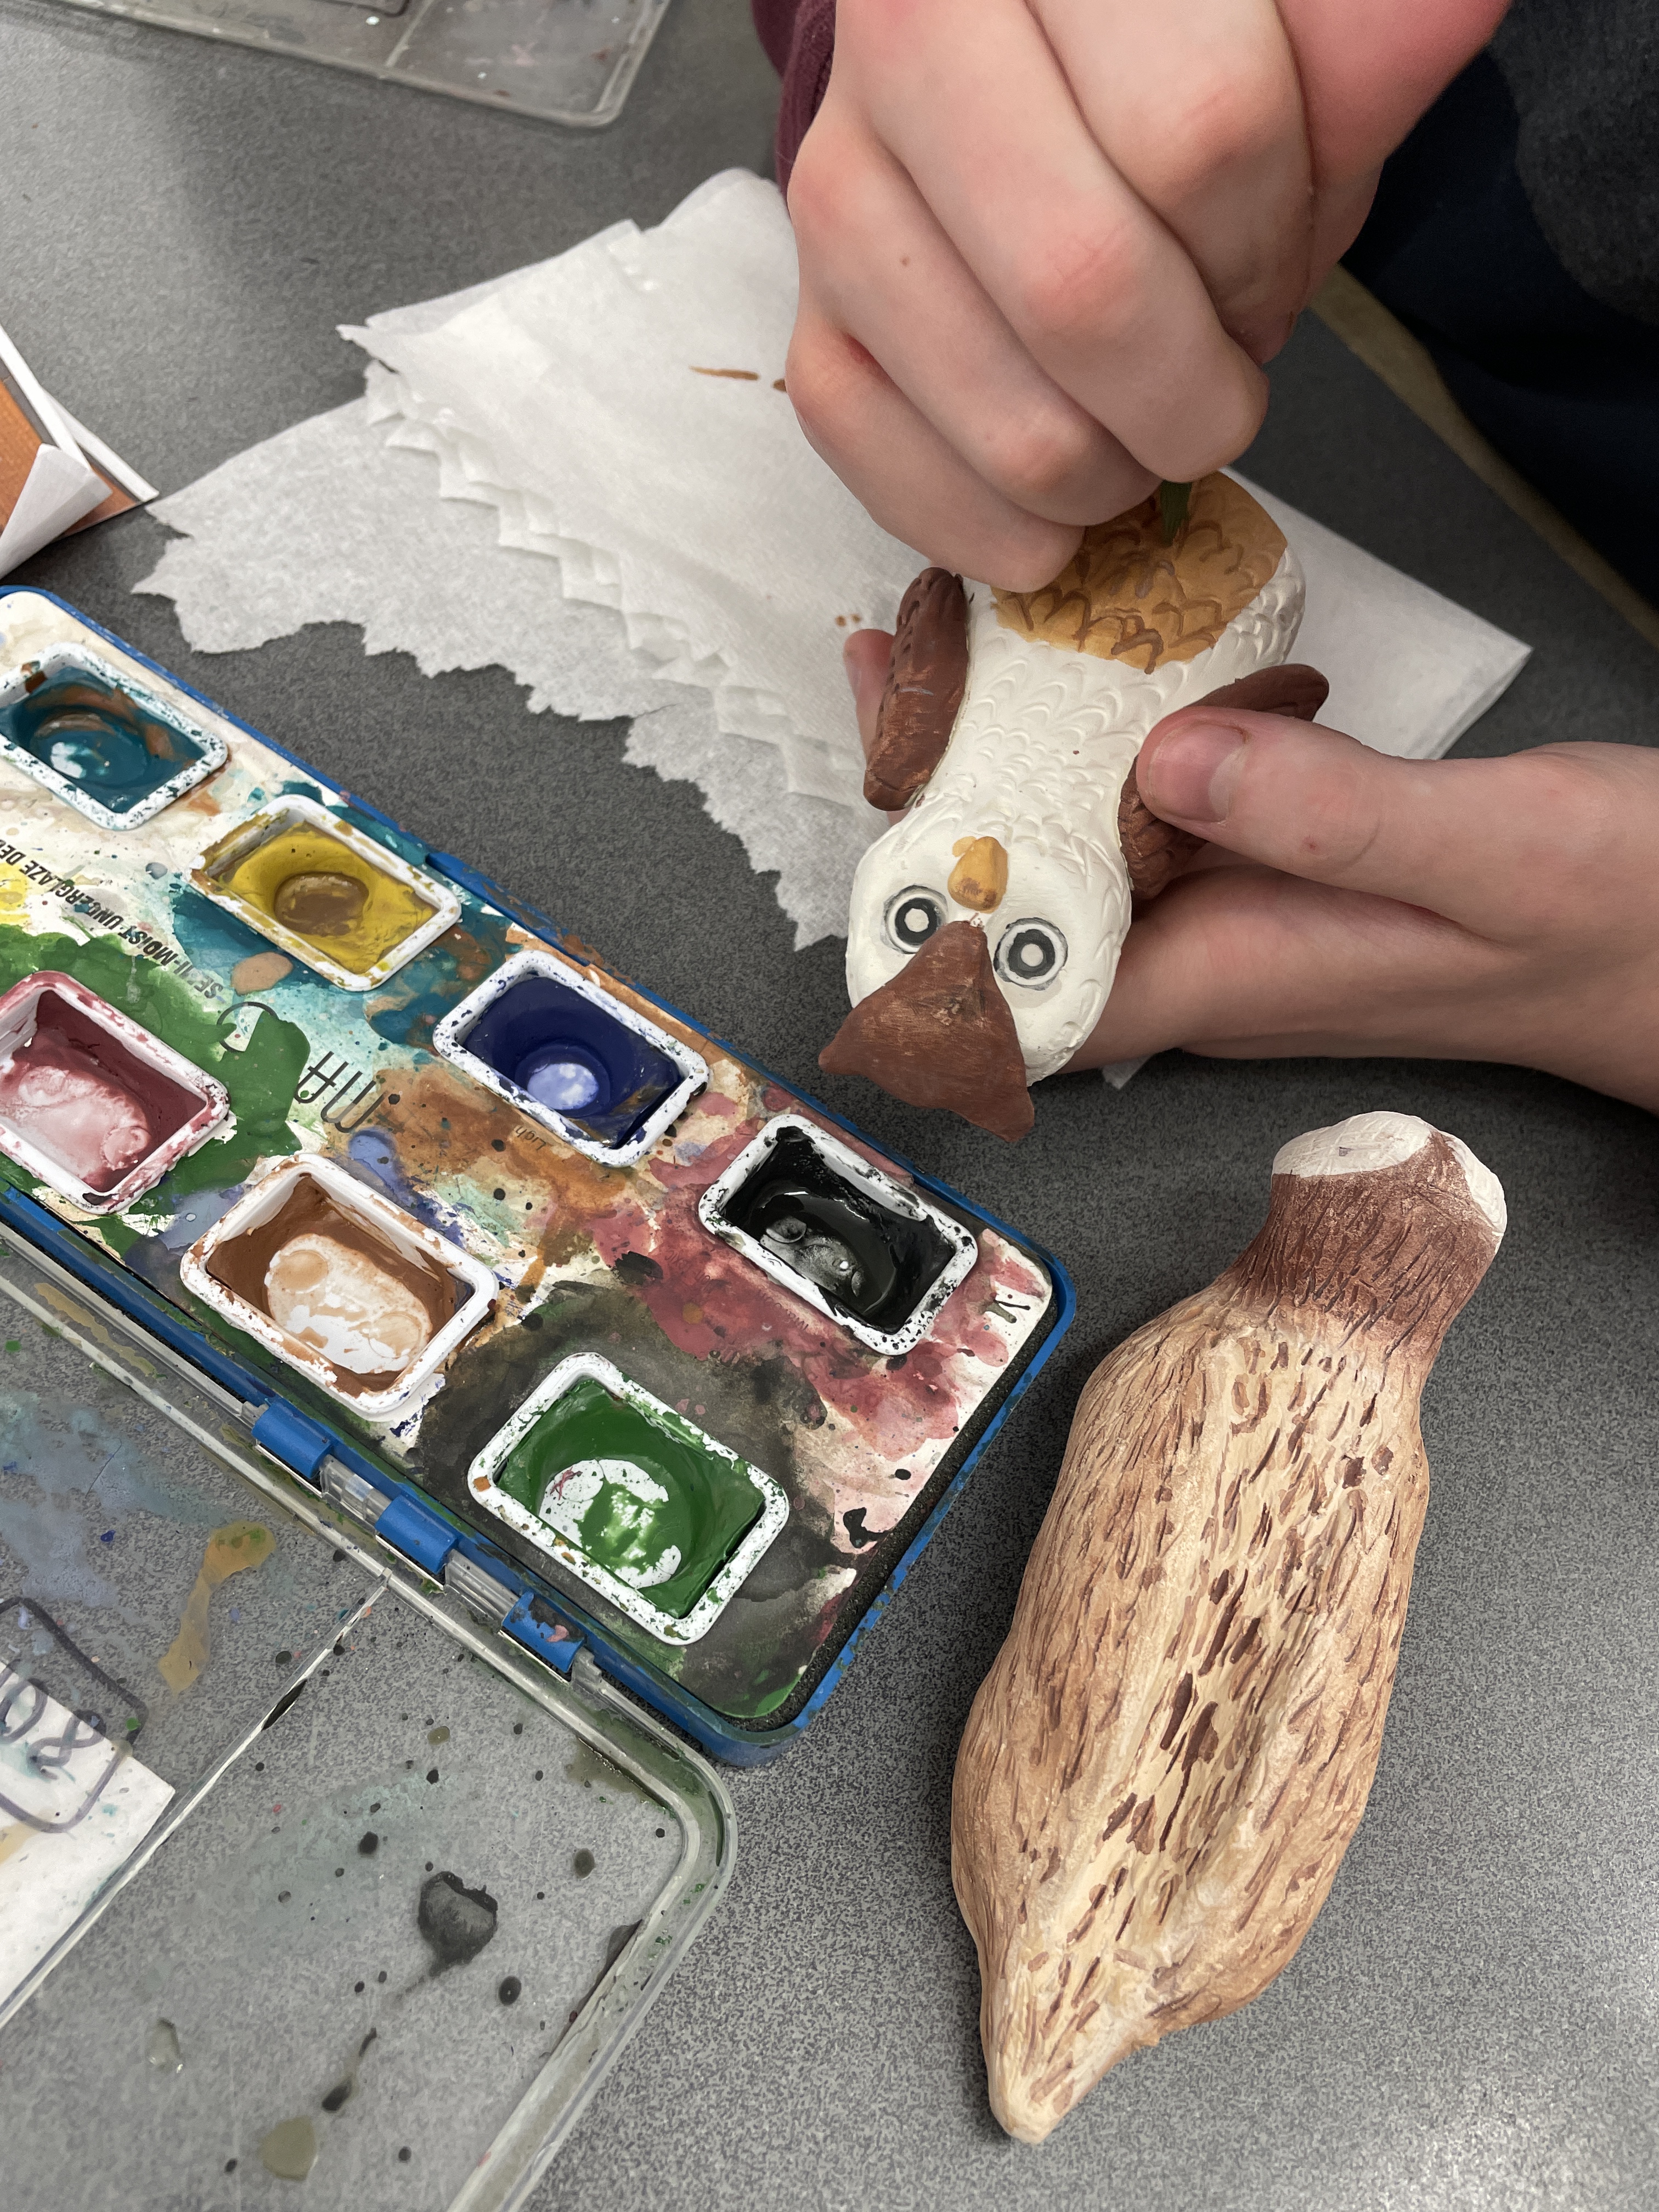
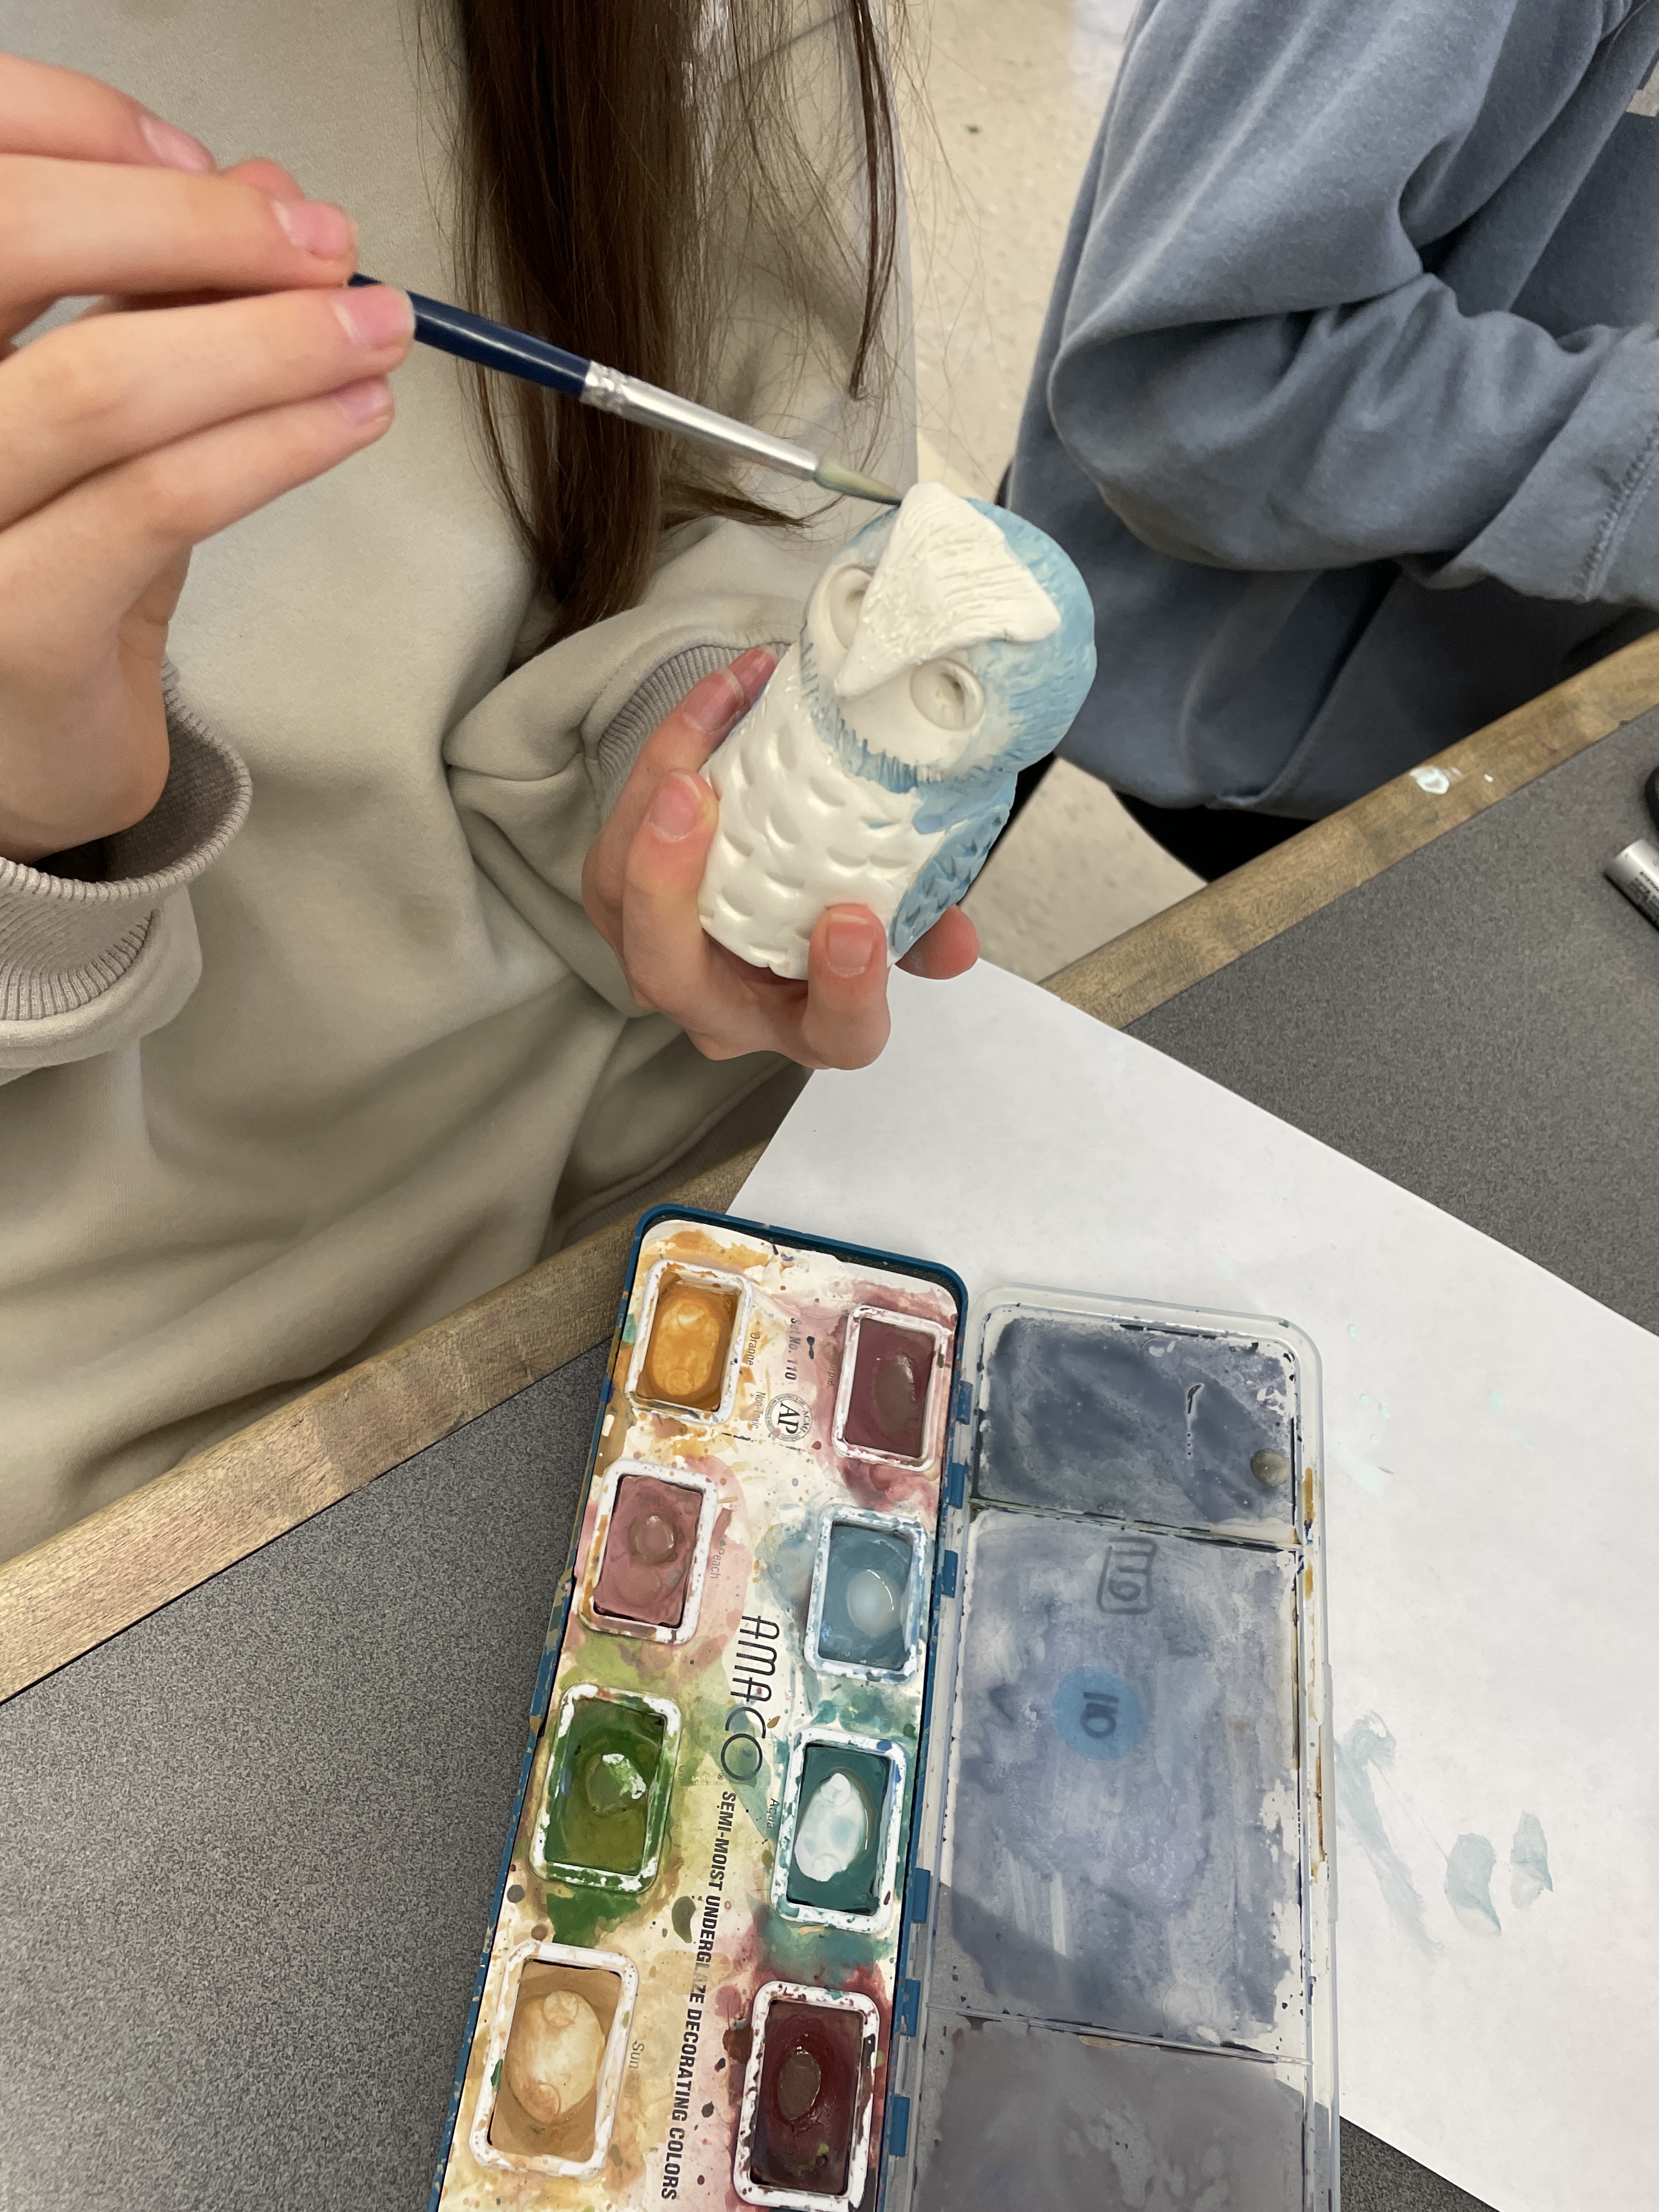
Students applying colored underglazes on their bisque fired owls
We used THESE underglazes by Amaco, followed by two coats of GLOSS GLAZE, then the owls went back into the kiln for a second firing. (Cone 06).
— — —
Ceramic materials and glazes are quite pricey and may not be feasible for your classroom. As an alternative to the underglazes linked here, you could try using watercolor paints, or watered down acrylics, and then seal the clay with an acrylic gloss glaze. In addition, if you do not have a kiln or the funds for earthenware clay, this lesson could probably be done with model magic. I have not tried either of these alternate methods, I’m just suggesting them as a possibility!
A CHANGE I PLAN ON MAKING: One challenge my students had with this sculpture is that many of the subtractive owls ended up looking more like ducks, with elongated bodies and heads at an awkward upright angle. A major change I will make next time is that rather than starting with their base form in a side position, I will have them start with their clay almost upright and only slightly angled. This will hopefully result in more owl-like and less fowl-like birds! (I’ve noted this change in the first packet linked below, but haven’t redone the photos or instructions…. Next time!)

— — —
Here’s my instruction packet with videos, pictures and instructions for owl number one, the subtractive owl!
Here’s my instruction packet with videos, pictures and instructions for owl number two, the Additive owl!
I hope you’ve enjoyed reading about this lesson and that you have fun trying it in your own classroom!