Artist Trading Cards (and books!)

Artist Trading Cards 
Artist Trading Cards 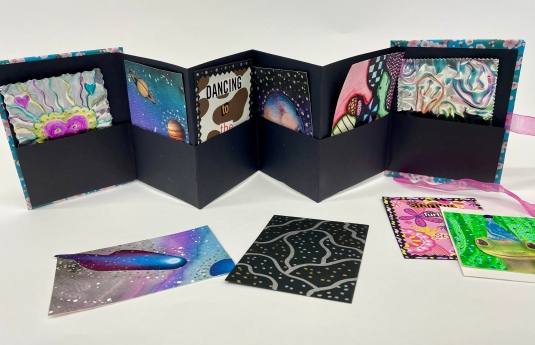
Artist Trading Cards 
Artist Trading Cards 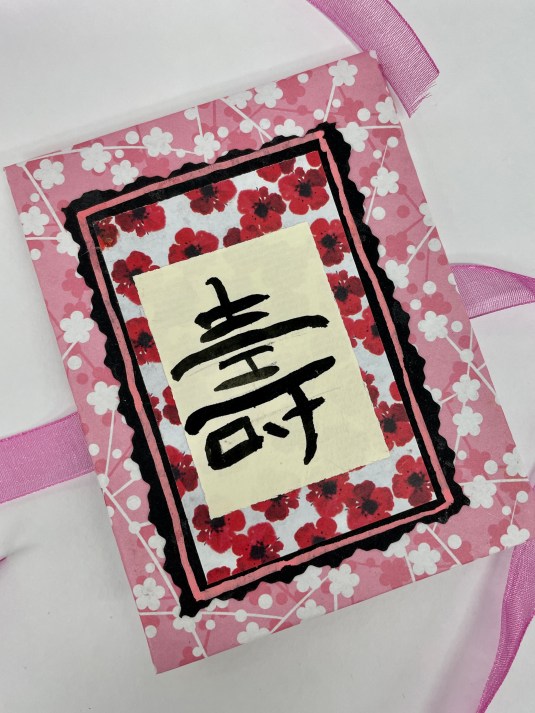
Artist Trading Cards 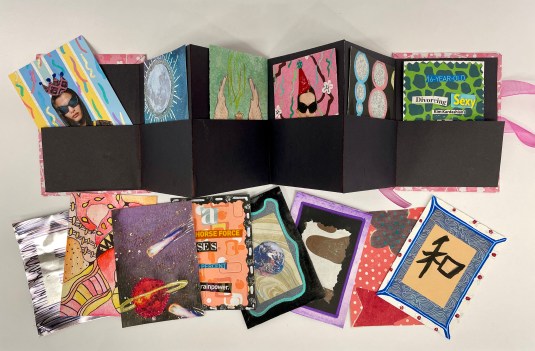
Artist Trading Cards 
Artist Trading Cards 
Artist Trading Cards 
Artist Trading Cards 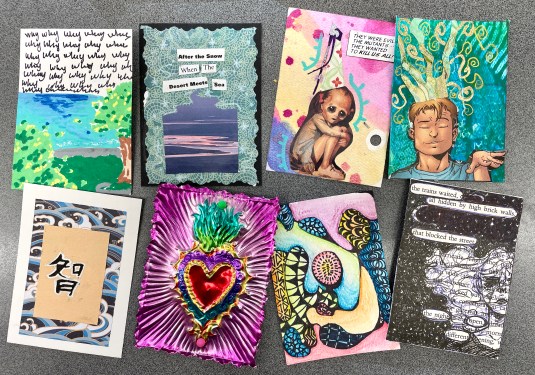
Artist Trading Cards 
Artist Trading Cards 
Artist Trading Cards 
Artist Trading Cards 
Artist Trading Cards 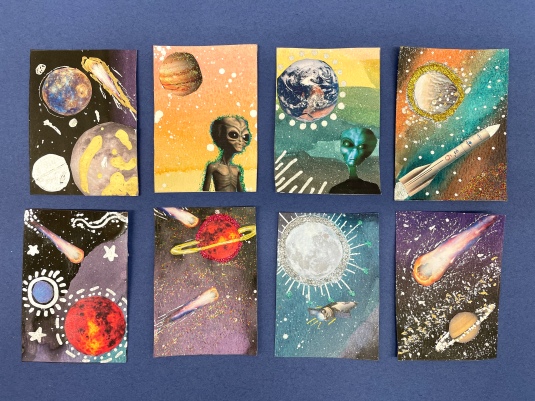
Artist Trading Cards 
Artist Trading Cards 
Artist Trading Cards 
Artist Trading Cards 
Artist Trading Cards
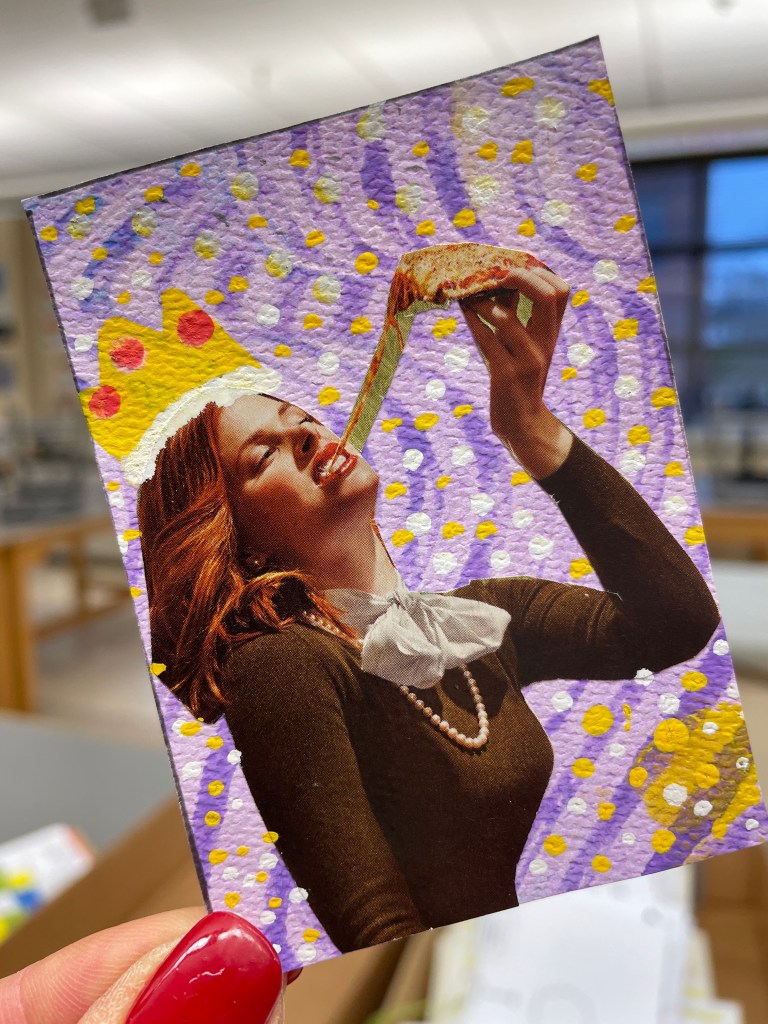
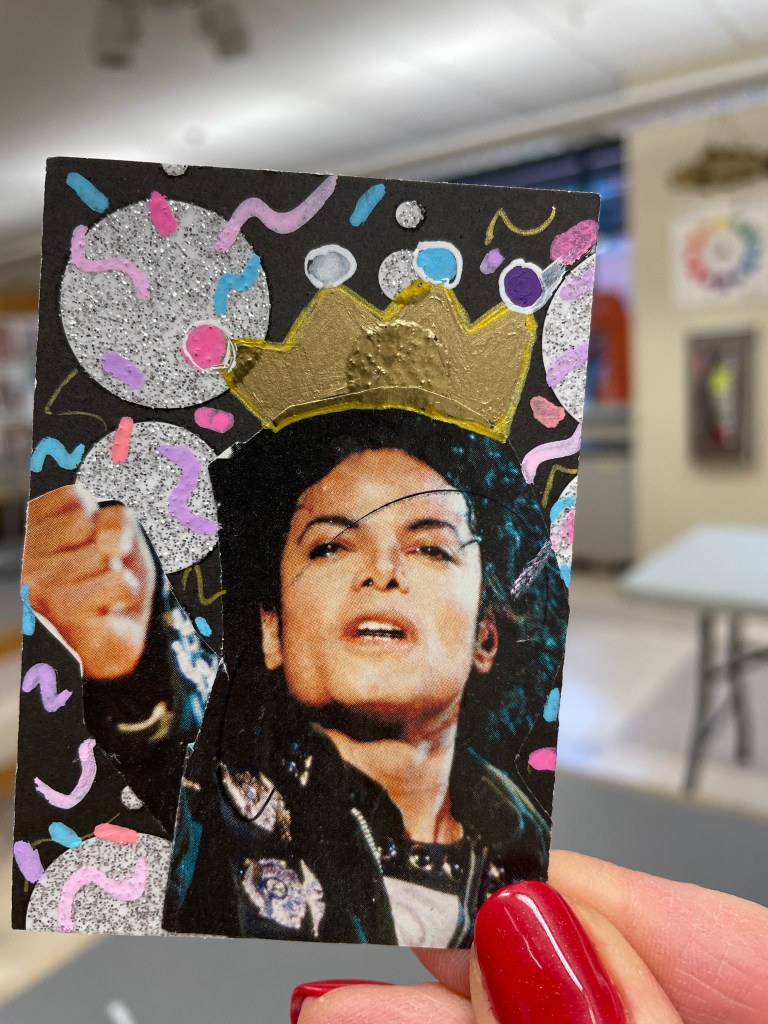
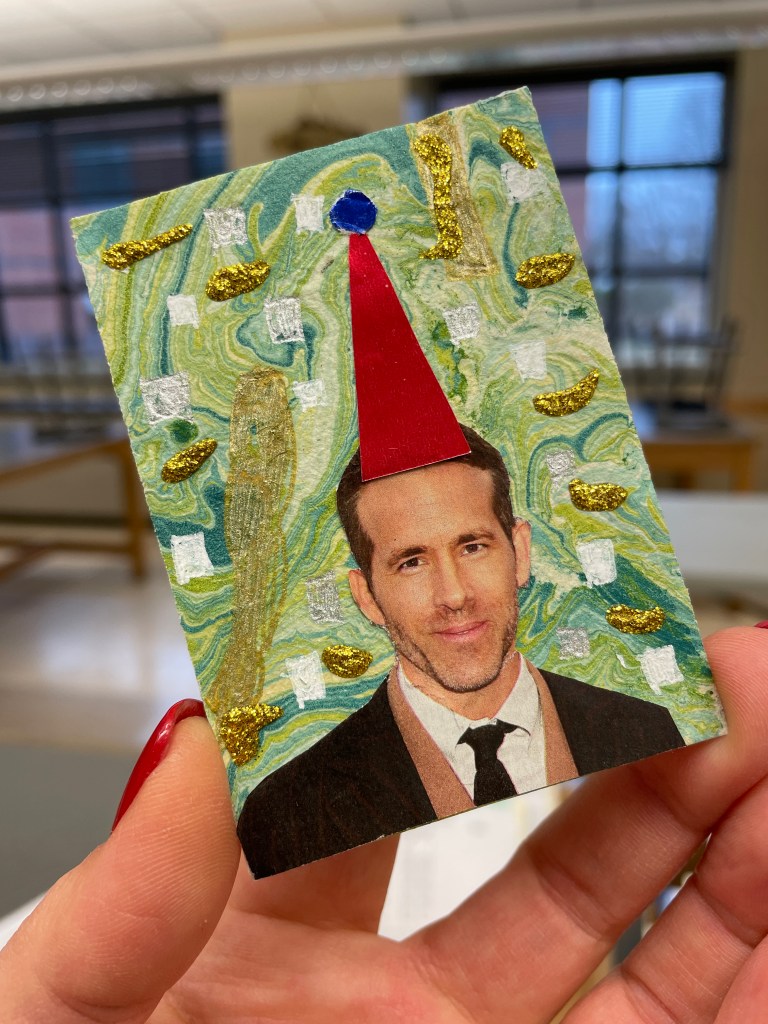
What are artist trading cards? Artist trading cards are small, one-of-a-kind, miniature works of art that are meant to be traded or given away, but never sold. They are always 2 ½ x 3 ½”, much like other collectible cards, and have become a fun trend in the art world. Exchanging artist trading cards with friends a great way to give and receive original art.
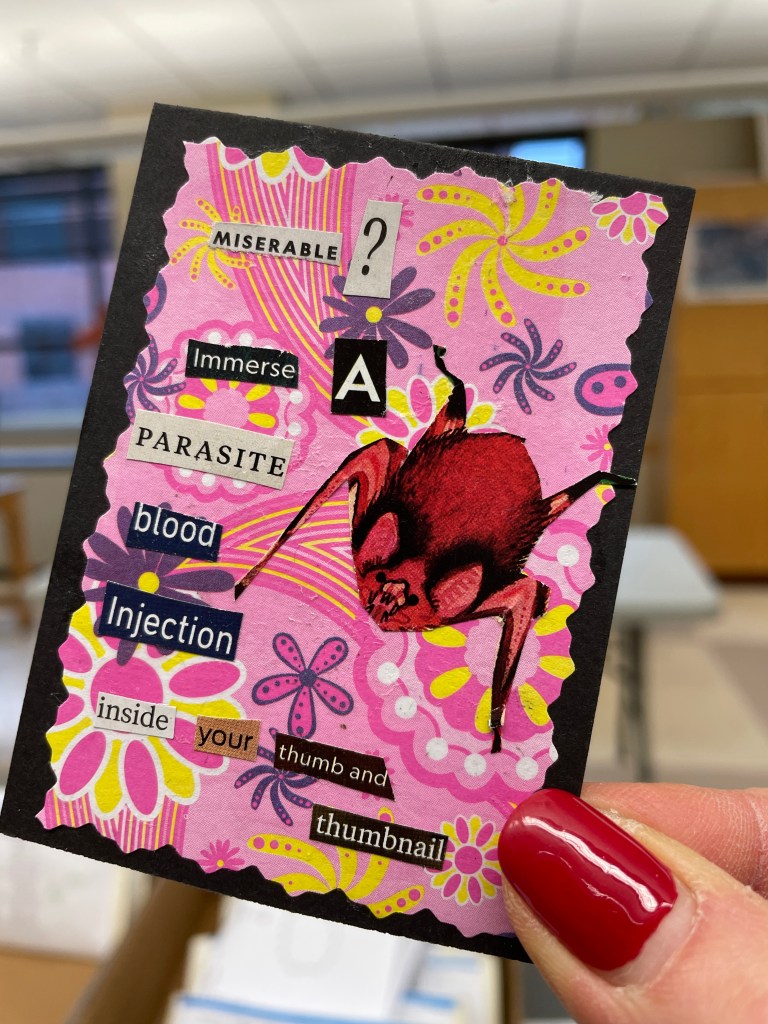
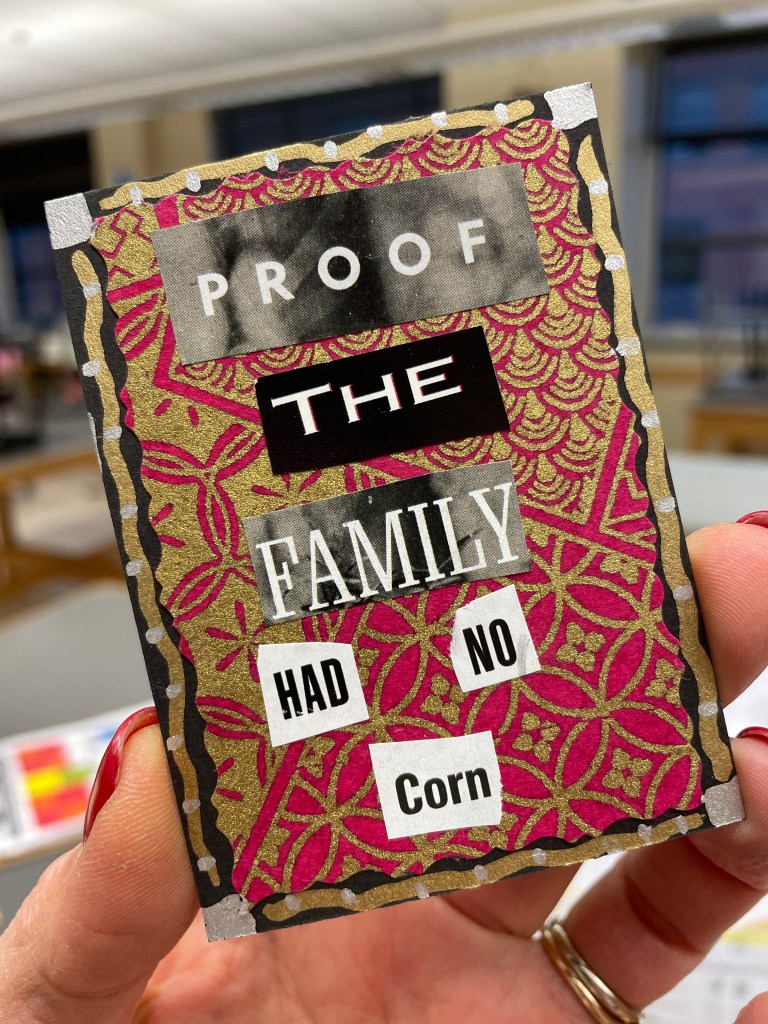
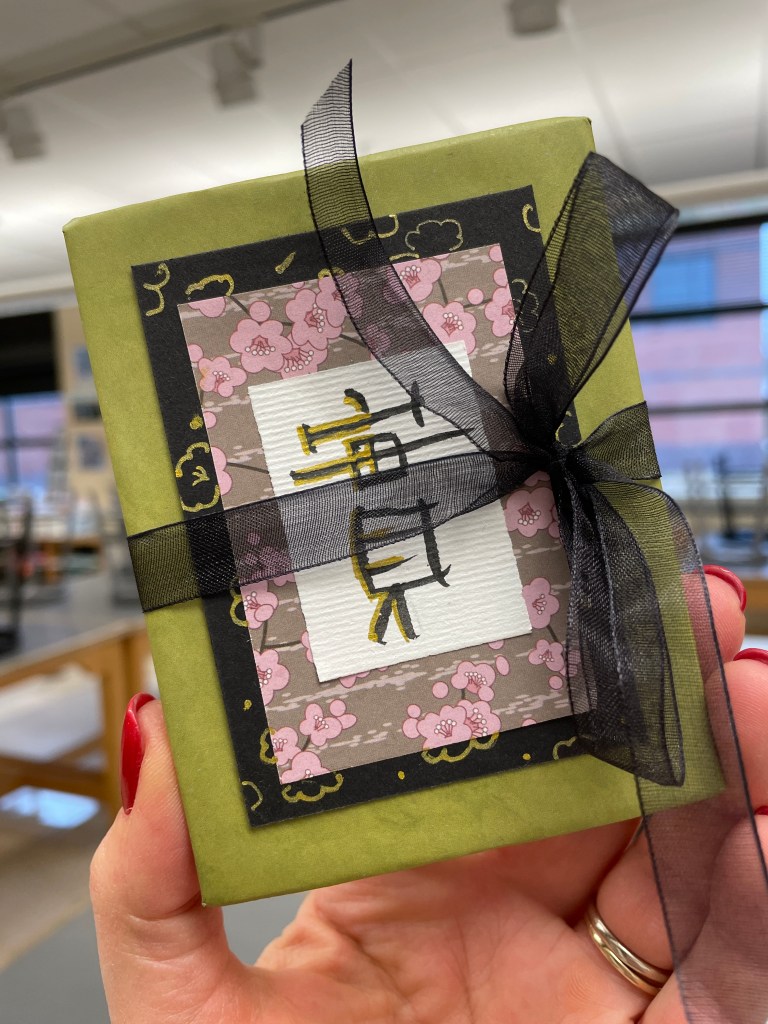
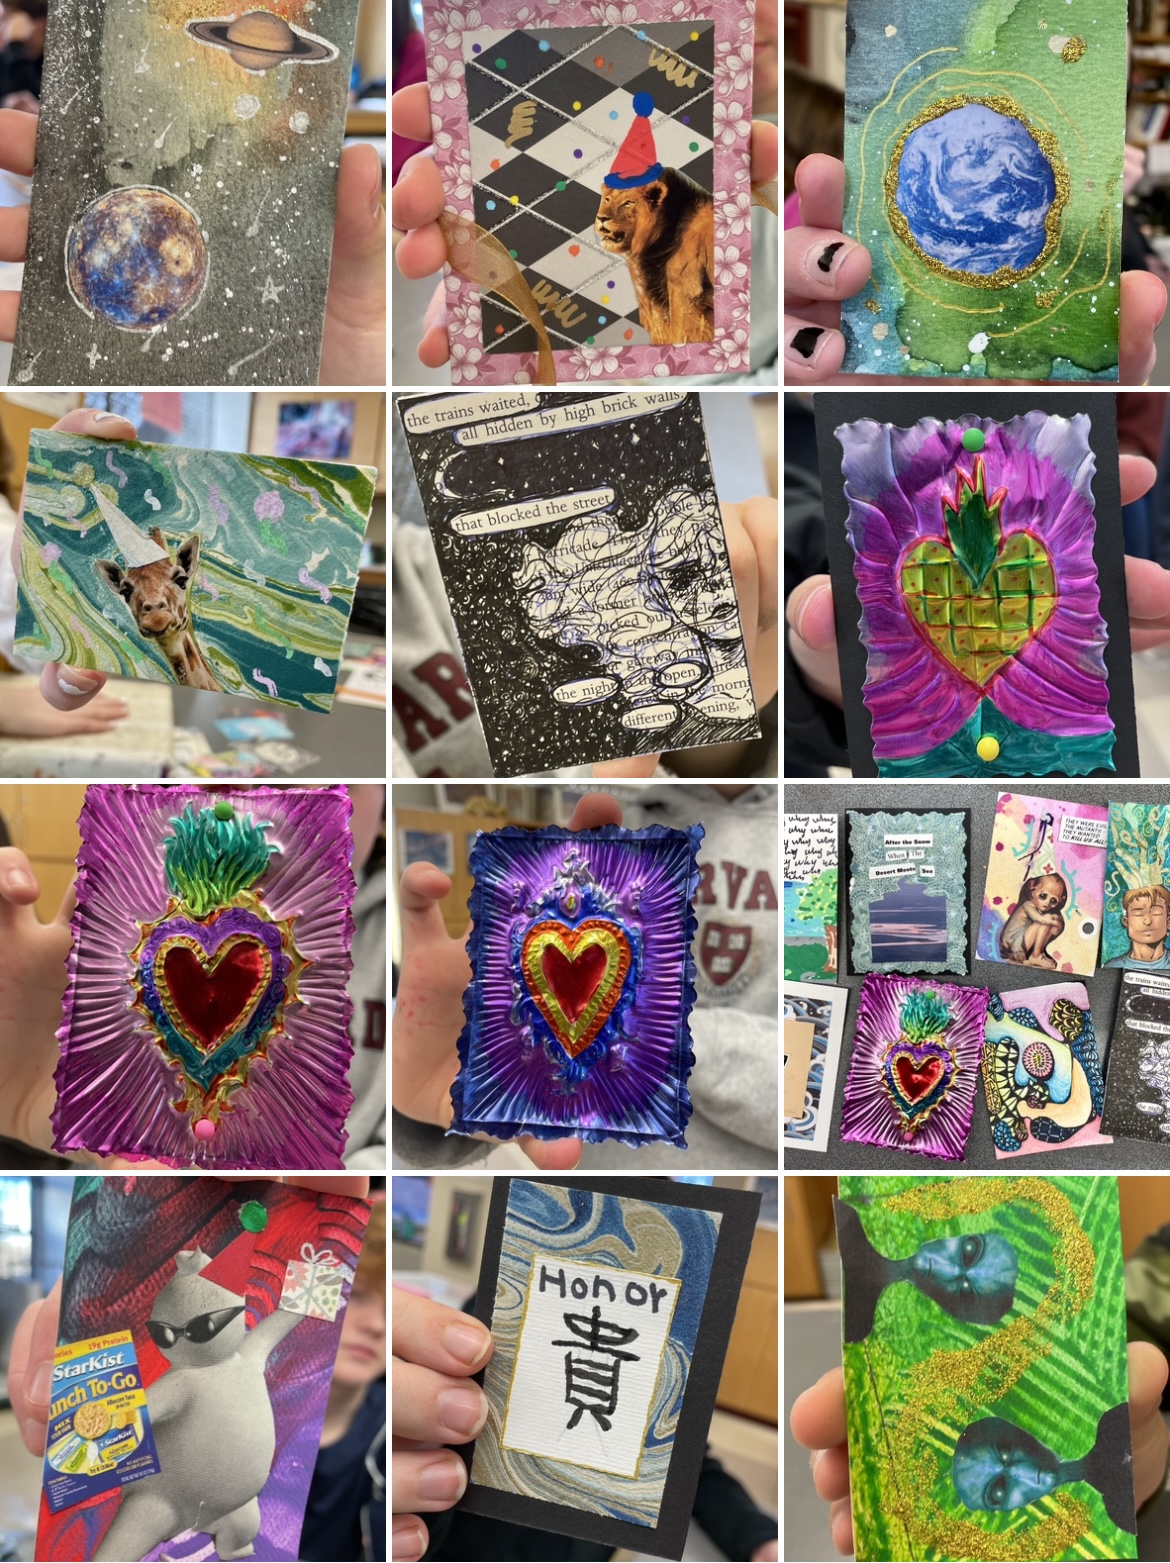
For this project, I created a series of mini one-day lessons, each with a different theme. What’s fun about artist trading cards is that in terms of media, anything goes! Over the course of the week we experimented with collage, painting, drawing, “blackout poetry”, metal tooling and even Chinese calligraphy. You can take almost any lesson and miniaturize it to turn it into an artist trading card lesson! The students were incredibly invested in these tiny masterpieces and often had time to create their own designs or make multiples of the lesson of the day. The culminating task in this project was to create a simple accordion fold book with pockets to display each student’s cards in a beautiful way. We even spent time after the lesson was graded to swap cards with classmates.
Included here are many of the resources I created for this lesson:
This GOOGLE SLIDE PRESENTATION provides written and visual instructions, as well as exemplars, for all of the ATCs my students did. Instructions on how to make the accordion fold book are at the end. Remember, you can adapt almost any technique to work as an artist trading card lesson, your resources and individual supplies can dictate what will work best for you! Make a copy of the slide show and you can adapt it as needed.
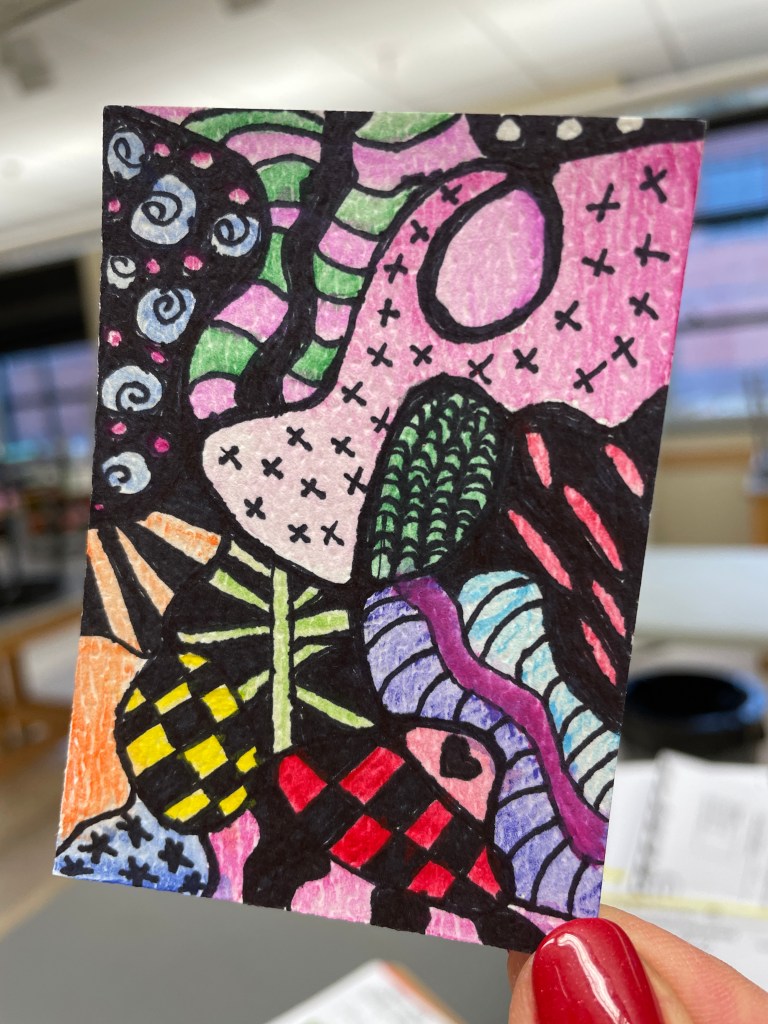
Neurographic Art ATC: this was a miniature version of THIS LESSON which my students work on as an independent project over the course of their art trimester.
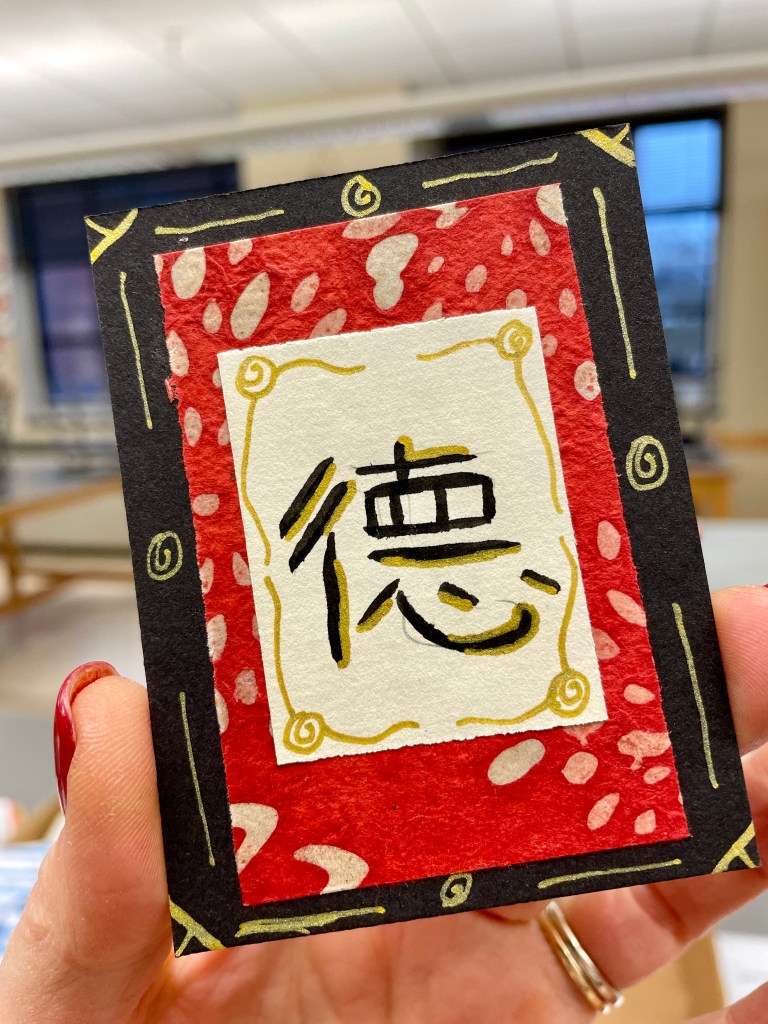
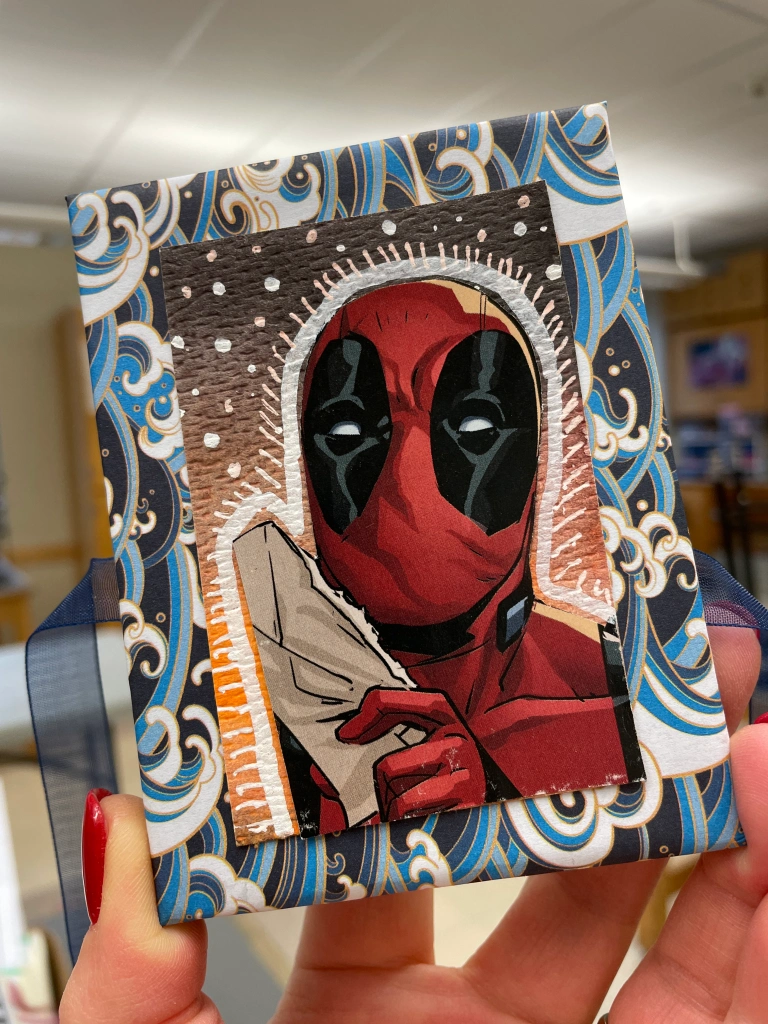
Chinese Character ATC: Students Used THIS HANDOUT as a reference.
Milagros Corazon (“Miracle Hearts” ATC): I provided THIS HANDOUT for reference, and we used 36 gauge aluminum tooling foil which you can purchase HERE.
Galaxy ATC: This ATC utilized remnants from watercolor paintings from THIS GALAXY PAINTING LESSON I did a couple of years ago! It’s always fun to up-cycle leftover art.
ATC Labels: Here is a SHEET OF LABELS, (shared with me by a fellow art teacher with whom my school did an ATC exchange), that can be cut out, attached to the back of each card and used to record artist and title information.
ATC Folder: ATCs have a way of easily getting lost! My students kept track of their work in a SIMPLE FOLDER made from a standard piece of copy paper. I created a checklist which we used to keep track of the styles we made and how many of each were completed. Simply print, fold in half, and tape the two short sides.


Above: Student Folders. A great way to keep organized!
– – –


This Artist Trading Cards lesson is so easy to adapt and can be adjusted based on your resources and available materials! If you try it with your students, let me know how it goes!

Jul 01, 2019 @ 09:47:55
Would absolutely love to know some of the lessons for this and how to do the accordion book with the pockets
This is awesome!!
Dec 04, 2019 @ 22:52:22
I enjoy making ATC’s with my students and would LOVE to make these accordion books. Would you (have you?) post a tutorial?
Dec 10, 2019 @ 17:23:38
The books are easy to make: black paper strip cut to 6 by 18. Fold up a 2″ pocket. Accordion fold in 3″ increments. Covers are 3″ by 4″, wrapped in matching origami paper!
Feb 18, 2023 @ 20:21:42
Would like a tutorial this is awesom would love to do with my art classes. I did the explosion book and they loved it.
Feb 19, 2023 @ 02:54:02
The slide show I linked has bookmaking instructions in it!
May 20, 2024 @ 19:59:03
I am currently trying this lesson. I have set up stations with instructions and labels for each…
May 20, 2024 @ 20:55:33
It can get crazy with so many materials and “mini lessons” going on at once. Assign one kids per class to organize the stations at the end of class and reward them when the unit is over with a piece of candy or whatever your reward system is. I try to have craftsmanship goals or specific requirements built into each card and they get graded on each one. For example, if we do 5 styles of cards, each might be weighted 15 points and the book might be 25 points to round out 100 pts.
Sep 10, 2025 @ 22:54:04
Thank you for sharing this lesson! I was looking for a way to change up my ATC lesson! How long does this take your classes?
Sep 16, 2025 @ 18:42:42
What’s fun and also frustrating about this lesson is that each ATC is sort of a mini project! It could last just a week or even two depending on how many of the styles you want to try. I generally present each style and expect them to make two in a single class. That doesn’t always happen! I leave the materials out for kids to go back to that method, even as we progress through and do other styles with other materials. The room can get quite crowded with lots of different things out, but the more organized you are with setting aside a small area for each style, the better. for for example, for the Chinese character version, I have pre-cut pieces of paper that they simply layer and glue and also small black watercolor pans and reference sheets with the different characters.
Sep 16, 2025 @ 18:42:21
What’s fun and also frustrating about this lesson is that each ATC is sort of a mini project! It could last just a week or even two depending on how many of the styles you want to try. I generally present each style and expect them to make two in a single class. That doesn’t always happen! I leave the materials out for kids to go back to that method, even as we progress through and do other styles with other materials. The room can get quite crowded with lots of different things out, but the more organized you are with setting aside a small area for each style, the better. for for example, for the Chinese character version, I have pre-cut pieces of paper that they simply layer and glue and also small black watercolor pans and reference sheets with the different characters.