Acrylic Pour Paintings


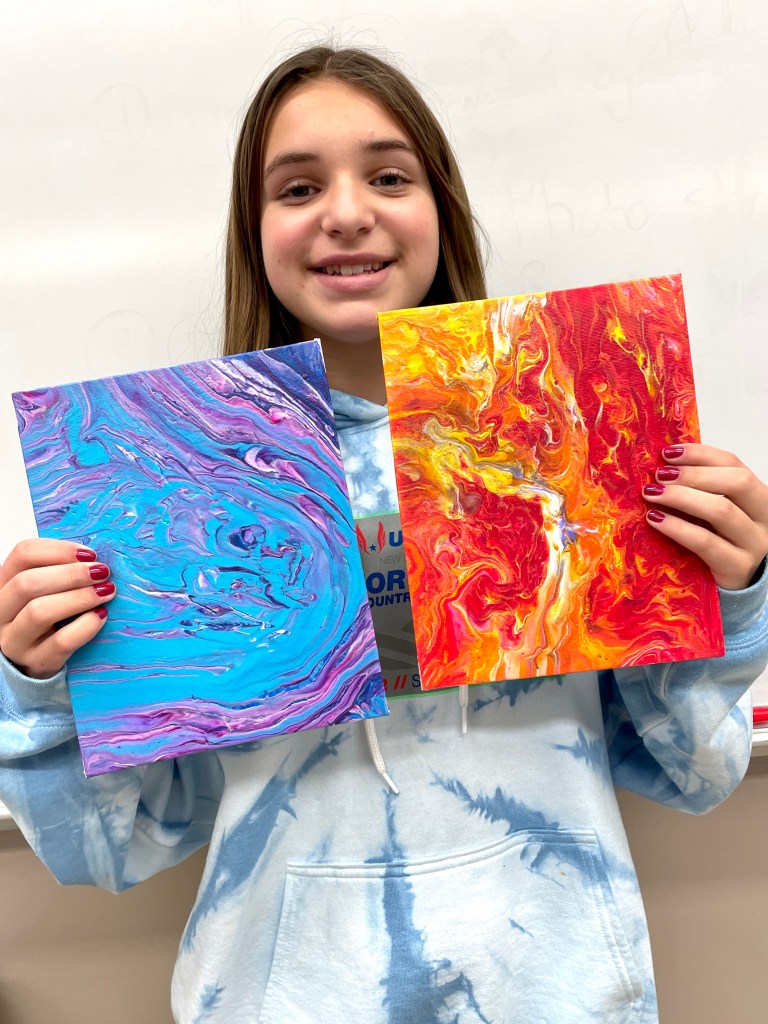


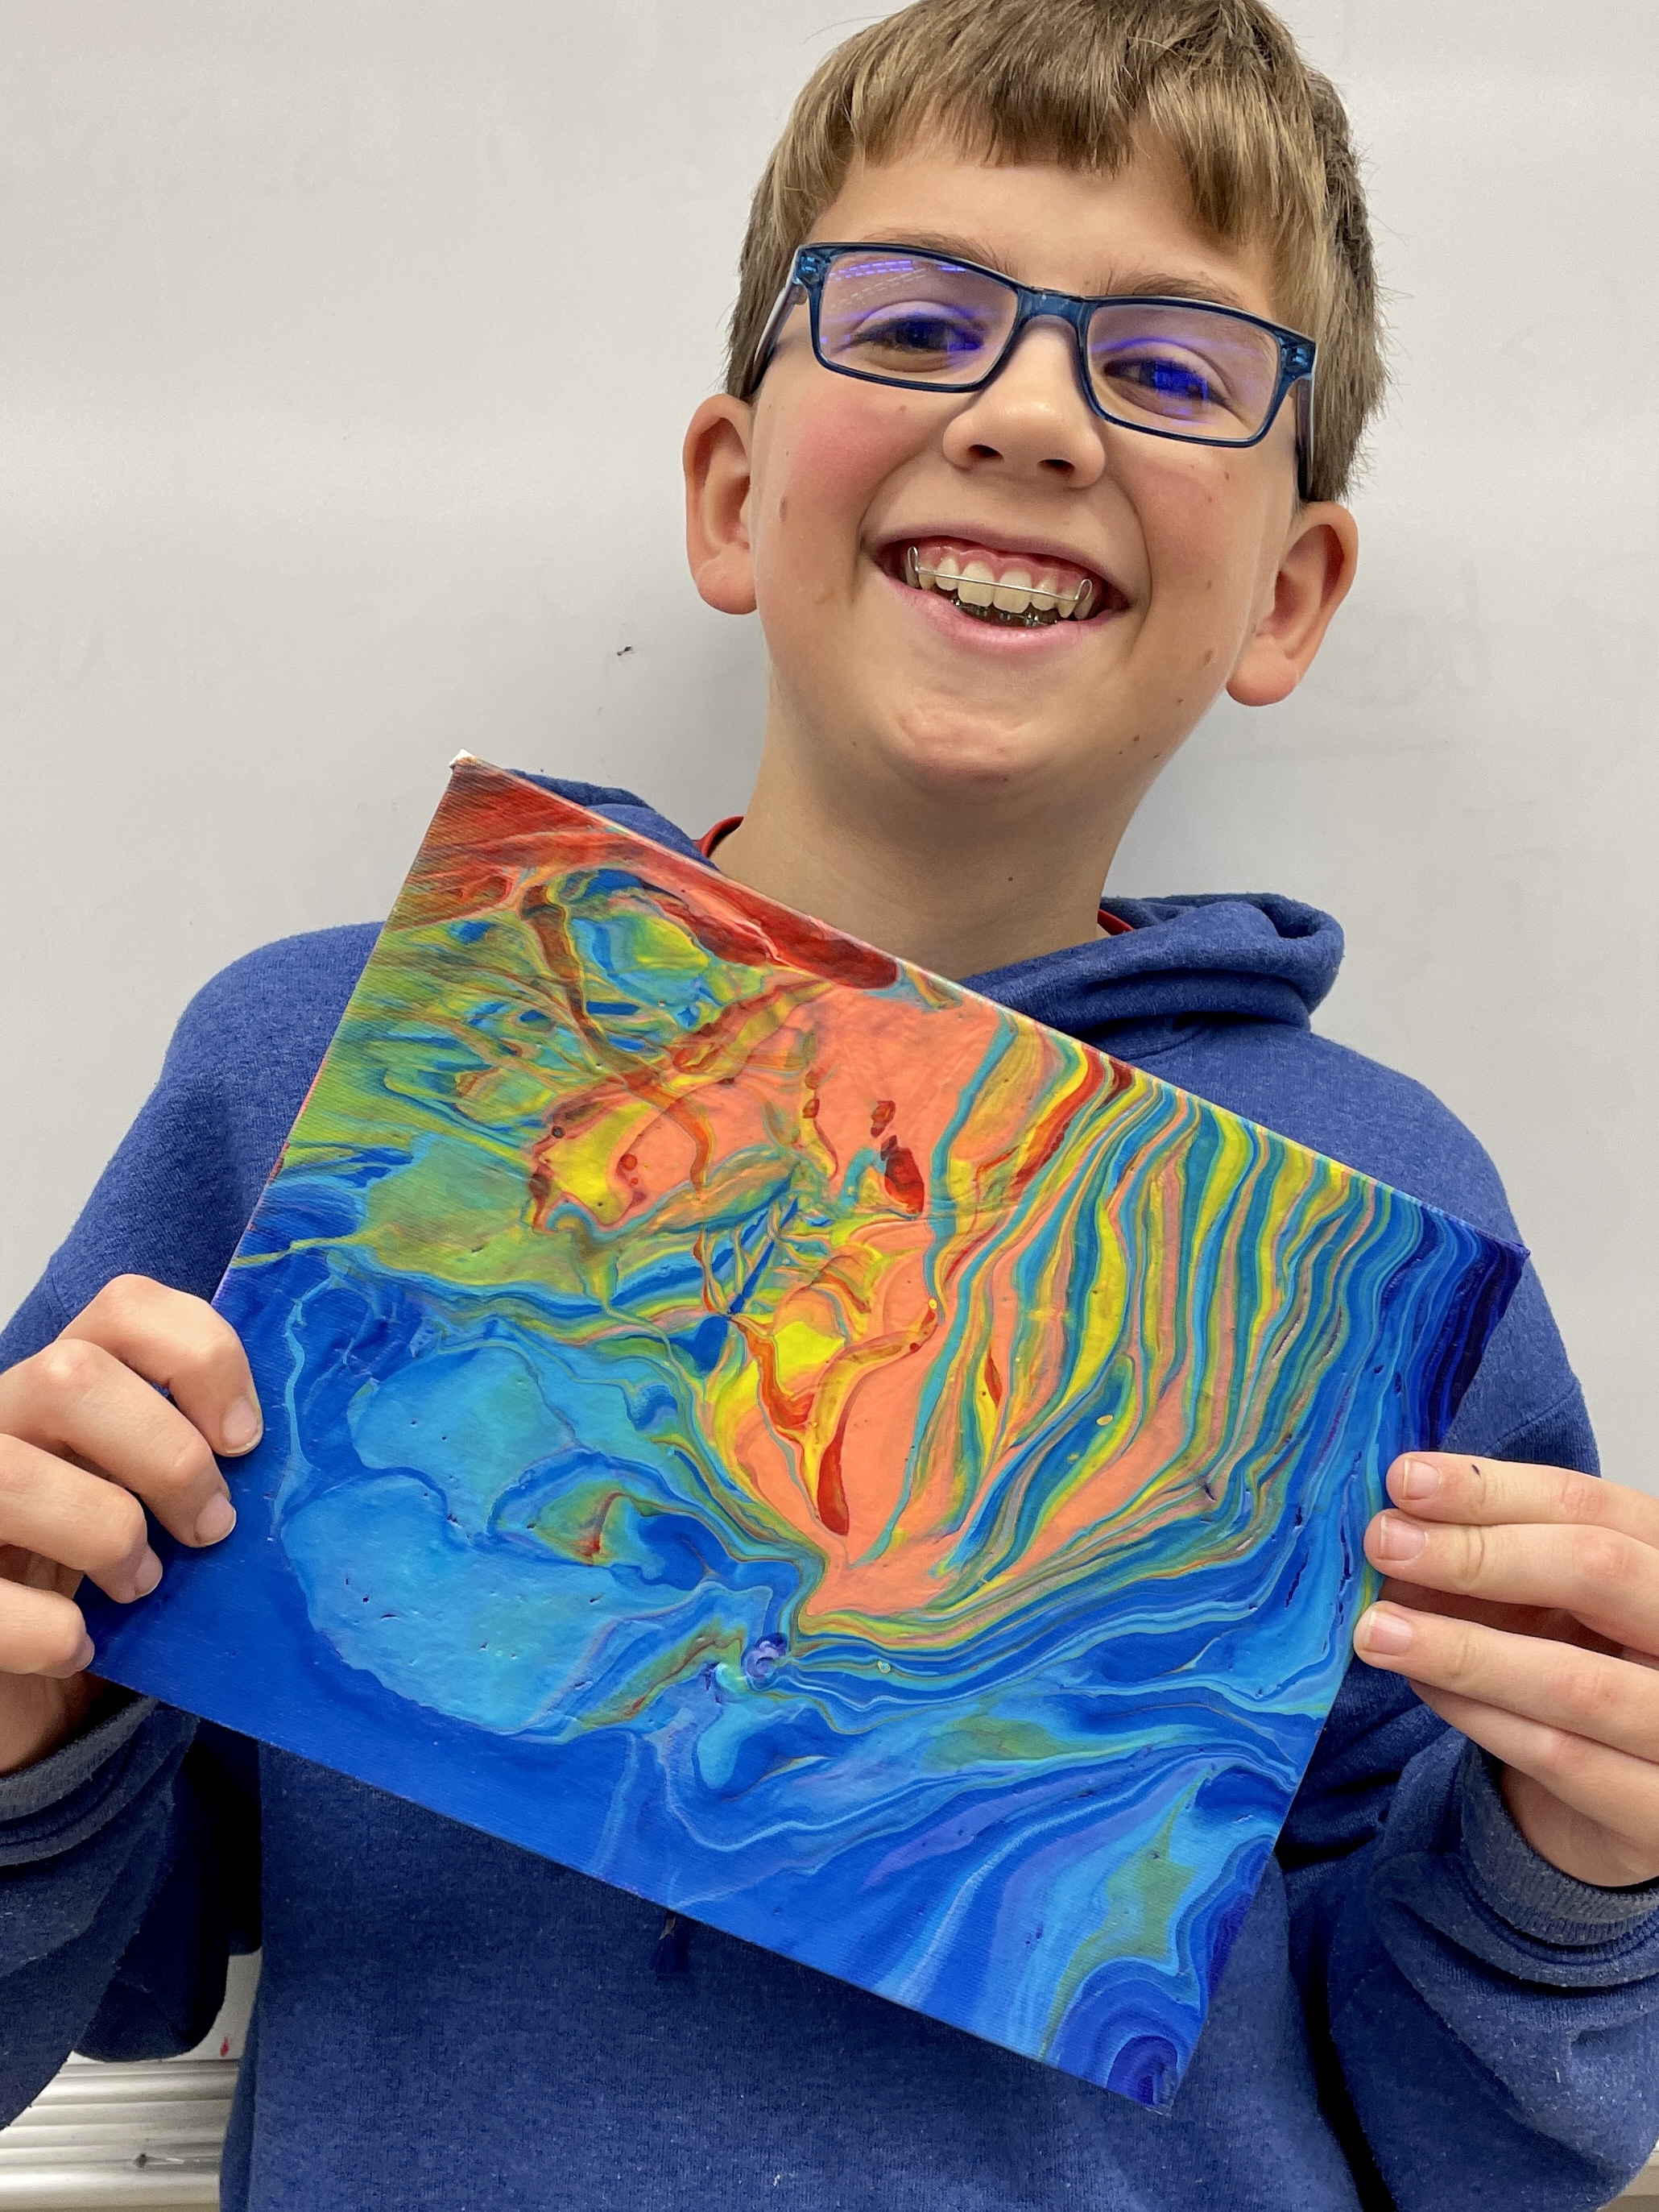
As the trimester winds down, and my 7th grade students were scrambling to finish their final projects, I wanted to reward the students who had worked hard to complete all their assignments and thus had a little free time. There’s a lot of buzz on social media and Youtube about acrylic pour paintings and so I decided to give them a whirl! This spontaneous painting technique requires a designated work area and LOTS of fluid acrylic paint. I bought 16 oz bottles of Sargent Art brand which was pretty cost effective for my 100-ish students.
There are a gazillion videos on how to do this online. THIS ONE has a zen-like soundtrack and I played it on a loop in the days leading up to this activity. The kids loved watching the paint effects and declared repeatedly, “that’s so satisfying”. (Everything pleasantly aesthetic seems to be “satisfying” with today’s teens!)
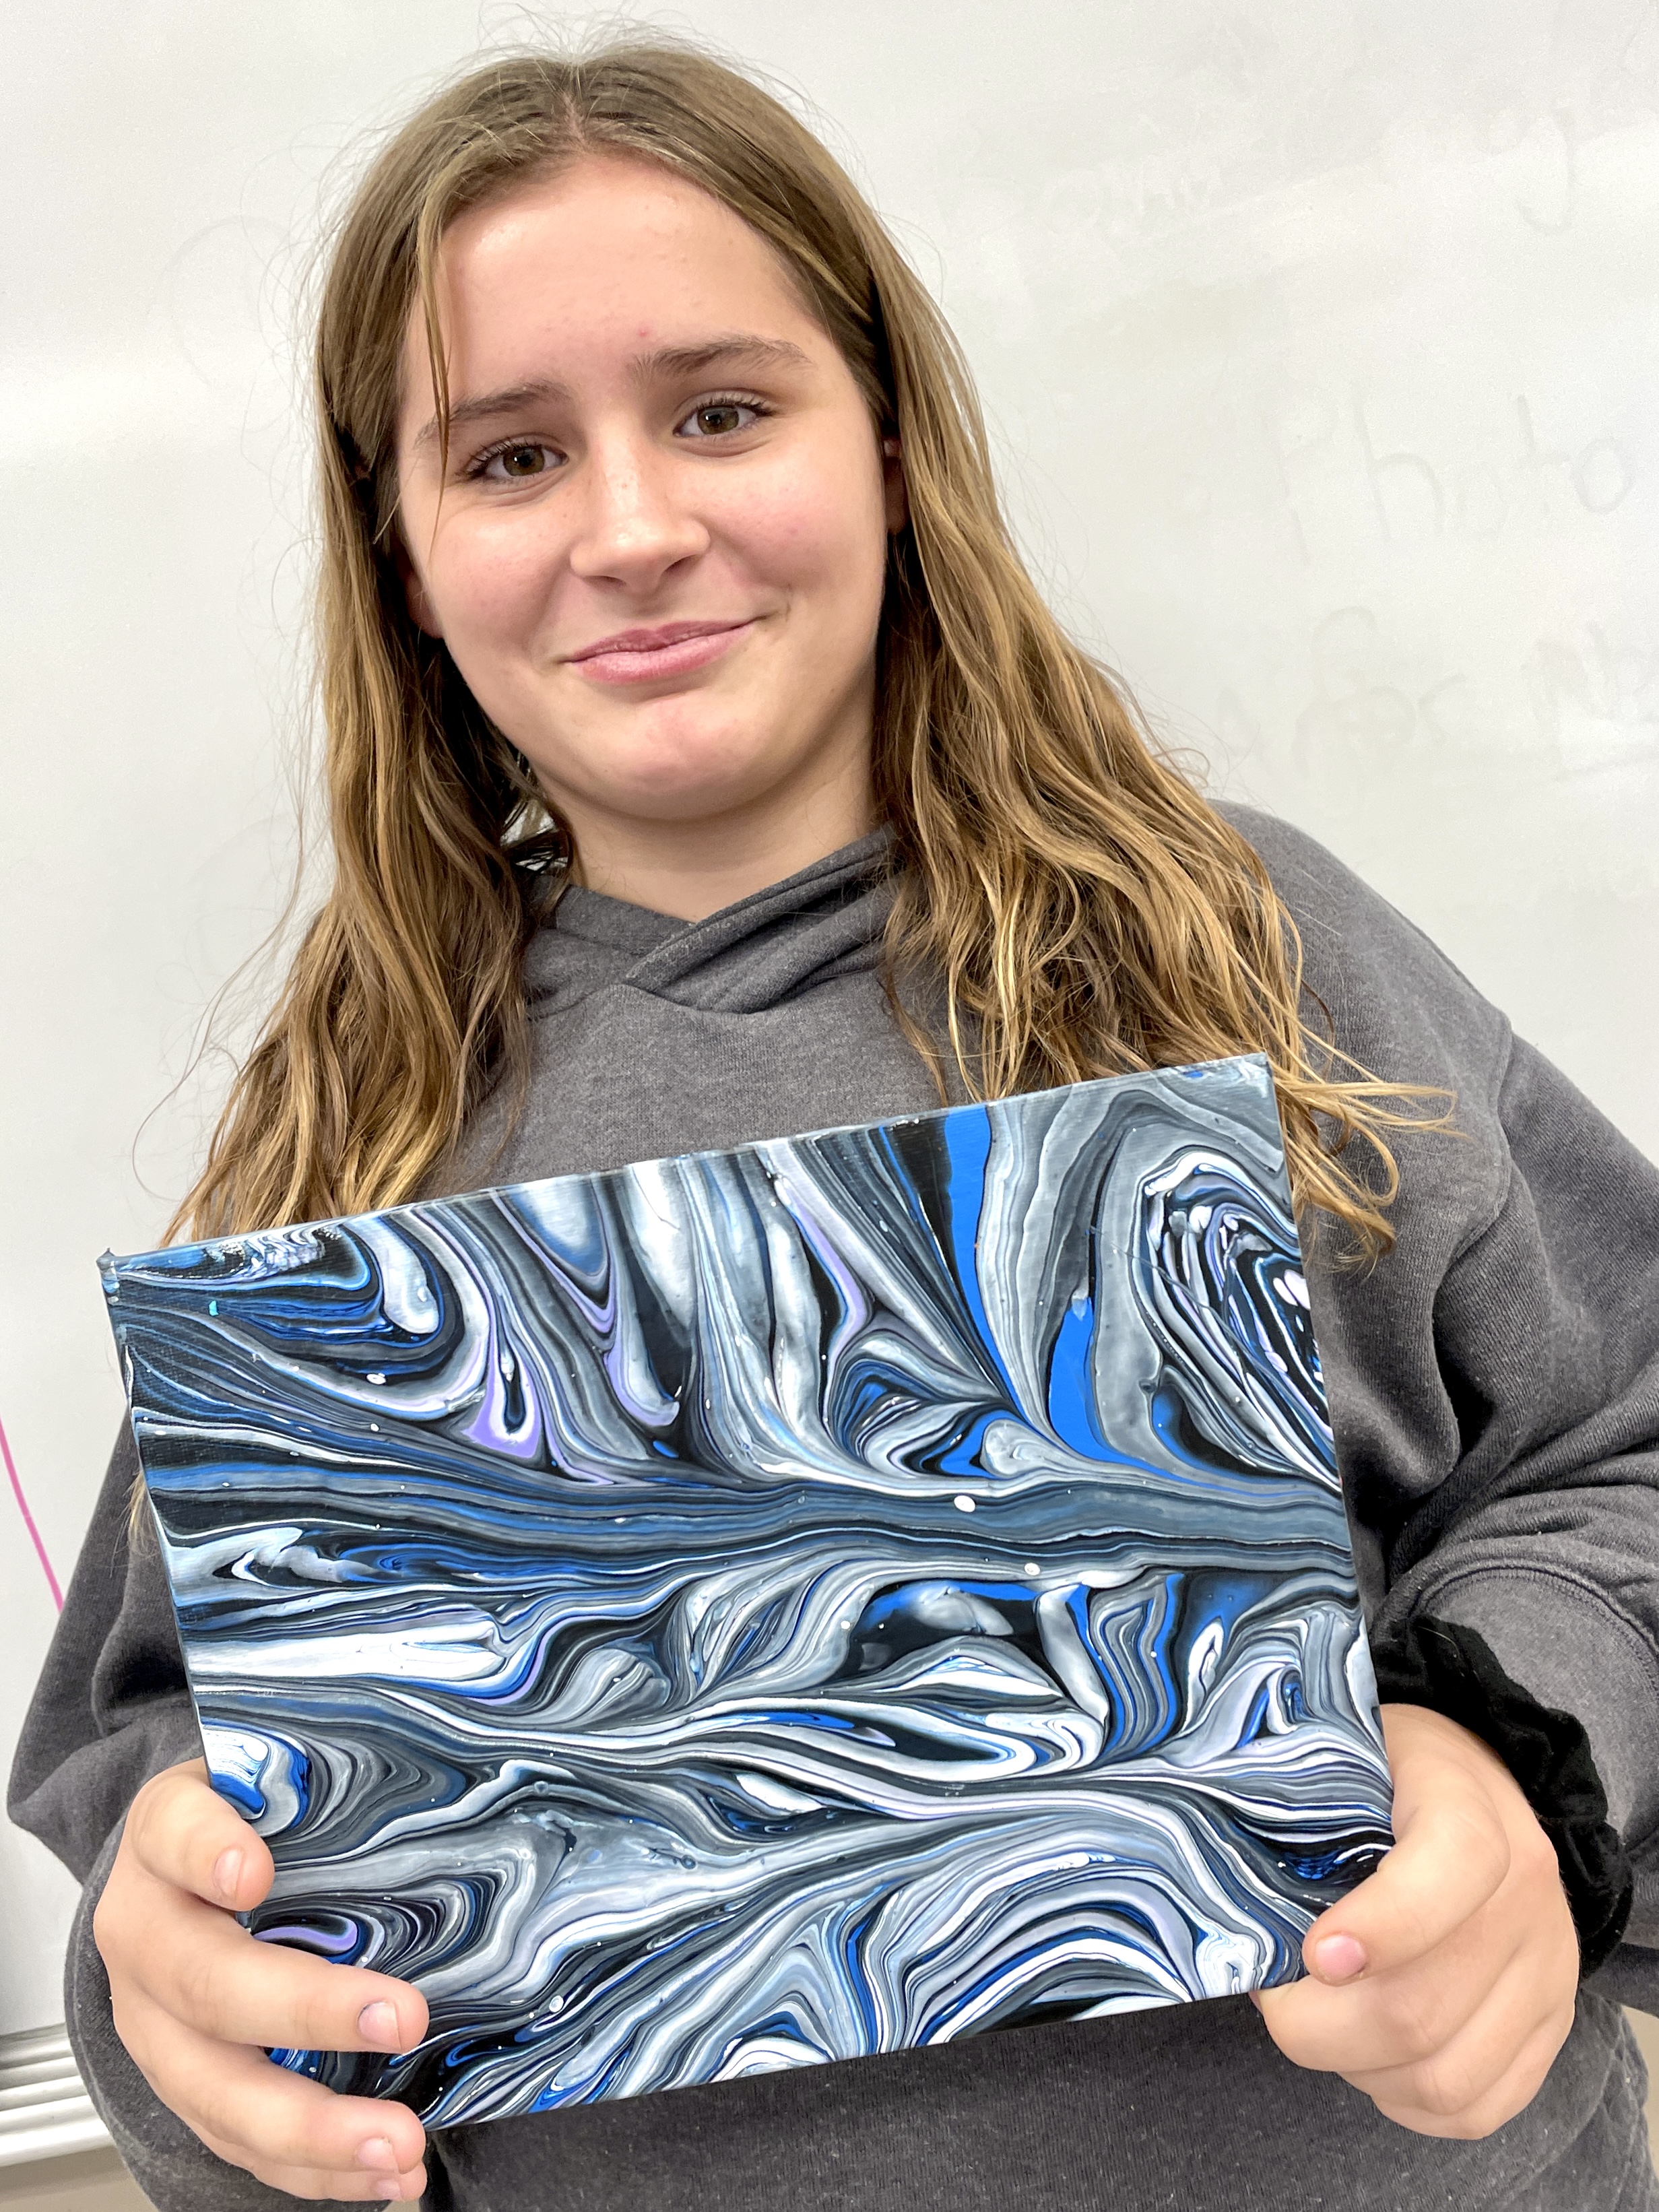
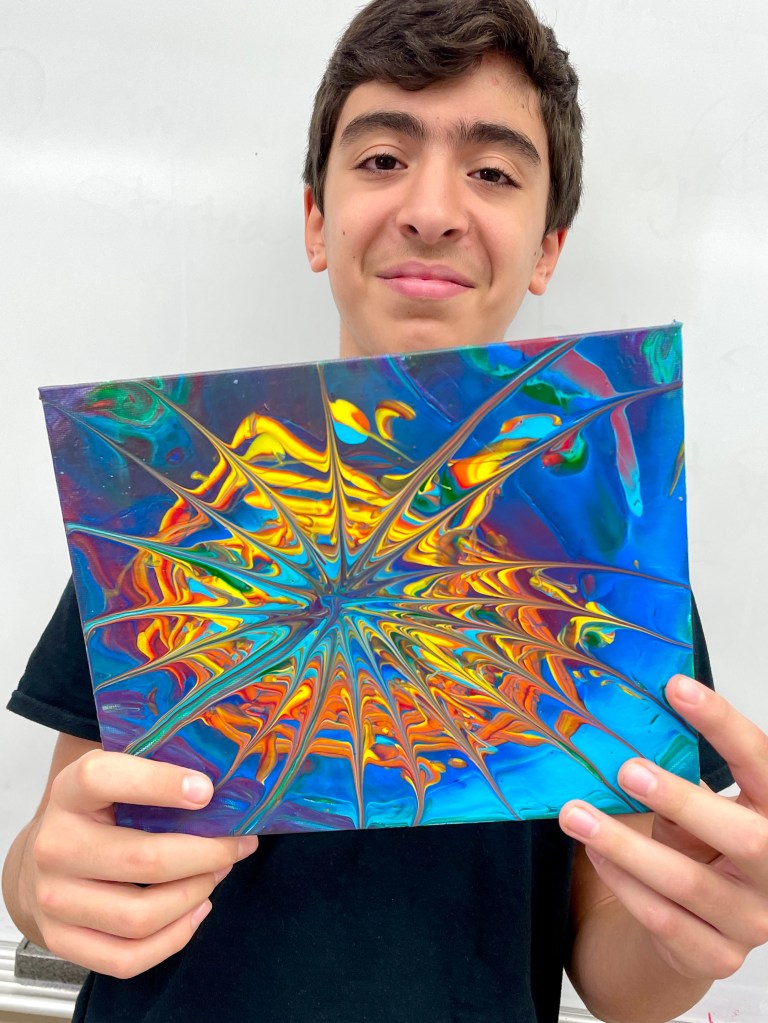
Before doing this in my classes, I tried some of the more complicated techniques featured in the video, and let me just say my results did not live up to expectations! 🙂 However, I found the 11th segment in the video, “Wrecked Ring Pour” a pretty manageable technique that yielded a variety of cool results for my students.
In hindsight, I am glad I had this set up the way I did: as a single 6-foot work table in the corner of the classroom, with two work stations in which kids could rotate through. I set up a drying area on a counter nearby which limited the distance the drippy canvases had to travel. I would NOT do this with an entire class at a time. (Too messy to have happening all over the room!) It worked great as a “bonus” activity for students who had completed their assignments, or could be a side activity while students are working on another lesson at their tables.
The work station:


A cheap kitchen strainer can add to the cool effect made by pouring the paint!


Here are some discoveries I made in my experimentations:
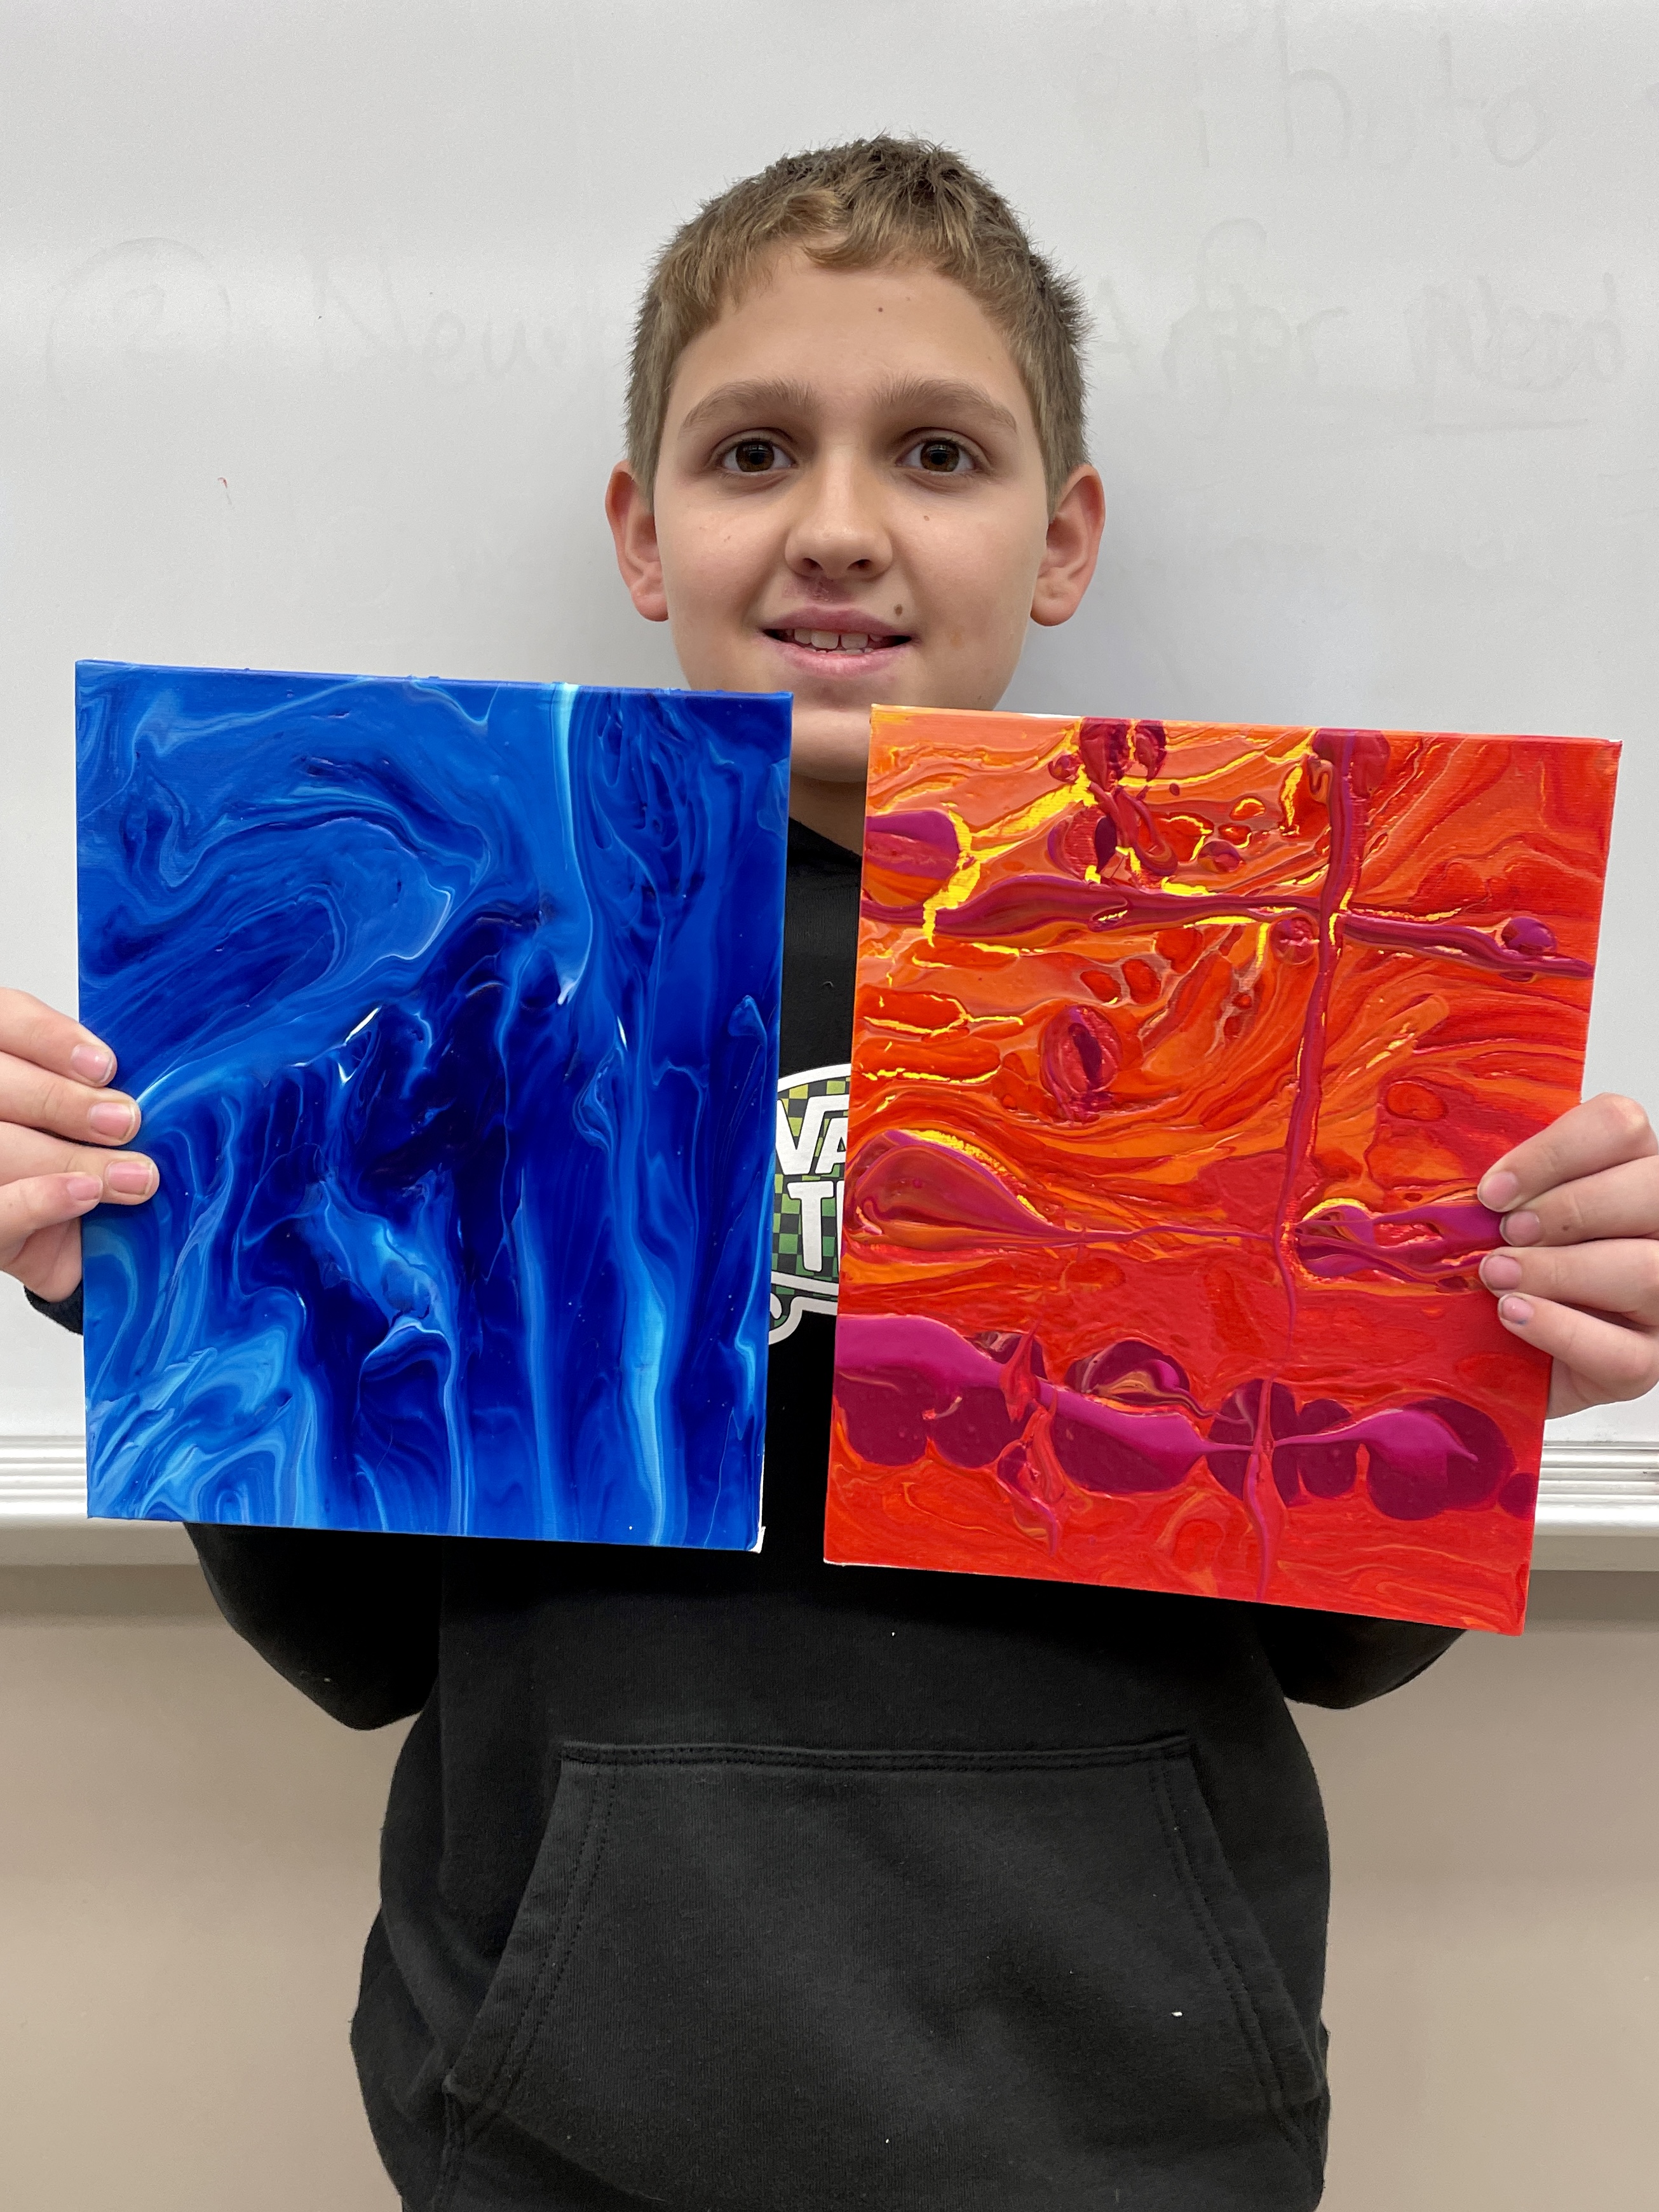
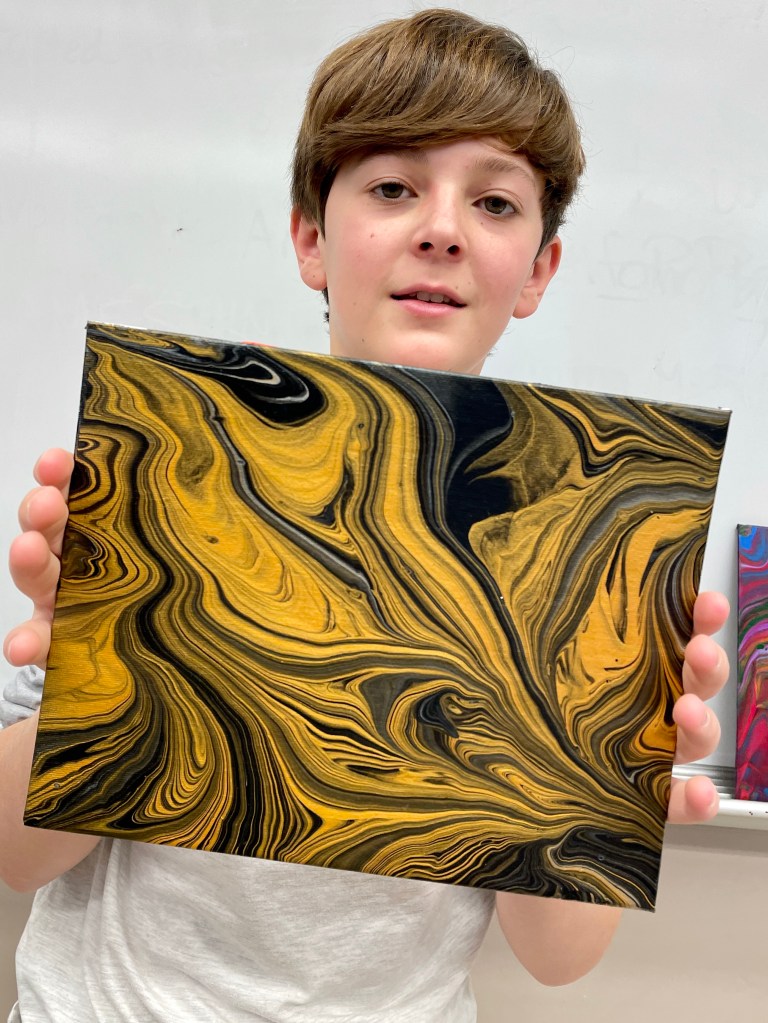
- A 3 oz. cup was a good size for working on 8” by 10” canvas panels. Be sure to fill the cup fully, and when you start lifting and tilting your canvas, try to not let too much paint run off any side until you have achieved decent coverage on most of the panel. (But you WILL have waste!)
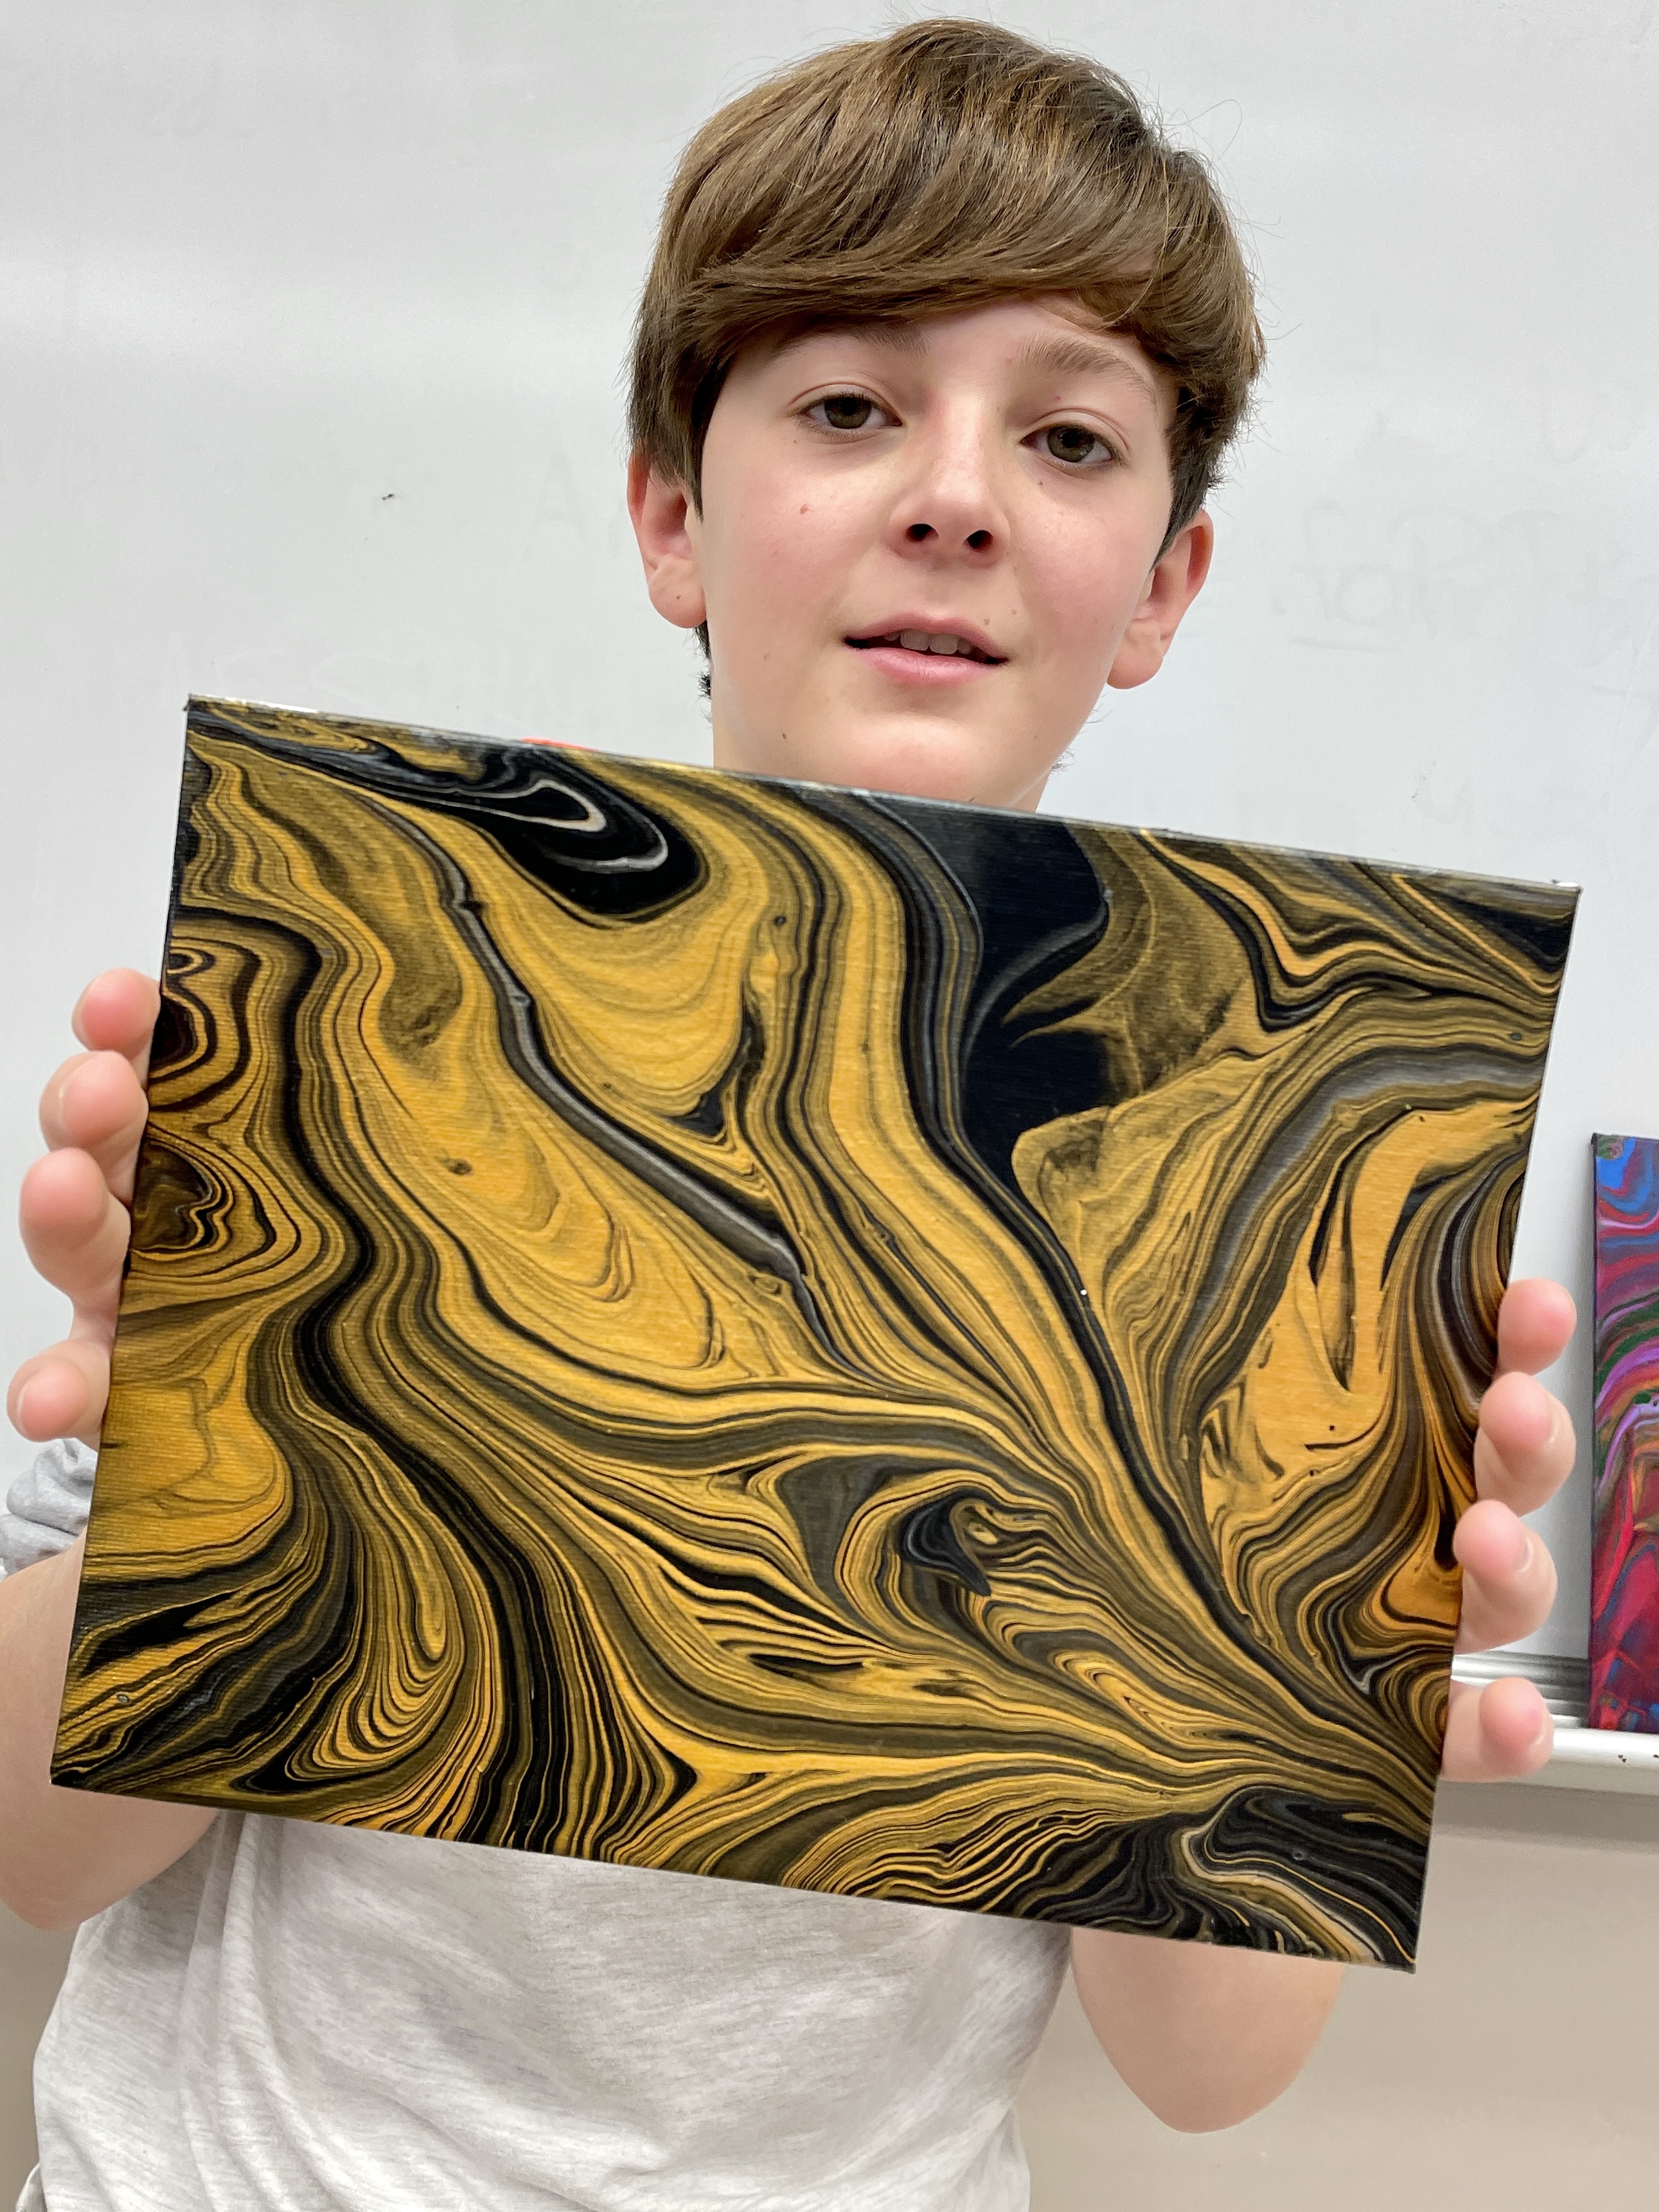
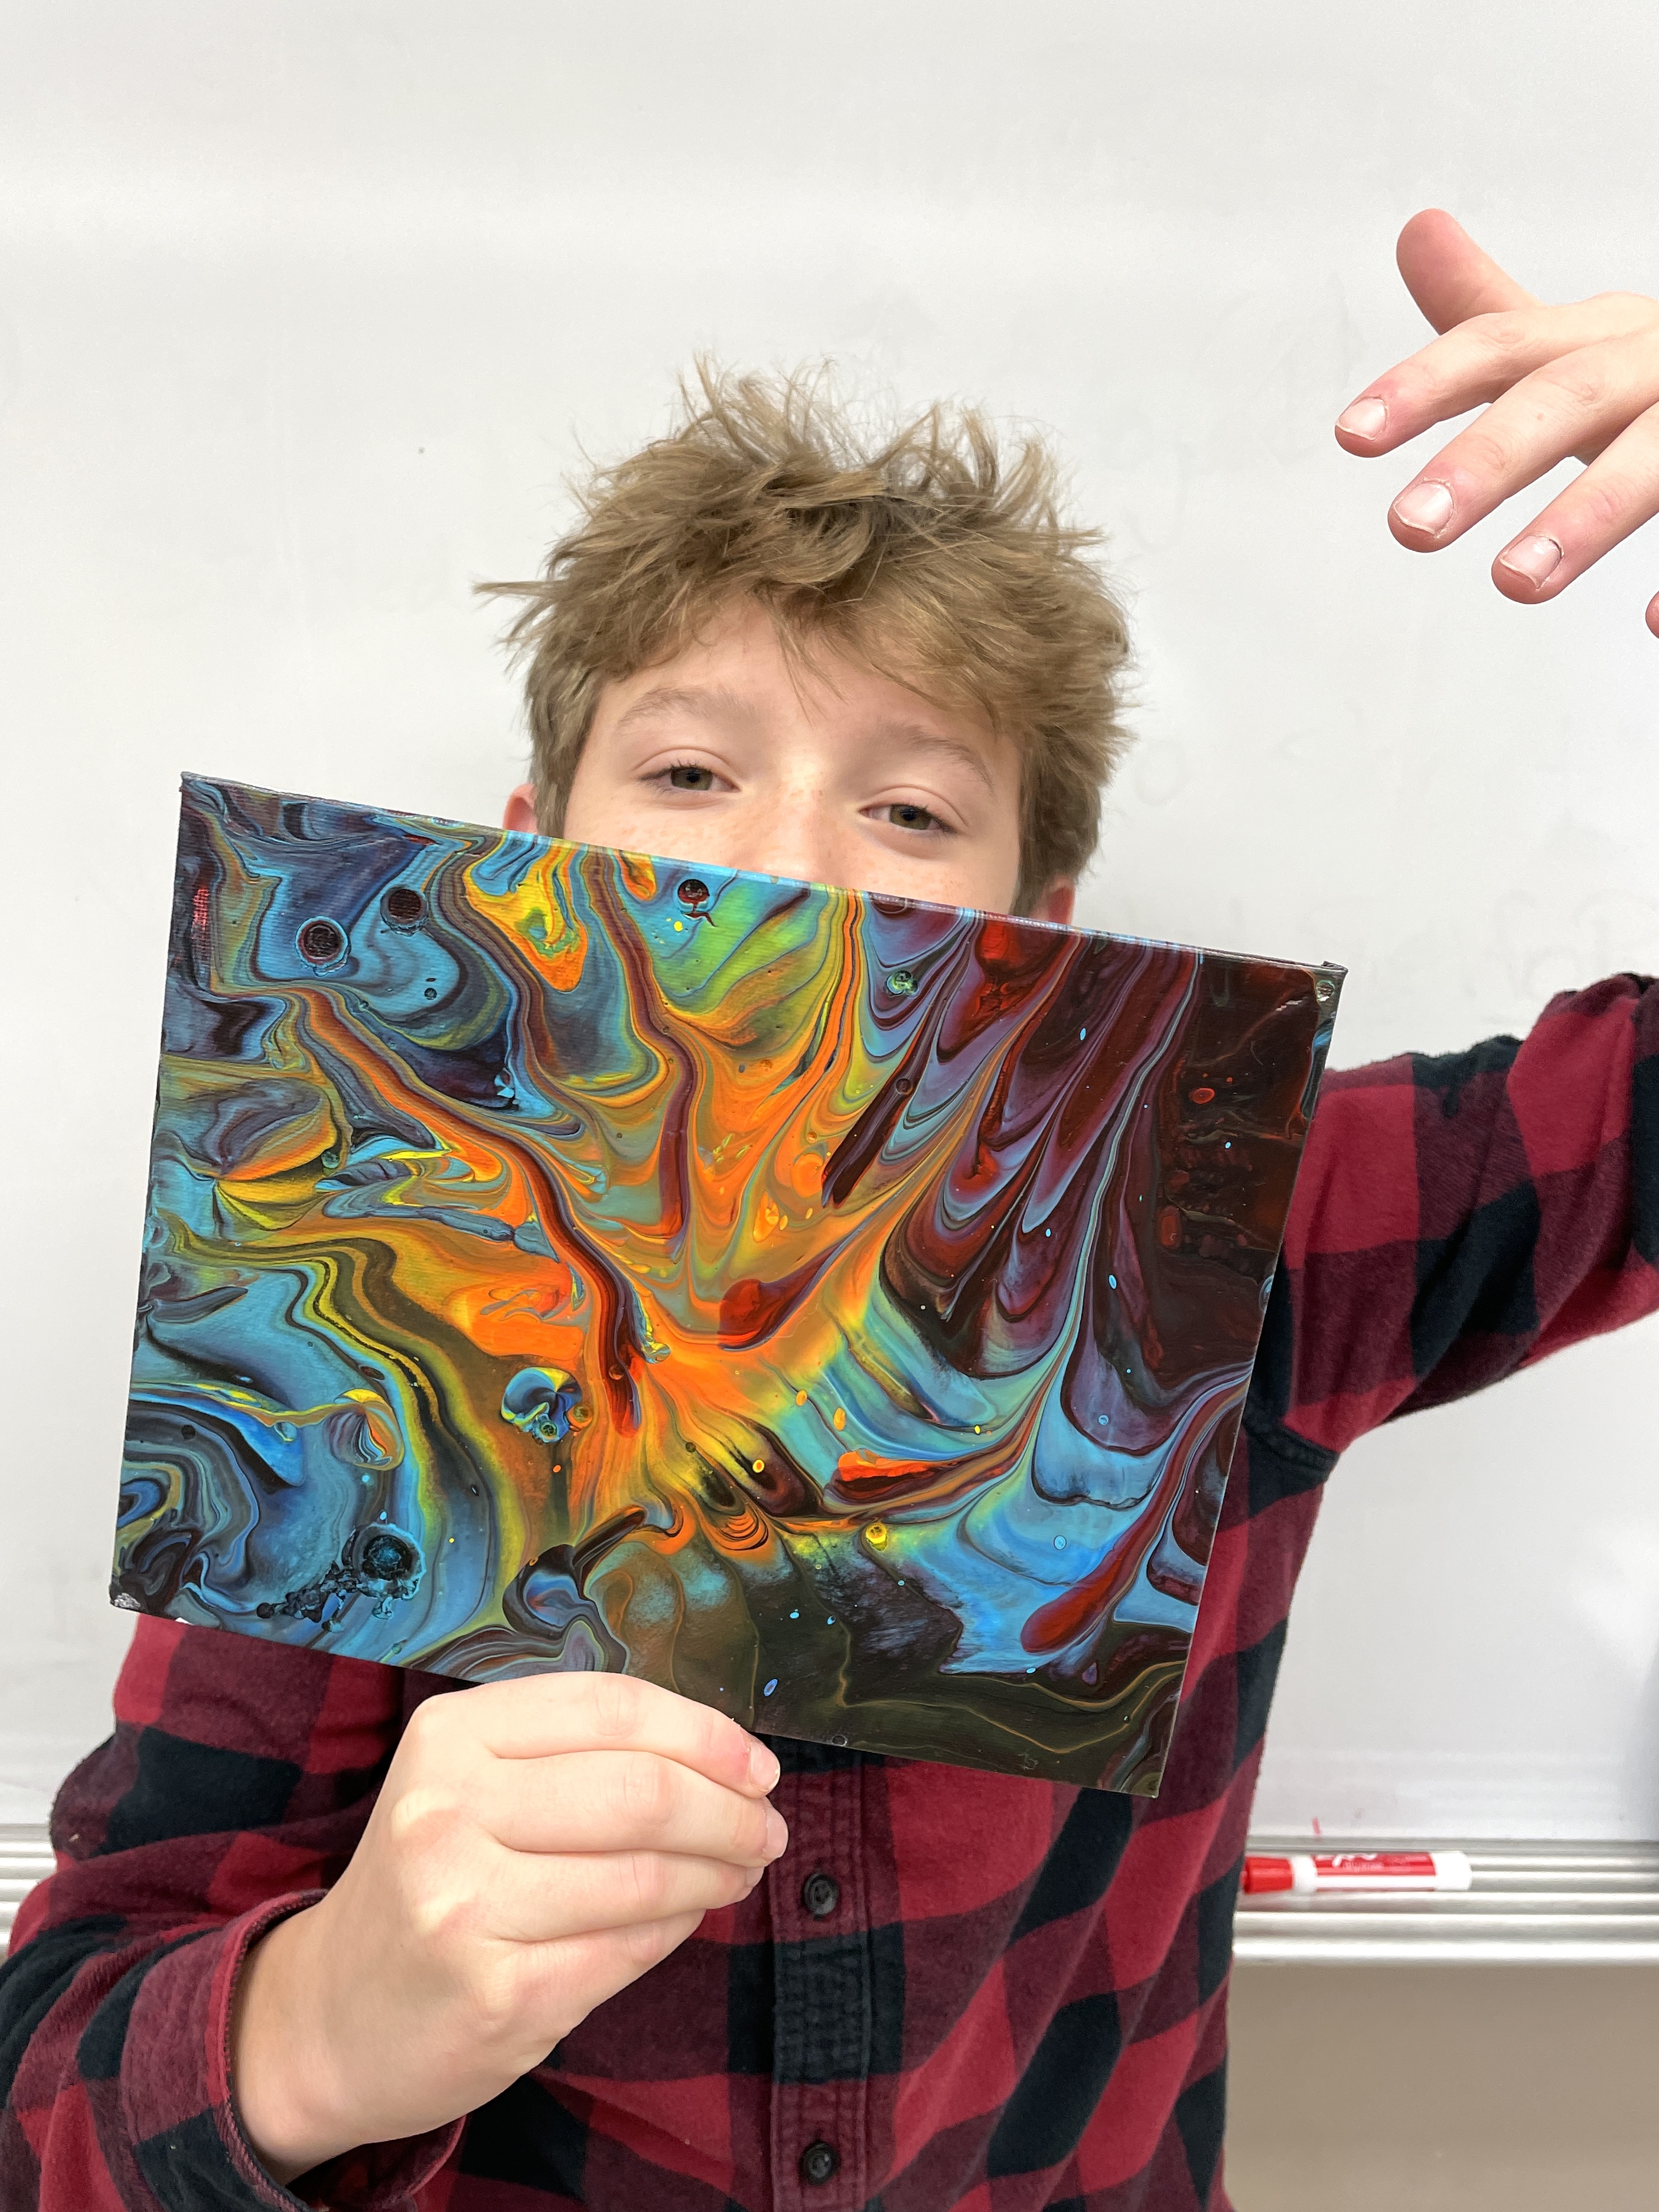
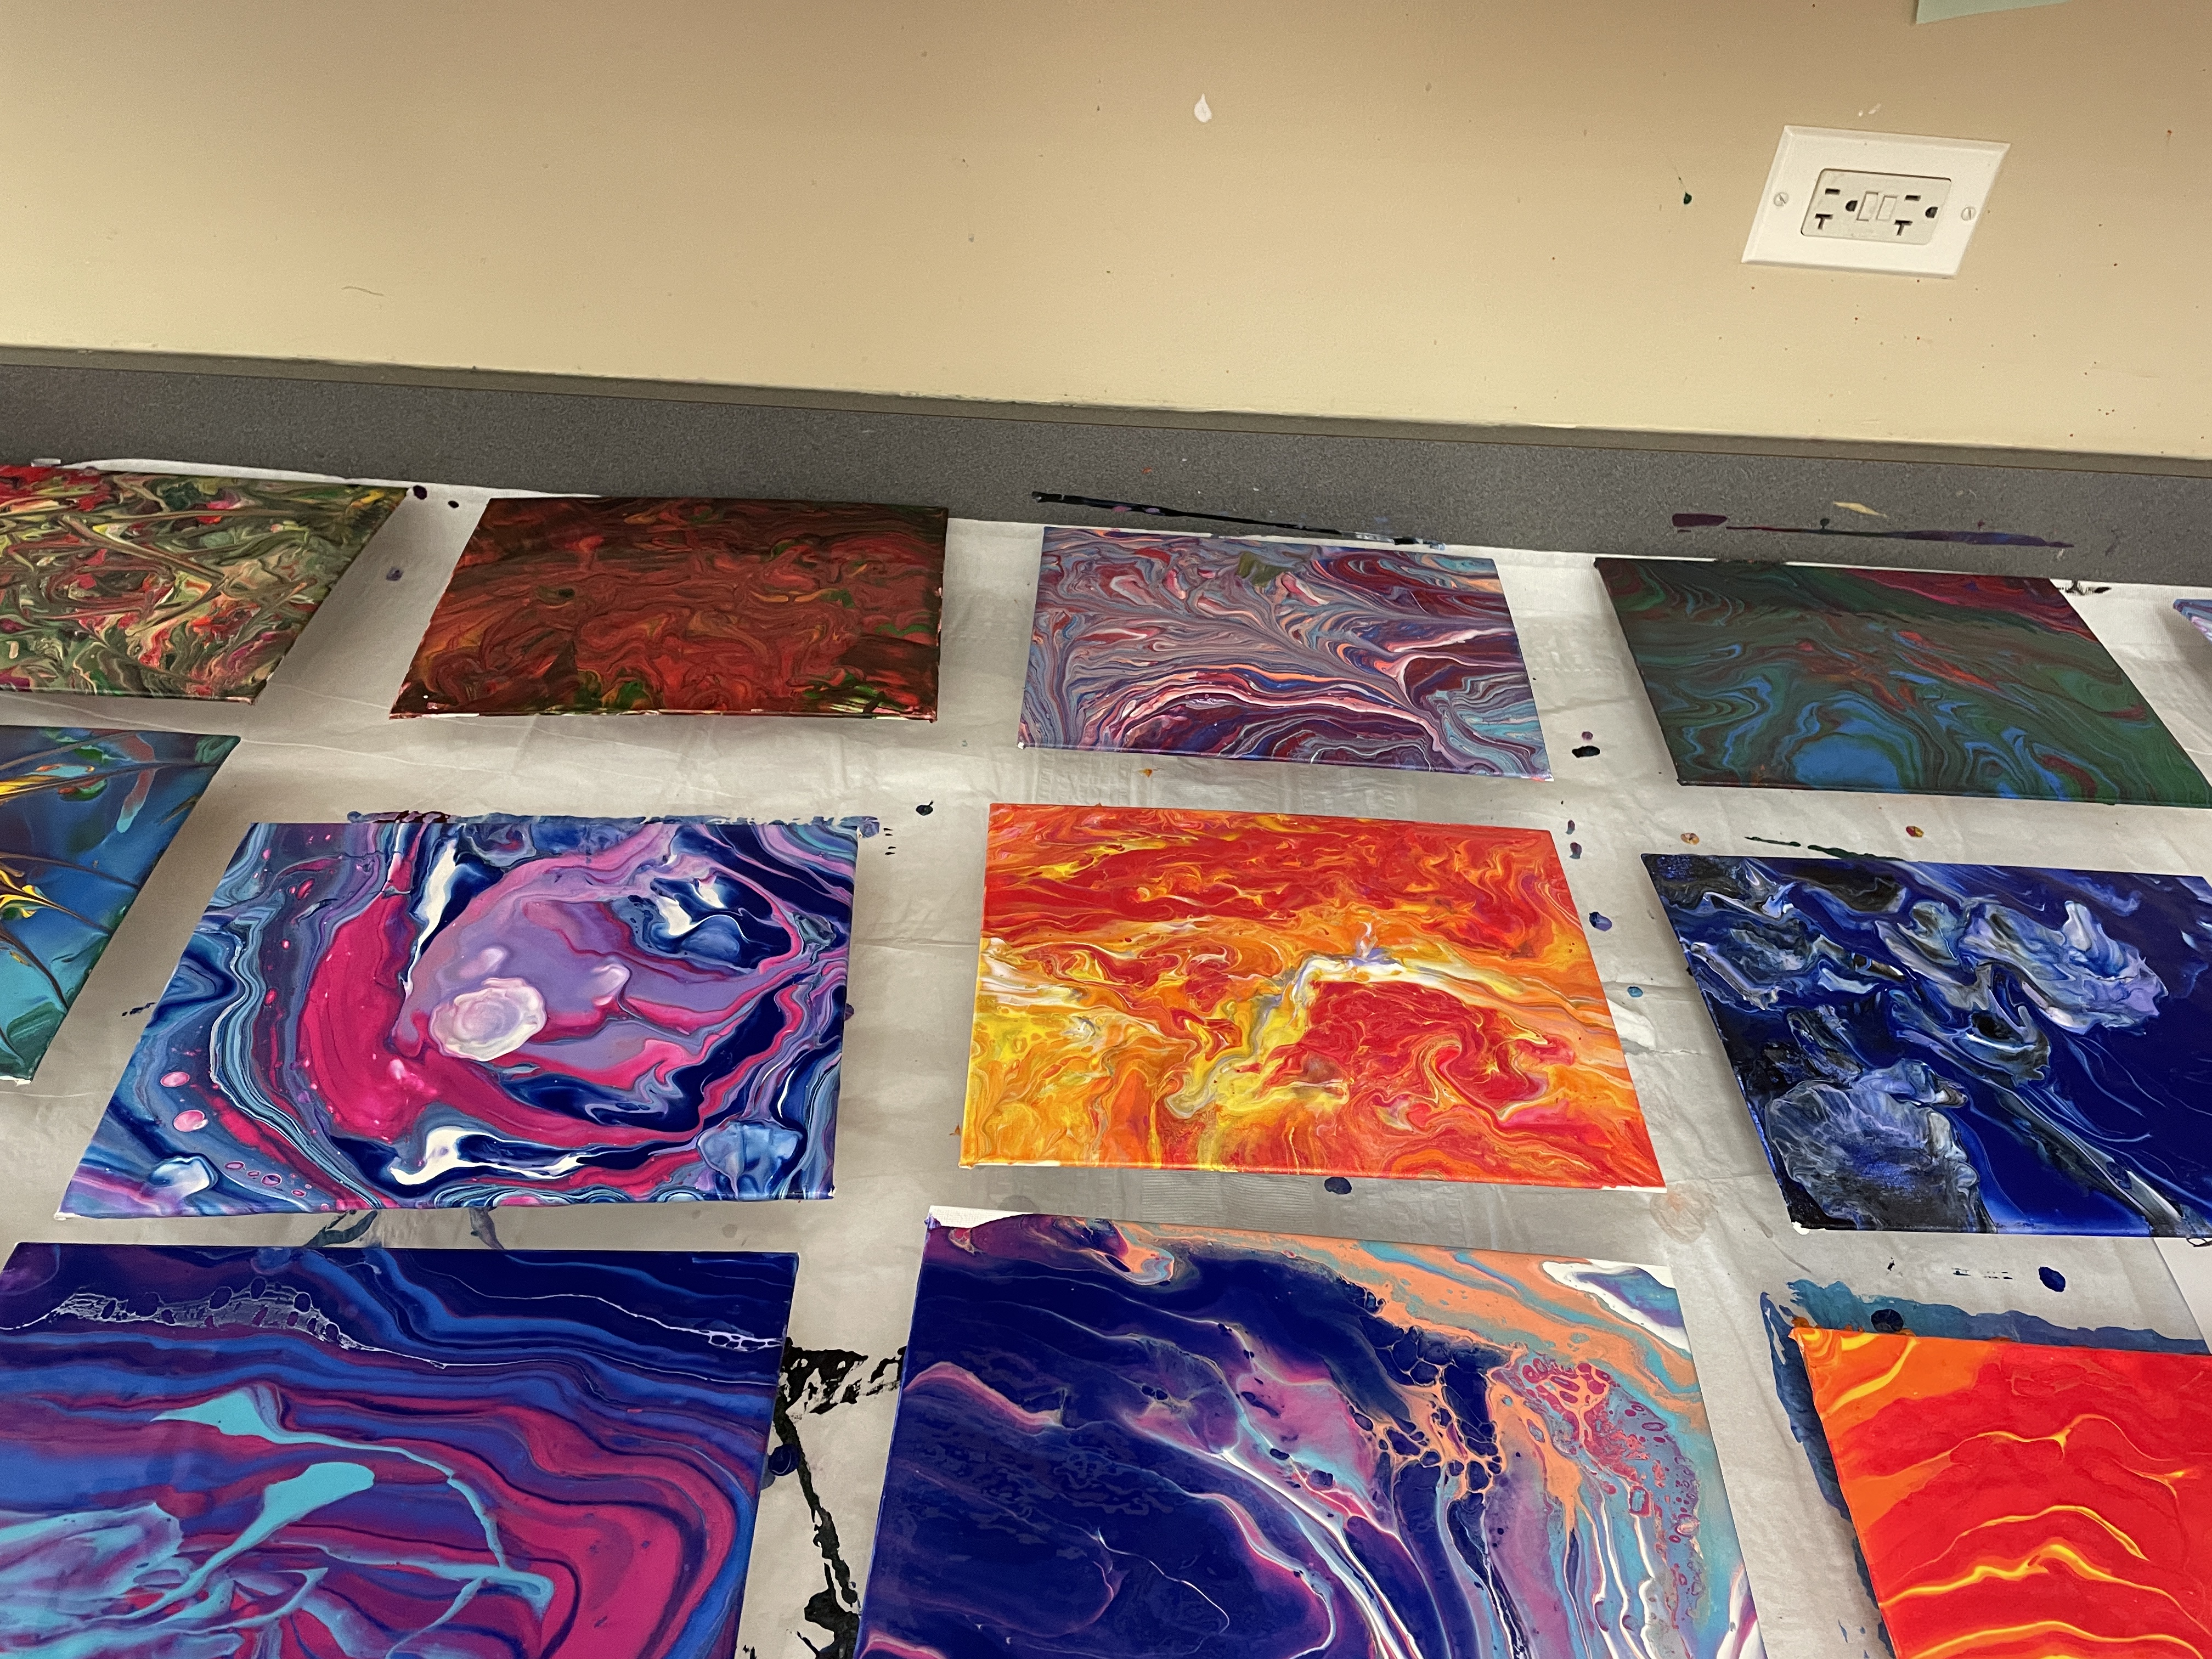
- Layering the paint with many repeated colors yielded more detailed patterns when poured.
- A high-sided box lined with a stack of paper was a good work station. The box contained the spills and drips, and as the paper got too messy, I folded it up to reveal a clean surface.
- Place a cheap cookie rack or a dead roll of masking tape in the work station to balance and elevate the canvas in the box when you are ready to pour your paint.
- You’ll need a surface to let your paintings dry, elevated, (I used clean Chobani yogurt cups) for an hour or so before moving them to the drying rack. They will otherwise stick to whatever they’re sitting on, and could drip down onto other work if transferred to the drying rack too soon.)
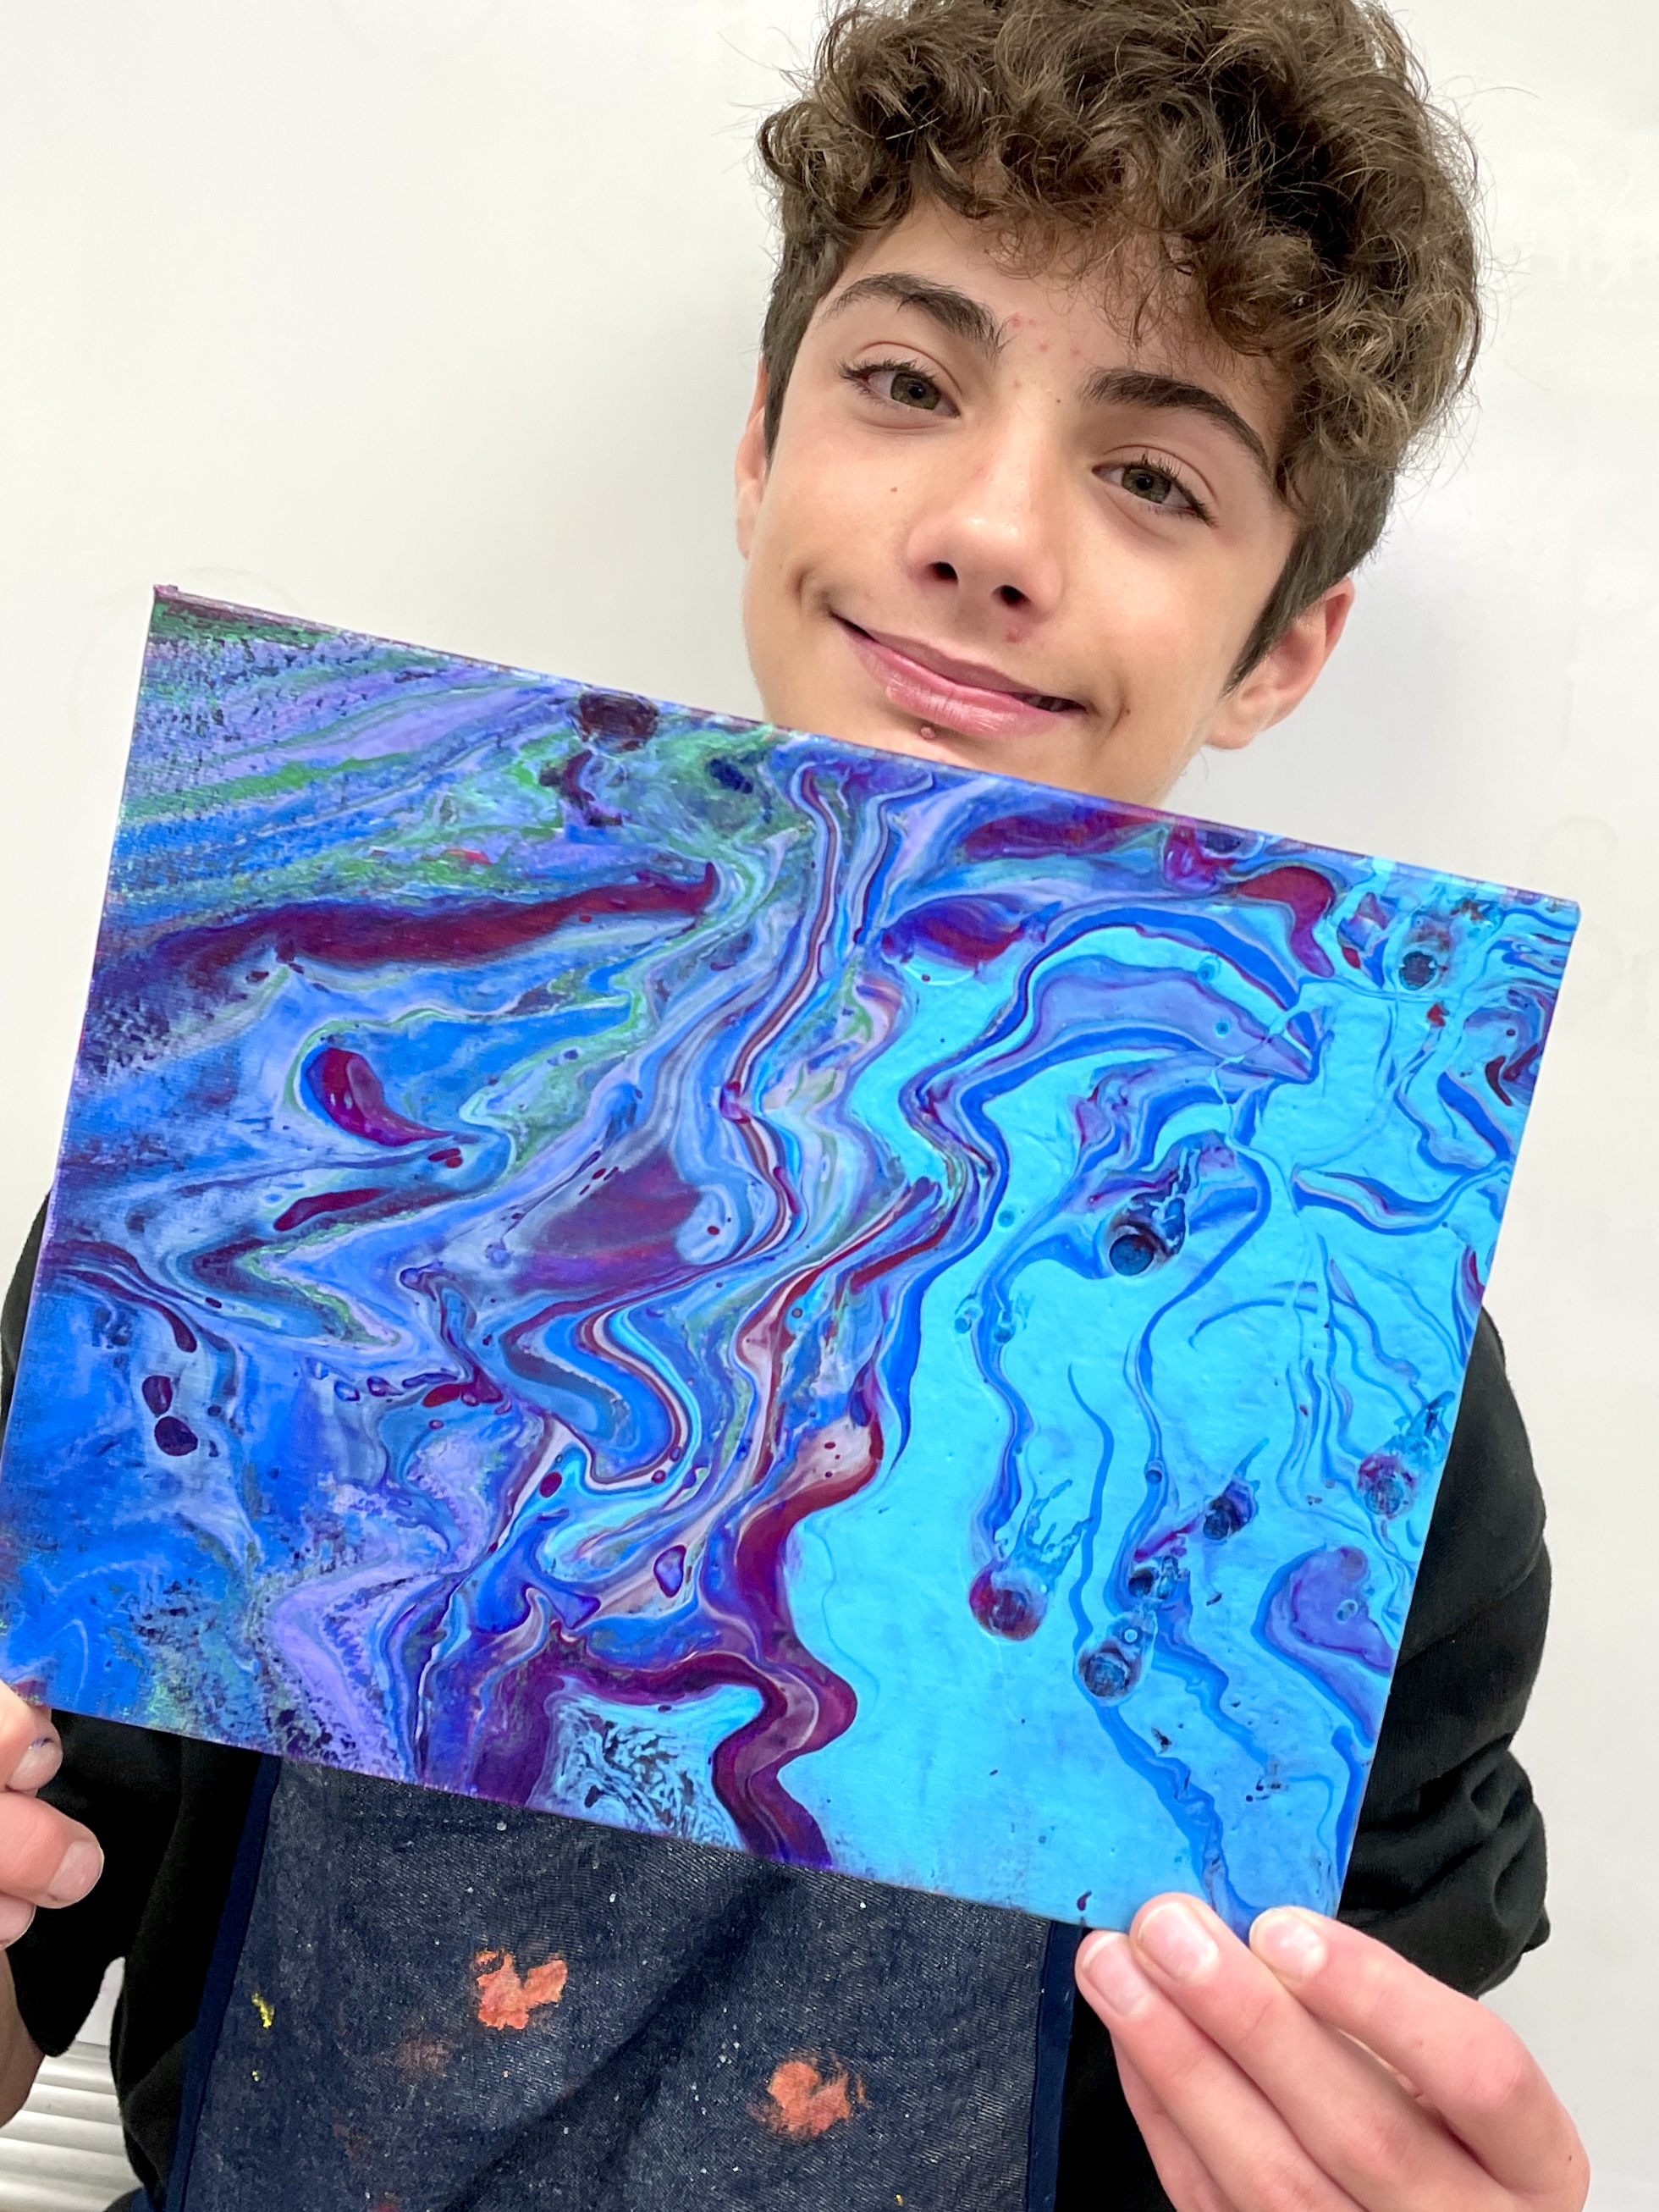
- A Popsicle stick can be used after pouring and before you lift and tilt your canvas to create some marbleized-like patterns in the paint.