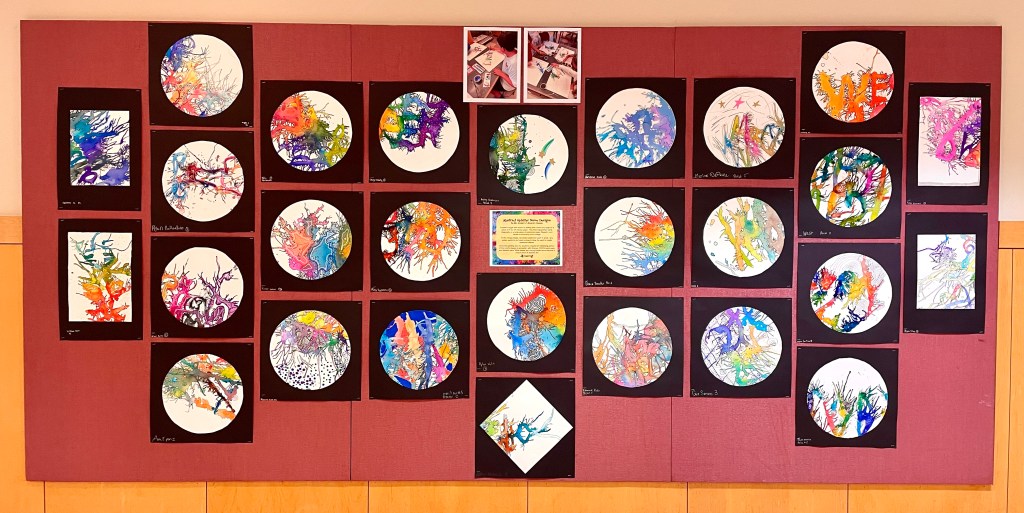
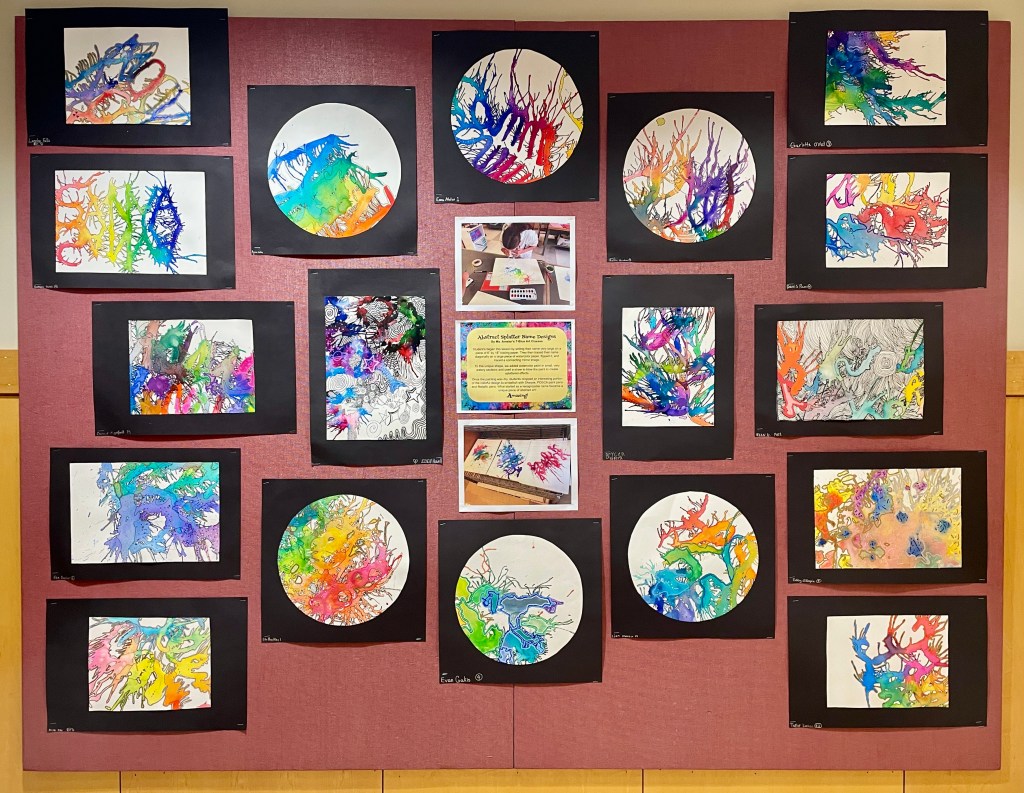
Abstract Splatter Name Designs


I always like to start the year off with a project that features students’ names. Names are something personal and unique and always make a great subject matter for an introductory art lesson. (Bonus: seeing a student’s name nice and big on their paper helps me to learn it easily!) This project is fun and transformative in that what starts as a recognizable name becomes an abstract design.
This INSTRUCTION PACKET has videos, examples, photos and MORE! But check out the steps below, first!
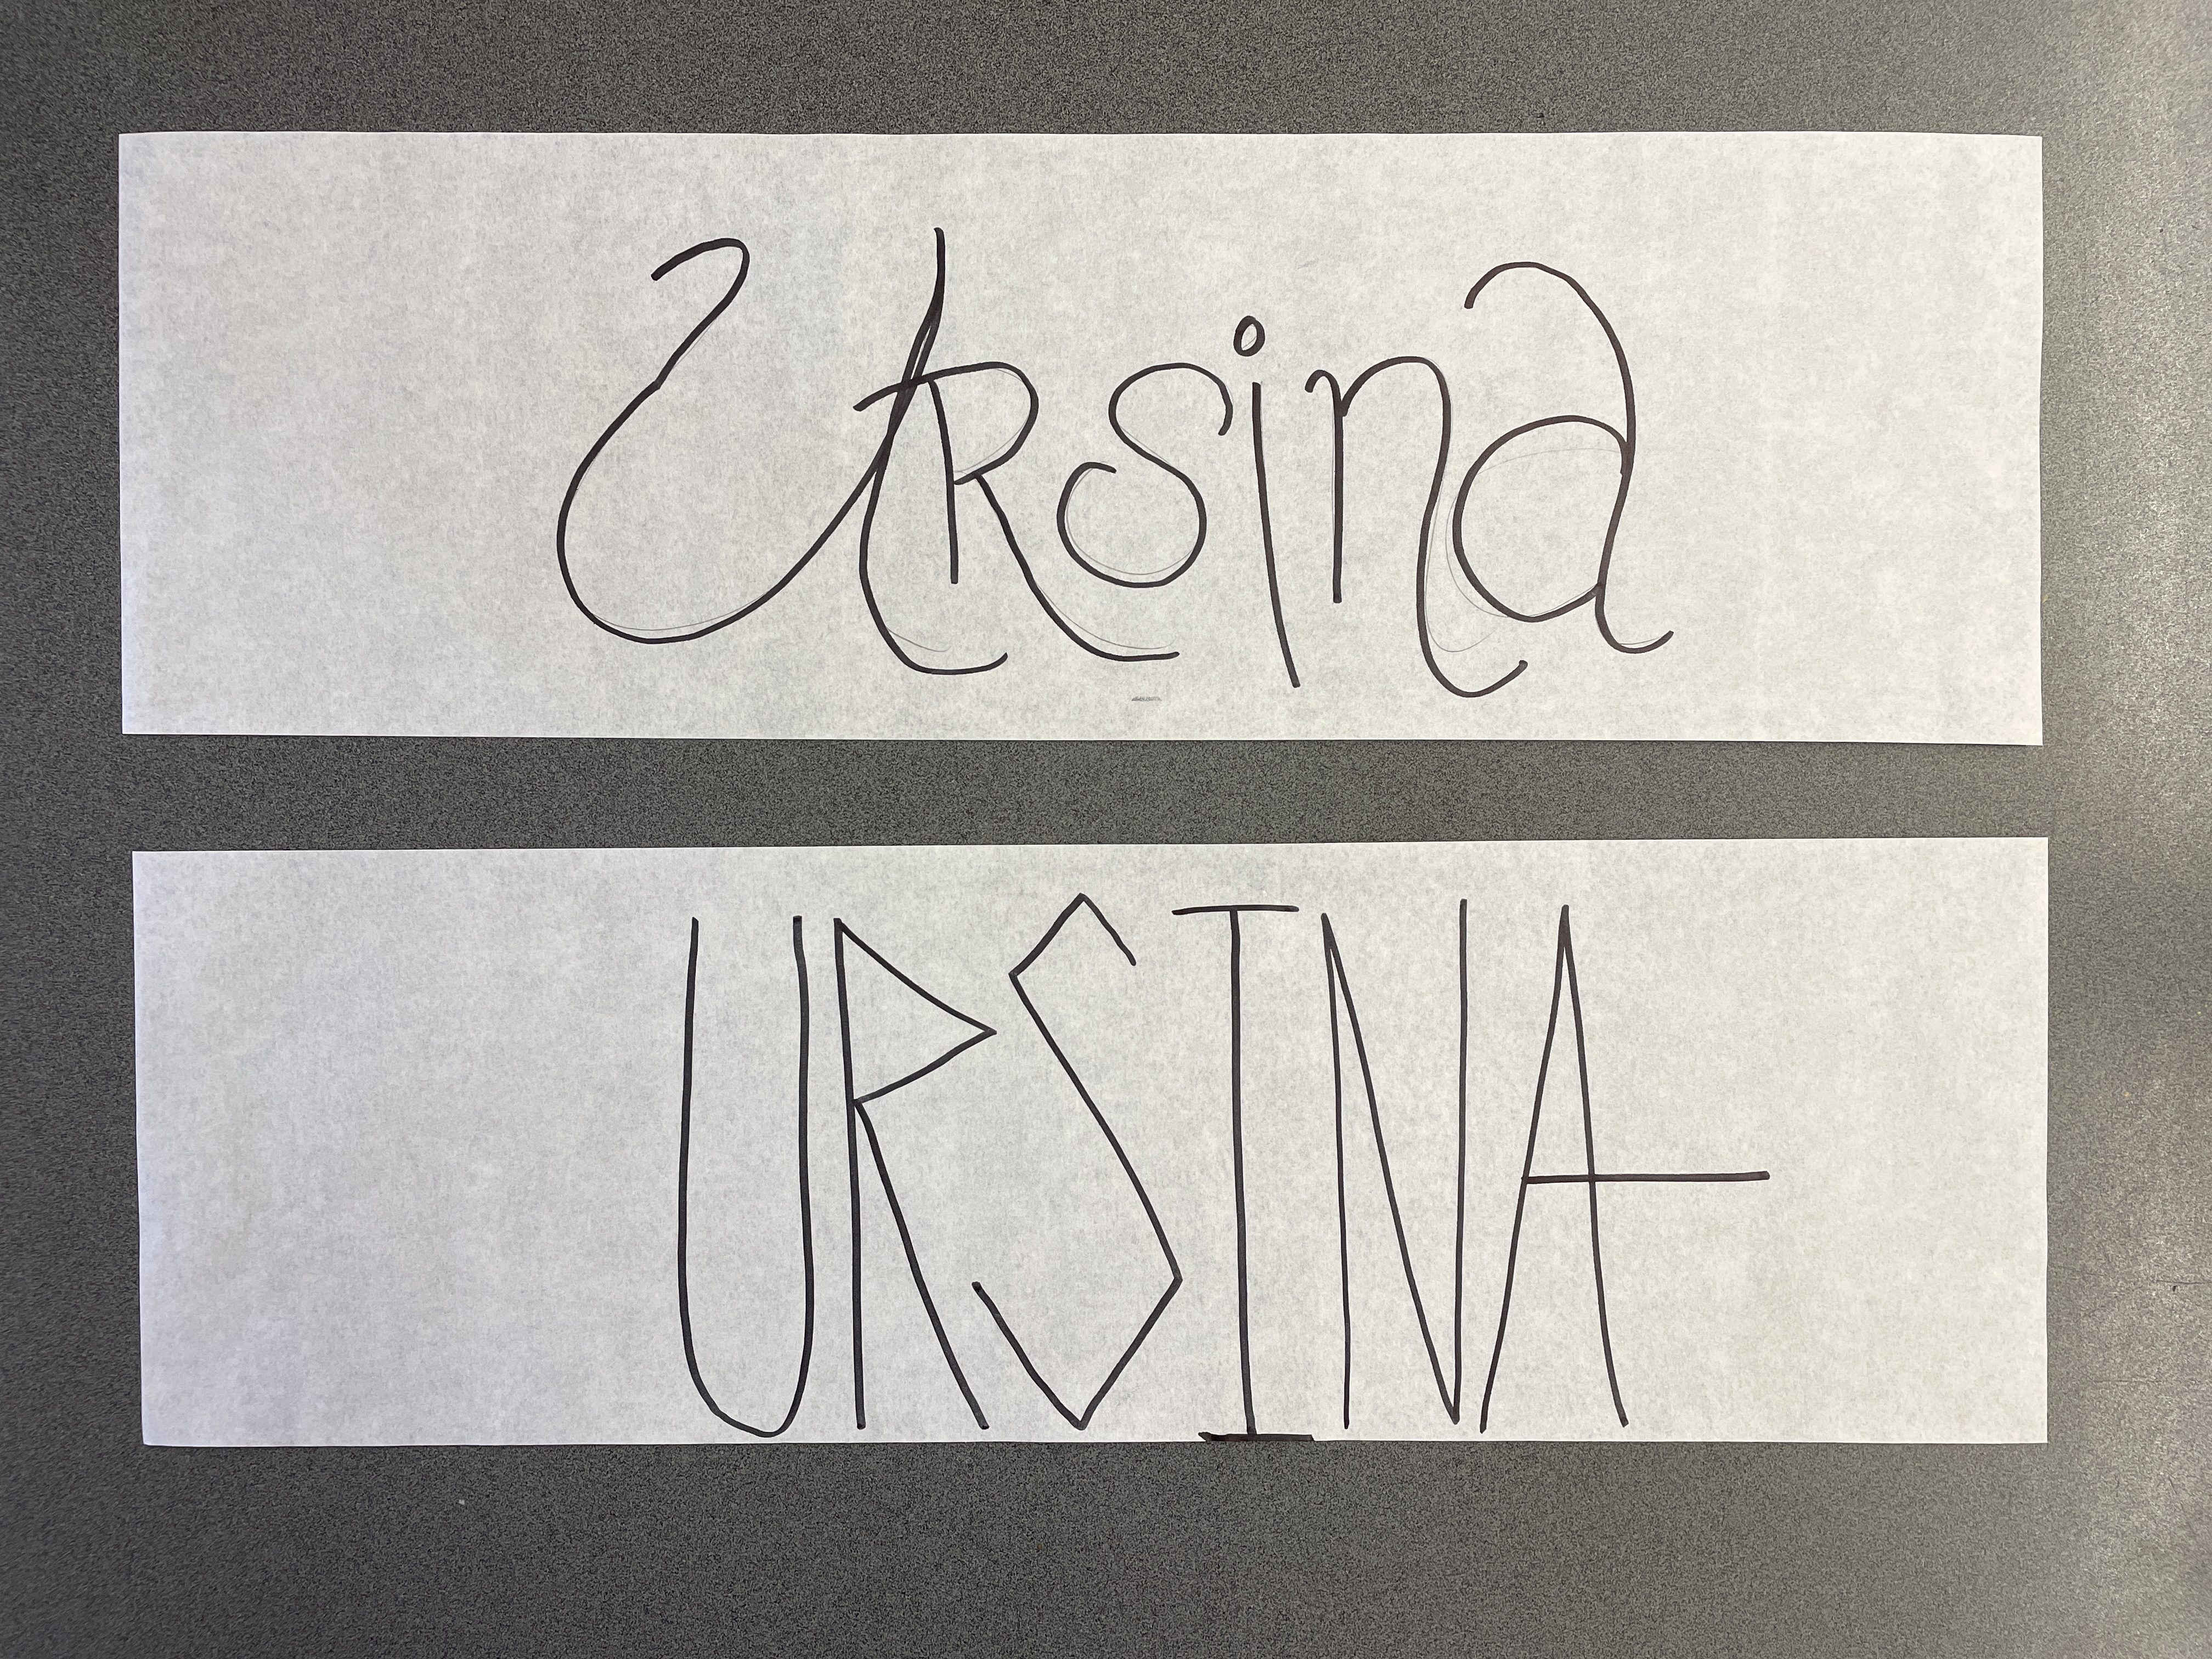
Students began by writing their names two distinct ways on large pieces of tracing paper. (For this project, we used 6” x 18”). I asked them to create two distinct variations of their name and they could use any lettering style they want. Students then selected their favorite and went over it with Sharpie.
Then, we divided a piece of large watercolor paper on the diagonal. Students traced their name once on the line, —and I required that they either touch or cross the line twice. They then flipped their tracing paper, repositioned it to connect to the first tracing, and traced their name again, this time upside down and backwards. At this point, the name is already transforming into a unique shape. When satisfied, students lightened their lines in preparation for painting.
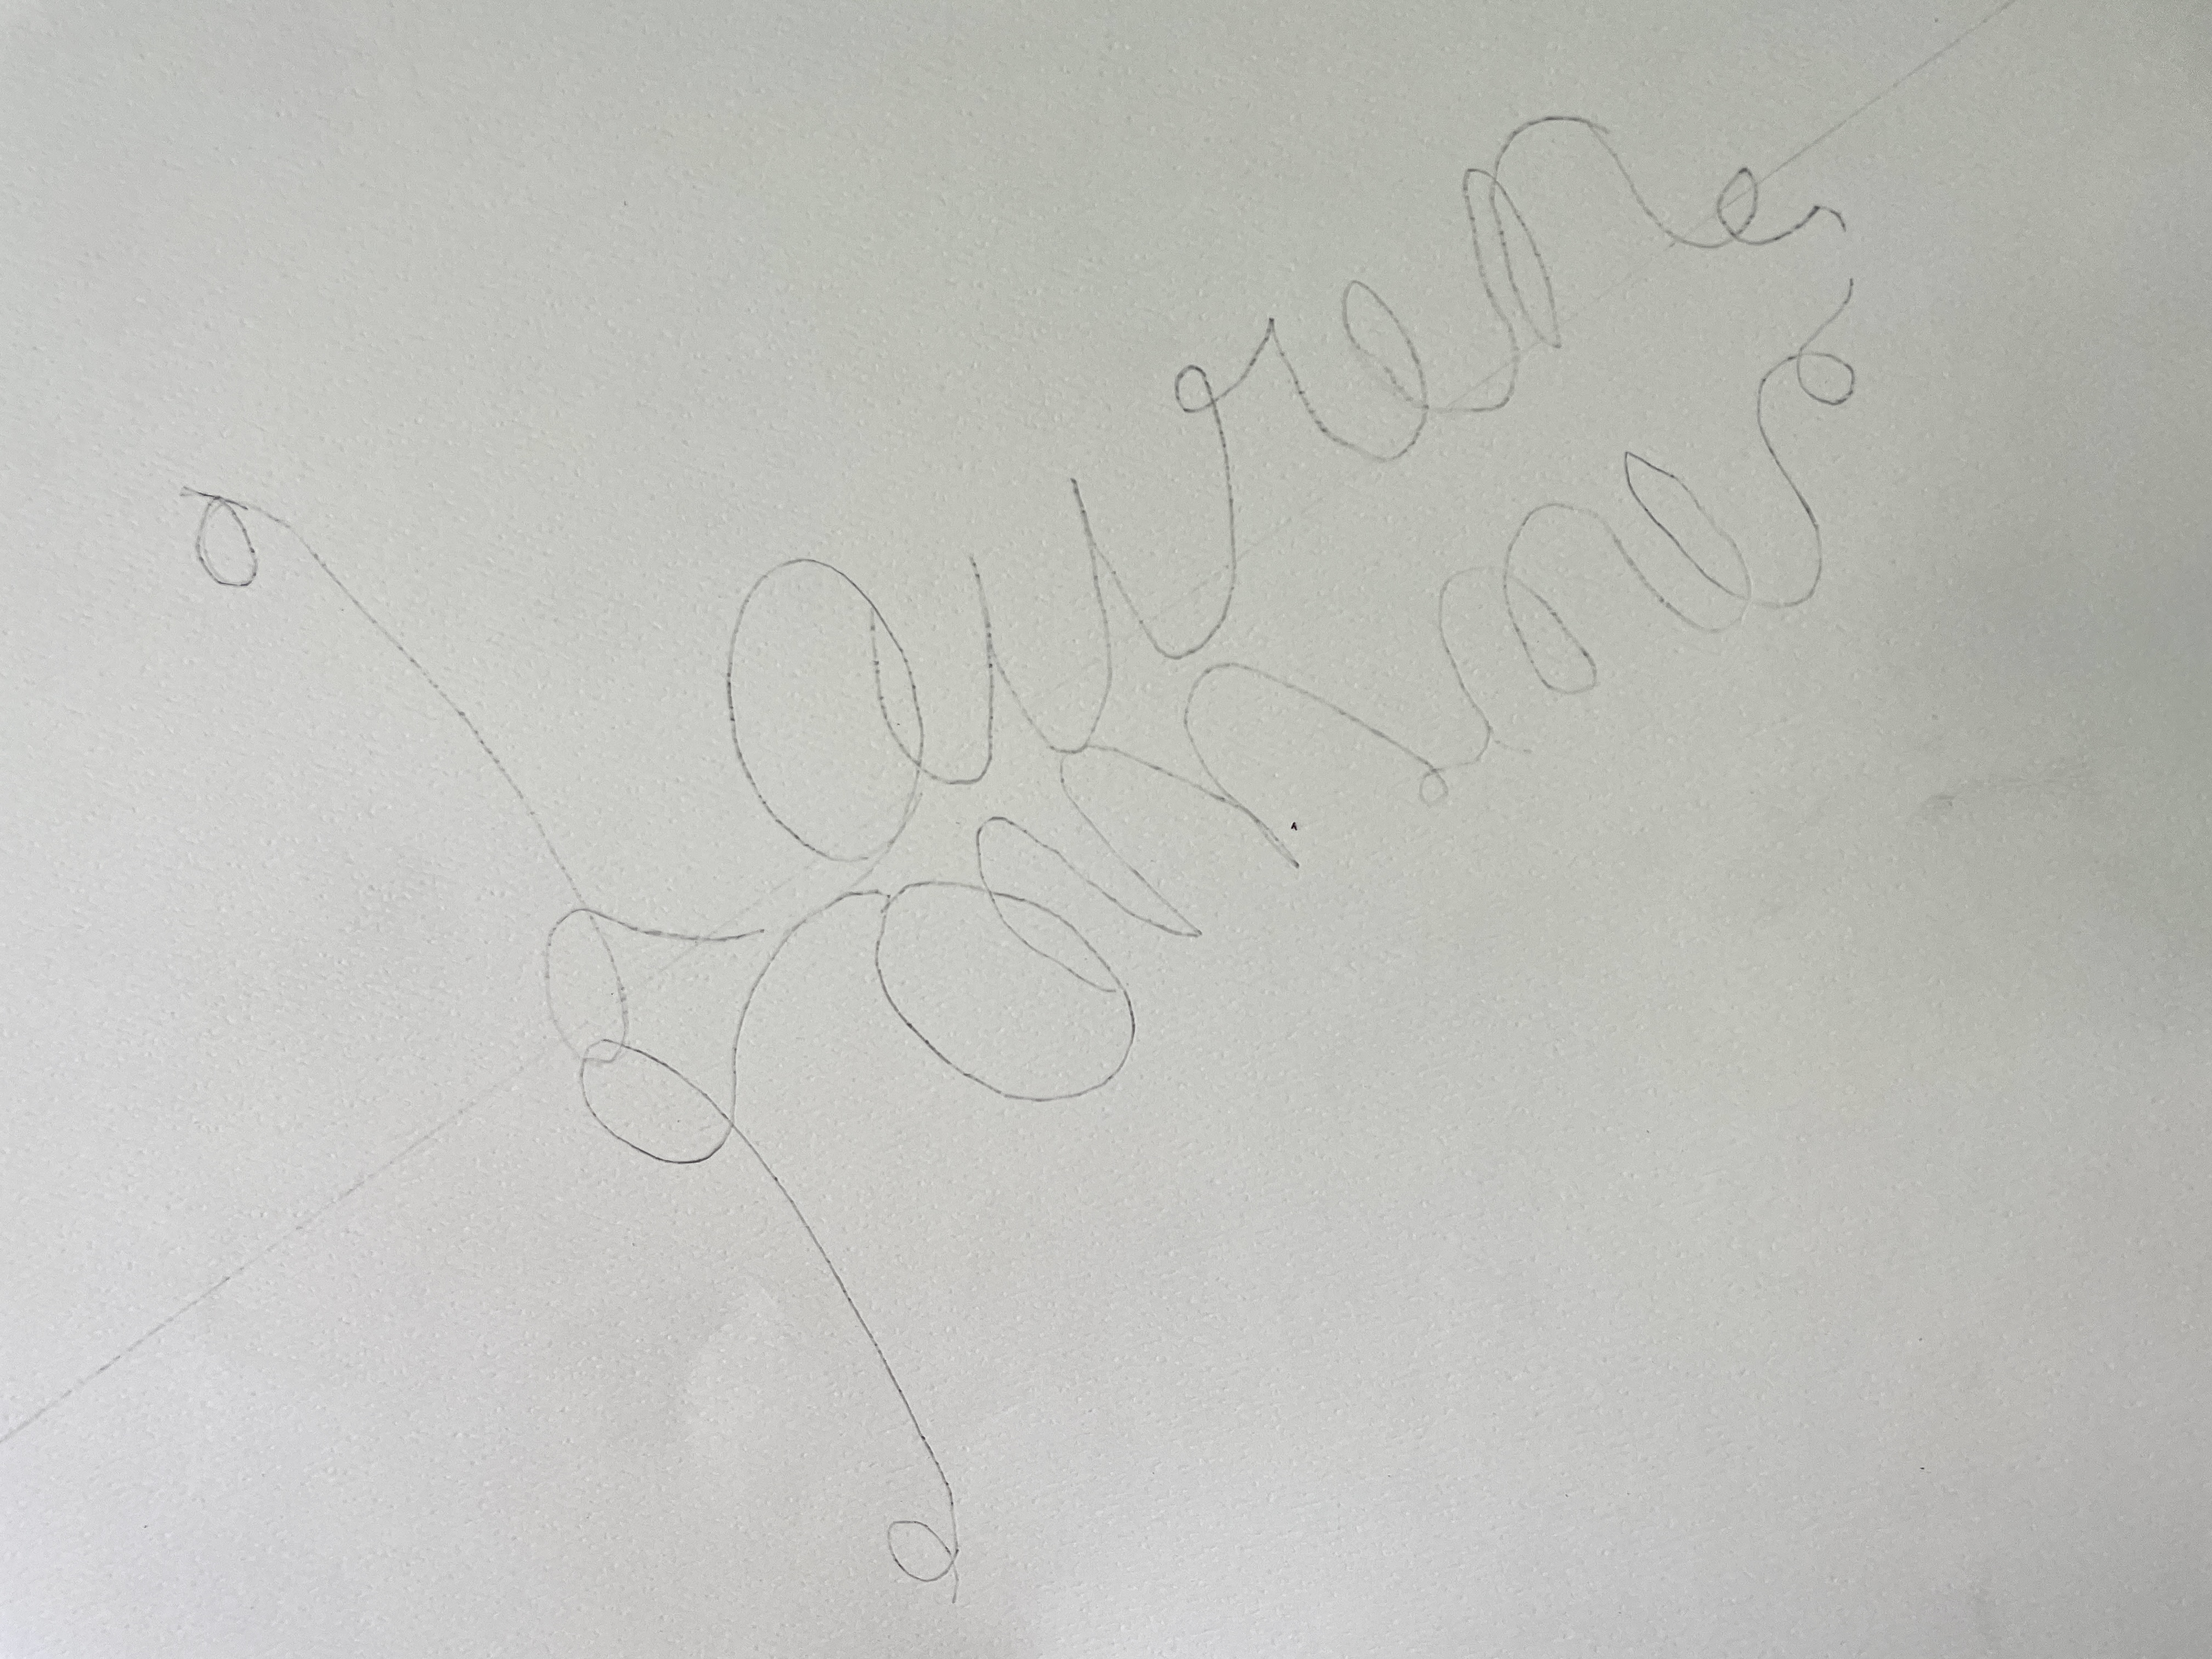

Two student examples, “Lauren” and “Dylan”. traced, lightened, and ready for paint!
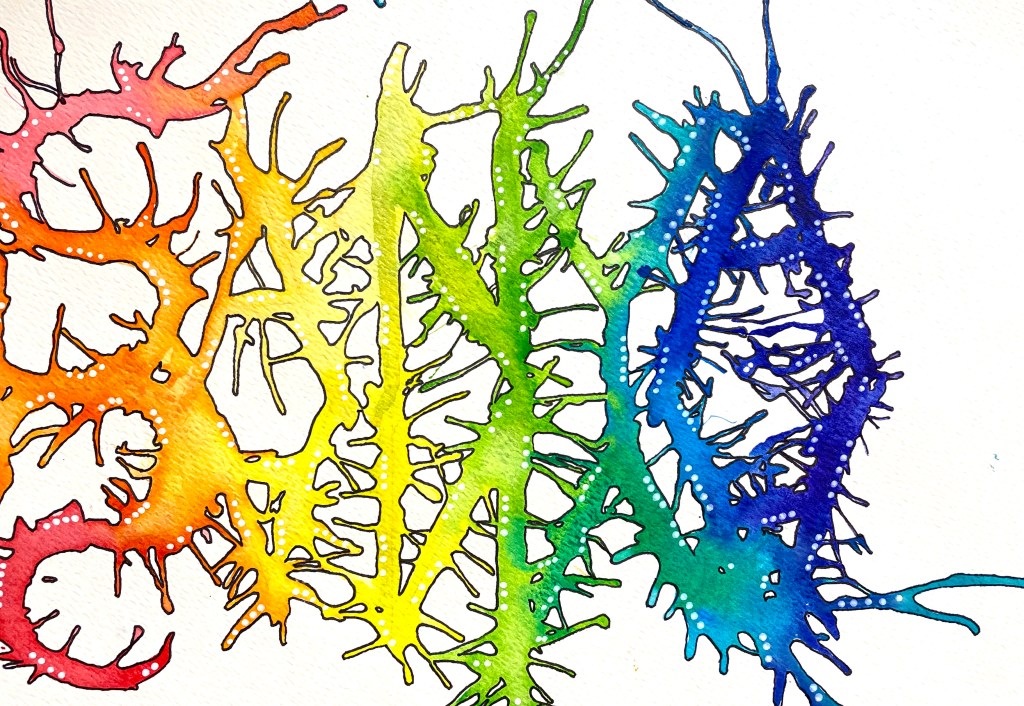
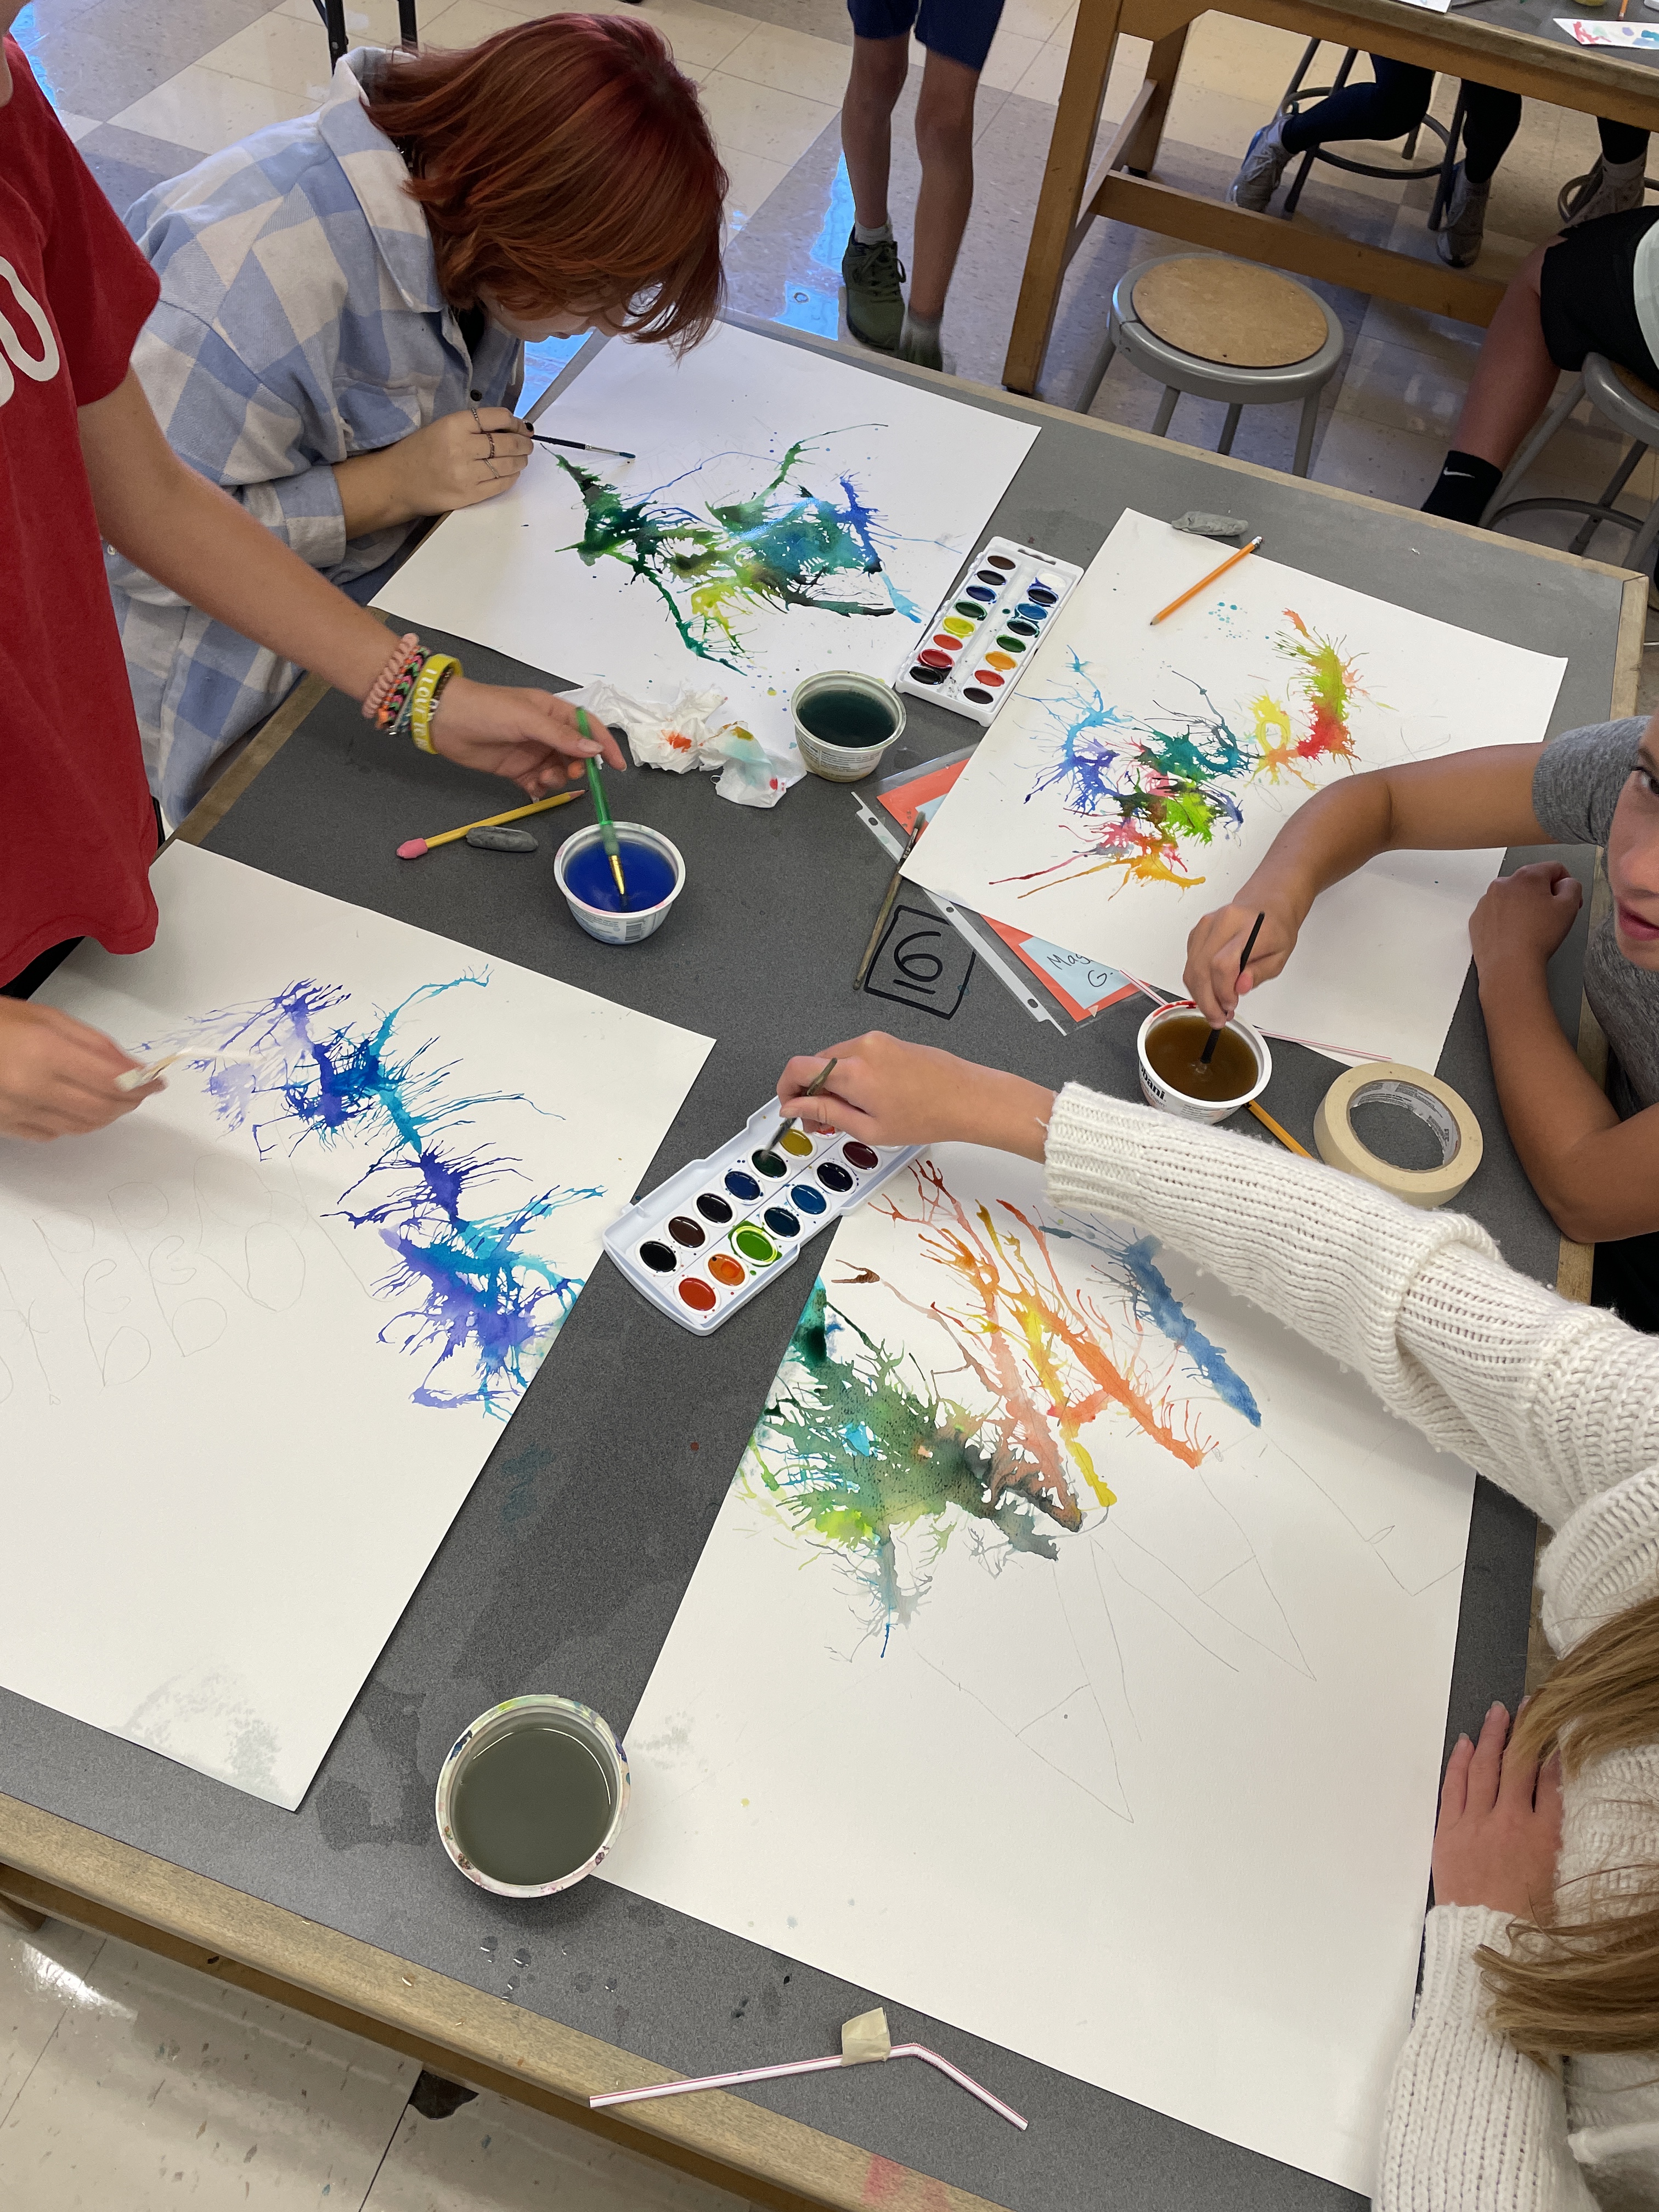
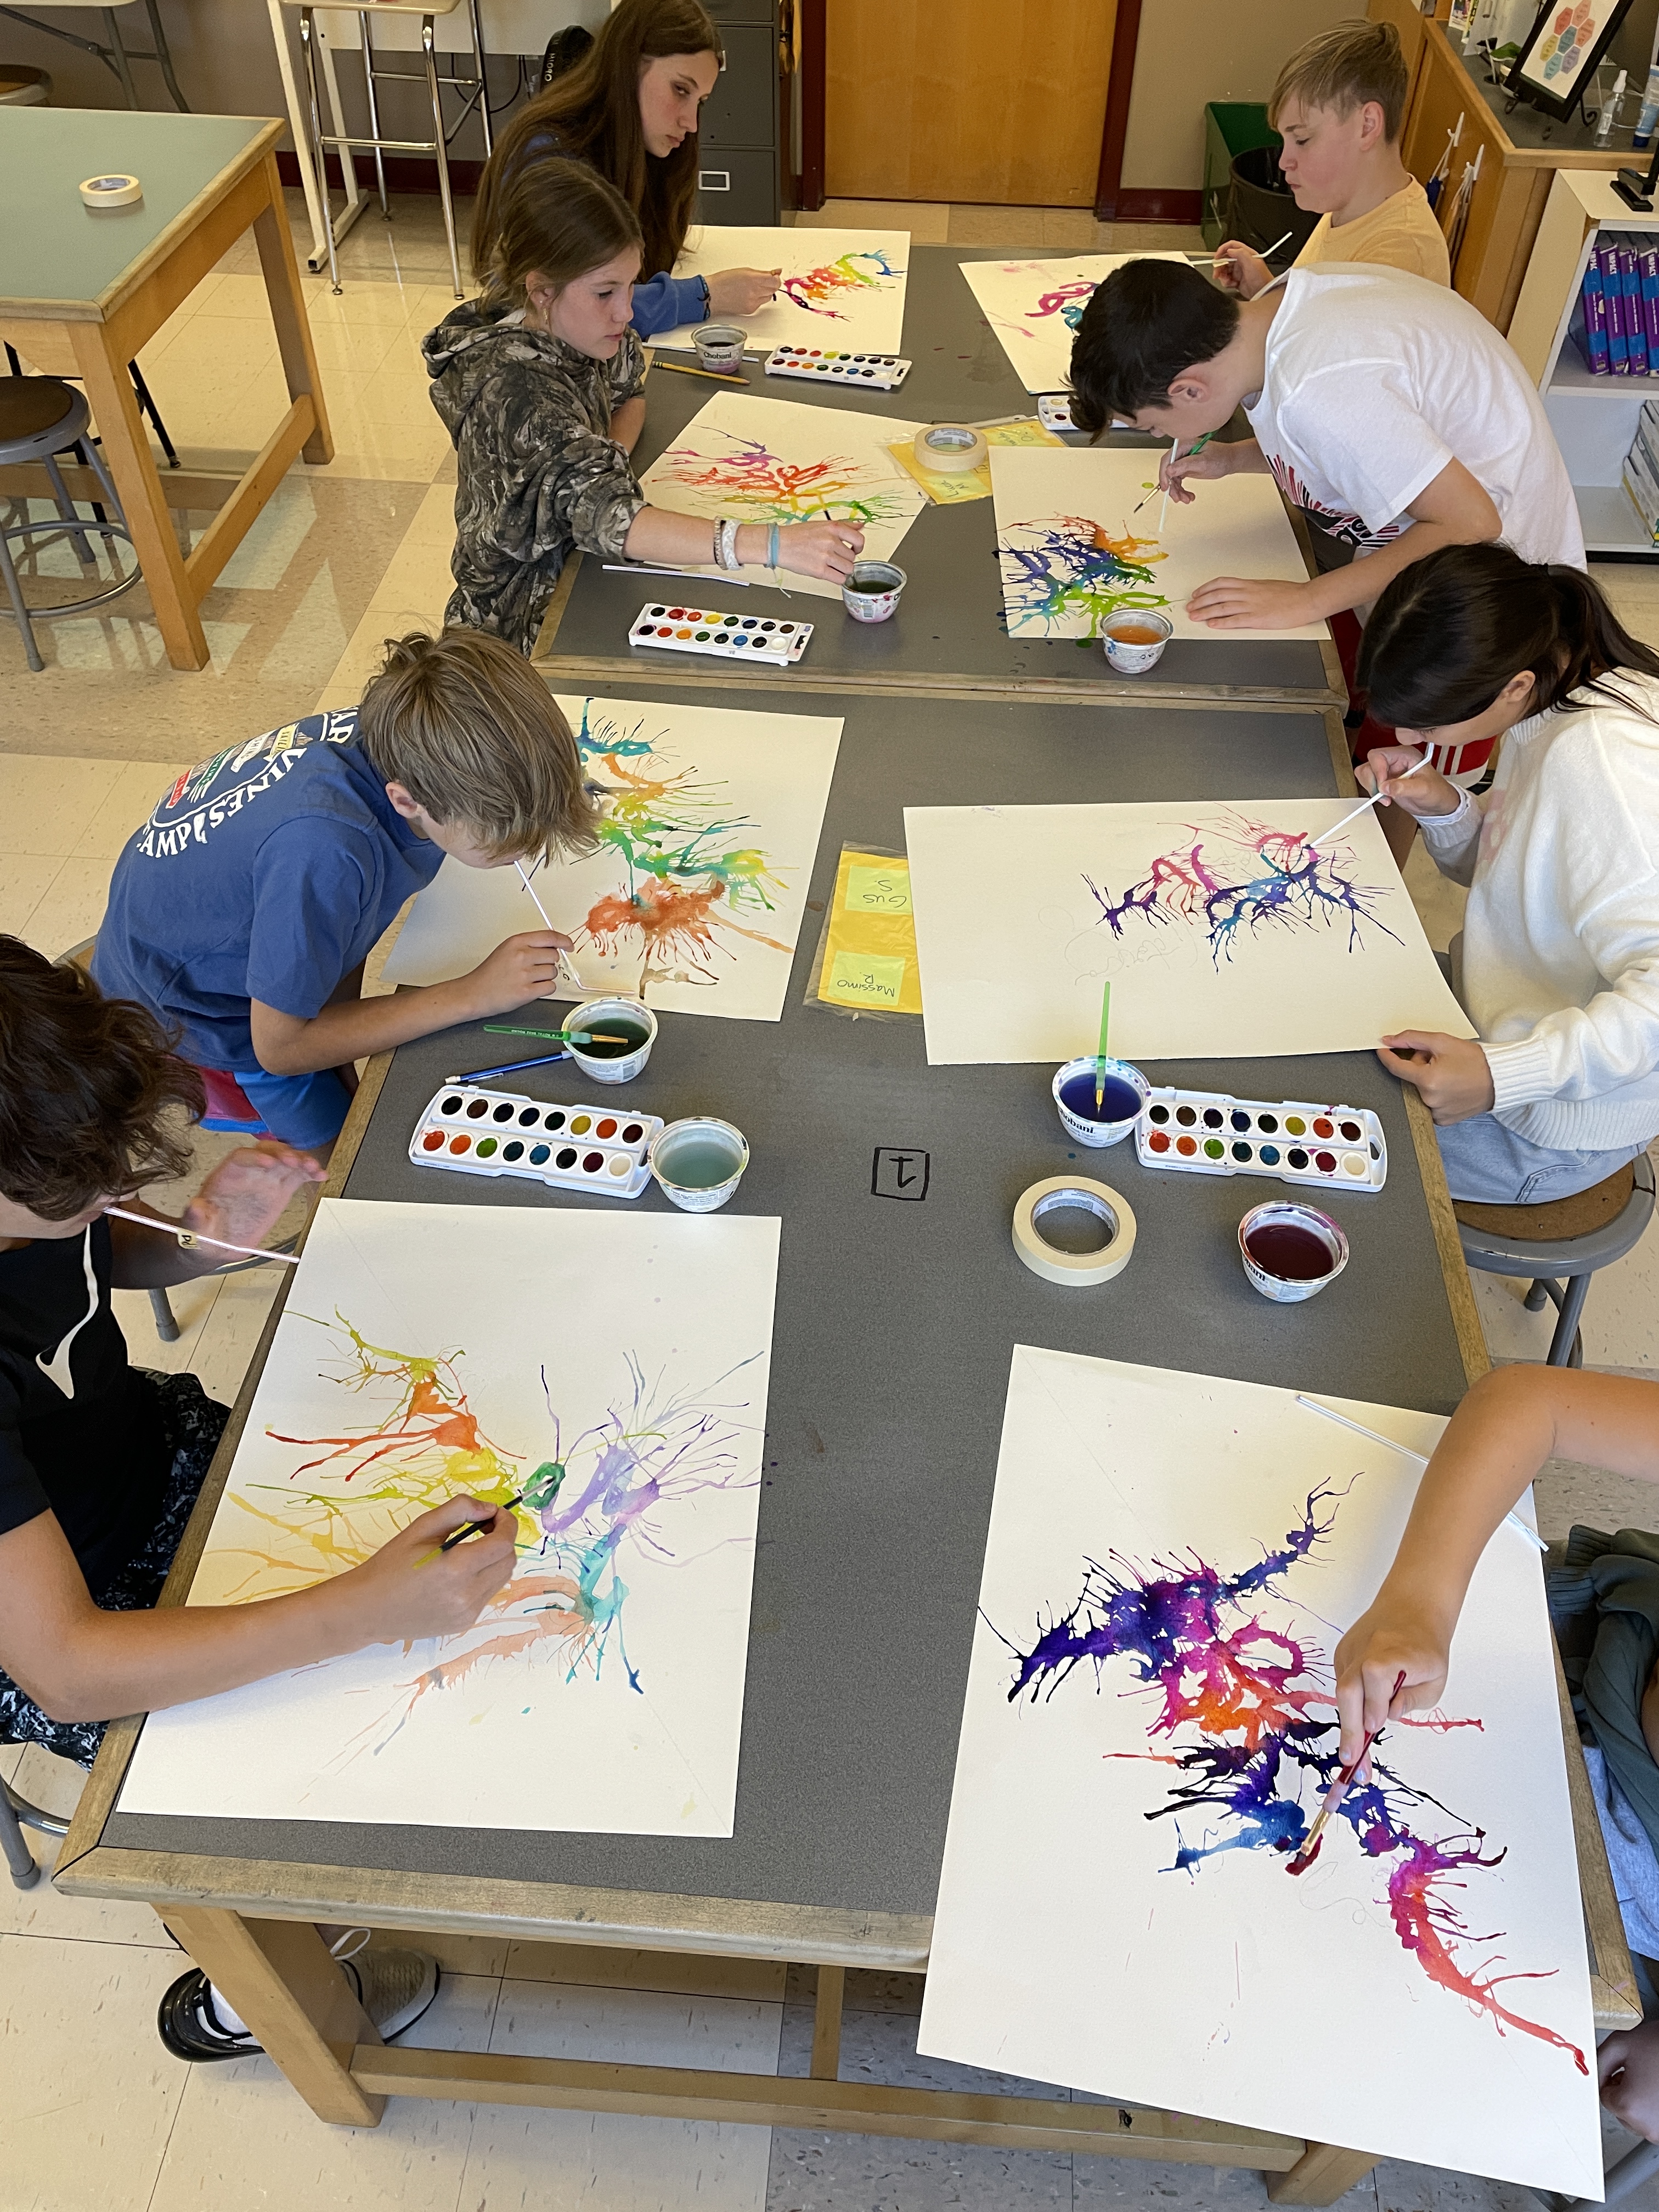
The next class, we use watercolors and straws to create fun splattered effects!
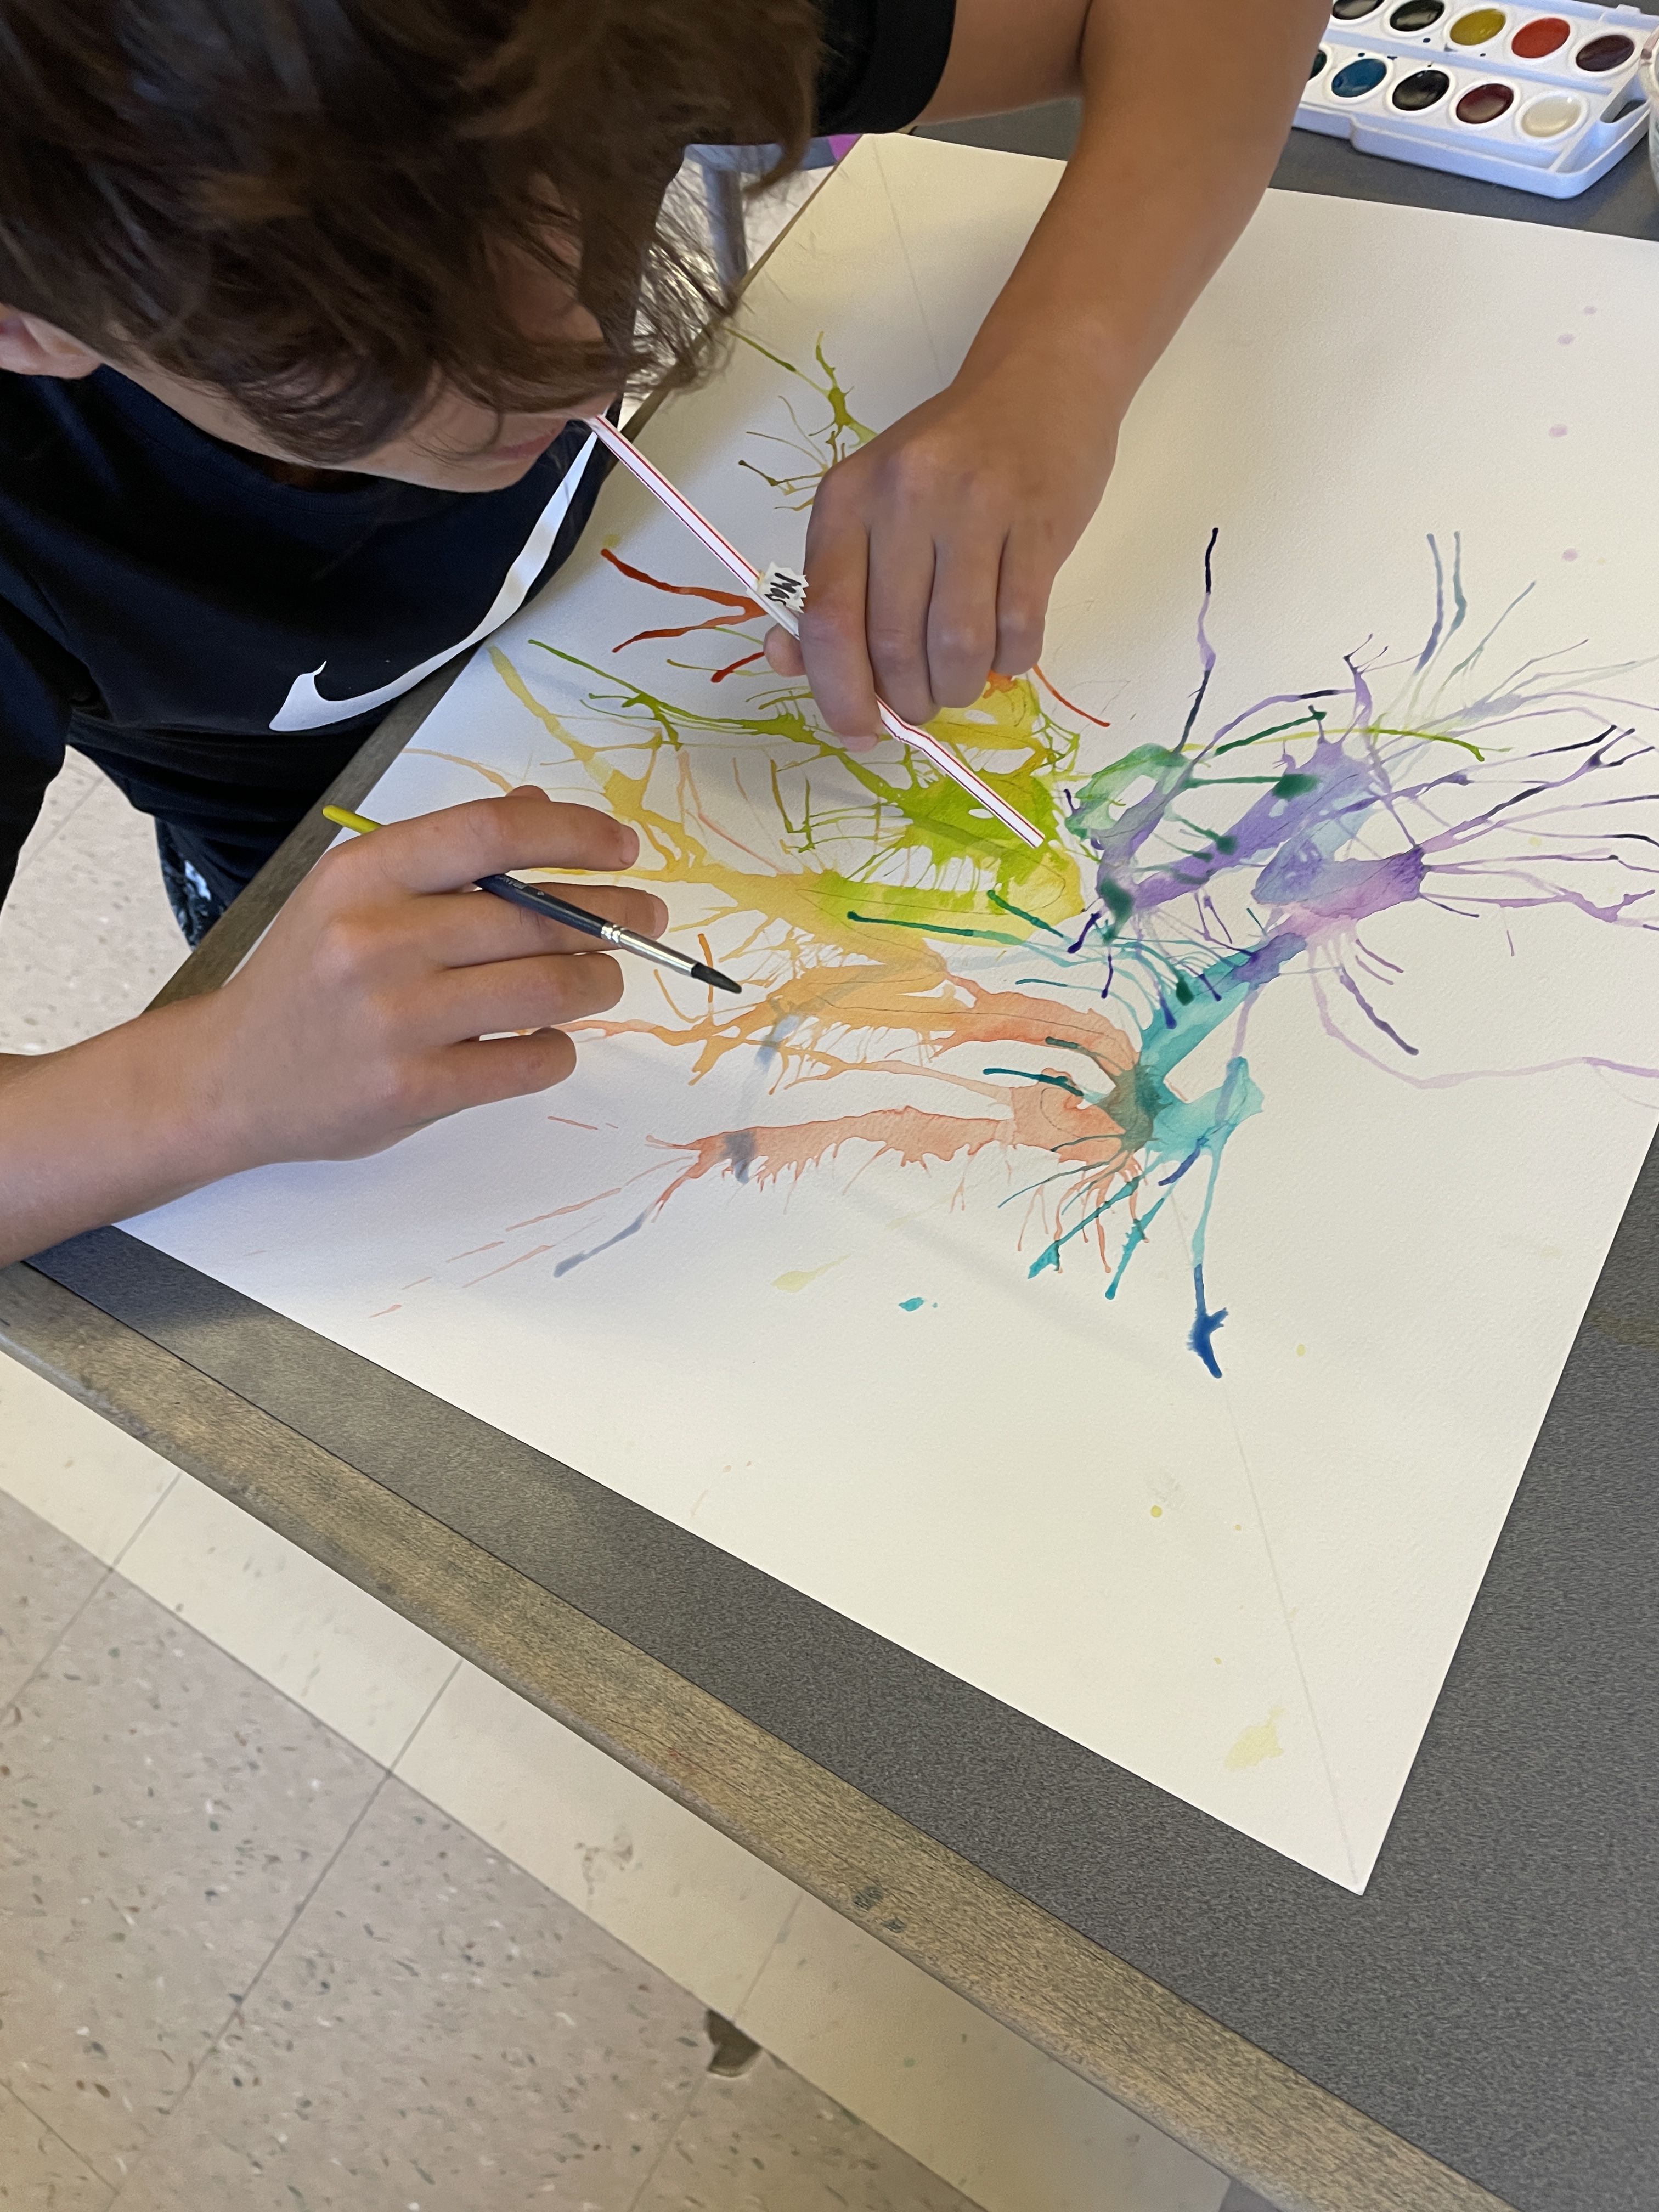
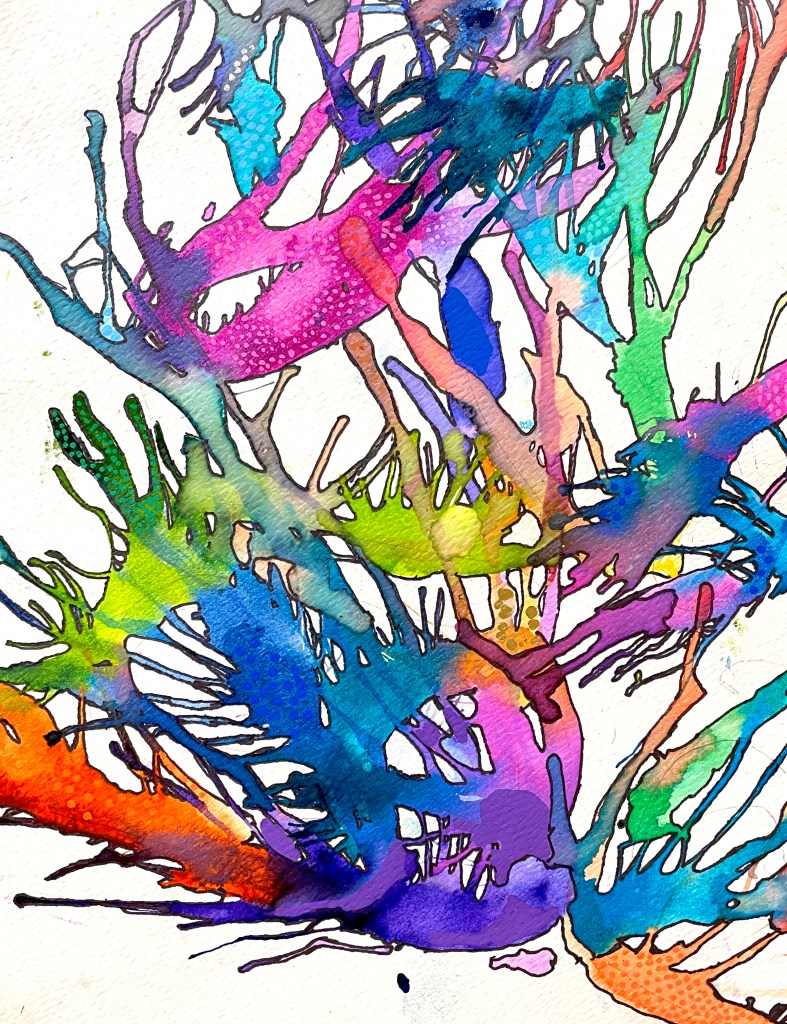
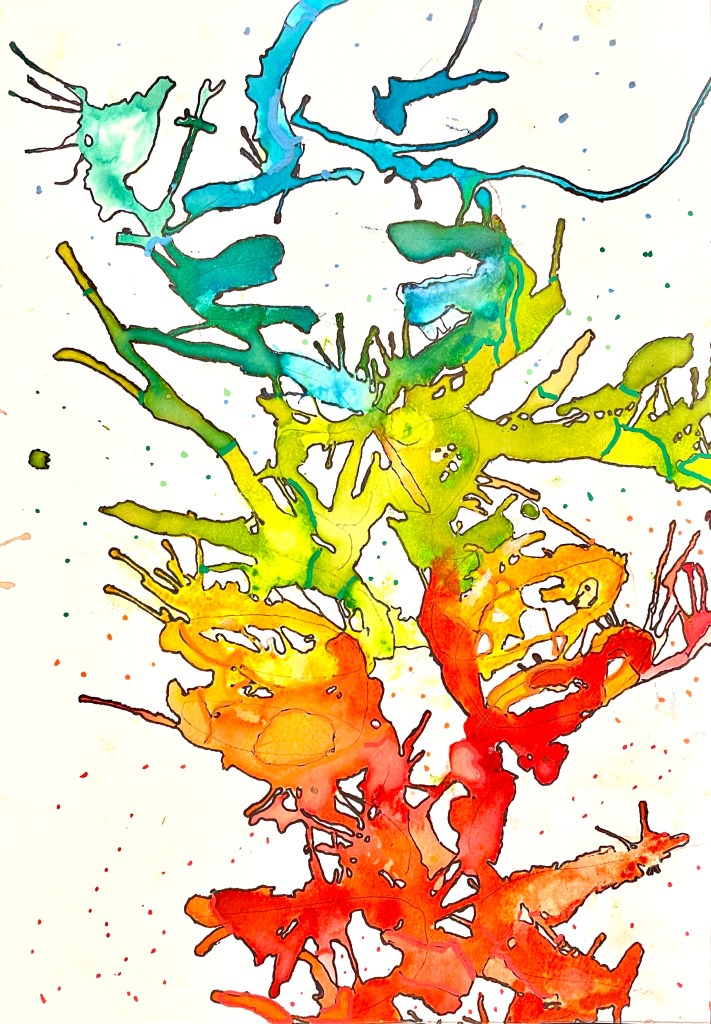
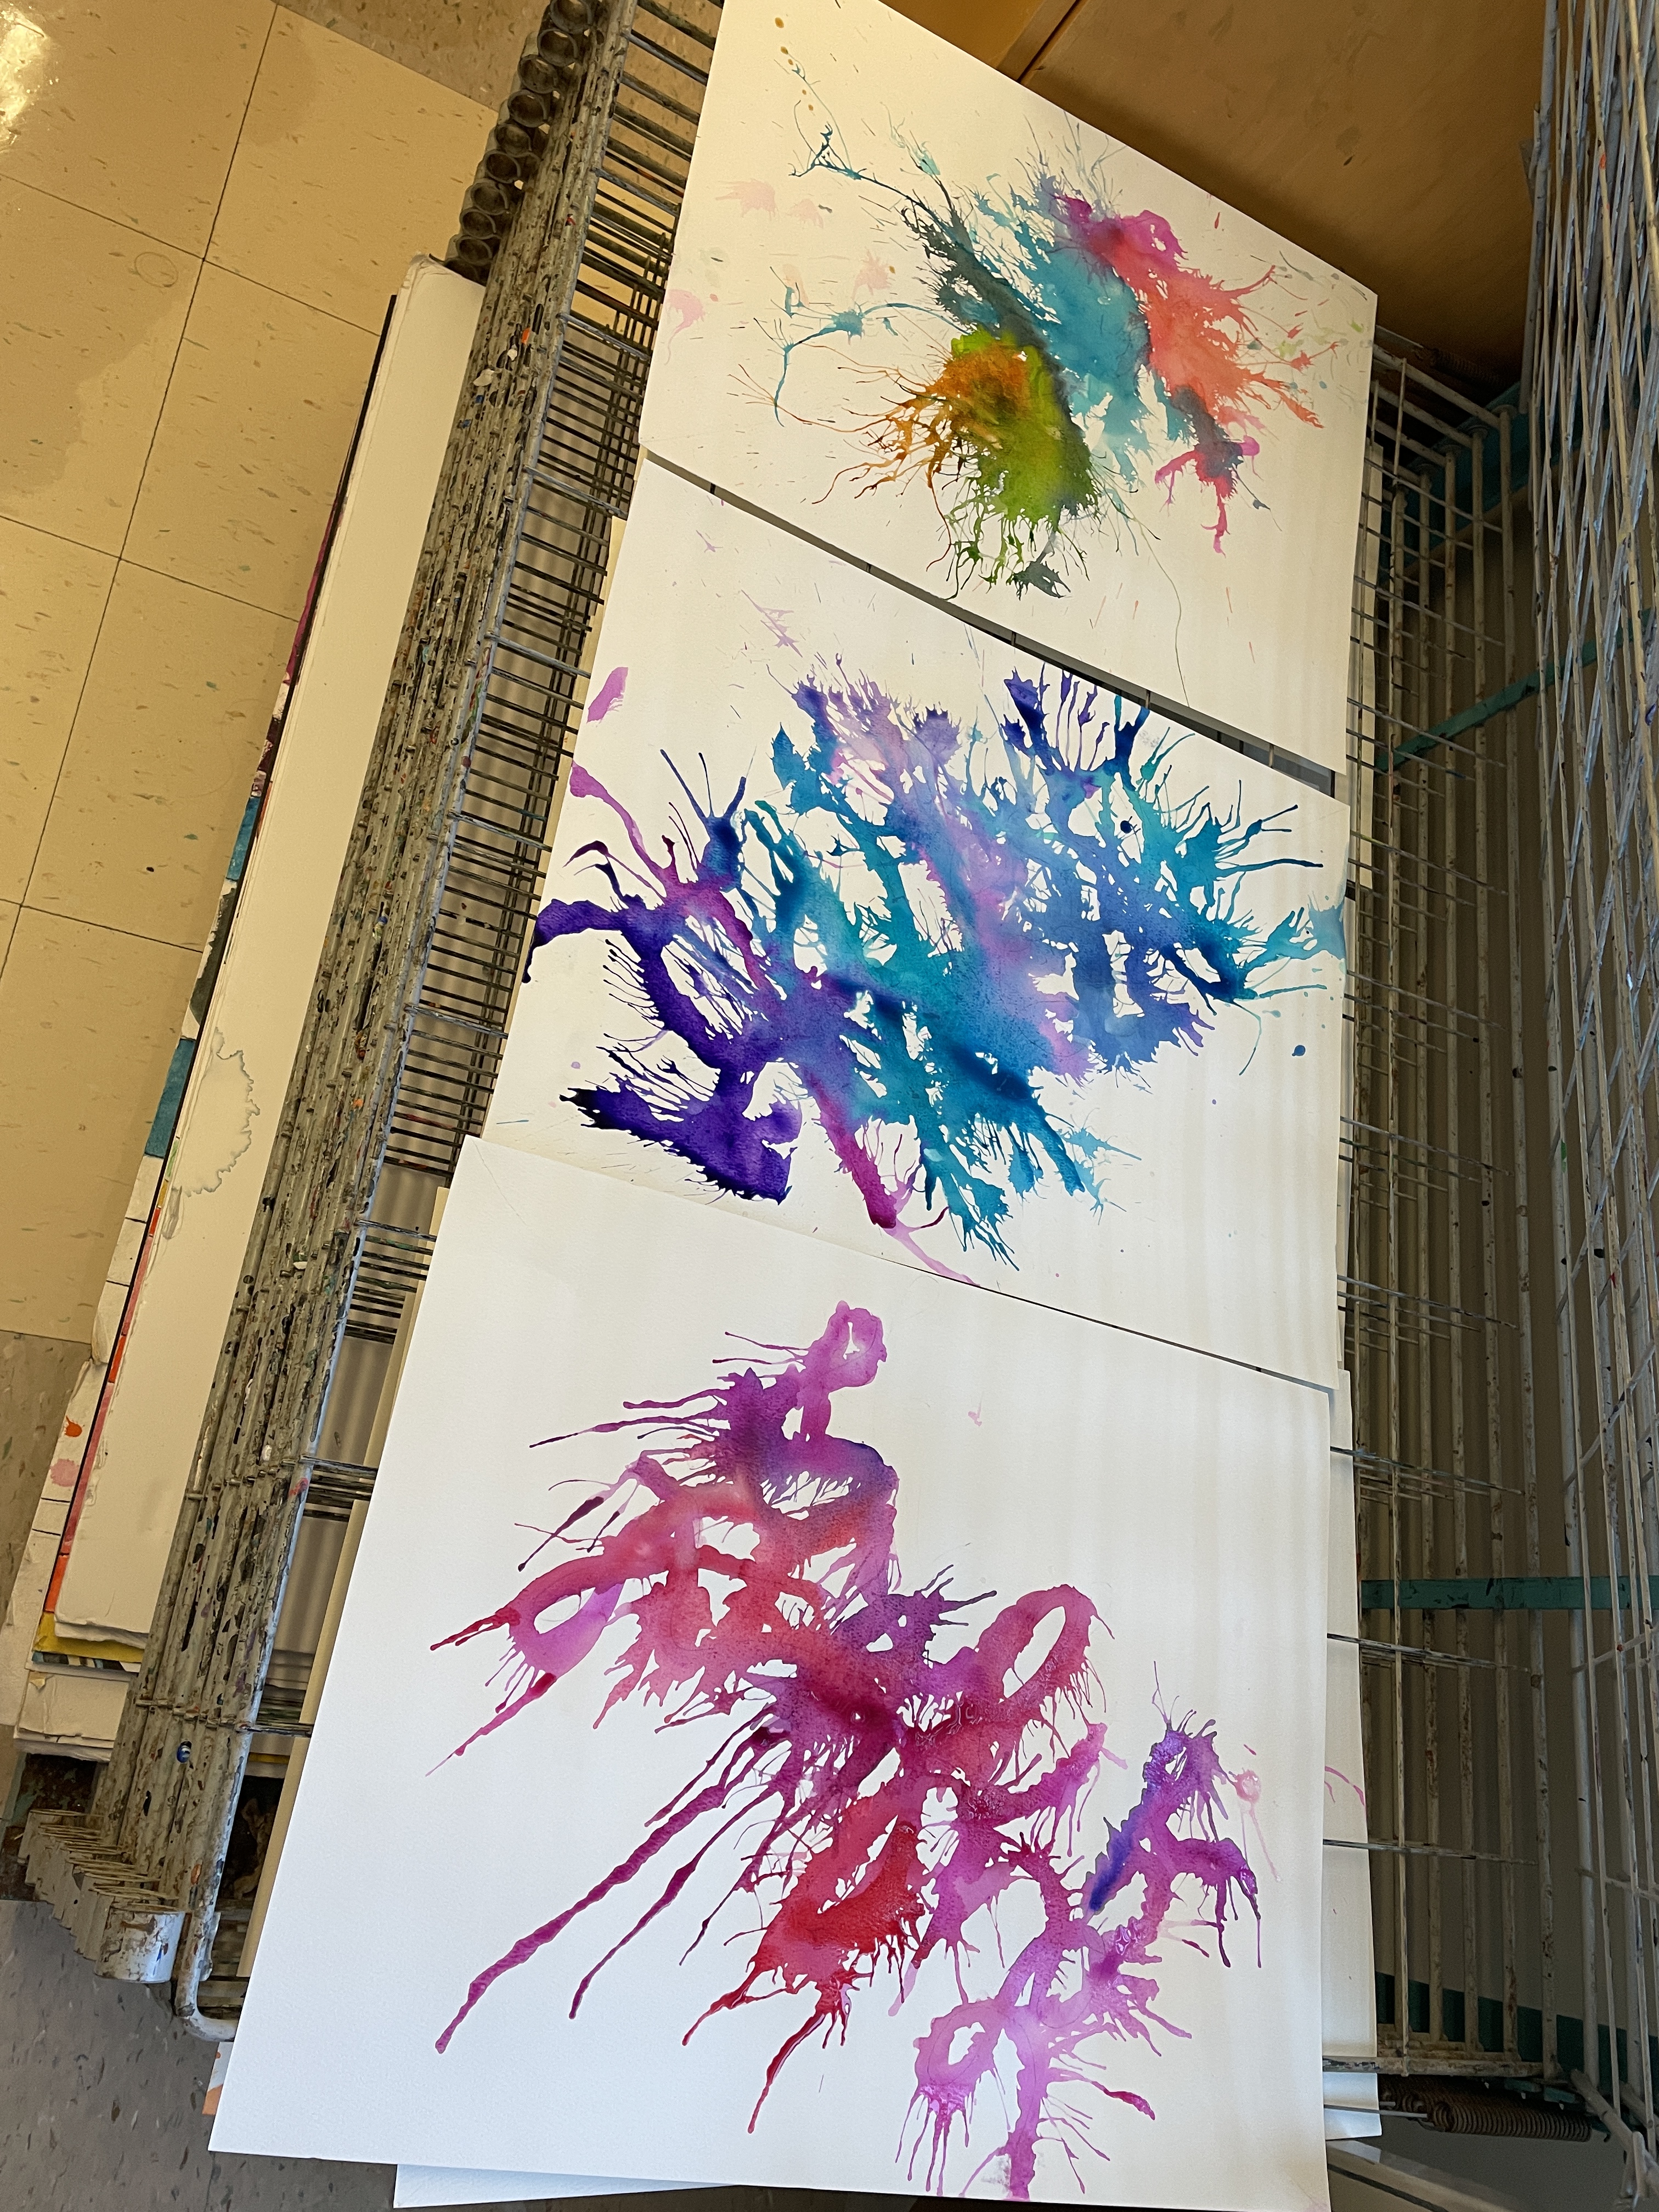
The trick with this technique is to paint a very small section of a letter at a time, and to be sure to apply the watercolor paint with a very liquidy consistency. Then, using a straw, students blew out the sections of the wet paint to create the fun splattered effects. They added color, blew the paint, and repeated this process until the whole name was transformed! There were no color limitations, but students were asked to consider whether or not they wanted their design to be symmetrical, assymetrical, only warm colors, only cool colors, etc…
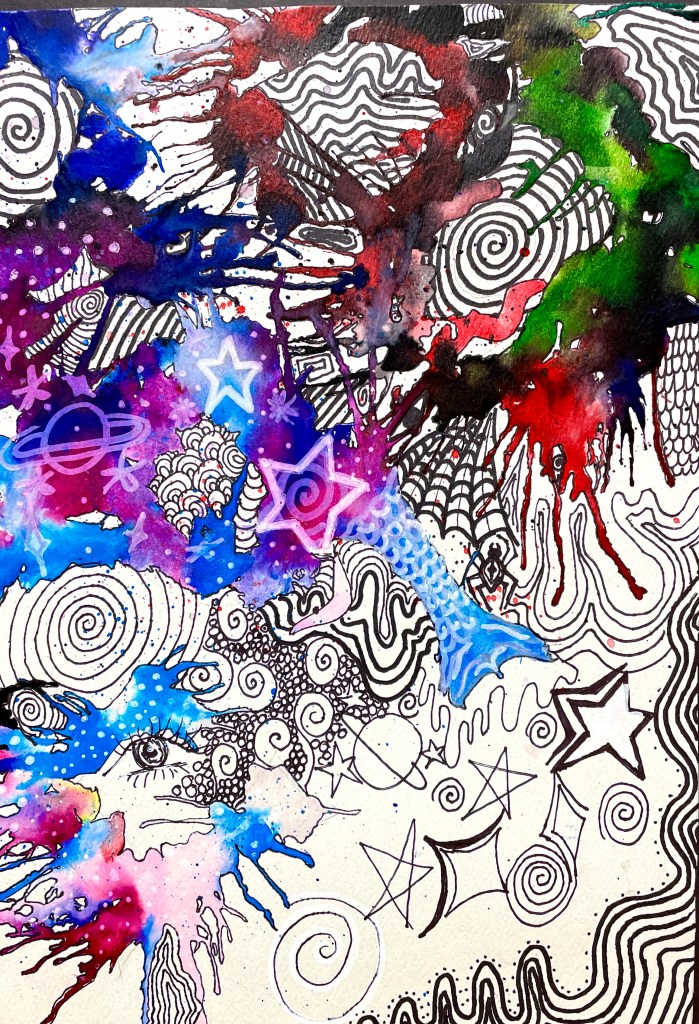
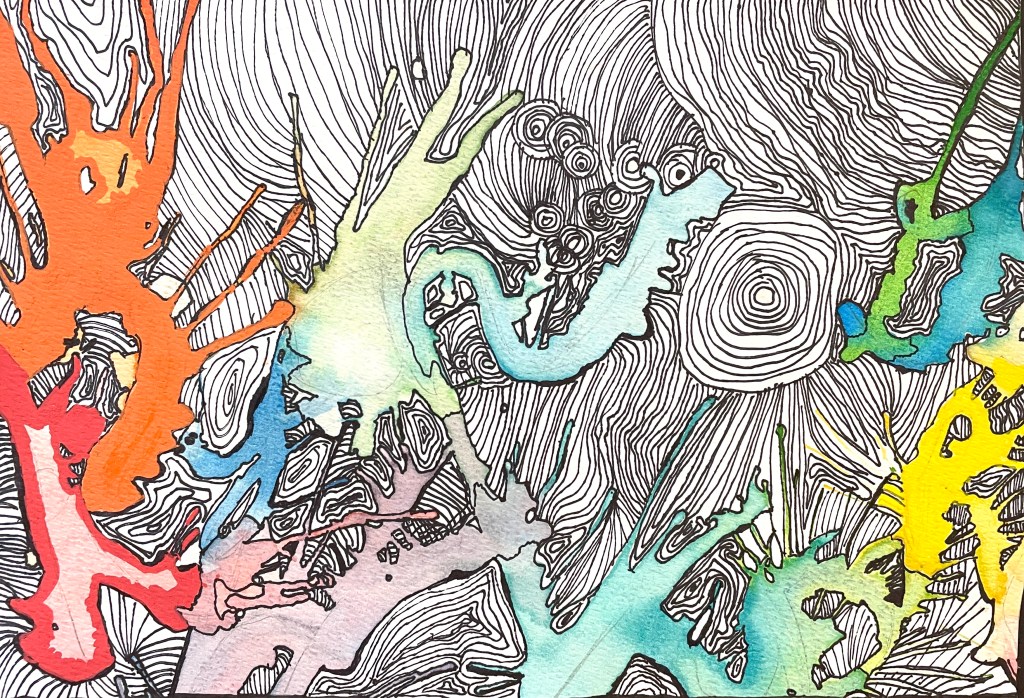
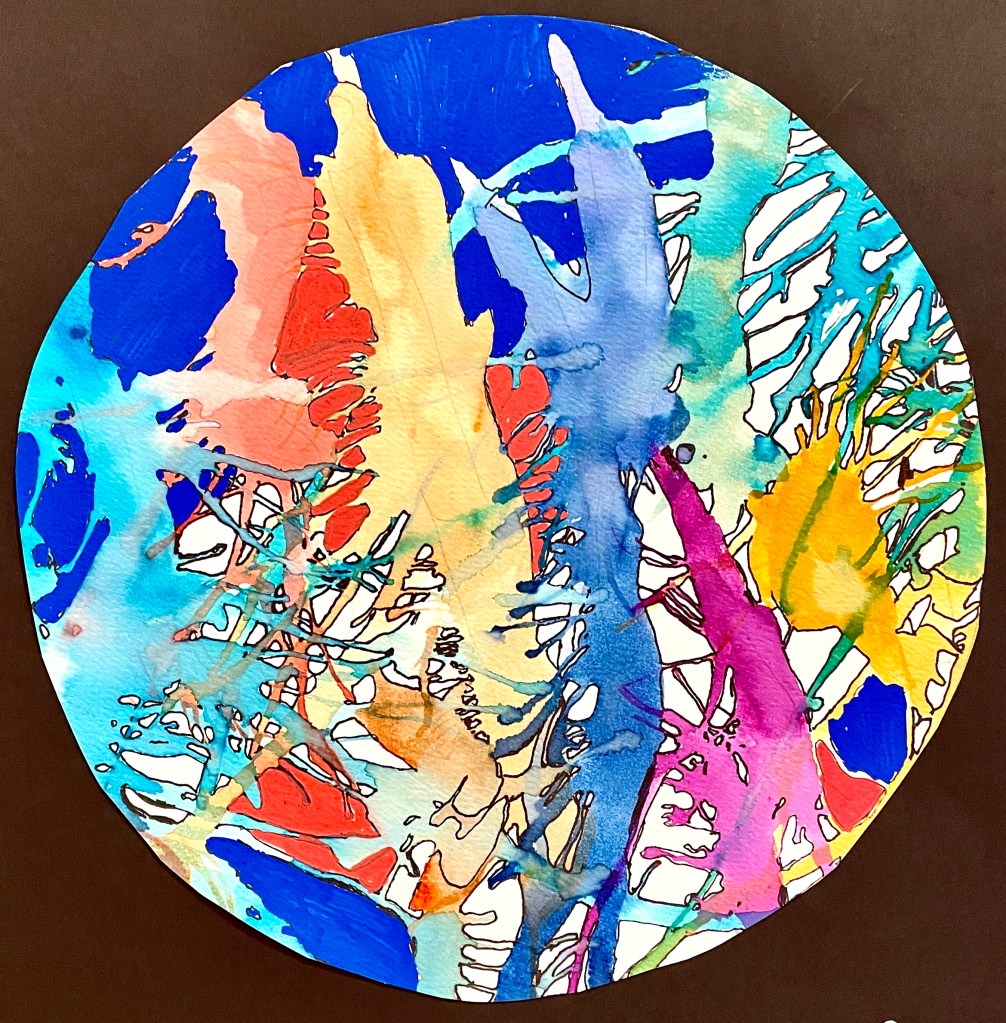
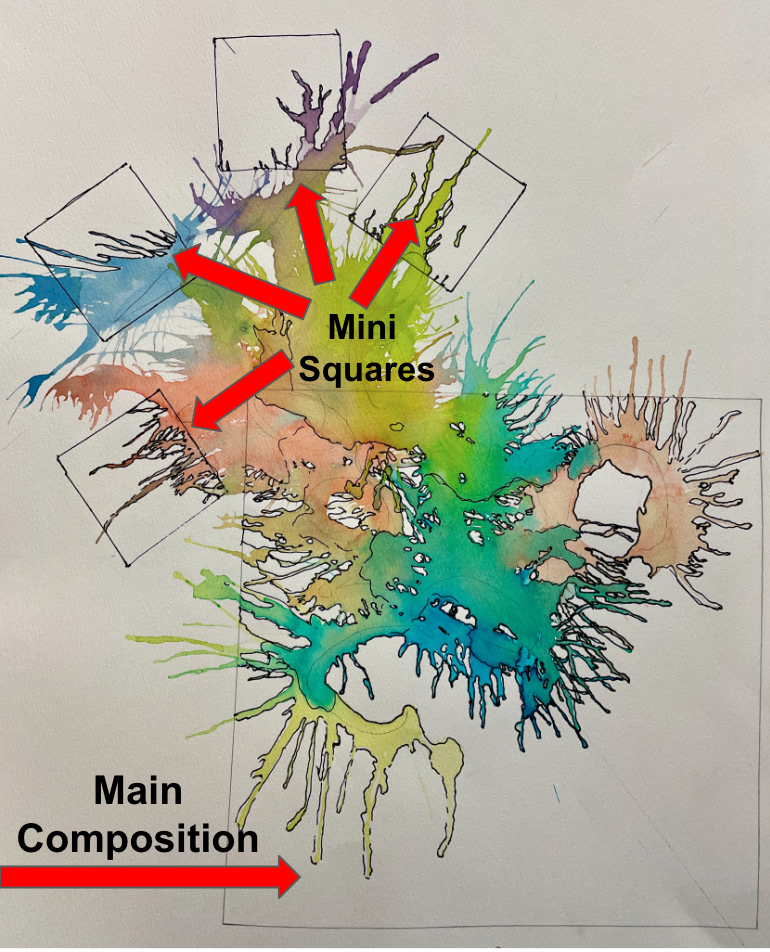
The next day when the paintings were dry, I had a variety of cropping templates for students to choose from: circle, square, two different types of rectangles… Each student selected a highly interesting area of the finished painting to crop and embellish. When cropping their piece, I asked them to consider balance and asymmetry; Sometimes a concentrated area of color balanced with a quiet area of white can make for something visually dynamic!
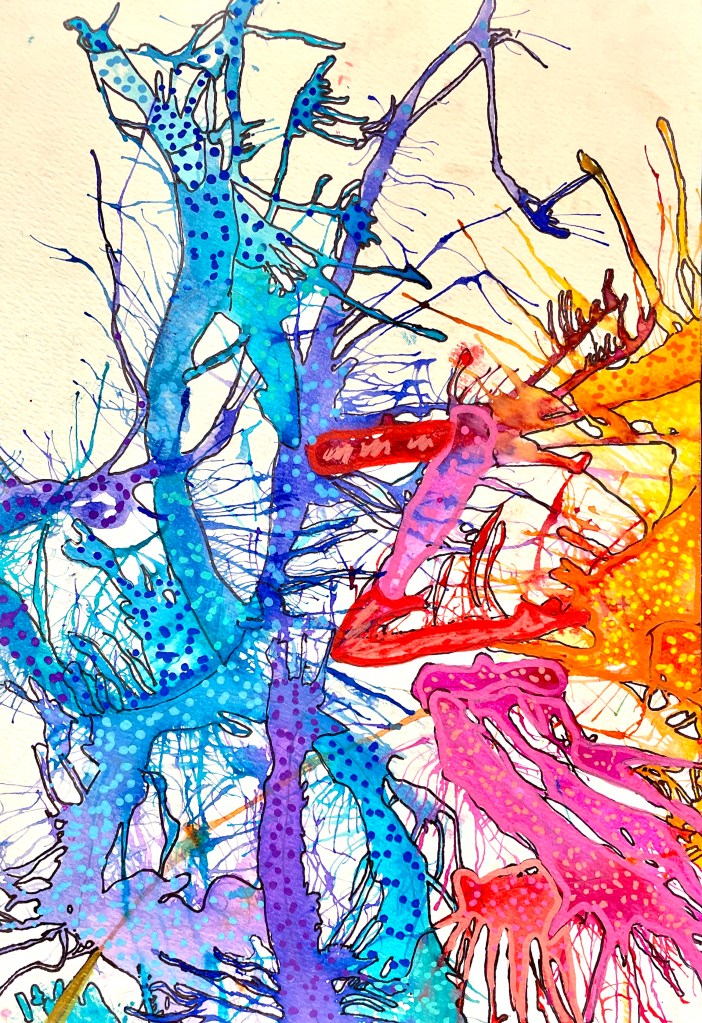
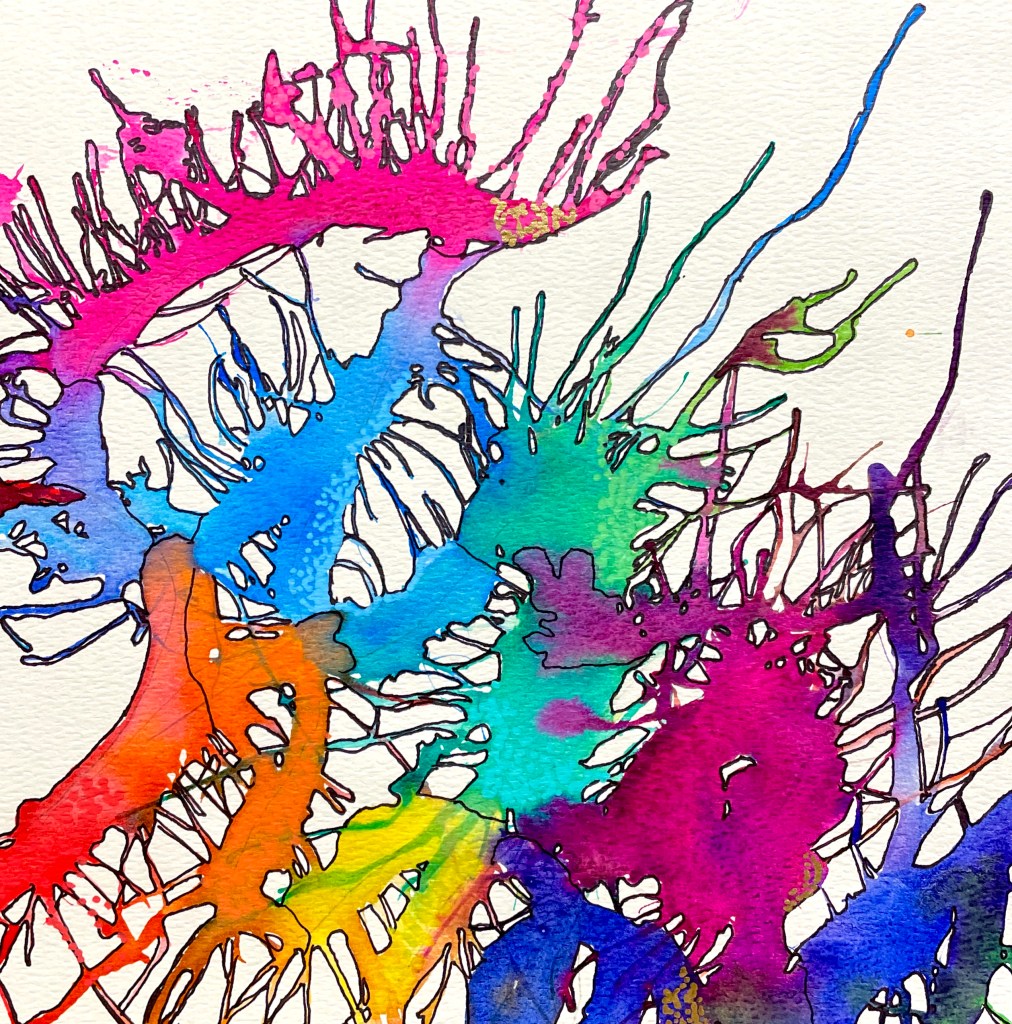
The first step of embellishing was to go in with a thin Sharpie and outline everywhere the color met the white. Secondly, they went into the painted areas themselves and outlined anywhere there was a color or value change. Lastly, they were given the option of using POSCA brand paint pens or metallic pens to add more embellishments and designs. Some students also chose to add freeform doodles and designs into the white areas of their painting.

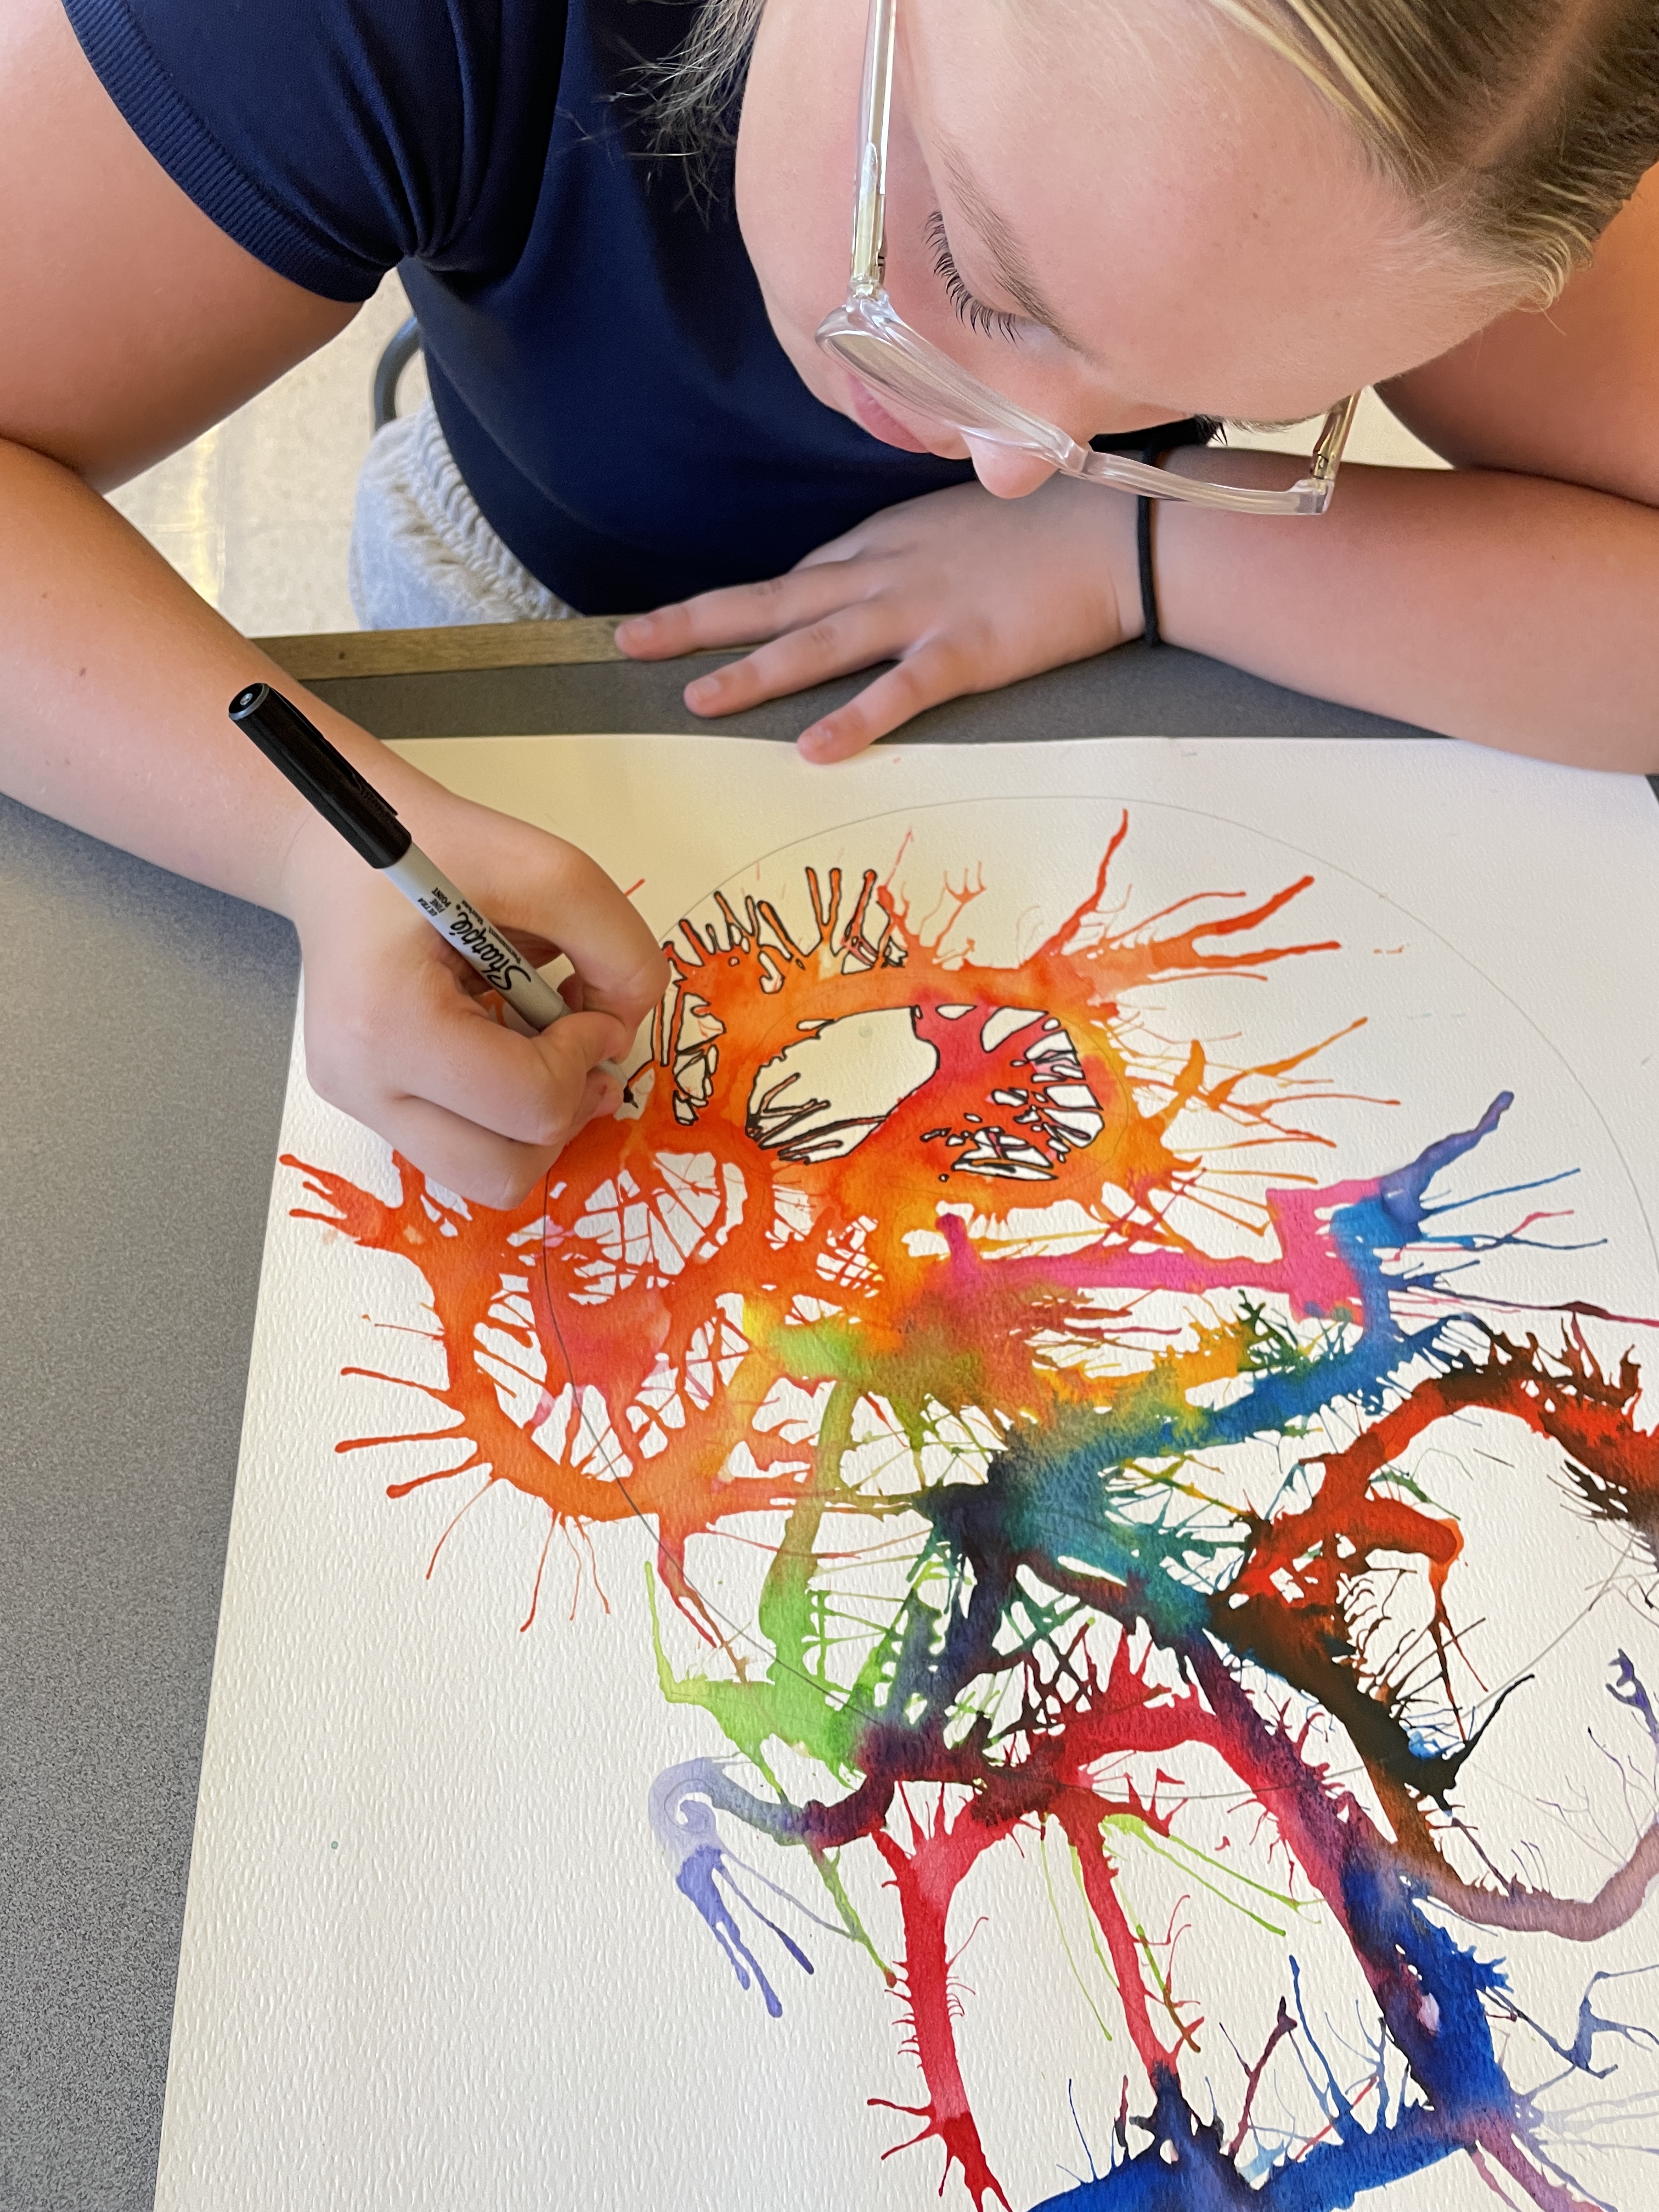
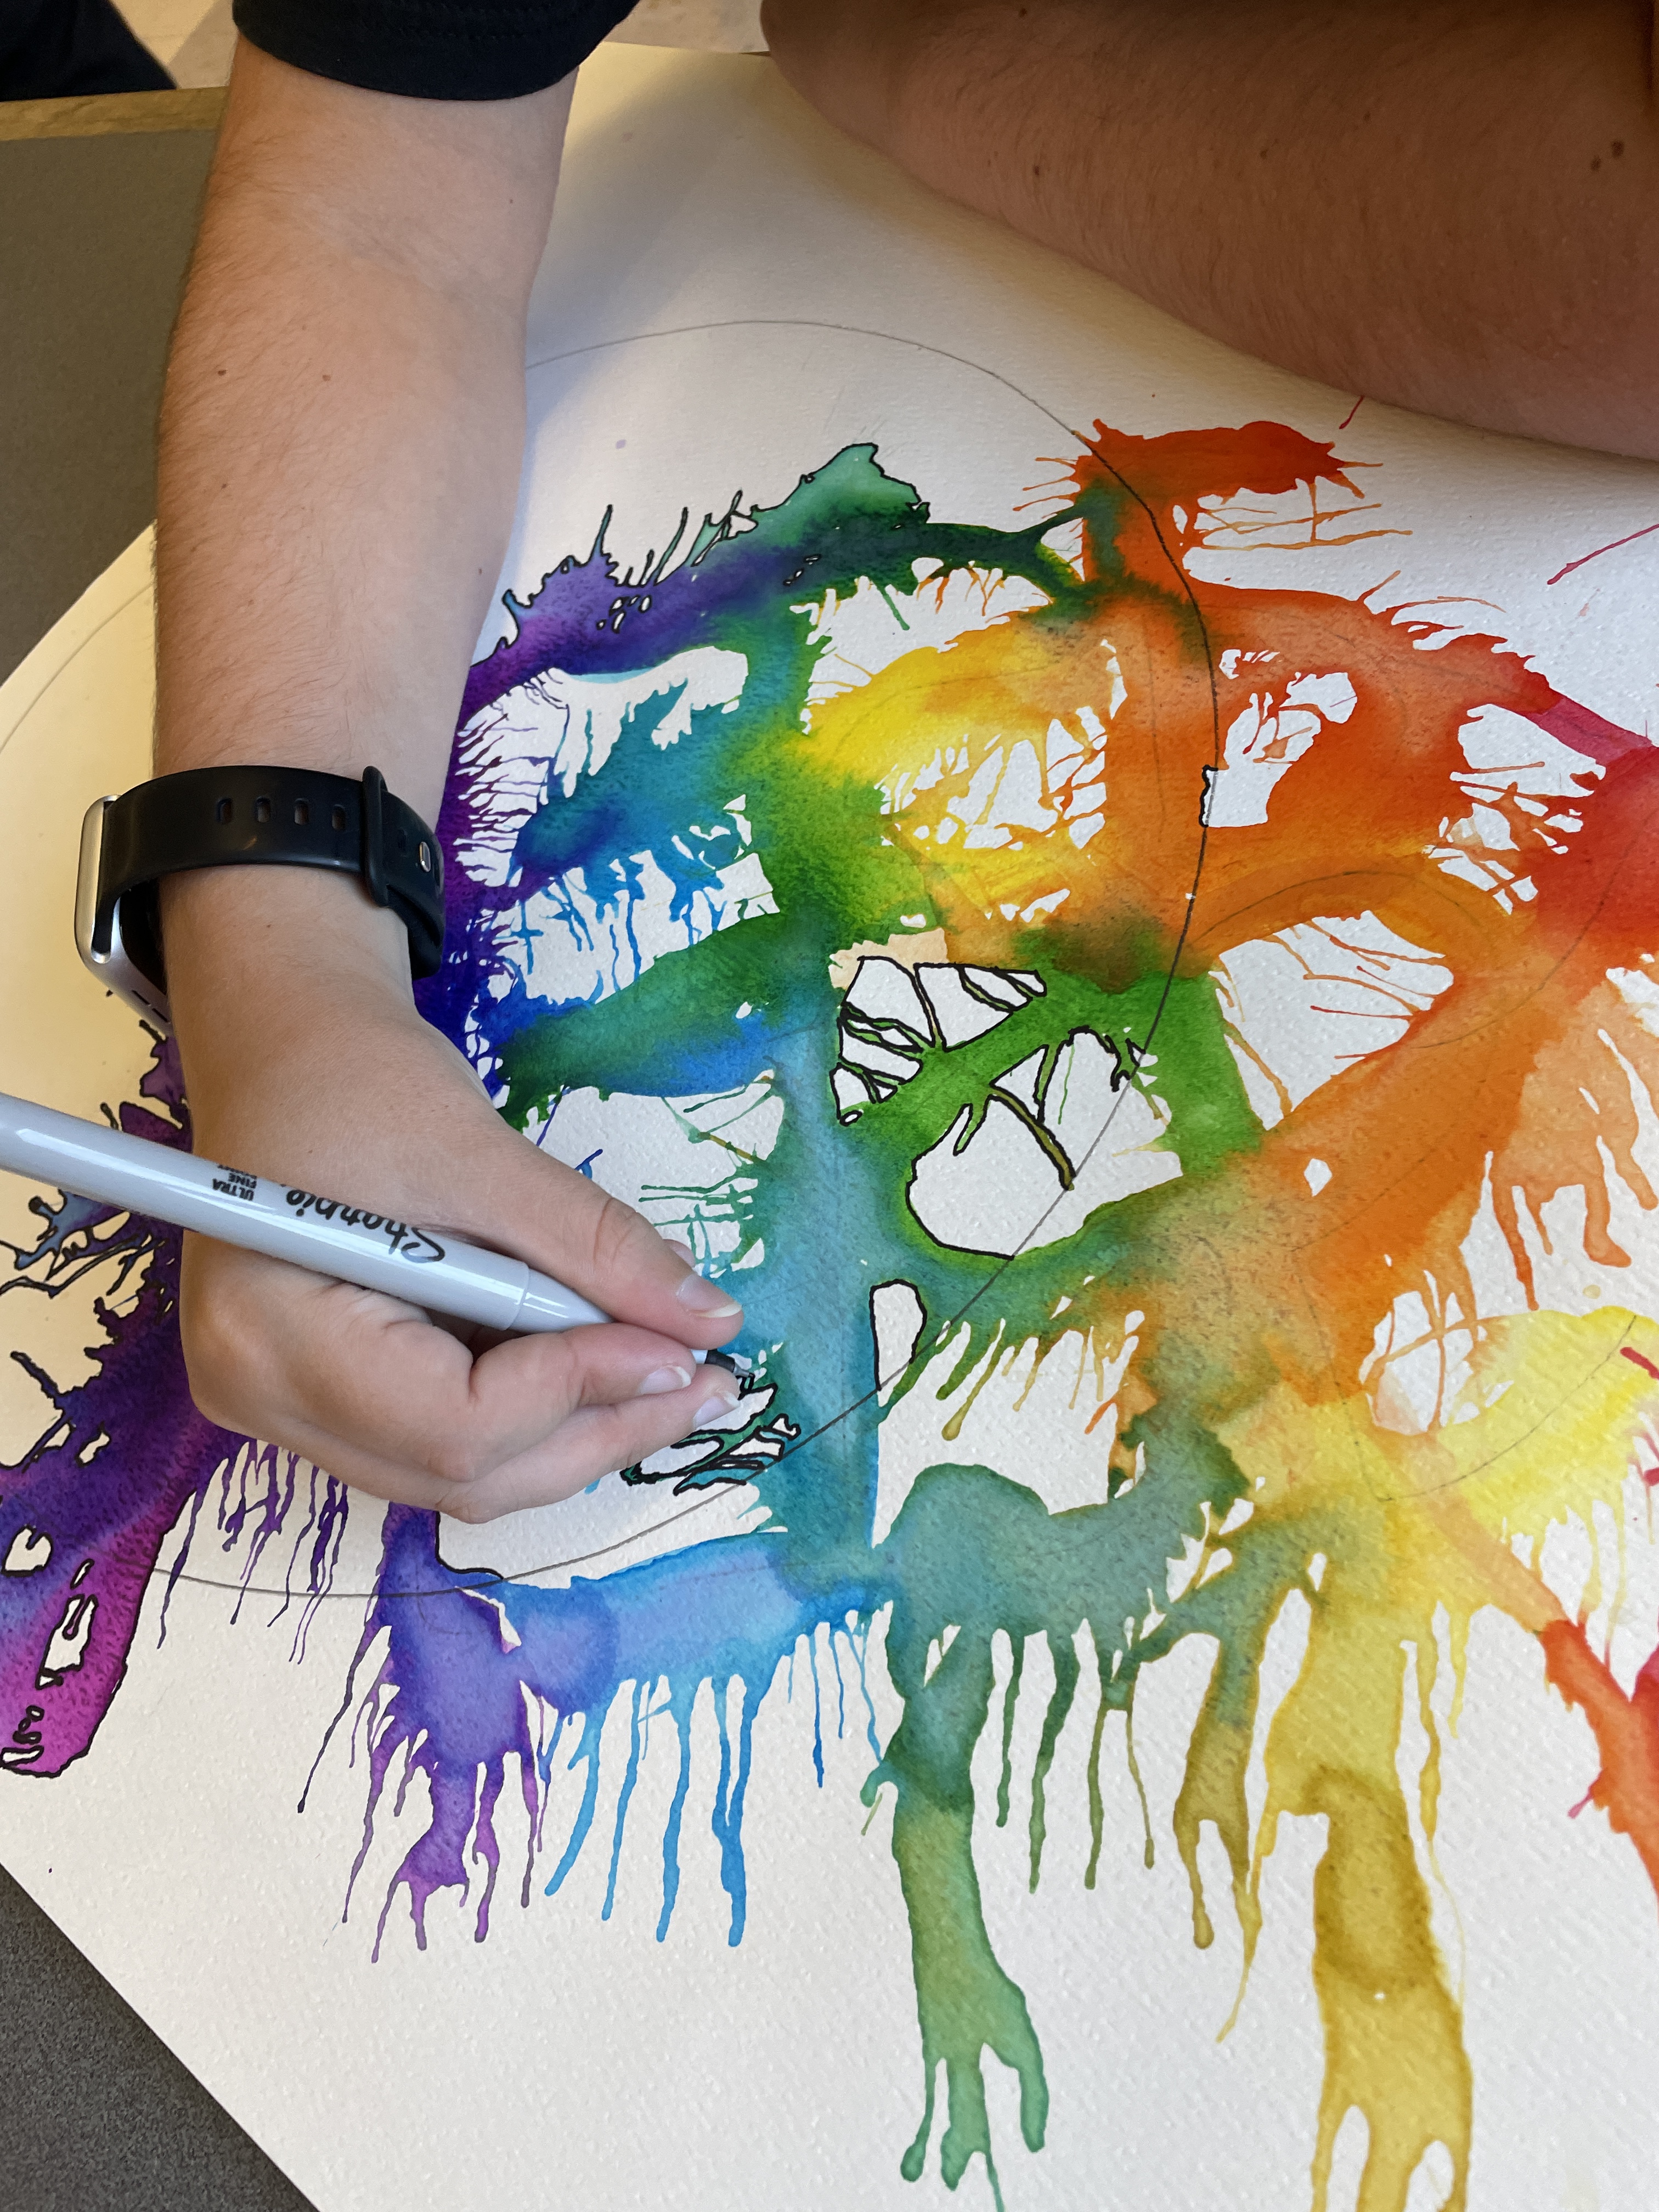
Students working on the Sharpie Step
– – –
BONUS PROJECT! If students had time, they used 2” Square templates and created four embellished mini-squares in areas that fell outside of their main composition. We then made simple accordion books to showcase these little miniature works of art!
– – –
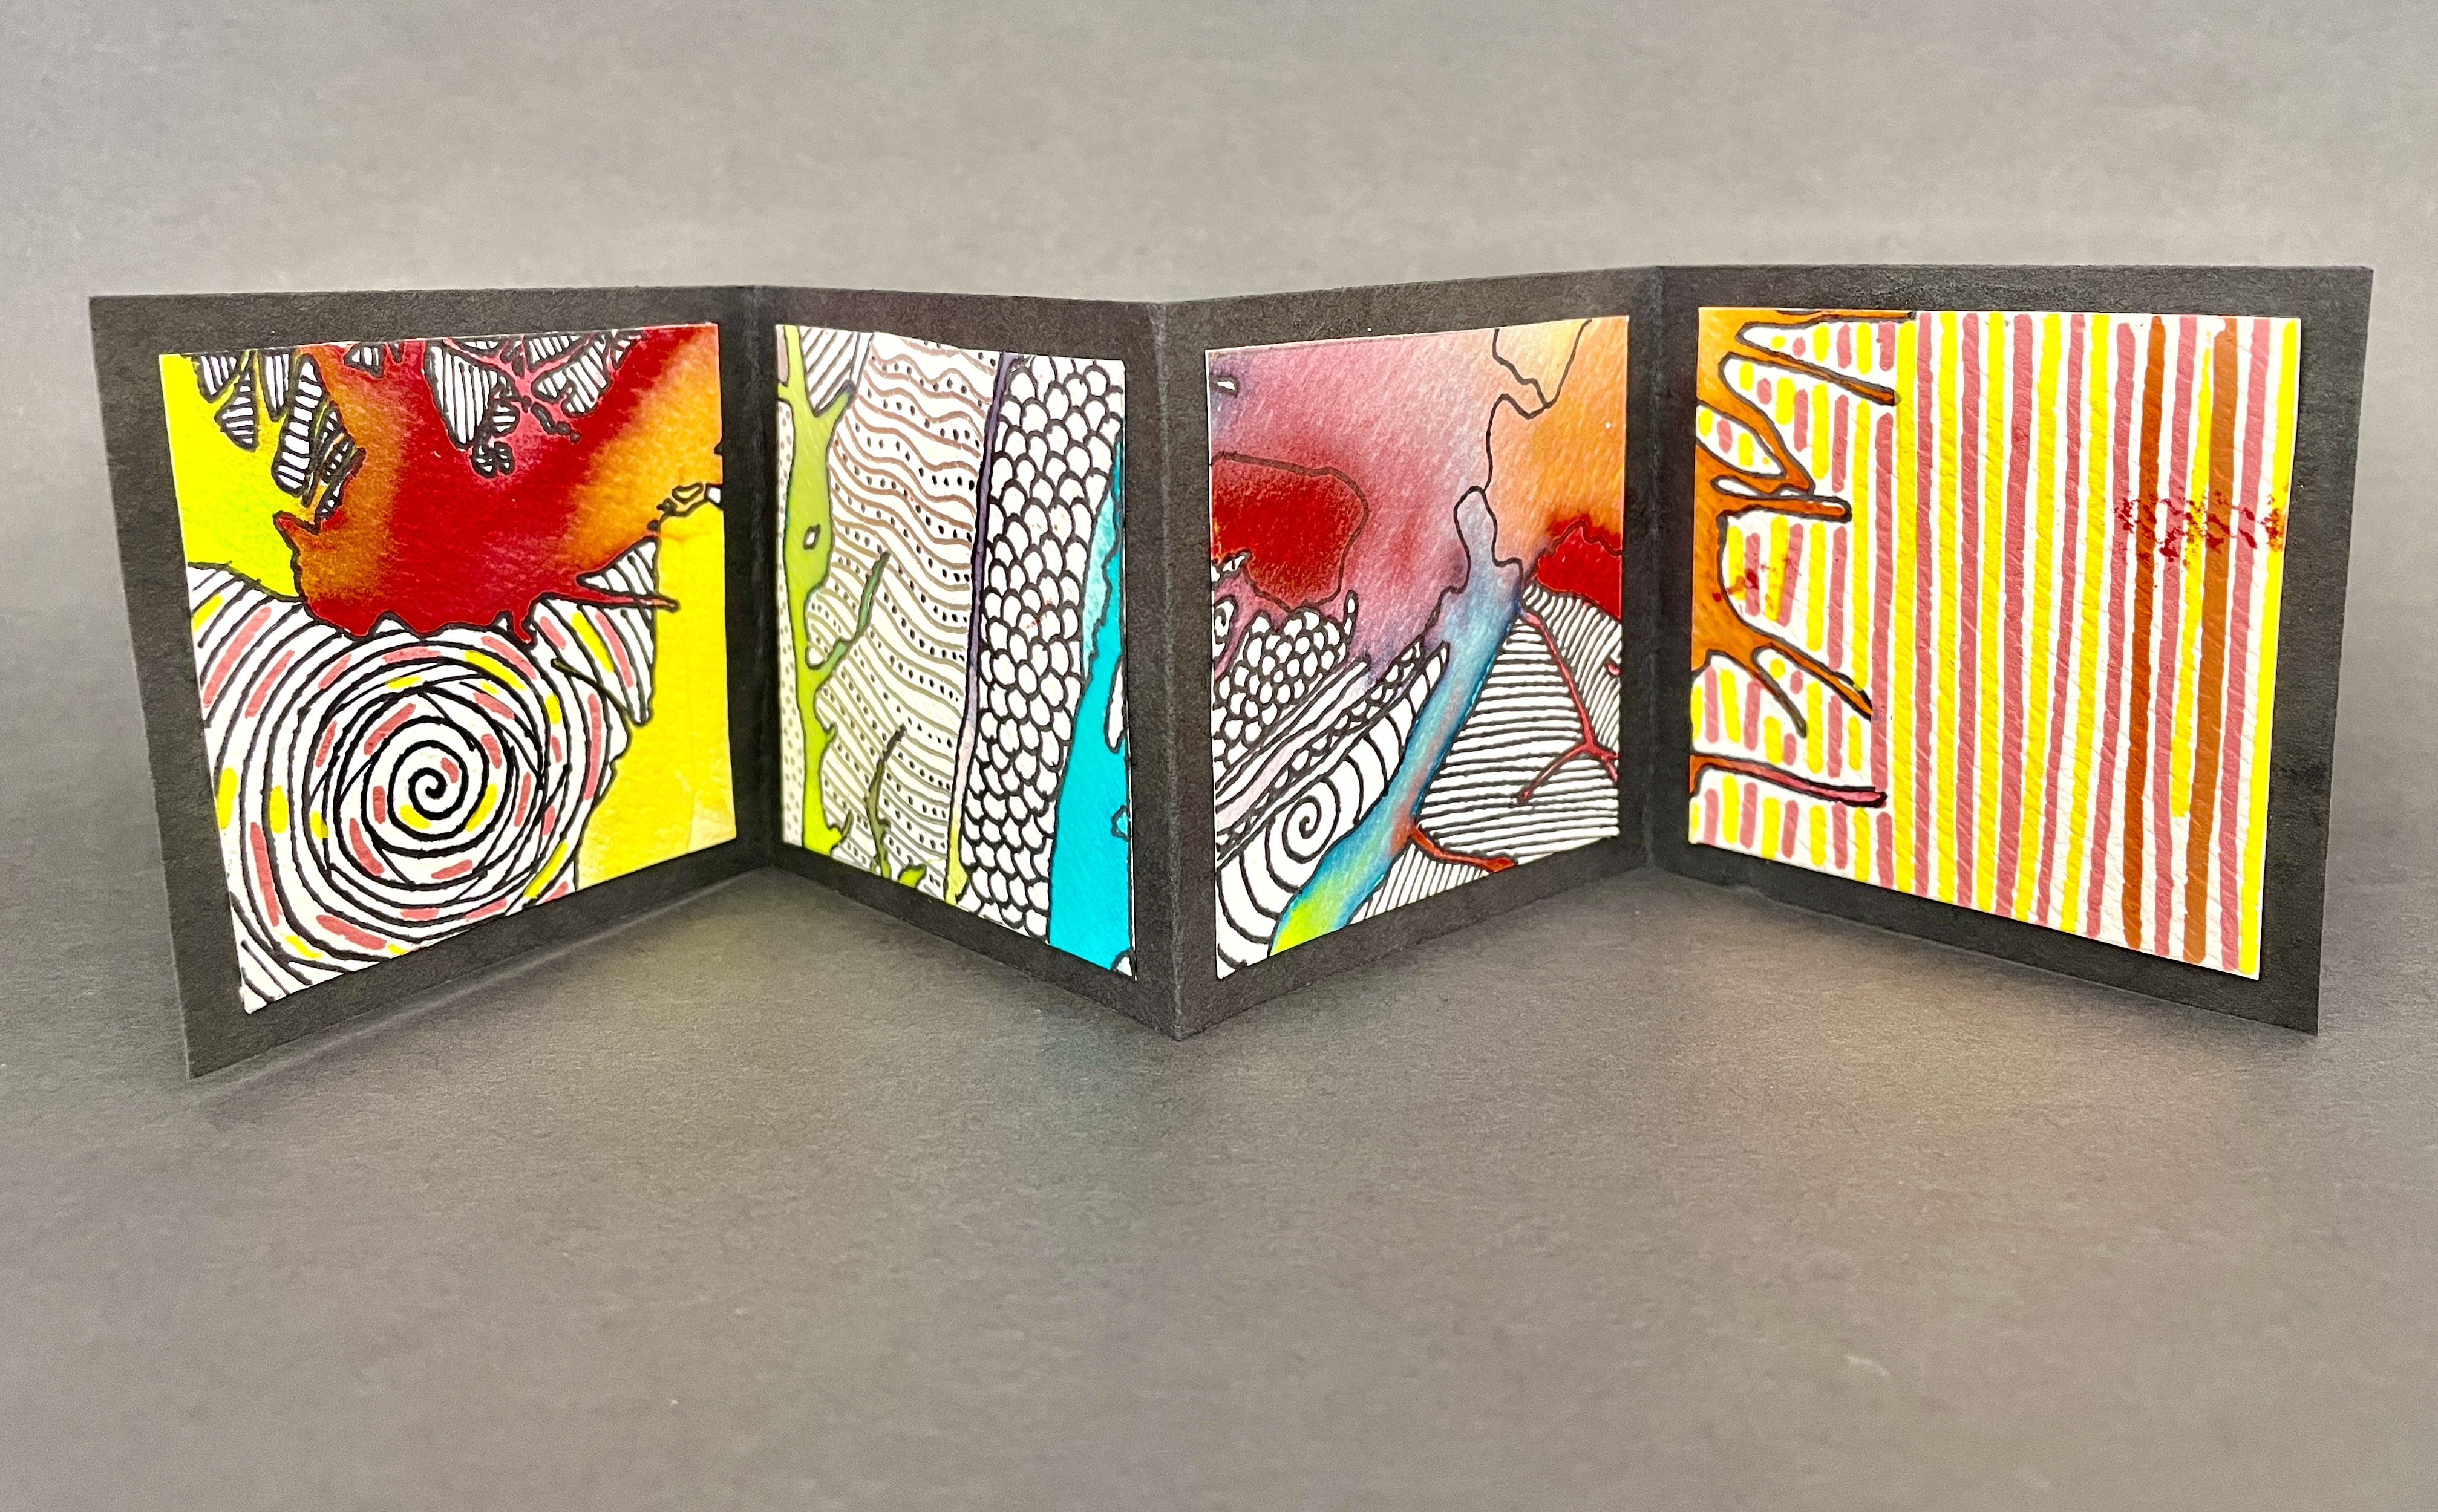

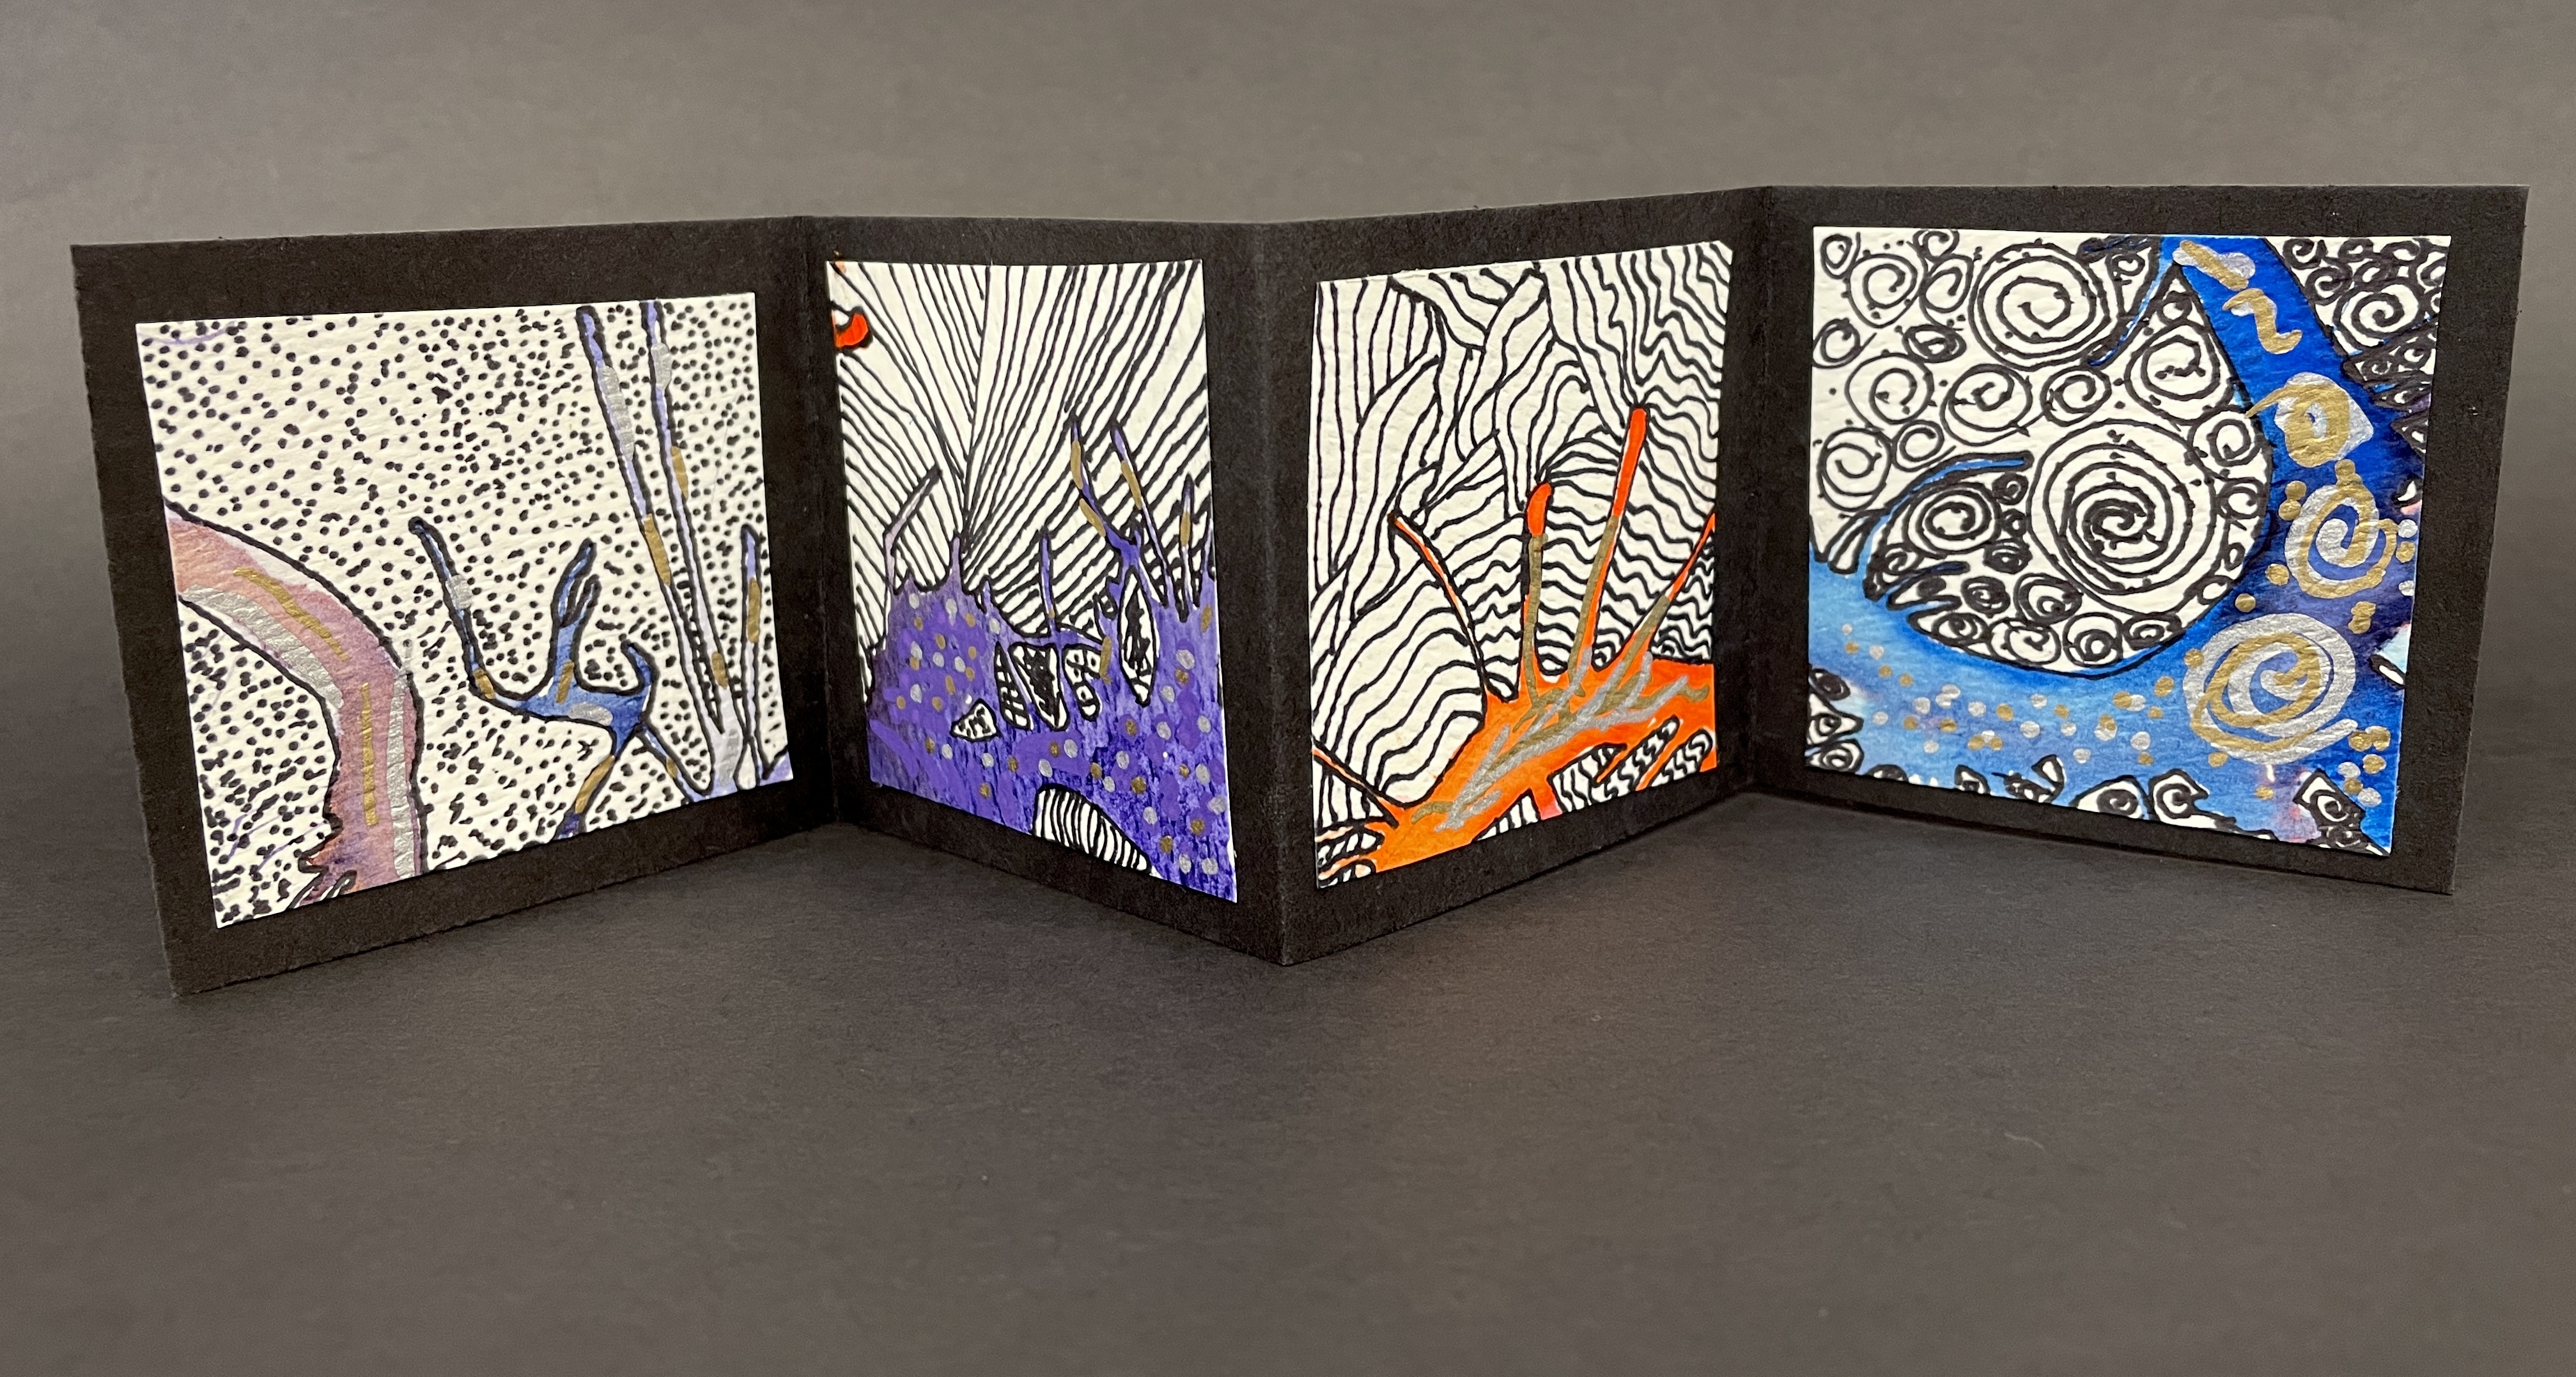

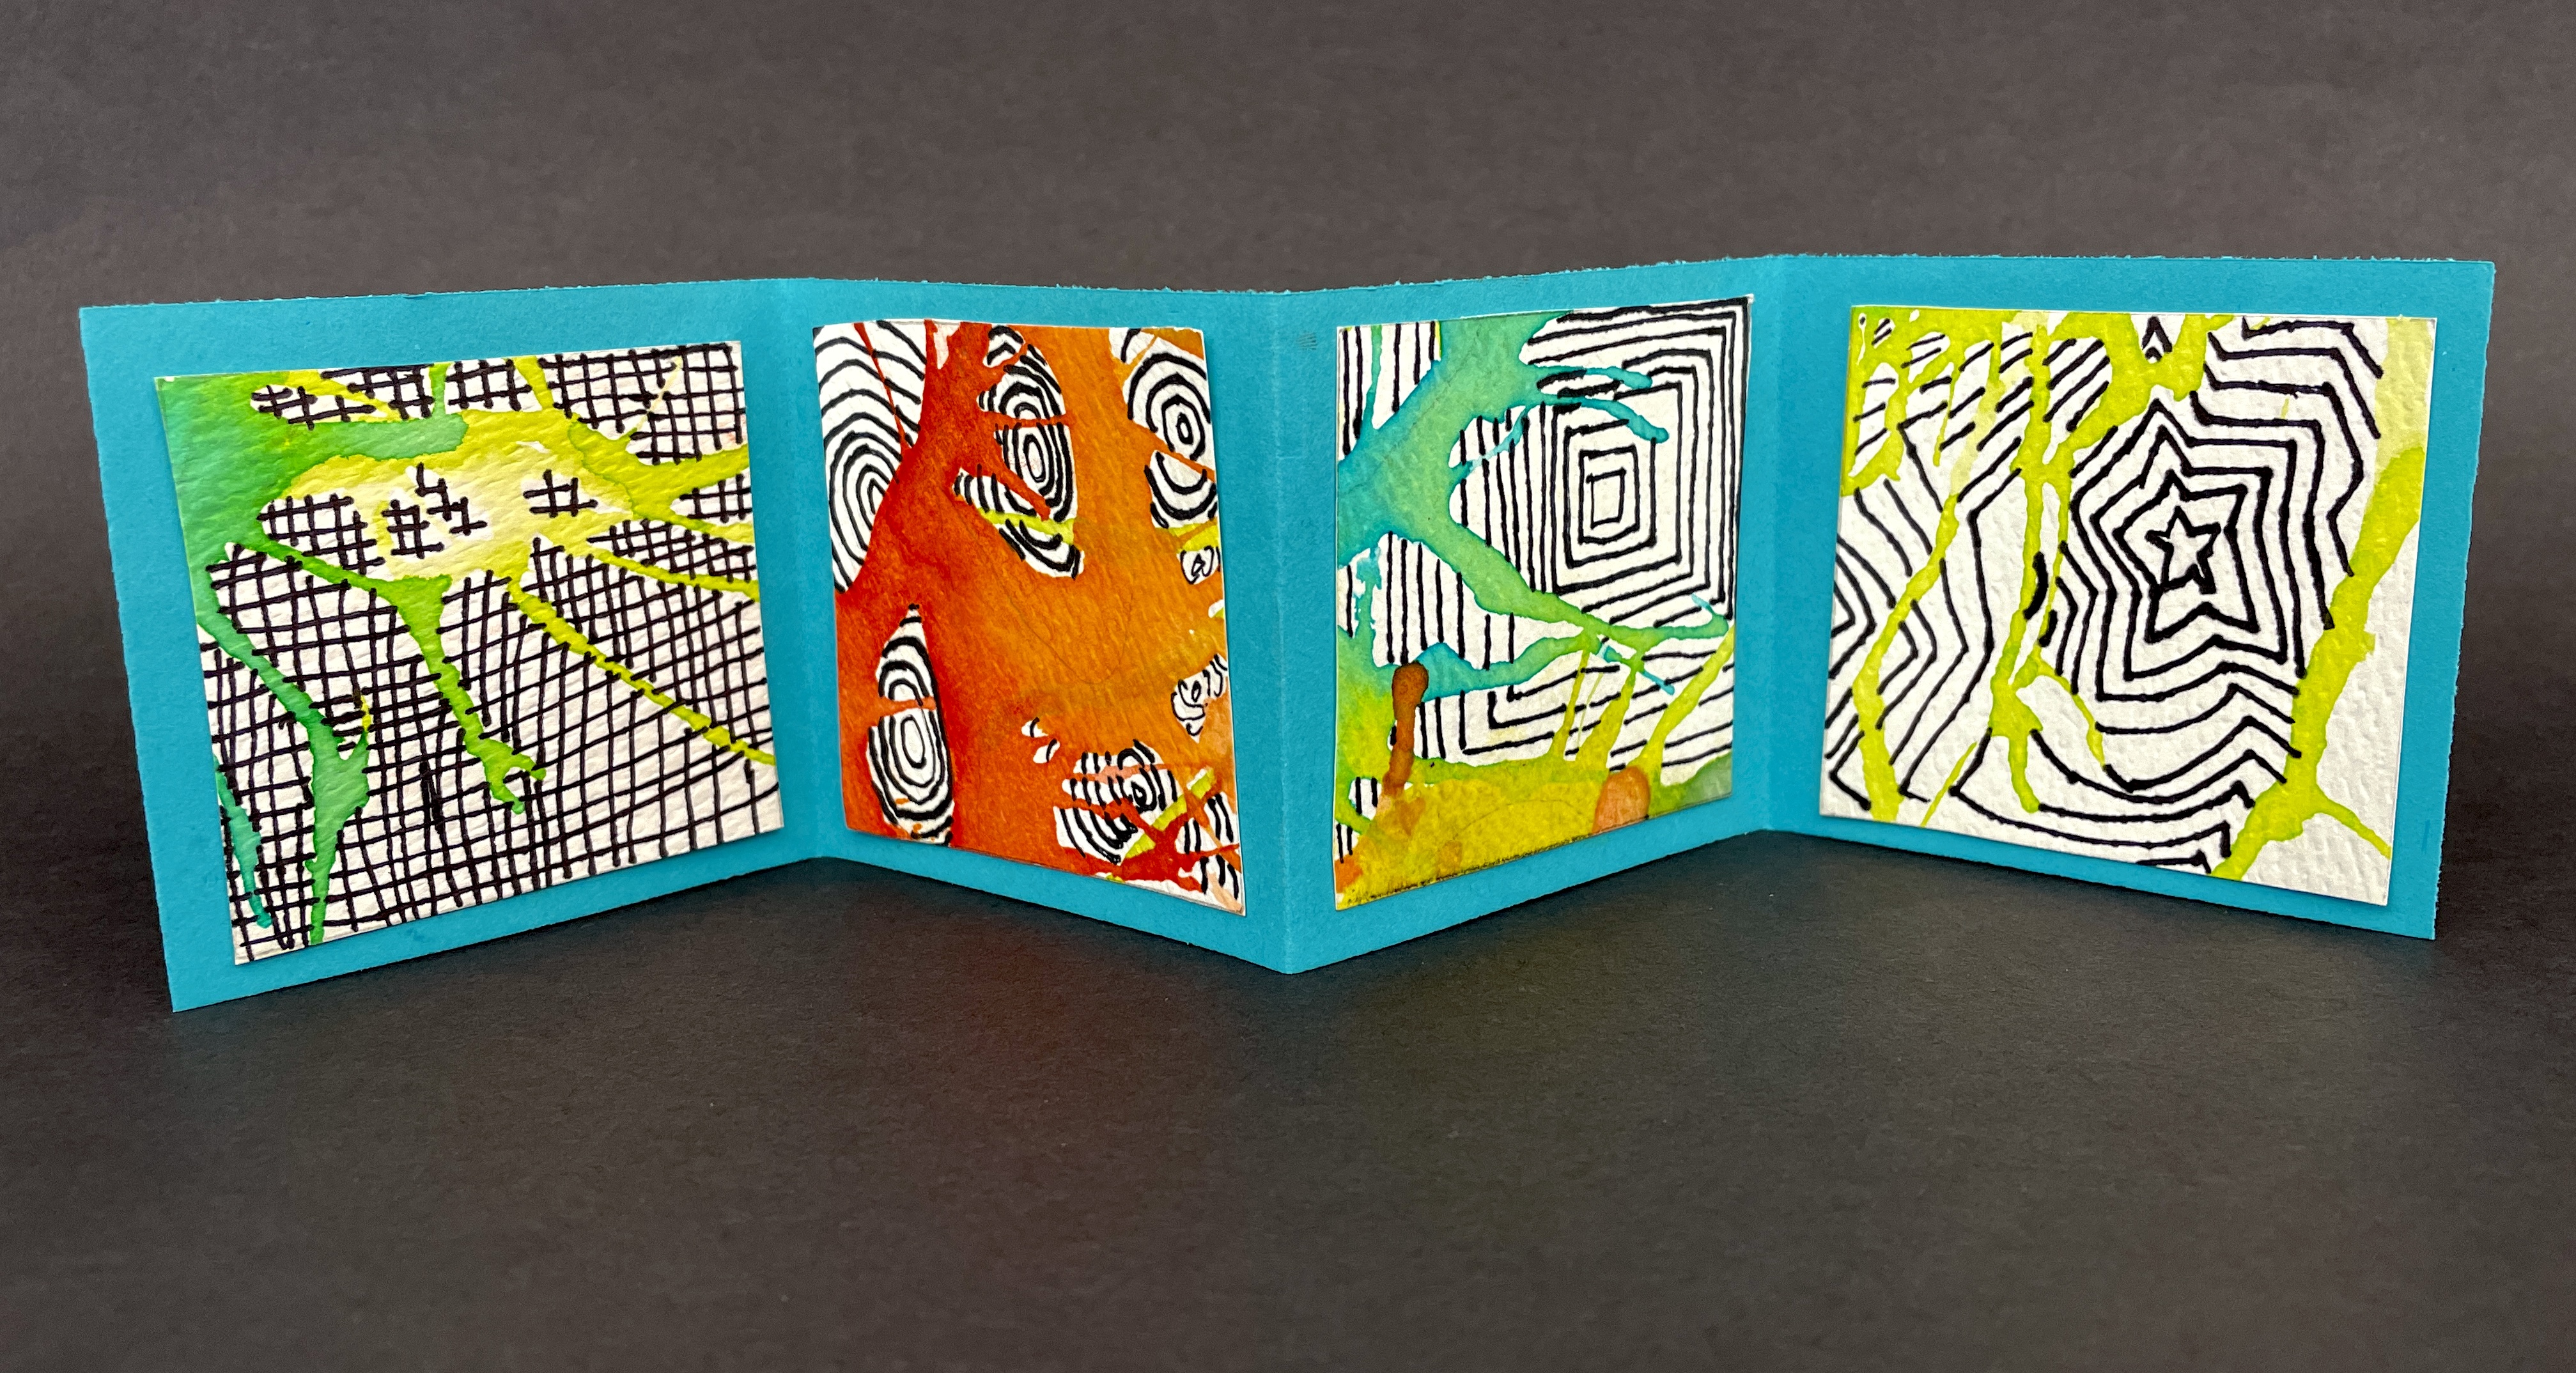
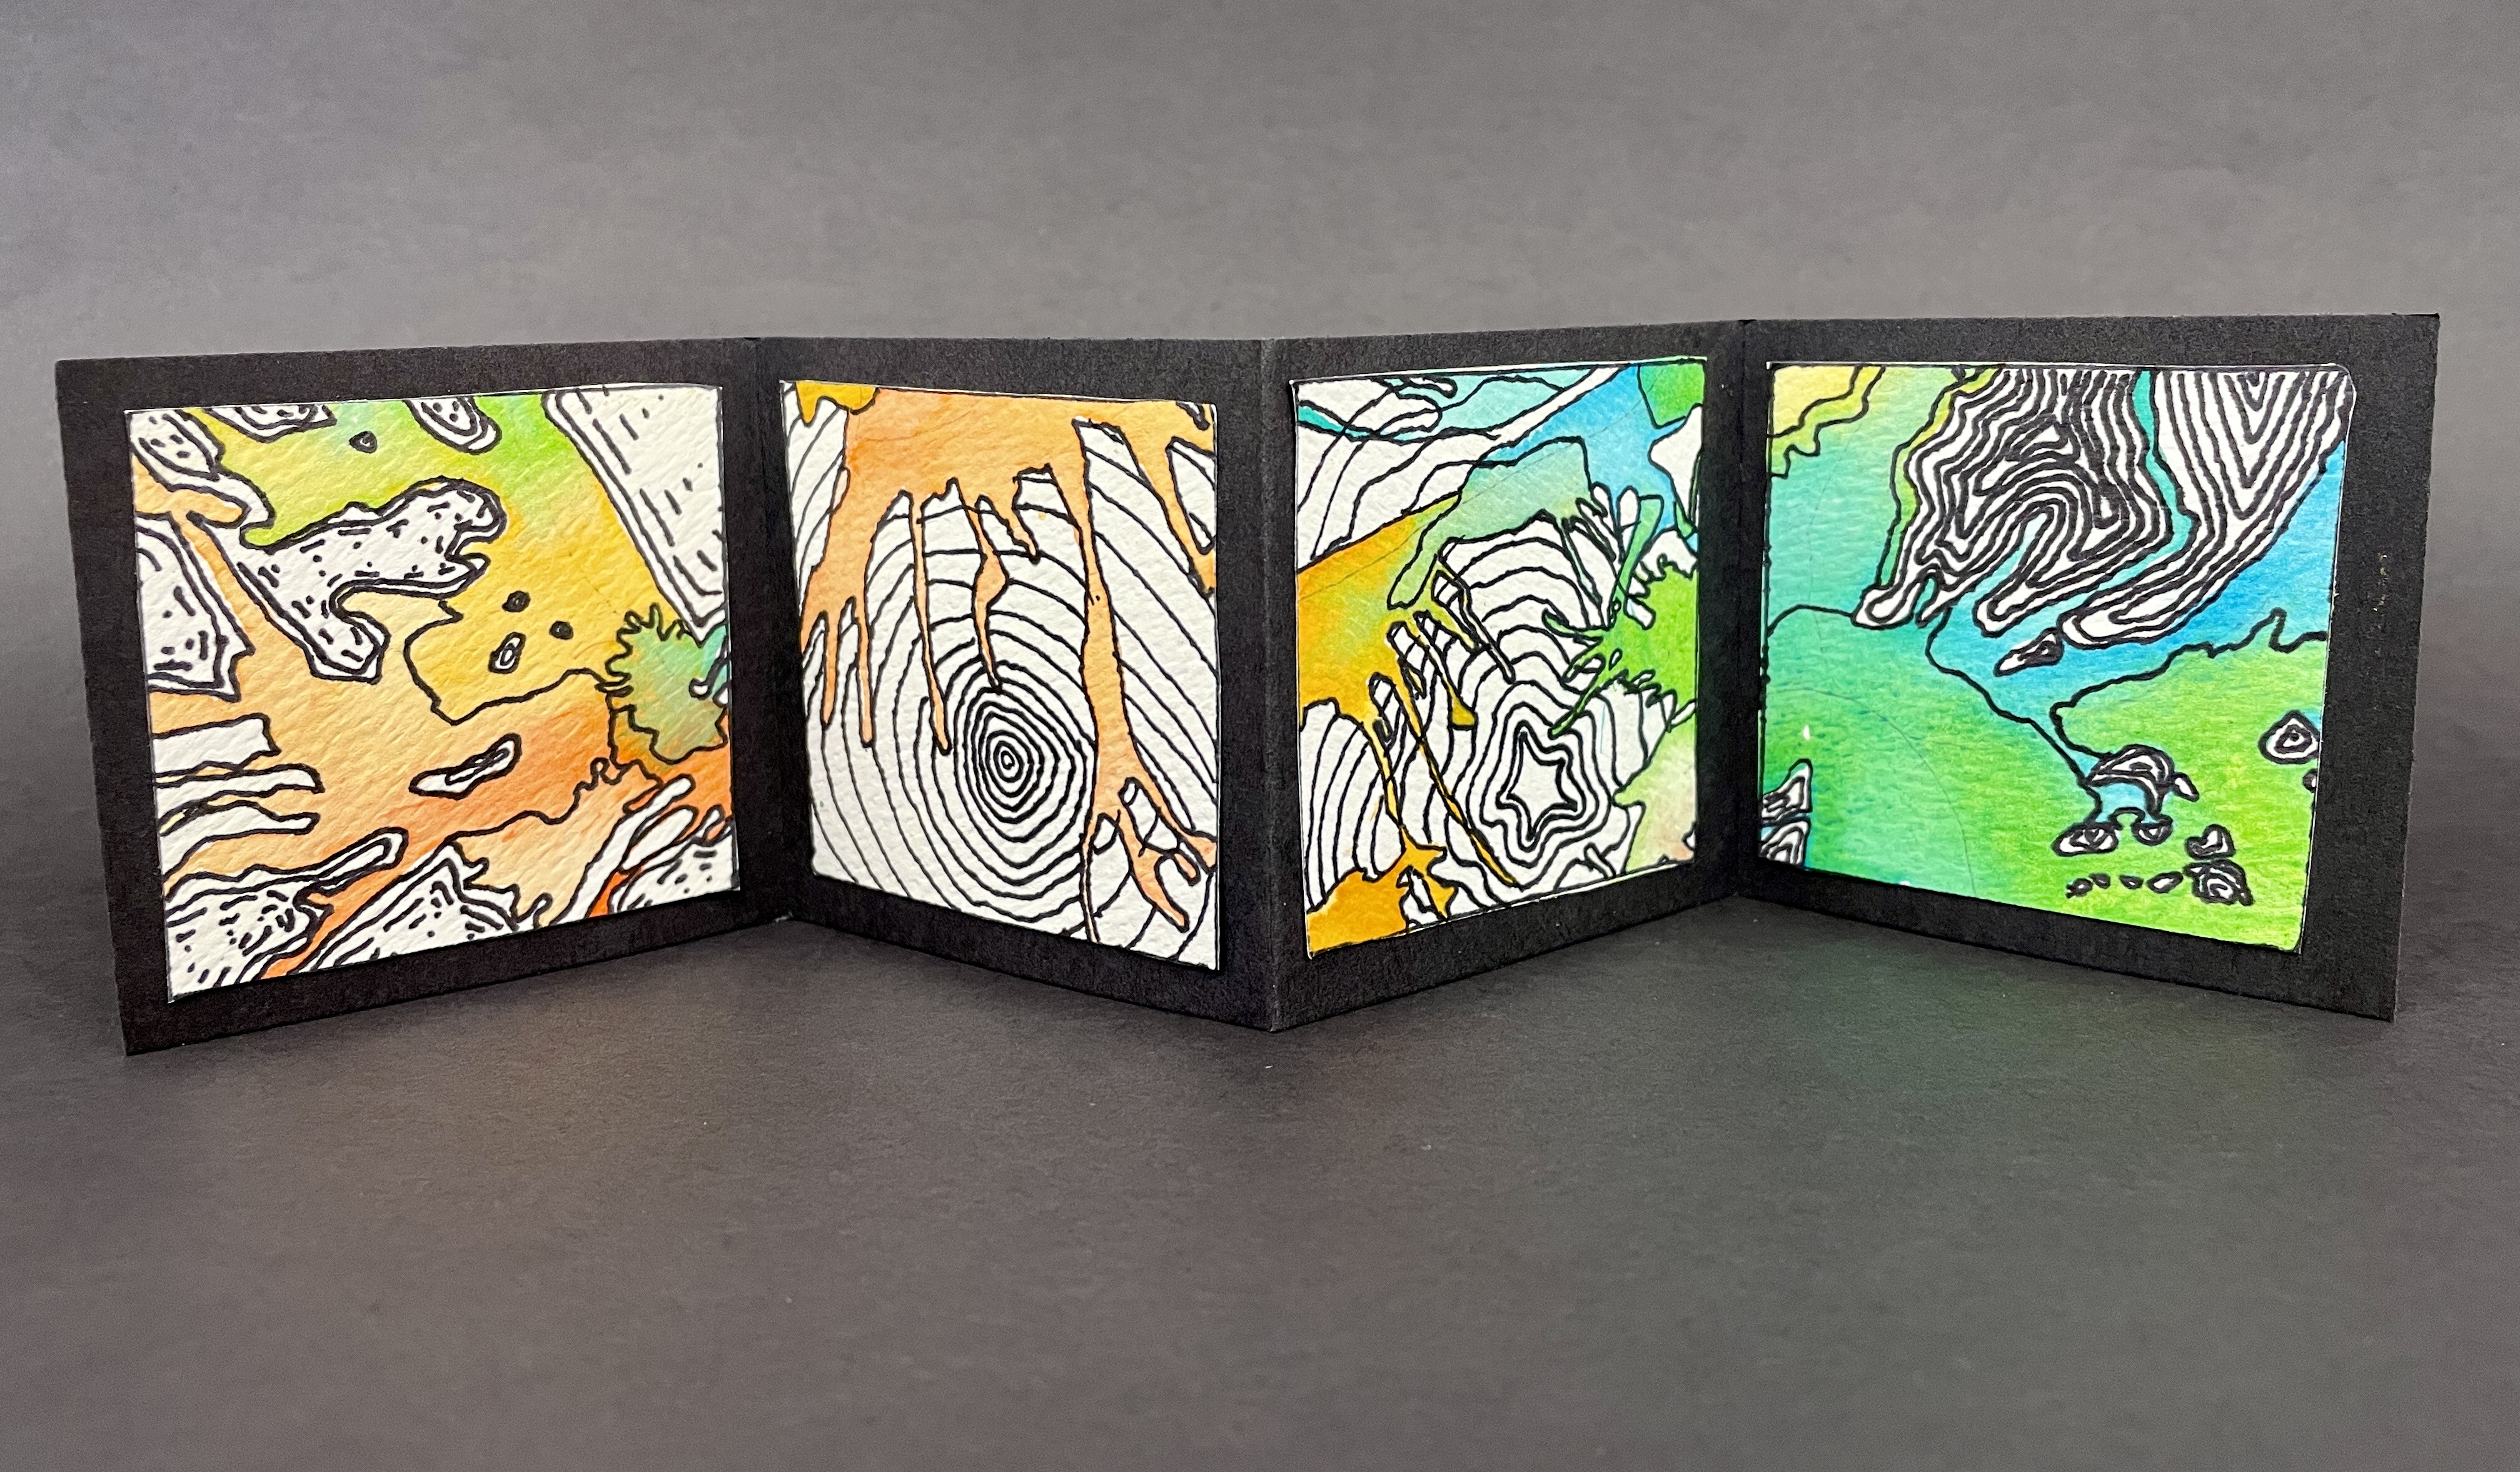

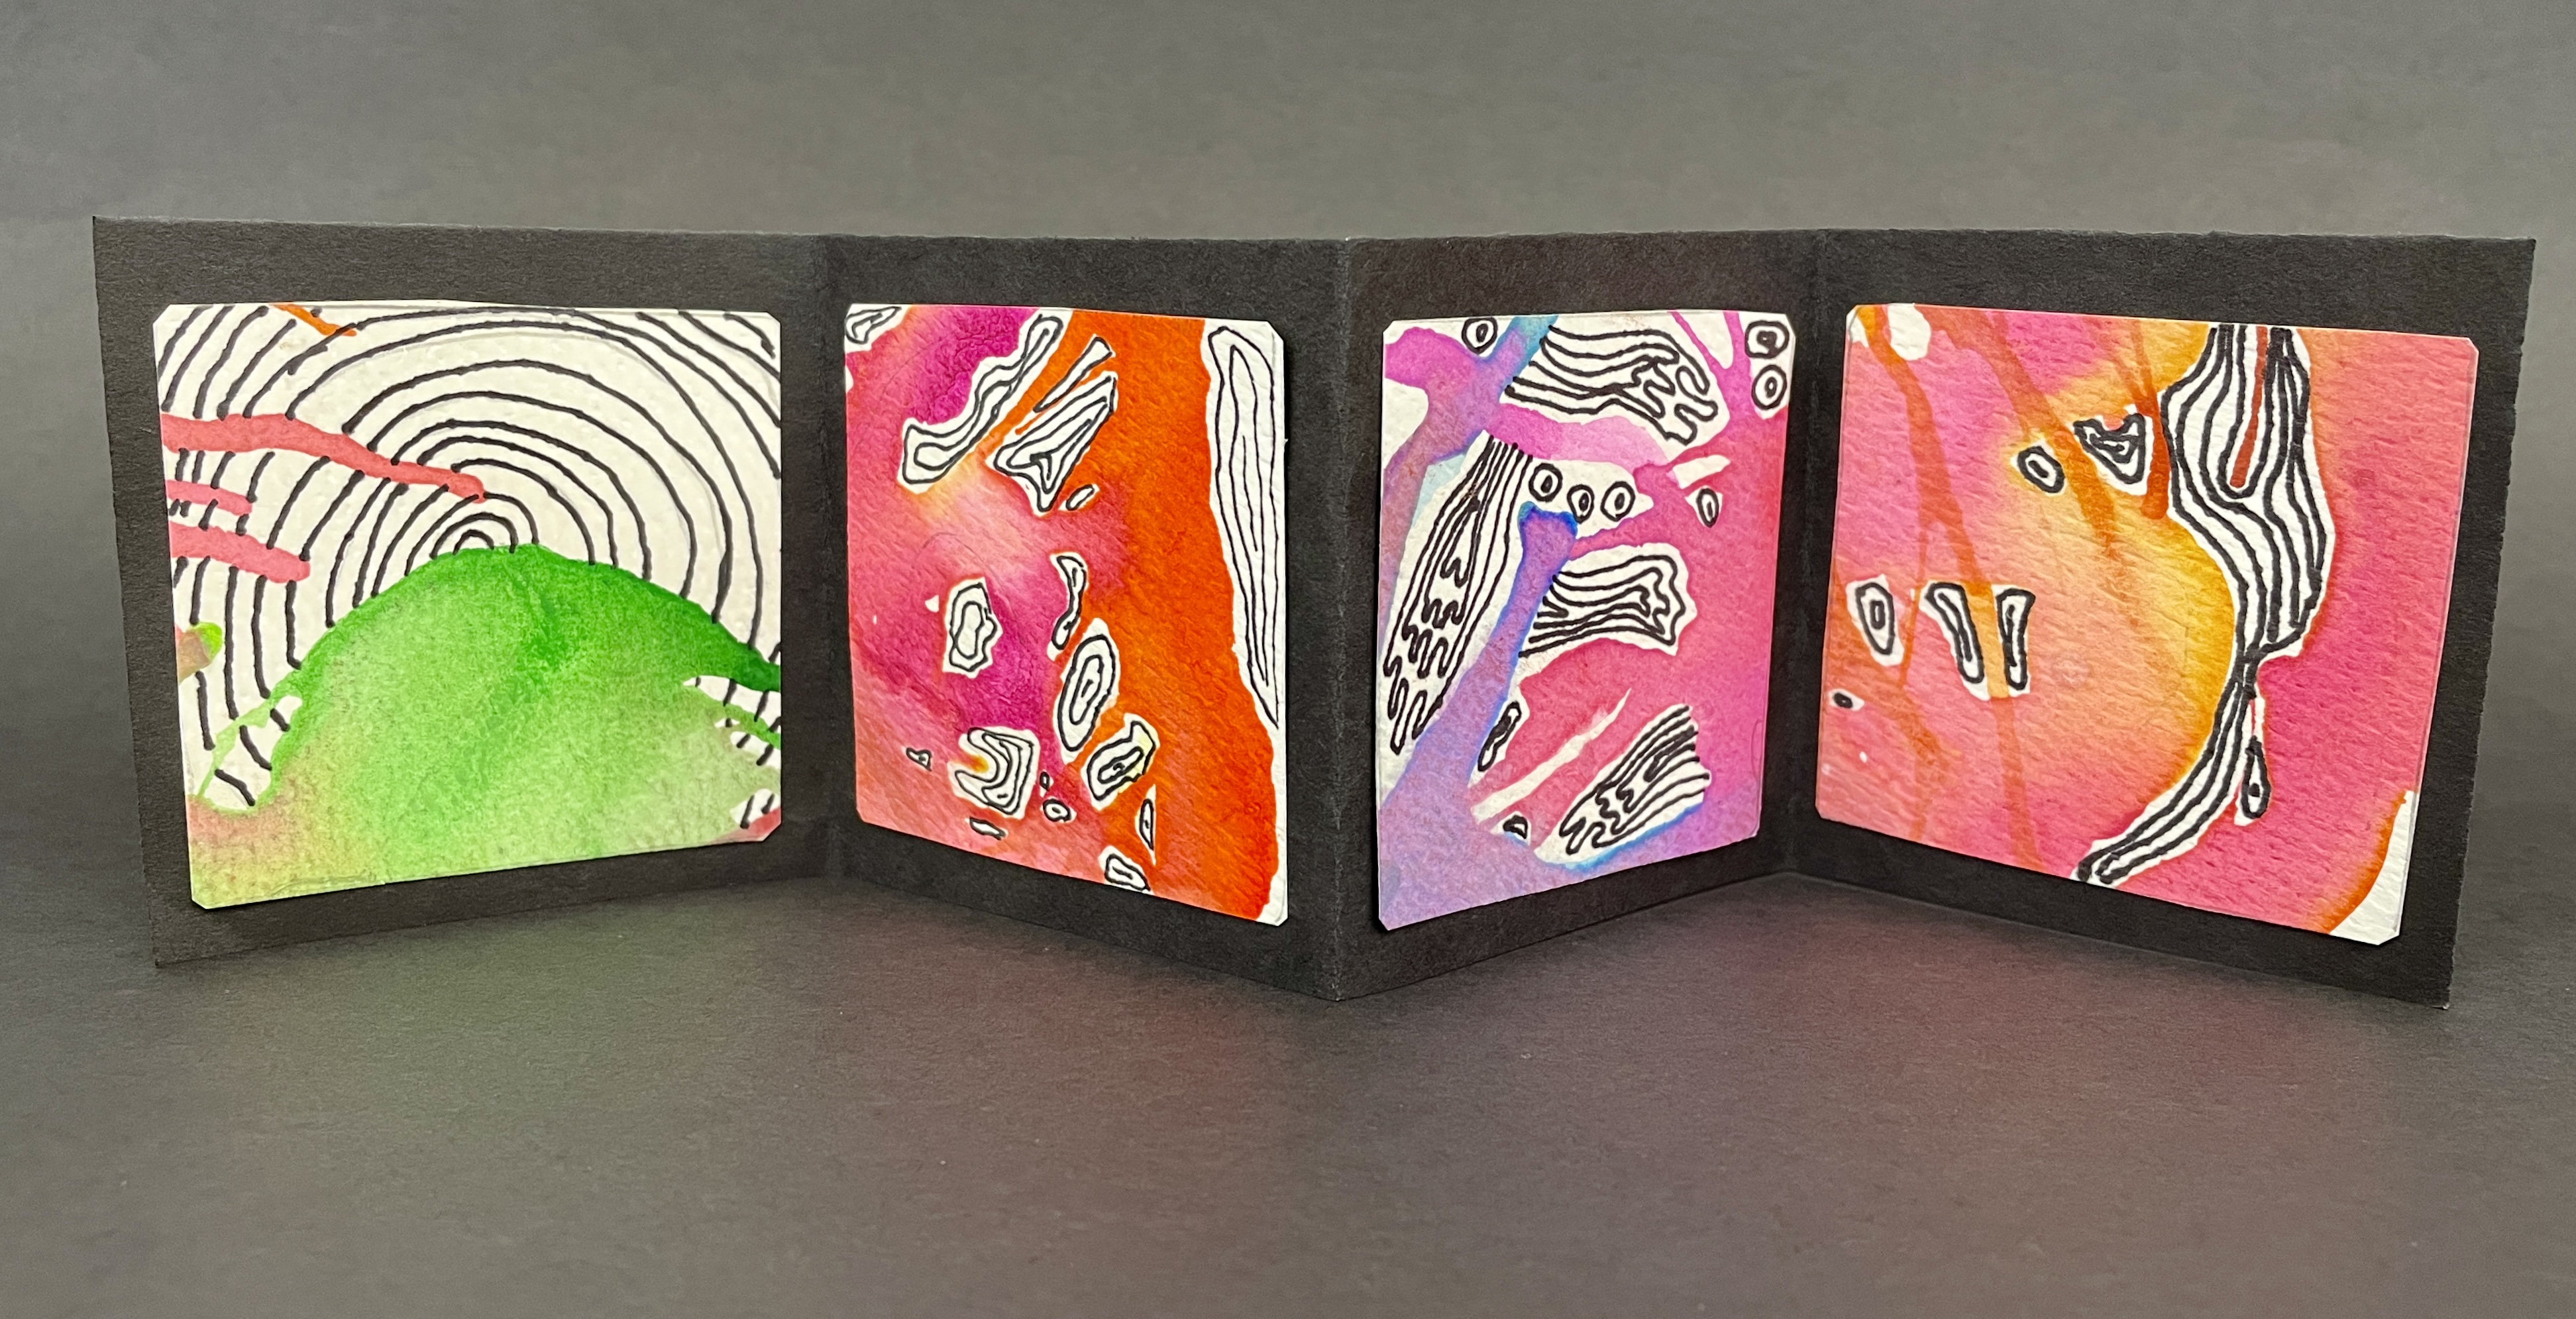
Finished Mini Books, each with four unique embellished squares!
– – –
There are many ways you can personalize this lesson to make it your own. If you try it in your classroom, be sure to tag @amslerartroom and let me know how it goes!
